This post contains affiliate links. As an Amazon Associate, I earn from qualifying purchases at no extra cost to you.
Are you looking for bathroom vanity ideas that actually feel doable on a spring weekend? Do you want to refresh that dated oak cabinet without committing to a full, messy bathroom renovation?
In this post, I’m walking you through my favourite DIY upgrades that make a vanity look custom—without the custom price tag. I’ll cover prep, paint, hardware, faux stone tops, storage tweaks, and the little finishing details that make everything feel intentional.
I find this is perfect for anyone who wants a high-impact change while keeping their vanity update budget realistic—whether you rent, own, or you’re just not ready to replace plumbing and countertops.
From my experience, the magic comes from stacking small wins: the right bathroom cabinet paint, a clean-lined pull, a brighter top, and a few upgrades inside the doors. When I design this look, I aim for “fresh and finished,” like you hired help—even though you did it yourself.
I always start by choosing one hero change (paint or top), then I build the rest around it so the makeover stays cohesive and stress-free. Below are 25 Bathroom Vanity Makeover DIY Ideas that…
1. Chalk-Paint the Old Oak + Add New Pulls + Faux Marble Top
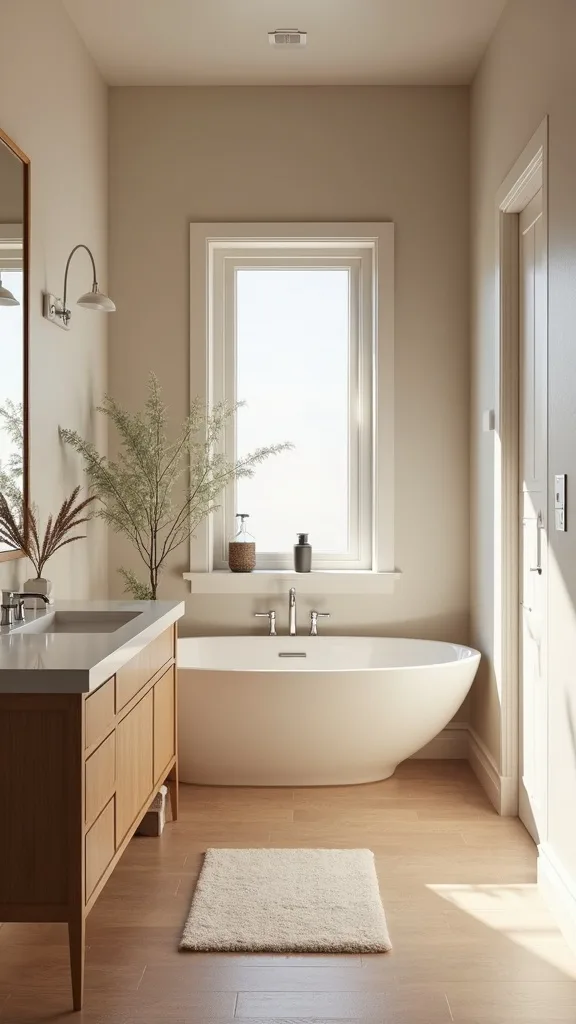
I love starting with the exact transformation that inspired this post: an old oak vanity turned bright and modern with chalk paint, sleek pulls, and a marble-contact-paper top. From my experience, this combo works because it tackles the three things that date a vanity fastest—orange-toned wood, tired hardware, and a dull countertop—without changing the cabinet footprint.
I always start by removing doors and drawers, cleaning with a degreaser, and lightly scuff-sanding the shiny spots. Then I apply two thin coats of chalk paint with a small foam roller for the flats and a brush for corners, letting each coat dry fully. For the top, I measure carefully, cut the contact paper oversized, and smooth it from the center out with a plastic squeegee before trimming with a sharp blade.
In my opinion, soft whites, warm greiges, and muted sage look especially fresh for a spring DIY project. I find that brushed nickel or matte black pulls instantly modernize oak.
Pro tip: seal the paint with a water-based polycrylic and finish the top edges with silicone caulk for a crisp, wipeable look—then step back and enjoy that “brand-new vanity” feeling.

2. Deep Clean + Degloss for a Paint Job That Won’t Peel
I find that the most overlooked “makeover” is the prep that keeps everything from chipping six months later. When I design this look, I treat cleaning and deglossing like the foundation—because even the best bathroom cabinet paint can’t bond to hairspray, hand lotion, and humidity buildup.
I always start by pulling the drawers, vacuuming crumbs, and washing every surface with a degreaser (especially around handles). Next, I wipe with clean water, let it dry, and then use a liquid deglosser or a light 220-grit sand to knock down the sheen on doors and face frames. Finally, I remove dust with a tack cloth so my primer lays smooth.
For products, I like a low-odor degreaser, 220-grit sanding sponges, and a quality bonding primer if the vanity has any slick finish. Neutral primers help with coverage when you’re moving from oak to white.
Pro tip: label each door with painter’s tape before you remove it so hinges go back exactly where they belong—this tiny step makes reassembly feel effortless and keeps your DIY vanity makeover on track.
3. Budget-Friendly Hardware Swap That Looks Custom
One of my favourite approaches is swapping hardware first, because it gives instant “after” energy even before you paint. From my experience, new pulls are one of the quickest bathroom vanity ideas for making a builder-grade cabinet feel intentional and updated.
I always start by measuring the current hole-to-hole spacing (center-to-center) so I can reuse holes when possible. If I’m changing sizes, I fill old holes with wood filler, sand smooth, and drill new ones using a simple template or a scrap of cardboard. Then I install pulls with a hand screwdriver (not a drill) so I don’t strip the screws.
I find that matte black reads modern, brushed nickel feels timeless, and champagne bronze adds warmth—especially with white or greige paint. Consider matching your faucet finish so the vanity looks cohesive.
Pro tip: if you’re nervous about drilling, start with the drawers (they’re more forgiving) and work up to doors—once you see how easy it is, you’ll feel confident upgrading the whole bathroom on a smart vanity update budget.
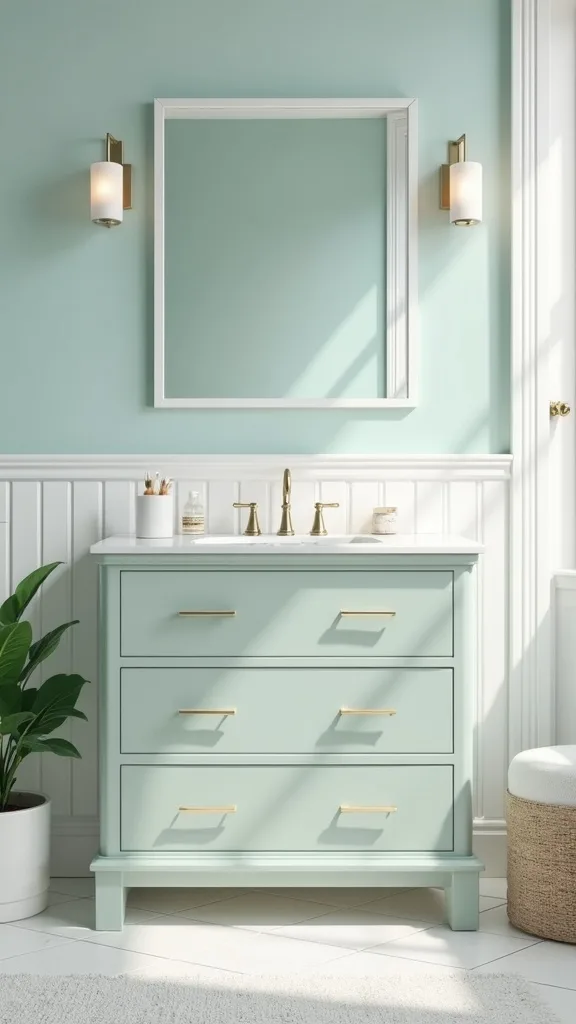
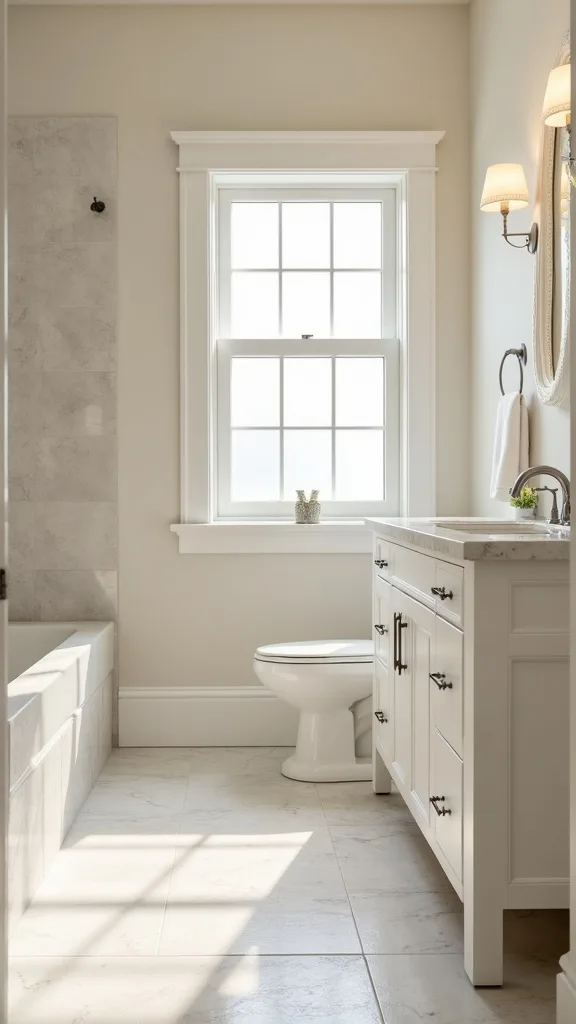
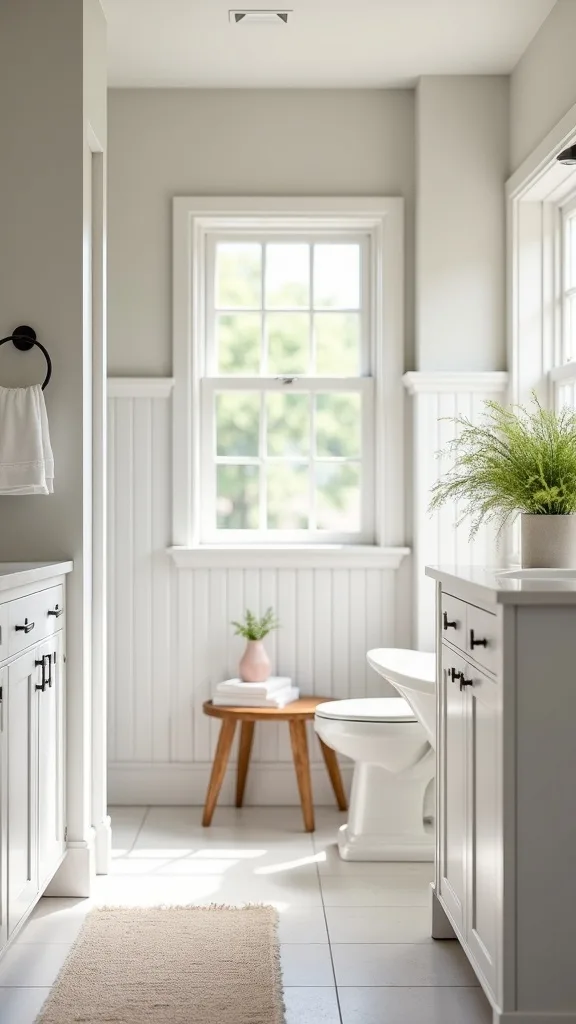
4. Paint the Vanity a Spring Sage or Soft Blue
In my opinion, spring is the perfect time to lean into color, and a sage or soft blue vanity can make the whole bathroom feel calmer and brighter. I find that these shades are especially flattering in small spaces because they add personality without making the room feel heavy.
I always start by testing paint on the inside of a door and viewing it morning and night. Then I prime any tannin-heavy wood (oak loves to bleed), paint two thin coats, and lightly sand between coats for a smooth finish. If I’m using a brush, I keep a damp cloth nearby to catch drips at the corners before they dry.
For colors, I like muted greens, dusty blue-gray, and creamy off-white. Pair them with warm brass knobs for a handcrafted look, or go with brushed nickel for a clean spa vibe.
Pro tip: add a matching painted frame around your mirror or a tiny accent shelf in the same color—those small repeats make the vanity look like it belongs in a curated bathroom renovation, even when it’s a weekend DIY.
5. Use a Bonding Primer to Stop Oak Tannin Bleed
I’ve learned the hard way that oak can “ghost” through paint with yellowish stains if you skip the right primer. From my experience, a strong bonding primer is the difference between a crisp, bright finish and a frustrating redo—especially for light bathroom cabinet paint colors.
I always start by sanding just enough to dull the surface, then I apply one even coat of a stain-blocking primer with a foam roller. I let it cure (not just dry) according to the label, then I check for any bleed-through spots and spot-prime again if needed. After that, I paint in thin layers and avoid heavy, wet coats that can reactivate stains.
I find that shellac-based primers are the most aggressive for tannins, while water-based bonding primers are easier to work with and lower odor. Either way, choose one designed for cabinets and high-touch surfaces.
Pro tip: prime the door edges and the inside lip of the face frame—those hidden areas are where moisture sneaks in, and sealing them makes your DIY vanity makeover feel durable and truly “bathroom-ready.”
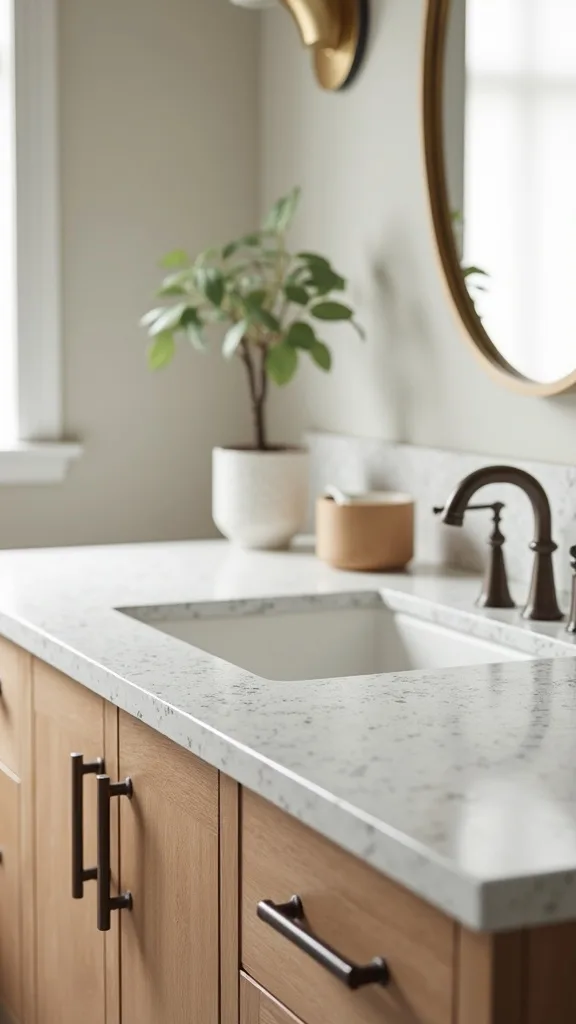
6. Create a Faux Stone Countertop with Contact Paper
I love a faux stone top because it gives you that upscale countertop look without the cost or demolition. When I design this look, I use marble contact paper or granite-style vinyl to brighten the vanity area and bounce more light around the bathroom.
I always start by removing the faucet if I can (it makes everything cleaner), then I fill deep chips with filler and sand smooth. Next, I measure the top and cut the vinyl with a few extra inches on all sides. I peel the backing slowly, smooth with a felt squeegee, and use a hair dryer on low to help the vinyl conform around edges and curves. Finally, I trim with a fresh utility blade and seal seams with clear silicone at the backsplash and sink edge.
I find that white marble with soft gray veining looks the most realistic, especially paired with matte black or brushed nickel fixtures. Choose thick, waterproof-rated vinyl for longevity.
Pro tip: wrap the front edge first and keep the seam underneath—this tiny placement trick makes the top look more like a real slab and elevates your vanity update budget instantly.
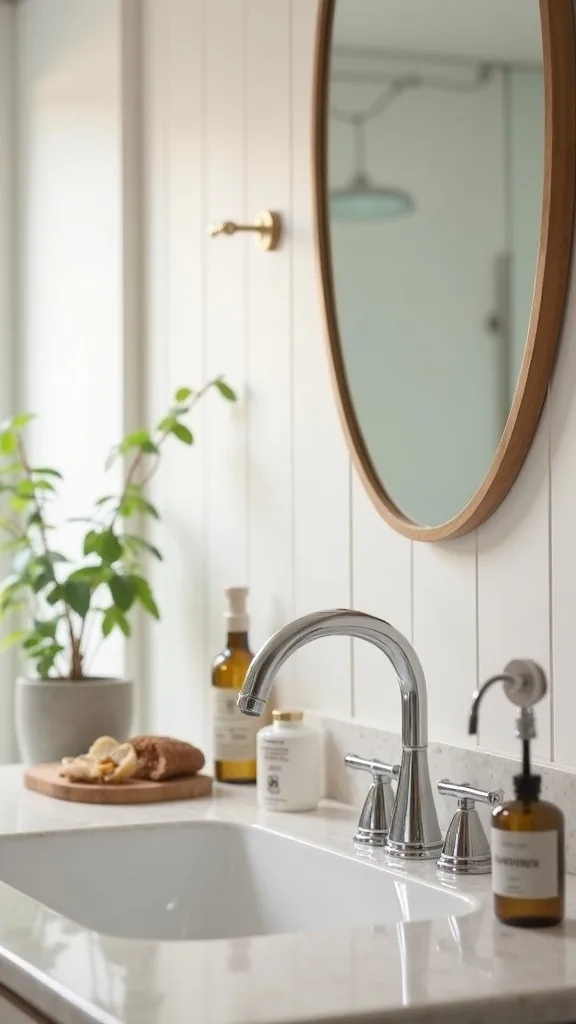
7. Replace the Faucet for a High-Impact Refresh
From my experience, a faucet swap is one of the fastest ways to make a vanity feel new, even if you don’t touch the cabinet. I find that this upgrade works because your eye naturally lands on the faucet, and a modern shape instantly signals “updated bathroom.”
I always start by shutting off the water valves, placing a towel under the supply lines, and taking a photo of the setup for reference. Then I disconnect the lines, remove the mounting nuts with a basin wrench, and clean the sink deck thoroughly before installing the new faucet. I finish by checking for leaks and tightening just enough—over-tightening can crack parts or warp gaskets.
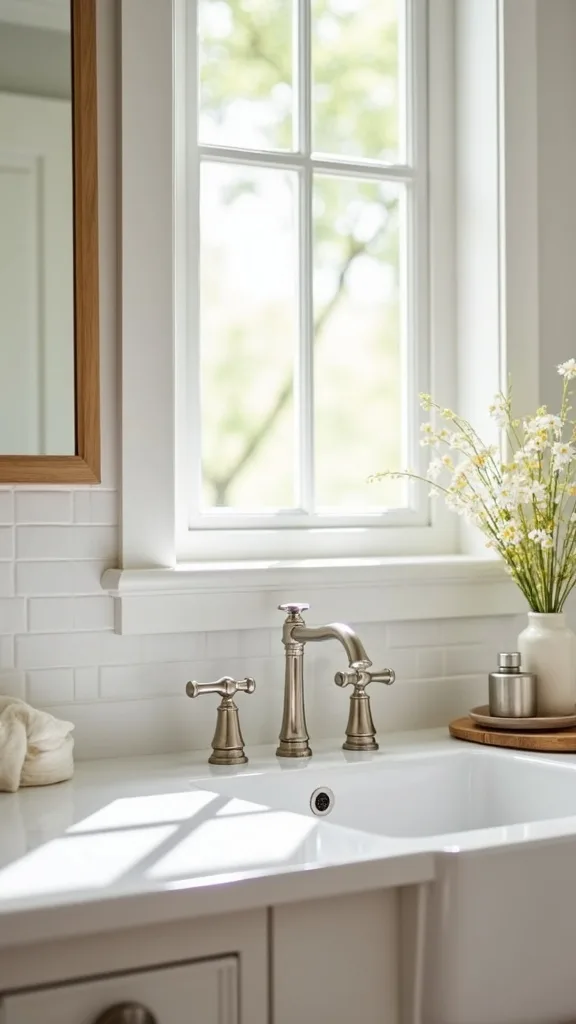
For finishes, I like matte black for contrast, brushed nickel for timeless, and brushed gold for warmth. If your vanity is painted, I recommend matching the faucet to your new pulls for a cohesive look.
Pro tip: add new braided supply lines while you’re in there—they’re inexpensive, they look tidy, and they make your DIY vanity makeover feel like a thoughtful mini bathroom renovation.
8. Add a Peel-and-Stick Backsplash Behind the Sink
I find that a small backsplash change can make the vanity area feel finished, especially if your wall has splashes or old caulk lines. When I design this look, I use peel-and-stick tile as a quick spring DIY project that adds texture without grout mess.
I always start by cleaning the wall, filling any dents, and lightly sanding so the adhesive sticks well. Then I plan my layout from the center, cut tiles with a sharp utility knife or tin snips (depending on material), and press firmly with a roller. I finish edges with trim pieces or a neat bead of caulk so it looks intentional.
I love classic white subway, soft marble looks, and warm zellige-inspired patterns. If your vanity is bold, I recommend a simple backsplash; if your vanity is neutral, you can play with pattern.
Pro tip: run a thin line of silicone caulk along the bottom edge where tile meets countertop—this keeps water out and makes the whole area feel professionally installed, even on a vanity update budget.
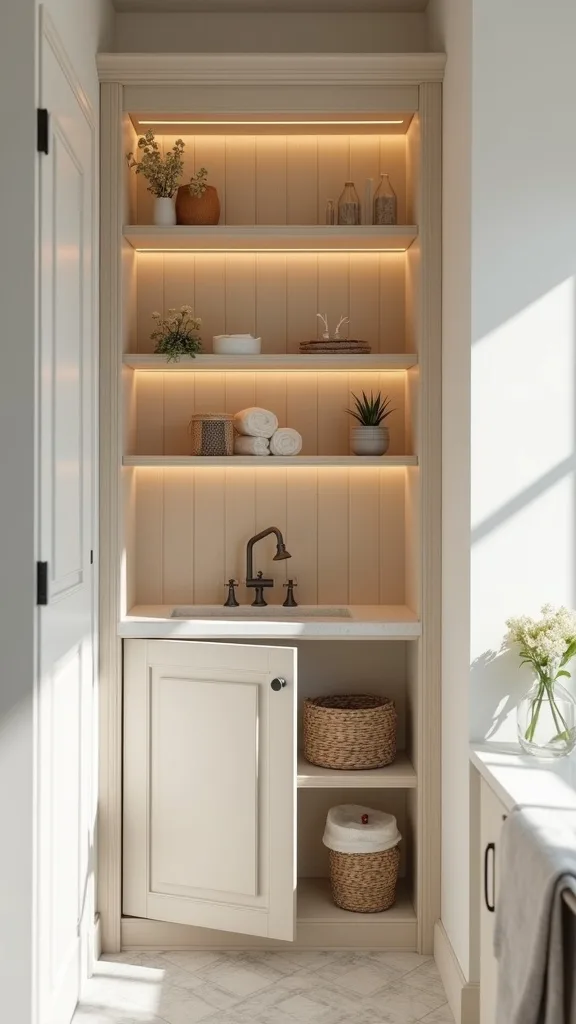
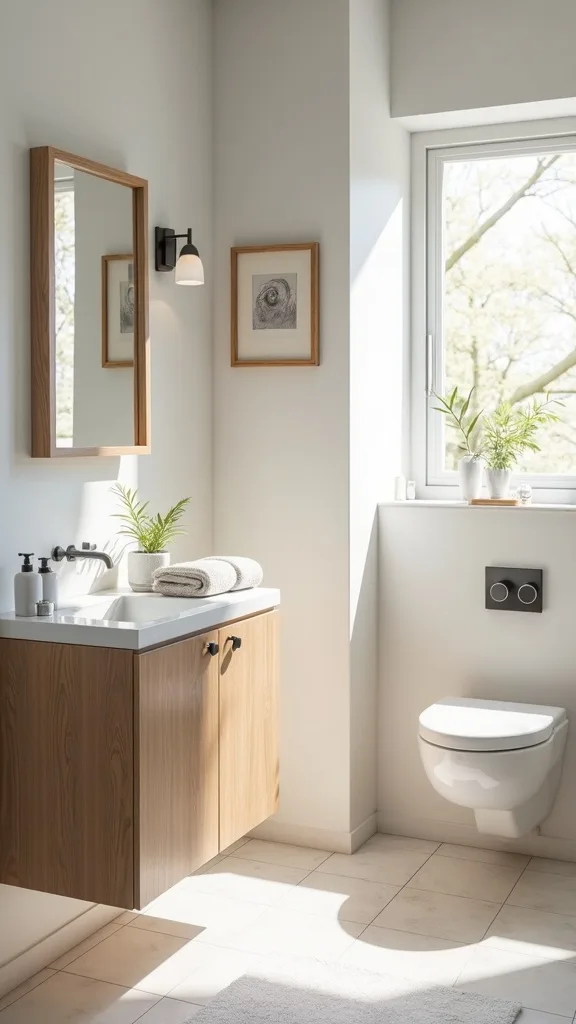
9. Convert Doors to Open Shelving (Without Rebuilding the Cabinet)
One of my favourite approaches is removing the doors and turning the vanity into open shelving for a lighter, spa-like feel. I find that this works especially well in small bathrooms because it visually opens the room and encourages you to keep only what you love.
I always start by removing the doors and hinges, then filling the hinge holes with wood filler and sanding smooth. Next, I paint the inside of the cabinet so everything looks cohesive. To keep it practical, I add baskets or bins for toiletries and roll towels neatly so the shelves feel styled, not cluttered.
For materials, I like woven baskets, clear acrylic bins, and a wipeable shelf liner in a subtle pattern. If you’re painting, choose a durable cabinet enamel or seal chalk paint properly.
Pro tip: add a small tension rod inside one shelf bay to hang spray bottles—this tiny upgrade keeps the open look clean and makes your DIY vanity makeover feel both pretty and functional.
10. Add Furniture Feet or a Toe-Kick Trim Upgrade
I love turning a basic vanity into something that feels more like furniture, and adding feet or upgrading the toe-kick is a simple way to do it. From my experience, this change works because it alters the silhouette—suddenly the vanity looks custom instead of boxy.
I always start by checking clearance and making sure the vanity base can handle the look (and that it won’t trap water). For feet, I attach furniture legs to a sturdy base frame under the cabinet, then add trim to hide seams. For a toe-kick upgrade, I wrap the existing kick with thin trim boards and caulk for clean lines before painting.
I find that tapered wood legs look modern, while bun feet feel classic. Paint the feet the same color as the vanity for a seamless look, or stain them for contrast if your bathroom leans warm.
Pro tip: add a waterproof clear coat near the floor—bathrooms are splash zones, and that extra protection keeps your handcrafted upgrade looking fresh all season long.
11. Upgrade Drawer Slides for Smooth, Quiet Storage
I find that a vanity can look gorgeous and still feel “old” if the drawers stick or slam. When I design this look, I like upgrading to smooth slides because it’s a functional win you feel every single day—quietly elevating your whole bathroom renovation experience.
I always start by removing the drawer box and measuring the slide length. Then I choose side-mount or undermount slides that match the cabinet style and install them level using a small spacer block. I test the fit, adjust as needed, and only then do I tighten everything fully so the drawers glide evenly.
For products, I recommend soft-close slides if your budget allows—they’re a small splurge that feels luxurious. Pair the upgrade with a drawer liner so your toiletries don’t rattle and scratch the base.
Pro tip: while the drawer is out, add a simple organizer insert—this is the moment to reset your storage, and it makes your DIY vanity makeover feel like a true lifestyle upgrade, not just a cosmetic change.
12. Paint the Inside of the Cabinet a Surprise Color
In my opinion, painting the inside of the vanity is one of the most fun, creative bathroom vanity ideas—because it feels like a little secret every time you open the doors. I find that this works especially well if you’re keeping the outside neutral but still want personality.
I always start by emptying everything, vacuuming dust, and wiping down the interior shelves. Then I lightly sand, prime if needed, and paint with a small foam roller so the finish stays smooth in tight spaces. If the interior has exposed raw wood, I seal it so it doesn’t absorb moisture over time.
For colors, I love pale robin’s-egg blue, soft blush, or deep charcoal for drama. If you’re doing a spring DIY project, a muted green interior can feel fresh without being loud.
Pro tip: carry that interior color into a tiny detail—like a tray or a soap pump—so it feels intentional, and you’ll get that handcrafted, boutique-bathroom vibe on a vanity update budget.
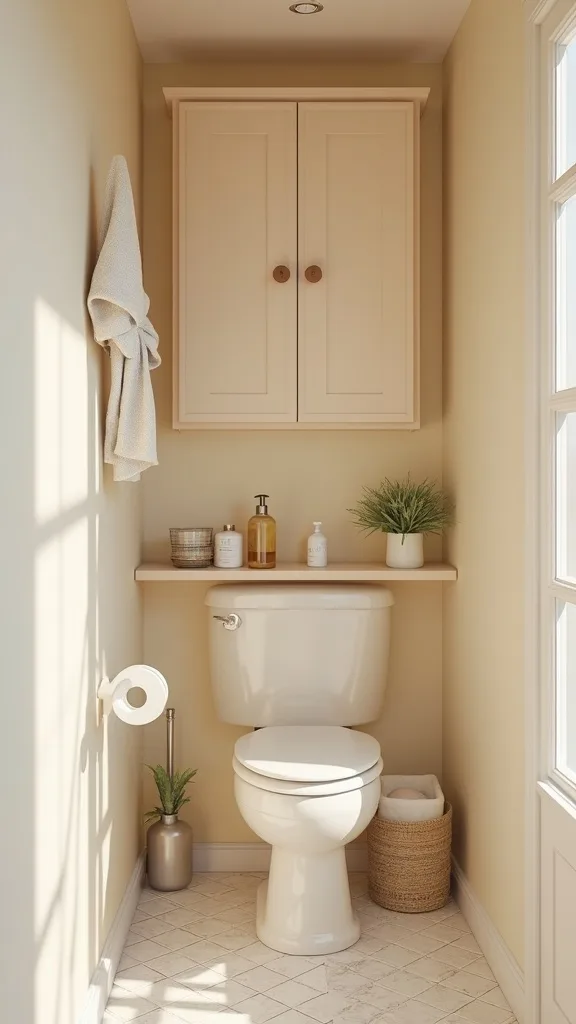
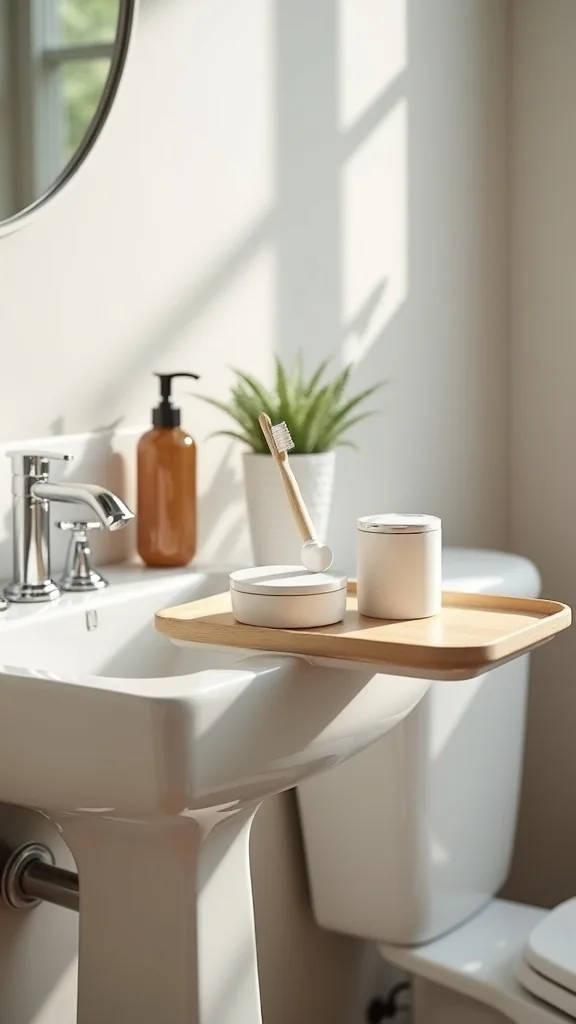
13. Add a Tilt-Out Tray for Toothbrushes and Small Items
I always recommend a tilt-out tray if your vanity has a false drawer front at the top. From my experience, it’s one of the smartest space-savers because it turns a “dead” panel into functional storage—perfect for toothbrushes, floss, and the little things that clutter the counter.
I always start by checking whether the top front is a dummy panel (no drawer behind it). Then I buy a tilt-out kit, mark my hinge placement, and screw it in carefully so everything sits level. I like lining the tray with a washable mat so it stays clean and doesn’t collect toothpaste residue.
For finishes, I keep the tray interior white or clear so it feels hygienic and bright. If you’re mid DIY vanity makeover, paint the panel first, then install the kit after the paint cures.
Pro tip: add a small adhesive hook inside the tray for a razor cover or floss pick container—those tiny tweaks make the vanity feel thoughtfully designed and keep your countertop beautifully open.
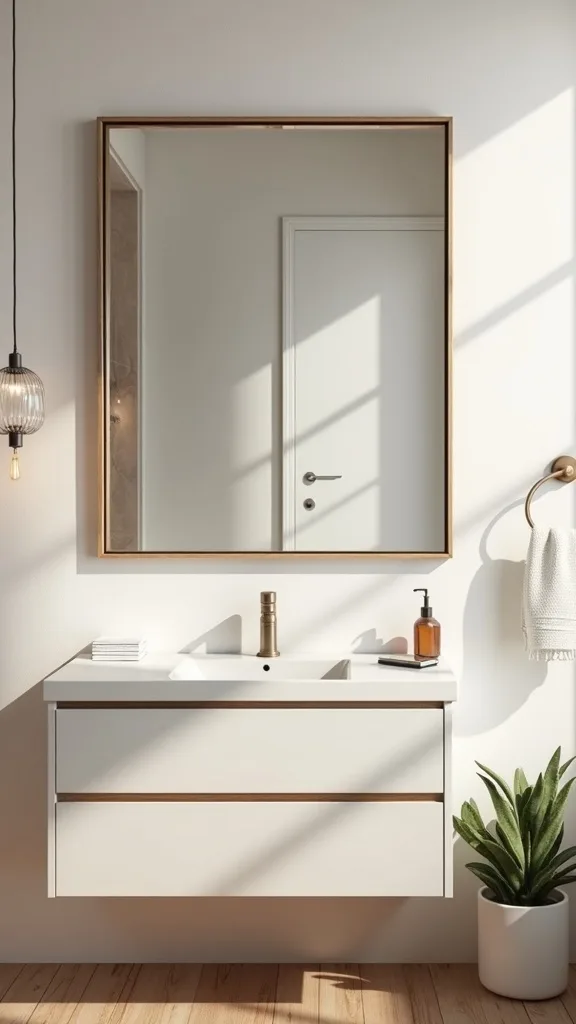
14. Frame the Mirror to Match Your Vanity Update
I find that a vanity makeover looks incomplete if the mirror still screams “builder basic.” When I design this look, I like framing the existing mirror because it ties directly into the vanity color and makes the whole wall feel more finished.
I always start by measuring the mirror and cutting trim pieces with mitered corners. Then I paint or stain the frame to coordinate with the vanity and attach it with mirror-safe adhesive (so it won’t damage the backing). I caulk tiny gaps, touch up paint, and let it cure before cleaning the glass.
For styles, I like a thin modern frame in matte black, a warm wood stain for organic texture, or a painted frame that matches your bathroom cabinet paint. If you’ve added marble contact paper, a crisp white frame looks especially clean.
Pro tip: repeat your hardware finish in the frame—like adding tiny corner brackets in the same metal—so everything feels cohesive, and your DIY vanity makeover reads like a polished mini bathroom renovation.
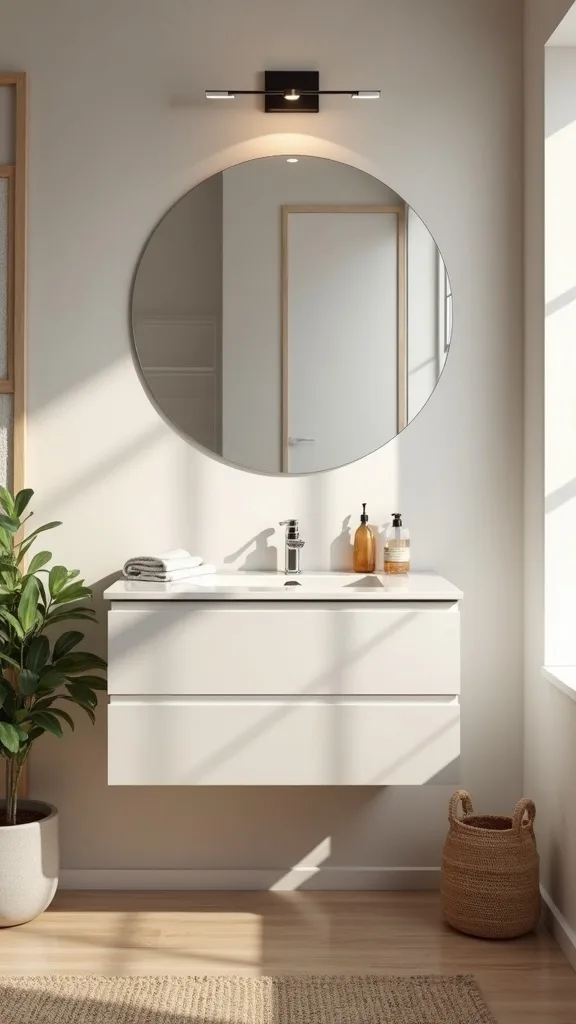
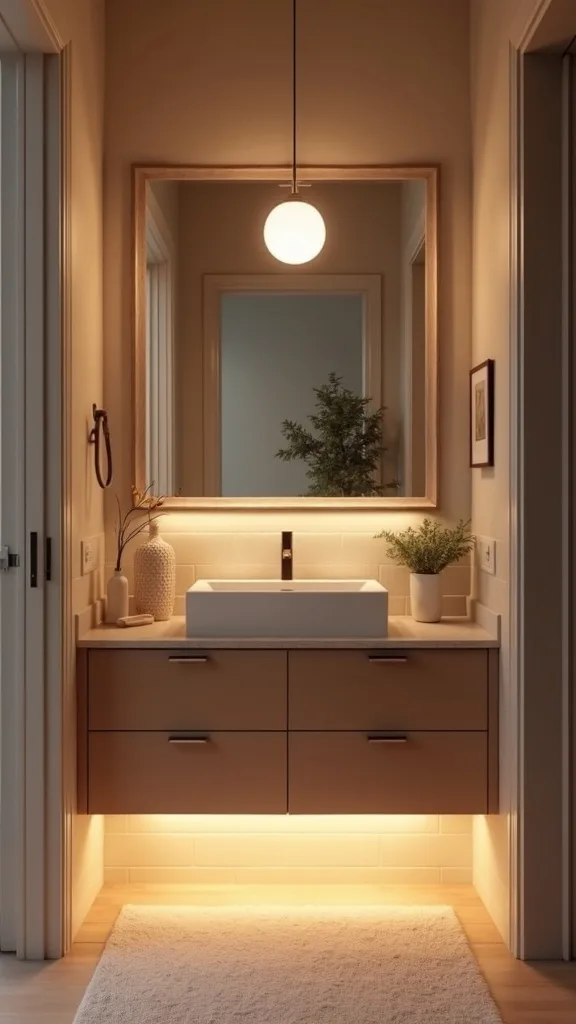
15. Swap in a Modern Light Fixture Above the Vanity
From my experience, lighting is the “make it or break it” detail in a bathroom, and a modern vanity light instantly elevates your update. I find that this works because new lighting changes both the style and the mood—your paint color even looks better under clean, bright bulbs.
I always start by turning off power at the breaker and confirming with a voltage tester. Then I remove the old fixture, photograph the wiring, and install the new one following the manufacturer’s directions. I finish by caulking lightly where the backplate meets the wall if needed, then I add bulbs in a flattering temperature (usually 3000K for warm-white).
For looks, I love simple globe lights, slim bar sconces, or a classic three-light vanity bar in brushed nickel or black. Choose damp-rated fixtures for safety.
Pro tip: if you’re on a tight vanity update budget, keep the fixture simple and spend a little more on great bulbs—good light makes every DIY vanity makeover feel more expensive.
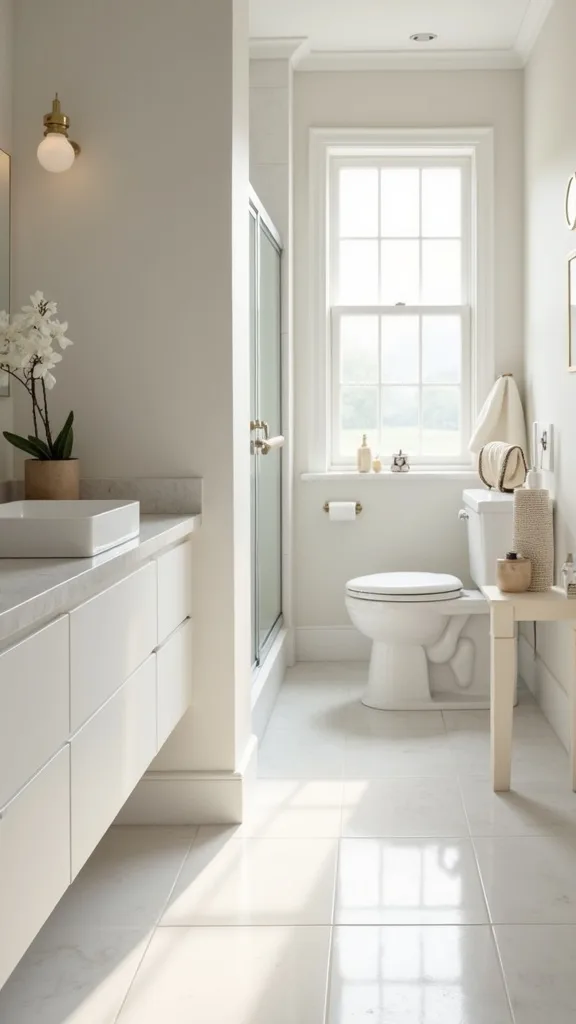
16. Use Cabinet Enamel for a Hard, Bathroom-Proof Finish
I get asked a lot what paint holds up best in a steamy bathroom, and I always recommend a true cabinet enamel when you want durability. From my experience, it levels better than wall paint and cures into a tougher surface that resists scuffs around handles.
I always start by priming properly, then I apply cabinet enamel in thin coats with a foam roller for the flat areas and a high-quality angled brush for details. I let it dry, lightly sand with 320-grit between coats, and give it plenty of cure time before heavy use. That cure time is the secret—rushing is what leads to dings and sticking doors.
For colors, crisp white, warm ivory, and greige are timeless, while muted green feels perfect for a spring DIY project. Pair with modern pulls for a clean update.
Pro tip: replace rubber door bumpers after painting—fresh bumpers prevent sticking and protect your finish, and that small detail makes your bathroom vanity ideas look professionally executed.
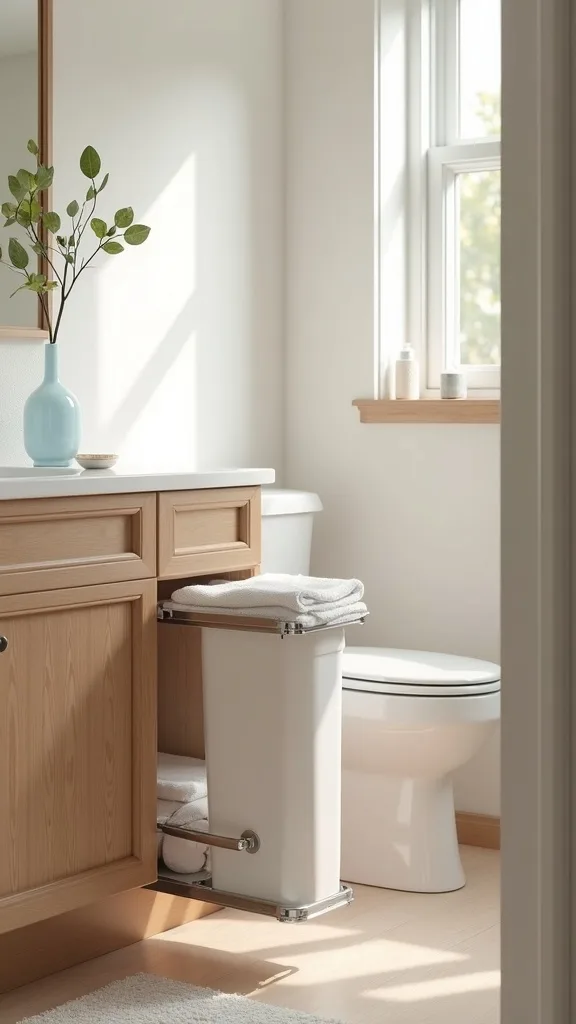
17. Add a Pull-Out Trash Can or Cleaning Caddy Inside
I find that the best DIY vanity makeover isn’t just about looks—it’s about how the vanity works day to day. When I design this look, I like adding a pull-out trash can or cleaning caddy because it keeps the floor clear and the countertop calmer.
I always start by measuring the cabinet opening and checking for plumbing obstacles. Then I install a simple pull-out kit or a sliding shelf on the side wall of the cabinet, making sure the screws don’t poke through the exterior. I test the slide motion, then place a small bin or caddy that fits snugly.
For materials, I like a slim rectangular bin, a wipeable plastic caddy, and adhesive cord clips to keep hair tools cords tidy. If you’re painting, install after the paint fully cures to avoid scuffs.
Pro tip: label the caddy “daily” and keep only essentials in it—this tiny system prevents clutter creep and makes your vanity update budget feel like it paid you back in time and peace.
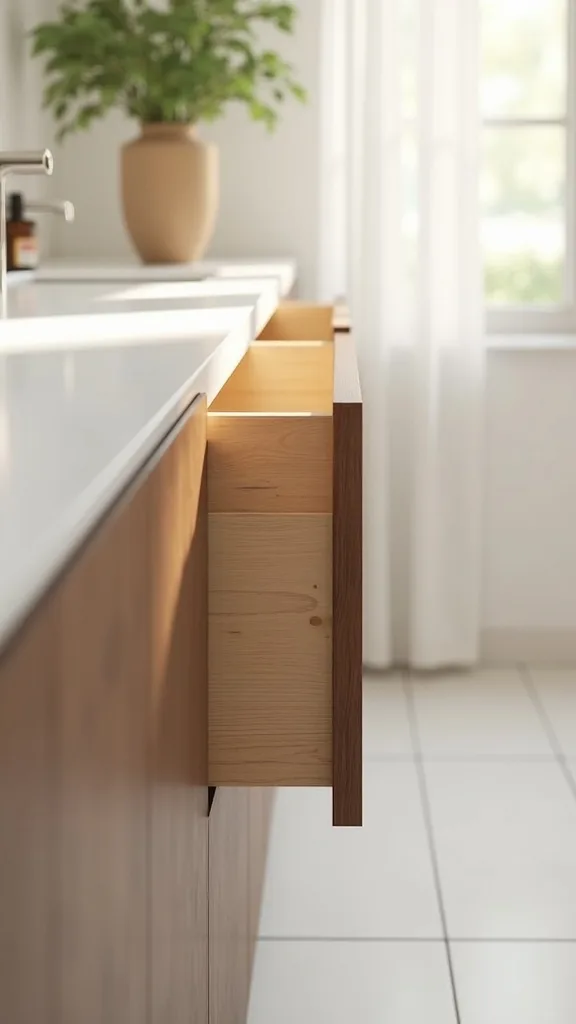
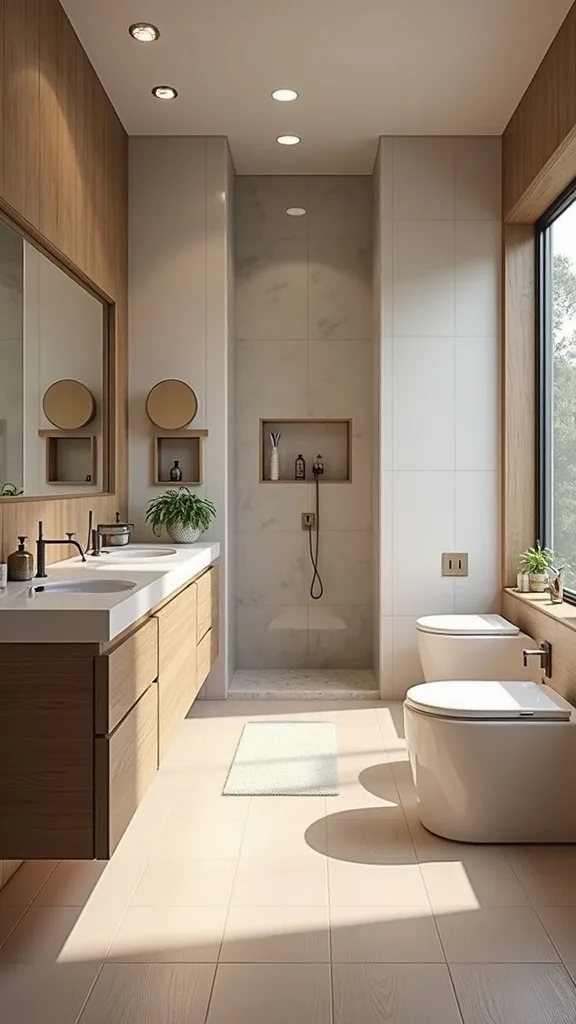
18. Stain the Oak Instead of Painting for a Warm Modern Look
Painting isn’t the only path, and I find that staining oak can look incredibly modern when you choose the right tone. From my experience, a lighter “white oak” wash or a medium walnut stain can calm down orange oak while keeping that beautiful wood grain.
I always start by removing the existing finish with sanding (or a stripper if needed), then I wipe the surface clean and apply pre-stain conditioner so the color goes on evenly. Next, I brush or rag on stain, wipe off the excess, and let it dry fully before sealing with a water-resistant topcoat.
For colors, I like weathered oak, natural oak, or walnut tones paired with matte black pulls. If you’re using marble contact paper on the top, a warm wood base plus a cool marble surface creates a balanced, designer contrast.
Pro tip: test stain on the back of a door first—oak varies a lot, and that quick sample helps you feel confident before you commit to the full DIY vanity makeover.
19. Add Beadboard or Reeded Detail to Flat Cabinet Fronts
One of my favourite approaches is adding texture to a plain vanity, because detail is what makes “basic” look bespoke. I find that beadboard panels or reeded trim instantly give you that handcrafted, furniture-inspired finish without replacing the whole cabinet.
I always start by removing the door fronts (or working on them flat), then I cut thin beadboard or reeded paneling to size. I attach it with construction adhesive and a few brad nails if needed, then I add a slim trim frame around the edges for a clean border. After caulking seams, I prime and paint so it looks like it came that way.
For colors, I love bright white for a cottage feel, or a dusty green for spring. Pair the texture with simple bar pulls so the detailing stays the star.
Pro tip: if you want an extra-upgraded look, add matching reeded detail to a mirror frame or a small shelf—those repeats make your bathroom vanity ideas feel intentionally designed and truly custom.
20. Upgrade the Sink Drain and P-Trap for a Clean Under-Sink Look
I find that the under-sink area can look messy fast, and upgrading the visible plumbing is a surprisingly satisfying finishing touch. When I design this look, I like matching the drain and trap finish to the faucet so everything feels cohesive when you open the cabinet.
I always start by placing a bowl under the trap, loosening the slip nuts, and removing the old trap carefully. Then I install a new pop-up drain in the sink, attach the trap kit, and hand-tighten first before doing a final snug tighten. I run water and check for slow drips—those tiny leaks show up later if you don’t test now.
For finishes, brushed nickel is forgiving, matte black feels modern, and brushed gold adds warmth. Choose corrosion-resistant parts rated for bathroom use.
Pro tip: while you’re there, add a waterproof mat under the plumbing—this protects your cabinet base and keeps your DIY vanity makeover looking fresh even if a bottle tips or a valve sweats.

21. Use Stick-On Moulding to Fake a Shaker-Style Door
I love a Shaker look, and I find you can mimic it beautifully with stick-on moulding—no new doors required. From my experience, this is one of the most budget-friendly bathroom vanity ideas because it changes the door style for the price of trim and paint.
I always start by measuring the door face and planning a simple rectangular frame. Then I cut thin trim strips, attach them with wood glue and a few pin nails, and fill the seams with wood filler. After sanding smooth, I prime and paint so the trim looks integrated, not added-on.
For colors, I like soft white for a classic Shaker vibe or charcoal for a modern twist. Pair with simple knobs or slim pulls to keep the look clean.
Pro tip: keep your trim widths consistent across doors and drawers—those proportions make the difference between “DIY” and “designer,” and it’s such a satisfying way to stretch your vanity update budget.

22. Refresh Grout Lines and Caulk for a Crisp, Clean Finish
I find that nothing undermines a pretty vanity faster than cracked caulk or dingy grout near the countertop. When I design this look, I treat caulk and grout refresh like the “polish” step that makes everything feel brand new.
I always start by removing old caulk with a scraper, cleaning the area with rubbing alcohol, and letting it dry completely. Then I apply a thin, steady bead of mildew-resistant silicone caulk and smooth it with a damp finger or caulk tool. If grout needs help, I use a grout pen or re-grout small gaps, then seal once cured.
I recommend bright white caulk for a crisp look with marble contact paper, or color-matched caulk if your countertop is darker. Choose products labeled mold- and mildew-resistant for bathrooms.
Pro tip: tape both sides of the seam before caulking—this gives you razor-sharp lines, and that clean edge instantly makes your DIY vanity makeover feel like a professional bathroom renovation detail.
23. Add Under-Vanity Motion Lighting for a Soft Night Glow
I love adding under-vanity lighting because it makes the bathroom feel high-end while also being genuinely useful at night. From my experience, motion-sensor lights are the easiest route—no wiring drama, and you get that soft glow that feels like a boutique hotel.
I always start by choosing a battery-powered or rechargeable LED strip, then I clean the underside of the vanity so the adhesive sticks. Next, I position the strip toward the front edge (hidden from direct view), test the motion sensor angle, and secure it with extra clips if the bathroom is humid. I recharge or swap batteries on a simple schedule so it never goes dark unexpectedly.
I find that warm-white light (around 2700K–3000K) looks most flattering with painted cabinets and faux marble tops. Pick a slim profile so it disappears.
Pro tip: pair the glow with a fresh bath mat in a coordinating color—those layered touches make your spring DIY project feel cozy, intentional, and surprisingly luxurious.
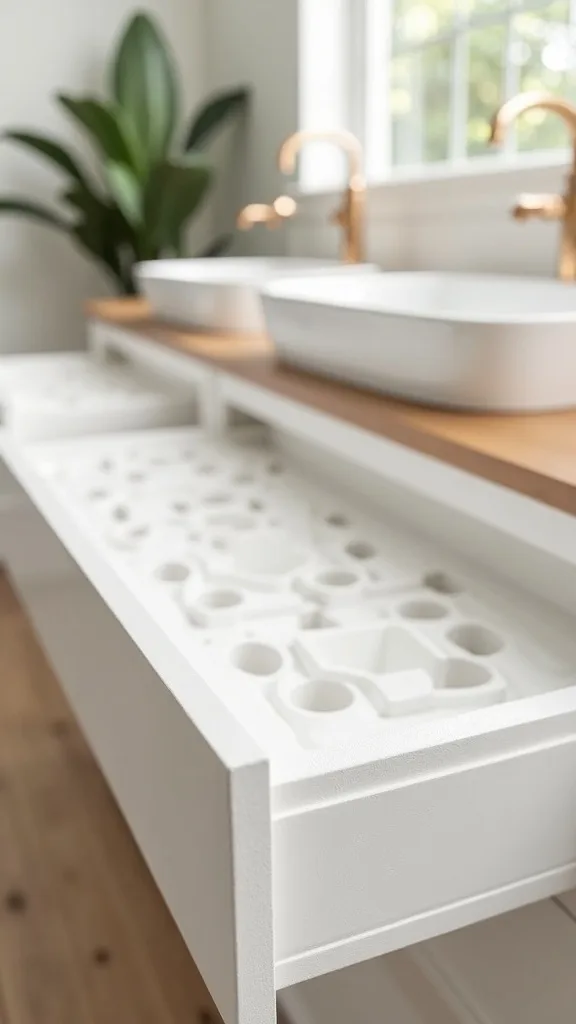
24. Organize Drawers with Custom Inserts Made from Foam Board
I find that organization is the quiet hero of any vanity makeover, because a tidy drawer makes the whole bathroom feel calmer. When I design this look on a budget, I like making custom inserts from foam board—simple, inexpensive, and tailored to your exact products.
I always start by emptying a drawer and measuring the interior dimensions. Then I cut foam board strips with a sharp craft knife, dry-fit the layout for makeup, skincare, or hair tools, and glue the dividers in place. I cover the base with peel-and-stick liner so it wipes clean, and I label sections if multiple people share the bathroom.
For colors, I like white or light gray liners so you can see everything quickly. If you’ve chosen bold bathroom cabinet paint, neutral inserts keep the inside feeling clean and bright.
Pro tip: leave one “flex” section for new products—this keeps your system from breaking the first time you buy something new, and it helps your DIY vanity makeover stay functional long after the paint dries.
25. Seal and Protect High-Touch Areas for Long-Lasting Results
I always recommend finishing strong with protection, because bathrooms are tough on paint and surfaces. From my experience, sealing the right spots—around pulls, edges, and near the sink—keeps your DIY vanity makeover looking fresh through splashes, steam, and daily use.
I always start by letting paint cure as long as possible (even if it’s tempting to rush). Then I apply a water-based clear coat to doors and drawer fronts if the paint system needs it, focusing on edges and high-touch zones. For contact-paper countertops, I add clear silicone at seams and around the sink cutout, and I use felt pads under trays to prevent scratches.
I find that satin or matte topcoats look most natural on painted vanities, while glossy can highlight brush marks. Choose mildew-resistant clear products when available.
Pro tip: create a simple care routine—gentle soap, soft cloths, no harsh scrubbers—and your bathroom vanity ideas will hold up beautifully, letting you enjoy that bright spring “new start” feeling every single day.
Final Thoughts
Final Thoughts
I hope these bathroom vanity ideas make your spring DIY project feel exciting instead of overwhelming. I find that the best results come from choosing one clear direction—paint, hardware, or a faux marble top—then layering in a few small upgrades that support it, like better lighting, fresh caulk lines, and smarter storage.
From my experience, you don’t need a full bathroom renovation to get that “wow, this feels new” moment. I always start by setting a realistic vanity update budget, gathering supplies, and giving myself permission to go step by step. If you take your time with prep and finish details, you’ll end up with a vanity you’re genuinely proud of every time you walk into the bathroom.
Products I Recommend for This Project
Here are some of my favourite products to help you bring these ideas to life:
- Rust-Oleum Chalked Ultra Matte Paint — I use it to get that soft, modern chalk-paint finish with minimal fuss.
- Zinsser B-I-N Shellac-Based Primer — I rely on it to block oak tannins and prevent yellow bleed-through under light paint.
- DC Fix Self-Adhesive Vinyl Film (Marble) — I like it for creating a faux marble countertop look on a tight budget.
- Franklin Brass Cabinet Pulls — I reach for these when I want an instant style upgrade with sturdy, everyday-friendly hardware.
- Varathane Water-Based Polyurethane — I use it to add a durable, bathroom-ready protective coat over painted surfaces.