This post contains affiliate links. As an Amazon Associate, I earn from qualifying purchases at no extra cost to you.
Are you looking for closet storage that finally makes your mornings easier instead of more chaotic? Do you want to open your closet (even if it’s in the garage) and instantly see what you own, what fits, and what you actually wear?
I always start by treating a closet like a mini “room” with zones, lighting, and a plan—because a few smart choices can do more than a dozen random bins. In this post, I’m sharing my best closet organization ideas for a spring closet refresh, with options that work whether you’re upgrading a tiny reach-in or building out a full wall of storage in your garage.
From my experience, this is perfect for anyone who wants an organized closet without spending a fortune or needing pro-level tools.
I’ll walk you through a realistic DIY closet makeover approach, including how I map out hanging space, choose a closet shelving system that doesn’t waste vertical room, and set up wardrobe organization habits that keep the chaos from creeping back. I’m also sharing my favourite visual trick for instant “boutique energy”: matching hangers, velvet dividers, and color-sorted clothing that makes everything feel calmer and more intentional.
When I design this look, I aim for upgrades you can do in a weekend, with affordable add-ons you can keep improving over time. Below are 25 Closet Organization System Ideas that…
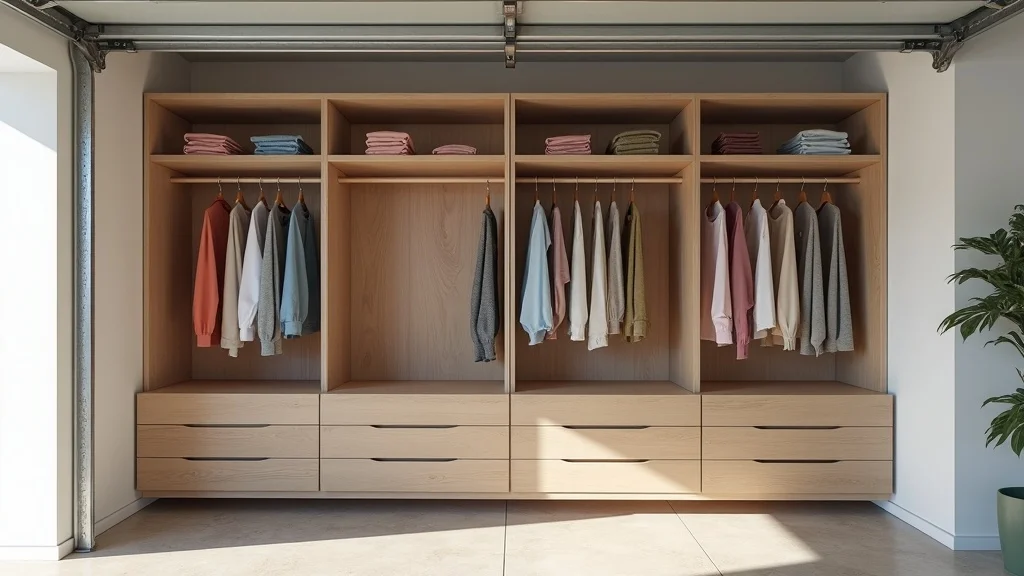
1. Do an IKEA PAX Hack With Matching Hangers, Velvet Dividers, and Color-Sorted Clothing
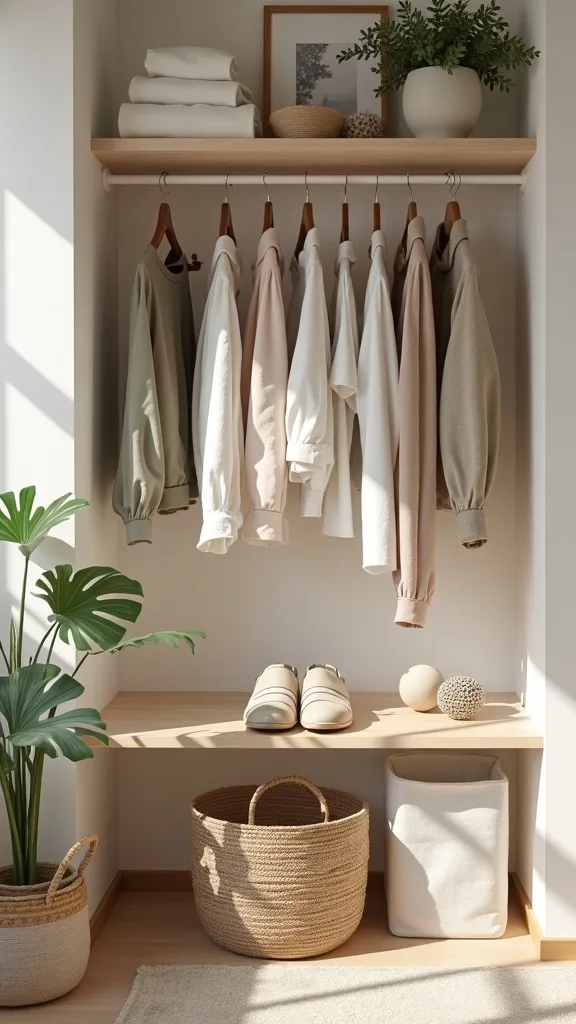
When I design this look, I lean on an IKEA PAX hack because it gives me that built-in feel without the built-in price, and it instantly upgrades a garage closet into something I actually enjoy using. I find that pairing it with matching hangers, velvet dividers, and color-sorted clothing creates visual calm, which makes staying organized so much easier.
I always start by measuring the wall and sketching zones: long-hang, short-hang, shelves, and drawers. Then I anchor the PAX frames, add a mix of shelves and pull-out drawers, and reserve one section for “daily grab” items. Finally, I swap every hanger to one style and sort tops, pants, and jackets by color so I can see gaps and duplicates fast.
For a cohesive look, I like white or light oak frames, black velvet hangers, and neutral dividers labeled by category (work, casual, outerwear).
Pro tip: add a slim LED light strip inside the frame so you can actually see what you own—good lighting makes every system feel more luxurious and more doable.
2. Create Four Simple Zones: Hang, Fold, Store, and Stage
From my experience, most closets fail because everything competes for the same space, so I always recommend a basic zoning plan before you buy a single bin. I find that four zones—hang, fold, store, and stage—turn clutter into a repeatable routine.
I always start by clearing one shelf or rod at a time and assigning it a job. Hanging space is for wrinkle-prone pieces and outfits you wear weekly, folding space is for knits and tees, storage is for off-season or occasion items, and the stage zone is a small open spot where I park tomorrow’s outfit or a return-to-store pile. In a garage setup, I keep the stage zone closest to the door so it supports real life.
I like using neutral bins for the store zone and clear acrylic shelf dividers for the fold zone so stacks don’t slump into chaos.
Pro tip: label the zones in plain language (not perfect Pinterest labels)—when the system speaks your everyday “brain,” it stays easy and it stays yours.
3. Install a Double-Hang Rod to Instantly Double Your Space
I find that a double-hang setup is one of the fastest, most affordable closet organization ideas because it turns wasted air into usable storage. In my opinion, this is the perfect fix when you have lots of shirts, blouses, or kids’ clothes that don’t need full-length hanging space.
I always start by deciding what will live on top (shirts, light jackets) and what will live below (pants, skirts). Then I install a second rod about halfway down, leaving enough clearance so hems don’t bunch. If you’re working in a garage closet, I make sure rods are anchored into studs or into a strong closet shelving system side panel for stability.
I like matte black rods for a modern look, or white rods if you want the hardware to disappear. Matching hangers matter here because they keep the two levels visually tidy.
Pro tip: keep 10–15% of each rod empty—breathing room is the secret ingredient that makes an organized closet feel effortless.
4. Use Shelf Dividers to Stop the “Leaning Tower” Effect
One of my favourite approaches is using shelf dividers because they solve the most annoying closet problem: stacks that collapse the moment you pull one item. I find that this tiny upgrade makes folded clothes look neater and stay that way, which is huge for wardrobe organization.
I always start by refolding into smaller, uniform stacks (think 6–10 items per stack). Then I slide dividers onto shelves wherever piles tend to drift—sweaters, jeans, workout gear, and towels if your garage closet doubles as utility storage. If you’re using a closet shelving system like IKEA PAX, dividers fit beautifully and keep categories separated without extra bins.
Clear acrylic dividers keep the look light, while white dividers blend into a bright closet. I also like adding one velvet divider on the hanging rod to match the visual theme.
Pro tip: create a “current season” divider—when you can see your seasonal capsule at a glance, getting dressed becomes faster and oddly satisfying.
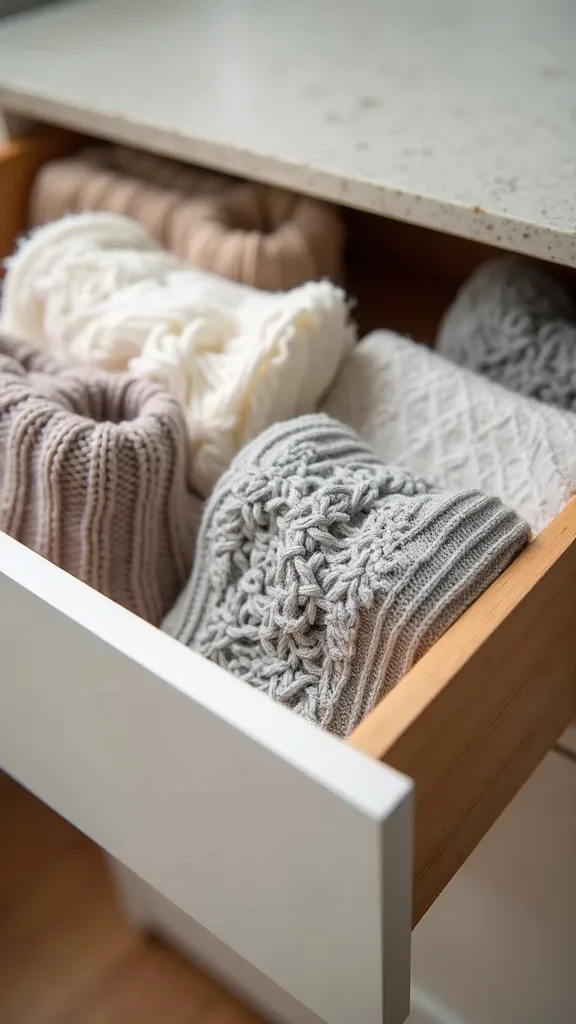
5. Add Pull-Out Drawers for Small Items You’re Tired of Losing
I always recommend drawers when socks, underwear, workout accessories, or swimwear keep migrating into random baskets. From my experience, a few pull-out drawers are the difference between “looks organized” and organized closet that functions every day.
I always start by grouping small items into three categories: daily basics, specialty items, and backup stock. Then I dedicate one drawer per category and use simple organizers inside so everything has a home. In a garage closet, drawers also protect fabric items from dust better than open shelves do, which makes your DIY closet makeover feel more permanent.
I like soft-close drawers if the budget allows, and I’m a big fan of fabric drawer inserts in neutral tones so the inside looks calm, not chaotic.
Pro tip: keep a small “mending and lint” drawer (lint roller, sewing kit, spare buttons)—it’s a tiny habit-builder that keeps your clothes looking their best.

6. Use Clear Bins for Off-Season Storage (With One Rule)
I find that clear bins are the most practical choice for spring closet refresh storage because you can see what’s inside without opening five lids. In my opinion, the key is having one rule: every bin gets a label and a category that’s broad enough to stay true over time.
I always start by pulling out off-season items—heavy coats, thick sweaters, holiday outfits—and grouping them by type. Then I pack them into clear bins with a simple label like “Winter Sweaters” instead of “Blue Sweaters,” because overly specific labels break the moment life changes. If your closet is in the garage, I place bins on higher shelves to protect them from moisture and everyday scuffs.
I like stackable clear bins with latching lids and a slim label holder on the front. Neutral labels keep the look clean even when the contents change.
Pro tip: add one cedar sachet per bin—your clothes come out smelling fresh, and that little detail makes the whole system feel cared for.

7. Create a “One-Touch” Shoe Zone With Vertical Storage
When I design an organized closet, I treat shoes like a category that needs its own rules, because piles on the floor are the fastest way back to chaos. I find that vertical shoe storage makes the biggest difference in a garage/organization setting where floor space is precious.
I always start by editing shoes into three groups: daily wear, occasional, and donate. Then I store daily shoes at eye level or just below, and I move occasional pairs higher. A vertical rack, over-the-door organizer, or angled shoe shelves inside a closet shelving system keeps pairs visible and easy to grab without digging.
I like black or white racks for a clean look, and I use clear shoe boxes only for special pairs that need protection. If you love the boutique vibe, keep shoe colors grouped (light to dark) like you would with clothing.
Pro tip: place a small tray under the shoe zone for grit—containing the mess is what keeps the rest of your closet feeling fresh.

8. Swap to Slim Velvet Hangers to Gain Space Fast
I always recommend slim velvet hangers when someone tells me their closet feels cramped, because they instantly reduce bulk and stop clothes from sliding off. From my experience, this is one of the most affordable closet organization ideas with the most visible impact.
I always start by choosing one hanger color and committing—no “almost matching” shades—because consistency is what makes the closet feel intentional. Then I replace hangers category by category so it doesn’t become a frustrating all-at-once project. If you’re doing a DIY closet makeover in the garage, velvet hangers also help keep lightweight items in place when the air is dry and things shift around.
I like black velvet for a crisp, modern look, or beige velvet for a softer, boutique feel. Pair them with simple size clips for pants and skirts.
Pro tip: hang items facing the same direction and leave a finger-width between groups—tiny spacing makes your wardrobe organization feel like a calm display, not a packed closet.

9. Add a Laundry Sorting Station Right Inside the Closet
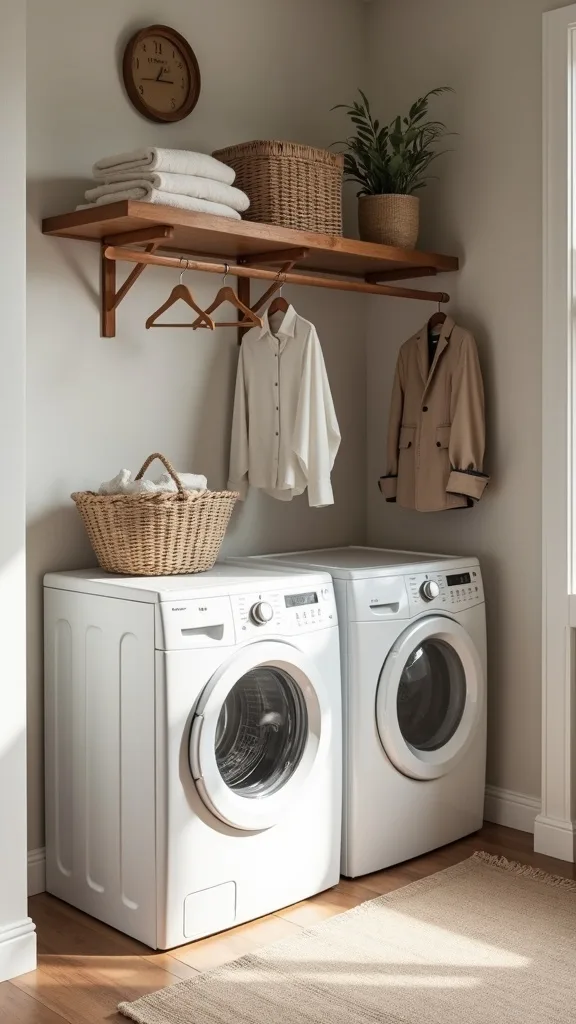
I find that laundry is the hidden force behind closet clutter, so I like to solve it at the source. In my opinion, adding a simple sorting station is one of the most practical upgrades for an organized closet—especially if your closet lives near the garage or laundry area.
I always start by deciding how you actually sort: lights/darks, delicates, gym clothes, or “needs stain treatment.” Then I add two or three slim hampers or stacking bins that fit under hanging clothes or beside a closet shelving system. I keep a small container of stain spray and a mesh delicates bag right there so the process is frictionless.
I like tall, narrow hampers with handles, and I prefer neutral colors (white, charcoal, natural canvas) so the area feels tidy even when it’s full.
Pro tip: label each hamper with simple words—when the system is obvious, everyone in the house can use it, and that’s when organization becomes sustainable.
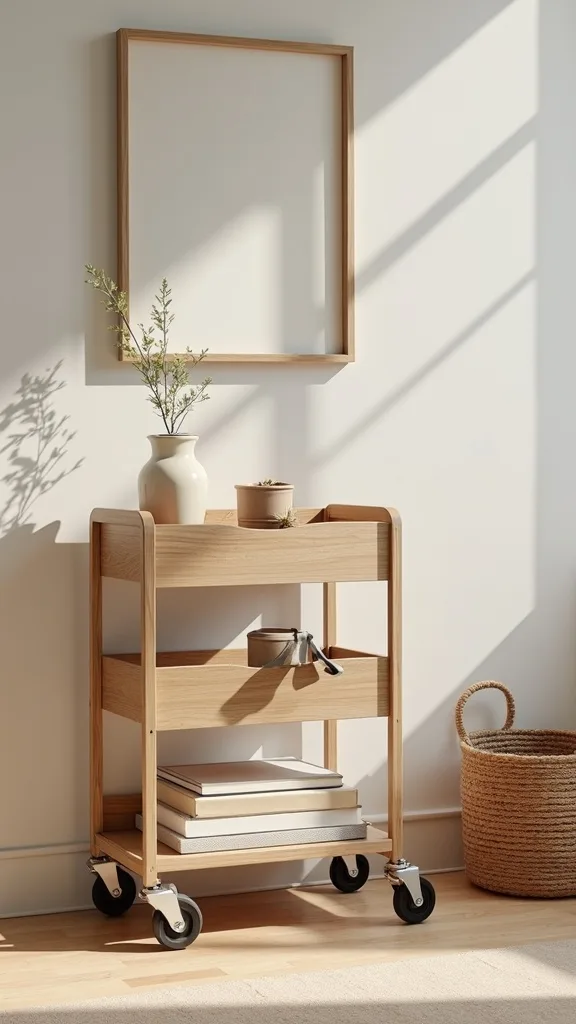
10. Use a Rolling Cart for “In-Between” Items and Projects
One of my favourite approaches is using a rolling cart because real closets always have in-between items: returns, tailoring, dry cleaning, or a donation bag waiting for drop-off. I find that giving these items a mobile home prevents them from taking over shelves and floors.
I always start by assigning each cart tier a purpose—top for “this week,” middle for “needs action,” bottom for “out the door.” Then I park the cart just outside the closet or at the end of a garage closet run so it’s accessible but not in the way. This works beautifully alongside a closet shelving system because it adds flexible storage without permanent installation.
I like a simple metal cart in white or black, plus a few small bins to keep categories separated. A clip-on label holder makes it feel polished.
Pro tip: once a week, I roll the cart to the door and clear one tier—small resets like this keep your wardrobe organization from drifting back into clutter.
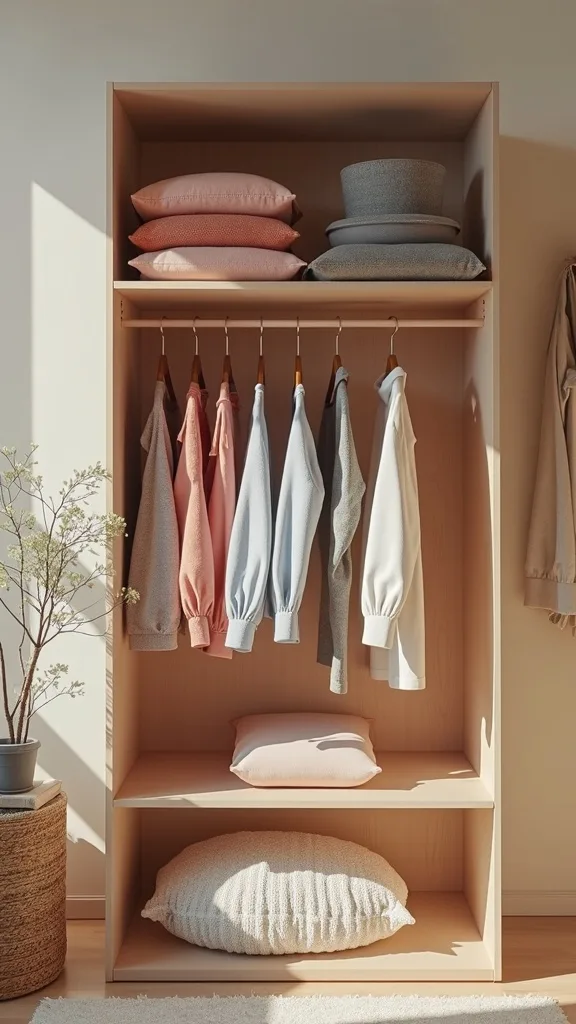
11. Build a “Capsule Row” for the Current Season
I find that spring closet refresh success comes from making the current season the easiest to access. When I design this look, I create a capsule row—a small, curated section of your best spring pieces—so getting dressed doesn’t require digging.
I always start by choosing 20–30 items you’ll wear on repeat: a few tops, a couple of bottoms, a layer, and shoes. Then I hang them together on the most reachable rod section and sort by color so outfits practically build themselves. The rest of your wardrobe can live in secondary zones or bins until you need it, which instantly makes the closet feel less crowded.
I like using velvet dividers labeled “Spring Capsule” and “Everything Else,” plus matching hangers so the capsule section looks special and motivating.
Pro tip: keep one empty hanger space between outfit groupings—those tiny pauses make the closet feel like a shop, and you’ll naturally put things back where they belong.
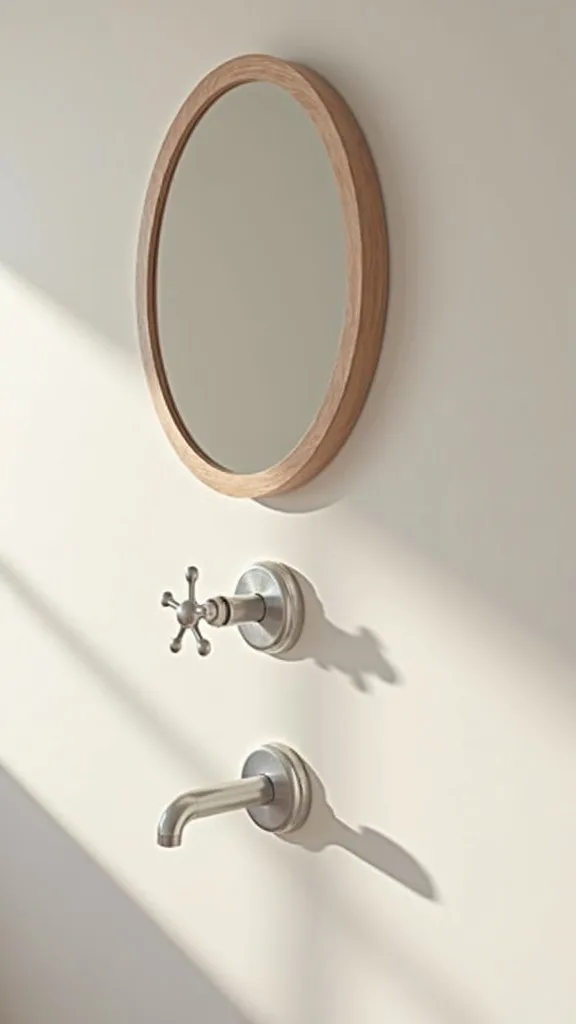
12. Add a Small Mirror and Hook Strip for Quick Outfit Checks
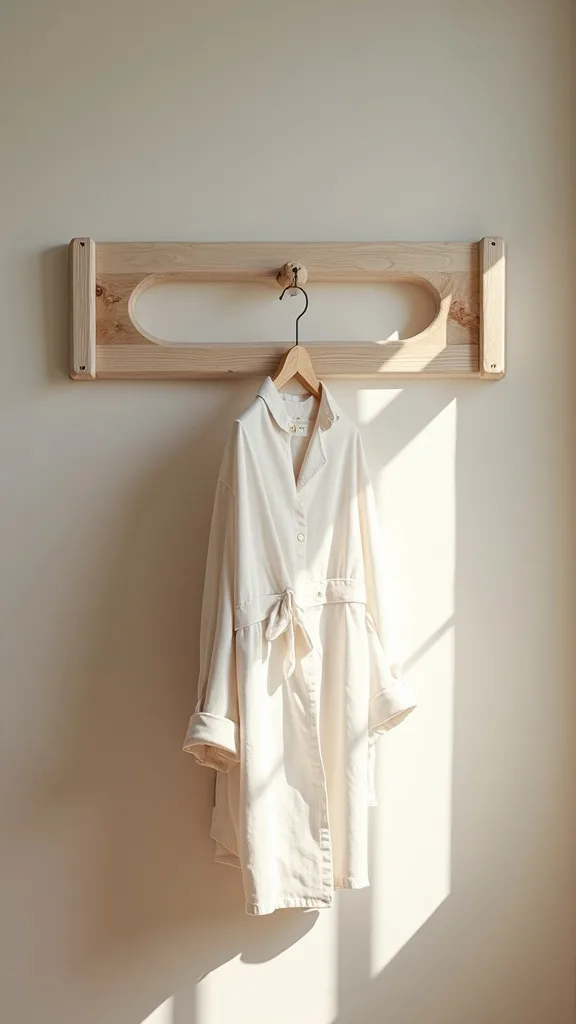
I always recommend adding a mirror because it turns a closet into a getting-ready station, not just a storage box. From my experience, a mirror plus a simple hook strip is a game-changer for wardrobe organization because it creates a natural place for the “almost ready” items.
I always start by placing a full-length mirror on the inside of a door or on a nearby wall, then I mount a row of hooks beside it. Those hooks become the home for tomorrow’s outfit, a belt, a bag, or a jacket you’re wearing again. In a garage closet, this also keeps items off dusty surfaces and makes the space feel intentional.
I like matte black hooks for a clean look, or brushed nickel if your closet hardware is lighter. A thin-framed mirror keeps the footprint minimal.
Pro tip: dedicate one hook to “return to closet” items—having a single landing spot stops the chair-pile habit before it starts.
13. Use Drawer Dividers to Make Socks and Accessories Self-Sorting
I find that the smallest items create the biggest mess, so I treat drawers like mini-systems inside the bigger system. In my opinion, drawer dividers are essential closet organization ideas if you want that “everything has a place” feeling.
I always start by emptying one drawer and sorting by type: socks, underwear, bras, ties, scarves, or workout accessories. Then I add adjustable dividers or small bins so each category has a clear boundary. I like to fold items upright (so you see everything at once), which prevents the rummaging that wrecks your organized closet in two days.
Neutral fabric dividers feel soft and forgiving, while clear acrylic dividers look sleek and make it easy to spot what’s missing. I keep labels minimal—just enough to guide, not clutter.
Pro tip: leave one small section labeled “spares” for odd socks or hair ties—giving chaos a tiny container keeps the rest of the drawer beautifully under control.
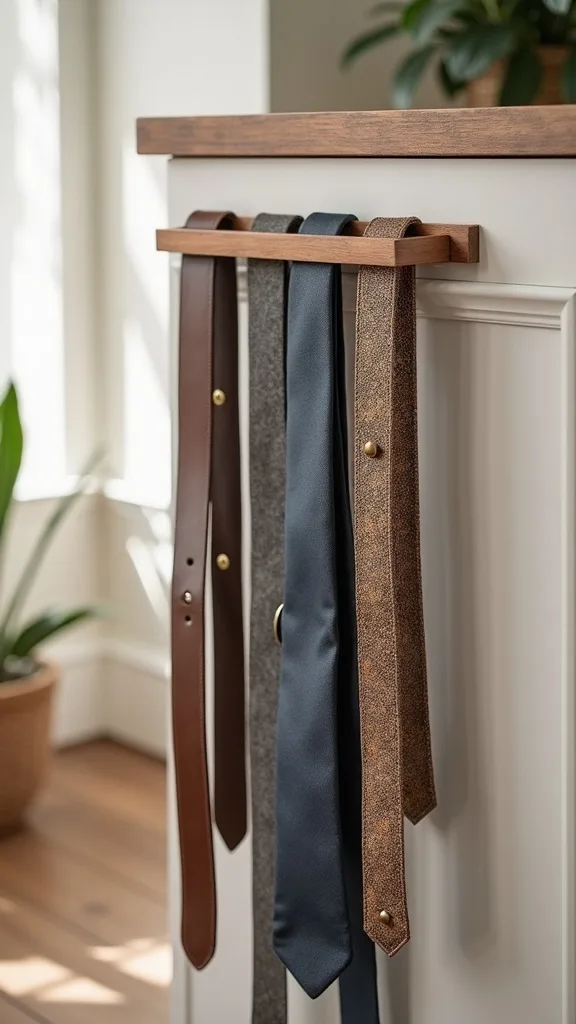
14. Hang a Belt and Tie Rack to Free Up Drawer Space
I always start by asking where belts and ties are currently hiding, because they usually steal drawer space and still end up wrinkled. I find that a simple hanging rack keeps accessories visible, easy to grab, and easier to put away—key for wardrobe organization.
I install a belt rack on the side of a closet unit or on the wall near the hanging zone. If you’re using a closet shelving system, many brands have side-mounted accessory rails that look built-in. Then I group belts by color (black, brown, statement) and keep the most-used ones at the front so mornings move faster.
I like brushed metal racks for durability, and I keep the palette consistent with my hangers and hooks so the whole closet feels cohesive.
Pro tip: add one hook beneath the rack for your “daily” belt—when the most-used item has the easiest home, your system stays neat without you trying harder.
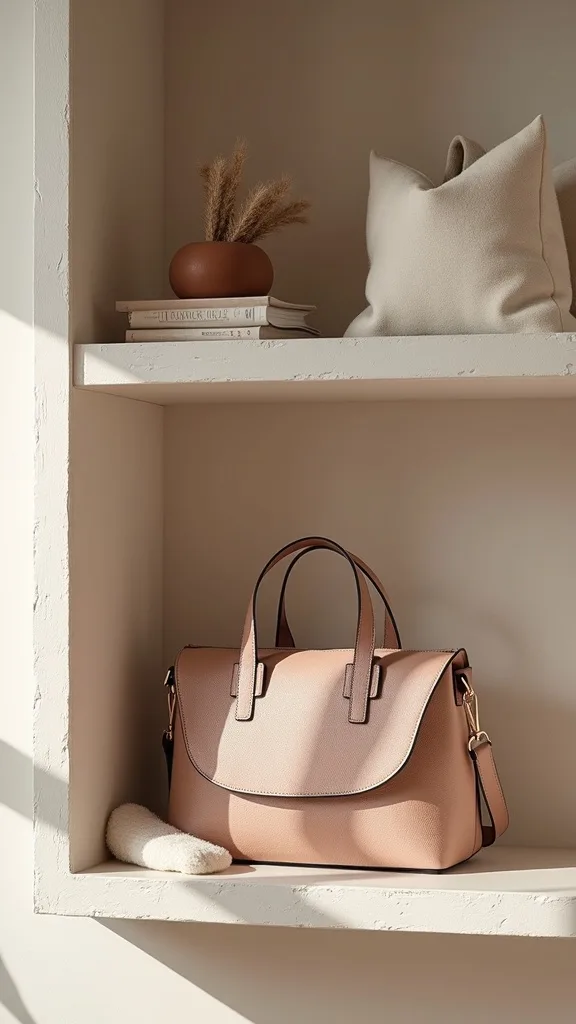
15. Create a Handbag Shelf With Stuffing to Hold Shape
From my experience, handbags look messy when they slump, and that visual clutter makes the whole closet feel disorganized. I find that a dedicated shelf plus simple stuffing is an easy, affordable way to keep bags tidy and protected.
I always start by editing to the bags you actually use and grouping them by size. Then I dedicate one shelf (or two) and stand bags upright with a little space between them. To keep shapes crisp, I stuff them with soft items you already own—old tees, scarves, or packing paper—so you’re not buying anything extra during your DIY closet makeover.
I like adding a shelf liner in a light neutral color so bags don’t scuff, and I’ll use clear shelf dividers if bags tend to topple over.
Pro tip: keep a small “bag essentials” pouch on the same shelf (lip balm, hand sanitizer, pen)—it’s a tiny upgrade that makes switching bags feel easy and keeps your organized closet feeling truly functional.
16. Use Labeled Velvet Rod Dividers for Instant Category Clarity
I find that rod dividers are the simplest way to keep categories from drifting, especially when you’re sharing a closet or you have a lot of similar items. When I design this look, I love velvet dividers because they match the boutique vibe and make the system feel intentional.
I always start by choosing categories that match your life: Work, Casual, Gym, Outerwear, Dresses, and “Special Occasion.” Then I clip dividers onto the rod between groups and re-hang clothing so each section has a clear start and end. If you’re color-sorting too, I keep the divider between color families so it’s easy to maintain even when you’re in a rush.
I like neutral-toned dividers with simple black lettering, especially paired with matching hangers. If you want an extra-polished look, keep divider fonts consistent across the closet.
Pro tip: add one divider labeled “Try Again” for items you’re unsure about—giving them a temporary home prevents decision fatigue and keeps your wardrobe organization moving forward.
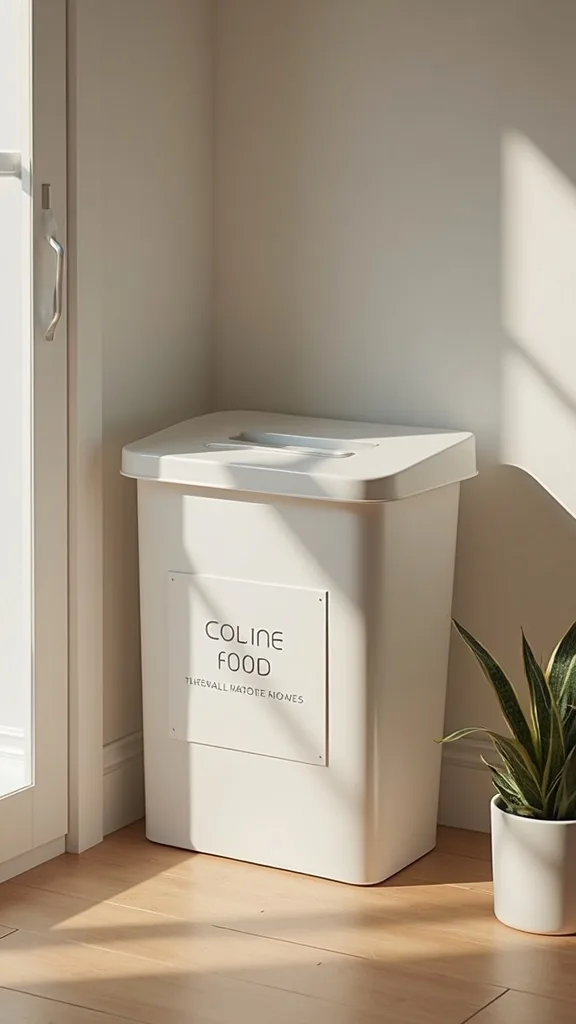
17. Add a Small “Donation Bin” That Lives There Permanently
I always recommend a permanent donation bin because it turns decluttering into a habit, not an annual event. From my experience, this is one of the most realistic closet organization ideas for staying organized after the spring reset.
I always start by placing a medium bin or bag on the floor of the closet or on the lowest shelf—somewhere visible but not blocking access. Then I make a simple rule: if something doesn’t fit, doesn’t feel good, or hasn’t been worn in a year, it goes straight into the donation bin. In a garage closet, this is especially convenient because the bin is already near your car for drop-off.
I like a sturdy fabric bin with handles and a neutral color so it doesn’t look like clutter. A label that says “Donate” keeps it crystal clear for everyone.
Pro tip: schedule a monthly “bin empty” reminder—closing the loop is what makes the system feel light, and you’ll love how quickly your organized closet starts to maintain itself.
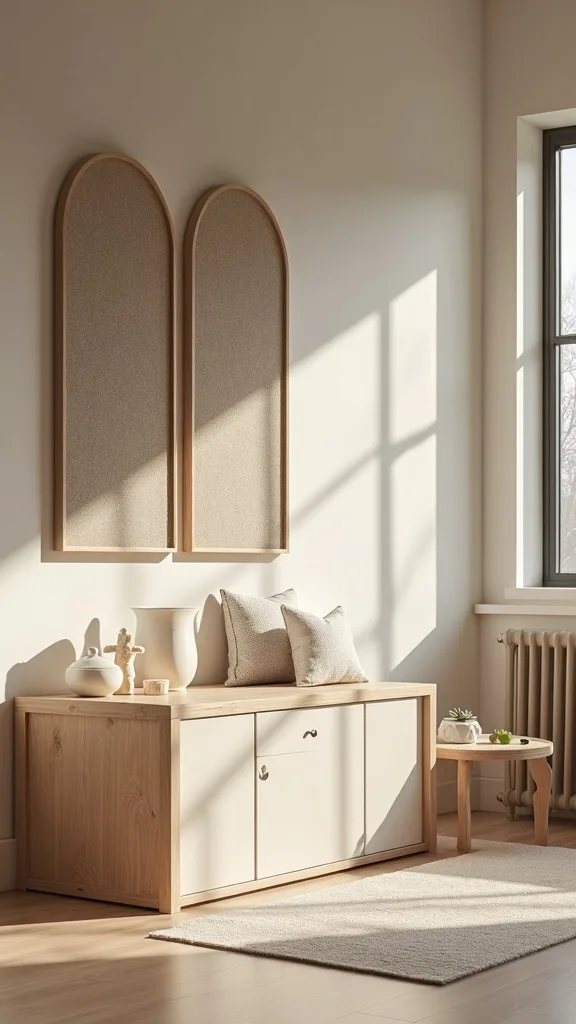
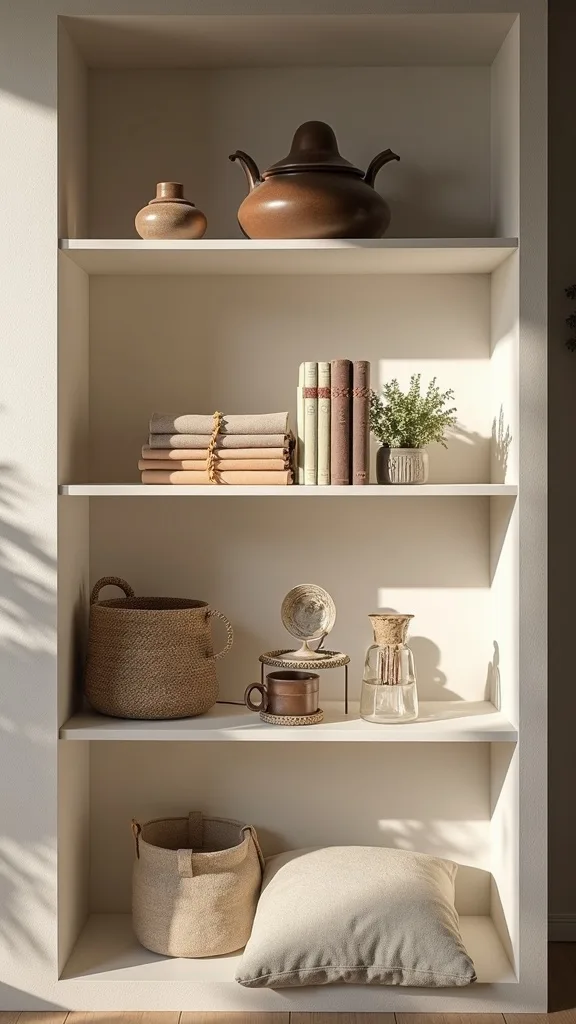
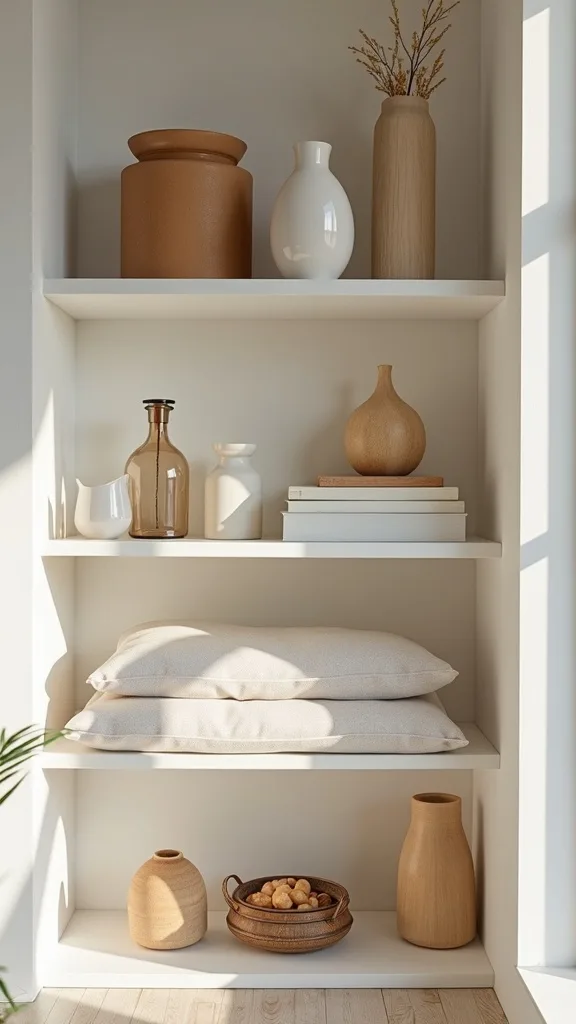
18. Use a Top Shelf for “Rarely Used, Always Needed” Items
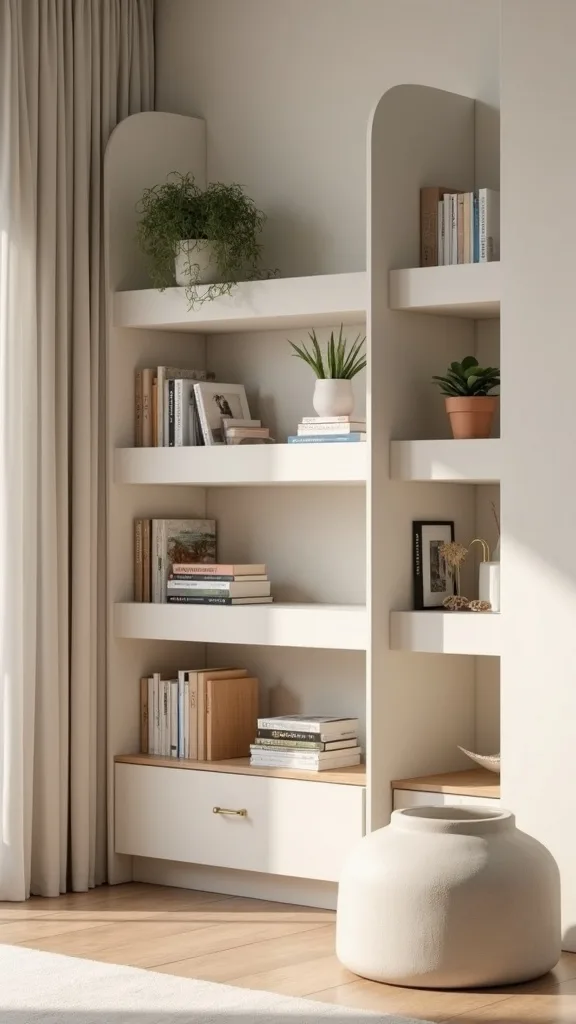
I find that the top shelf is often wasted or filled with random stuff, so I like to give it a clear purpose. In my opinion, it’s perfect for “rarely used, always needed” items—things you want to keep, but not touch daily.
I always start by listing what belongs there: formalwear, travel accessories, extra blankets, backup toiletries, or sentimental pieces. Then I group them into two or three bins so the shelf stays visually calm and easy to access with a step stool. If you’re building a closet shelving system, I make sure the top shelf depth matches your bins so nothing hangs off the edge.
I like matching lidded bins in white or light gray, plus a simple label on the front. If you want the PAX-hack vibe, choose bins that align neatly across the shelf for a built-in look.
Pro tip: keep an empty “buffer bin” up there—future you will thank you when life gets busy and you need a place to park something without wrecking the whole system.
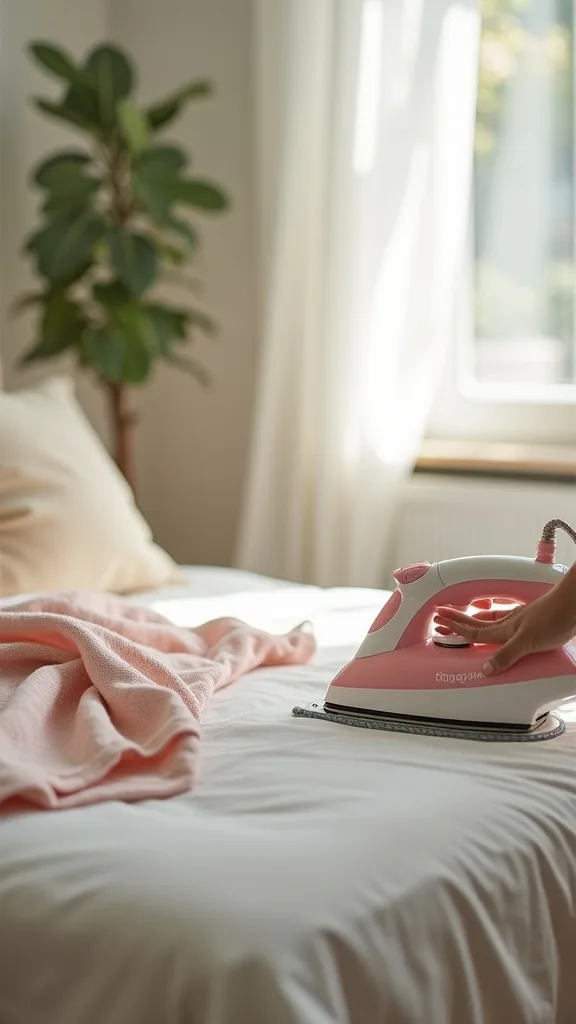
19. Add a Fold-Down Ironing Pad for Quick Touch-Ups
I find that wrinkled clothes are one reason people feel like they have “nothing to wear,” even when the closet is full. When I design a practical closet setup, I like adding a fold-down ironing pad or compact board so touch-ups are easy and fast.
I always start by choosing a spot near an outlet (or where you can safely run a cord) and mounting a fold-down ironing board inside the closet or on a nearby garage wall. Then I keep a small basket with a travel steamer, spray bottle, and lint roller on a shelf above it. This keeps the routine contained, which supports an organized closet long-term.
I like neutral covers that don’t show scorch marks easily, and I prefer a compact steamer for quick refreshes. If you add lighting, choose warm white light (2700K–3000K — the cosy, yellowish tone you see in most homes) so colors read naturally.
Pro tip: keep a “steam and hang” section with 3–5 empty hangers—small convenience upgrades make wardrobe organization feel effortless.
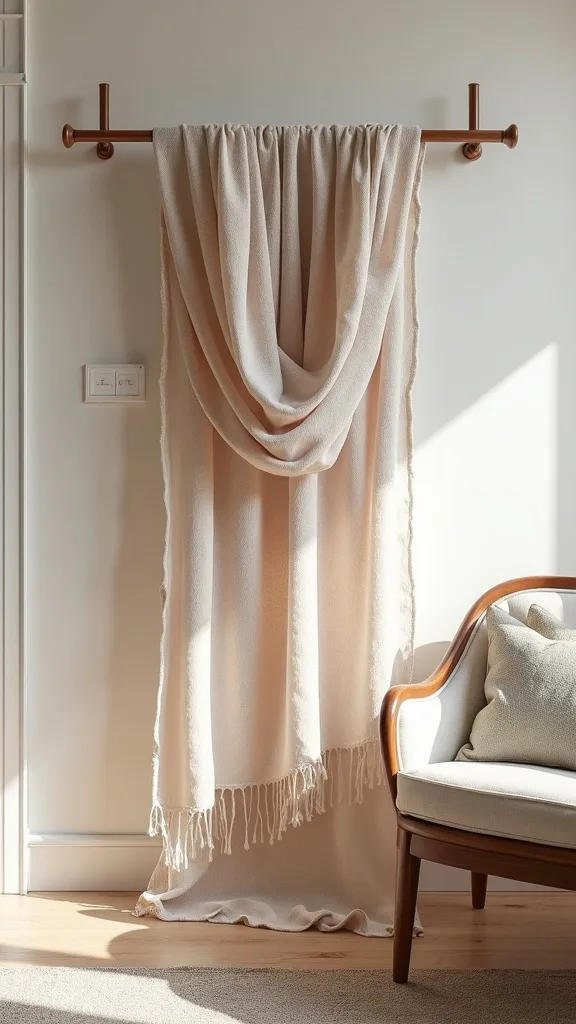
20. Use Tension Rods to Create a Scarf and Wrap Wall
One of my favourite approaches is using tension rods because they’re affordable, renter-friendly, and surprisingly sturdy for light accessories. I find that scarves and wraps are easier to wear when you can actually see them, not when they’re stuffed in a drawer.
I always start by choosing a narrow vertical space—between shelves, inside a cabinet section, or on a side wall. Then I install two or three tension rods and drape scarves over them by color or by fabric weight. In a garage closet, this also keeps delicate fabrics away from the floor and away from snags.
I like white rods for a clean look or black rods to match darker hardware. If you want to keep the boutique vibe, I sort scarves from light to dark to echo the color-sorted clothing theme.
Pro tip: reserve one rod for “special” pieces only—when you highlight what you love, you’ll reach for it more, and your closet starts working like a curated wardrobe.
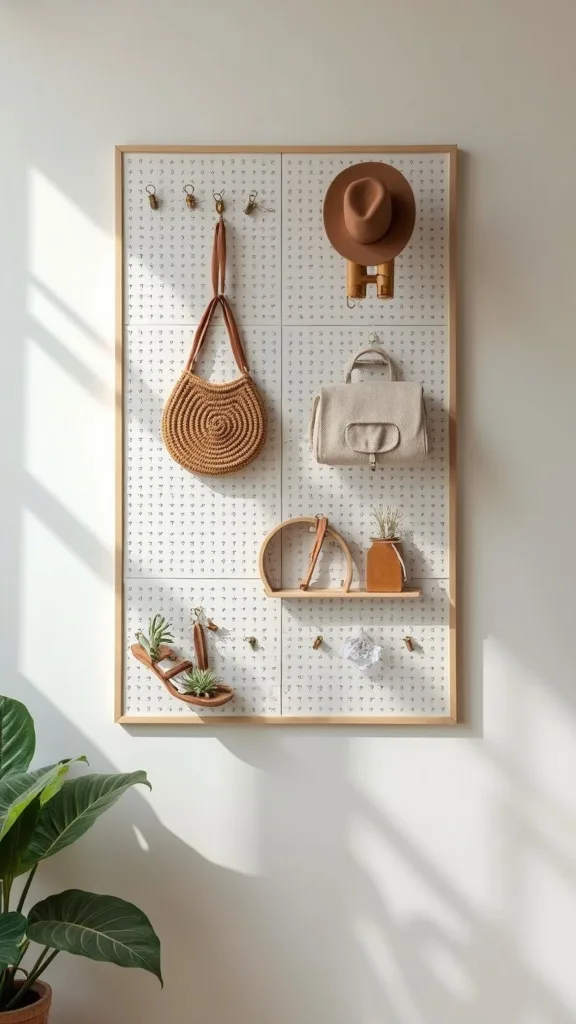
21. Mount a Pegboard for Accessories and Grab-and-Go Gear
I find that garage closets often pull double duty for organization beyond clothing, so I like adding a pegboard to keep grab-and-go items upright and visible. In my opinion, this is a smart DIY closet makeover move because it adds storage without eating shelf space.
I always start by listing what you need near the door: hats, reusable bags, dog leashes, umbrellas, or even a small toolkit. Then I mount a pegboard on an empty wall section and add hooks and small baskets. I keep everyday items at arm height and seasonal extras higher so the layout stays intuitive.
I like painting the pegboard the same color as the wall for a seamless look, or crisp white for that clean, organized closet feel. Black hooks tie in nicely with matching hangers.
Pro tip: outline your “must-have” items with spacing between hooks—visual breathing room is what makes a functional wall feel stylish and surprisingly calming.
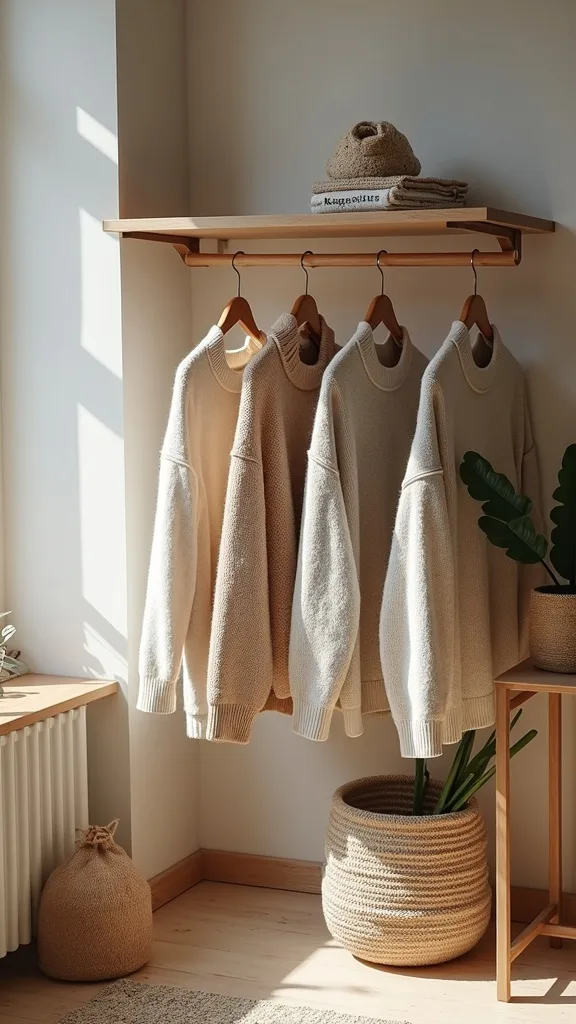
22. Use a Hanging Sweater Shelf for Quick Sorting (Without Folding Pressure)
I always recommend a hanging sweater shelf when folding feels like the step that stops you from putting clothes away. From my experience, these fabric shelves are a gentle shortcut that still supports wardrobe organization.
I always start by hanging the shelf unit on a sturdy rod section, then I assign each cube a category: tees, workout tops, pajamas, or light sweaters. The key is not overstuffing—each cube should hold a small stack so you can pull items without everything tumbling. If you’re using a closet shelving system, I treat this as a temporary “training wheels” solution until you decide if you want permanent shelves.
I like neutral fabric shelves in beige or gray, and I’ll add a small label tag to the front of each cube for clarity.
Pro tip: pair this with a weekly 5-minute reset—when the system is easy to use, you’ll keep an organized closet without needing a full re-fold marathon.
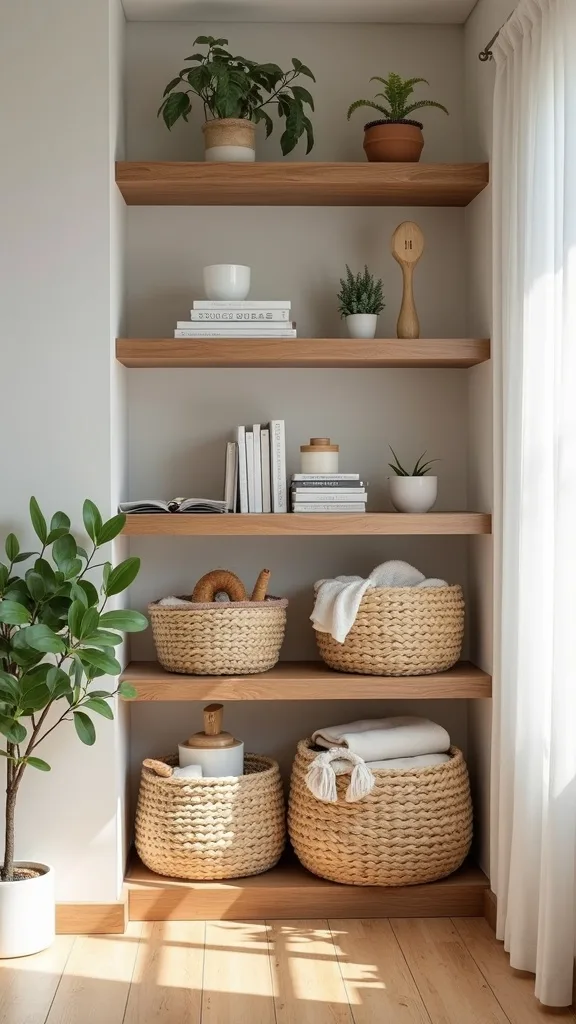
23. Install Under-Shelf Baskets to Capture Dead Space
I find that the space under shelves is often wasted, and under-shelf baskets are a simple fix that feels like “found storage.” In my opinion, this is one of the most budget-friendly closet organization ideas because it adds function without construction.
I always start by identifying shelves that hold light items and have clearance underneath. Then I slide on wire baskets and use them for clutches, sunglasses cases, gloves, or workout accessories. In a garage closet, I like using these baskets for small grab items like sunscreen, bug spray, or microfiber cloths—things you want handy but not scattered.
I like white wire baskets for a clean look or black baskets for contrast, and I keep like-items together so each basket feels purposeful, not random.
Pro tip: add a small label on the basket lip—when you remove decision-making, you remove the biggest barrier to putting things back where they belong.
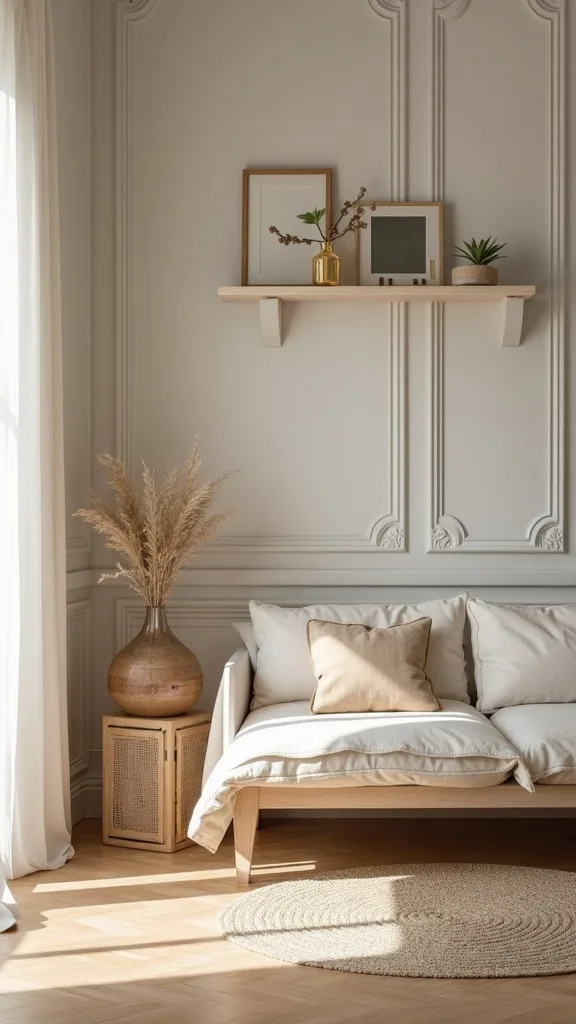
24. Create a “Return Shelf” to Prevent Pileups
I always start by noticing where clutter lands, because clutter usually follows a predictable path. I find that a dedicated return shelf—a small, clearly defined spot for items that need to go back—prevents the classic floor pile and keeps your organized closet intact.
I choose one shelf near eye level and keep it mostly empty on purpose. Then I use it for items that need action: something that belongs in another room, a piece that needs a button, or a bag that needs to be put away. Once a week (or even twice), I clear the shelf in five minutes. In a garage closet, this is especially helpful because it stops the “I’ll deal with it later” drift.
I like adding a shallow tray or two small bins so the shelf doesn’t become a messy heap. Neutral colors keep it looking calm.
Pro tip: treat the return shelf like a reset button—small, consistent resets are what make wardrobe organization feel sustainable and surprisingly freeing.
25. Finish With a 10-Minute Weekly Reset Routine (That Actually Happens)
From my experience, the best closet shelving system in the world won’t help if there’s no maintenance rhythm, so I always end with a reset routine. I find that a simple 10-minute weekly reset is the real secret behind lasting closet organization ideas.
I always start by setting a timer and doing the same steps in the same order: rehang anything on hooks that belongs on hangers, refold one messy shelf, empty the return shelf, and check the donation bin. Then I do a quick scan for “category drift” and move items back behind the right velvet divider. If you’re color-sorting, I straighten the gradient so the closet looks calm again in seconds.
I like keeping a small basket of tools nearby: lint roller, label maker tape, and a microfiber cloth for wiping shelf dust—especially important in a garage setup.
Pro tip: play one song and reset until it ends—when the routine feels light and doable, your organized closet becomes a lifestyle upgrade, not another chore.

Final Thoughts
I always start spring by refreshing one small area that makes daily life easier, and an organized closet is one of the highest-impact places to begin. From my experience, the combination of a clear plan (zones), a reliable closet shelving system, and a few visual upgrades—like matching hangers and velvet dividers—creates momentum you can actually feel every morning.
If you take nothing else from my closet organization ideas, I’d focus on two things: make the “put away” step effortless, and keep your most-worn items the easiest to reach. When I design this look in a garage/organization space, I also prioritize protection from dust and a simple weekly reset so the system stays calm instead of slowly sliding back into clutter.
I’d love for you to pick just three ideas from this list and try them this week—small wins add up fast. Once you see how much time and stress you save, your DIY closet makeover won’t feel like a project anymore; it’ll feel like you gave yourself a smoother, lighter routine.
Products I Recommend for This Project
Here are some of my favourite products to help you bring these ideas to life:
- IKEA PAX Wardrobe Frame — I use it as the base for a flexible closet shelving system that looks built-in without the custom price.
- Amazon Basics Slim Velvet Suit Hangers — These instantly save space and keep clothes from slipping, which helps an organized closet stay neat.
- mDesign Clear Acrylic Shelf Dividers — I rely on these to stop folded stacks from toppling and to keep categories separated.
- IRIS USA 32 Qt Clear Storage Box with Latching Lid — These stack neatly for off-season storage so you can see what you own at a glance.
- Govee LED Strip Lights — I add these inside closet sections for better visibility so getting dressed and putting things away feels easier.