
This post contains affiliate links. As an Amazon Associate, I earn from qualifying purchases at no extra cost to you.
Two days before Thanksgiving is when my kitchen used to turn into a disaster movie: sheet pans stacked like a leaning tower, olive oil hiding behind cereal, and a rogue butternut squash rolling off the counter like it had a personal vendetta. The “before” was not cute—greasy pans on top of clean towels, spice jars migrating, and me washing the same pan twice because I couldn’t find the other one.
Here’s the good part: I built a fall-ready cooking station that looks intentional and cooks faster, and it cost me $38.64 total. This article walks you through a practical, budget-first setup for fall cooking organization—with thrift-store swaps and DIY options for every step—so your kitchen supports you instead of slowing you down.
This is perfect for anyone doing meal prep kitchen fall style (think roast veggies, chicken thighs, salmon, tofu) and anyone bracing for thanksgiving prep kitchen chaos without buying a whole new pantry system.
You’ll get a vertical sheet pan rack plan, a simple sheet pan meals display board, an autumn squash storage basket idea, and the most underrated upgrade of all: a tidy oil station that stops the drip-ring situation at the source.
Below are 25 Sheet Pan Meal Prep & Fall Cooking Station that turn messy counters into a calm, cookable zone—using sheet pan meal prep, autumn cooking ideas, and smart storage that doesn’t require a remodel.
Products I Recommend for This Project
Here are some of my favourite products to help you bring these ideas to life:
- Simple Houseware Stackable Pan Organizer Rack Holder — Creates instant vertical storage for sheet pans and cutting boards without a full cabinet overhaul.
- OXO Good Grips Silicone Baking Mat — Protects counters as a non-slip landing zone and makes cleanup after roasting much easier.
- Reynolds Kitchens Parchment Paper Roll — Prevents sticking on roasted veggies and keeps sheet pans cleaner with minimal effort.
- Vtopmart Food Storage Containers (Airtight, Stackable) — Helps keep chopped vegetables dry and organized for faster weeknight prep.
- Barrina Under Cabinet LED Puck Lights (Battery Operated) — Brightens your prep zone with warm, practical light so chopping and browning are easier to see.
1. Start with the “Four-Anchor” Setup (Rack, Board, Basket, Oil Station)
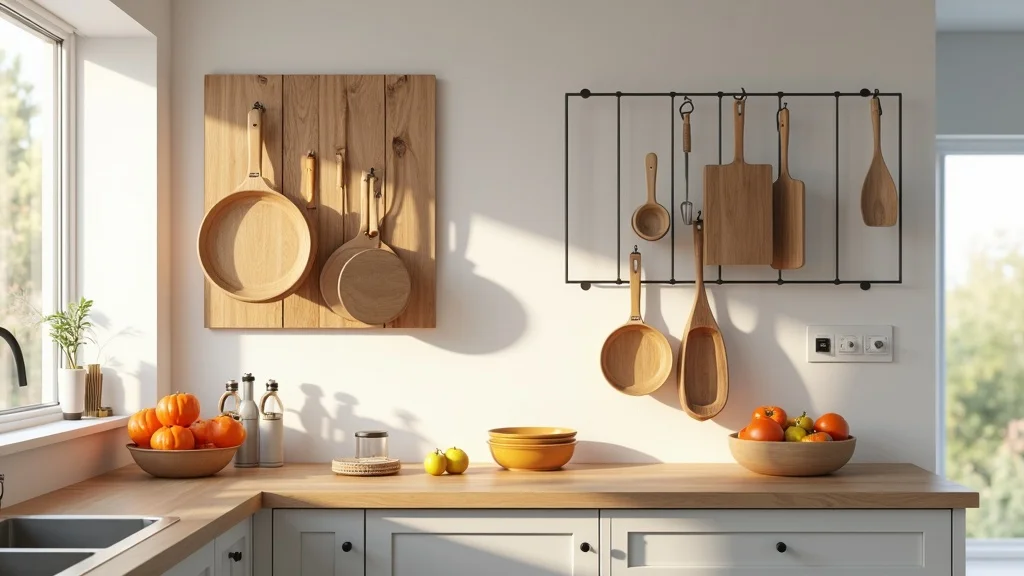
This is the backbone: a vertical sheet pan rack, a sheet pan meals display board, an autumn squash storage basket, and an oil station grouped into one tight zone. It works because it keeps the four things you reach for every time—pans, plan, produce, fat—within one arm’s sweep.
Pick one counter corner or the section next to your stove. Place the rack closest to the oven, mount or lean the display board behind it, park the squash basket on the floor or a lower shelf, and keep oils on a tray you can lift with one hand. If you’re short on space, slide the basket under a console-style cart.
Go for warm metals, black wire, or wood tones so it reads “fall” without screaming seasonal decor. Thrift options: a file sorter becomes a rack; a clipboard becomes the board; a wire pantry basket holds squash.
Pro tip: Label the board with 3 go-to trays (protein + veg + “bonus”) so dinner is a decision, not a debate—your future self will feel taken care of.
2. How do I store sheet pans so they don’t avalanche?
Storing sheet pans flat is how you end up with the dreaded clang-and-slide every time you need one. Vertical storage works because each pan has a slot, so you lift one out without dragging three others along for the ride.
Measure your cabinet height first: you need about 13 inches of clearance for standard half-sheet pans to stand comfortably. Add a vertical rack inside a lower cabinet, or park it on the counter if you bake daily. If you’re DIY-ing, screw two narrow wood strips to a base board and add evenly spaced dowels as dividers.
Budget hunt: I’ve found metal file organizers at Goodwill for $3.99 that fit 4–6 pans. Dollar Tree has plastic file sorters that work in a pinch, and IKEA’s kitchen organizers are a reliable mid-price option.
Pro tip: Put your most-used pan in the front slot and store cooling racks behind it—small habits make the whole station feel “easy.”
3. What’s the simplest way to plan sheet pan dinners without apps?
A display board is your low-tech control center. It works because it keeps your next tray visible while you’re chopping, so you don’t forget the second batch or miss a timing step.
Make one in 10 minutes: thrift a small framed corkboard or dry-erase board, then dedicate three sections—“Tonight,” “Next Tray,” and “Thaw/Prep.” Clip a recipe card or sticky note for each. If you’re in Thanksgiving mode, add a “Oven Schedule” corner for turkey, rolls, and veg.
Cheap materials: a $1.25 Dollar Tree whiteboard + washi tape lines; a thrift frame + scrap cardboard + chalkboard paint. Keep it in fall tones (cream, black, rust) so it blends with your kitchen.
Pro tip: Write oven temps in big numbers (400°F, 425°F) so you stop re-checking your phone with messy hands—planning should feel like relief.
4. How do I keep fall produce from taking over the counter?
Squash and sweet potatoes are gorgeous… until they’re rolling into your prep space. A dedicated basket works because it creates a boundary: produce lives there, not everywhere.
Choose a breathable container—wire or slatted wood—so your squash doesn’t trap moisture. Put the basket where it won’t block workflow: a lower shelf, pantry floor, or the bottom tier of a cart. Keep only “counter-worthy” items out (like two onions and garlic) and send the rest to the basket.
Thrift stores are gold for this: I’ve grabbed a heavy wire basket for $5.49. Discount alternatives: Target’s seasonal wire bins or Walmart’s pantry baskets. DIY option: a wooden crate lined with kraft paper.
Pro tip: Avoid sealed plastic bins for squash—one soft spot turns into a smell you’ll remember forever. Give your produce air and it will last longer.
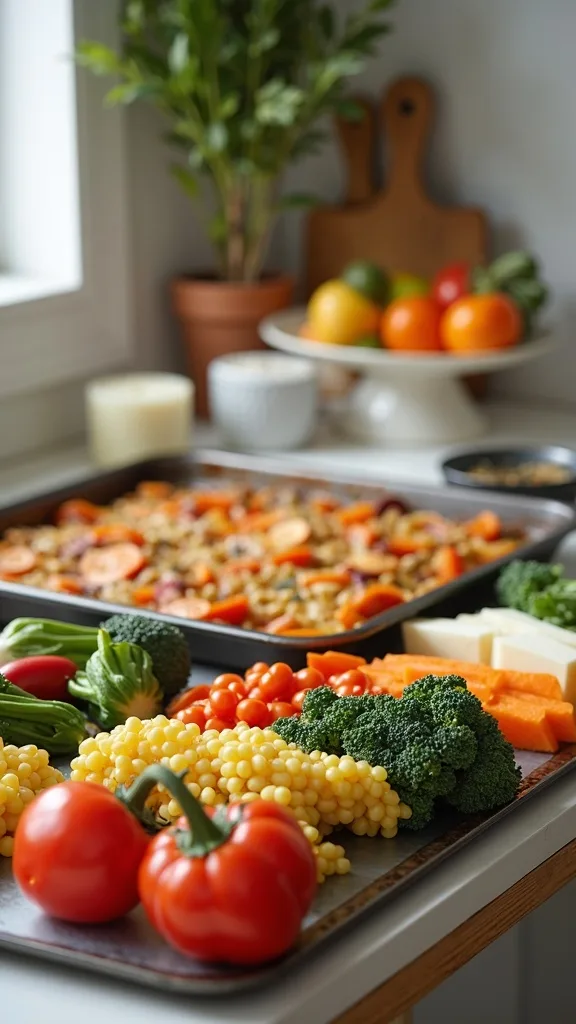
5. How do I set up an oil station that stops sticky bottles?
If your oil bottles leave rings, your station isn’t failing—you just need a catch-all tray. This works because every drip lands on something washable, not your counter seam.
Grab a tray with a lip (at least 1/2 inch). Group olive oil, avocado oil, and one vinegar together, plus a small salt crock. Keep it beside the stove but not directly over heat. Add a folded bar towel under the tray if your counters are slick so it doesn’t slide.
Thrift: ceramic serving platters often cost $2–$6. Discount: HomeGoods-style stores usually have trays cheap. DIY: cut a scrap wood board, sand it, and seal with food-safe mineral oil.
Pro tip: Avoid storing tall glass oil bottles on the top shelf—one clumsy grab equals shattered glass and a ruined night. Keep oils low and stable.
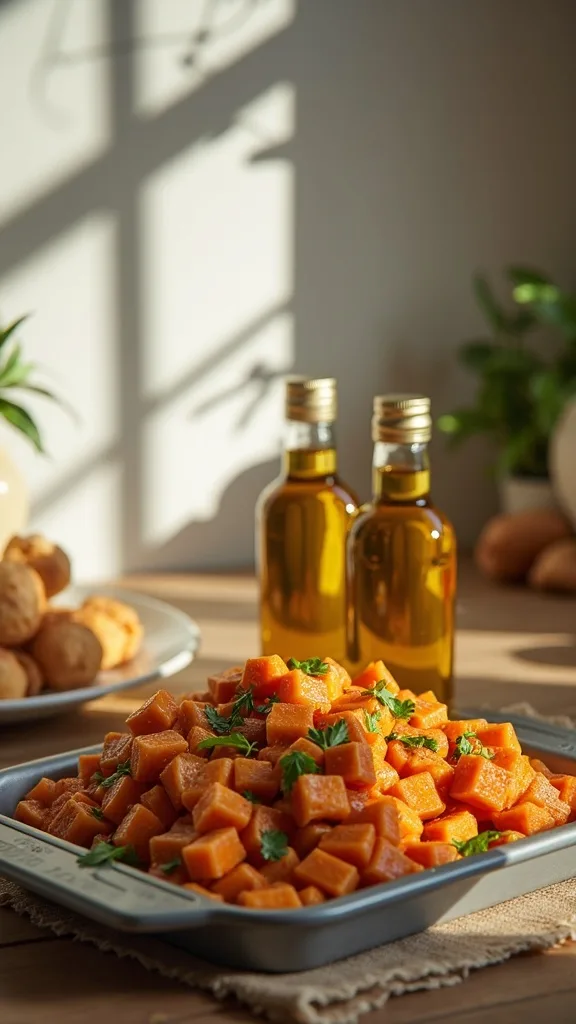
6. What’s the best layout for fall cooking organization in a small kitchen?
Small kitchens don’t need more stuff—they need tighter zones. A smart layout works because it reduces steps: prep, season, pan, oven, cool, store.
Stand where you usually chop and do a 30-second “reach test.” Wherever your hands naturally go, place your essentials there: cutting board, mixing bowl, oils, salt. Put the vertical pan rack within two steps of the oven, and place a landing spot (a trivet or cooling rack) on the counter for hot pans.
Budget helpers: a thrifted magazine holder for parchment paper, command hooks inside a cabinet for oven mitts, and a $9 bamboo cutting board from a discount aisle that can live out as decor.
Pro tip: Avoid putting your “pretty” fall basket where you chop—decor that blocks function becomes clutter fast. Make the workflow the centerpiece.
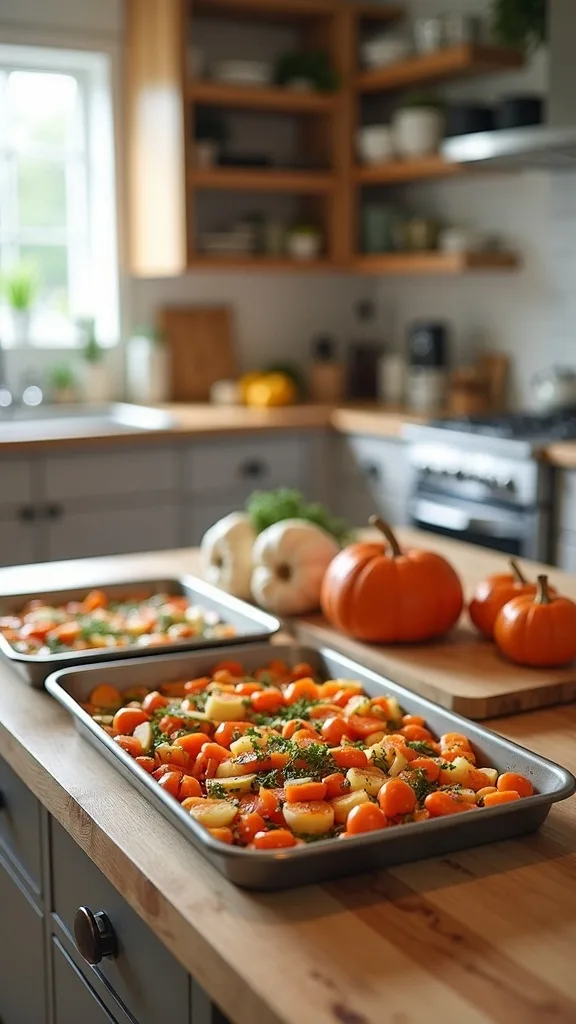
7. How do I build a Thanksgiving prep kitchen “staging shelf”?
A staging shelf is a temporary parking lot for ingredients and tools. It works because it clears your main counter for the real work: cutting, mixing, and assembling trays.
Use a rolling cart, baker’s rack, or even a sturdy TV tray. Assign levels: top = active prep (butter, herbs, garlic), middle = tools (peeler, thermometer), bottom = backstock (broth, foil, extra pans). Roll it near the oven during cooking, then tuck it away after.
Thrift stores often have small carts for $15–$30. Discount alternative: a basic 3-tier utility cart online. DIY: two crates stacked and zip-tied to a plywood base.
Pro tip: Keep one empty bin on the bottom labeled “DONE.” As soon as you’re finished with a tool, drop it there—less visual noise means more calm.
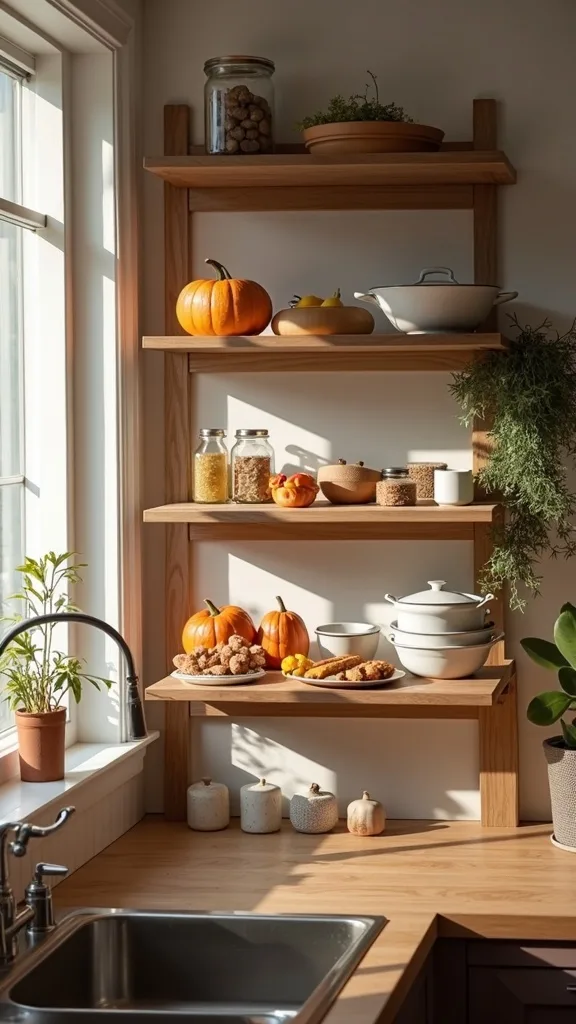
8. How do I prep veggies for multiple sheet pan nights without them turning soggy?
The trick is separating “wash/chop” from “season/roast.” This works because salt and oil start breaking down vegetables; holding them dressed too long is what creates limp results.
Chop hardy veggies (carrots, Brussels sprouts, cauliflower) and store them dry in containers lined with a paper towel. Keep onions and mushrooms separate so their moisture doesn’t spread. Season only what you’re roasting that day—right on the pan for fewer dishes.
Budget containers: reuse salsa jars, pasta sauce jars, or deli containers. Thrift: glass canisters are common and look great on open shelves. If you buy new, pick stackable square containers to save space.
Pro tip: Avoid pre-mixing all your veggies together “to save time.” You’ll lose texture and timing control—separate bins give you crisp edges and better flavor.
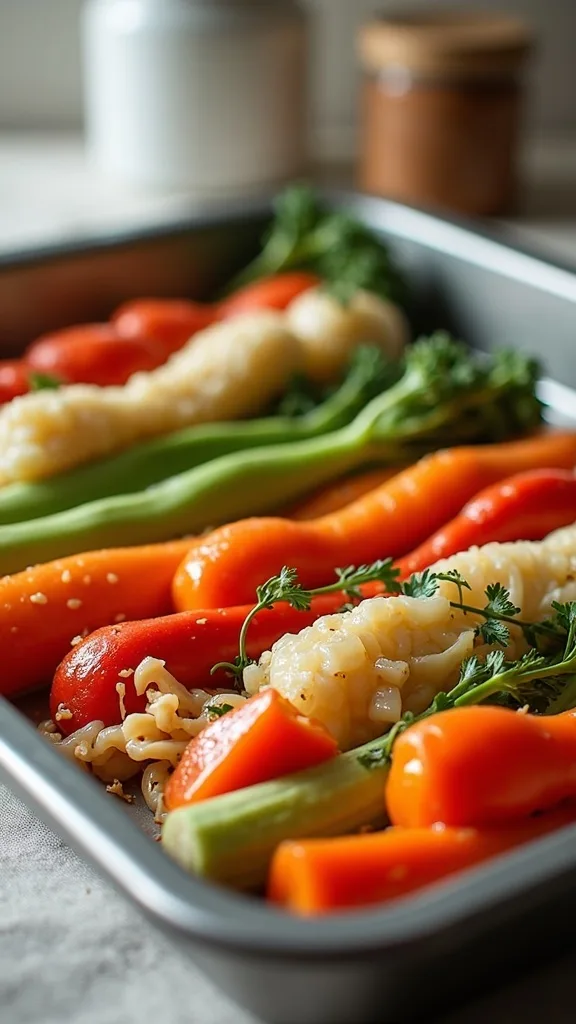
Cost & Materials Estimate
A complete fall cooking station like this typically lands between a thrift-heavy budget and a buy-new setup, depending on how many organizers you already own.
| Item | Estimated Cost | Where to Buy |
|---|---|---|
| Vertical sheet pan rack / organizer | $12–$22 | Amazon |
| Dry erase board or framed board for meal display | $9–$18 | Target |
| Wire or woven basket for squash storage | $10–$20 | IKEA |
| Tray for oil station (with lip) | $10–$25 | Wayfair |
| Under-cabinet puck lights (battery) | $14–$28 | Amazon |
Total estimated cost: $55–$113 Save the most by thrifting the basket and tray, and splurge (if anywhere) on a sturdy rack that won’t tip when you grab a hot pan.
9. What are the easiest autumn cooking ideas for sheet pan nights?
Fall flavors shine on a single tray because high heat caramelizes everything. It works because you get a full dinner—protein, veg, and a little char—without juggling pots.
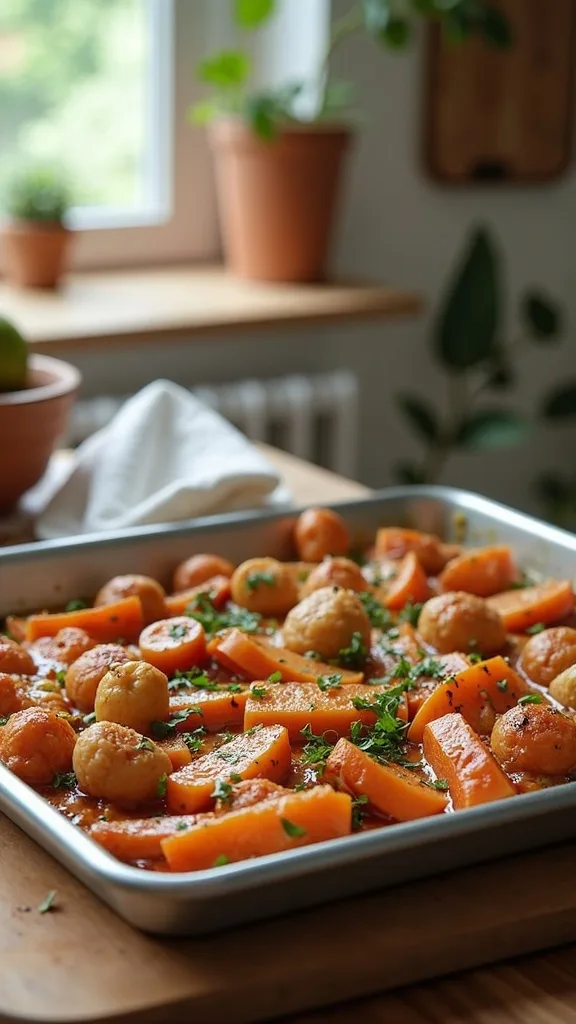
Try three combos: chicken thighs + cubed sweet potato + red onion; salmon + green beans + lemon; sausage + Brussels sprouts + apple slices. Roast at 425°F and rotate the pan once for even browning. Add a quick sauce after (mustard vinaigrette, maple drizzle, or yogurt + garlic).
Keep pantry boosters in your station: Dijon, maple syrup, smoked paprika, and dried thyme. Thrift a small lazy Susan for spices, or use a shoebox lid as a drawer divider.
Pro tip: Write your three “default trays” on the display board so decision fatigue doesn’t win at 5:30 p.m.—simple can still taste special.
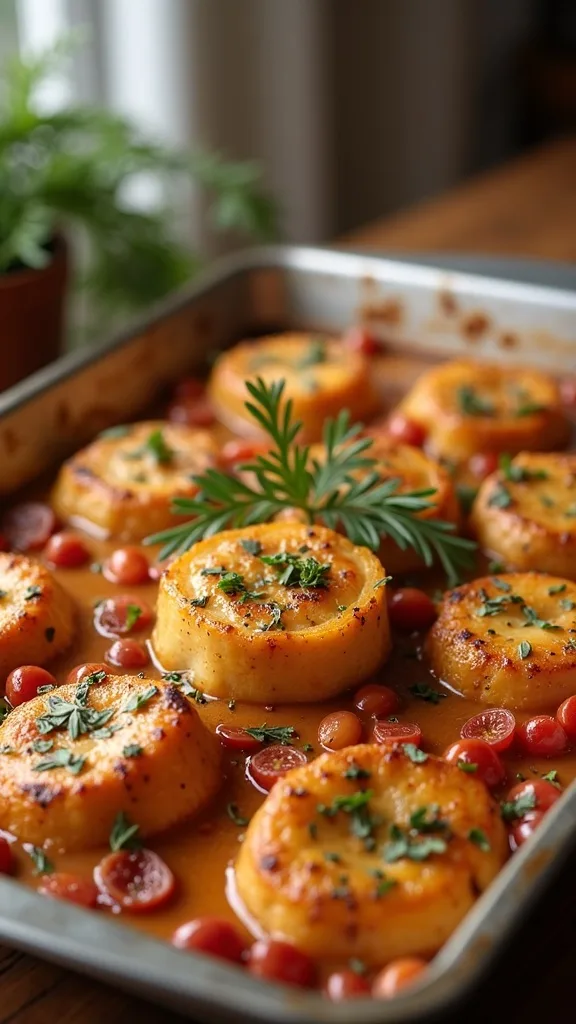
10. How do I stop sheet pans from sticking without wasting foil?
Sticking is usually a lining problem, not a cooking problem. This works because the right liner creates a clean release and faster cleanup.
Use parchment paper for roasting veggies and most proteins; it handles heat well and peels off clean. Save foil for messy, saucy bakes (like BBQ) or when you need tighter wrapping. Keep a dedicated parchment slot next to the pans so you don’t rummage mid-prep.
Budget: store-brand parchment is often under $4 a roll. Thrift: a napkin holder can become a parchment dispenser. DIY: mount two cup hooks under a shelf and hang the roll on a dowel.
Pro tip: Avoid wax paper in the oven—ever. It’s for cold use only, and it can smoke or melt. Parchment is the safe, reliable choice.
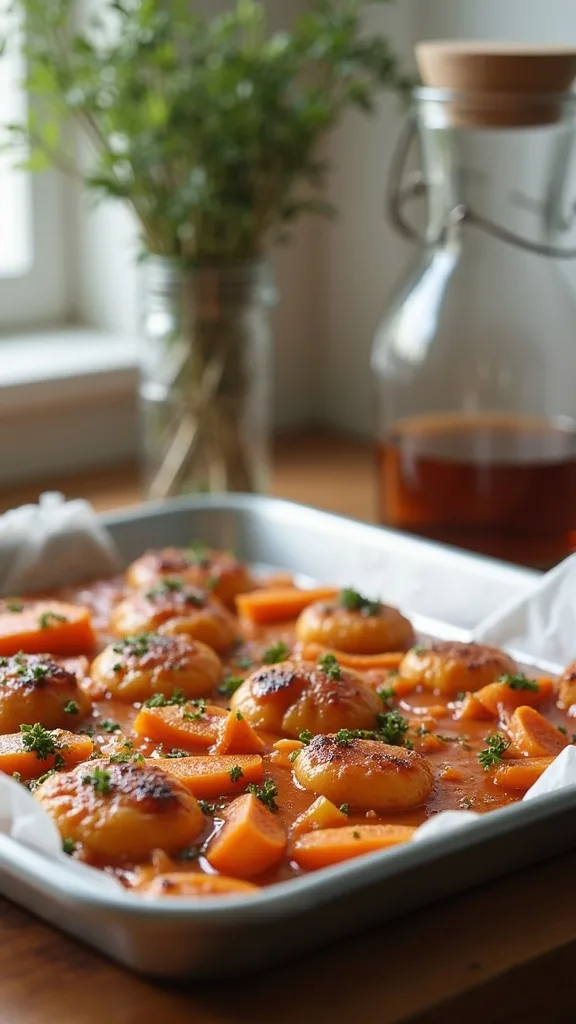
11. How can I make a ‘pan-to-fridge’ cooling zone?
A cooling zone prevents the hot-pan shuffle. It works because you always have a safe landing spot, which keeps counters from becoming a burn-risk obstacle course.
Set up a cooling rack or two on a silicone mat near the oven. Slide the finished sheet pan onto the rack, let it cool 10–15 minutes, then portion into containers. If you’re doing Thanksgiving prep, this zone is where roasted veg waits while the turkey rests.
Thrift: metal baking racks show up constantly. Discount: silicone mats are inexpensive and washable. DIY: use two wooden spoons as temporary risers under a spare rack.
Pro tip: Don’t place a scorching pan directly on laminate or painted surfaces—heat can warp or discolor. A stable cooling zone is a small setup that prevents expensive regret.
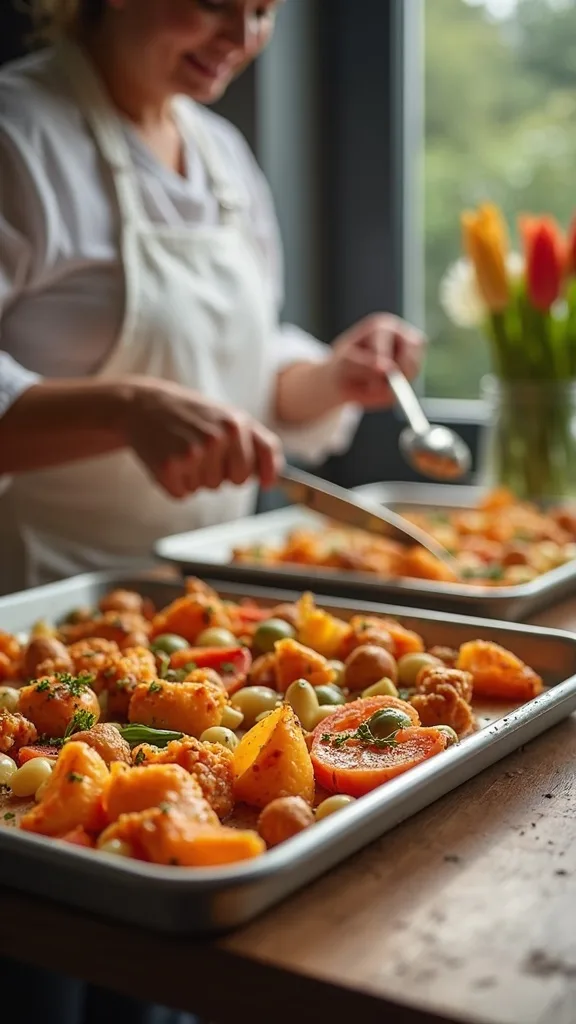
12. What’s a realistic way to label meal prep for busy fall weeks?
Labels aren’t extra—they’re time you get back later. This works because you stop guessing what’s in the container and when it was made.
Keep painter’s tape and a marker right by the fridge. Label with the food + date (example: “Roast broccoli 11/22”). If you freeze anything, add “F” and reheat instructions like “425°F 8 min.” Put the tape in a little cup so it doesn’t disappear into a drawer.
Budget: painter’s tape is cheap and removes cleanly. Thrift: a small mug becomes your label caddy. Discount alternative: dissolvable food labels if you want a cleaner look.
Pro tip: Avoid fancy chalk markers on plastic lids—they smear and never fully come off. Tape labels are humble, fast, and they work every single time.
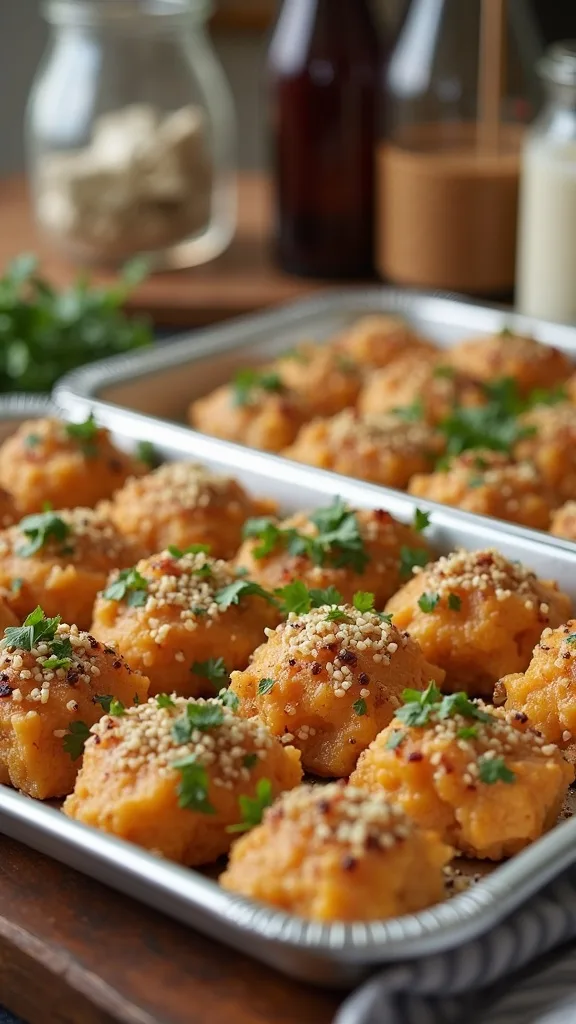
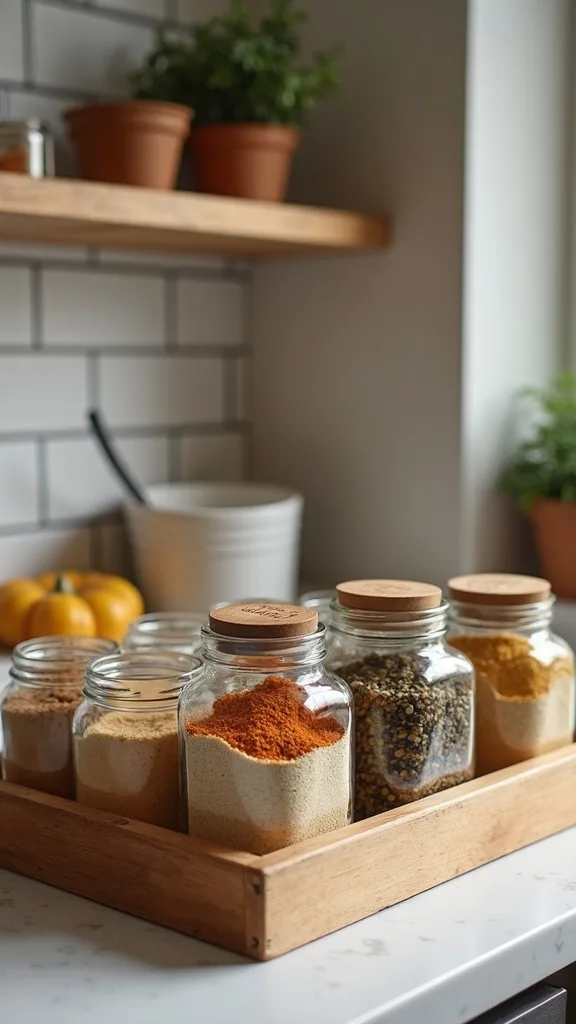
13. How do I organize spices for fall without buying a full rack?
Spices get chaotic in November because you’re using more of them, more often. This works because a tight “fall spice set” prevents digging through 40 bottles.
Pull 10 fall staples (cinnamon, nutmeg, smoked paprika, poultry seasoning, thyme, rosemary, sage, garlic powder, onion powder, black pepper) and put them in one bin near your oil station. Store the rest elsewhere. If you want it pretty, decant into matching jars slowly—don’t make it a weekend project.
Thrift: small baskets and shallow trays are everywhere for $1–$4. Discount: dollar-store bins work fine. DIY: cut down a cereal box and wrap it in kraft paper for a custom divider.
Pro tip: Avoid placing spices right above the stove if you can—steam and heat shorten their life. Nearby is better than directly over.
14. How can I make sheet pan tools easy to grab (tongs, spatulas, mitts)?
Tools scattered across drawers slow you down mid-roast. This works because a small tool caddy keeps your “sheet pan kit” together.
Set a utensil crock near the stove with tongs, a fish spatula, a silicone spatula, and a bench scraper (great for scooping chopped veg). Hang oven mitts on a hook inside the nearest cabinet door. If you’re tight on counter space, use a drawer organizer and label it “PAN TOOLS.”
Thrift: crocks, pitchers, and metal cups are common for $2–$5. Discount: command hooks are a renter-friendly win. DIY: repurpose a wide-mouth jar and add a felt pad under it to prevent scratching.
Pro tip: Avoid overloading the crock with every utensil you own—keep it lean so you can grab what you need without clattering chaos.
15. How do I set up a ‘raw protein’ safety lane for meal prep?
Cross-contamination is the quickest way to ruin your prep rhythm. This works because you create one clear lane for raw meat and one for everything else.
Designate one cutting board for raw proteins (mark the corner with tape) and keep a small bowl beside it for wrappers. Place a spray bottle with diluted dish soap nearby for quick wipe-downs, and wash hands before touching the oil station or spice bin. If possible, prep veggies first, then proteins last.
Budget: color-coded boards are inexpensive; tape labels cost pennies. Thrift: stainless bowls are easy to find. DIY: use a dedicated rimmed baking dish as your “raw staging tray.”
Pro tip: Avoid rinsing raw chicken in the sink—it splashes bacteria around. Pat dry with paper towels and move on with confidence.
16. What’s the best way to store lids so containers don’t become a nightmare?
Lids are where good systems go to die. This works because vertical lid storage keeps sizes visible and stops the avalanche when you open the cabinet.
Stand lids in a file sorter, plate rack, or narrow bin. Sort by shape (round with round, square with square). Keep the containers stacked separately and limit yourself to two container types if you can—your future self will thank you on a tired Tuesday.
Thrift: plate racks and file holders are frequent finds. Discount: a cheap bamboo plate stand works beautifully. DIY: tension rods in a drawer create instant lanes.
Pro tip: Avoid keeping “mystery lids.” If a lid doesn’t match anything, let it go—clutter is expensive because it steals your time.
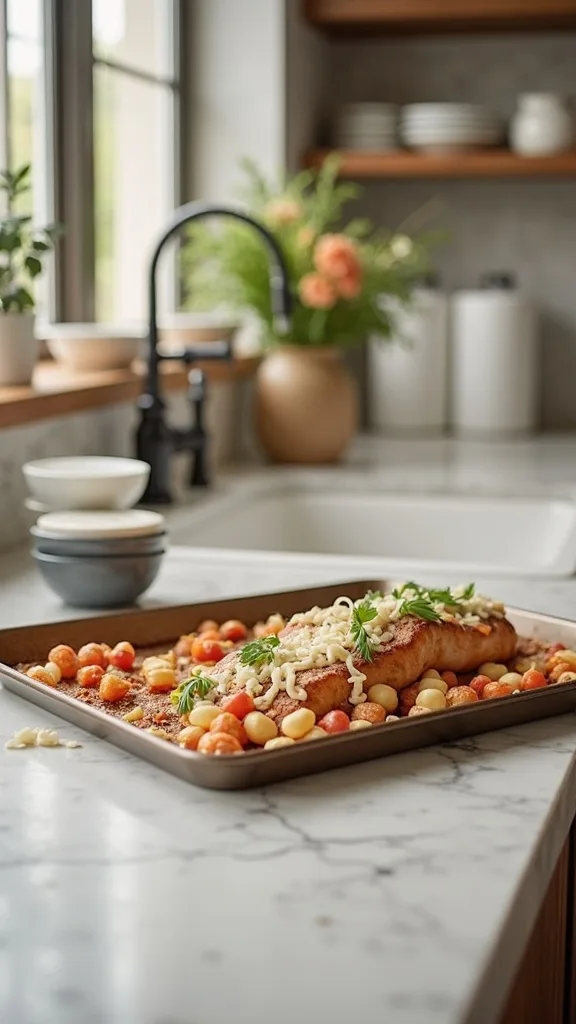
17. How do I build a Thanksgiving oven schedule that actually works?
Thanksgiving gets stressful when everything fights for the same oven space. This works because a written schedule turns chaos into a sequence.
On your display board, list items by temperature and time. Group what can share a temp (like 400°F veg trays) and plan rest periods. Write “IN” and “OUT” times, and include a 15-minute buffer for real life. Keep one sheet pan free as an emergency “hold” tray.
Budget: a $2 thrift frame becomes a schedule board. Discount: sticky notes let you move items around. DIY: use a brown paper grocery bag cut flat as a temporary planner taped to the fridge.
Pro tip: Avoid planning the oven down to the minute—turkeys don’t care about your spreadsheet. Buffers are the difference between calm and meltdown.
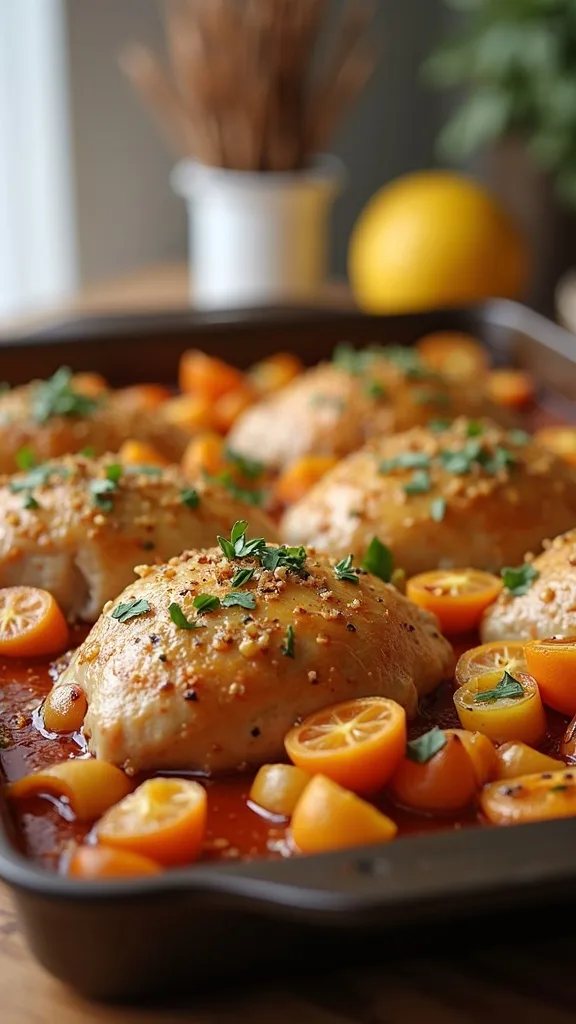
18. How do I make a sheet pan ‘mise en place’ kit for faster prep?
A kit keeps your prep from turning into scavenger hunting. This works because you grab one bin and you’re ready to cook.
Fill a handled caddy with: kosher salt, pepper grinder, garlic powder, paprika, parchment, a small whisk, and a measuring spoon set. Store it next to your vertical pan rack. When it’s time to cook, set the caddy on the counter and start immediately—no drawer diving.
Thrift: handled baskets and cleaning caddies are common. Discount: dollar-store bins work fine. DIY: use a shoebox and cut handholds; wrap it with contact paper so it wipes clean.
Pro tip: Avoid putting knives in the caddy—keep blades in a proper block or drawer insert. Safety is part of organization, not an afterthought.
19. How can I make my fall station look styled, not like storage?
The difference is repetition and restraint. This works because a few consistent materials make functional items read like decor.
Pick two finishes (example: black wire + warm wood) and stick to them across your rack, basket, and tray. Add one seasonal touch that’s useful—like a linen towel in a rust tone or a small crock for wooden spoons. Keep counters mostly clear so the station feels intentional.
Thrift: linen napkins and tea towels are often $1–$3. Discount: neutral towels in multipacks save money. DIY: tea-dye a white towel for a soft autumn tint.
Pro tip: Avoid adding fake pumpkins to the cooking zone. They collect grease and dust, and they steal space from the work—let the real squash be the decor.
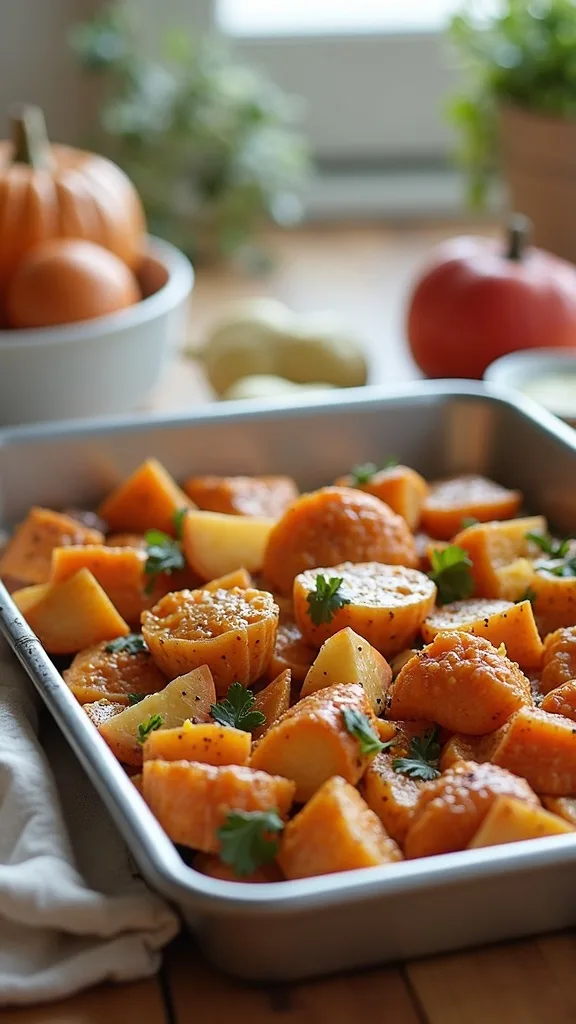
20. Where should I put the trash and compost during prep?
Prep feels twice as long when you’re walking scraps across the kitchen. This works because a scrap bowl and a planned trash spot keep you moving forward.
Set a medium bowl on the counter for peels and ends, and empty it once per session. If you compost, keep a lidded container under the sink or on a lower shelf of your cart. Move your trash can closer during big prep days—yes, even if it’s not pretty.
Budget: thrift bowls are everywhere; I’ve used a $2 stainless mixing bowl for years. Discount: small compost bins are widely available. DIY: reuse a coffee can with a lid and wash it often.
Pro tip: Avoid using your sink as a trash pile. It kills momentum and makes cleanup feel endless—scrap bowl first, sink stays open.
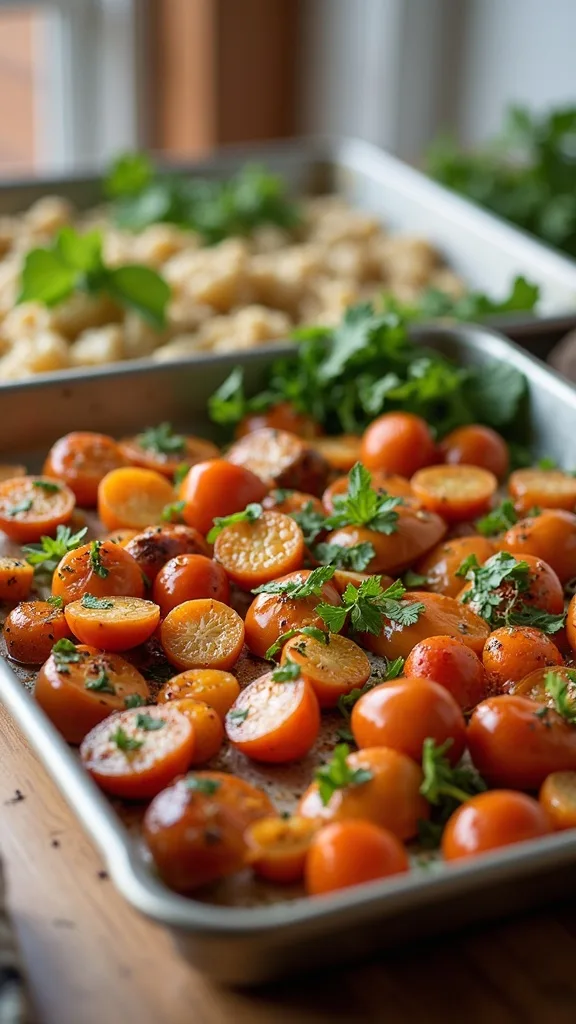
21. How do I store sheet pan seasonings (rubs, marinades) without clutter?
Seasoning clutter happens when packets and half-used jars multiply. This works because one “flavor bin” limits what lives in your prime zone.
Use a small bin in the fridge door or pantry labeled “Sheet Pan.” Keep 5–7 staples: soy sauce, Dijon, maple, hot sauce, Italian seasoning, and one spice blend you love. When you buy a new blend, retire an old one—no exceptions.
Thrift: acrylic bins are rarer, but small baskets are easy. Discount: dollar-store bins work. DIY: label a recycled bread box container with a permanent marker.
Pro tip: Avoid buying three new spice blends for one recipe. Build a flexible base set, and your fall cooking organization stays steady all season.
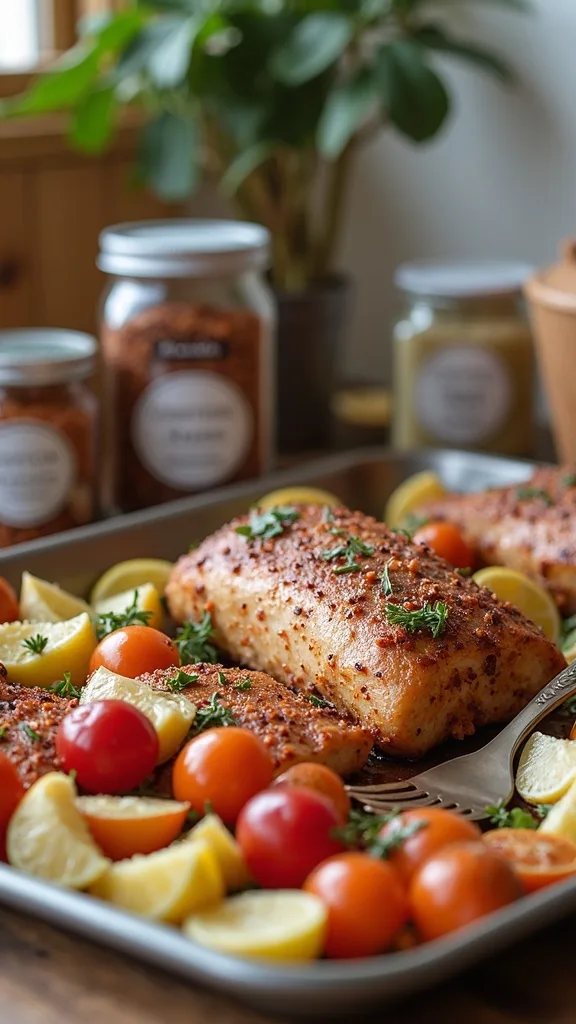
22. How can I portion sheet pan meals so lunches don’t feel sad?
Portioning is where meal prep either pays off or falls apart. This works because you build variety into the same roasted base.
After roasting, split components: keep protein in one container, veg in another, and starch (rice, potatoes) separate if you have it. Mix-and-match when packing lunches so you’re not eating the same exact bowl five days straight. Add a “finisher” jar: pesto, chimichurri, cranberry relish, or tahini sauce.
Budget: reuse glass jars for sauces. Thrift: small ramekins and lidded jars show up often. Discount: bento-style containers are great if you prefer compartments.
Pro tip: Avoid sealing containers while food is steaming hot. Let it cool a bit first so you don’t trap condensation and turn crisp edges soft.
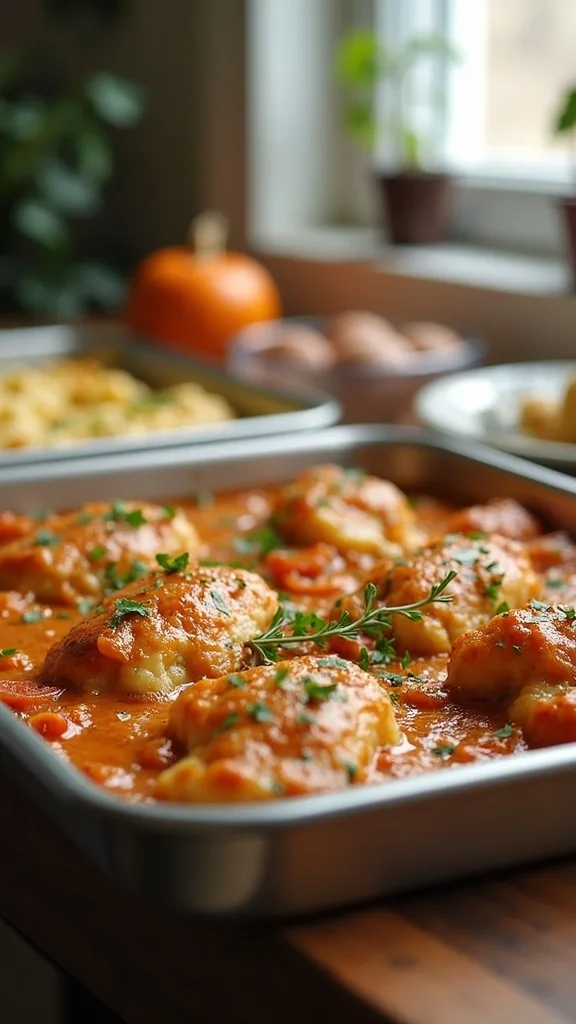
23. How do I keep a clean counter during sheet pan nights?
A clean counter is mostly about timing. This works because you clean in micro-bursts instead of saving everything for the end.
Before you start, clear one “no-stuff” zone the size of a cutting board plus your mixing bowl. As soon as the pan hits the oven, do a 3-minute reset: load the dishwasher, wipe the board area, and refill your scrap bowl spot. Keep a spray bottle and microfiber cloth in the station so cleaning is one step, not five.
Budget: microfiber cloth multipacks are cheap. Thrift: small spray bottles often appear in cleaning aisles. DIY: mix warm water + a drop of dish soap for daily wipe-downs.
Pro tip: Avoid stacking dirty tools “to soak” unless you’re actually soaking them. Piles are how kitchens feel out of control—reset while the oven does the work.
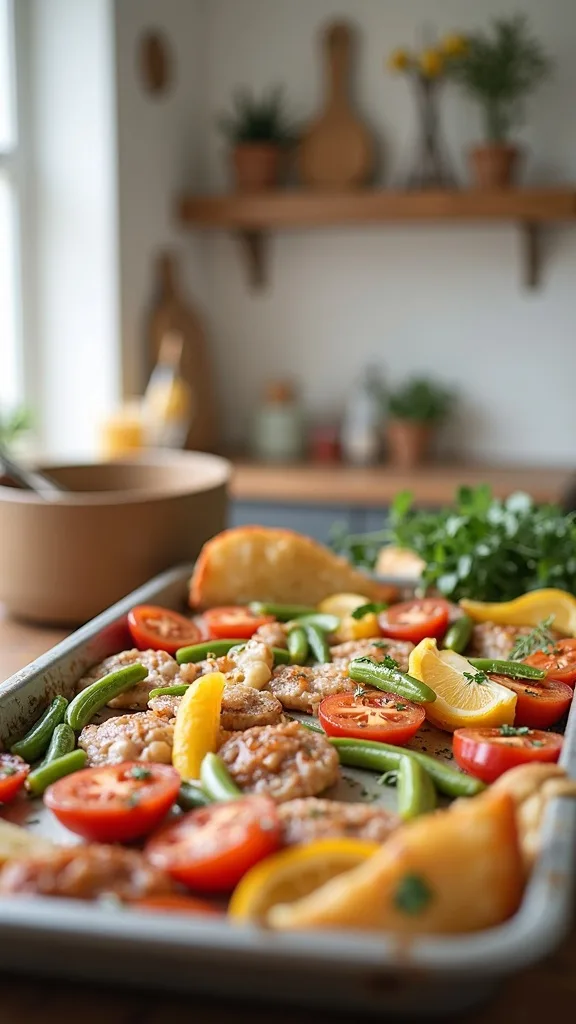
24. What lighting makes a prep station easier in early winter evenings?
Good lighting is a safety upgrade disguised as ambiance. This works because you can actually see what you’re chopping and whether food is browning.
Add an under-cabinet stick-on light above your pan zone, especially if your main ceiling light casts shadows. Choose warm white light (2700K–3000K — the cosy, yellowish tone you see in most homes) so it feels inviting, not like a break room. If you rent, use battery-powered puck lights with adhesive strips.
Budget: discount stores often have puck lights; Amazon has reliable sets. DIY: reposition a small lamp on a nearby shelf if outlets are limited—just keep cords away from heat.
Pro tip: Avoid super-cool blue lighting in the kitchen at night. It makes everything look harsh and can trick you into under-browning food—warm light helps you cook with confidence.
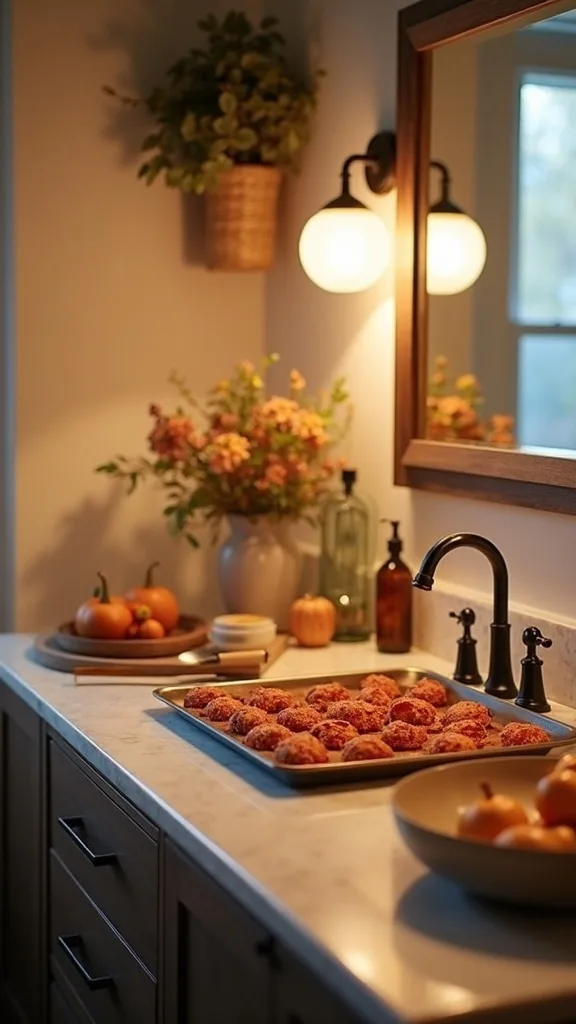
25. How do I reset the station after Thanksgiving so it still works in December?
The best systems survive the holiday crash. This works because you keep the structure and swap the season-specific pieces.
After Thanksgiving, empty the squash basket, wipe it down, and repurpose it for citrus, onions, or snack packs. Update the display board from “Oven Schedule” to “Weeknight Trays,” and restock parchment, tape labels, and your fall spice bin. Do a 10-minute audit: toss mystery leftovers, recycle empty bottles, and return borrowed tools to their homes.
Budget: you’re mostly using what you already set up. Thrift an extra basket if you want a dedicated winter produce bin. DIY: print three new tray ideas and tape them to the board.
Pro tip: Avoid letting the station become a dumping ground for mail and homework. Protect this zone—it’s the difference between cooking at home and giving up on it.
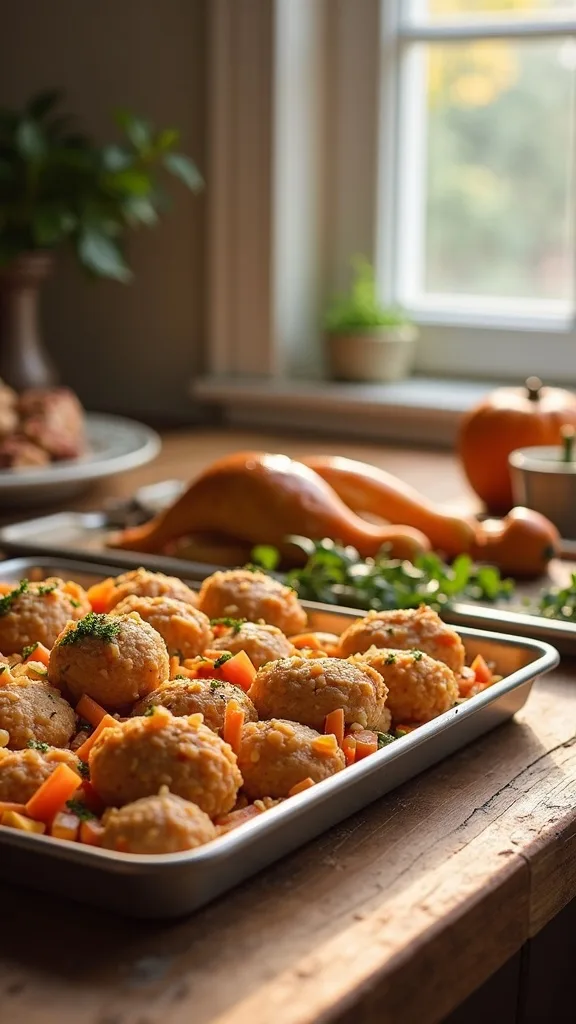
Final Thoughts
The “after” kitchen feels like a different house: pans stand neatly instead of collapsing, oils live on a tray instead of leaving sticky halos, and the next dinner is already decided on the board. That’s what good home-decor does—it makes daily life smoother, not just prettier.
If your before-photo kitchen looks rough, keep it honest. Mine did. A real reset isn’t about buying matching containers; it’s about putting the right tools where your hands already reach and letting a few humble organizers do the heavy lifting.
Do one thing today: clear a 24-inch stretch of counter near your oven and place a temporary “pan zone” there with a file sorter as your rack. Cook one tray this week using the board to plan the next tray, then adjust the setup based on what annoyed you most—your kitchen will tell you what it needs.
What I’d Do Differently
When I first tried this, I made one big mistake: I built the station around what looked cute instead of what I touched every day. I put the oils on a high shelf because the bottles “matched,” and I stored the sheet pans under the oven in a flat stack because it felt like the traditional place. Two nights in, I had sticky drips down the cabinet door and I was yanking pans out like Jenga—loud, annoying, and honestly dangerous when the oven was already hot. The correct approach is to design for the motion: pans upright within two steps of the oven, oils on a washable tray at counter height, and one clear landing zone for hot trays.
I also wish I knew that the display board didn’t need to be fancy to work. A $1.25 board with tape lines beats a perfect Pinterest setup if it’s actually visible and updated. Start with one zone, cook one tray this week, and adjust based on what slows you down—you’ll feel the win immediately.