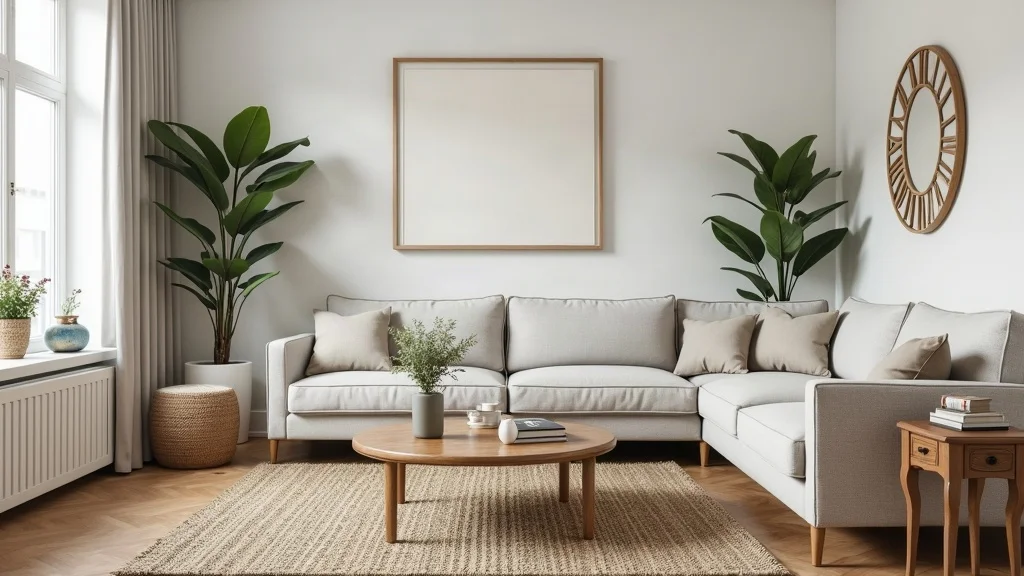

Your living room doesn’t need new furniture. It needs better bones. A steadier silhouette under the lamp. A surface that looks intentional when you set down a mug. The fastest way to get there is to stop shopping retail and start finishing what you already have—or what someone else is practically giving away.
This guide breaks a furniture makeover into clear, repeatable steps: how to thrift smarter, what to fix (and what to ignore), and where paint and hardware give the biggest return. You’ll get thrift-store sourcing rules, paint hacks that save time, and upcycled materials that look like custom work in a living room.
This is perfect for renters, first-time homeowners, and anyone who wants a calmer space without a $1,500 “update” that still feels temporary.
Inside you’ll find thrift-store inspection tricks, a no-drama prep routine, and finish ideas that read timeless—think warm woods, matte blacks, and soft neutrals—plus a few cost-saving hacks that Pinterest is pushing hard for 2026.
Below are 25 How to Do a DIY Furniture Makeover on a Budget in 2026: Thrifted Finds, Paint Hacks, Upcycled Materials & Affordable Tools that…
1. The shoestring step-by-step: thrift, prep, paint, protect, style
This is the backbone of a makeover that looks expensive and lives hard. It works because it treats furniture like part of a living room system: shape first, finish second, styling last. Start at the thrift store with a tape measure and a photo of your room, then choose one piece with clean lines and sturdy joints. At home, scrub with warm water and a degreasing dish soap, lightly scuff with a sanding sponge, then wipe dust away. Paint in thin coats, let it dry overnight, and add a protective topcoat where hands and cups land. Choose a calm color—soft black, warm white, or muted olive—and repeat that tone in a pillow or throw so it feels planned. Pro tip: keep a one-page “recipe” taped inside a cabinet door with your paint color and sheen for easy touch-ups later—small systems create big confidence.
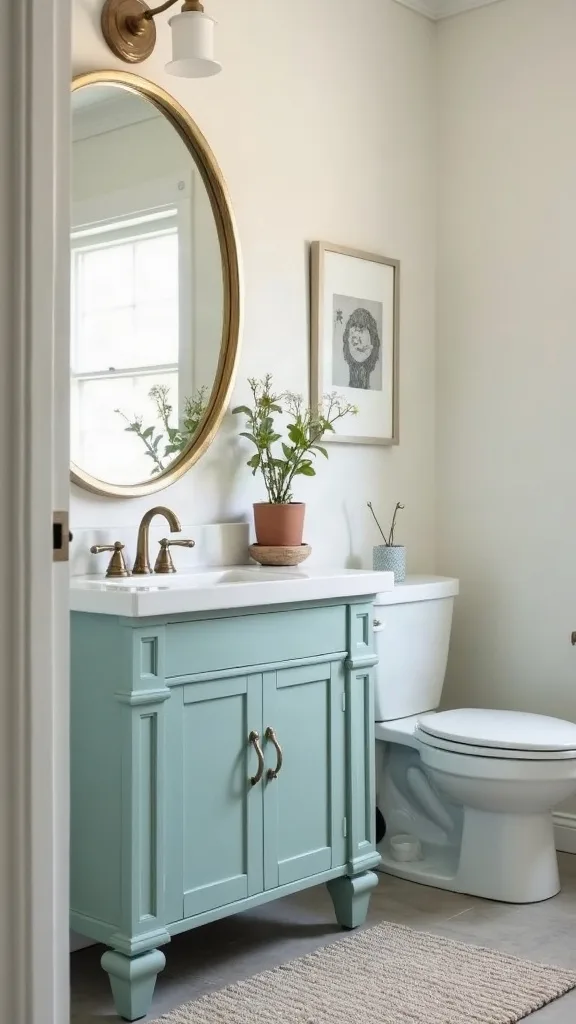
2. What should I look for at the thrift store so I don’t waste money?
Buy structure, not surface. It works because scratches are cheap to fix, but wobble is a forever problem. In the aisle, grab the piece at the top corner and gently twist; if it racks side-to-side, walk away unless you can tighten it with screws. Open every drawer, check that it glides, and look for solid wood rails instead of crumbling particleboard. Flip it over and scan for water damage, swollen edges, and musty smell that clings. Choose timeless shapes that suit a living room: a low dresser that can become a media console, or a narrow table that can tuck behind a sofa. Materials to favor: real wood, veneer in good condition, and metal frames that aren’t bent. Pro tip: bring a small flashlight and a zip-top bag of quarters for coin-operated carts—thrift store sourcing gets easier when you move fast and decide faster.
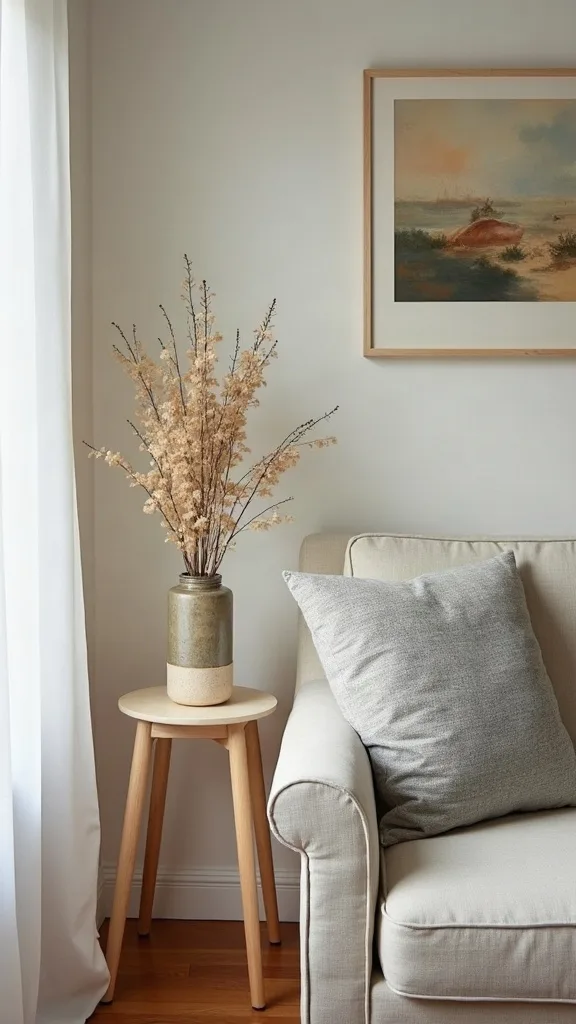
3. How do I plan a living-room makeover so the piece actually fits?
Planning keeps a cheap piece from looking random. It works because the room reads as one story when scale and spacing are right. Measure your target zone: leave at least 30 inches for a walkway and keep console depth around 14–18 inches behind a sofa so it doesn’t crowd seating. Decide the role—anchor (coffee table), support (side table), or storage (cabinet)—then pick a finish that supports your existing textiles. In a living room, start with the bones: a grounded wood tone or matte paint, then layer textiles like a wool throw and a textured pillow that repeats the color. Add lighting next with a table lamp in warm white light (2700K–3000K — the cosy, yellowish tone you see in most homes) so the finish looks rich at night. Pro tip: tape painter’s tape on the floor to outline the footprint before you buy—cheap planning avoids expensive regret.
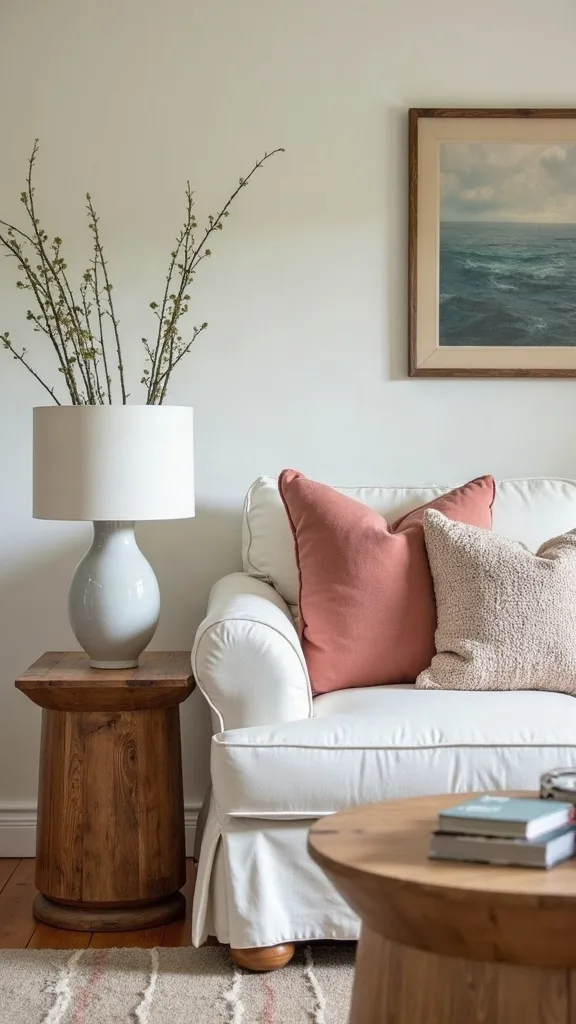
4. What’s the fastest deep-clean method before painting?
Paint sticks to clean furniture, not to history. This works because most thrifted pieces fail at the same point: invisible grease and polish residue. Start by vacuuming cracks and corners, then wash with hot water and a few drops of degreasing dish soap. For sticky buildup, use a 50/50 mix of white vinegar and warm water, then rinse with clean water so nothing dries tacky. Let it air-dry fully, then wipe again with a damp microfiber to catch the last dust. Keep it simple: you’re removing grime, not soaking the wood. Materials to keep on hand: microfiber cloths, a soft scrub brush, and nitrile gloves. Pro tip: avoid oily “restoring” sprays before paint—those products look good for one day and ruin adhesion for weeks. Clean, dry, then move on with confidence.
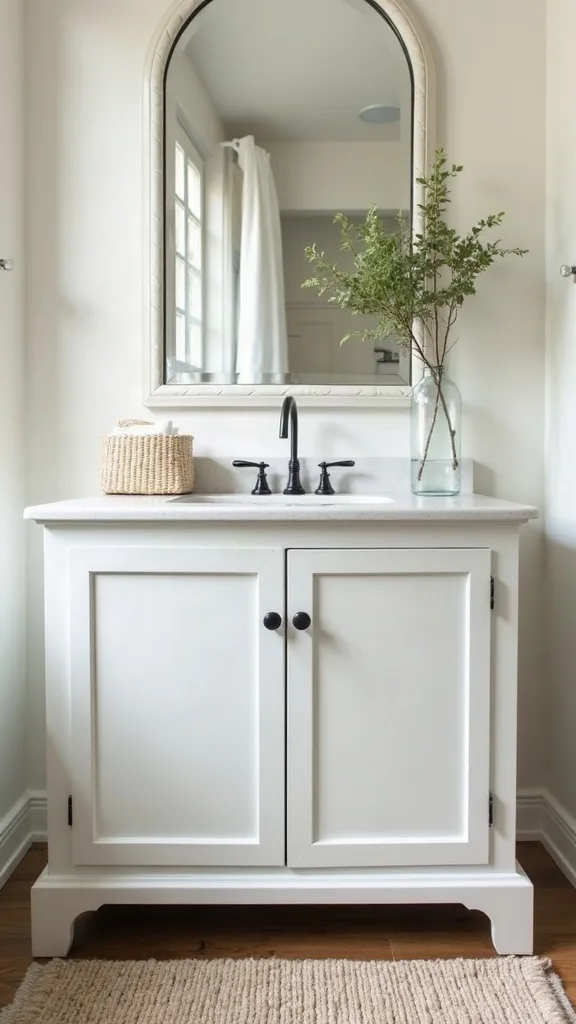
5. Do I really need to sand for a budget DIY furniture makeover?
You need friction, not a full workout. It works because paint bonds better when the surface is lightly scuffed and the gloss is knocked down. Use a medium-grit sanding sponge and focus on high-touch zones: drawer fronts, edges, and top surfaces. You’re not stripping to bare wood; you’re creating a micro-tooth so primer or paint can grip. After sanding, vacuum the dust and wipe with a damp cloth, then wait 10 minutes so moisture evaporates. If the piece has peeling finish, sand until edges feel smooth under your fingertips—your hand is the best detector. Materials to consider: sanding sponge, tack cloth or microfiber, and a drop cloth to catch dust. Pro tip: avoid power sanders on thin veneer—one slip burns through and turns a quick makeover into a patch job. Light scuffing keeps the project budget-friendly and clean.
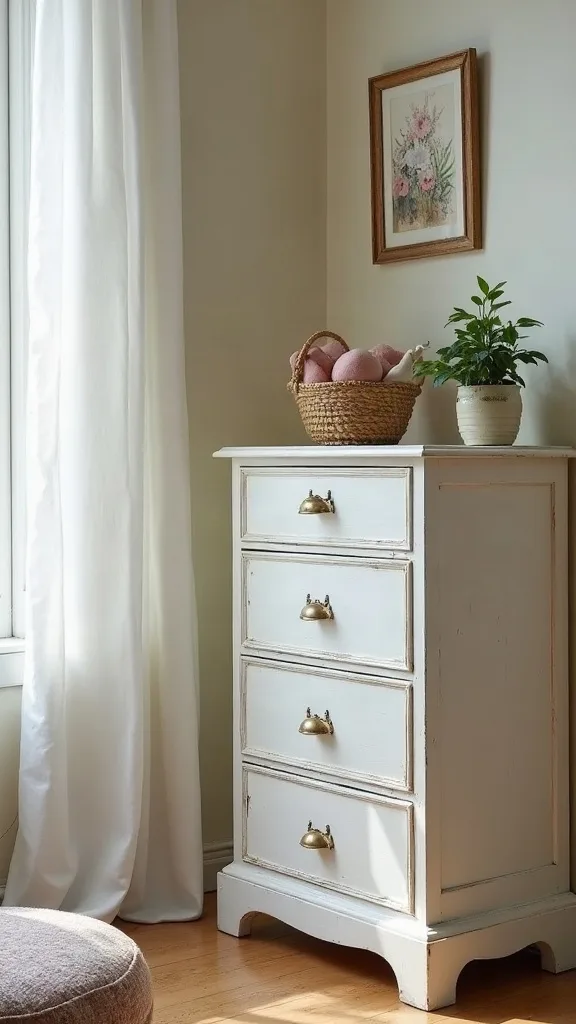
6. When should I use primer, and when can I skip it?
Primer is insurance. It works because it blocks stains, grips slick finishes, and keeps tannins from bleeding through light paint. Use primer if you’re painting over dark wood, nicotine stains, knots, or a glossy factory finish. If the piece is already matte and clean, and you’re using a high-adhesion furniture paint, you can sometimes skip primer to save money and time. Spot-prime problem areas instead of coating the whole piece—this is where budgets stay intact. Choose a stain-blocking primer for yellowed pine or vintage pieces with mystery history. Colors to consider: white primer under light paint, gray primer under deep tones for better coverage. Pro tip: avoid “all-in-one” shortcuts on smoke-stained furniture; you’ll chase bleed-through for weeks. One smart primer coat makes your finish look calm and consistent.
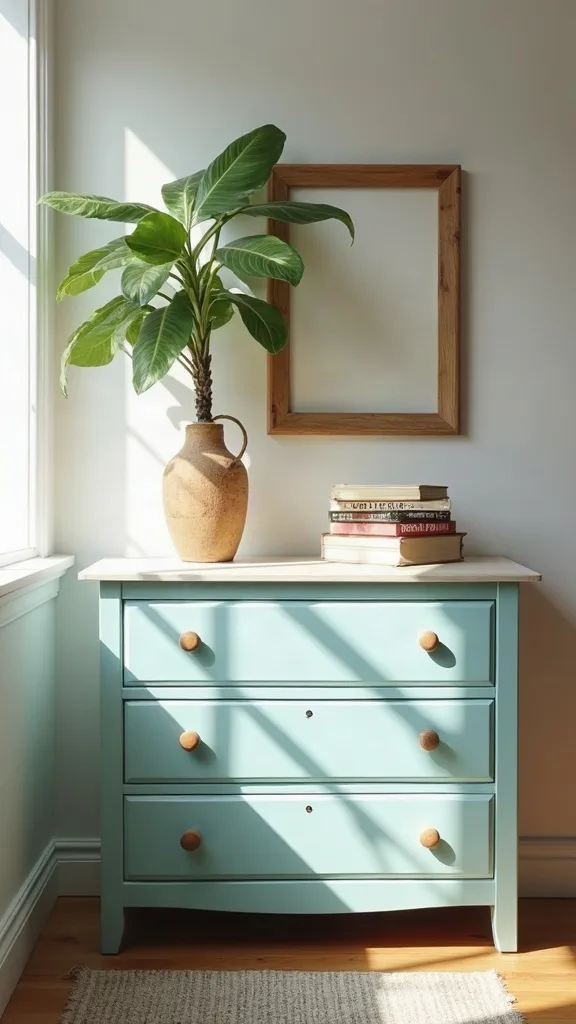
7. What paint finish looks expensive in a living room (and hides flaws)?
Choose a finish that forgives real life. It works because sheen controls what your eye notices: high gloss spotlights every dent, while matte and satin smooth the story. For living room pieces—side tables, consoles, cabinets—go matte or satin for a soft, upscale look that still wipes clean. Use a small foam roller for flat areas and a quality angled brush for edges so strokes disappear. Keep coats thin and patient; two to three light coats beat one thick coat every time. Colors that read timeless: soft black, warm greige, muted navy, and creamy white. Pair that paint with textiles—think a linen-look pillow and a nubby throw—so the furniture feels grounded, not “crafty.” Pro tip: avoid painting in a dusty garage with the door open; airborne grit becomes permanent texture. Calm finish, calm room.
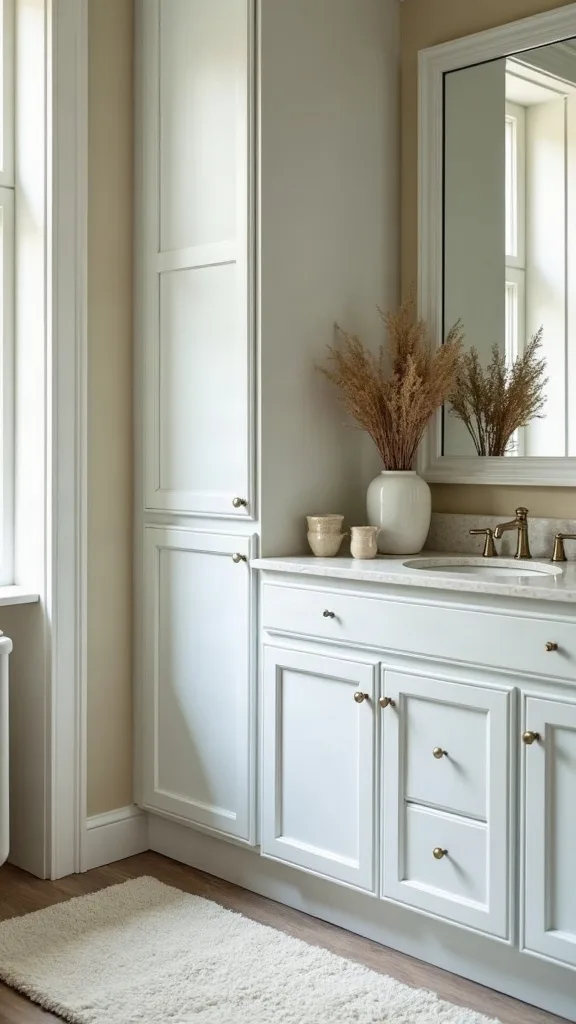
8. How do I get a smooth finish without buying a sprayer?
A smooth finish is technique, not equipment. It works because the right roller and timing reduce texture dramatically. Use a 4-inch high-density foam roller for doors and drawer fronts, then “tip off” edges lightly with a brush while the paint is still wet. Sand lightly between coats with a fine sanding sponge once the surface is fully dry, then wipe clean. Keep a wet edge and don’t overwork it; paint settles as it dries. If you see bubbles, you’re pressing too hard or rolling too fast. Materials to consider: foam roller, paint tray liner, and a fine sanding sponge. Pro tip: avoid cheap brushes that shed bristles—nothing ruins a smooth top like fishing hair out of drying paint. Slow strokes. Thin coats. The result looks like it came from a showroom, not a weekend.
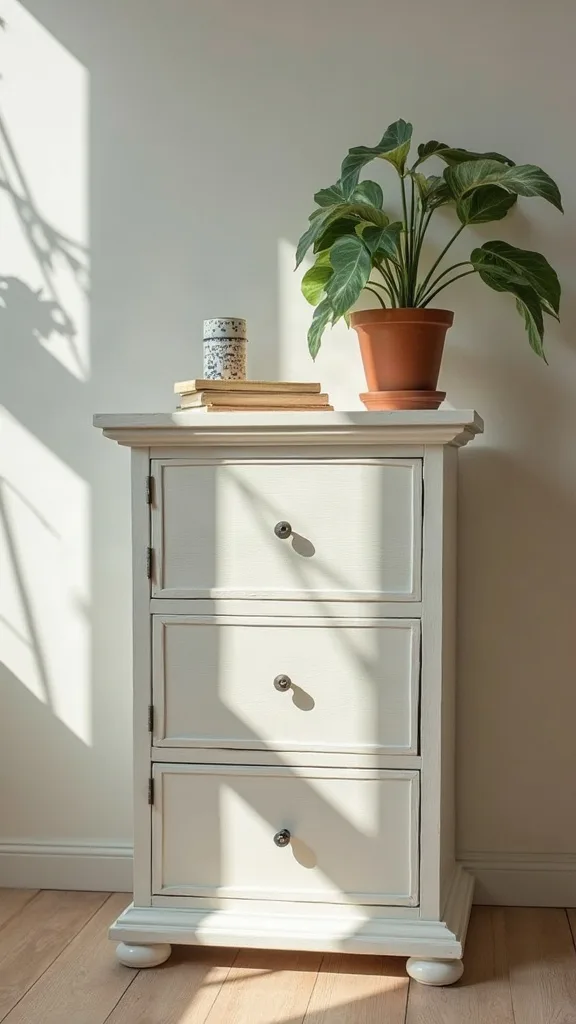
Cost & Materials Estimate
Most thrift-to-living-room upgrades land in the same sweet spot: a solid piece plus basic prep supplies for a fraction of buying new.
| Item | Estimated Cost | Where to Buy |
|---|---|---|
| Thrifted side table / small dresser | $15–$60 | Wayfair (for price comparison) / local thrift |
| Primer (stain-blocking, quart) | $12–$18 | Home Depot |
| Paint (quart, furniture/cabinet paint) | $18–$35 | Lowe’s |
| Topcoat (water-based polyurethane, quart) | $16–$28 | Home Depot |
| Basic tool refresh (foam roller, angled brush, sanding sponges, tape) | $18–$35 | Lowe’s |
| New hardware (set of knobs/pulls) | $10–$30 | IKEA |
Total estimated cost: $89–$206 Save money by reusing existing hardware and buying paint in quarts; splurge only on a better brush and a durable topcoat.
9. What’s the best budget topcoat for tables and high-touch surfaces?
Protection is what makes a makeover last past the first movie night. It works because living room surfaces take heat, condensation, and constant wiping. For tabletops and cabinet tops, use a water-based polyurethane in matte or satin so it doesn’t yellow. Apply with a foam brush in thin coats, sanding lightly between coats once dry for a smooth hand-feel. If you painted with a matte finish, a matte topcoat keeps the look consistent. Let it cure—really cure—before heavy use; most finishes need several days to harden even if they feel dry. Products to consider: water-based poly, clear wax for low-touch areas, and felt pads for lamps and decor. Pro tip: avoid using wax on a coffee table top if you set down drinks; wax marks and softens. A clear topcoat keeps the piece looking composed.
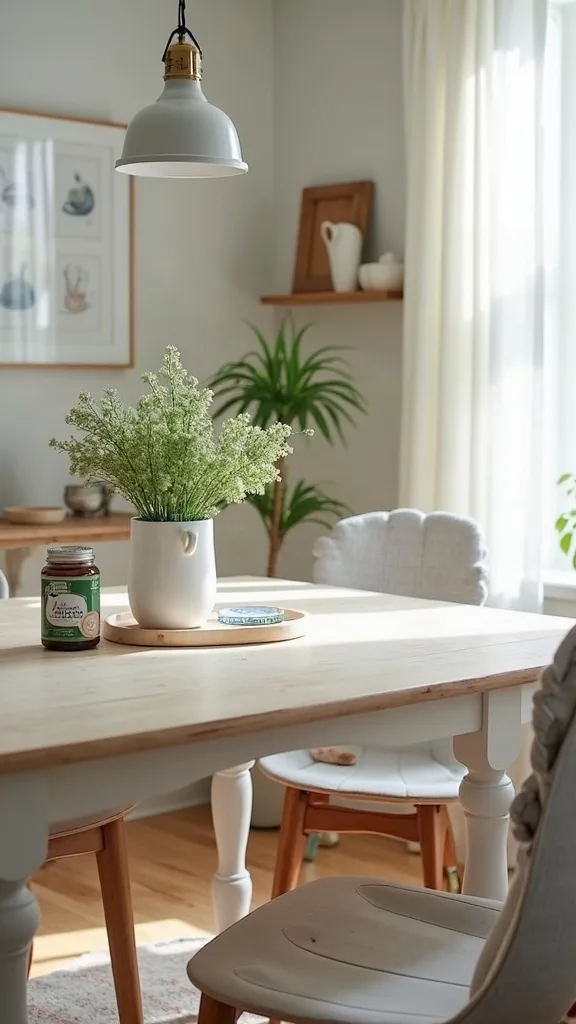
10. How can I update hardware cheaply without it looking cheap?
Hardware is jewelry for furniture. It works because your eye goes straight to pulls and knobs, especially in a living room where you open drawers for remotes and candles. If the existing hardware is the right size, spray-paint it instead of replacing it—matte black and aged brass read classic. Clean with rubbing alcohol, scuff lightly, then spray in light passes and let it dry overnight. If you need new hardware, buy a multipack online or at IKEA and keep the finish consistent across the room. Consider 3–5 inch pulls for drawers and simple round knobs for doors. Pro tip: avoid mixing three metal finishes on one piece; it looks accidental. Pick one metal, then repeat it in a lamp base or picture frame for a tied-together feel.
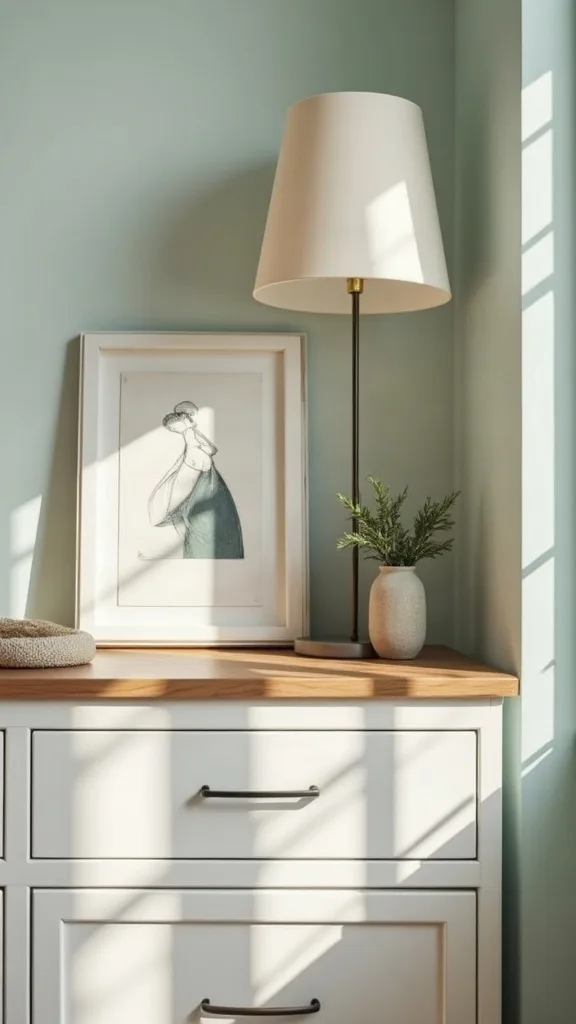
11. Can I turn a thrifted dresser into a living room media console?
Yes, and it’s one of the highest-impact swaps you can do. It works because dressers are built for weight and storage, which is exactly what a media console needs. Choose a dresser roughly 48–60 inches wide so it balances under a TV, then remove a back panel section for cords using a simple hole saw or a drill and jigsaw. Add ventilation by leaving the back partially open behind electronics, or swap one drawer for a shelf. Paint the body a grounded neutral and keep the top wood for warmth. Materials to consider: cord grommets, new pulls, and adhesive felt pads to protect floors. Pro tip: avoid placing electronics in fully closed drawers without airflow; heat builds fast. A converted dresser gives you hidden storage and a custom look on a thrift-store budget.
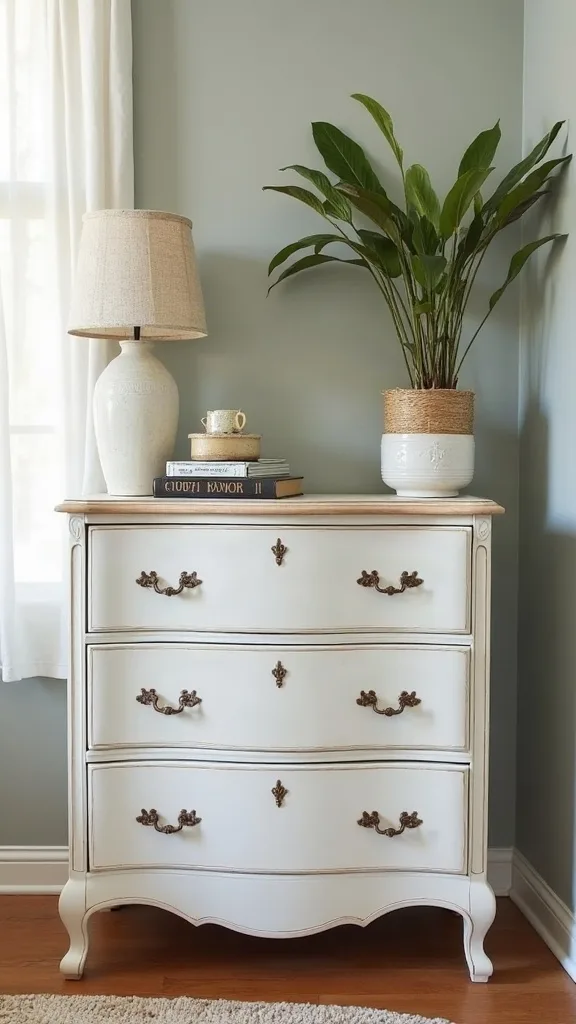
12. How do I fix wobbly legs and loose joints without fancy tools?
Stability is the difference between “cute” and “keeper.” It works because most thrifted wobble comes from simple loosened fasteners, not major damage. Flip the piece over and tighten every screw you can reach, then add wood glue to loose joints where wood meets wood. Clamp if you have clamps, or use a ratchet strap and a towel to protect edges while it dries. For table legs, add small corner braces inside the apron for extra strength. If a leg is short, use a felt pad stack or a furniture leveler to correct it. Materials to consider: wood glue, a screwdriver set, and L-brackets. Pro tip: avoid filling structural gaps with putty alone; putty is cosmetic, not strength. Get the bones solid first, then the paint can do its job.
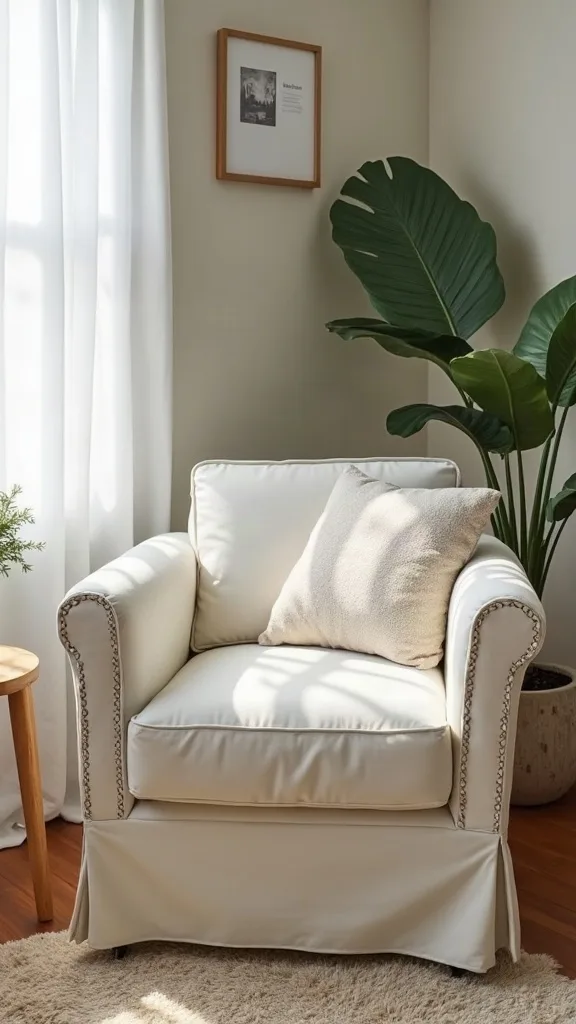
13. What are the smartest upcycled materials to use for a custom look?
Upcycled materials add texture without adding cost. It works because the eye reads depth and detail as “custom,” even when the budget is tight. Use leftover plywood as a new top, an old leather belt as a drawer pull, or scrap cane webbing to update cabinet doors. A thrifted picture frame can become trim on a flat drawer front, instantly creating panel detail. Keep the additions simple and symmetrical so the piece looks intentional. Colors to pair well: natural cane with warm white paint, black paint with raw wood, or olive paint with brass hardware. Materials to consider: contact cement, staple gun, and wood glue. Pro tip: avoid mixing too many textures on one small piece; pick one hero material and let it carry the design. Restraint is what makes upcycling feel timeless.
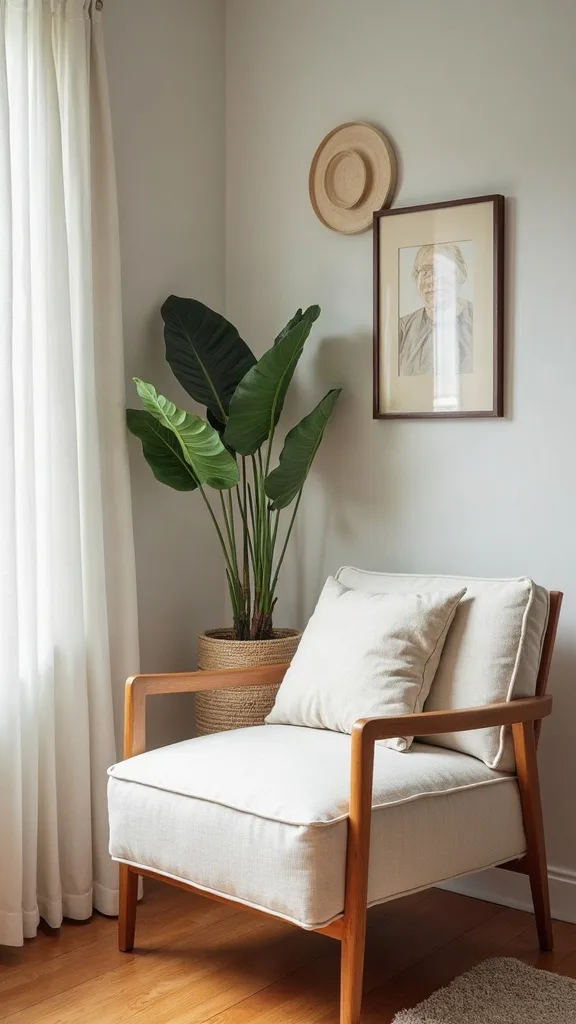
14. How do I add trim or panel detail for less than $20?
Trim is a cheat code for flat furniture. It works because it creates shadow lines that mimic higher-end millwork. Use thin lattice strips or screen molding from Home Depot, cut to frame drawer fronts, and attach with wood glue and a few brad nails or strong clamps while drying. Fill tiny gaps with lightweight spackle, then sand smooth before paint. Keep spacing consistent—measure twice so the lines look crisp. Paint the entire piece one color so the new detail looks original. Colors that highlight trim: warm white, charcoal, and dusty blue. Pro tip: avoid thick baseboard-style trim on small nightstands; it overwhelms the proportions. Thin trim, sharp corners, and a matte finish make a thrifted piece read like built-in furniture.
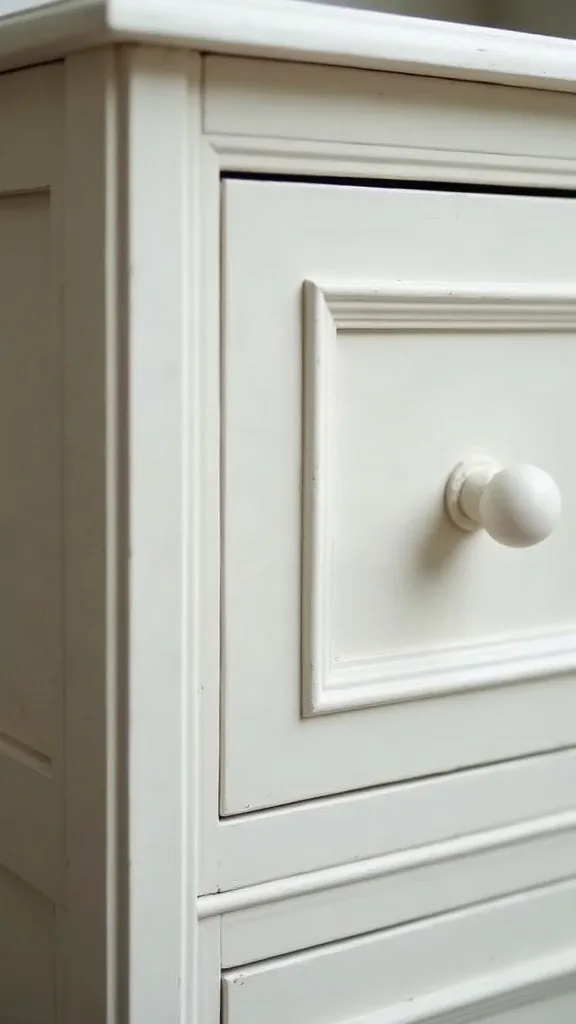
15. What’s the easiest way to do a two-tone finish (paint + wood) correctly?
Two-tone finishes look tailored when the line is clean. It works because wood brings warmth while paint brings structure, which is perfect for a living room. Decide your split: painted body with a wood top is the easiest and most classic. Strip or sand the top just enough to smooth it, then stain or oil it lightly and seal it with a clear topcoat. Tape the edge carefully with painter’s tape, press it down with a putty knife, and remove the tape while the paint is still slightly wet for a sharp line. Choose a wood tone that echoes other wood in the room, like a coffee table or frame. Pro tip: avoid orange-toned stain next to cool gray paint; it clashes fast. Pick warm-with-warm or cool-with-cool, and the room feels calm.
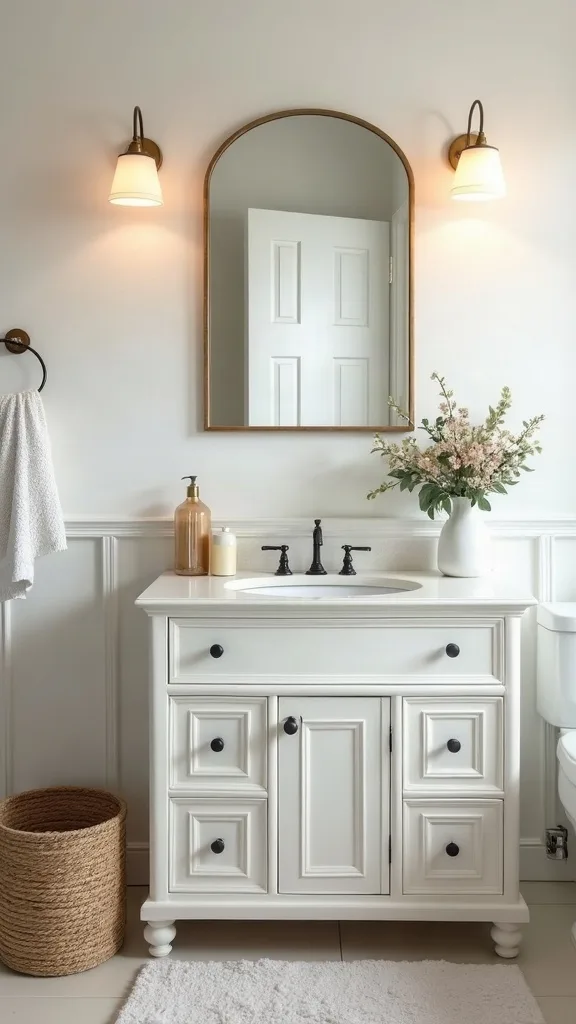
16. How can I use peel-and-stick wallpaper as a drawer-liner upgrade?
This is a small detail that feels surprisingly luxe. It works because pattern belongs inside storage, where it reads as intentional without overwhelming the living room. Cut peel-and-stick wallpaper to fit drawer bottoms or cabinet interiors, and smooth it from the center outward with a plastic card. Choose subtle patterns—linen texture, thin stripes, or a quiet botanical—so it feels timeless. If you’re lining shelves, add a thin bead of clear caulk at the back edge for extra hold in humid climates. Keep the exterior finish simple so the reveal feels special when you open it. Materials to consider: peel-and-stick roll, craft knife, and a metal ruler. Pro tip: avoid lining dusty drawers; the adhesive will fail. Clean, dry, then apply for a crisp, satisfying finish.
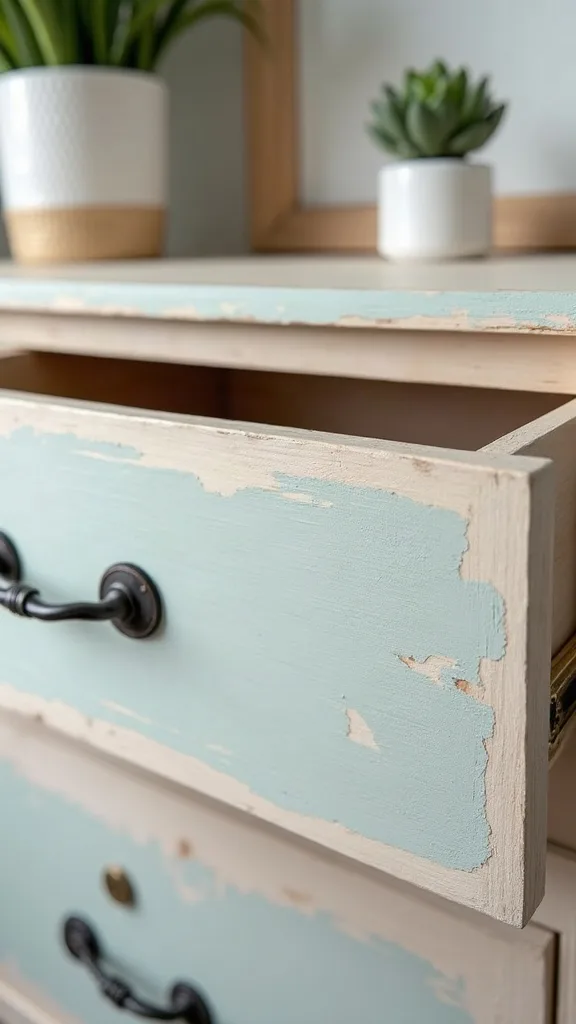
17. What should I avoid painting on thrifted furniture?
Not everything should be painted. It works to skip paint when the surface will fight you or when the piece already has a strong, timeless material story. Avoid painting laminate that’s peeling at the edges; it will keep peeling under your new finish. Avoid painting over waxed or heavily oiled surfaces unless you fully strip them—paint will fisheye and slide. Avoid painting antique pieces with original patina and intact hardware if you can sell or use them as-is; that patina is value. If you’re unsure, test paint on the back edge and scratch it lightly after 24 hours. Materials to consider instead: a good clean, a new knob, and felt pads. Pro tip: the best budget move is knowing when to stop. A light refresh can look more expensive than a thick coat of the wrong paint.
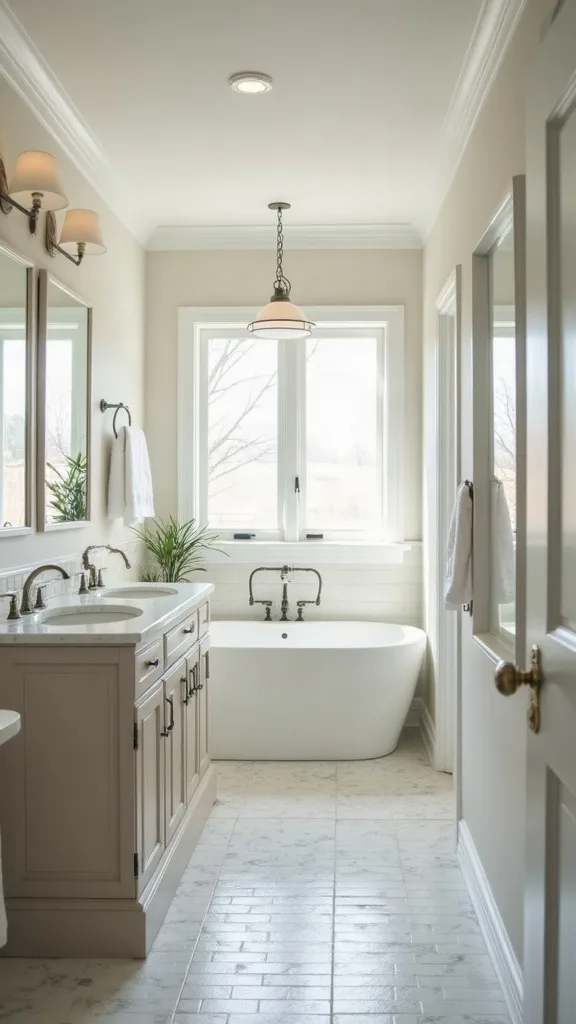
18. How do I makeover a coffee table so it survives daily use?
A coffee table is a workhorse, not a display pedestal. It works when you combine a forgiving finish with protective habits. If the table has a solid wood top, sand it smooth, stain it to a warm mid-tone, and seal it with multiple thin coats of water-based polyurethane. If it’s not worth refinishing, paint the base and replace the top with a cut-to-size plywood panel wrapped in veneer edge banding. Add felt pads under trays and decor so you aren’t grinding grit into the surface. Keep styling simple: a low tray, a small stack of books, and one candle. Pro tip: avoid soft wax finishes on coffee tables; they show every ring. A sealed top plus one tray creates a surface that looks composed even on a busy weeknight.
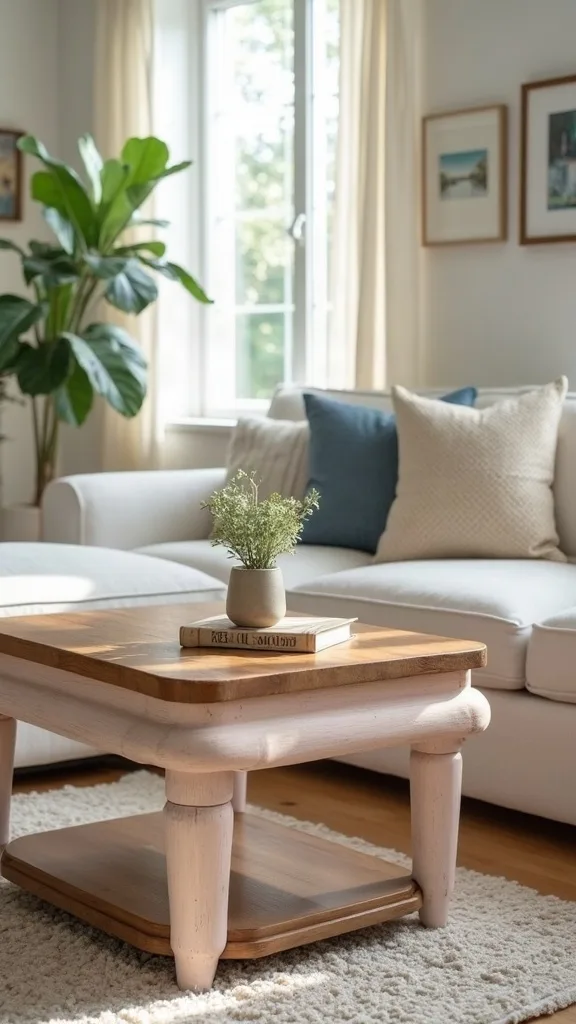
19. What’s a low-cost way to update a side table pair so they match?
Mismatched side tables can look intentional with one unifying move. It works because repetition—color, hardware, or shape—reads as design. Paint both tables the same grounded color, then swap hardware or add identical feet to create a shared detail. If one table is shorter, add furniture risers or thicker felt pads under the legs to level them visually beside the sofa. Keep the tops similar: either both wood-toned or both painted. Materials to consider: one quart of paint, two matching knobs, and a small foam roller. Pro tip: avoid forcing symmetry with two totally different styles; mid-century legs and ornate carved edges won’t reconcile. Choose one “quiet” finish and let that calm the pair into a set.
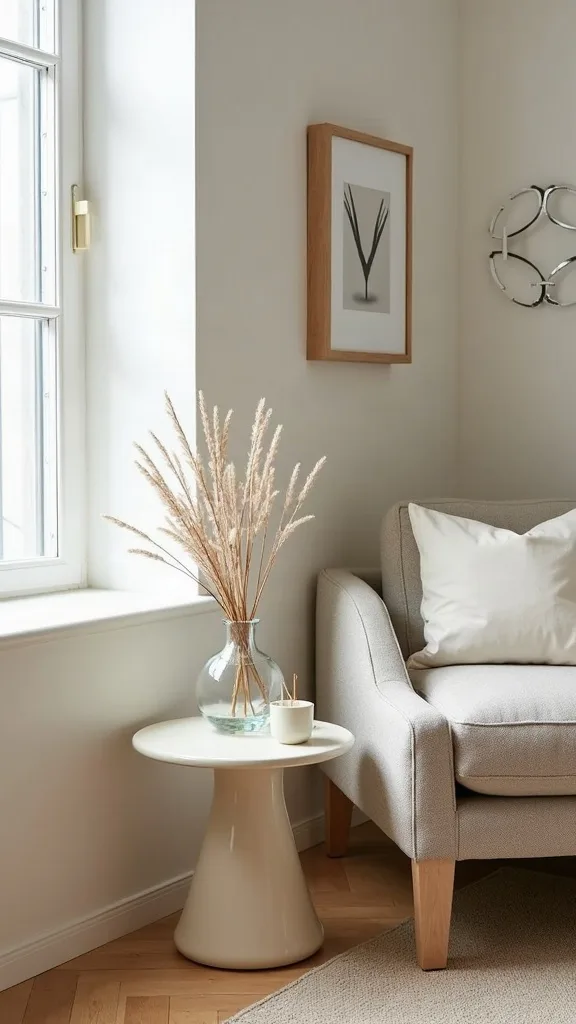
20. How do I use lighting to make the makeover look more expensive?
Lighting is the editor of your finish. It works because paint and wood tones shift dramatically under the wrong bulb, especially in a living room at night. Place a table lamp on your newly made-over piece and use warm white light (2700K–3000K — the cosy, yellowish tone you see in most homes) so whites look creamy and blacks look velvety. Aim for a shade that hides the bulb and throws light down onto the surface, highlighting texture instead of glare. If you can, add a second light source across the room to balance shadows. Materials to consider: a thrifted lamp base, a new shade, and an LED bulb with good color quality. Pro tip: avoid cool “daylight” bulbs near warm wood; they make everything look flat. Good lighting makes a $25 table read like a designer piece.
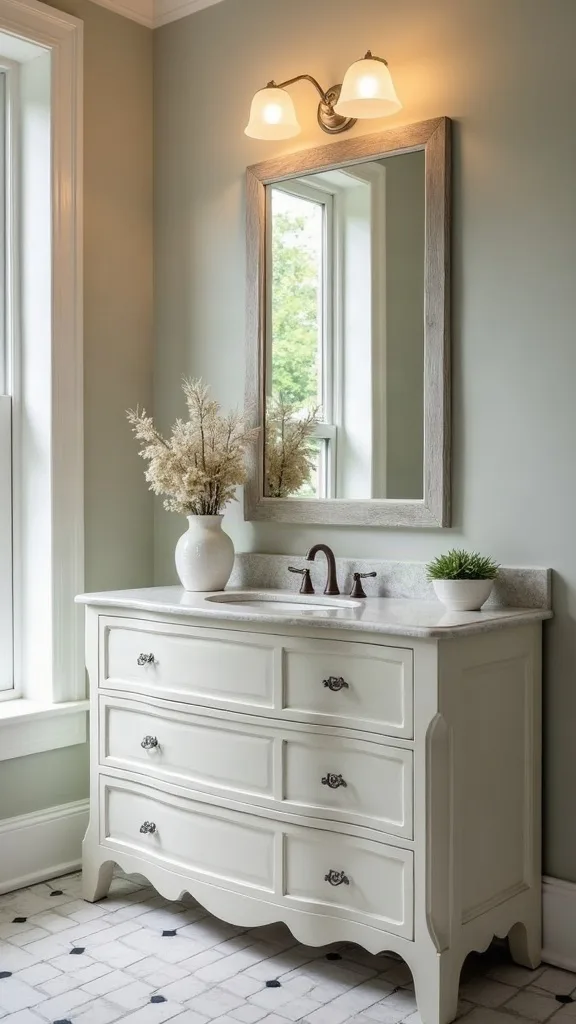
21. What greenery looks right on a thrifted piece in a living room?
Greenery finishes the story. It works because plants soften hard edges and make painted furniture feel lived-in, not freshly staged. Use one medium plant with an upright shape—snake plant, pothos on a moss pole, or a small rubber plant—set in a simple pot in clay, black, or woven seagrass. Keep the pot scale proportional: about one-third the height of the lamp beside it, or smaller if it sits on a narrow console. Add a saucer to protect the finish and prevent water rings. Materials to consider: a thrifted brass cachepot, a terracotta pot, and a felt pad under the saucer. Pro tip: avoid tiny clusters of many small plants; they read cluttered fast. One strong plant makes the whole setup look deliberate.
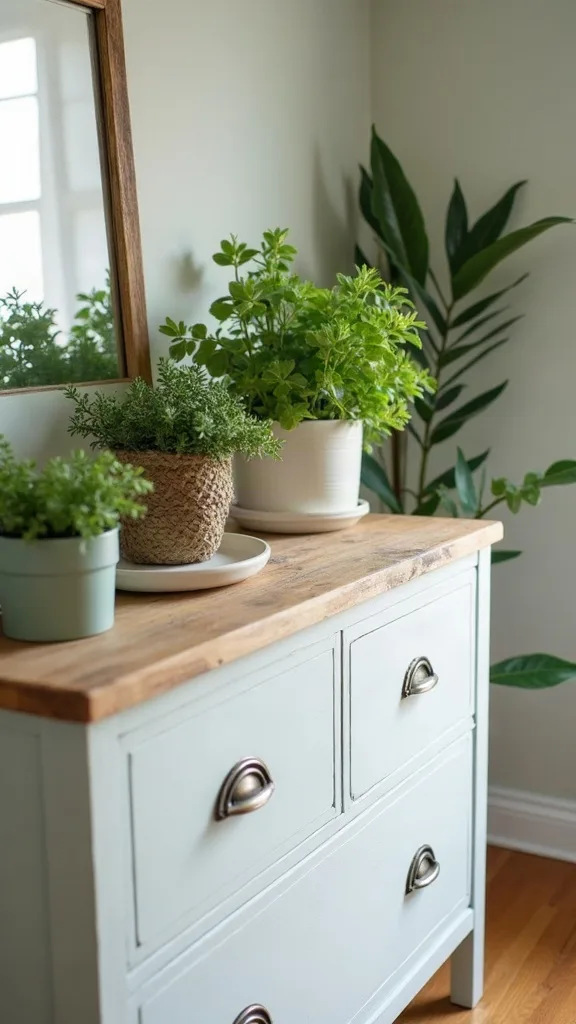
22. How can I style the finished piece so it looks timeless, not trendy?
Timeless styling is controlled and quiet. It works because the living room feels cohesive when objects repeat color and scale. Start with the bones: your newly finished piece should anchor the wall with weight and clean lines. Add textiles next—fold a throw over a nearby chair in the same tone family as the paint. Bring in lighting with one lamp and one candle so the surface has glow at different heights. Finish with objects: a shallow tray, one ceramic vase, and a framed photo in a simple frame. Keep negative space on purpose; empty space is a design choice. Materials to consider: matte frames, natural fibers, and one small antique object for patina. Pro tip: avoid filling every inch with decor from the same store. Mix one thrifted object with one modern piece for balance.
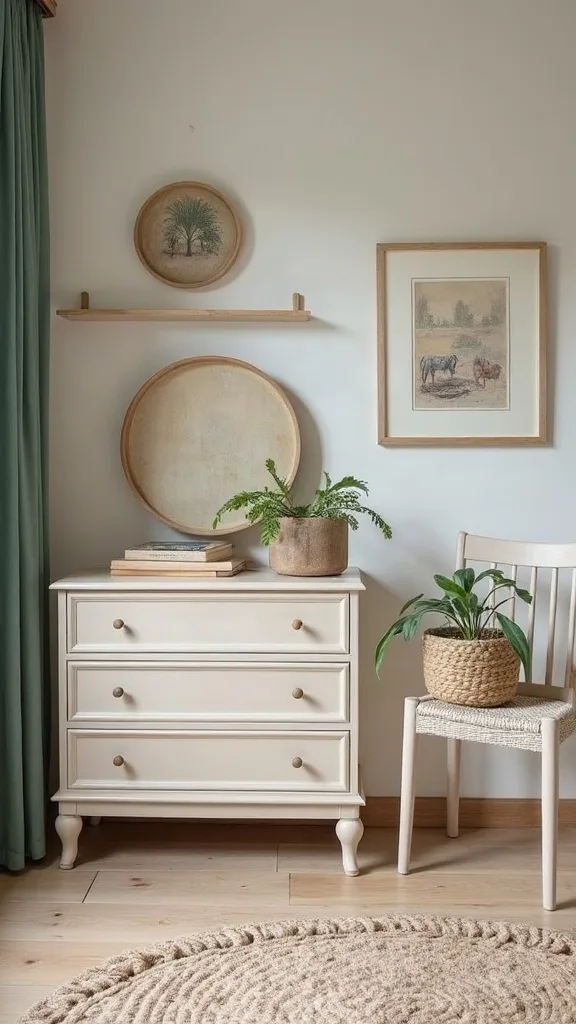
23. Which affordable tools actually matter for a clean furniture makeover?
Tools decide whether “budget” looks smart or sloppy. It works because a few reliable basics prevent drips, brush marks, and wasted paint. Buy a quality angled brush, a 4-inch foam roller, and a sanding sponge set—these three do most of the work. Add a screwdriver set and a small drill if you’re swapping hardware or adding braces. Use a drop cloth and painter’s tape so the project stays clean and your floors stay intact. Keep a cheap plastic bin for supplies so you don’t lose parts mid-project. Materials to consider: brush comb for cleaning, paint can opener, and disposable gloves. Pro tip: avoid buying a pile of specialty gadgets before your first makeover. Spend $10 more on a good brush and you’ll see it in every stroke.
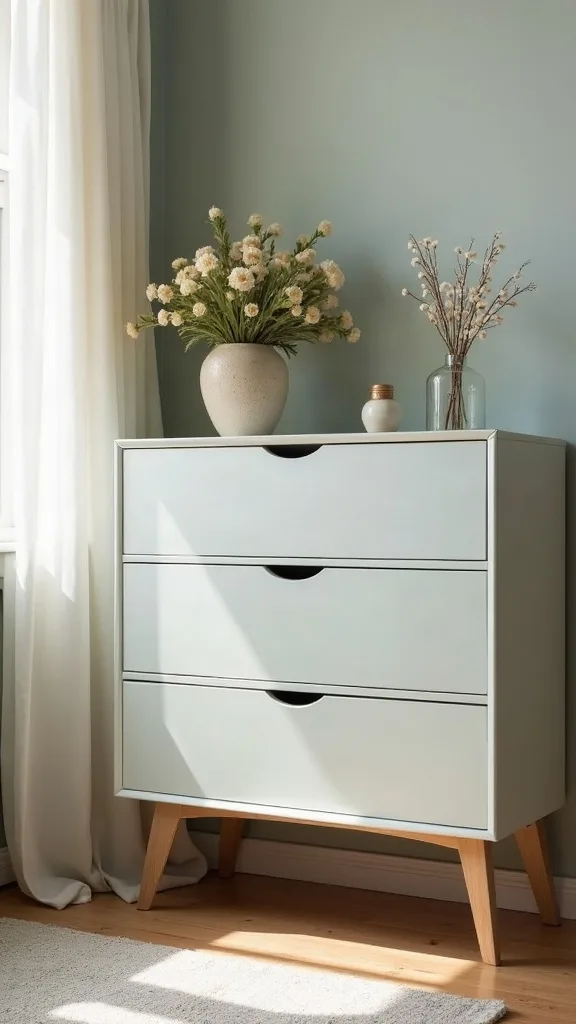
24. How do I do a budget DIY furniture makeover when I live in an apartment?
Small spaces can still handle big transformations. It works because you can control mess with containment and timing. Set up a “paint zone” on a balcony, in a parking spot, or near a window with a box fan pulling fumes outward. Use low-odor, water-based products and keep coats thin so drying time is shorter. Paint drawers and doors separately so you can stack them on cups or painter’s pyramids and free up floor space. Choose a finish that fits your living room’s calm palette so the piece blends instead of shouting. Materials to consider: foldable work table, drop cloth, and a lidded bin for wet brushes. Pro tip: avoid painting right before a humid week; curing slows and dust sticks. Pick a clear weekend, and your apartment stays livable while the makeover happens.
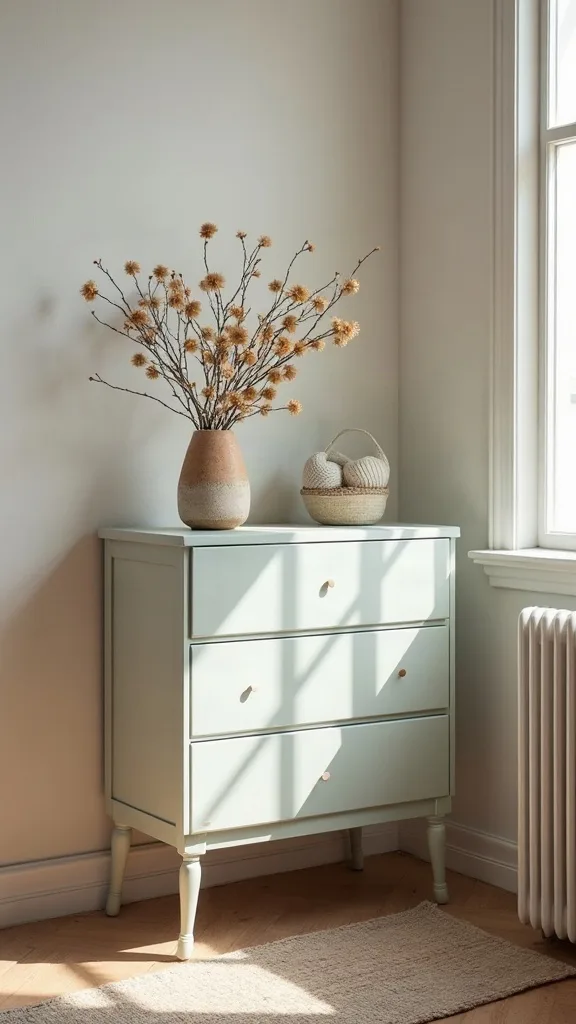
25. How do I keep the makeover durable for kids, pets, and real life?
Durability is a set of small decisions that add up. It works because the living room is a high-traffic zone—paws, backpacks, spilled drinks, and constant wiping. Use a wipeable satin finish and protect corners with thoughtful placement: tuck the piece slightly away from the main walkway and add felt pads under decor. Choose a topcoat for any horizontal surface that takes cups. Let the finish cure before heavy use, even if it feels dry, and keep a tiny jar of leftover paint for touch-ups. Add a washable runner or small tray on top to take the daily hits. Materials to consider: felt pads, coasters, and a clear topcoat. Pro tip: avoid skipping cure time because you’re excited to style. Patience here buys you months of looking “new,” and that’s the point of a smart furniture makeover.
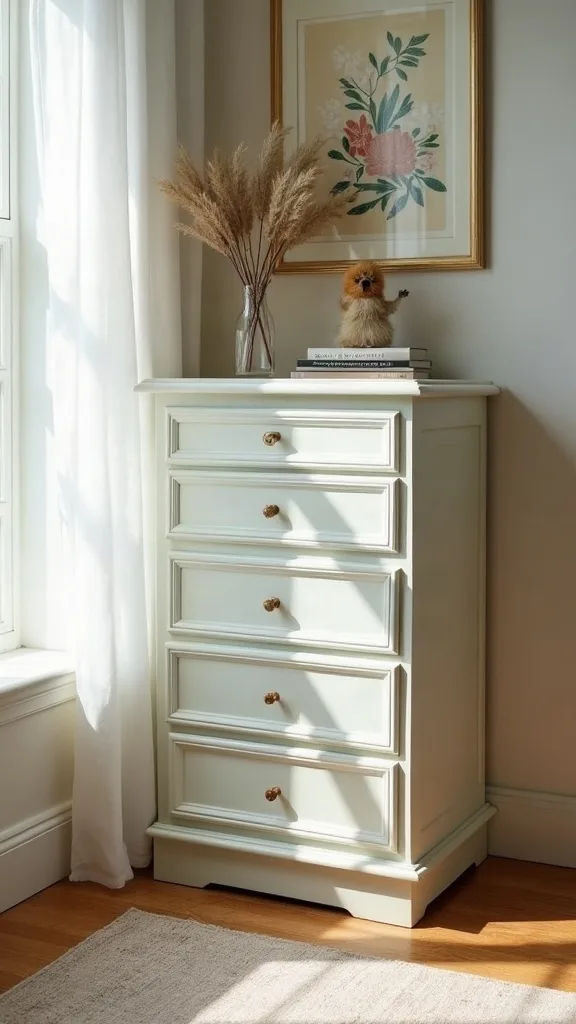
Final Thoughts
A living room feels expensive when the bones look considered. One solid thrifted piece, finished cleanly, can anchor the whole space the way a new retail purchase rarely does. Paint creates quiet. Wood adds warmth. Hardware adds intention.
Keep your layers in order. Start with the furniture silhouette and finish. Add textiles that repeat your main color in a softer texture. Bring in lighting that flatters the surface at night. Finish with one plant and a few objects that leave breathing room.
Do one thing today: measure one wall, then stop by a thrift store with your tape measure and a photo of your living room, and commit to bringing home one sturdy piece you can prep tonight. Styling tip: place a single table lamp on the finished piece and swap to warm white light (2700K–3000K — the cosy, yellowish tone you see in most homes) to make every paint color look richer instantly.
What I’d Do Differently
When I first tried this, I treated prep like an optional step and paid for it immediately. I brought home a $25 thrifted end table, wiped it once with a damp paper towel, and rolled on paint the same night because I wanted instant results. Two days later, the top felt gummy and every time I set down a cup, the finish grabbed and left marks. The real issue wasn’t the paint. It was the invisible layer of furniture polish and hand oils that I never removed. The correct approach is boring but decisive: a real degreasing wash, a light scuff sand, and a full dry before any primer or paint touches the surface.
I also wish I’d known to plan cure time into the schedule. “Dry” isn’t the same as “hard.” Now I paint early in the weekend, leave the piece alone, and style it last so I’m not dragging lamps and frames across a soft finish. Pick one piece, clear a small work zone, and start with cleaning tonight—you’ll feel the project click into place fast.