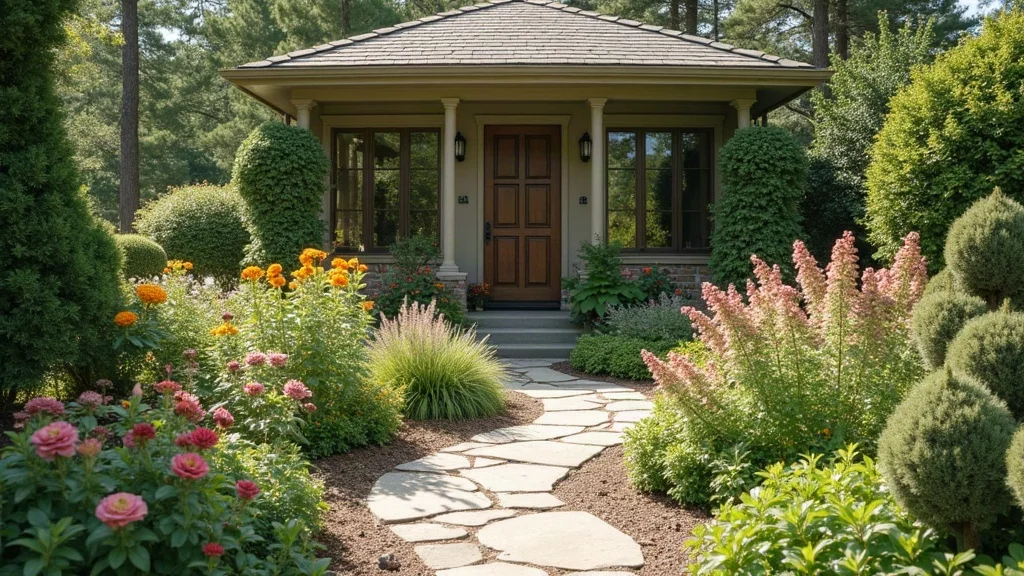

The fastest way to kill a new garden is to make it complicated. One weekend you’re feeling ambitious, the cart is full, and suddenly you’ve planted a random bouquet across your yard—then July hits and it’s a crunchy, thirsty puzzle you don’t want to solve.
This is the calmer version. These layouts are the Pinterest-trending kind that look curated because they’re built on repetition, color blocks, and plants that don’t need constant pep talks. You’ll get easy plans, spacing that makes sense in real life, and “plant it once, tweak it later” flexibility.
This is perfect for anyone starting from scratch, inheriting a sad builder bed, or wanting a simple flower layout that still feels designed.
Inside you’ll find color-coded combos (sunset, moonlight, cottage pastels), a few foolproof shapes (L-beds, ribbons, islands), and pollinator magnets that make the whole yard feel alive.
Below are 25 10 Beginner-Friendly Flower Garden Layouts 2026: Simple, Low-Maintenance, Pollinator-Friendly & Color-Coded Plans that beginners can plant confidently, maintain lightly, and still feel like they nailed the vibe.
1. The “Foolproof Blocks” Bed (made for minimal-effort confidence)
This layout is the antidote to overthinking: repeat the same few plants in clean blocks so it reads intentional from the sidewalk. It works because your eye loves order, and your watering schedule loves predictability—two wins for a first-time bed.
Mark a simple 4 ft x 8 ft rectangle, then divide it into 6–8 “tiles” with string. Plant one variety per tile (3–5 total varieties), repeating them like a pattern. Keep taller plants at the back (or center if it’s viewable from all sides), medium in the middle, and low edging in front so nothing gets swallowed.
Try salvia + coneflower + black-eyed Susan with a soft edge of creeping thyme or dwarf lavender. The textures age well—stems go silvery, seed heads get sculptural, and it still looks styled.
Pro tip: Use one mulch color (dark bark or shredded cedar) across the whole bed to make the blocks pop, and you’ll feel that quiet “I did this on purpose” satisfaction every time you walk by.
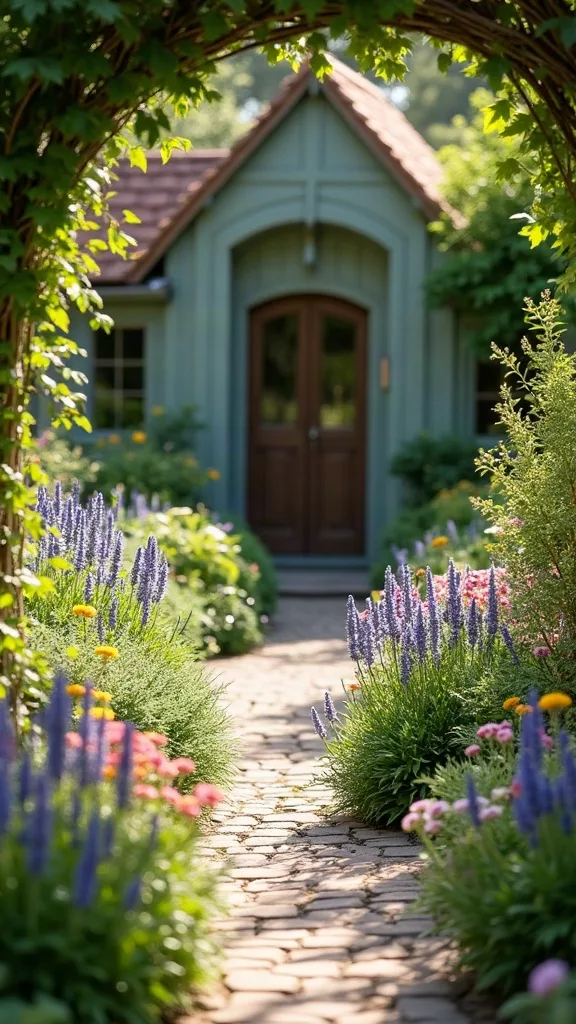
2. Sunset Gradient Border (peach → coral → magenta)
This is the layout you plant when you want your yard to feel like golden hour lasts longer. A sunset gradient works because even mixed plant shapes look cohesive when the colors transition smoothly, not randomly.
Lay out a 2–3 ft deep border along a fence or walkway. Start at one end with peach blooms, shift to coral in the middle, and land in magenta/purple at the far end. Plant in drifts of 3–5 of the same plant, then repeat that drift again later to keep it from feeling like a one-time parade.
Good players: apricot zinnias, coral gaillardia (blanket flower), pink coneflower, and purple salvia. Add airy filler like cosmos so the whole thing drapes a little instead of standing at attention.
Pro tip: Avoid mixing every warm color everywhere—keep the gradient clean. When you walk alongside it, the slow color shift feels like a soft playlist in plant form.
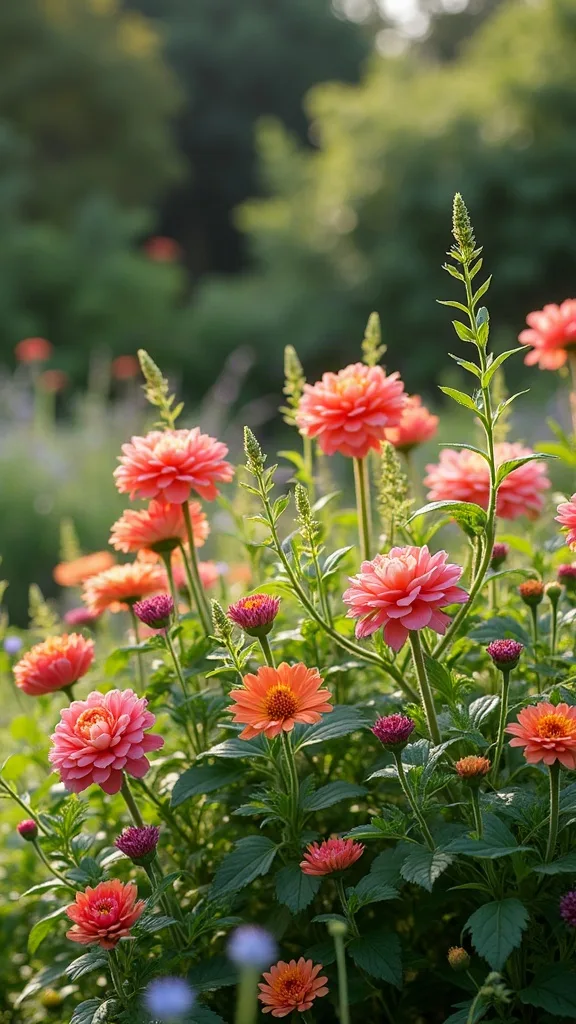
3. Moonlight White Garden (night-friendly + heat-tolerant)
This layout is for anyone who actually uses their yard after 6 p.m. White and pale blooms catch the last light, and the whole bed looks crisp even when the rest of the garden is doing late-summer chaos.
Pick a spot you see from a patio chair or kitchen window. Build a simple oval or kidney shape, then anchor it with 2–3 evergreen-ish forms (lavender, rosemary in warmer zones, or small boxwood if you’re into structure). Fill around them with white bloomers in repeating clumps so it reads as one idea, not a plant adoption center.
Plant list: white alyssum at the edge, white coneflower, white cosmos, and white salvia (or pale blue if you want depth). Add silver foliage like dusty miller for that soft, velvety texture that looks expensive.
Pro tip: Skip bright red flowers nearby—they’ll visually “shout” against the white. When the sun drops, this bed makes the whole outdoor space feel calm and a little cinematic.
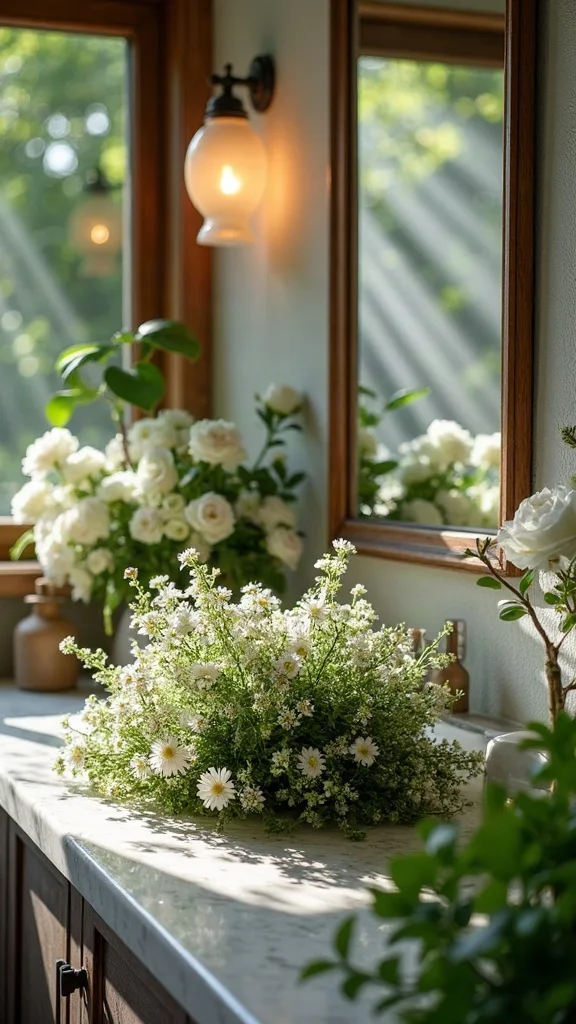
4. Three-Plant Repeat (the easiest way to look “designed”)
If you only take one layout idea, take this: repetition is what makes a garden look curated. A three-plant repeat works because you’re basically creating a pattern—your brain recognizes it, and the bed instantly feels pulled together.
Choose one tall “star,” one medium “body,” and one low “edge.” Plant them in the same order across the bed: star-body-edge, star-body-edge, and so on. Keep spacing consistent (roughly 12–18 inches for most perennials) so it fills in instead of leaving awkward gaps.
Try coneflower (star), coreopsis (body), and creeping thyme (edge). The thyme feels plush underfoot if it spills toward a path, and it ages into a soft green carpet.
Pro tip: Avoid buying “one of everything” at the nursery. Commit to your trio, and you’ll get that clean, confident look that makes you want to linger outside longer.
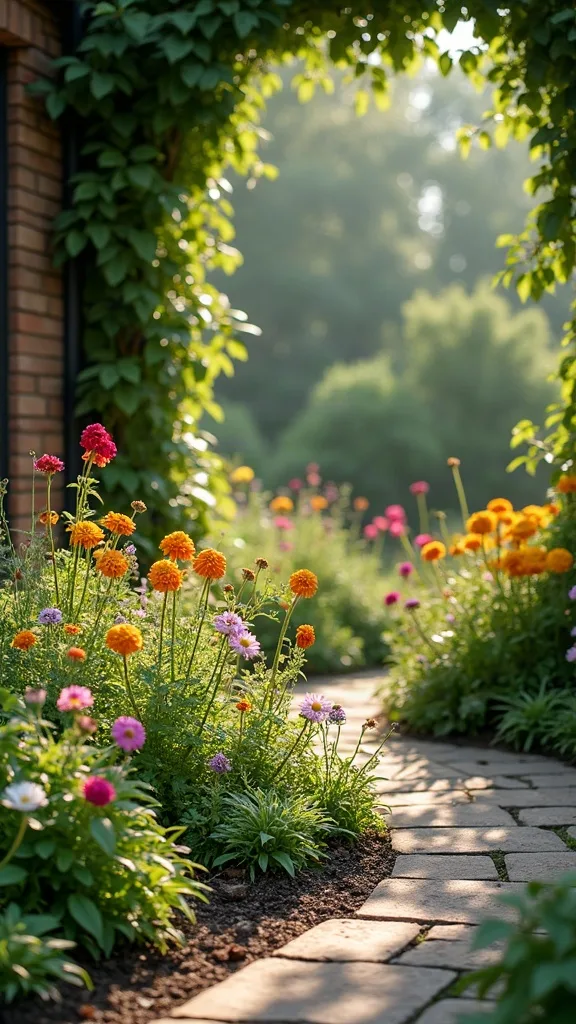
5. Pollinator Runway (a straight bed that stays buzzing)
This layout is basically a landing strip for bees and butterflies. It works because pollinators prefer big, obvious patches of the same flower—tiny singles are harder for them to spot and not worth the stop.
Create a long, narrow bed (even 2 ft x 12 ft works) along a driveway, fence, or side yard. Plant in fat drifts: 5–7 of one plant, then 5–7 of the next, repeating the sequence once more. Keep bloom times staggered so something is always on deck from spring through fall.
Go with salvia, bee balm (monarda), and yarrow, plus a strip of alyssum at the edge. The mix feels a little wild, but still intentional because it’s repeated.
Pro tip: Avoid pesticide sprays “just in case.” If you want the runway alive, let it be alive. Walking past it feels like your yard has its own soundtrack—soft wings and small, busy miracles.
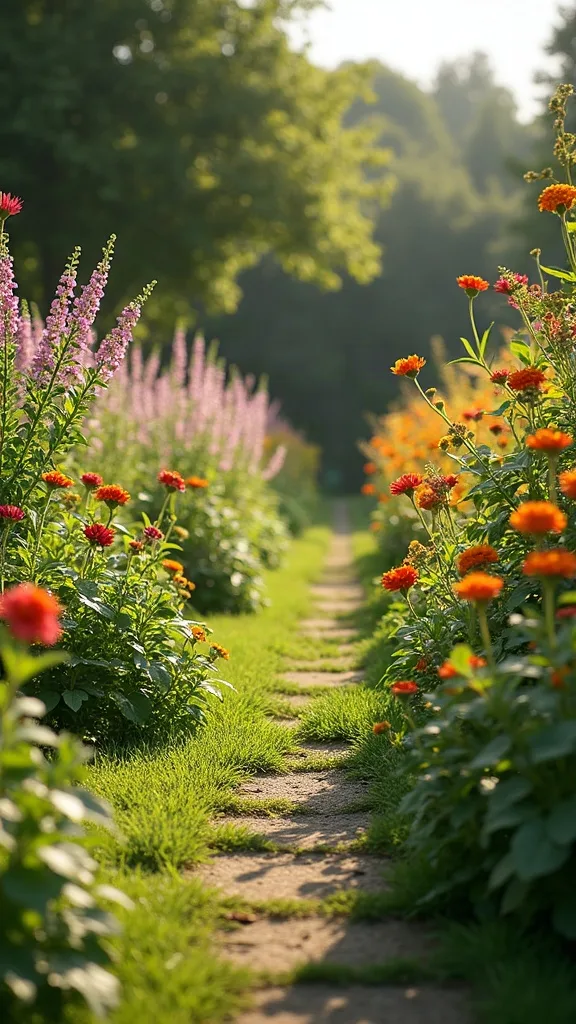
6. Front-Walk Ribbon Bed (tidy edge, big payoff)
A ribbon bed along a walkway is the easiest curb-appeal upgrade that doesn’t turn into a full landscaping saga. It works because the straight line gives you instant structure—your flowers can be playful without looking messy.
Measure a 18–24 inch strip along the walk and define the edge with steel edging or brick (even thrifted pavers look good once they’re a little weathered). Plant low growers at the path (alyssum, creeping phlox), then medium bloomers behind (salvia, coreopsis), and finish with 2–3 taller accents spaced every 3–4 feet (coneflower or gaura).
Keep the palette simple: two main colors plus green. Think white + purple, or yellow + blue. That’s it.
Pro tip: Avoid placing tall plants right at the edge—they’ll flop into the path and look sloppy fast. This one makes coming home feel like walking into a place that’s cared for.
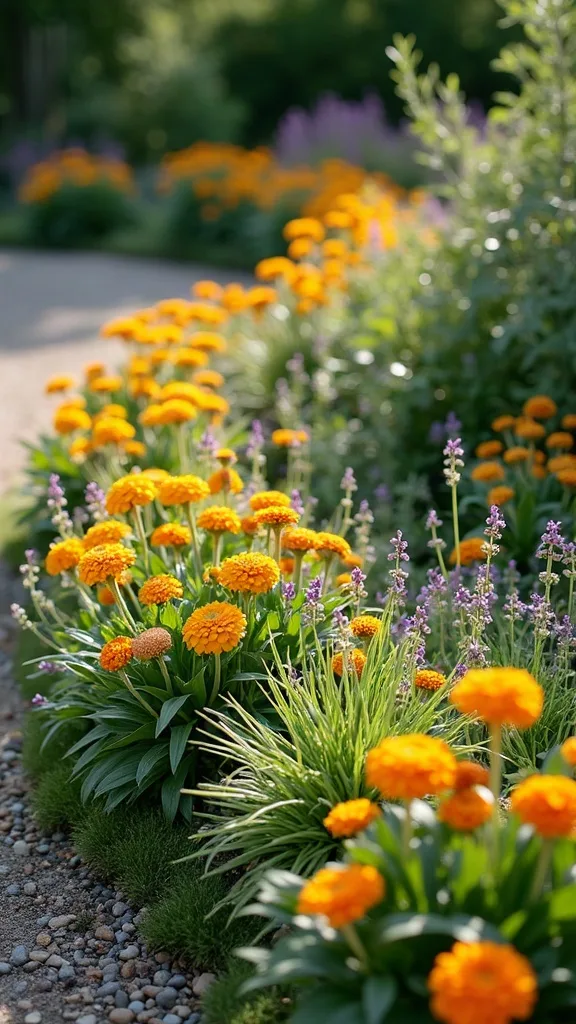
7. Corner L-Bed (the classic “fix the empty corner” plan)
An L-shaped bed is what you do when a corner of the yard feels like dead air. It works because it frames space—suddenly your patio, fence line, or front yard has a finished edge instead of an awkward blank.
Mark an L with a hose: one leg 6–8 ft, the other 4–6 ft, about 3 ft deep. Put the tallest plants at the inside corner (that’s your visual anchor), then step down in height as you move outward. Repeat 2–3 plants along both legs so the shape feels unified.
Try tall ornamental grass (like little bluestem), plus coneflower and salvia, then a low edge of sedum or thyme. Mix in one vintage-looking element—an old terracotta pot or a weathered stone—so it feels collected, not cookie-cutter.
Pro tip: Avoid sharp 90-degree corners; soften the inside curve. When you round the bend, the garden feels like it’s been there forever (in the best way).
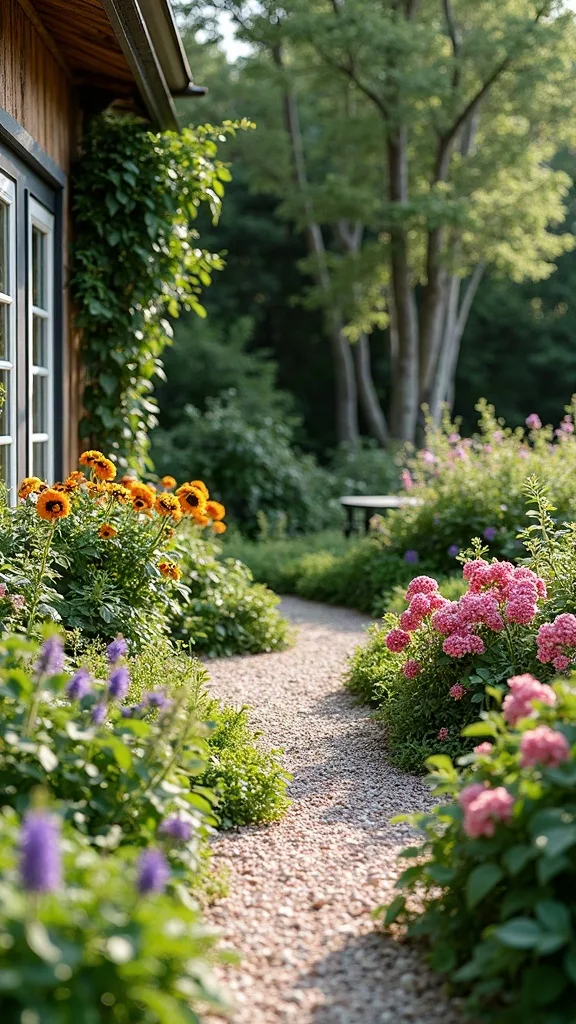
8. Mailbox Micro-Bed (small space, big ‘hello’ energy)
This is the tiniest layout with the biggest social life—everyone sees it. It works because a micro-bed forces restraint, and restraint is what makes a garden look polished instead of frantic.
Create a 3 ft x 3 ft (or 3 ft x 4 ft) bed around the mailbox post. Plant one upright “spike” (salvia or dwarf ornamental grass), 2–3 medium bloomers, and a low spillover edge. Keep it symmetrical-ish from the street, even if it’s looser up close.
Color code it: blue/purple/white is foolproof and reads clean from far away. Use mulch to keep weeds from turning this into a weekly chore.
Pro tip: Avoid plants that need staking (like tall delphiniums) here—nothing’s worse than a floppy mailbox garden. When you pull into the driveway, it feels like the house is smiling first.
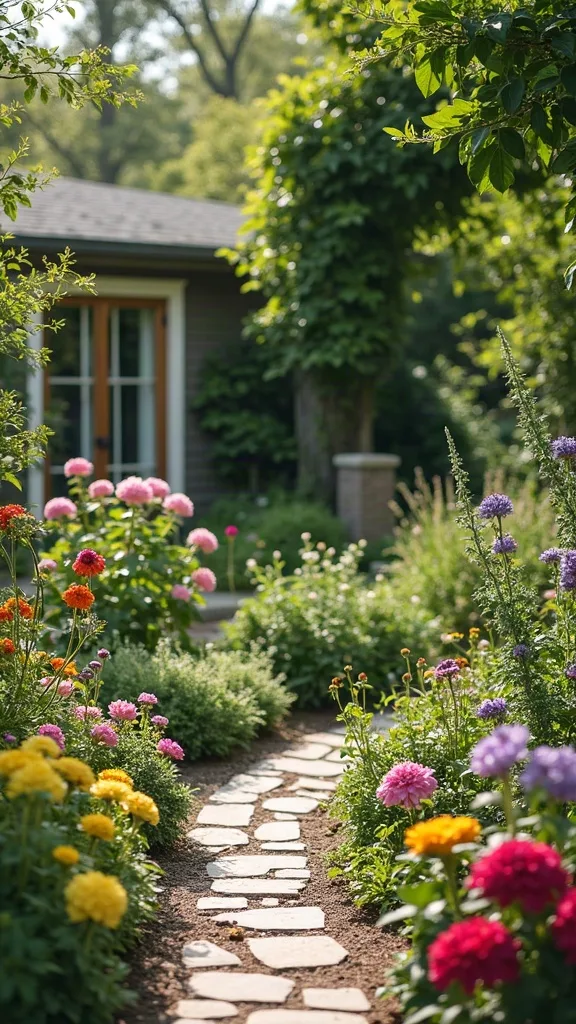
Cost & Materials Estimate
For most beginner-friendly flower beds (one 4 ft x 8 ft area), plan on spending about $120–$420 depending on how many perennials you choose and whether you add edging.
| Item | Estimated Cost | Where to Buy |
|---|---|---|
| Compost/topsoil (6–8 bags for a small bed) | $36–$72 | Home Depot |
| Mulch (5–8 bags) | $25–$48 | Lowe’s |
| Perennials (10–16 plants in 1-gallon pots) | $80–$240 | Lowe’s |
| Annuals/groundcovers (6–12 plants in 4-inch pots) | $24–$72 | Home Depot |
| Basic edging (steel or pavers for ~12–16 ft) | $35–$110 | Home Depot |
Total estimated cost: $120–$420 Save money by buying smaller starter plants and repeating fewer varieties; splurge on edging because it keeps everything looking intentional.
9. Two-Tone Color Block (clean lines, Pinterest-friendly photos)
Color blocking is the garden version of a great outfit: simple, intentional, flattering. It works because even beginner plant choices look elevated when you commit to two colors and repeat them in bold patches.
Pick a rectangular bed and split it visually into two halves (or thirds) with string. Plant Color A in one section and Color B in the other, using 2–3 plant types total so you get texture without chaos. Keep heights similar across the blocks for a modern, tidy silhouette.
Try white (alyssum + white zinnias) paired with deep purple (salvia + verbena). The contrast photographs like a dream, especially at sunset.
Pro tip: Avoid adding a “random accent color” because you got tempted at checkout. When you stand back, the crisp blocks make your outdoor space feel edited—in the best California-magazine way.
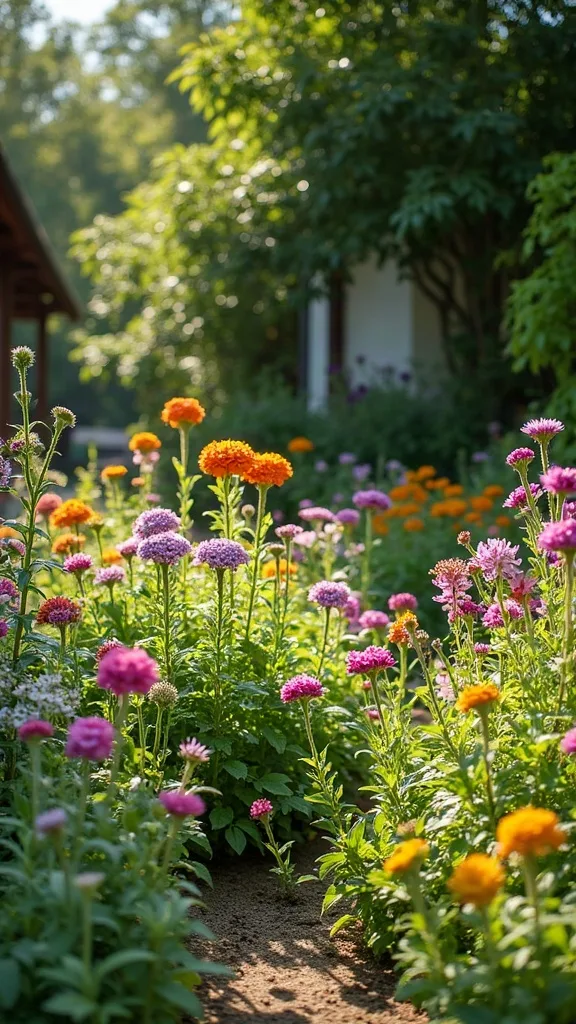
10. Cottage Drift Border (soft, layered, forgiving)
This layout is for the person who loves a romantic, slightly wild look—but still wants it to be low-maintenance. It works because drifts hide mistakes; if one plant underperforms, the surrounding flow keeps the bed looking full.
Build a 3–4 ft deep border and plant in sweeping drifts that overlap like watercolor. Place taller plants in the back, then medium, then low—classic, but effective. Repeat the same drift twice along the border for cohesion, not clutter.
Plant list: shasta daisies, catmint (nepeta), coneflower, and a little yarrow for that airy, vintage meadow feel. Add a few thrifted terracotta pots laid on their side like they “accidentally” tumbled there (it’s a look).
Pro tip: Avoid tight, single-file rows—cottage style wants looseness. Walking alongside it feels like exhaling.
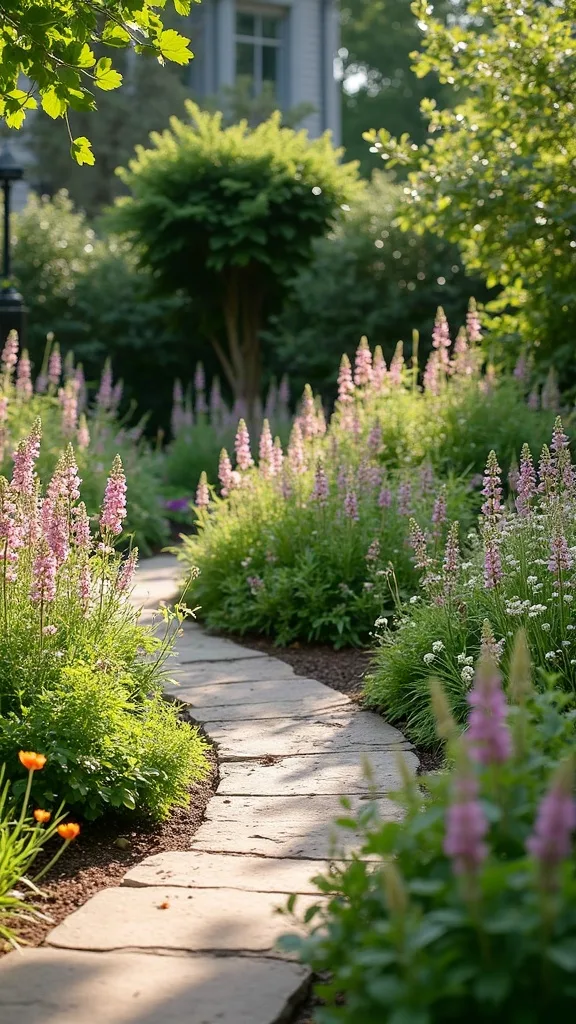
11. Round Island Bed (works in the middle of a lawn)
An island bed is how you make a flat lawn feel like a real garden without ripping up everything. It works because it creates a focal point—your eye lands there, and the whole yard suddenly has a “plan.”
Mark a 6–8 ft diameter circle with a rope and stake. Plant tallest in the center (2–3 clumps), medium in a ring around that, then low edging all the way around. Keep the outer ring consistent so the edge reads clean from every angle.
Use black-eyed Susans or tall zinnias in the center, salvia and coreopsis mid-ring, and alyssum or creeping thyme at the edge. Mulch generously so mowing around it is easy.
Pro tip: Avoid making it too small—tiny circles look accidental. A properly sized island bed makes the yard feel finished, like you finally moved in for real.

12. Herb + Flower Mix Bed (pretty, useful, and drought-friendly)
This layout is what happens when you want your garden to smell good when you brush past it. It works because herbs are tough, flowers bring the color, and together they create a textured, low-drama bed that doesn’t need babying.
Design the bed in thirds: one third herbs, one third pollinator flowers, one third “soft edge.” Keep herbs near the front so you actually harvest them. Plant Mediterranean herbs (rosemary, thyme, oregano) in a loose row, then tuck in calendula, zinnias, or salvia behind.
Stick with sun-loving, dry-leaning plants so watering is simple. The foliage textures are the star here—needle-y rosemary, fuzzy lavender, soft thyme mats.
Pro tip: Avoid mint in the ground unless it’s in a pot sunk into the soil—mint runs. When you step outside, it feels like a little coastal farm stand, minus the effort.
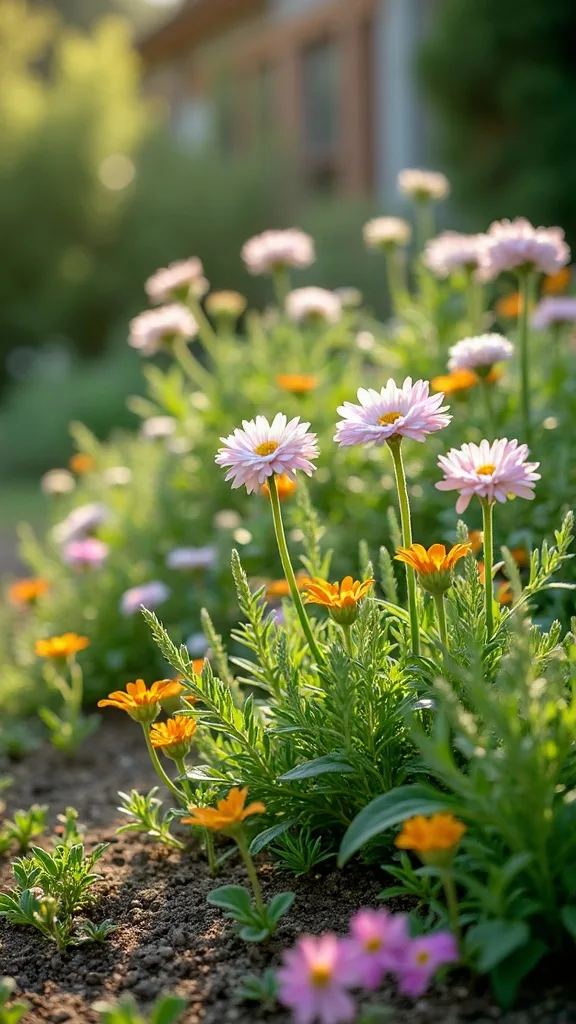
13. No-Dig Cardboard Bed (the easiest new-bed shortcut)
This layout is for anyone who doesn’t want to wrestle grass roots like it’s a CrossFit workout. It works because you’re smothering the lawn, feeding the soil, and planting into a clean slate—no rototiller drama.
Mow the area low, lay overlapping cardboard (no glossy print), soak it, then pile 4–6 inches of compost/topsoil mix on top. Mark your layout with sticks: taller plants back, medium middle, low front. Plant right into the new layer and water well for the first two weeks.
Choose plants that forgive new soil: coneflower, salvia, yarrow, and zinnias. Add shredded bark mulch to keep the surface from drying out and looking messy.
Pro tip: Avoid leaving cardboard edges exposed—they’ll lift and look scrappy. When it settles in, you’ll feel that quiet pride of doing it the easy-smart way.
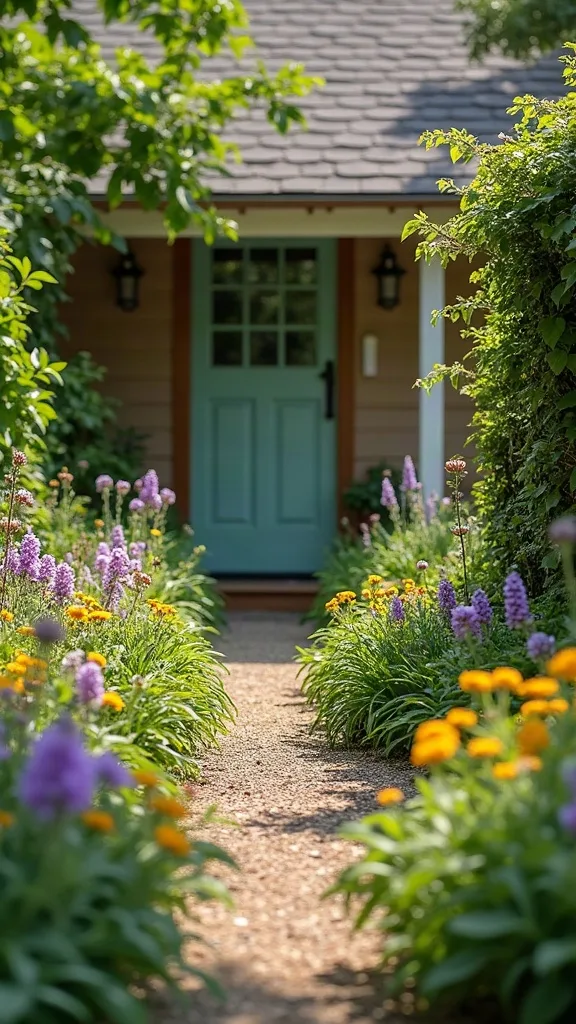
14. Stepping-Stone Scatter (flowers that frame a path)
This layout turns “just a path” into a moment. It works because stepping stones give structure, while flowers soften the edges and make the whole thing feel like an intentional stroll, not a utility route.
Set stepping stones 18–24 inches apart (comfortable adult stride). Create small planting pockets on both sides of the stones, repeating the same 2–3 plants every few feet for rhythm. Keep plants low near the stones so feet and blooms don’t fight.
Use creeping thyme, dwarf sedum, and low verbena for the edges, then add a few taller pops (salvia or gaura) set back 12–18 inches. Let some plants spill—soft is the point.
Pro tip: Avoid gravel right next to the stones if you hate tracking it indoors. Walking this path feels like you’re entering a little garden “room,” even if the yard is small.

15. “Always Blooming” Sequence Bed (spring to fall without guessing)
This layout is for anyone who’s tired of a garden that looks amazing for two weeks and then goes quiet. It works because you’re stacking bloom times—early, mid, late—so something is always showing up.
Pick three bloom windows: spring (like dianthus), summer (coneflower/salvia), and late season (asters or goldenrod alternatives). Plant each window in repeating drifts. Keep your late-season plants toward the back so they rise up when the early bloomers fade.
Color-code it in one family—pink/purple is the easiest—and let foliage do the rest. Add one evergreen-ish herb (lavender) so the bed never looks bare.
Pro tip: Avoid planting only peak-summer annuals; you’ll get a dead zone before they hit. When this bed is working, it feels like the yard has a steady pulse all season.
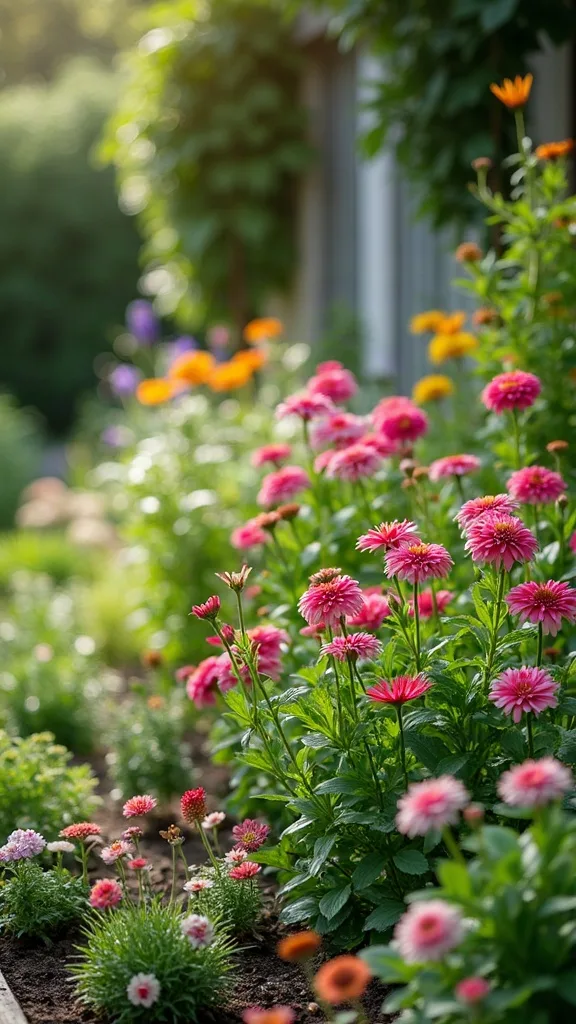
16. Raised Edge + Groundcover Combo (low weeding, neat look)
If you want “tidy” without constant upkeep, this is your move. It works because a defined edge keeps mulch in place and a groundcover layer crowds out weeds like a living blanket.
Add a simple border—steel edging, brick, or chunky wood (cedar ages beautifully). Plant your main flowers in the center in clumps, then fill every open spot near the edge with groundcover. Water consistently for the first month so the groundcover knits together.
Try coneflower and salvia as your center, with creeping thyme or sedum as your low layer. The mix of upright stems and dense mats looks designer-y with zero fuss.
Pro tip: Avoid leaving bare soil “for later.” Bare soil is basically an invitation to weeds. Once this fills in, you’ll feel like you finally hacked the whole maintenance thing.
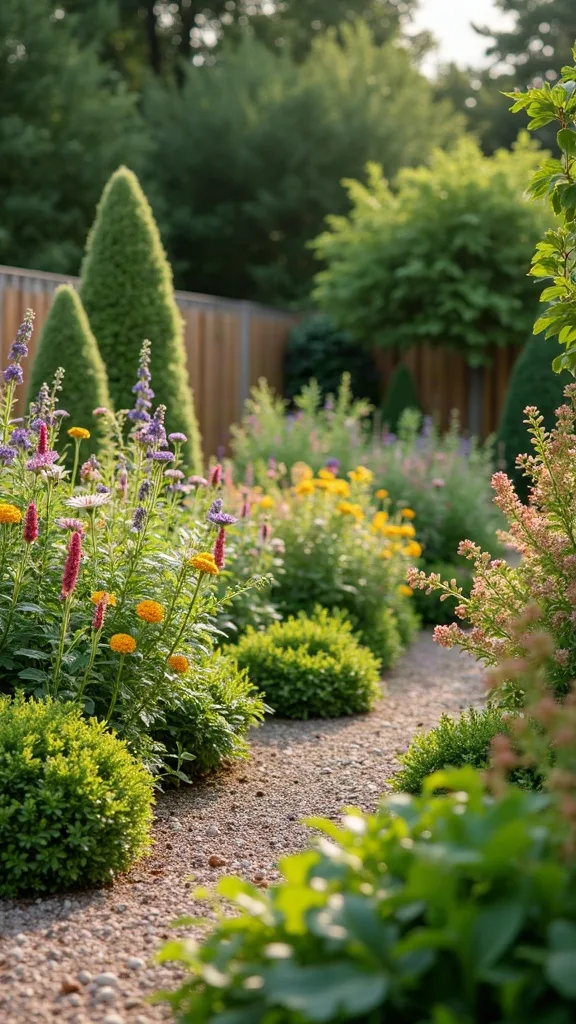
17. Container Cluster “Garden” (no digging, still lush)
This layout is for renters, patio people, or anyone not ready to commit to a shovel. It works because grouping containers reads as one garden, and you can rearrange like furniture when the vibe changes.
Use 5–9 pots in two sizes (for example, 12-inch and 16-inch). Cluster them tightly with taller pots in back and shorter in front, leaving a small “negative space” gap so it doesn’t look cramped. Plant each pot with a simple recipe: one thriller (upright), one filler (mounding), one spiller (trailing).
Go for zinnias or salvia as thrillers, lantana or calibrachoa as fillers, and sweet potato vine or trailing verbena as spillers. Choose matte terracotta or vintage-look clay—sun-faded is a feature, not a flaw.
Pro tip: Avoid tiny saucers that overflow and stain patios. When you step outside, this cluster makes it feel like your outdoor space has a heartbeat.
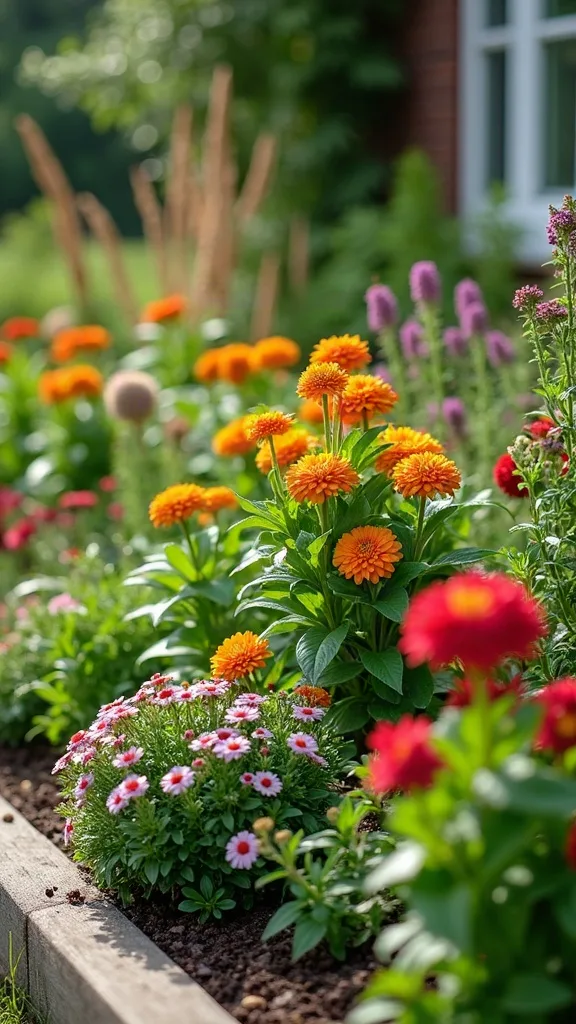
18. Driveway Strip Rescue (heat, reflection, and tough plants)
Driveway strips are brutal—hot pavement, reflected glare, and dry soil. This layout works because it leans into tough, sun-hardy plants and keeps the design simple so it looks intentional, not like survival mode.
Keep the bed narrow (18–24 inches) and plant in repeating clumps so it reads clean from the car. Use drought-tolerant perennials as the backbone, then tuck in a few annuals for extra color. Mulch deeply to reduce watering and keep roots cooler.
Plant list: yarrow, lavender, salvia, and blanket flower. For a punch, add zinnias in one color only—hot pink or orange—so it feels curated.
Pro tip: Avoid thirsty plants like hydrangeas here—they’ll sulk. When it’s thriving in that harsh spot, you’ll feel like you outsmarted your own driveway.

19. Fence-Line Trellis + Flowers (vertical interest, small footprint)
This layout is a cheat code for small yards: go up. It works because a trellis gives your flowers a backdrop, making even a skinny bed feel layered and complete.
Install a simple wood or metal trellis panel (4–6 ft wide) against a fence. Plant one easy climber at the base, then fill the front with medium-height pollinator plants. Keep the edge low and tidy so the vertical piece feels like a feature, not a tangle.
Try clematis (choose a beginner-friendly variety) or black-eyed Susan vine for the climber, then salvia, coneflower, and alyssum in front. The fence becomes a canvas; the plants do the brushwork.
Pro tip: Avoid aggressive climbers like some trumpet vines unless you truly want a takeover. When you look out, the vertical layer makes the space feel taller, like the yard just got an upgrade.
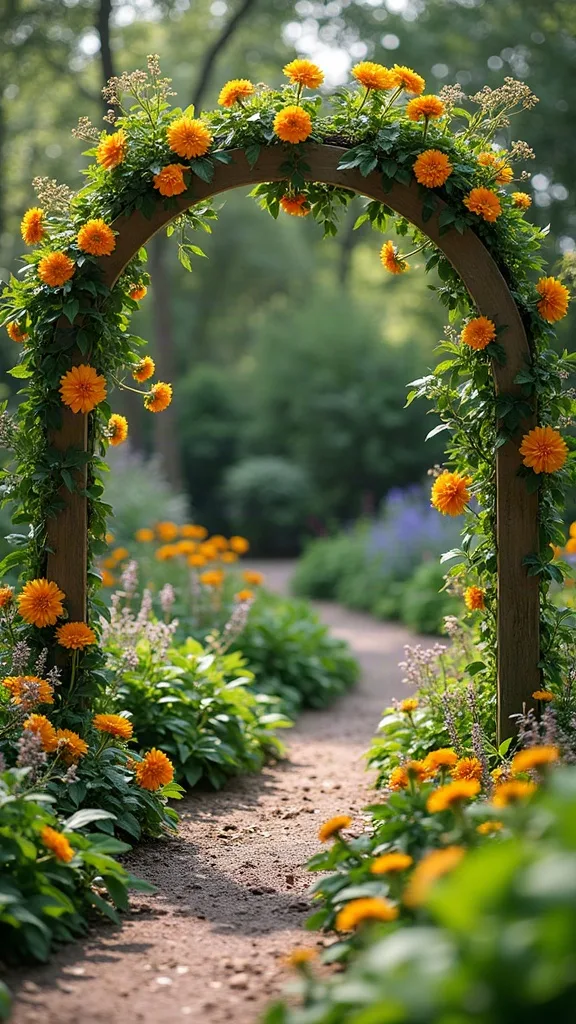
20. Native-Forward Patch (low water, high wildlife)
This layout is for the “I want it to thrive without me” crowd. It works because native-leaning plants are built for your region’s weird weather swings, and pollinators recognize them like an old friend.
Start with a simple oval bed and plant in big drifts—don’t sprinkle. Choose 4–6 native or native-adjacent plants suited to your area, and repeat them. Leave a little open mulch space the first year; year two is when it starts to look lush.
Commonly easy options in many US regions: coneflower, yarrow, milkweed (for monarchs), asters, and bee balm. Keep colors in one lane—purple/pink or yellow/white—for a cohesive look.
Pro tip: Avoid over-amending the soil with rich fertilizers; many natives prefer leaner ground. When it settles in, the garden feels like it belongs there—like it always did.
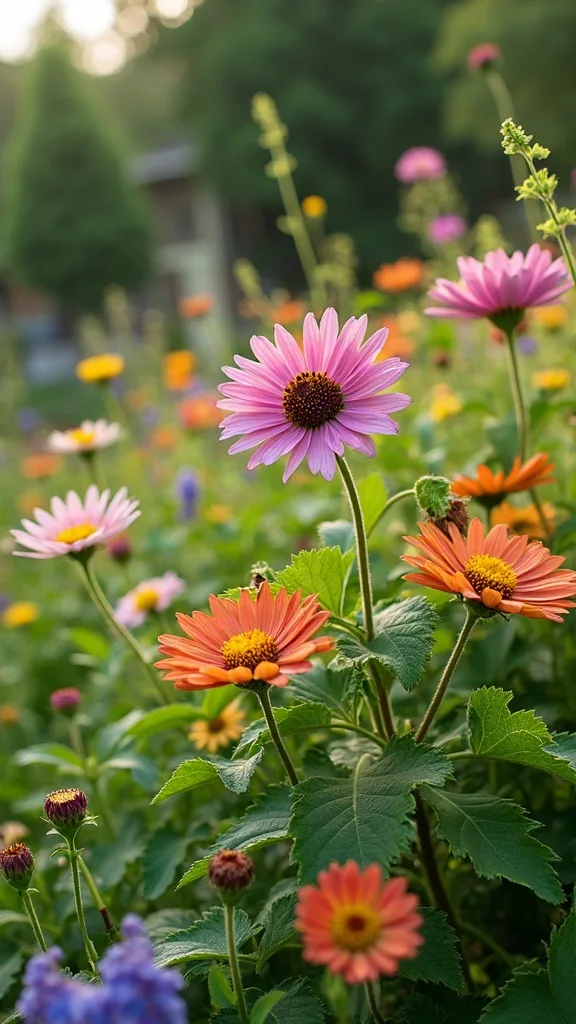
21. Four-Square Grid Bed (orderly, modern, beginner-safe)
This is the clean-lines layout for people who like a little structure. It works because grids make plant choices feel intentional—even if you’re still learning what thrives in your yard.
Create a square bed (like 6 ft x 6 ft) and divide it into four equal squares with a narrow path of mulch or stepping stones between. Plant one “theme” per square: pollinator purple, sunny yellow, white/silver, or herb-y greens. Repeat 2–3 plants per square in tight groupings.
Use salvia + verbena in one square, coreopsis + marigolds in another, dusty miller + white zinnias in a third, and lavender + thyme in the fourth. The textures play nicely—soft, fuzzy, spiky, airy.
Pro tip: Avoid mixing heights randomly inside each square; keep each block consistent. Standing above it, you get that satisfying “designed on purpose” feeling.
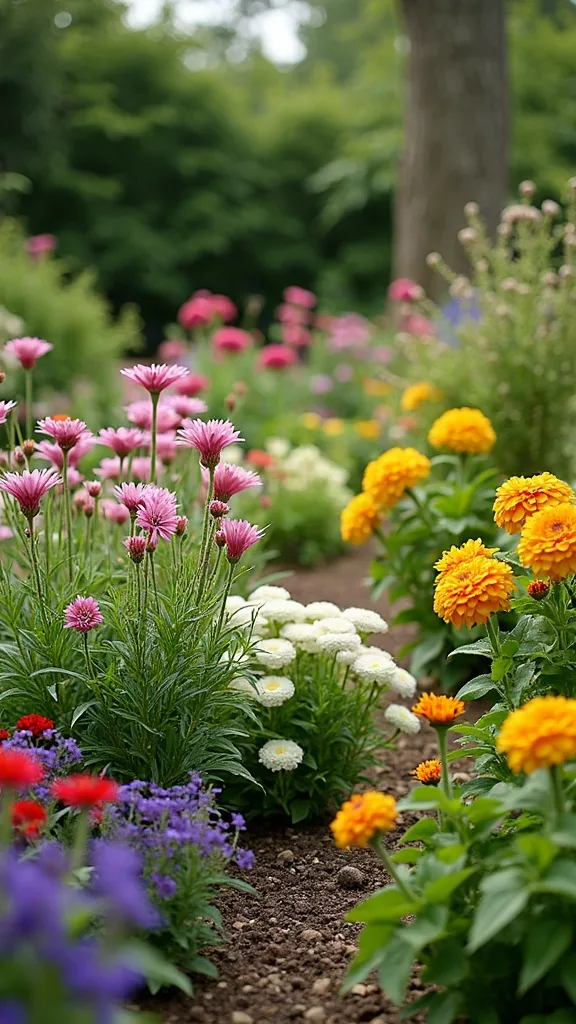
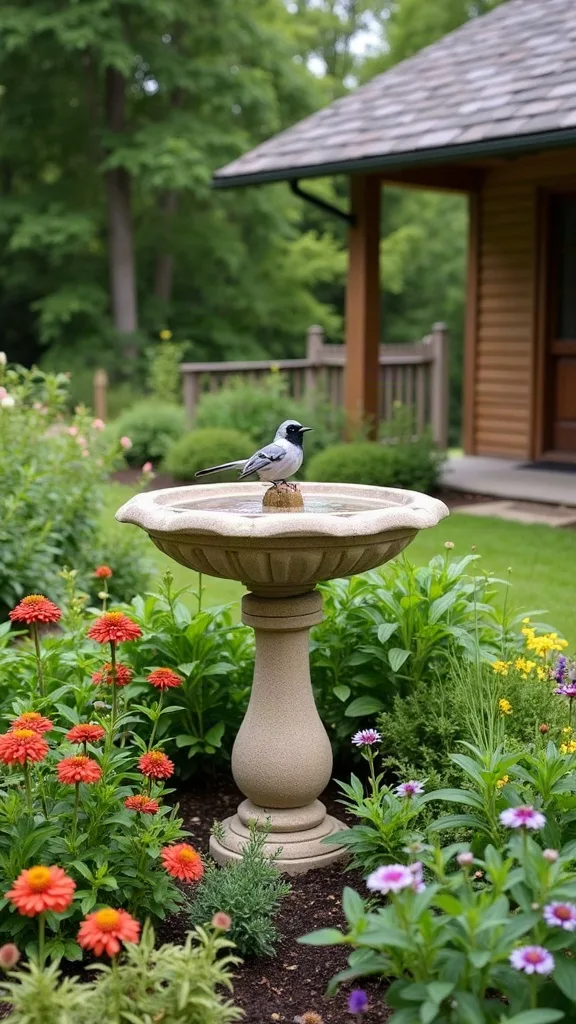
22. Birdbath Halo Bed (a centerpiece that makes sense)
A birdbath turns flowers into a scene, not just a planting. This layout works because the centerpiece gives your eye a resting point, and the surrounding ring of blooms feels like a soft frame.
Place the birdbath first—center it where you can see it from inside. Create a circular bed around it, about 4–6 ft across. Plant medium-tall flowers in a ring, then a low edge to keep it neat. Keep the birdbath accessible so you’ll actually refill it (wildlife won’t wait for your mood).
Try coneflower and salvia in the ring, with alyssum or thyme on the edge. Add one plant with movement—gaura is perfect—so the whole thing feels breezy.
Pro tip: Avoid placing it under a tree that drops nonstop leaves. When birds start showing up, the garden feels alive in a way photos never capture.
23. Cut-Flower Mini Row (pretty now, bouquets later)
This layout is for anyone who wants the joy of bringing the garden inside without turning the yard into a farm plot. It works because a small row keeps harvesting organized, and the rest of your garden doesn’t get hacked down for vases.
Create a 3 ft x 10 ft bed in full sun. Plant in simple rows or blocks so you can find stems to cut without stepping on everything. Add a low border so it still looks tidy when you’ve harvested half of it.
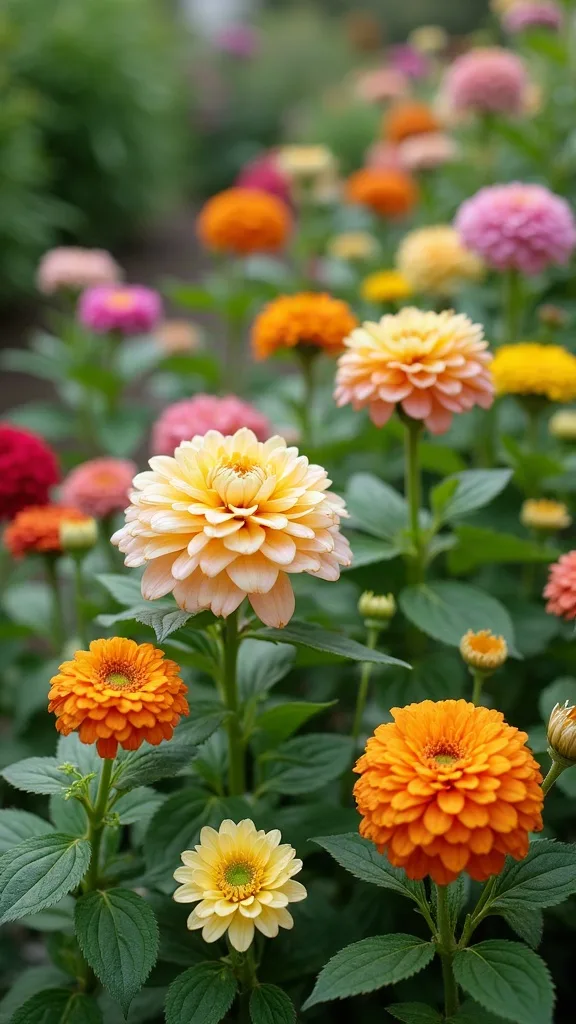
Beginner-friendly cut flowers: zinnias, cosmos, sunflowers (dwarf varieties if space is tight), and calendula. Choose a color palette—like blush + cream + soft orange—so bouquets look styled even when you grab and go.
Pro tip: Avoid planting only one type; stagger heights so bouquets have built-in variety. Cutting a fresh bunch makes the whole house feel like it’s breathing easier.
24. Shady-Edge Flower Layout (soft color for low light)
Shade doesn’t mean “no flowers,” it just means different drama—more texture, softer color, and that cool, tucked-away feel. This layout works because shade-loving plants tend to have lush foliage that fills space and hides gaps.
Pick a bed that gets morning sun or dappled light. Place taller shade plants toward the back, then layer down. Use repeating clumps so it doesn’t turn into a random collection. Keep the edge crisp with mulch or a simple brick line so the shade bed still feels intentional.
Try astilbe for feathery texture, heuchera (coral bells) for moody leaves, and impatiens or begonias for blooms. Add a vintage-style ceramic pot in the corner—shade makes glazed pottery look extra rich.
Pro tip: Avoid full-sun plants “hoping they adapt.” They won’t, and you’ll feel personally betrayed. When it’s done, this corner feels like the cool side of the house you want to hang out in.

25. Beginner “One Weekend” Bed (a simple start you can expand)
This is the layout for the moment you’re ready to stop saving ideas and actually plant something. It works because it’s small enough to finish in a weekend, but designed so you can extend it later without starting over.
Start with a 4 ft x 6 ft bed in full sun. Plant 2 anchor perennials in the back, 5–7 medium bloomers in the middle, and a low edge in front. Leave one small open pocket for a seasonal annual you can swap each year—instant refresh, zero redesign.
Anchors: lavender or salvia. Middle: coneflower + coreopsis. Edge: alyssum or thyme. Keep colors tight—two colors plus green—so it feels edited.
Pro tip: Avoid planting too close “so it fills in faster.” Give them room and they’ll reward you. When you walk out and see it settled in, you’ll feel that addictive, quiet pride that makes you want to plant the next bed.
Final Thoughts
The secret isn’t having the fanciest plants. It’s choosing a layout that keeps decisions small—repeat a few favorites, give them room, and let the bed settle in like linen that gets softer every wash. If you want the one thing to avoid, it’s this: don’t mix plants with totally different watering needs in the same tight space, no matter how cute they look in the cart.
Pick the layout that matches how you actually live—containers if you’re busy, a pollinator runway if you want movement, a moonlight bed if you’re outside at night. Then commit to a palette and an edge. That’s the difference between “I planted stuff” and “I made a garden.”
Today, choose one 4 ft x 6 ft (or 4 ft x 8 ft) spot, outline it with a hose, and take a photo—then pick one plan above and make a shopping list with only 3–5 plant types. When you step outside tomorrow and see that shape waiting for you, it already feels like the yard is becoming yours.
What I’d Do Differently
When I first tried this, I treated the nursery like a candy store and built my flower layout around impulse buys—one of this, two of that, all different heights, all different needs. The bed looked fun for about ten days. Then the tall stuff shaded the shorter stuff, the thirsty plants made me overwater the drought-tolerant ones, and I spent an entire Saturday moving plants around like furniture, except heavier and with guilt. The specific mistake was skipping repetition. The correct approach is boring in the best way: pick 3–5 plants that like the same sun and watering, then plant them in drifts so the bed reads as a pattern, not a collage.
I also wish I knew how much a crisp edge changes everything—mulch alone doesn’t give you that finished line. If I could rewind, I’d start with one small bed, commit to a tight palette, and leave a little space to add later instead of cramming it full on day one. Choose one layout from this list, buy only the plants it calls for, and plant it this weekend—you’ll learn more from one finished bed than from a hundred saved pins.