This post contains affiliate links. As an Amazon Associate, I earn from qualifying purchases at no extra cost to you.
Fall hits, the windows open, and suddenly every water spot feels louder. The mirror looks a little hazy, the grout reads a shade darker than you remembered, and the counter has become a tiny museum of half-used bottles. The good news: that hotel-clean feeling isn’t about having more things—it’s about removing friction and adding a few deliberate finishing details.
This guide is a seasonal cleaning reset built for real bathrooms: the ones shared with kids, roommates, guests, or just a busy schedule. You’ll get a practical flow for scrubbing what matters (hello, grout), plus a bathroom organization refresh that keeps the clean look from unraveling by day three.
This is perfect if you want a fall-ready bathroom reset without a remodel—especially in a small space where every surface shows.
Inside, you’ll find symmetry tricks that make a vanity look calmer, layering ideas that feel spa-like, and affordable swaps that read “intentional” instead of “temporary.” There’s also one thing to avoid that quietly sabotages a truly clean bathroom organization setup.
Below are 25 Seasonal Bathroom Deep Clean & Reset Ideas that bring the glow-back to your mornings—starting with a checklist that makes the whole process feel simple.
Products I Recommend for This Project
Here are some of my favourite products to help you bring these ideas to life:
- OXO Good Grips Deep Clean Brush Set — The small brush gets into grout lines and faucet seams without shredding your hands.
- Mr. Clean Magic Eraser Extra Durable — Great for scuffs on baseboards and stubborn marks on painted trim (use gently).
- Rain-X Shower Door Water Repellent — Helps glass stay clearer longer, so your reset lasts past week one.
- mDesign Plastic Bathroom Storage Bin with Handles — Makes under-sink back stock easy to pull out and keep categorized.
- Command Large Utility Hooks — Perfect for hanging a squeegee or small caddy without drilling into tile.
1. Print a 30-step bathroom reset checklist (grout scrub, drawer cleanout, expired product purge)
This idea is the backbone: one list that turns overwhelm into momentum. It works because it creates rhythm—dirty to clean, cluttered to curated—so you don’t “clean” and still feel behind. Start by printing or writing a 30-step checklist and grouping it into three columns: purge, scrub, and style. Set a 15-minute timer for the purge (trash, laundry, empties), then move to the wet work (toilet, shower, sink), and end with a styling pass (towels, tray, candle). Keep the list in a clear sleeve under the sink so seasonal cleaning becomes repeatable, not reinvented. Use a simple black pen and checkboxes—tiny, satisfying proof you’re finishing. Consider a slim clipboard or a magnetic notepad on the washer if your bathroom is attached to laundry. Pro tip: add one “bonus” line—like cleaning the exhaust fan cover—so you always have an optional upgrade that feels like a win.
2. Do a 15-minute “dry sweep” before any spraying
The fastest way to make a bathroom feel luxe is to remove visual noise before you touch a sponge. This works because you’re not smearing dust and hair into damp corners once you start spraying. Walk in with a small bin and a trash bag and do a quick dry sweep: toss packaging, gather laundry, and return random items to their real homes. Then wipe loose dust from baseboards and the vanity toe-kick with a dry microfiber cloth. If you share the space, assign each person one category—hair tools, skincare, meds—so the reset doesn’t become “your” project. For colors and materials, choose one neutral bin (white, clear, or soft gray) so the process feels calm and cohesive. Luxury version: a lidded, handled caddy that stores under the sink and looks like it belongs. Accessible version: a $3 plastic tote from Target or Walmart. Pro tip: keep a dedicated bathroom reset trash bag roll under the sink—when it’s easy, it actually happens.
3. Purge expired products with a “one-basket rule”
A counter can be spotless and still feel messy if it’s crowded with products you don’t use. This works because a one-basket rule forces editing: only what fits stays in prime real estate. Pull everything from the vanity, shower ledge, and medicine cabinet into one laundry basket. Check dates, smell, and texture—especially for sunscreen, mascara, and anything that’s separated. Keep three piles: trash, relocate, and repurchase. If you’re unsure about an item, put it in a “quarantine” zip bag with a date; if you don’t reach for it in 30 days, let it go. Luxury version: decant daily essentials into matching amber or frosted bottles for clean bathroom organization. Accessible version: keep original bottles but corral them on one tray so the surface reads intentional. Pro tip: write a mini shopping list as you purge—your next run to the store becomes strategic, not impulse-driven.
4. Scrub grout like it’s a design feature (because it is)
Grout is the “frame” around your tile, and when it’s dingy, everything looks older. This works because bright grout increases contrast and makes the whole room feel cleaner without changing a single fixture. Spray a grout cleaner or a paste of baking soda and hydrogen peroxide, let it sit for 5–10 minutes, then scrub with a stiff grout brush or old toothbrush. Work in 2×2-foot sections so you don’t lose steam. Rinse with warm water and dry with a towel to prevent hazy residue. If your grout is light, consider a grout pen for touch-ups—it’s like concealer for tile lines. Luxury version: reseal grout after it dries for longer-lasting results. Accessible version: focus on the most visible zone—right outside the shower and around the toilet base—where the payoff is immediate. Pro tip: once it’s clean, your tile pattern looks crisp again, like you upgraded the whole bathroom.
5. Reset the shower with a top-to-bottom “layered rinse” method
A shower feels spa-level when the walls look clear and the corners look sharp. This works because cleaning top-to-bottom prevents dirty runoff from ruining your finished work. Start by removing everything—razors, bottles, loofahs—then rinse the walls with the hottest water you can stand for one minute to loosen soap film. Spray a daily shower cleaner or a vinegar-based solution (avoid natural stone), let it dwell, then scrub corners and shelves. Finish with a thorough rinse and a squeegee pass on glass and tile. Materials matter here: choose one shower caddy in a single finish (matte black, stainless, or white) to reduce visual clutter. Luxury version: matching refillable bottles lined up in a row, labels facing forward. Accessible version: keep only three “shower essentials” visible and stash extras in a bin under the sink. Pro tip: hang a squeegee on a command hook—if it’s within reach, you’ll actually use it.
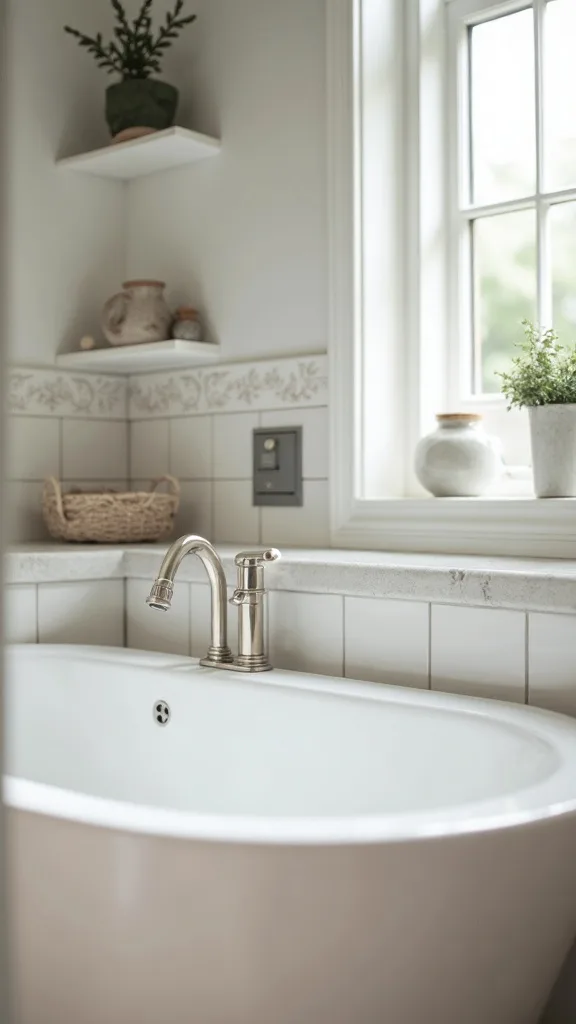
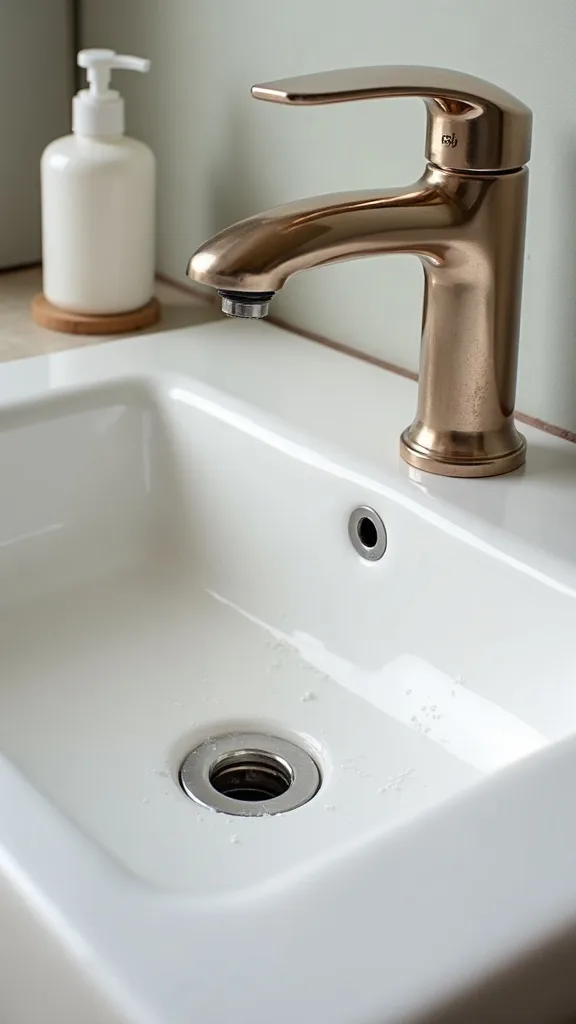
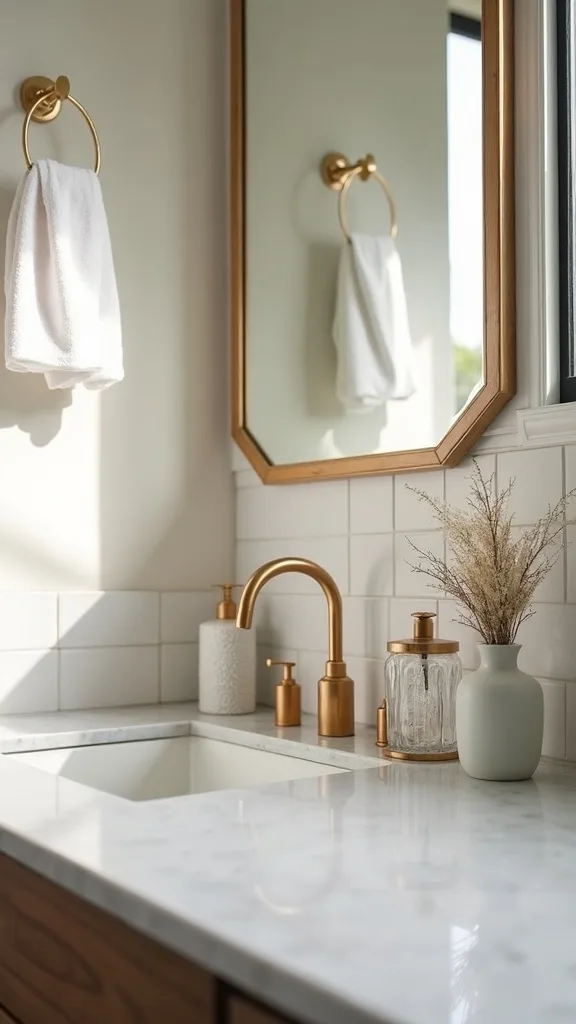
6. Make the sink sparkle by cleaning the overflow hole and faucet base
That “just cleaned” shine usually comes from the details most people skip. This works because the faucet base and sink overflow collect grime that dulls everything, even if the bowl looks clean. Use an old toothbrush with dish soap to scrub around the faucet base, handles, and the seam where the sink meets the counter. For the overflow hole, dip a pipe cleaner or cotton swab in cleaner and twist inside—surprisingly satisfying. Rinse, then dry the entire sink and faucet with a microfiber cloth to prevent water spots. For a polished look, keep hand soap and lotion on a small tray so drips don’t spread. Luxury version: a marble or stone tray with a low profile. Accessible version: a simple acrylic tray that wipes clean in seconds. Pro tip: dry buffing is the secret—wet metal looks clean, but dry metal looks intentional.
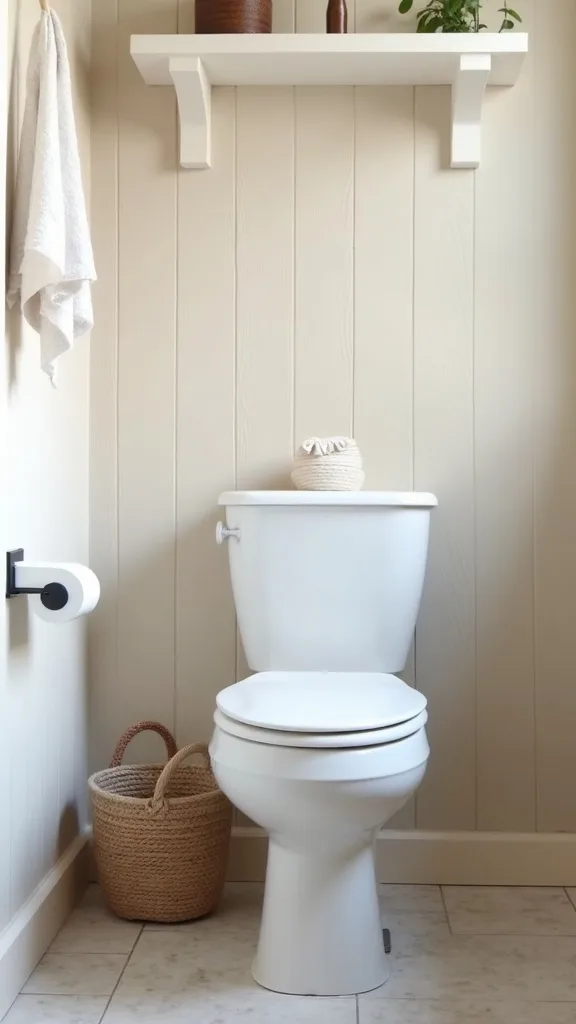
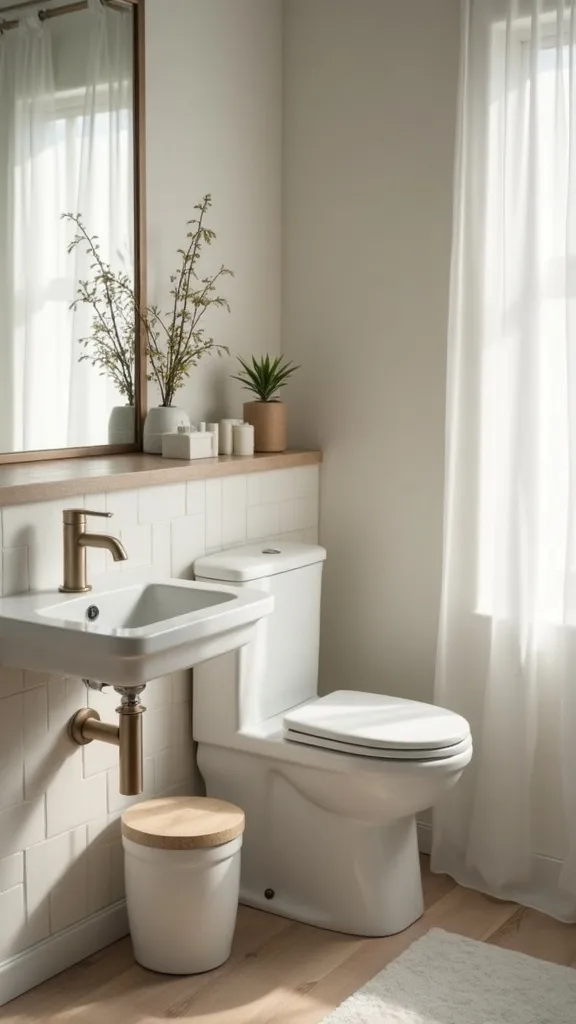
7. Deep clean the toilet base and the “shadow zone” behind it
The area behind the toilet is where a bathroom quietly loses its luxury. This works because odor and dust hide in that shadow zone, and once it’s clean, the whole room feels fresher. Turn on the fan, pull out the trash can, and vacuum or sweep behind and around the base first. Then apply a disinfecting cleaner to the bowl, hinges, and the floor perimeter where grime collects. Use a thin scrub brush or disposable wipes to get into the tight gap between tank and wall. Finish by drying the floor and placing the trash can back with a liner that fits properly (no overhang). Luxury version: a slim lidded can that disappears visually. Accessible version: a simple white step can—clean lines, easy wipe-down. Pro tip: place a small deodorizing gel behind the toilet only after cleaning; masking before scrubbing just traps the problem.
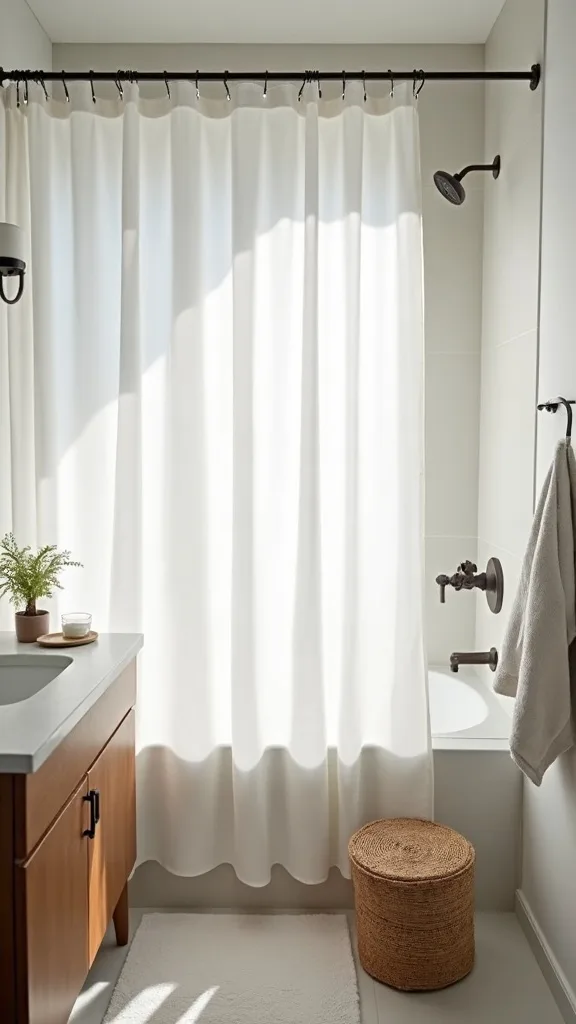
8. Wash or replace the shower curtain liner (avoid the “milky haze” look)
A cloudy liner makes an otherwise clean shower feel tired. This works because clear edges and crisp folds create the same visual order as fresh sheets on a bed. If your liner is washable, toss it in the washer with towels and 1/2 cup baking soda, then add 1/2 cup vinegar in the rinse cycle. Hang it back up to dry so it doesn’t crease. If it’s brittle or mold-stained, replace it—most liners are under $15 and the impact is instant. Choose a fabric curtain that skims the floor but doesn’t puddle; aim for about 1/2 inch above the tile. Luxury version: a thick white fabric curtain with a weighted hem. Accessible version: a simple waffle-weave curtain that reads hotel without the price. Pro tip: avoid fabric that’s too sheer—privacy matters, and opacity looks more elevated.
Cost & Materials Estimate
Most seasonal bathroom resets land between a simple restock and a mini upgrade, depending on what you replace versus deep clean.
| Item | Estimated Cost | Where to Buy |
|---|---|---|
| Microfiber cleaning cloths (pack) | $8–$14 | Amazon |
| Grout brush + cleaning paste ingredients | $10–$18 | Home Depot |
| Clear acrylic vanity tray | $12–$22 | Amazon |
| Drawer organizers (set) | $16–$30 | IKEA |
| New shower curtain liner | $9–$16 | Lowe’s |
| Hand towels (2) | $12–$28 | Wayfair |
Total estimated cost: $67–$128 Save by washing what you can (liner, mats, bins) and splurge on one “seen-every-day” item like a tray or towels.
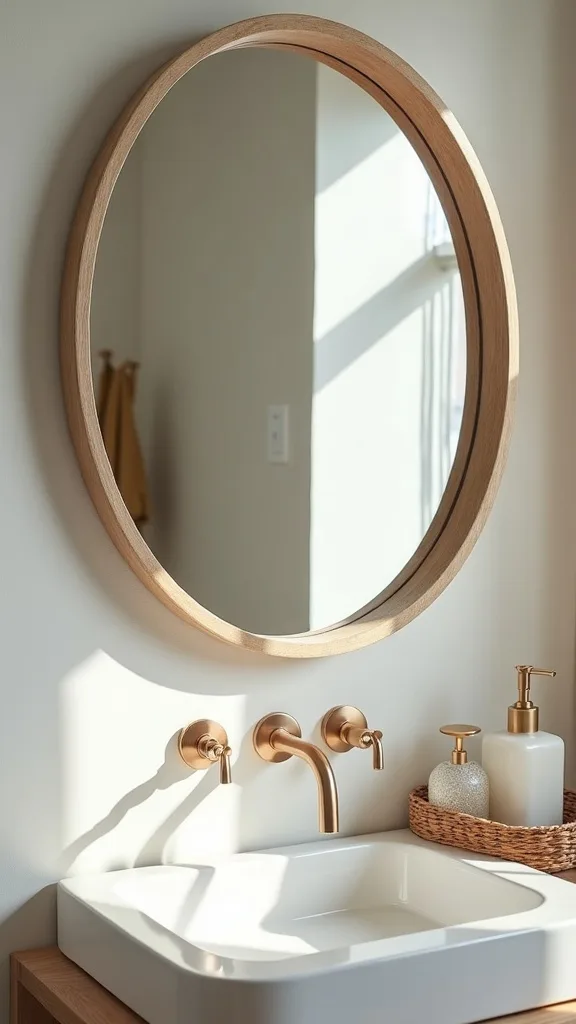
9. Clean the mirror edges and corners for a true “bright face” moment
Mirrors can look clean until sunlight hits the edges. This works because corners hold product mist and dust, creating a faint halo that reads dingy. Spray glass cleaner onto a microfiber cloth (not directly on the mirror) to prevent drips behind the frame. Wipe in overlapping strokes, then do a final buff with a dry cloth. Pay special attention to the bottom edge where toothpaste mist settles. If you have a framed mirror, run a dry toothbrush along the inner ledge to lift dust. Luxury version: keep a dedicated glass cloth folded under the sink like a small “linen.” Accessible version: repurpose an old, clean t-shirt—soft cotton buffs beautifully. Pro tip: once the mirror is crisp, your lighting looks better too, which makes the whole bathroom feel more flattering and calm.
10. Vacuum vents and fan covers (the dust you don’t see is the dust you breathe)
Bathrooms collect airborne dust and lint, and the fan cover is basically a magnet for it. This works because improved airflow reduces lingering humidity, which helps prevent mildew and that stale “closed room” smell. Turn off the fan, remove the cover if possible, and vacuum it with a brush attachment. Wash the cover in warm soapy water, dry fully, and reinstall. Vacuum the vent opening gently without pushing dust deeper. If your fan is loud or weak, a clean cover often improves performance more than you’d expect. Luxury version: add a subtle room spray afterward so the air feels freshly filtered. Accessible version: simply opening the window for 10 minutes after showers. Pro tip: add this to your seasonal cleaning list—twice a year is enough to keep the bathroom feeling breathable.
11. Wipe baseboards and door trim—the “frame” that makes everything look finished
Baseboards are like picture frames: when they’re dusty, the whole room reads unfinished. This works because clean edges create contrast, and contrast is a quiet form of luxury. Start with a vacuum to remove hair and dust bunnies, then wipe with warm water and a drop of dish soap. For scuffs, a melamine sponge works—test lightly first so you don’t remove paint sheen. Don’t forget the door edge and handle area where fingerprints live. If you want to elevate the look, keep trim color consistent; bright white trim makes tile and paint look sharper. Luxury version: a soft satin paint on trim that wipes easily. Accessible version: a quick wipe-down and a touch-up pen for nicks. Pro tip: once your “frames” are clean, your towels and accessories look more curated—without buying anything new.
12. Declutter the vanity drawer with a “category grid” (not random bins)
Drawer chaos is why counters get crowded again. This works because a category grid creates boundaries—each item has a home, and homes make habits easier. Empty the drawer completely, wipe it out, then lay items into categories: dental, hair, daily skincare, backup stock, tools. Add drawer dividers or small trays so each category becomes a visible “zone.” Keep the daily zone at the front, backups in the back, and rarely used tools in a secondary drawer if you have one. Choose organizers in one material for a cleaner look—clear acrylic or matte white reads calm. Luxury version: fitted drawer inserts that look built-in. Accessible version: dollar-store bins trimmed to fit with scissors. Pro tip: label the underside of each bin (not the front) so it stays pretty but still stays organized.

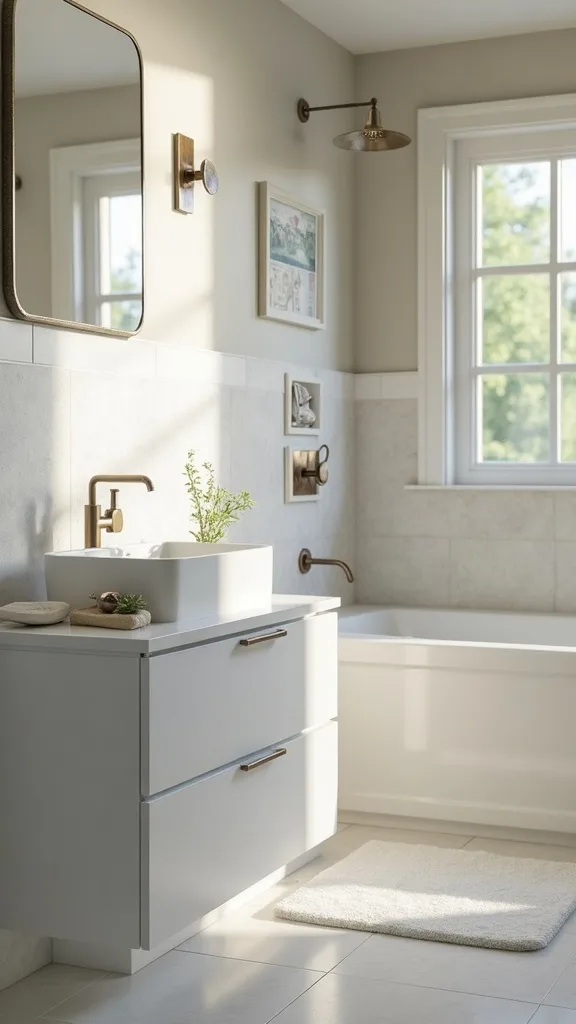
13. Create symmetry on the counter with a tray + one anchor item
Luxury bathrooms feel orderly because the styling is symmetrical, even when the layout isn’t. This works because symmetry reduces visual effort—your eyes relax. Place a tray on one side of the sink and choose one anchor item: a soap dispenser, a small vase, or a canister. Keep everything else within that tray so the counter stays clear. If you share the sink, mirror the look with a second small tray or matching dispenser on the other side for balance. Materials: stone, ceramic, or acrylic wipe clean quickly. Luxury version: a low marble tray with a heavy, refillable glass dispenser. Accessible version: a simple bamboo tray and a matching plastic dispenser in a neutral tone. Pro tip: keep the tray no wider than 10–12 inches so it feels intentional, not like storage.

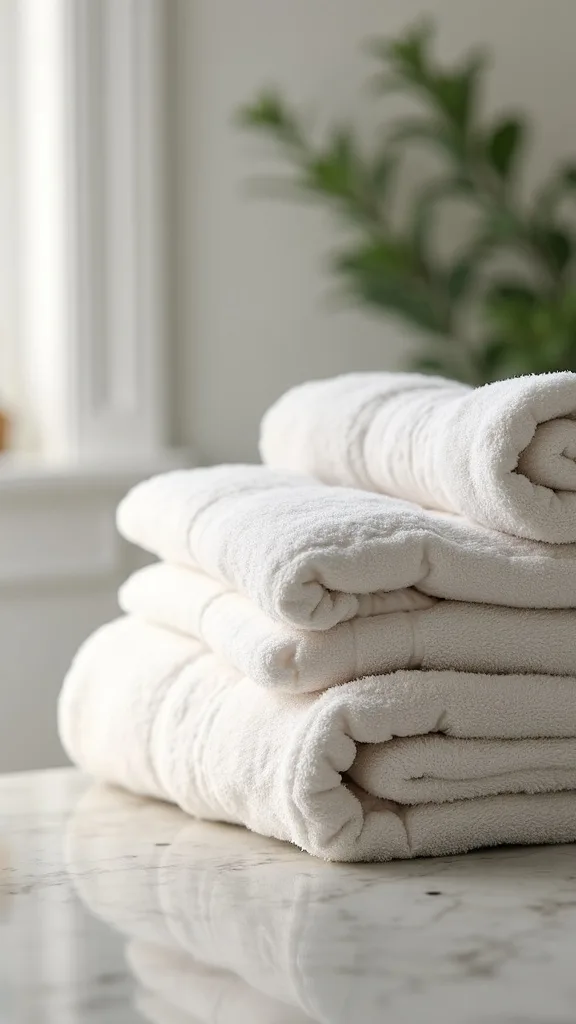
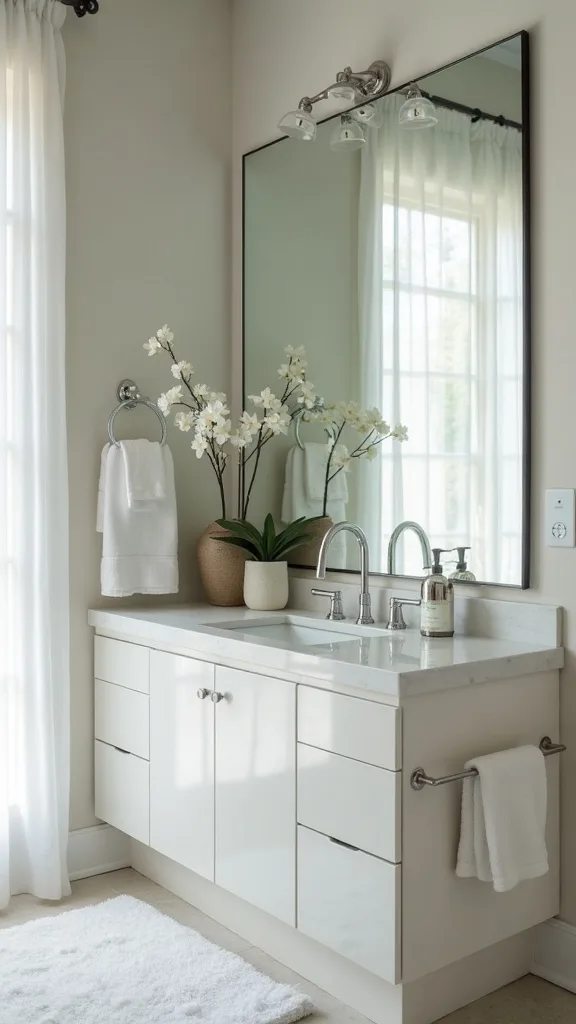
14. Upgrade towels with layering: bath towel, hand towel, then a folded washcloth
Fresh towels are the fastest visual reset in the room. This works because layering adds depth—like a well-made bed—without adding clutter. Choose two towel colors max: one main neutral and one accent (soft charcoal, warm white, or muted sage for fall). Hang the bath towel neatly, then drape the hand towel over it so the bottom edge sits about 2–3 inches higher. Fold a washcloth into a slim rectangle and place it on the counter or tray. Luxury version: hotel-style white towels with a subtle border and a crisp fold. Accessible version: replace only the hand towels (usually under $10 each) and keep the bath towels you already own. Pro tip: resist overstuffing towel bars—one beautiful stack reads elevated; five crammed towels reads busy.
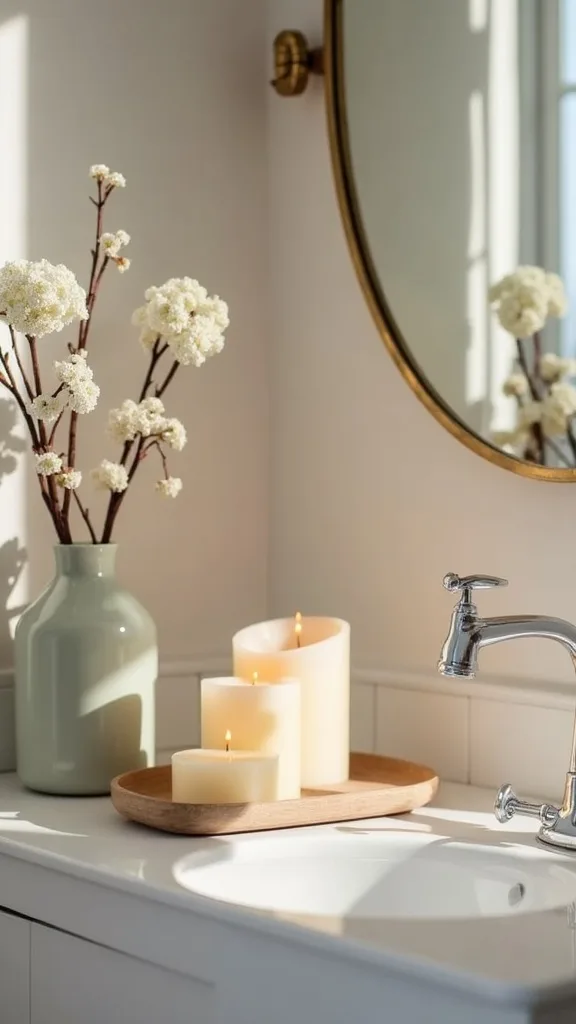
15. Add a candle “pairing” instead of a single candle
One candle can look like an afterthought; a pair looks styled. This works because pairing creates intentional repetition—one of the easiest luxury formulas. Place two candles together on a tray or the back of the toilet tank (only if it’s stable and away from water). Vary the height slightly: one standard jar candle and one shorter tin or votive. For fall, choose scents that feel clean first, cozy second—think eucalyptus with a hint of cedar. Luxury version: two matching glass vessels in a neutral tone. Accessible version: a single candle plus a small match striker or matchbox beside it. Pro tip: keep the grouping tight (within 6 inches) so it reads as one moment, not scattered items.
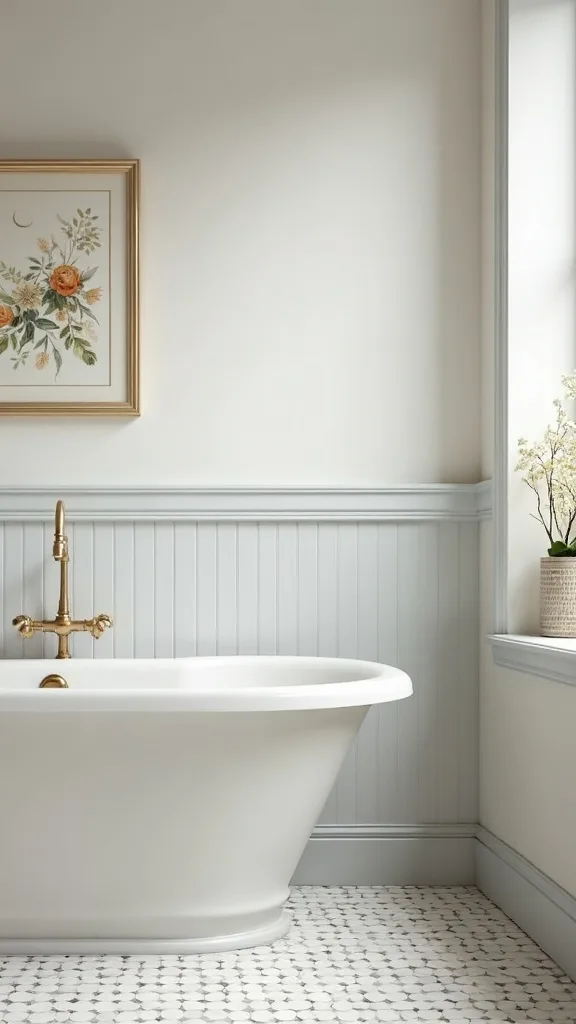
16. Swap one thing to warm up the palette for fall (without redecorating)
Seasonal shifts should feel like a whisper, not a full makeover. This works because a single warm element adds contrast against cool tile and chrome, making the space feel inviting. Choose one swap: a hand towel in a warm oatmeal tone, a small amber soap bottle, or a tan bath mat. Keep the rest of the bathroom neutral so it stays clean-looking. If your bathroom is very small, limit warm accents to one surface to avoid visual clutter. Luxury version: a textured linen hand towel and an amber glass dispenser. Accessible version: a $12–$20 cotton bath mat in a warm neutral. Pro tip: the most elevated fall look is restrained—one warm note against crisp white reads intentional and modern.
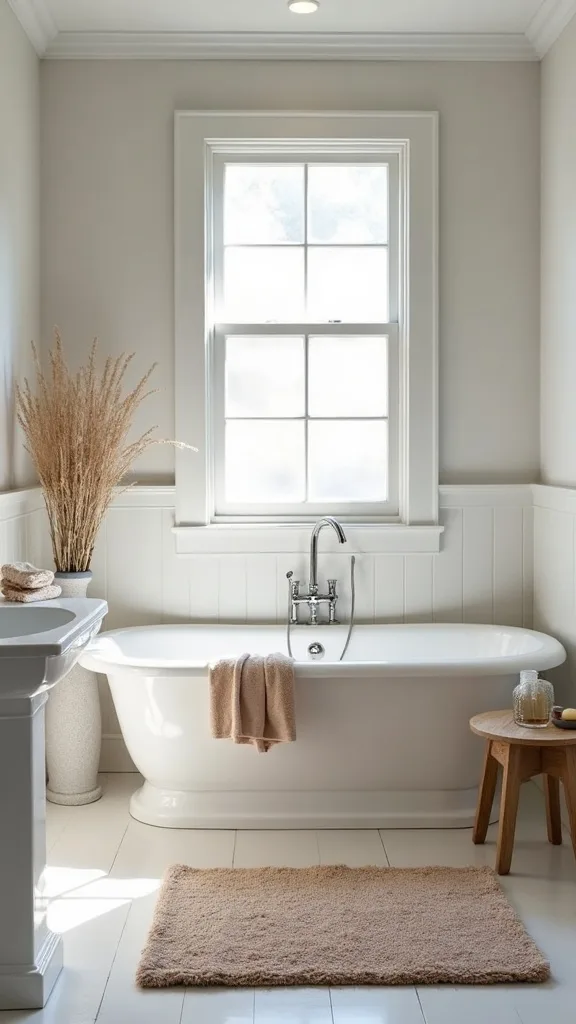
17. Make the bath mat feel “designer” with placement and scale
Bath mats often look awkward because they’re too small or placed randomly. This works because scale is a design shortcut—when the mat fits the space, the room looks more expensive. Center the mat with the vanity or the shower entry, not the room. If you have a double vanity, consider two matching mats placed symmetrically instead of one tiny mat floating in the middle. Aim for a mat that’s wide enough to step out comfortably—around 20×32 inches is a solid baseline for many bathrooms. Luxury version: a plush, hotel-style mat with a low, dense pile. Accessible version: a washable cotton mat in a solid color that hides lint. Pro tip: avoid mats with loud graphics; simple texture reads calmer and cleaner.
18. Restock with “front stock” and “back stock” to stop counter creep
The secret to lasting organization is separating what you use from what you own. This works because backups create visual clutter when they live in the same zone as daily items. Choose one small bin under the sink for back stock—extra toothpaste, soap refills, razors—and label it discreetly. Keep only one of each daily essential accessible: one toothpaste, one mouthwash, one moisturizer. If you’re doing a bathroom organization refresh, this is the moment that prevents relapse. Luxury version: matching lidded bins that hide packaging. Accessible version: clear shoebox bins so you can see what you have without digging. Pro tip: store refills upright in a bin with a handle—when it’s easy to pull out, you’ll actually use what you already bought.
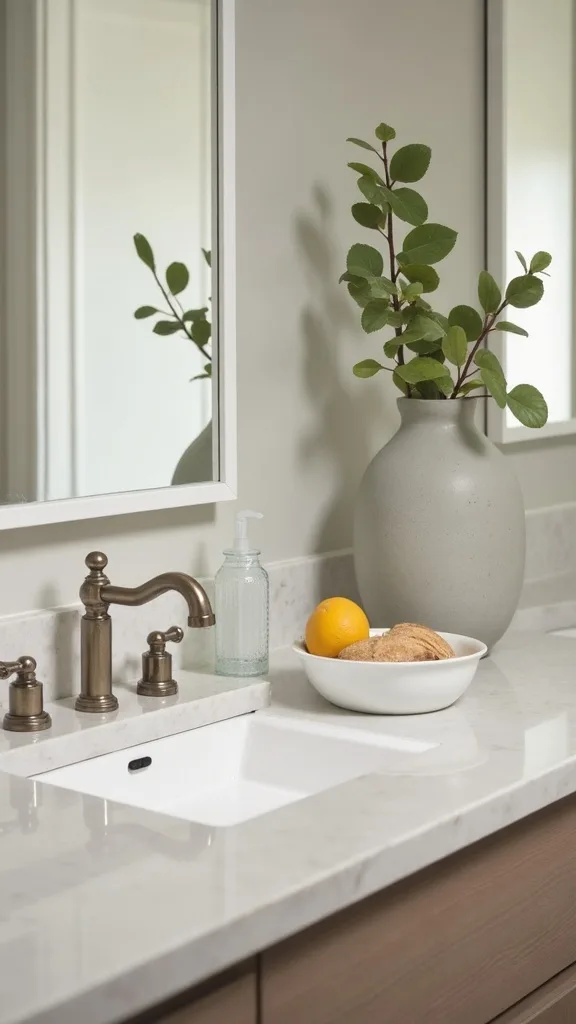
19. Use one “drop zone” bowl to catch daily small items (and keep surfaces clear)
Bobby pins, rings, hair ties—these are the tiny items that make a clean counter look messy. This works because a single drop zone creates containment without requiring perfect habits. Place a small bowl or lidded container near the sink but off the main work area. Every small item goes there, no exceptions. Empty it once a week during your quick wipe-down. Materials: ceramic, stone, or glass feel elevated and wipe clean. Luxury version: a small lidded trinket box that hides the contents. Accessible version: a thrifted dish or ramekin in white or clear glass. Pro tip: choose a bowl with some weight—light plastic slides around and looks accidental, while weight feels intentional.
20. Deep clean the trash can (and avoid the scented-liner trap)
A bathroom can smell “off” even when it looks clean, and the trash can is often the reason. This works because residue builds up on the bottom and lid, especially with cotton pads and damp items. Empty it, rinse it, then scrub with dish soap and hot water. Disinfect, dry completely, and add a fresh liner. One thing to avoid: heavily scented trash liners—they often mix with bathroom sprays and create a stale, chemical smell that fights your clean vibe. Luxury version: a slim, lidded can with a removable inner bucket for easy washing. Accessible version: keep your current can but add a sprinkle of baking soda under the liner. Pro tip: a truly fresh bathroom smells like nothing first—then like your candle second.
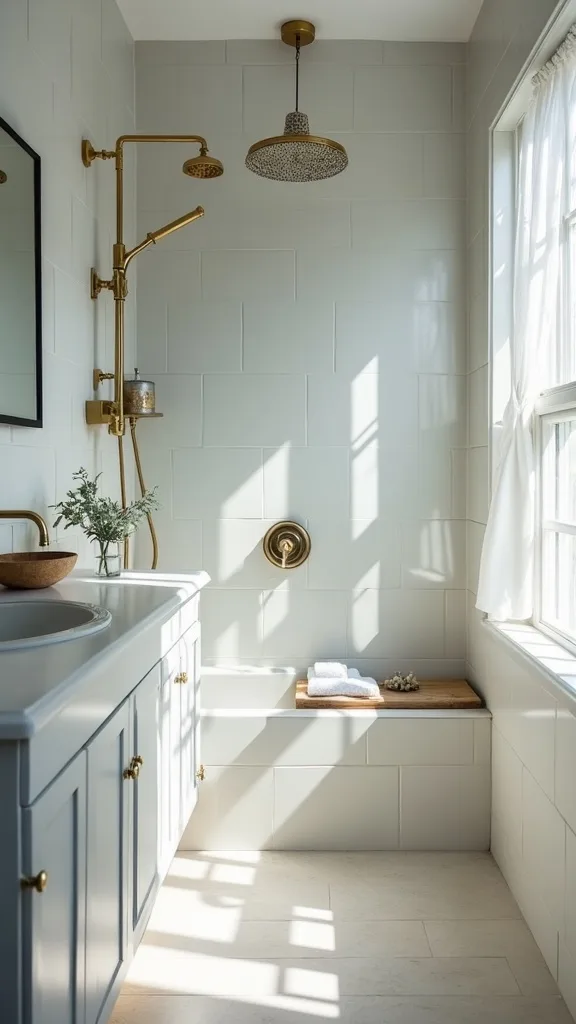
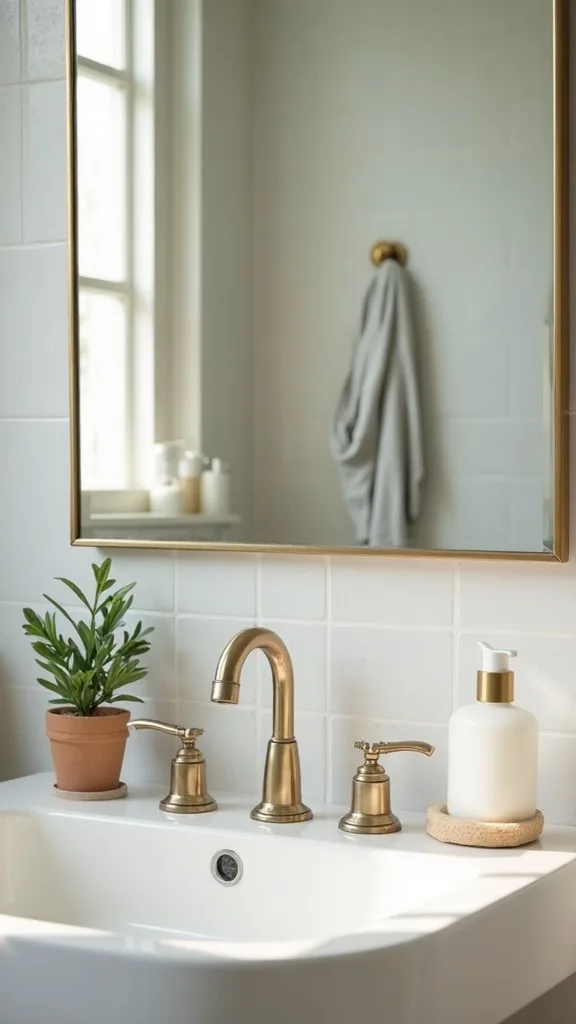
21. Polish chrome and glass for contrast (the “jewelry” of the bathroom)
Metal fixtures are the jewelry, and jewelry should shine. This works because contrast—bright metal against matte surfaces—adds that crisp, high-end edge. After cleaning, buff faucets, shower handles, and towel bars with a dry microfiber cloth. For stubborn water spots, use a tiny amount of vinegar on the cloth, then buff dry. If you have glass shower doors, finish with a squeegee and a final dry wipe along the bottom track. Luxury version: keep a dedicated polishing cloth tucked in the vanity like a small ritual. Accessible version: one microfiber cloth reserved only for metal and glass so it stays lint-free. Pro tip: polishing is the last 3% that makes the other 97% look deliberate—like you hired help.
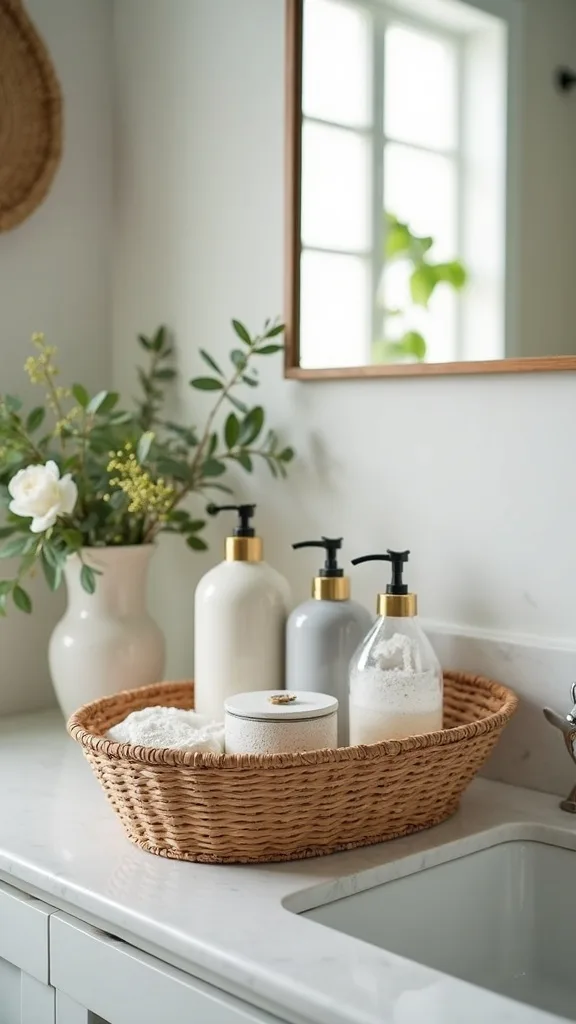
22. Create a “guest-ready” basket in under 5 minutes
Even if you don’t host often, a guest-ready basket makes your bathroom feel put together every day. This works because it’s a curated layer—one container that signals care. Use a small lidded basket or open bin and add: travel-size lotion, a spare toothbrush, floss picks, and a mini deodorant. Keep it on a shelf or the back of the toilet if you have space. Choose a basket that matches your bathroom’s finishes—black wire for modern, woven for cozy, clear acrylic for minimalist. Luxury version: decanted items and a rolled hand towel tucked beside them. Accessible version: keep items in their packaging but align them neatly and limit to what fits. Pro tip: keep the basket 80% full; a little negative space is what makes it look curated.
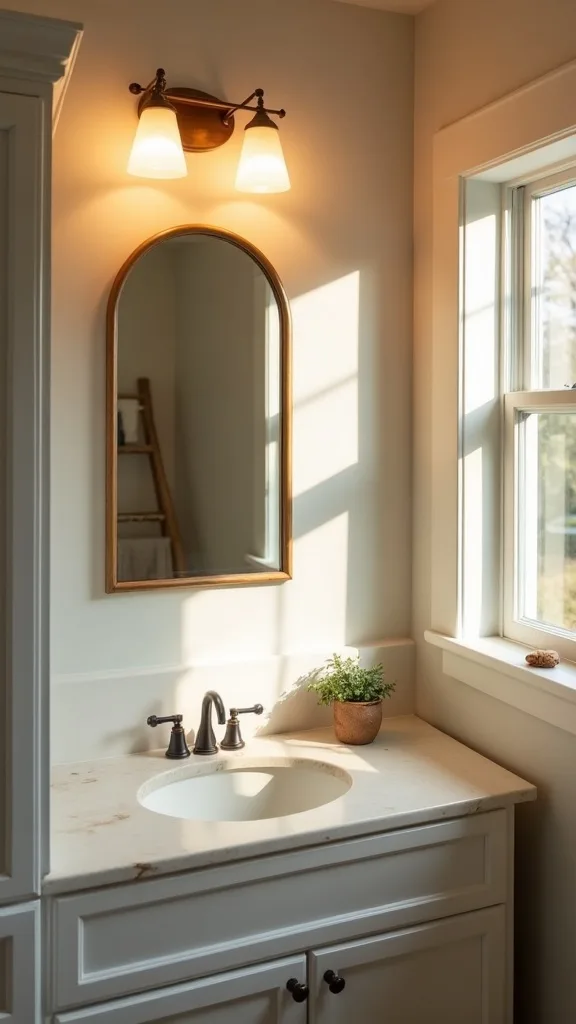
23. Reset lighting warmth with one bulb swap (and clean the shade)
Clean rooms look cleaner under flattering light. This works because warm white light (2700K–3000K — the cosy, yellowish tone you see in most homes) softens shadows and makes surfaces feel calmer, especially in fall. First, wipe the light fixture and any glass shades—dust dulls brightness (measured in lumens) more than you think. If your bulb is harsh or bluish, swap to a warm white bulb with enough brightness for grooming. Keep bulb types consistent across fixtures so the room doesn’t look patchy. Luxury version: matching warm bulbs plus a dimmer for evenings. Accessible version: replace just the main vanity bulb and clean the shade—often a bigger impact than buying a new fixture. Pro tip: lighting is invisible decor; when it’s right, everything else looks more expensive.
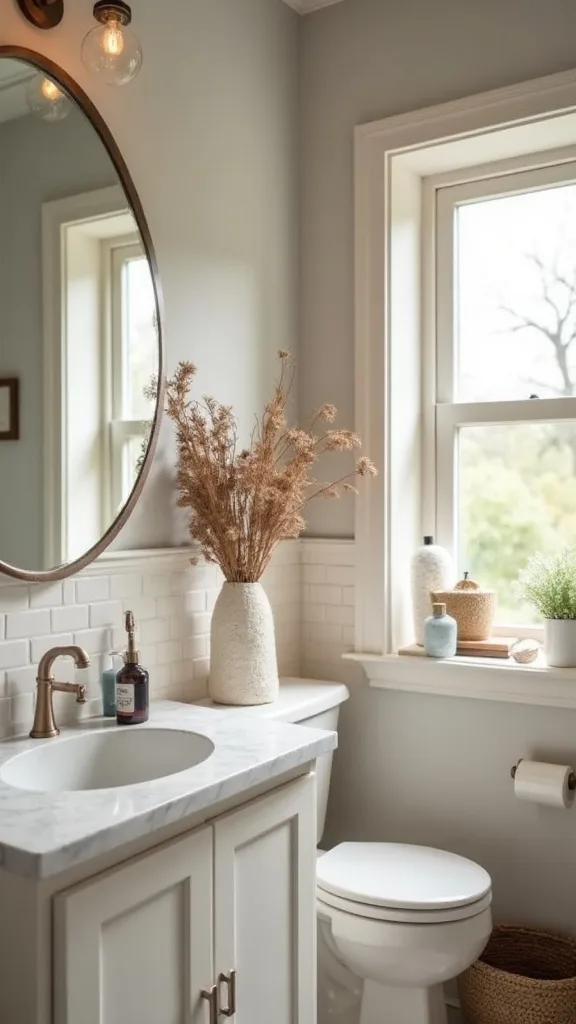
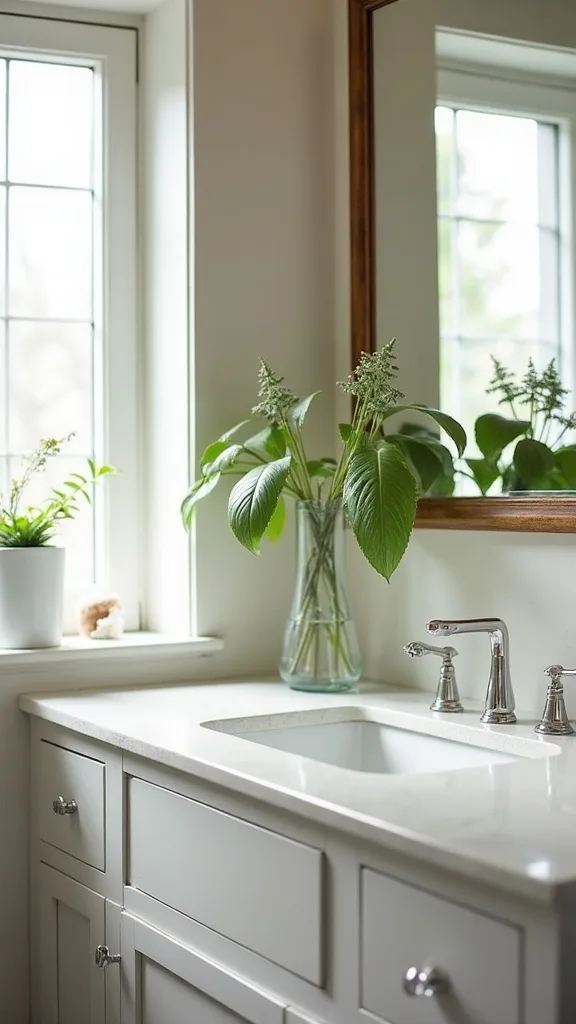
24. Add one plant (or a convincing faux) for softness and scale
Bathrooms can feel hard—tile, glass, metal—so they need something soft. This works because organic shapes add contrast and scale, balancing all the straight lines. If you have a window, try a small pothos or snake plant; both handle humidity well. No natural light? Choose a high-quality faux plant in a simple pot and dust it during your seasonal cleaning routine. Place it where it won’t get splashed—on a shelf, the back of the toilet, or a vanity corner. Luxury version: a ceramic pot in a neutral matte finish. Accessible version: a small faux in a white pot from a big-box store. Pro tip: keep the plant slightly taller than your soap dispenser—height variation is what makes styling look designed, not random.
25. Finish with the one detail that makes it all look intentional: aligned labels and straight lines
The difference between “clean” and “styled” is alignment. This works because straight lines signal order—your brain reads it as calm, even before you notice why. Do a final two-minute walk-through: square the bath mat to the vanity, straighten towel hems, and align bottles so labels face forward (or all face away for a minimalist look). Center the tray, then leave one open patch of counter as negative space. Check the shower: bottles in one row, razor hung, squeegee tucked. Keep colors tight—two neutrals plus one accent is plenty. Luxury version: matching dispensers with simple labels, perfectly spaced. Accessible version: keep your bottles, just turn them into a deliberate “set” with consistent spacing. Pro tip: when everything lines up, the bathroom doesn’t just look clean—it looks like a choice.
Final Thoughts
A fall bathroom reset isn’t about chasing perfection—it’s about building a room that supports your mornings. When the grout is bright, the mirror is crisp, and the counter has breathing room, the whole house feels more cared for.
Keep the formula simple: symmetry to calm the eye, layering to add softness, scale to make pieces feel “right,” and contrast to sharpen everything. Do the luxury version where it matters most to you (towels, tray, lighting), and choose the accessible version everywhere else. That balance is what makes the result feel elegant, not expensive.
Today, set a timer for 15 minutes and do only this: pull every product into one basket and purge what’s expired. Put back only what you truly use daily, then align the labels in one straight row—you’ll feel the room exhale immediately.
What I’d Do Differently
When I first tried this, I made one mistake that cost me an entire Saturday: I started scrubbing before I purged. I sprayed the shower, wiped the counter, even cleaned the mirror—then I pulled out the vanity drawer and found a mini avalanche of old samples, half-used hair products, and sticky bottles. Suddenly I was re-wiping surfaces I’d already cleaned because I kept setting things down “just for a second.” The bathroom looked busy again before it ever looked finished. The correct approach is to do a fast, ruthless dry pass first—trash, laundry, expired product purge—so every wipe after that is moving you forward.
I also wish I’d known how much styling is about alignment, not buying new decor. One tray, one towel layer, and labels facing the same direction made a bigger difference than any fancy cleaner. If you’re stuck, set a 15-minute timer and do only the purge step today—momentum is the real luxury, and it’s available right now.