This post contains affiliate links. As an Amazon Associate, I earn from qualifying purchases at no extra cost to you.
The garage always tells the truth. It’s where beach towels go stiff with sunscreen, where patio pillows collect dust like a film, where that one “temporary” bin turns into a permanent landmark you walk around for months.
This is the fix that feels like opening a window: a clean, repeatable seasonal storage swap that moves summer out and fall in without dumping everything on the driveway. You’ll get a rotation system that works with real-life garages—tight corners, mixed bins, and the occasional vintage crate you refuse to part with.
This is perfect for anyone doing summer to fall storage in a shared garage, a small home, or any space where seasonal stuff loves to multiply.
Inside you’ll find the exact bin categories that keep you from re-sorting every year, a vacuum-bag method for soft goods, and a simple way of rotating seasonal decor so the “good stuff” doesn’t disappear behind camping chairs.
Below are 25 Seasonal Storage Swap & Organization Tips that make seasonal items storage feel easy, affordable, and weirdly satisfying.
Products I Recommend for This Project
Here are some of my favourite products to help you bring these ideas to life:
- Spacesaver Premium Vacuum Storage Bags (Variety Pack) — Compresses summer textiles fast so one bin holds what used to take three.
- IRIS USA WeatherPro Airtight Storage Box (Clear, Latching) — Great for seasonal decor because the seal helps block dust and the clear sides stop the “mystery bin” problem.
- Brother P-touch PTD220 Label Maker — Makes clean, readable labels that don’t peel when the garage heats up.
- Amazon Basics 5-Shelf Adjustable Storage Shelving Unit — An affordable way to get seasonal bins off the floor and into a predictable “library” wall.
- DampRid Moisture Absorber Buckets — Helps protect stored textiles and decor in humid garages, especially during late-summer transitions.
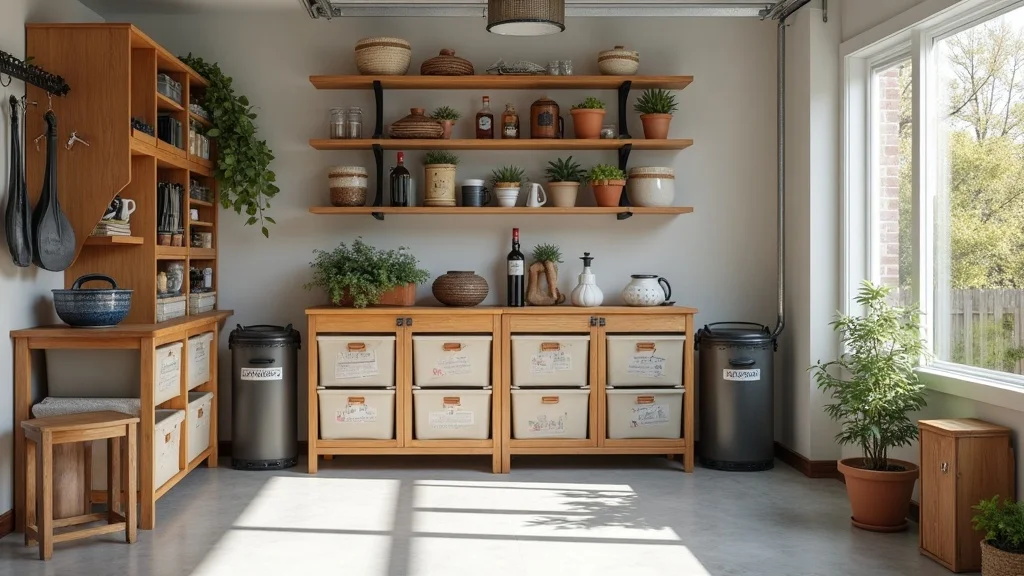
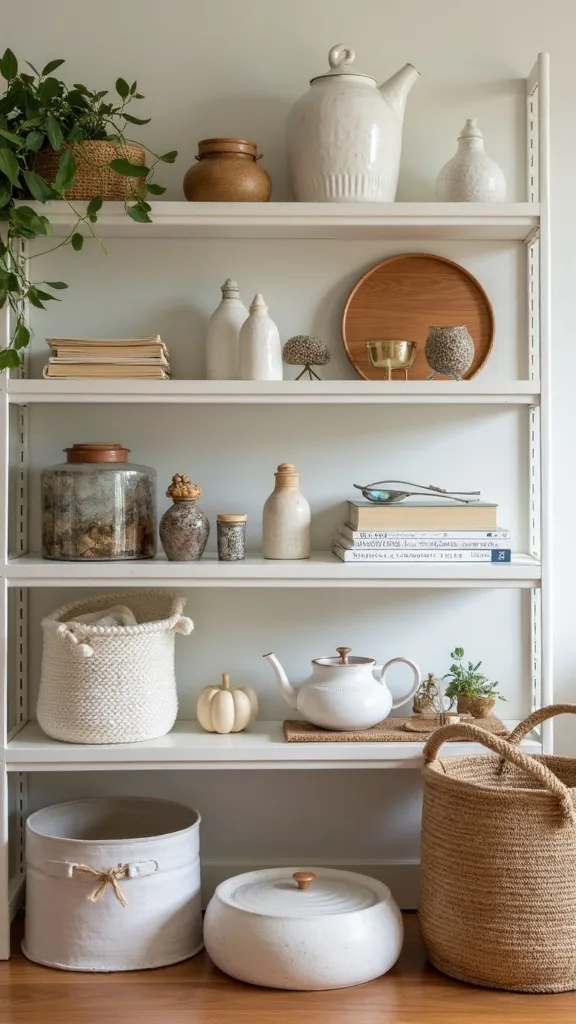
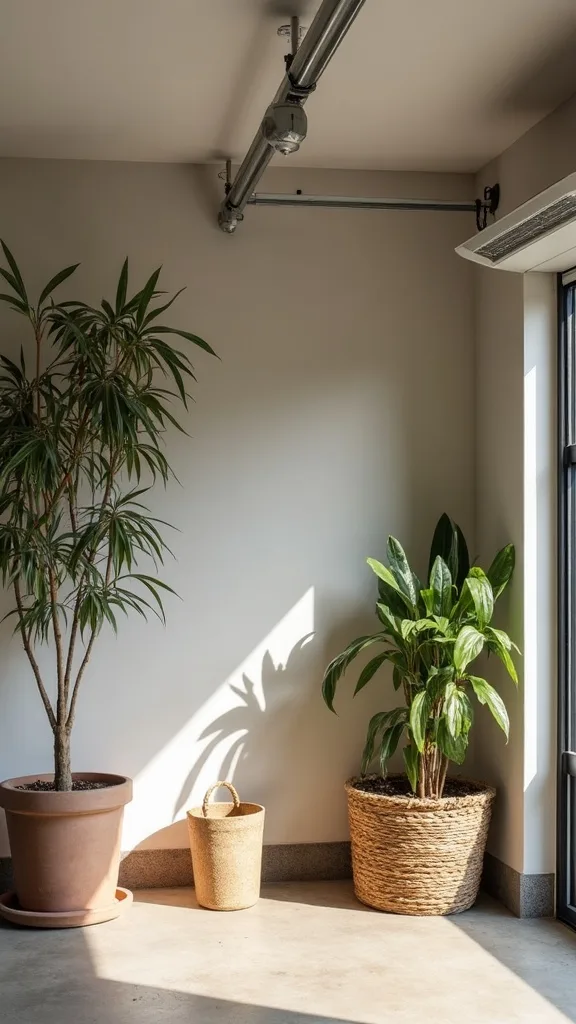
1. Start with the “vacuum bags + labeled fall bins + rotation zone” trio
This idea is the whole visual theme in one move: vacuum storage bags for summer items, labeled fall bins, and a seasonal decor rotation system that keeps things flowing. It works because soft stuff shrinks, hard stuff stacks, and your “current season” lives up front where you can actually grab it.
Set three zones on the garage floor: Pack Summer, Stage Fall, and Donate/Trash. Vacuum-bag bulky summer textiles (beach towels, lightweight throws, pool float covers), then slide them into one lidded tote so the bags don’t snag. For fall, build 2–4 bins max: “Fall Decor,” “Outdoor Fall,” “Halloween,” and “Warm Textiles,” and label all four sides so you can read them from any angle.
Go for matte black bins or clear bins with white labels—both age well and don’t scream “storage aisle.” A vintage apple crate can be your “rotation zone” for the few pieces you swap weekly.
Pro tip: keep one empty “buffer bin” for overflow—your future self will feel so calm walking in.
2. How do I do a summer-to-fall storage swap in under 90 minutes?
The secret is refusing to “organize” while you swap. This works because speed comes from decisions, not perfection, and a tight timer keeps you from spiraling into old bins like they’re emotional artifacts.
Set a 45-minute timer for packing summer, then 45 minutes for staging fall. Only touch each item once: keep, donate, or toss. Put summer items straight into their containers—no “I’ll fold it better later.” If something doesn’t have a home, it goes in a small “Decide Later” box that you schedule for next weekend.
Use one roll of 2-inch painter’s tape and a thick black marker if you don’t have a label maker yet—cheap, legible, and it peels off clean. If you want it to look a little more editorial, switch to white vinyl labels once your categories are proven.
Pro tip: play one album you love and stop when it ends—your garage will feel lighter, and you’ll still have your Saturday.
3. What should I store in vacuum bags vs bins (so nothing gets ruined)?
Vacuum bags are for soft, clean, fully dry items that you want smaller—period. It works because you’re removing air, not “crushing,” and that saves shelf space without sacrificing the fabric long-term.
Bag things like beach towels, outdoor cushion covers (washed), light summer quilts, mesh picnic blankets, and extra bed linens. Skip anything with structure: foam inserts, straw hats, anything with glued seams, and anything still holding moisture. For bins, store hard decor like lanterns, faux stems, ceramic pumpkins, and string lights coiled in zip bags.
Choose thick, double-zip vacuum bags (the ones that feel slightly rubbery, not crinkly-thin). For bins, go with lidded totes that click shut—dust is sneaky in garages.
Pro tip: slip a handwritten inventory card inside the bin lid—opening it later will feel like finding a calm little map.

4. How do I pick storage categories for seasonal items without overcomplicating it?
The best categories are the ones you’ll remember in a hurry. This works because your brain doesn’t want 14 micro-bins; it wants a few obvious “containers of meaning” you can grab without thinking.
Use a 5-bin rule for seasonal items storage: (1) Seasonal Decor, (2) Seasonal Textiles, (3) Outdoor Seasonal, (4) Holiday-Specific, (5) Party/Entertaining. If you have kids, add one more: “Costumes/Crafts.” Keep your labels consistent year-round—same font, same placement, same wording—so you don’t create a new system every season.
Color-code with one subtle accent: a small orange dot sticker for fall, icy blue for winter, soft green for spring, sun-yellow for summer. It’s cheap and reads instantly.
Pro tip: if you can’t name the category in two words, it’s too specific—simpler storage organization feels like breathing room.
5. Where should seasonal bins go in a garage so I can actually reach them?
Put weight low and frequency close. It works because garages are awkward—bikes, tools, and that one step ladder you always need—so accessibility is the whole game.
Designate one wall as your “seasonal library.” Keep current-season bins between waist and eye level, next season directly above, and off-season on the top shelf. Heavy bins (ceramic decor, bulky outdoor stuff) live on the lowest shelf. If you don’t have shelving, create a simple two-row stack: current season on the bottom, next season on top, with labels facing out.
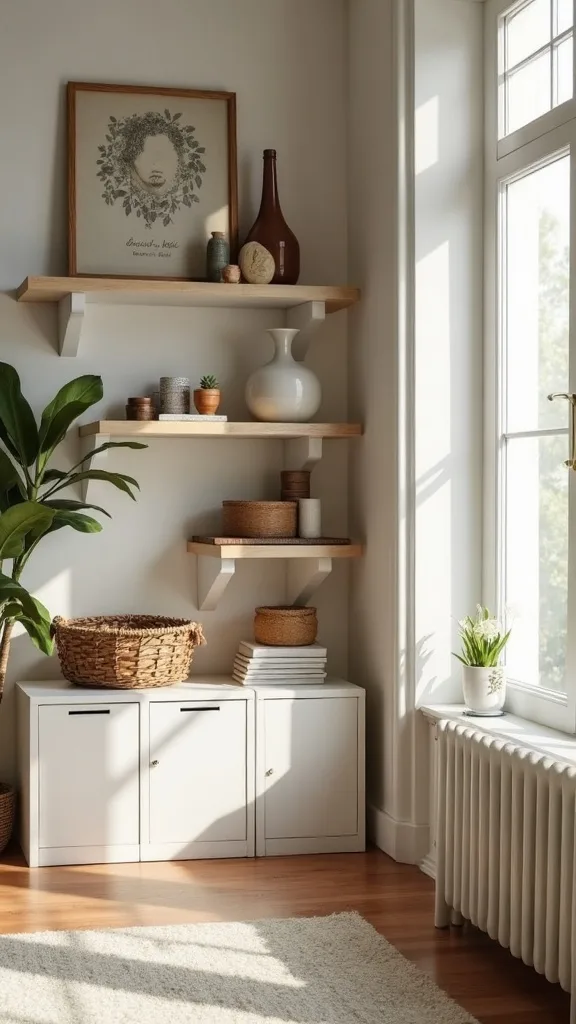
Wire shelving is affordable and airy (and it doesn’t trap dust the way particleboard can). If you love a warmer look, mix in one thrifted wood shelf for baskets and smaller decor.
Pro tip: leave a 12-inch “pull-out lane” in front of the seasonal zone so swapping feels smooth instead of like a workout.
6. What’s the easiest labeling system that won’t peel off in heat?
Heat and humidity will humble a cute label fast. This works because permanent, high-contrast labels reduce rework—your future self won’t be guessing in October.
Use a label maker with laminated tape for bin exteriors, and add a second label on the lid. For budget mode, do painter’s tape plus a permanent marker, then cover the tape with clear packing tape so it doesn’t curl. Always label at least two sides, not just the front—bins rotate when you stack them.
Go with black text on white tape for maximum readability. If you want a softer, garage-friendly look, use kraft labels on clear bins, but keep the text bold.
Pro tip: add one line under the category—“Open first” or “Outdoor only”—and the whole system starts to feel like it’s taking care of you.
7. How do I store summer outdoor pillows and cushions without mildew?
Mildew happens when you store “almost dry” like it’s dry. This works because airflow and cleanliness matter more than fancy containers.
Wash covers, dry them fully, then vacuum-bag only the covers—not the foam. Store foam inserts in a breathable zippered storage bag or a clean cotton laundry bag on a shelf where air can move. If you must bin the foam, toss in moisture absorbers and crack the lid slightly for the first week in a dry garage, then seal it.
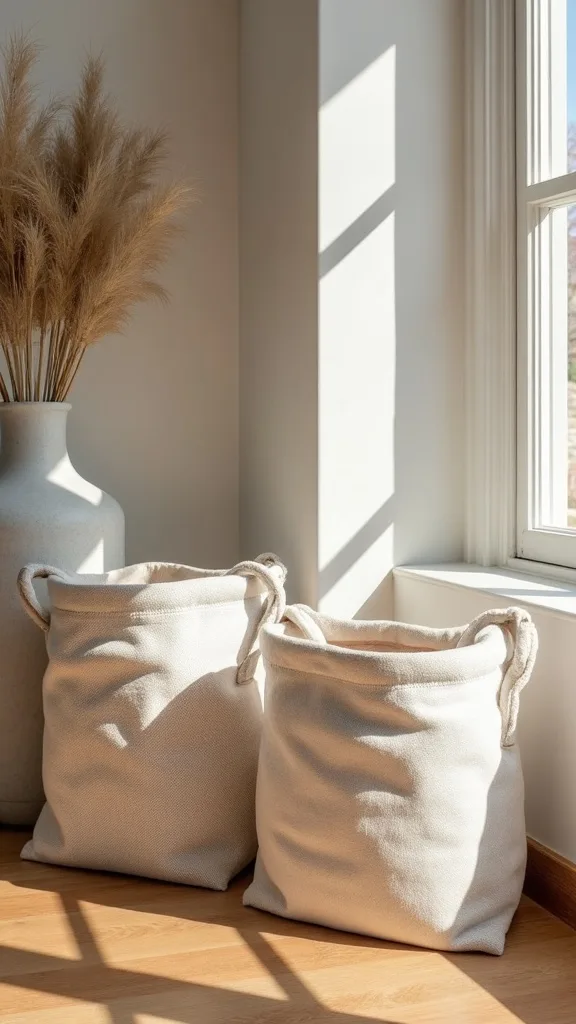
Choose storage bags with sturdy handles and a woven texture that doesn’t tear when you drag it off a shelf. Neutral colors (tan, charcoal) age better than bright plastic.
Pro tip: add a note on the bin—“Covers washed 8/30”—so next year you don’t rewash out of suspicion.
8. What should I avoid during a seasonal storage swap?
Avoid mixing seasons “just for now.” It works until it doesn’t—then you’re digging through Fourth of July napkins to find a fall wreath while your coffee goes cold.
Keep one season per bin, always. If an item truly spans seasons (like neutral lanterns), give it a dedicated “All-Season Decor” bin and cap it at one container. Also avoid storing anything dirty: sandy beach toys, greasy grill tools, half-burned citronella candles. Quick rinse and dry now saves you from mystery smells later.
If you’re tempted to keep broken decor “to fix,” put it in a small repair box with a date on it. If it’s not fixed by the next swap, let it go.
Pro tip: discipline here buys you time later—and time is the most expensive thing in your garage.
Cost & Materials Estimate
For a simple garage seasonal swap setup (bags, bins, and labels), expect to spend about $55–$180 depending on what you already own.
| Item | Estimated Cost | Where to Buy |
|---|---|---|
| Vacuum storage bags (10–12 pack) | $16–$28 | Amazon |
| Latching storage bins (4-pack, 27–32 gal) | $48–$88 | Home Depot |
| Basic metal shelving unit (5-tier) | $49–$89 | Lowe’s |
| Label maker tape (laminated, 2-pack) | $14–$24 | Amazon |
| Moisture absorbers (4-pack) | $10–$18 | Walmart |
Total estimated cost: $55–$180 Save money by reusing any bins you already own this year and upgrading only labels; splurge on sturdy latching bins if your garage gets dusty or humid.
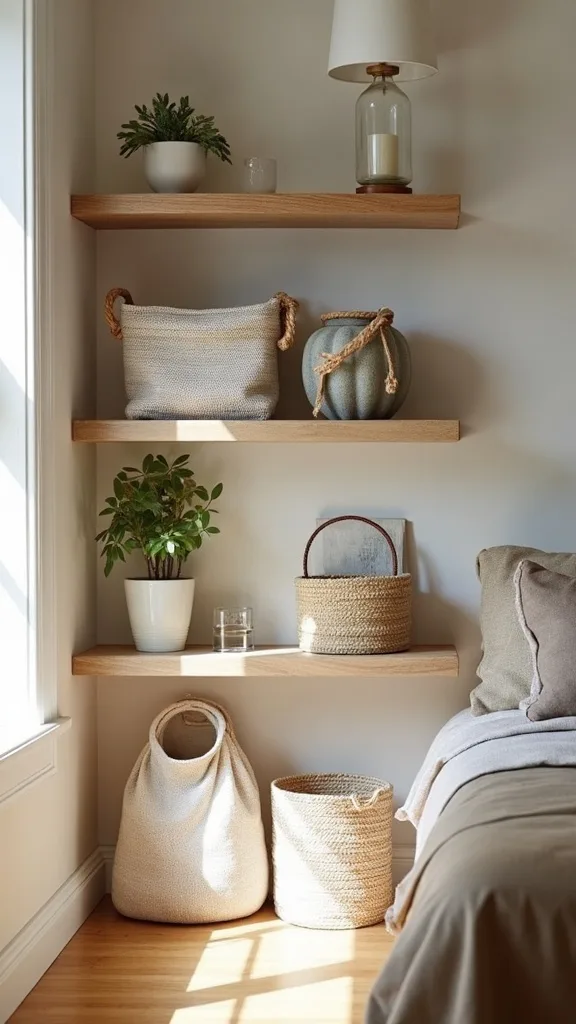
9. How do I rotate seasonal decor so I don’t forget what I own?
Rotation is about visibility, not volume. This works because a small, curated “active set” keeps your home feeling fresh without buying new stuff every month.
Create a one-shelf “currently styling” spot in the garage or a closet: a tray, a small bin, or a vintage crate. When you swap, pull 8–12 decor pieces max into that zone—candles, a wreath, a table runner, a couple of stems, maybe one statement piece. Everything else stays boxed until you’re ready to switch again.
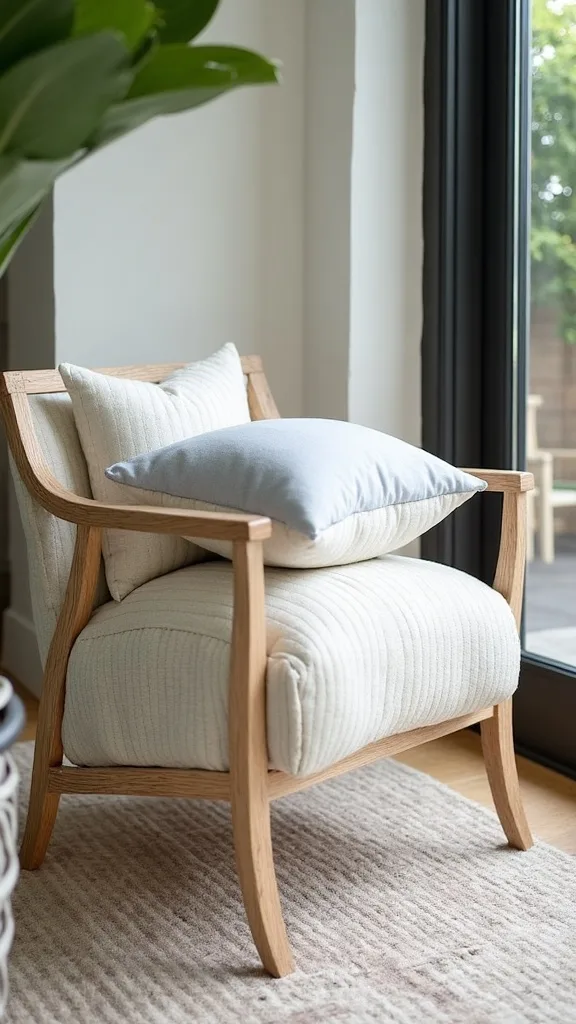
Keep it tactile: linen runners that soften with washing, brass candleholders that patina, thrifted stoneware that looks better with a few tiny chips. Mix in one new thing if you want, but let the old pieces lead.
Pro tip: snap a quick photo of the shelf before you close the garage—next time, you’ll remember what you loved.
10. How do I store string lights so they don’t become a knot ball?
String lights only tangle when they’re allowed to roam free. This works because a simple wrap tool turns chaos into an easy, repeatable habit.
Wrap lights around a piece of cardboard (cut from a shipping box) or a plastic light reel, then secure the plug end with a twist tie. Store each set in a gallon zip bag with a label: “Patio bistro lights — 48 ft” or “Mantel twinkle — warm.” Keep spare bulbs taped to the reel so they don’t disappear.
Use clear bags so you can see what you’re grabbing. If you prefer a cleaner look, put the bagged reels into one bin labeled “Lights (All Seasons).”
Pro tip: you’ll feel absurdly powerful the first time you plug them in with zero knots—like you hacked time.
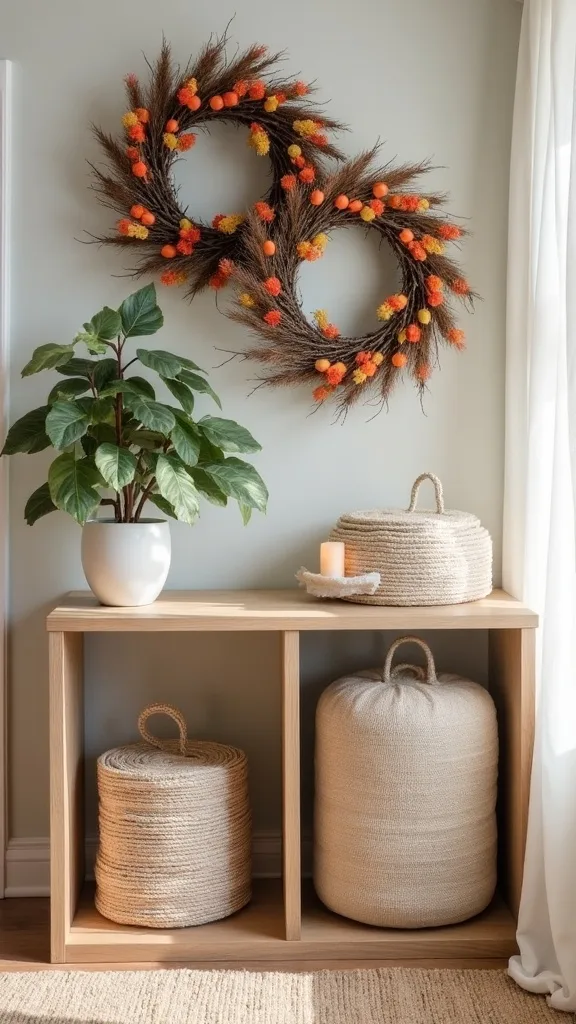
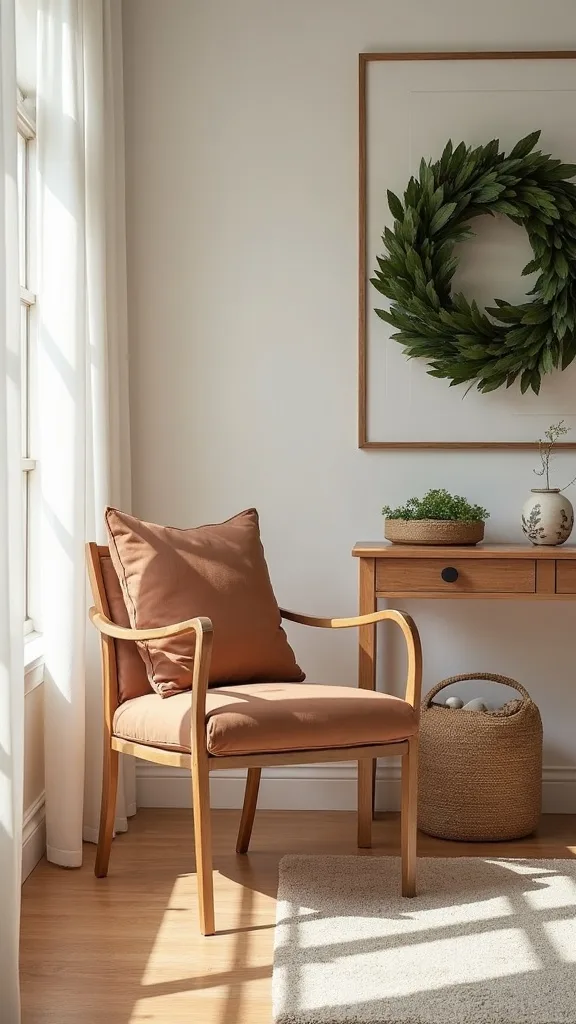
11. What’s the best way to store fall wreaths without crushing them?
Wreaths need space and protection from dust. This works because keeping their shape means you’re not fluffing fake leaves for 20 minutes every year.
Use a dedicated wreath storage bag or a shallow bin that fits the diameter (common sizes are 22–26 inches). If you’re stacking, put a sheet of kraft paper between wreaths so stems don’t snag. Store flat wreaths vertically like records if you have a shelf slot, or hang them on a sturdy wall hook away from direct sun.
Choose bags with a smooth lining—rough fabric catches on faux florals. A clear front panel is ideal so you can see which wreath is which.
Pro tip: tuck a small silica gel pack inside to keep things crisp—opening it later will feel like fall arriving on purpose.
12. How do I create a ‘one bin per holiday’ rule that actually works?
Holiday clutter happens when decor spreads across the house. This works because a hard container limit forces editing—and editing is the whole vibe.
Assign one bin to Halloween and one to Thanksgiving (or one combined “Fall Holidays” bin if you’re minimal). Keep only what fits with the lid closed. If you buy something new, something old has to go—no exceptions. Store consumables (napkins, plates) in the same bin so you don’t rebuy every year.
Pick a distinct bin color for holidays—like orange or red—so you can spot it instantly. Use a big label on the lid: “HALLOWEEN — OPEN FIRST.”
Pro tip: when your holiday decor is edited, it looks more intentional in your home—and your garage stops feeling like a seasonal landfill.
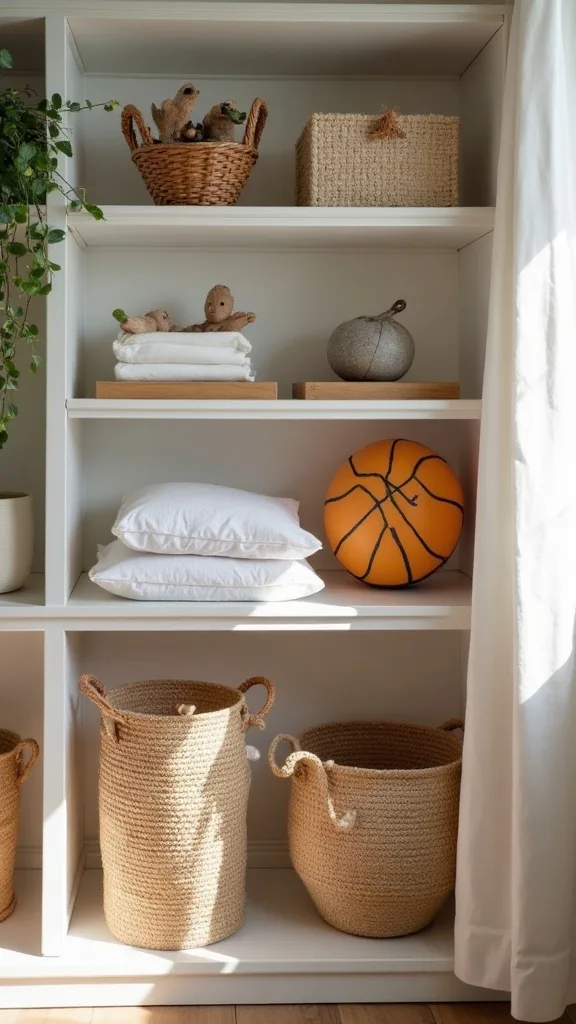
13. How do I handle kids’ seasonal stuff (sports, water toys, costumes) without piles?
Kids’ stuff needs simple rules and fast returns. This works because if it’s fussy, it won’t happen—especially on a school night.
Create three kid-friendly bins: “Summer Water,” “Sports Gear,” and “Costumes/Crafts.” Use clear bins so they can see what’s inside, and keep them on a low shelf they can reach. For wet items, use a ventilated laundry basket as a drying station before anything goes into seasonal items storage.
Go for labels with icons (a little swim goggle doodle, a soccer ball) plus words. It feels playful and keeps the system running even when you’re not there.
Pro tip: the best storage organization for families is the one kids can maintain—watch how quickly the garage stops being a blame zone.
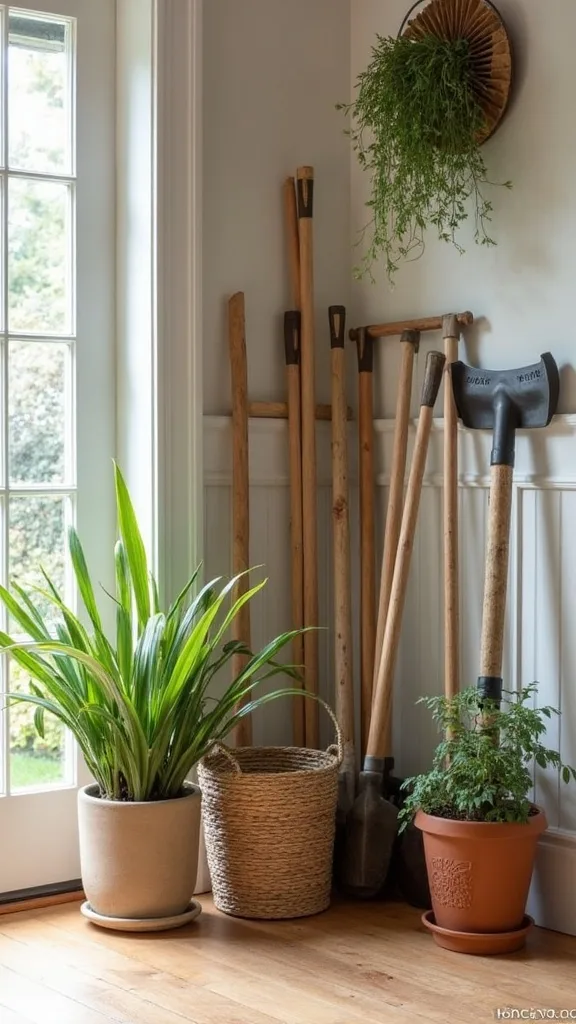
14. How do I store summer garden tools and hoses for fall without making a mess?
Garden gear gets gross because it’s stored dirty and tangled. This works because a five-minute reset prevents rust, leaks, and that muddy “why does this smell?” moment.
Rinse tools, dry them, and wipe metal parts with a tiny bit of mineral oil on a rag. Coil hoses on a wall-mounted hanger, and drain them before cold weather. Put small items—gloves, pruners, plant ties—into a handled caddy that lives near the door so you can grab it like a tote.
Choose a rubber-coated hose hanger (it feels sturdy and doesn’t chew up the hose). For the caddy, a thrifted galvanized bin looks great and doesn’t care about dirt.
Pro tip: when the tools are clean, you’ll actually want to garden again—your garage starts to feel like a studio, not a storage unit.
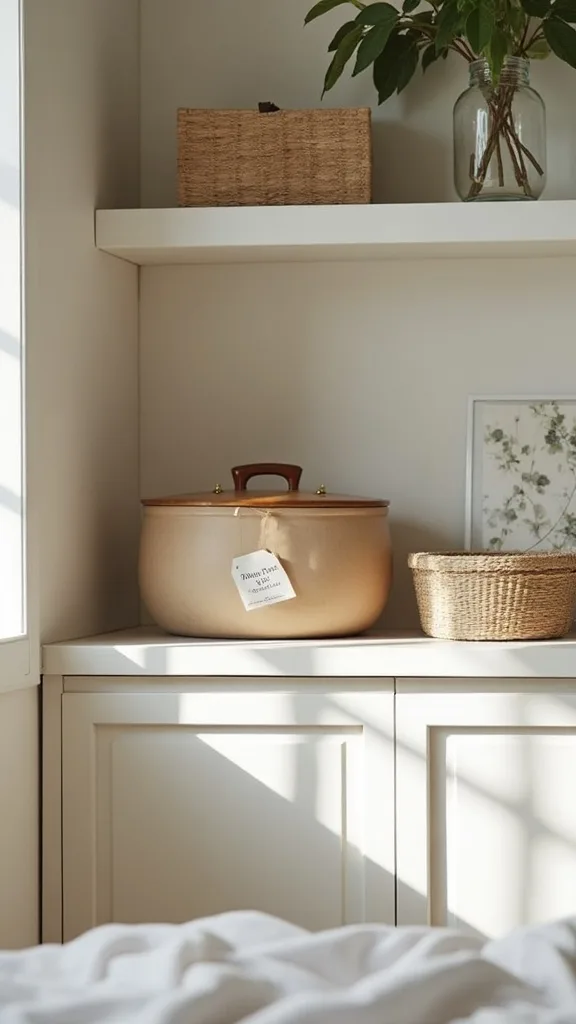
15. What’s the simplest inventory method for seasonal bins?
You don’t need a spreadsheet to be organized. This works because a quick visual list prevents duplicates—no more buying “another” pumpkin because you couldn’t find the first three.
Tape an index card inside each bin lid and list the top 10 items inside. Keep it loose and human: “2 plaid runners, brass candlesticks, leaf garland, mini pumpkins.” For higher-traffic bins, add a QR code that links to a phone note with a longer list, but only if you’ll actually use it.
Use waterproof index cards (or just cover a normal card with clear tape). Write with a bold marker so it’s readable in dim garage light.
Pro tip: the first time you find exactly what you need without opening three bins, you’ll feel like you upgraded your whole house.
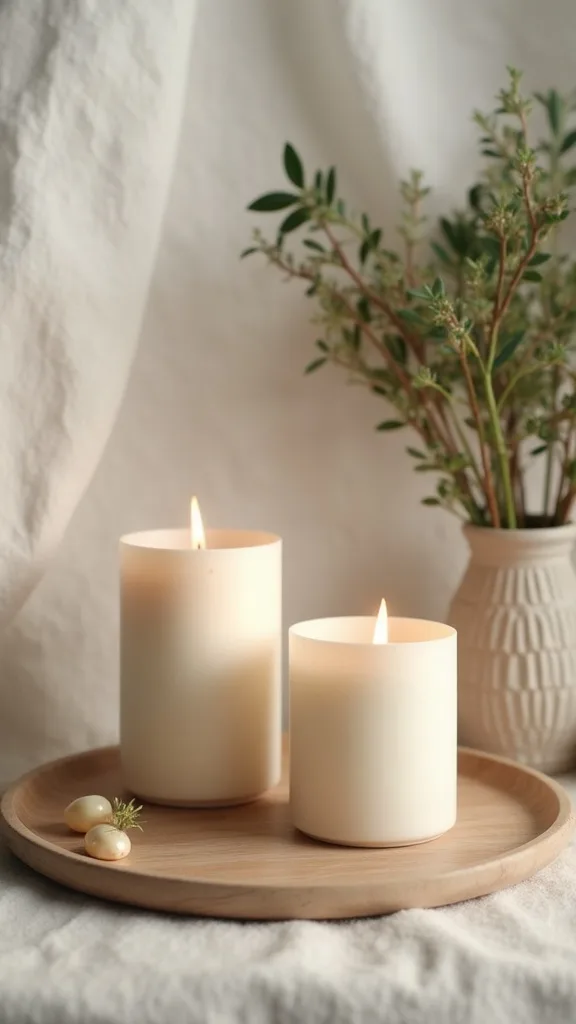
16. How do I store candles and fragrance items so they don’t melt or warp in the garage?
Garages get hot, and wax will betray you. This works because keeping heat-sensitive items indoors saves money and prevents that weird “sweaty candle” texture.
Store candles, wax melts, and diffusers in a closet bin inside the house, not in the garage. If you must use the garage, place them in a small insulated cooler (no ice) on the lowest, shadiest shelf. Keep them upright and separated with cardboard dividers so glass doesn’t clink and chip.
Choose a lidded shoebox-size bin for indoor storage—easy to carry when you’re styling. Keep scents seasonal: citrus for summer, spice/wood for fall.
Pro tip: when you open a fall candle and it smells exactly right—no plastic heat notes—it sets the whole mood instantly.
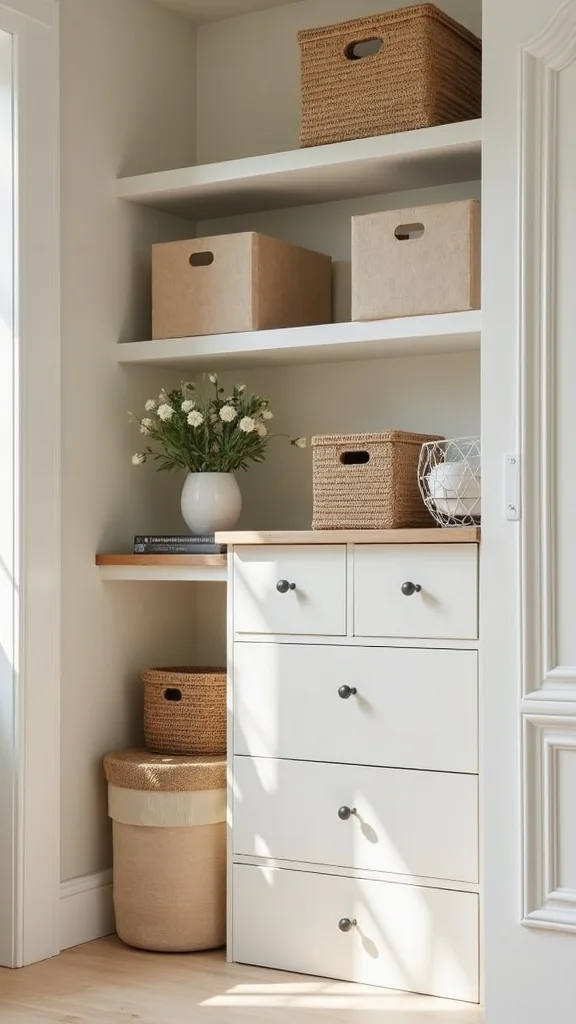
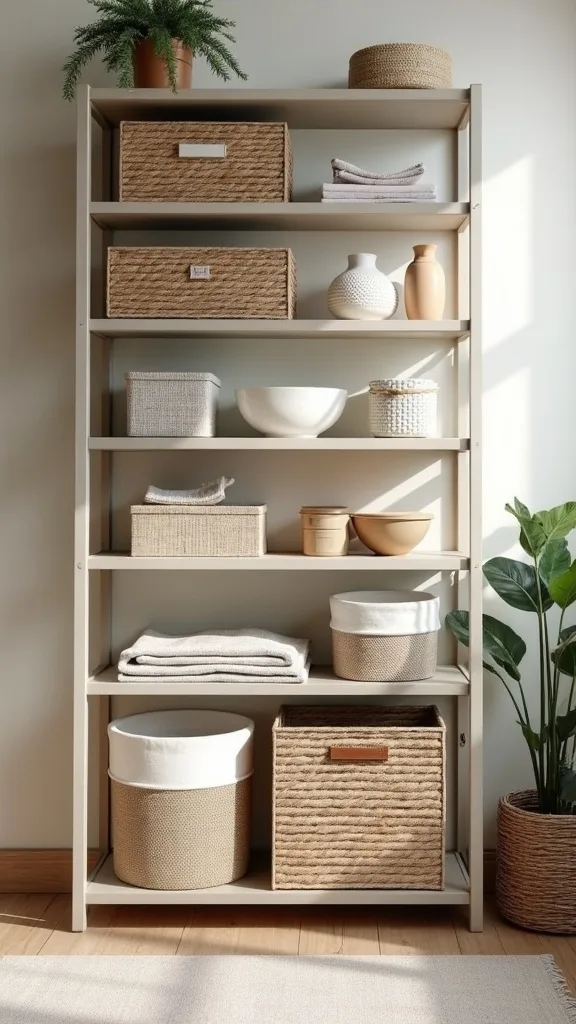
17. How can I make cheap bins look cohesive (even in a garage)?
Cohesion isn’t about spending more; it’s about repeating a few choices. This works because visual noise makes a garage feel messier than it is.
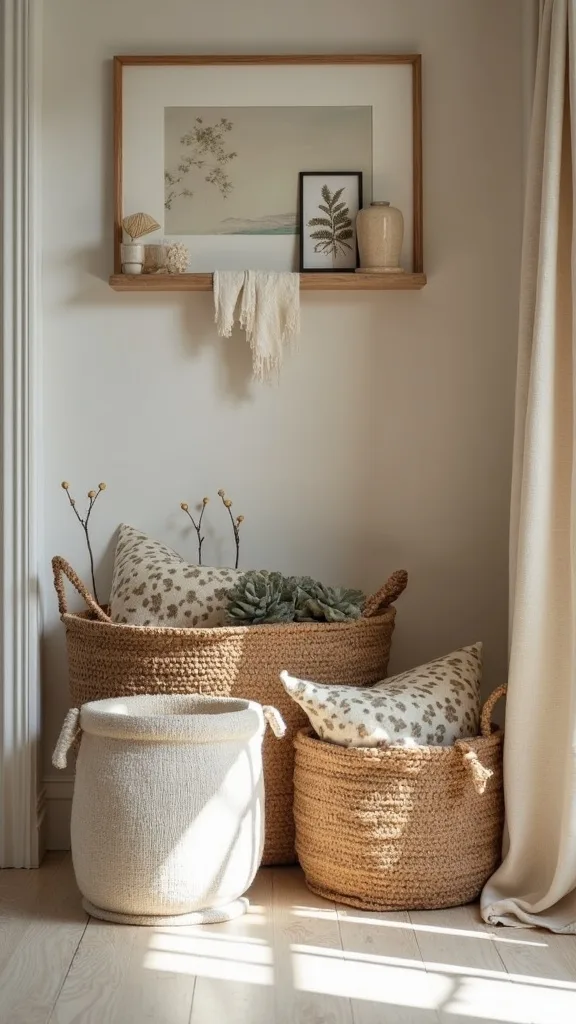
Pick one bin style for seasonal storage—same footprint, same lid style—so stacks are stable. If you already own mismatched bins, unify them with matching labels and a single color family: all white labels, all black marker, all lids facing out. Add one “pretty” element like woven baskets for small decor, but keep them within the system.
Clear bins read utilitarian; matte bins read calmer. Both are fine—just commit. A thrifted wood crate adds that vintage texture without fighting the practical pieces.
Pro tip: a cohesive wall of bins makes you feel capable every time you walk in, even if the rest of the garage is still a work in progress.
18. What’s the best way to store seasonal table linens without wrinkles?
Wrinkles happen when linens are crushed and forgotten. This works because folding around a simple form keeps fabric smoother without turning your life into a laundry ritual.
Fold tablecloths and runners around a piece of foam board or cardboard so they lay flat, then slide them into a large zip bag or a shallow bin. For delicate linens, add a sheet of tissue paper between folds. Keep napkins bundled in sets with a ribbon or a rubber band so you’re not counting later.
Linen and cotton get softer with age; they don’t need perfection, just respect. Neutral textiles (oatmeal, cream, soft plaid) transition beautifully from late summer into fall.
Pro tip: when you pull out a runner and it drapes cleanly on the table, dinner feels effortless—like you planned it, even if you didn’t.

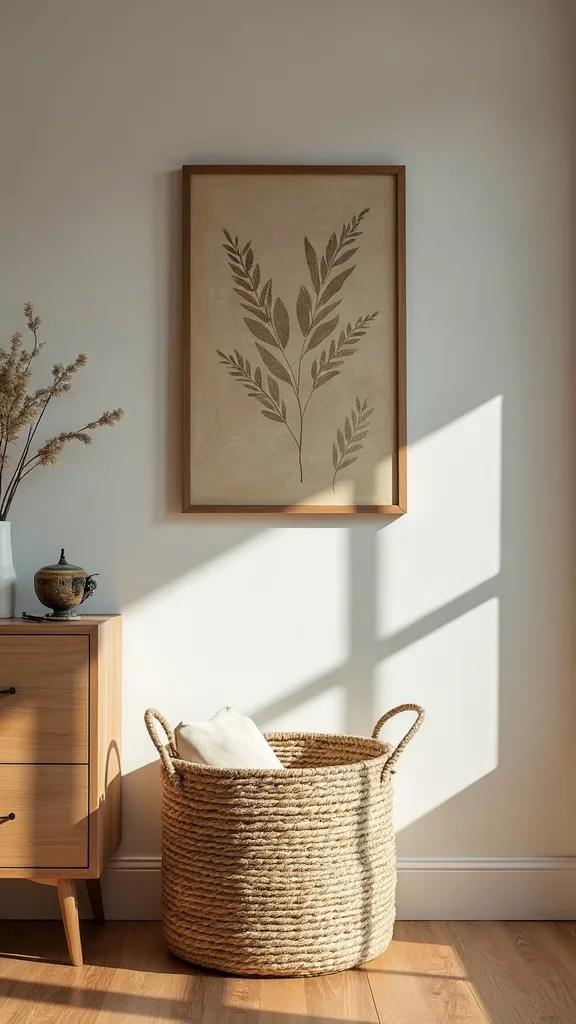
19. How do I create a ‘donation exit’ so clutter doesn’t boomerang back in?
Clutter returns when there’s no finish line. This works because a dedicated exit zone turns decluttering into a completed action, not a vibe.
Keep one sturdy bag or bin labeled “Donate” near the garage door. During your swap, anything you’re done with goes straight in—no bargaining. Schedule a drop-off: add it to your calendar for the next errand day, or put it in your trunk immediately so it leaves the house by accident (the best kind).
Use a simple canvas tote or a big blue IKEA-style bag—tough, washable, and it holds a surprising amount. If you’re donating decor, wrap fragile items in old towels so they arrive intact.
Pro tip: watching that donation bag leave feels like reclaiming square footage in your head, not just your garage.
20. How do I store seasonal faux florals so they don’t get crushed or dusty?
Faux florals look cheap when they’re bent and dusty. This works because protecting the shape keeps them looking like a styled choice, not a storage casualty.
Store stems in a tall bin or an under-bed style container lined with kraft paper. Keep them in bundles with soft ties, and place heavier stems at the bottom. If you have a few special pieces, slide them into poster tubes or wrap them in tissue like you would vintage glass.
Stick to a fall palette that looks good even slightly imperfect: rust, olive, wheat, deep cream. The texture reads cozy, and it hides wear better than bright oranges.
Pro tip: when your stems fluff back to life with one shake, decorating feels playful instead of like a chore.
21. How do I keep seasonal bins from attracting pests in the garage?
Pests go where food and soft nesting materials are easy. This works because clean bins, sealed lids, and smart placement remove the invitation.
Never store food-based items (bird seed, pet treats) in the seasonal zone. Wash textiles before packing, and avoid storing anything with crumbs—picnic blankets, outdoor pillows used for snacks—without a quick shake and wash. Use tight-latching bins, and keep them off the floor if possible, even just on a low shelf.
Slip cedar blocks or lavender sachets into textile bins for a gentle deterrent that also smells nice. Skip mothballs—the odor clings and it’s not worth it.
Pro tip: a pest-free garage feels quietly luxurious—like your home is protected without you thinking about it.
22. How do I store seasonal rugs and doormats without them curling?
Curling happens when rugs are folded too tight. This works because rolling preserves shape and makes it easier to deploy when the season changes.
Roll rugs and mats with the top side facing out to reduce edge curl. Secure with two straps or ribbon ties, then store them on a shelf or in a tall corner bin. For smaller doormats, stack them flat in a shallow tote with a piece of cardboard on top to keep them from bending.
Natural fiber mats (coir, jute) age with a little roughness—just keep them dry. For fall, a simple black-and-cream stripe looks good with almost any porch situation.
Pro tip: unrolling a clean fall mat at the first cool morning feels like flipping the house into a new chapter.
23. How do I build a rotation schedule so I’m not doing this every weekend?
The goal is one solid swap, then tiny maintenance. This works because routine beats motivation, and your garage doesn’t need constant attention to stay decent.
Put two dates on your calendar: late August/early September for summer to fall storage, and late November for fall-to-winter. Keep a 10-minute “seasonal reset” once a month: return stray decor to the rotation zone, check labels, and make sure the current bin is still accessible. If you buy something new, immediately decide what bin it lives in.
Use a dry-erase marker on a small board by the garage door: “Next swap: 9/6 — pull Fall Decor + Warm Textiles.” Simple, visible, done.
Pro tip: when the schedule exists, your home starts to feel like it’s moving with the year instead of fighting it.
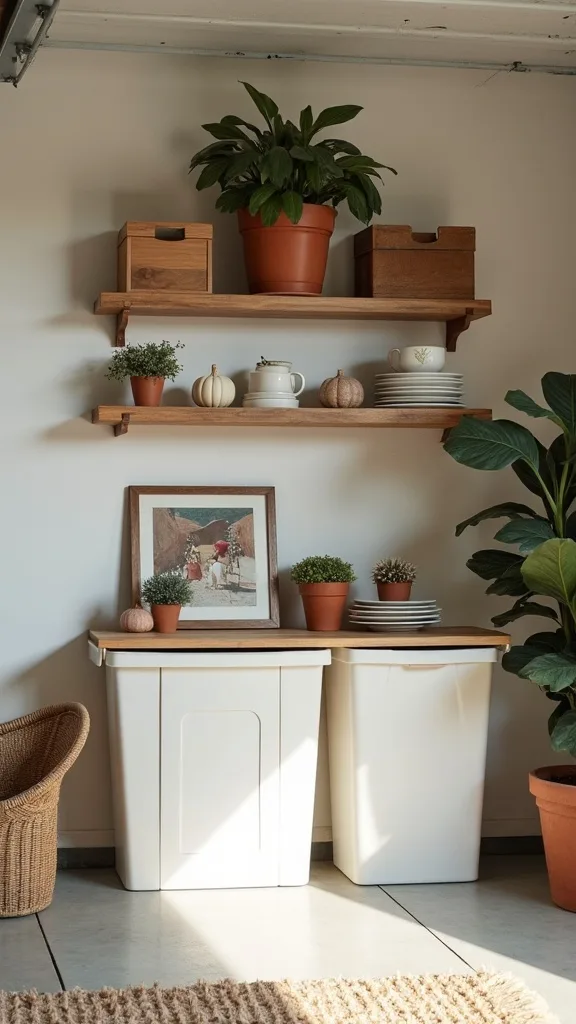
24. How do I make a small garage work for seasonal storage?
Small garages don’t need more stuff—they need vertical clarity. This works because floor piles steal space fast, and they make every project feel harder than it is.
Go up: add a basic shelving unit or wall-mounted hooks, and reserve one tight footprint for seasonal items storage. Use uniform bins so you can stack safely, and keep a narrow “rotation cart” (even a thrifted bar cart) for the current season’s decor and tools. Store vacuum-bagged textiles in one bin that slides under a workbench.
Choose slimmer bins (around 14–16 inches deep) if your shelves are shallow. Clear bins help in tight spaces because you don’t have to pull everything out to check.
Pro tip: a small garage that functions well feels bigger than a large one that’s chaotic—every inch starts working for you.
25. How do I keep the system going after the first swap?
The system sticks when it’s easier than the mess. This works because maintenance becomes a habit, not a heroic event.
Make returning items frictionless: keep a step stool near the seasonal shelves, keep an extra label strip and marker in a drawer, and leave one empty tote for “incoming.” When you bring home new decor, it doesn’t float around the garage—it gets labeled and placed the same day. Once a season, do a five-item edit: donate five things you didn’t use.
Let the aesthetic be simple: black bins, white labels, one vintage crate for charm. It’s the mix that feels real—practical with a little soul.
Pro tip: the best seasonal storage swap is the one you barely notice because it quietly keeps your life moving.
Final Thoughts
The funny thing about a garage is how quickly it changes your mood. When the seasonal zone is tight—soft summer pieces compressed, fall bins labeled and lined up, the rotation shelf ready—it’s like your whole house exhales through that door.
Keep it honest and light: fewer categories, cleaner labels, and one clear place for the season you’re living in right now. Avoid the “misc” trap, don’t store anything dirty, and don’t let holiday decor expand like it pays rent.
Do one thing today: set a 20-minute timer, fill one vacuum bag with summer textiles, and label one fall bin on all four sides—then slide both into a dedicated spot so tomorrow you can keep going without starting over.
What I’d Do Differently
When I first tried this, I made the classic mistake: I created a “Fall + Random” bin because I was in a hurry and thought I’d sort it later. Later never came. The next year, I was standing in the garage in early October, pulling out sun-faded citronella candles and beach picnic gear just to find one leaf garland. It didn’t just waste time—it made me feel weirdly behind, like fall was happening to me instead of with me. The correct approach is boring but magic: one season per bin, and anything that doesn’t belong gets a real home or goes in a small, dated “Decide Later” box that you schedule.
I also wish I’d known to store heat-sensitive things (candles, fragrance) inside from day one, and to label the lids—not just the sides—because stacks shift. If you’re starting today, pick three categories, label one bin properly, and let the system earn your trust as you go.