
This post contains affiliate links. As an Amazon Associate, I earn from qualifying purchases at no extra cost to you.
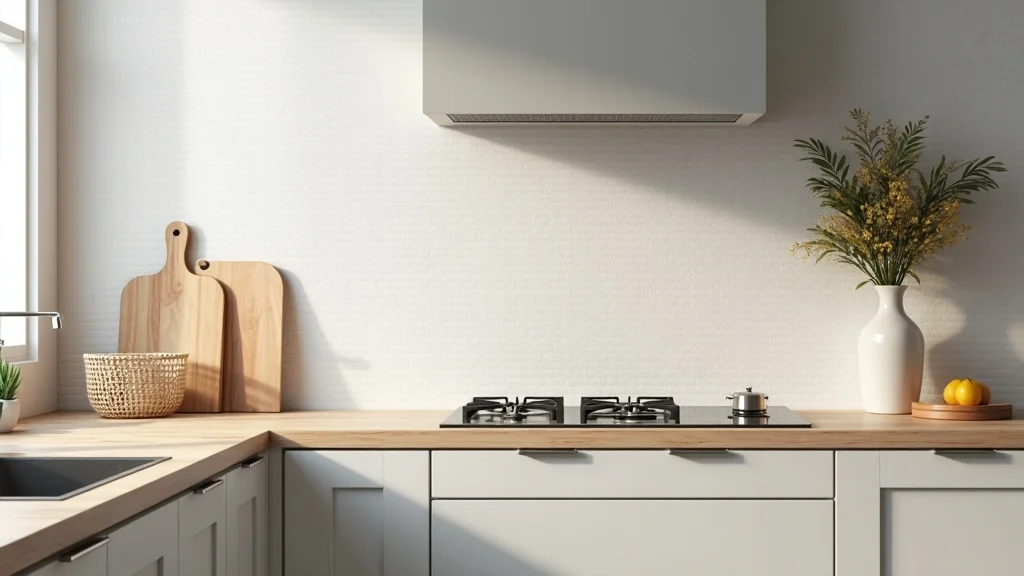
There’s a specific kind of kitchen disappointment: you clean the counters, light a candle, step back… and your eyes still lock onto that blank drywall stripe behind the sink. It’s not even “ugly.” It’s just unfinished, like the room never put its shoes on.
This is your permission slip to stop thinking a kitchen backsplash has to mean a contractor, a dusty saw, and a cart full of tile you’ll regret by Tuesday. The Pinterest-trending energy for 2026 is lighter, faster, and way more flexible: surfaces that can change with you, not trap you.
This is perfect for renters (hello, removable), new homeowners who just survived closing costs, and anyone with a perfectly good modern kitchen that doesn’t need a $2,000 “finishing touch.”
Inside, you’ll find affordable glass tile moments that read glossy and clean, painted designs that look custom from five feet away (and still good up close), recycled materials with real texture, and vinyl decals that fake the whole vibe in minutes.
Below are 25 5 Budget Modern Kitchen Backsplash Ideas 2026: Affordable Glass Tiles, Painted Designs, Recycled Materials & Vinyl Decals for Stylish Savings that save money, keep your kitchen wipeable, and make the room feel intentionally styled instead of “still in progress.”
Products I Recommend for This Project
Here are some of my favourite products to help you bring these ideas to life:
- Art3d Peel and Stick Backsplash Tile (Subway, 12″x12″) — A renter-friendly way to get clean, modern “tile” lines fast.
- Roman Products E-Z Hang Peel & Stick Wallpaper Helper — Helps vinyl and decals grip better and go up smoother with fewer bubbles.
- Goo Gone Kitchen Degreaser — The unglamorous step that keeps corners from lifting later.
- Gorilla Heavy Duty Construction Adhesive (White) — Great for panel-style backsplashes where you need a strong bond.
- GE Advanced Silicone Kitchen & Bath Sealant (Clear) — Seals the countertop seam so water doesn’t sneak behind your new backsplash.
1. What are the cheapest modern backsplash alternatives that still look intentional?
A modern backsplash doesn’t have to be tile—sometimes it’s a smart surface choice that reads crisp, clean, and finished. This idea focuses on stylish backsplash alternatives that cost less than traditional tile installations, including DIY hacks, so you get the look without the labor bill.
Start by picking one “zone” first: the 30–36 inches behind the sink or the cooktop wall. Clean with a degreaser, lightly sand glossy paint, then choose one of these low-cost surfaces: peel-and-stick panels, vinyl decals, beadboard strips, or a painted pattern sealed with a wipeable topcoat. Keeping it to one zone is how you stay in budget and still get a big visual payoff.
For a modern kitchen, stick to materials that feel sleek under your fingers—smooth vinyl, satin paint, glossy acrylic. Go monochrome (warm white, clay, charcoal) and let texture do the talking.
Pro tip: commit to one repeat element (a grid, stripe, or “tile” size) so it looks designed, not improvised. Done right, the space feels calm—like it finally exhaled.
2. How do peel-and-stick vinyl tile sheets hold up behind a sink?
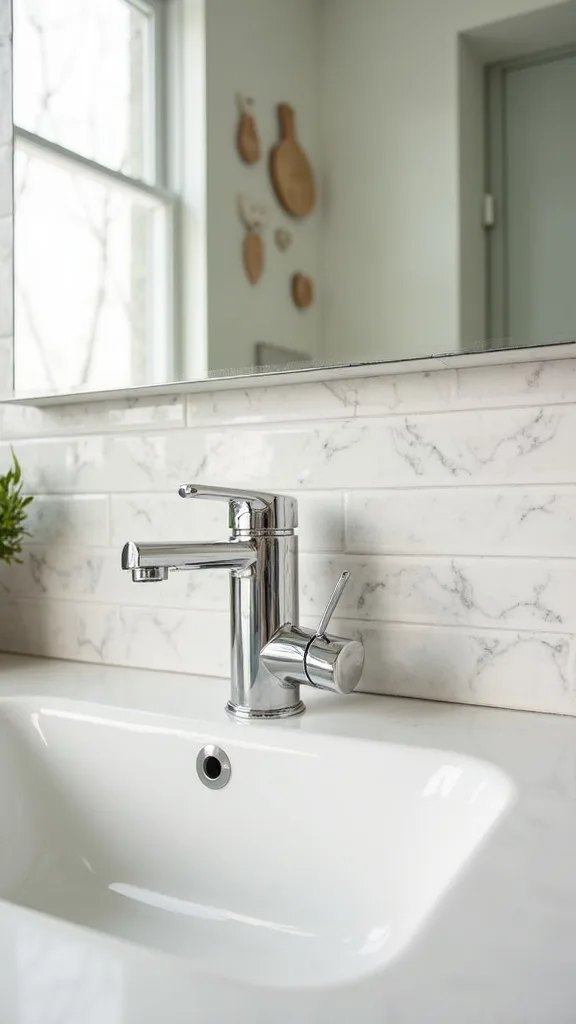
Peel-and-stick vinyl sheets are the budget hero because they give you instant geometry—clean lines, faux grout, and that modern orderliness. They work behind a sink because the surface is sealed, so splashes don’t soak in the way raw paint can.
To install: measure your backsplash height (most are 18 inches), snap a level line, and start from the most visible corner. Use a utility knife and a metal ruler for crisp cuts around outlets; press with a plastic smoothing tool so edges fully bond. Add a thin bead of clear kitchen/bath silicone along the countertop seam so water can’t creep underneath.
Look for matte white “subway” or soft concrete tones for a modern kitchen; glossy finishes can look plasticky under strong light.
Upgrade: swap basic outlet covers for flat, screwless plates in white or black. It’s a tiny detail that makes the whole backsplash feel more “built-in,” like it belongs there.
3. Can you get a modern glass tile backsplash look on a tight budget?
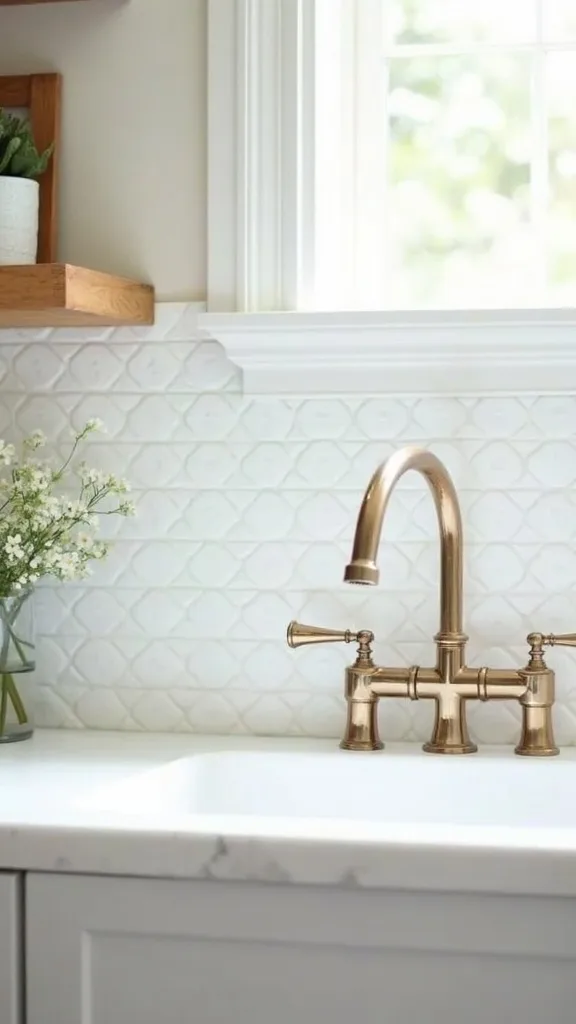
Yes—glass tile reads instantly modern because it catches light like water, even when the kitchen is half-awake in the morning. The budget move is using glass mosaic sheets strategically instead of tiling every inch.
Pick a 10–15 sq ft area and use pre-mounted mesh sheets so you’re not placing tiny pieces one by one. Use a bright white adhesive made for tile, then a grout color that blends (white-on-white is the cleanest). If you’re DIYing, keep your pattern simple—straight stack or classic brick—and focus on straight cuts at the edges.
Colors that feel 2026: soft smoke gray, sea-glass green, or clear mixed with white. They layer beautifully with vintage brass hardware or a thrifted glass pendant.
Pro tip: avoid bargain glass with uneven thickness—it creates lippy edges that catch grime. When the light hits the finished wall, it feels airy, like the room got a little coastal without trying.
4. What’s the easiest painted backsplash design that looks like real tile?
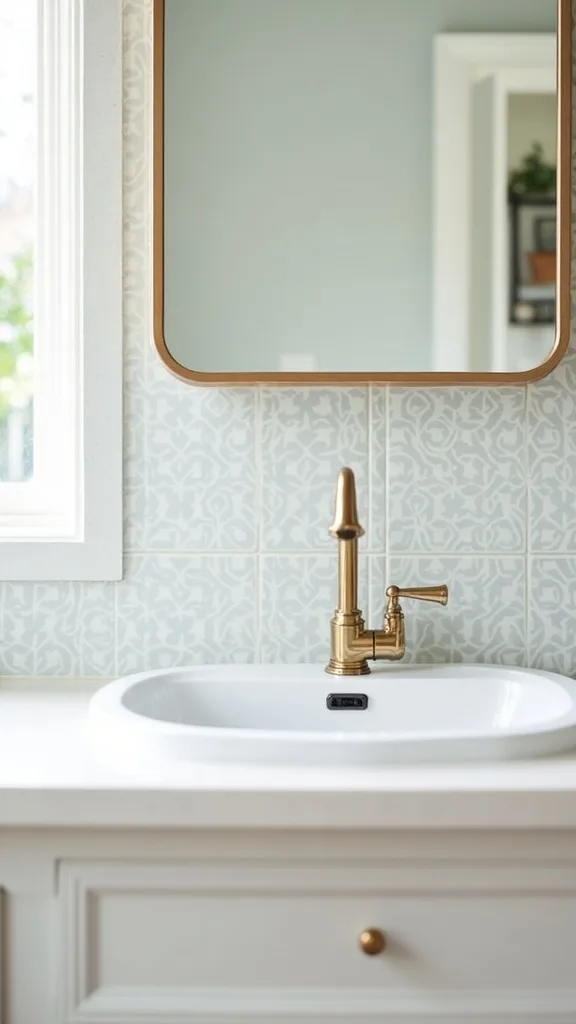
Paint can fake tile shockingly well if you lean into repetition and clean edges. The easiest version is a painted “tile grid” that gives your wall structure without adding any thickness.
Paint the whole area in a durable satin or semi-gloss. Once dry, use painter’s tape to create a grid (think 3″x6″ subway or 4″ squares), then paint the “grout lines” by leaving the base color showing and painting the “tiles” a shade darker. Seal with a clear water-based topcoat so it wipes clean.
Modern kitchen colors: warm white base with mushroom tiles, or charcoal grid over a pale gray. The finish should feel smooth, not chalky.
Upgrade: add one skinny row in a contrasting tone—like a quiet pinstripe. It’s subtle, but it makes the whole wall feel custom, like you hired someone with taste.
5. How do you do a painted arch or color-block backsplash without it looking childish?
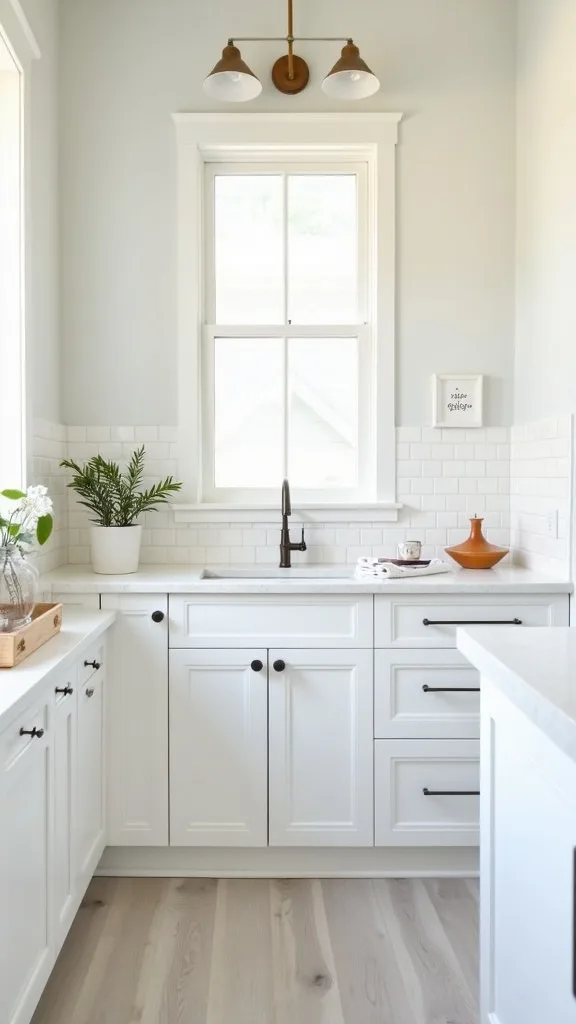
A painted arch backsplash is modern because it’s graphic, not fussy—more gallery wall than farmhouse craft. The trick is scale and restraint, so it feels intentional instead of playful.
Sketch your shape lightly in pencil: a tall arch centered behind the sink, or a long rectangle that mimics a slab. Use a flexible measuring tape for symmetry, then tape the edges. Paint two coats in a satin enamel and let it cure fully before splashing water on it.
Choose grounded colors with depth: clay, olive-gray, deep navy, or a muted terracotta that looks good next to stainless steel. Pair it with open shelving and a few vintage stoneware pieces so it feels collected.
Pro tip: avoid bright primary colors—they read like kids’ room energy. When you walk in, the shape feels like a calm focal point, quietly framing the daily mess.
6. Are vinyl backsplash decals actually removable for renters?
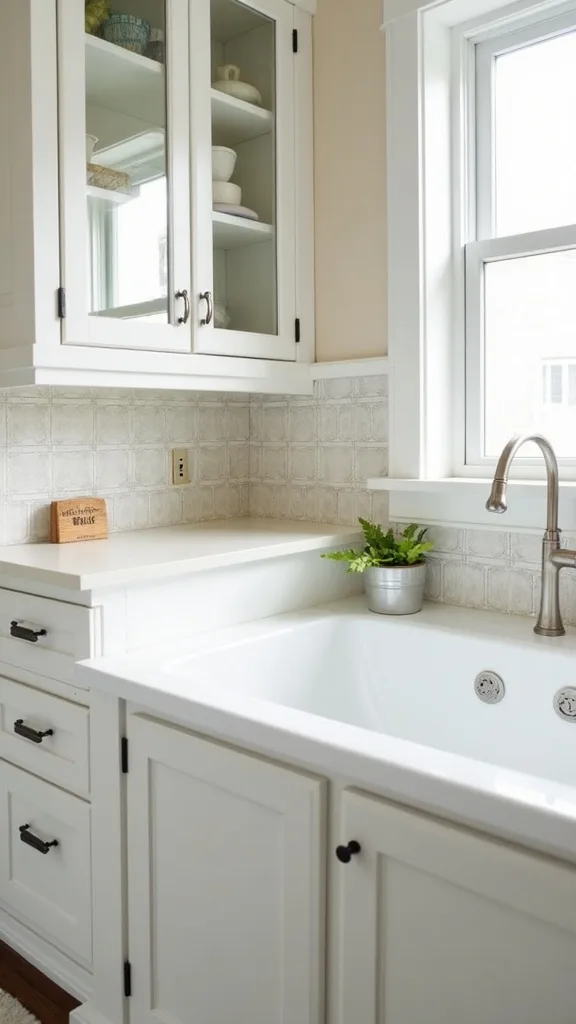
Good vinyl decals are renter-friendly because they’re designed to peel off without taking the wall with them—if you prep correctly. They’re also the fastest way to get a budget kitchen backsplash modern vibe in a weekend.
Start with a smooth, clean wall (no orange peel texture if you can help it). Wipe with rubbing alcohol, let it dry, then apply the decal from top to bottom using a squeegee or credit card wrapped in a soft cloth. Trim around outlets with a sharp blade.
Look for patterns that mimic small-scale tile: micro-hex, slim subway, or a simple grid. Matte finishes photograph better (Pinterest loves matte) and hide fingerprints.
Upgrade: seal only the bottom edge with removable caulk tape instead of silicone so you can take it down later. The best part is the mood shift—suddenly your kitchen feels like yours, even if the lease says otherwise.
7. What recycled materials make the best modern backsplash?
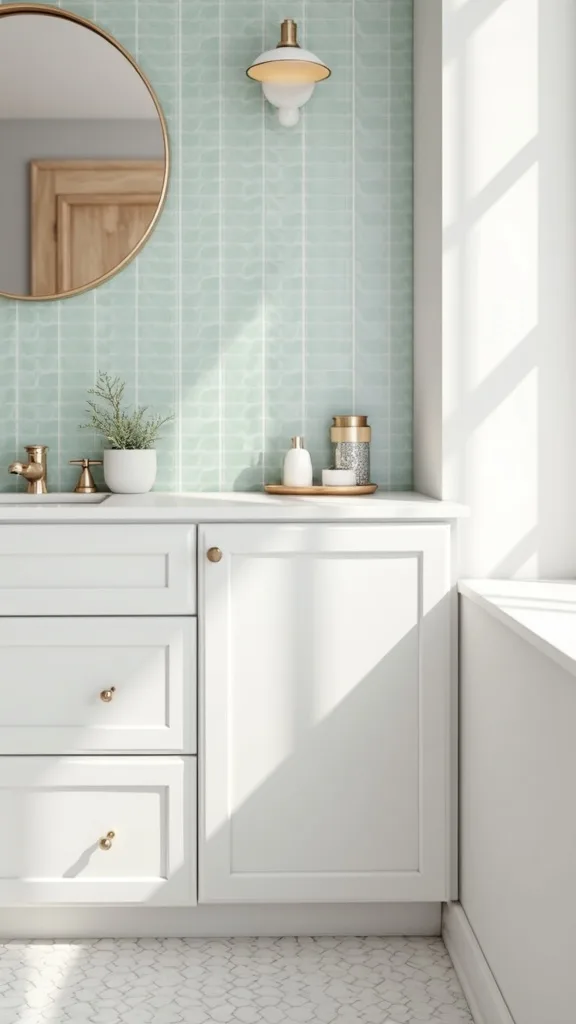
Recycled backsplash materials work when they feel clean, intentional, and repeatable—less “junk drawer,” more design studio. Think salvaged glass, reclaimed wood sealed properly, or leftover flooring used as a wall panel.
The simplest route: use leftover luxury vinyl plank (LVP) or laminate flooring as a backsplash panel. Cut to height, adhere with construction adhesive, and finish edges with a slim metal trim. Because it’s made to be walked on, it’s built to be wiped.
Color-wise, keep it modern: pale oak, smoked walnut, or a concrete print. Mix with vintage finds—an old cutting board, a thrifted brass rail—so it doesn’t feel like a showroom.
Pro tip: avoid raw pallet wood near water; it warps and holds grease. Done right, the wall feels warm under the eye—like the kitchen got a little more human.
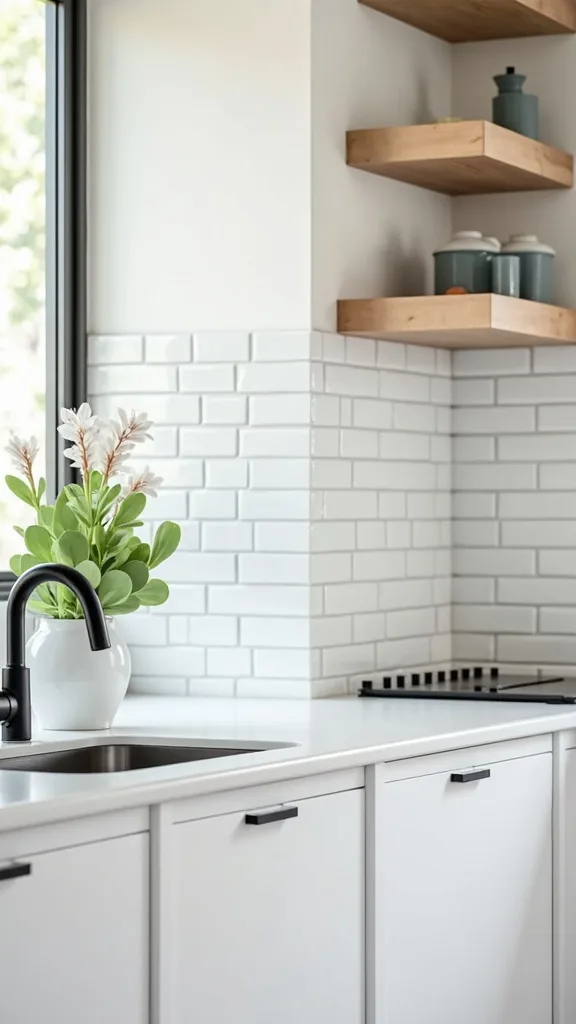
8. How can you use beadboard or paneling as a backsplash on a budget?
Beadboard is a classic, but in a modern kitchen it becomes interesting when you keep it minimal—thin grooves, clean paint, no frills. It adds texture you can feel with your fingertips, like subtle corduroy.
Buy a 4′ x 8′ beadboard sheet, cut it down to backsplash height (typically 18″), and attach with adhesive plus a few finish nails. Caulk seams, prime, then paint with a durable semi-gloss so it wipes clean. Finish with a simple trim strip at the top.
Stick to modern colors: warm white, soft black, or a muted sage. Pair with sleek hardware and a simple faucet so the paneling reads fresh, not cottage.
Upgrade: add a thin stainless or aluminum edge trim where it meets the counter for a crisp line. The result feels tailored—quiet texture that makes mornings feel less chaotic.
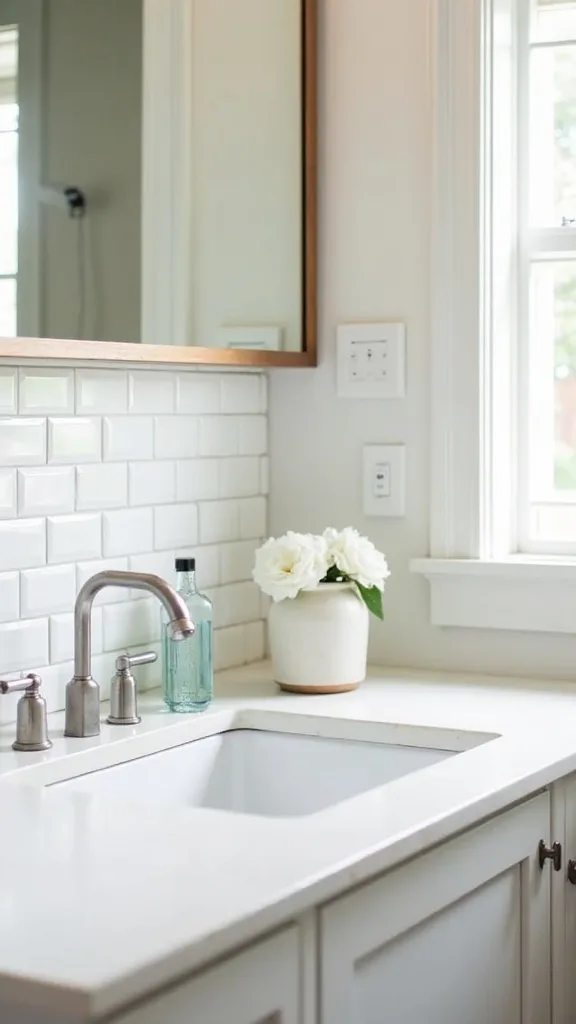
Cost & Materials Estimate
Most budget backsplash updates in this guide land between a quick $30 refresh and a $350 upgrade, depending on whether you use paint, vinyl, panels, or real glass tile in a small zone.
| Item | Estimated Cost | Where to Buy |
|---|---|---|
| Peel-and-stick vinyl backsplash tiles (10–20 sq ft) | $35–$120 | Amazon |
| Interior paint + primer (1 quart each) | $28–$65 | Home Depot |
| Clear water-based topcoat sealer (quart) | $18–$35 | Lowe’s |
| PVC/acrylic backsplash panel (4′ x 8′ sheet) | $55–$140 | Home Depot |
| Glass mosaic tile sheets + grout (10–15 sq ft) | $120–$260 | Wayfair |
| Silicone + caulk gun + smoothing tool | $16–$32 | Amazon |
Total estimated cost: $30–$350 Save money by doing a smaller “feature zone” first, and splurge only on the finish that sits behind your sink or stove.
9. What’s a modern way to do a faux terrazzo backsplash with paint?
Terrazzo is back because it’s playful without being busy—little freckles of color that feel like confetti trapped in stone. The budget version is paint, but the finish has to be sealed so it’s actually kitchen-friendly.
Paint your base coat in warm white or pale greige. Once dry, dab “chips” with a sea sponge or small brush in 3–4 colors (think charcoal, clay, muted olive, and sand). Keep the chips small and spaced out. Seal with a clear water-based polyurethane for wipeability.
This works best with modern kitchen lines: slab cabinet fronts, simple pulls, and minimal countertop clutter. Let the backsplash be the art.
Pro tip: avoid high-contrast neon chips—your eye will never rest. When it’s done, the wall feels like a sunny day in Palm Springs—casual, a little artsy, totally livable.
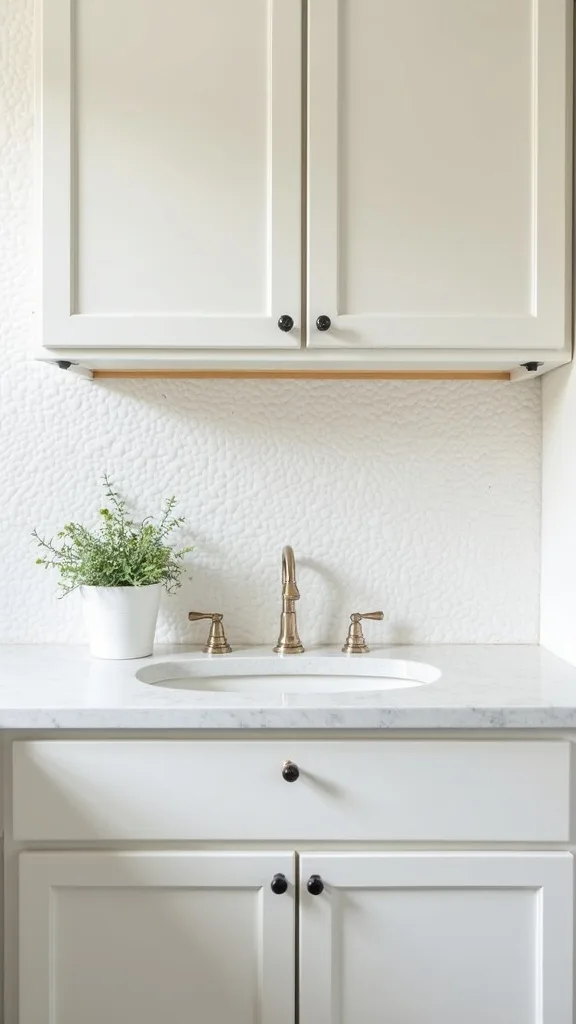
10. How do you create a ‘sheet backsplash’ with a single panel instead of tile?
A single sheet backsplash is the cleanest modern move: no grout lines, no visual noise, just one smooth plane. It’s also budget-friendly when you use the right material—like acrylic or PVC wall panels.
Measure carefully, then have the panel cut (or cut it at home with the right blade). Adhere it to the wall with panel adhesive, then run a neat bead of clear silicone along the counter seam. Use matching trim strips for the sides so the edges look finished.
Choose glossy white for a bright, airy look, or a soft marble print if you want that “slab” vibe without slab pricing. It should feel slick and easy to wipe.
Upgrade: add under-cabinet lighting in warm white light (2700K–3000K — the cosy, yellowish tone you see in most homes) so the panel glows instead of glares. The kitchen instantly feels calmer, like the surfaces finally agree with each other.
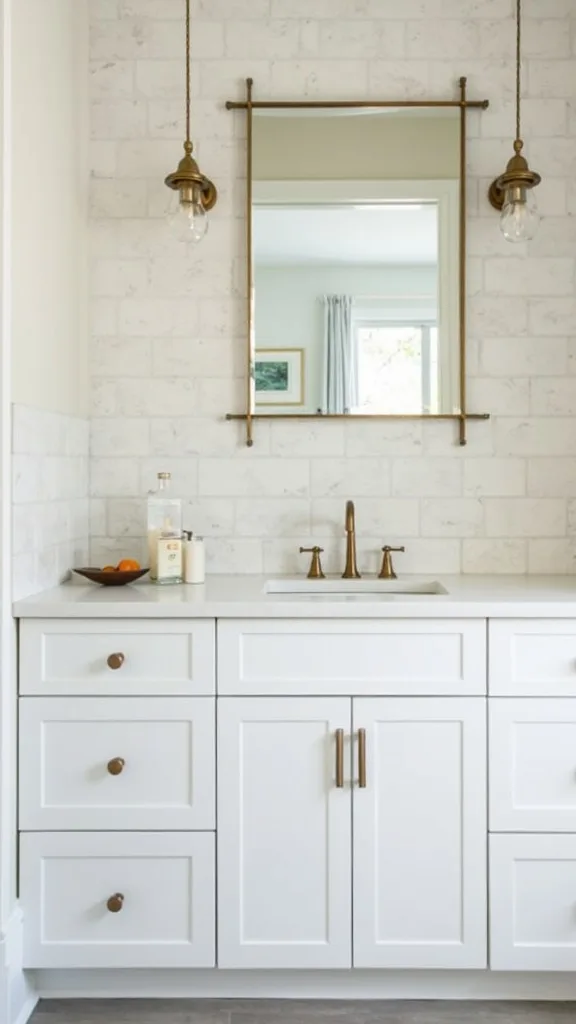
11. Can contact paper work as a backsplash, or is that a disaster?
Contact paper can work, but only in the right spot and with realistic expectations. Think of it as a styling layer—like a throw blanket—rather than a forever finish.
Use it behind a coffee bar, on a dry wall section, or above a floating shelf. Clean the wall, apply slowly, and overlap seams where the eye won’t catch them. If it’s near water, seal the bottom edge with a thin line of removable caulk tape.
Modern patterns that don’t scream “temporary”: matte concrete, soft linen texture, or a quiet micro-grid. Avoid high-gloss faux marble with heavy veining; it tends to look printed.
Pro tip: don’t put contact paper right behind a gas range or high-heat area—it can peel and discolor. Used in the right place, it feels like a quick outfit change for your kitchen—fresh, easy, and surprisingly satisfying.
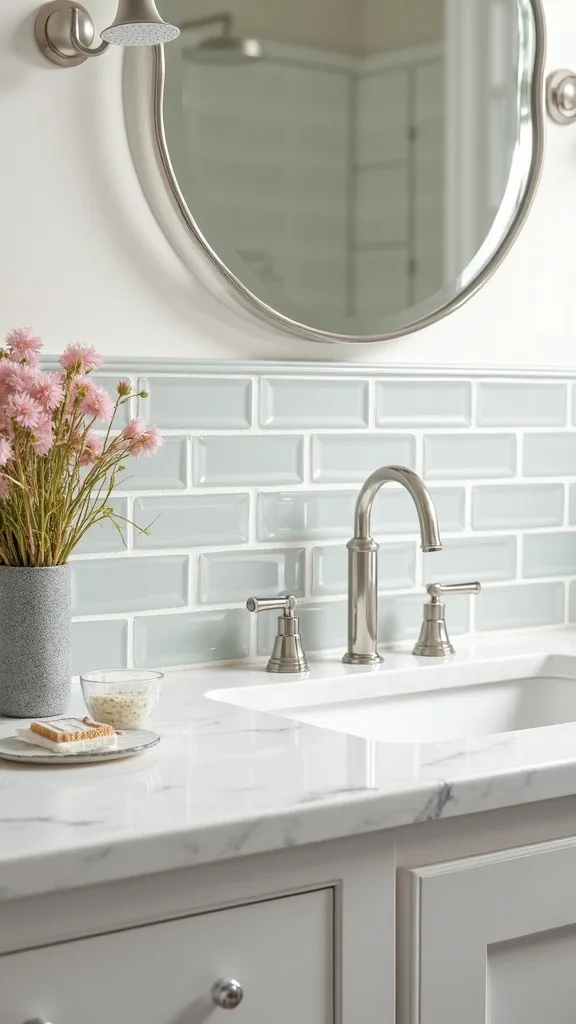
12. How do you do a minimalist groutless look without actual microcement?
Microcement looks dreamy, but it’s not always a beginner project. The budget-friendly way to get that groutless, minimalist vibe is a faux plaster paint finish sealed for the kitchen.
Use a plaster-look paint technique: roll on a base coat, then trowel or brush on a second coat in sweeping strokes. Keep your hand light so you get variation without chunky texture. Once fully dry, seal it with a clear, wipeable topcoat.
Colors: warm putty, pale stone, or a foggy gray that plays well with stainless steel. It should feel like soft stone visually—matte, calm, and slightly cloudy.
Upgrade: pair it with a vintage wood cutting board collection or a thrifted ceramic bowl so the wall doesn’t feel too sterile. The finished space feels like a quiet little design hotel—just with better snacks.
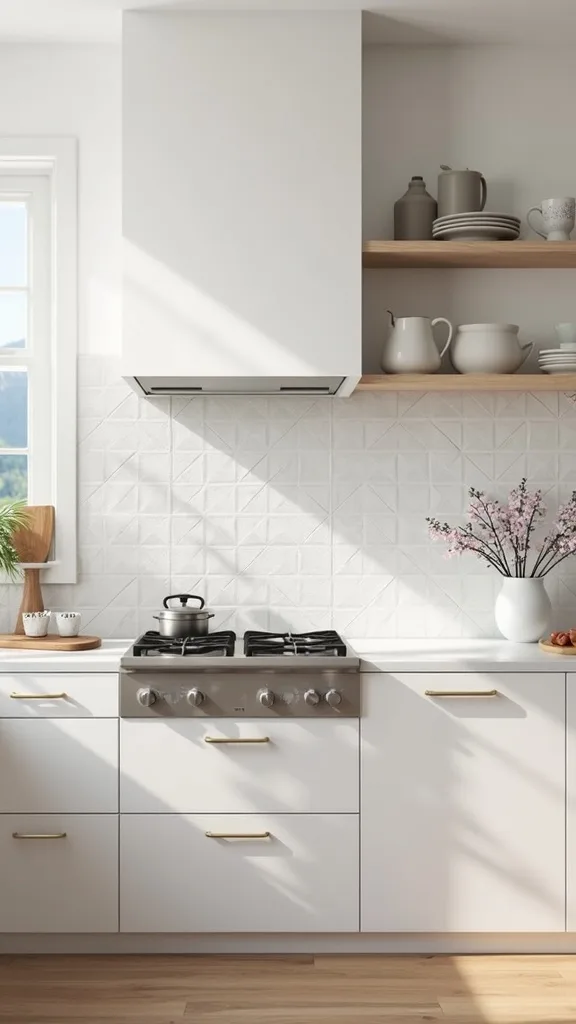
13. What’s the best budget backsplash idea for a tiny kitchen wall?
Small backsplash areas are a gift: you can afford the “nicer” option because you’re buying less. A tiny wall is the perfect place for a high-impact material like glass tile or a bold peel-and-stick pattern.
Measure your square footage (width x height in feet). If you’re under 10 sq ft, consider a premium-looking peel-and-stick mosaic or a real glass mosaic sheet moment. Focus on perfect alignment and clean edges—small spaces show mistakes.
Keep the palette modern: white, smoke, soft green, or black with a hint of shimmer. Add one vintage element nearby (an old mirror tray, a retro sconce) to make it feel styled, not staged.
Pro tip: avoid large faux-stone patterns in tiny areas; they can look like a random snippet of countertop. When it’s done, the kitchen feels sharper—like it got a tailored haircut instead of a full makeover.
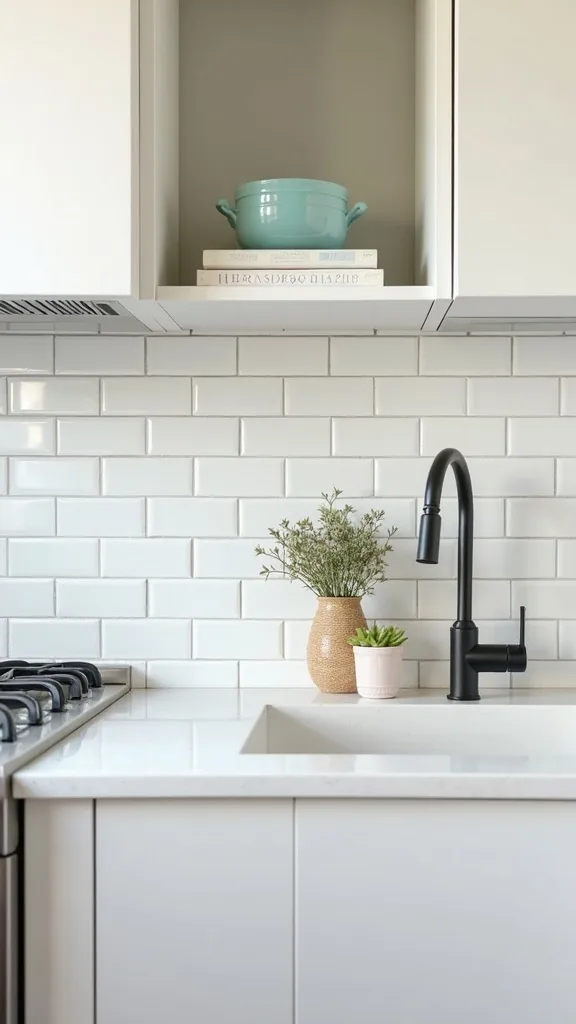
14. How do you protect a painted backsplash from grease and splashes?
Paint is only as practical as the finish you put over it. If you want a painted kitchen backsplash to last, protection is the whole game—especially near the stove.
Use a durable paint (satin or semi-gloss is easiest to wipe), then seal with a clear water-based topcoat rated for kitchens. Let it cure fully before heavy cleaning—dry-to-touch isn’t the same as cured. For the stove area, consider adding a removable clear acrylic sheet as a splash guard.
Stick to colors that hide real life: warm whites, taupe, soft gray-green. Super bright white shows every sauce mishap.
Pro tip: avoid rough, chalky finishes like unsealed chalk paint—they grab grease like a magnet. With the right seal, the wall feels like it can handle Tuesday night tacos without panicking.
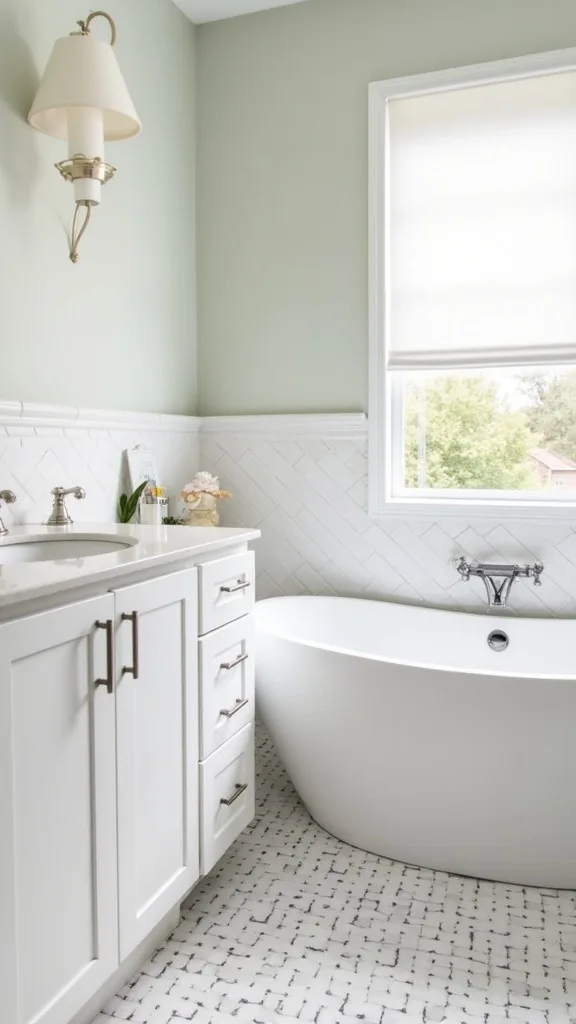
15. Can you mix real tile with budget materials and still look modern?
Mixing materials is how designers stretch a budget without advertising it. The modern approach is pairing a small amount of real tile where it matters with a simpler surface elsewhere.
Try real tile behind the range (a tight 30″–36″ wide feature) and paint or panels on the remaining backsplash run. Keep the transitions clean: use a slim metal trim strip where the materials meet, and align edges with cabinet lines.
Choose tile that feels current: clear glass, matte white, or slim vertical stacks. Then keep the secondary surface quiet—warm white paint or a pale concrete-look panel.
Pro tip: avoid mixing more than two finishes; three starts to feel chaotic fast. When you get it right, it feels intentional—like you edited the room instead of just saving money.
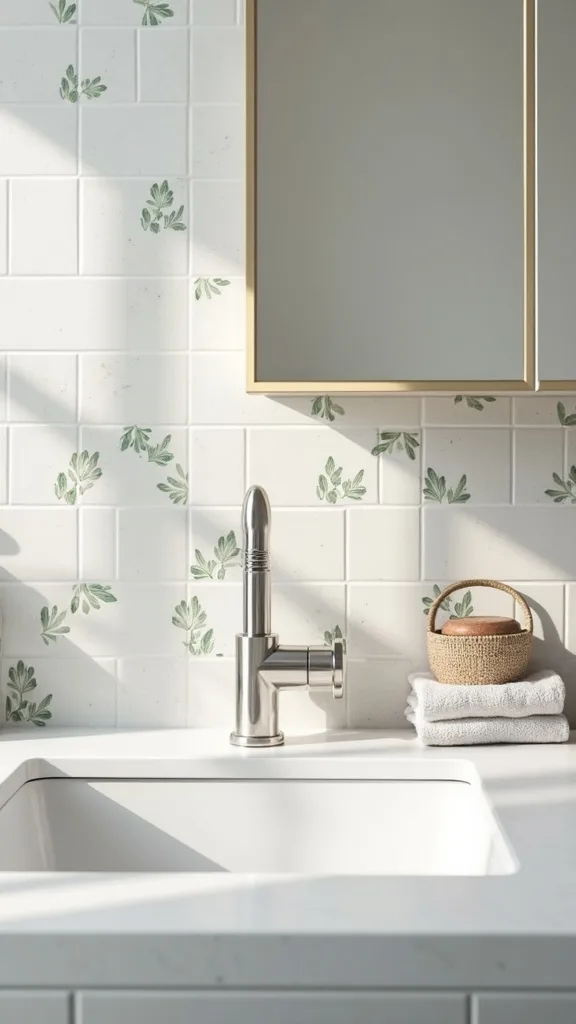
16. What backsplash idea works best if your wall is slightly textured?
Texture is the enemy of anything adhesive. If your wall has orange peel or heavier texture, your best budget options are panels you can glue and nail, or a skimmed-and-painted finish.
Option one: cover the texture with a thin panel (beadboard, PVC, or hardboard) attached with adhesive and a few brad nails. Option two: skim coat the backsplash area to smooth it, sand lightly, then apply decals or paint designs. Either way, start with a clean, grease-free wall.
Modern colors and materials: white paneling with black faucet hardware, or a smooth stone-toned painted finish. Let the texture come from a woven runner or vintage pottery instead.
Pro tip: avoid sticking peel-and-stick tile directly to heavy texture—it will lift at the edges and collect dust. Once the wall is smooth, the whole kitchen feels more polished, like the light can finally slide across it.
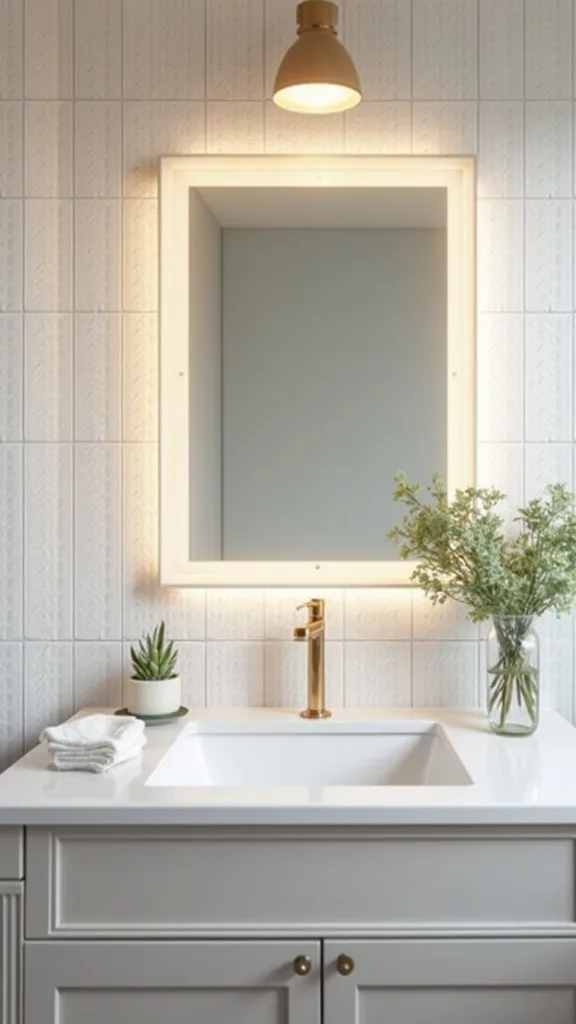
17. How do you do a budget backsplash behind a stove safely?
The stove zone is where pretty meets practical. Modern kitchens look effortless, but behind a stove you need something that won’t peel, warp, or trap grease.
If you’re using paint, seal it and consider adding a metal or acrylic guard panel right behind the burners. If you’re using peel-and-stick, choose products specifically rated for heat and keep them a safe distance from open flame. For the most durable budget option, use a small section of real tile just behind the stove and cheaper materials elsewhere.
Finish choices that read modern: white tile with light grout, smoke glass mosaic, or a slim stainless panel. Keep it simple and wipeable.
Pro tip: avoid standard contact paper behind a high-heat cooking area—it’s not worth the risk. When this zone is handled well, cooking feels easier—like you can be messy without paying for it later.
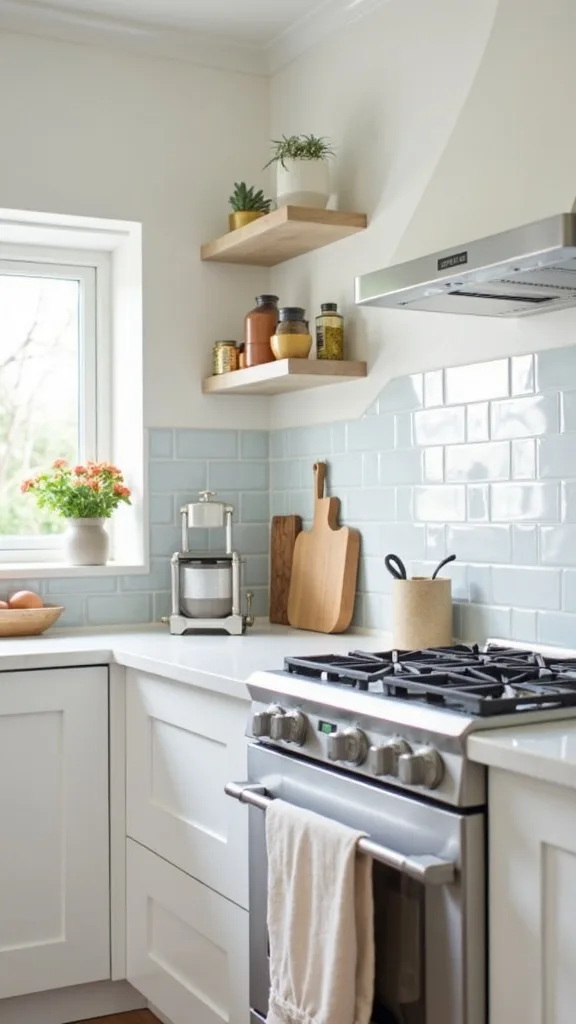
18. What’s a modern backsplash idea using thrifted frames or trim?
This one’s for the vintage lovers: using thrifted frames or trim to create a “paneled” backsplash grid. It’s architectural, a little unexpected, and surprisingly modern when painted one color.
Find thin wood trim or flat frames at thrift stores, Habitat ReStore, or salvage shops. Cut them into rectangles/squares, attach with construction adhesive, caulk seams, then paint everything the same satin color. Seal if it’s near water.
Go monochrome for a modern kitchen: warm white-on-white, or a soft black that makes brass hardware glow. The texture is subtle—raised lines you notice more in evening light.
Pro tip: avoid ornate, curvy frame profiles; they push the look traditional fast. Finished, it feels like a quiet custom detail—like your kitchen has a little story, not just a shopping list.
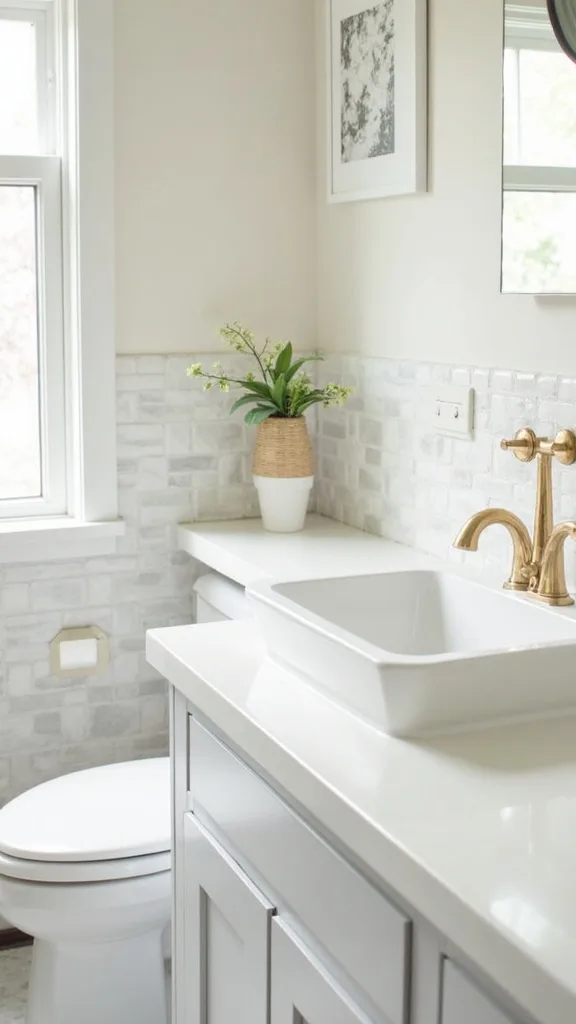
19. How can you use mirrored or metallic accents without looking dated?
Mirrors and metals can go dated fast, but used in small, clean-lined doses they feel very 2026—reflective, airy, and a little glam in a low-key way. The key is minimal seams and modern shapes.
Try a single mirrored acrylic sheet behind a bar area, or a stainless panel behind the stove. Install as a sheet backsplash with adhesive, then finish edges with trim so it looks intentional. Keep it away from heavy splash zones unless it’s truly wipeable.
Pair with matte cabinets or natural wood so the shine feels balanced. Think: vintage chrome toaster next to modern slab doors.
Pro tip: avoid tiny mirrored tiles with lots of grout—they’re hard to keep clean and can feel very early-2000s. Done right, the kitchen catches light in the best way—like golden hour decided to hang around.
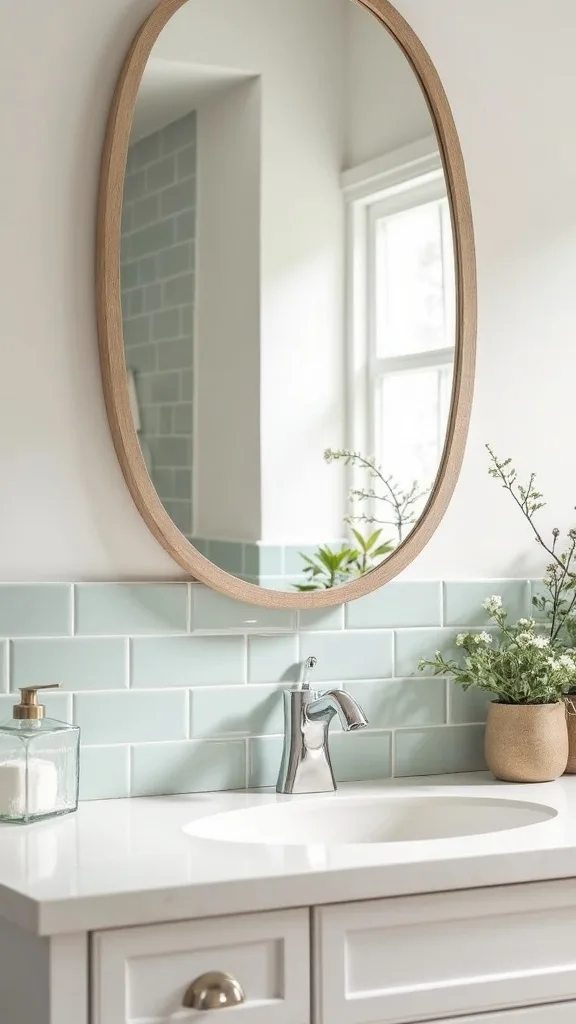
20. What’s the best way to fake zellige tile on a budget?
Zellige has that hand-touched, imperfect sheen—edges that aren’t trying to be machine-perfect. To fake it on a budget, you want a surface with variation, not a flat printed pattern.
Look for peel-and-stick tiles with a slightly uneven face or a glossy, rippled finish. Install with tight alignment and choose a grout-color print that’s subtle. If you’re painting, create “tile blocks” with gentle shade variation—two close tones alternating—then seal.
Modern color picks: creamy white, pale sage, or inky blue for a moody moment. Keep counters clear so the texture reads.
Pro tip: avoid ultra-uniform white “zellige” prints—they miss the whole point and look cheap. When you nail the variation, the wall feels alive—like it changes softly as the day moves.
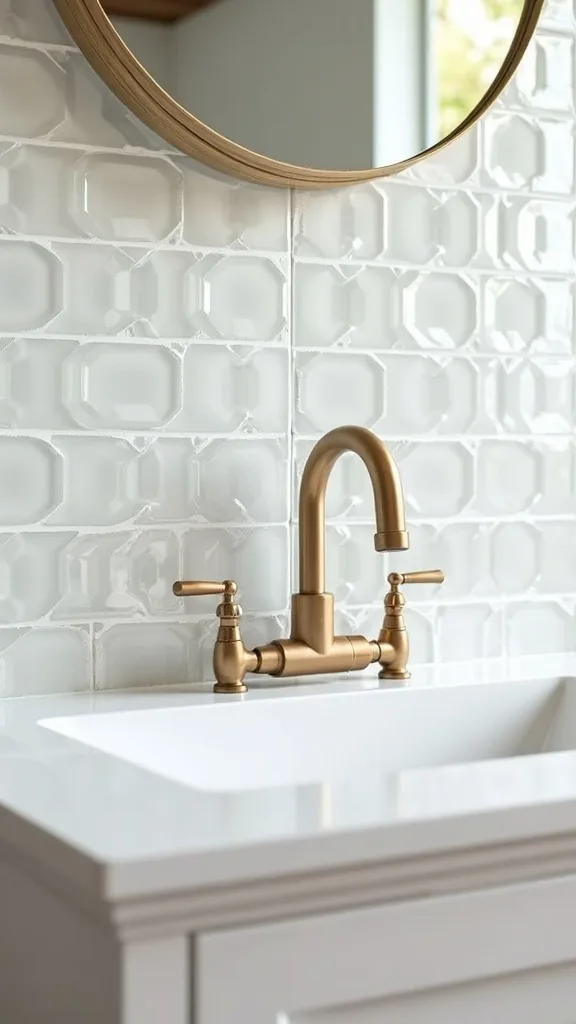
21. How do you add a backsplash just for a coffee station or wet bar nook?
A mini backsplash for a coffee station is the easiest win because it’s contained, low heat, and high visibility. It’s also where you can be a little more playful without overwhelming the whole kitchen.
Define the zone: usually the width of a cabinet or shelf run. Use peel-and-stick tile, contact paper, or a small panel, and finish the edges cleanly so it looks built-in. Add a small rail or hooks for mugs to make the area feel like a vignette.
Modern kitchen-friendly choices: matte white tile print, soft terrazzo, or a smoky glass mosaic strip. Add one vintage piece—like an old brass tray—to warm it up.
Pro tip: avoid busy patterns if your counters are already clutter-prone. When it’s done, the morning routine feels smoother—like your first cup gets its own little stage.
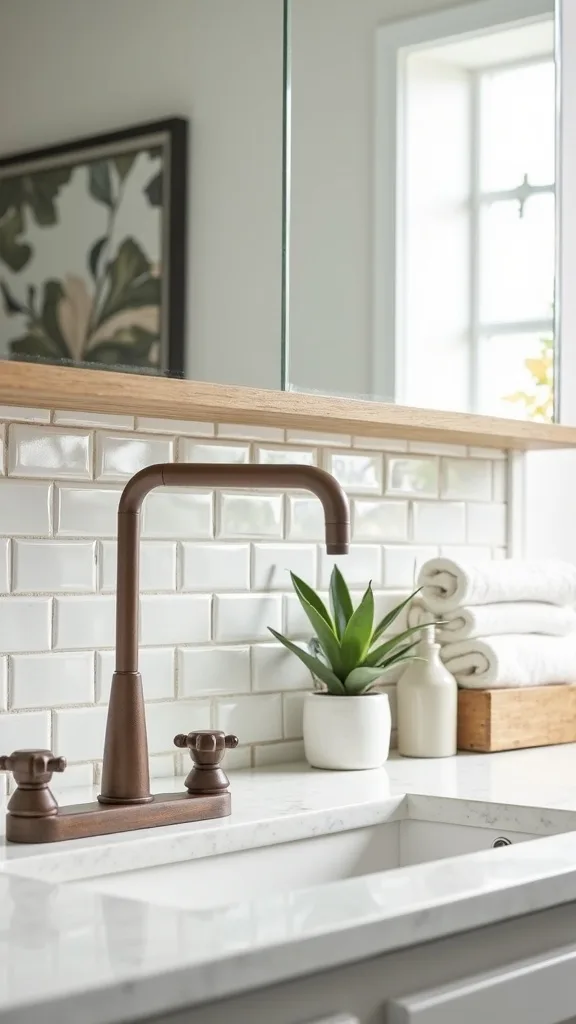
22. What backsplash idea hides uneven walls or old stains the fastest?
If your wall has old stains, patchy paint, or weird repairs, covering it is often cheaper than chasing perfection. A panel backsplash is the fastest reset—smooth, clean, and instantly modern.
Choose a 1/8″–1/4″ thick panel (PVC, acrylic, hardboard) and cut it to cover the problem area. Use adhesive, then add trim to hide edges and make it look finished. If outlets are involved, turn off power and use box extenders so covers sit flush.
Pick finishes that disguise life: soft stone prints, warm white gloss, or pale concrete. They read clean but not sterile.
Pro tip: avoid skipping edge trim—raw edges scream “temporary.” Once covered, the kitchen feels lighter, like you stopped noticing the wall and started noticing your space again.
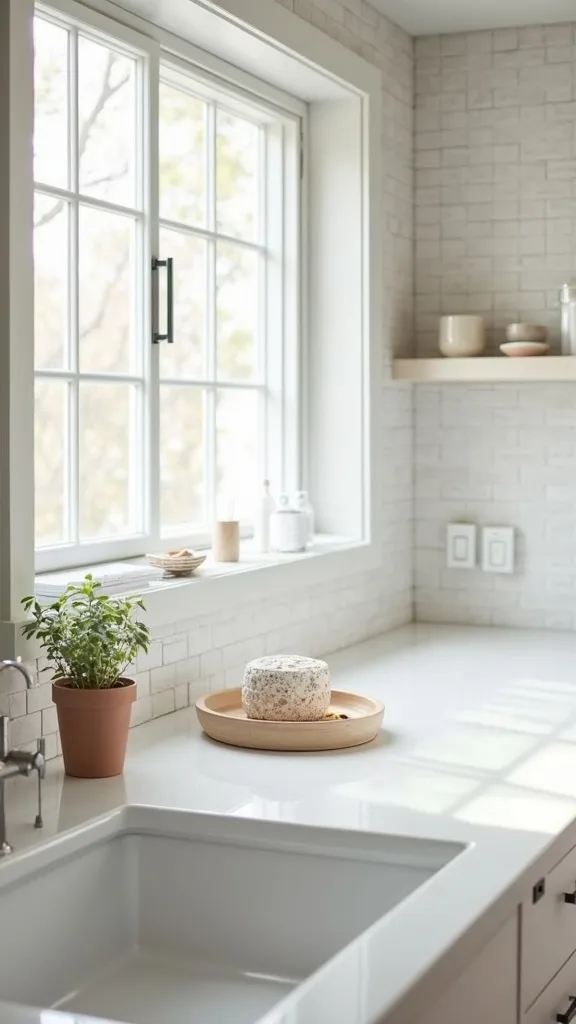
23. How do you choose a backsplash color that makes a modern kitchen feel warmer?
Modern doesn’t have to mean cold. The right backsplash color can soften hard lines and make the kitchen feel more like a place you actually linger.
If your cabinets are white or gray, go for warm neutrals: creamy off-white, sand, putty, or a soft clay. If your cabinets are wood, lean into contrast with smoke gray, muted green, or a calm charcoal. Test a sample in morning and evening light before committing.
Materials that warm things up: glass tile with a hint of green, a wood-look recycled panel, or a plaster-style painted finish. Add texture nearby—linen café curtains, a woven runner.
Pro tip: avoid icy blue-grays; they can make countertops look dull and skin tones look tired. When the color is right, you walk in and the kitchen feels welcoming—like it’s on your side.
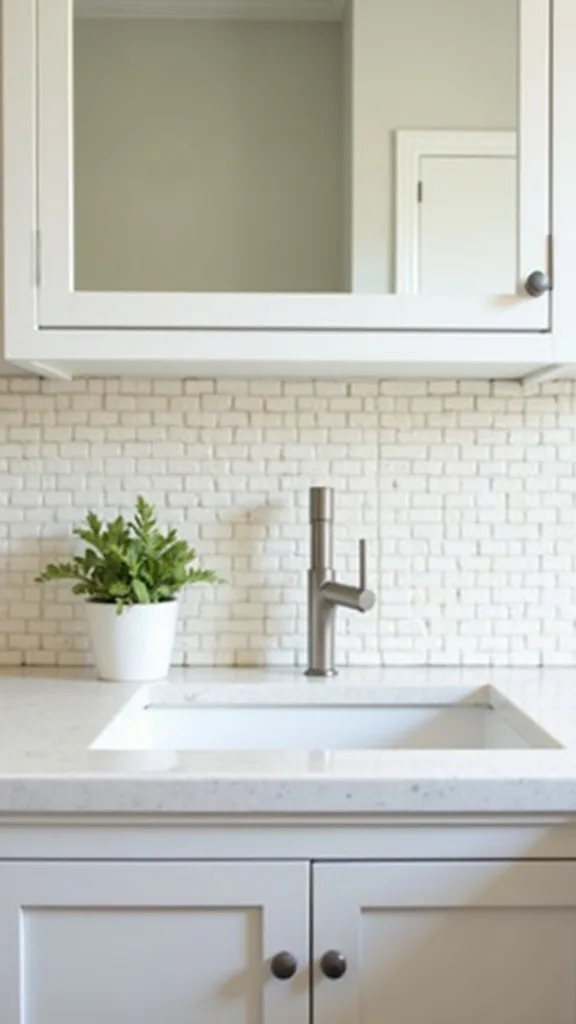
24. What should you avoid when doing a budget backsplash DIY?
The biggest budget backsplash trap is rushing prep. A modern finish shows everything—bubbles, crooked lines, lifted corners—so skipping cleaning and leveling is how “cheap” starts to look cheap.
Avoid applying anything adhesive over grease, dust, or damp paint. Avoid starting in a corner that isn’t level; instead, start from a level reference line and let cuts fall where they’re least noticeable. And don’t trust dull blades—replace utility knife blades often for clean edges.
Choose forgiving materials if you’re new: larger peel-and-stick panels or a single sheet panel instead of tiny sticker tiles. Keep your pattern simple and your palette tight.
Pro tip: buy 10% extra material for mistakes and future patching. The best DIYs feel relaxed—like you took your time, and the kitchen got the kind of calm confidence money can’t really buy.
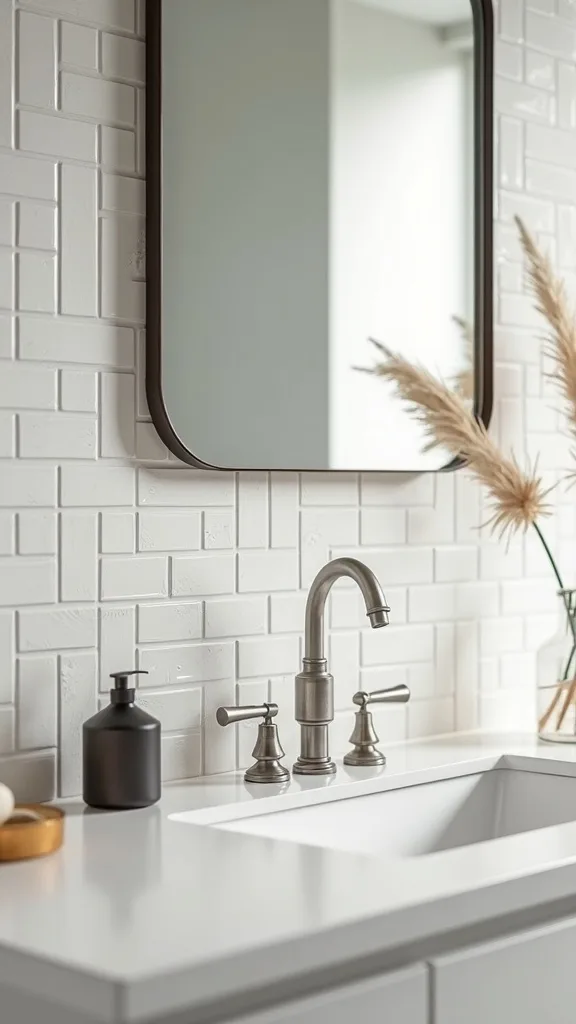
25. How can you make a budget backsplash look “designer” with styling alone?
A backsplash looks designer when the details around it feel edited. Even the most affordable surface can read high-end if the surrounding choices are quiet and intentional.
Pick one “hero” moment—your backsplash finish—then simplify everything else for a week. Clear the counter. Add a small tray for soap and a single scrub brush that looks good. Swap mismatched outlet covers, and choose one metal finish (black, brass, or stainless) to repeat.
Textures matter: a matte backsplash next to a glossy kettle, a vintage cutting board leaning casually, a linen towel that looks better rumpled than folded. That mix of old and new is what makes it feel real.
Pro tip: avoid overcrowding the backsplash with signs or busy wall art; let the surface breathe. When you walk in, it feels like a fresh page—clean, modern, and quietly yours.
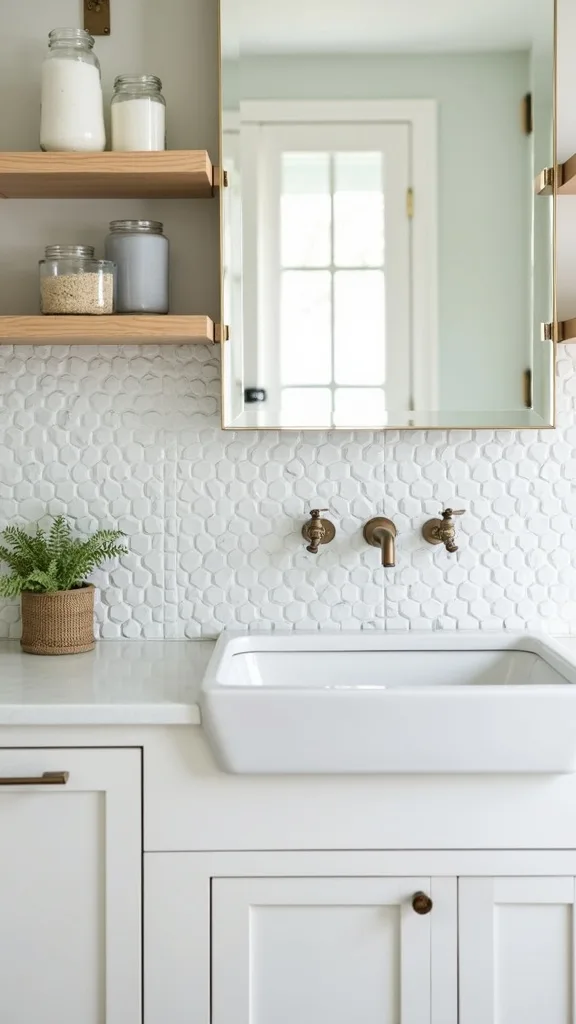
Final Thoughts
A backsplash is one of those kitchen details that changes how you move through the room. Not in a dramatic “before-and-after reveal” way—more like your shoulders drop because the wall behind the sink finally feels handled.
The sweet spot for 2026 is flexibility: surfaces that wipe clean, photograph well for Pinterest, and don’t demand a full renovation to feel current. Keep your palette tight, let texture do the work, and don’t be afraid to mix a vintage find (a brass rail, an old tray, a thrifted frame) with a clean modern finish.
Do one thing today: measure your backsplash zone (width x height), pick one material from this list, and order enough to cover 10–20 sq ft—then clear the counter so you’re ready to install. When you walk into the kitchen tomorrow, it won’t just look more finished—it’ll feel like the room is finally on your team.
What I’d Do Differently
When I first tried this, I went straight to the fun part—peel-and-stick—without truly degreasing the wall behind my sink. It looked perfect for about two weeks, then one corner started lifting like a tiny flag of shame. I pressed it back down, it lifted again, and suddenly I was staring at that edge every time I made coffee. The mistake wasn’t the product; it was the prep. The correct approach is annoyingly simple: scrub with a real degreaser, rinse, let it dry, then wipe with rubbing alcohol so you’re starting on a clean, squeaky surface. If your wall has texture, smoothing it (or choosing a panel instead) matters more than picking the “prettiest” pattern.
I also wish I’d bought an extra pack from the start. Matching dye lots and patterns later is harder than it should be, and having one spare sheet makes repairs feel effortless. If you do nothing else, do the prep tonight—clean the wall, measure the area, and mark a level line so tomorrow’s install feels like a sure thing.