
This post contains affiliate links. As an Amazon Associate, I earn from qualifying purchases at no extra cost to you.
The fastest way to ruin a great harvest is to make it inconvenient. If your gloves are inside, your basket is missing, and your shears are buried in a drawer, you’ll “just grab a few leaves” and somehow end up with muddy shoes, torn kale, and a half-forgotten beet still in the soil.
The central principle here is simple: reduce steps, reduce mess. When your harvest tools, basket, and rinse plan live right next to the bed, you pick more often, waste less, and your outdoor space stays calm instead of chaotic. This post walks you through raised-bed layout choices, a repeatable harvest station setup, and small decor moves that make the garden feel like an outdoor room—not a chore zone.
This is perfect for anyone building a vegetable garden fall routine—especially beginners who want a clear system and a raised bed that still looks good after summer fades.
Inside, you’ll get modern, traditional, and transitional ways to style a cedar bed, plus practical add-ons for a kitchen garden harvest: glove hooks, a basket “parking spot,” label strategies, and simple weather protection so your fall crops garden stays productive longer.
Below are 25 Garden Harvest Setup & Raised Bed Ideas that make picking, rinsing, and storing your fall produce feel easy, tidy, and repeatable.
Products I Recommend for This Project
Here are some of my favourite products to help you bring these ideas to life:
- Fiskars Micro-Tip Pruning Snips — Sharp, precise cuts for kale and chard without tearing stems.
- Gardena Premium Garden Gloves (Nitrile Coated) — Grippy and easy to rinse, so your glove station stays clean.
- Gorilla Tub 14 Gallon Flexible Garden Trug — A hose-friendly harvest basket that handles muddy beets and wet greens.
- 3M Command Outdoor Hooks (Large) — A simple, drill-free way to start a glove-and-snips station on smooth outdoor surfaces.
- Mr. Pen Garden Plant Labels (Waterproof Plastic Stakes) — Quick crop labeling that survives rain and repeated watering.
1. Build the “Work Triangle” Around a Cedar Bed (Kale, Chard, Beets + Basket + Glove Station)
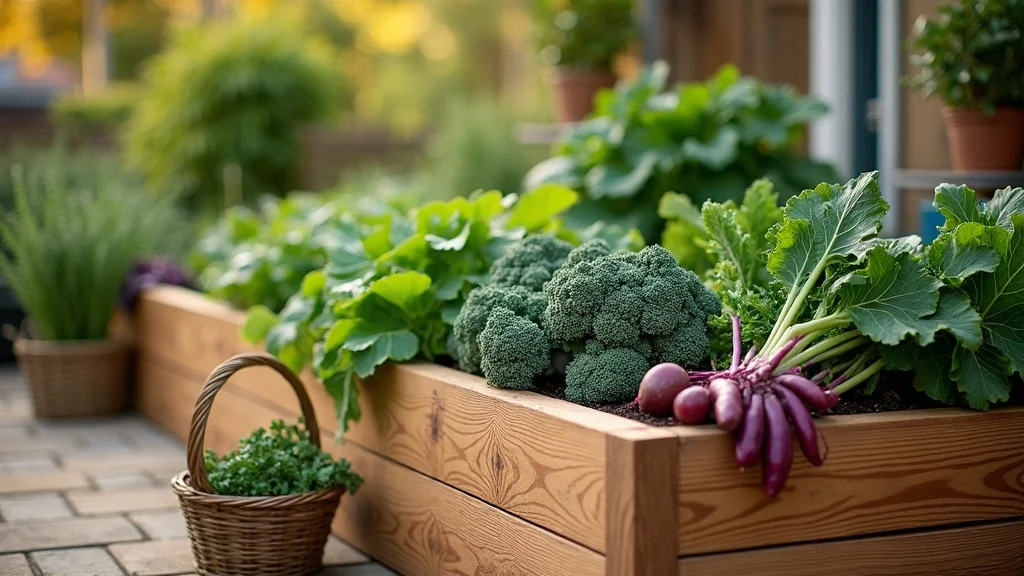
This idea is a harvest-friendly layout: one cedar raised bed, one dedicated basket landing spot, and one glove/tool station. It works because your brain relaxes when there’s a clear “home” for each task—pick, carry, clean—without backtracking.
Set your cedar bed where you can stand on two sides, then place a small outdoor side table or bench within 6–8 feet as the basket zone. Mount two weatherproof hooks on a fence post or bed end for gloves and snips, and add a lidded bin below for twine, labels, and a spare pair of gloves.
Choose warm cedar tones, matte black hooks, and a natural fiber or plastic harvest basket that you can hose off. A simple rubber doormat under the station keeps mud contained.
Beginner version: use one hook and one bucket. Pro tip: store a clean microfiber towel in the bin—ending each harvest with a quick wipe-down keeps the whole setup feeling like an outdoor room, not a work site.
2. What Size Raised Bed Works Best for Fall Harvesting Without Wasted Space?
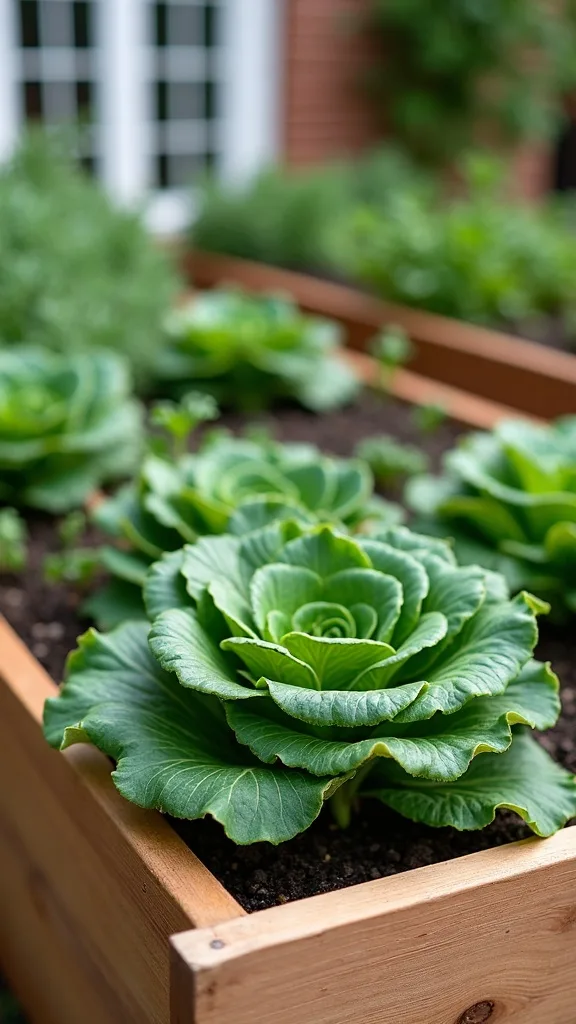
The sweet spot is a bed size you can reach across without stepping in, because stepping compacts soil and makes roots struggle. Psychologically, “easy reach” reduces hesitation—if you can grab dinner greens in 30 seconds, you actually will.
For most yards, start with a 4′ x 8′ raised bed at about 12–18 inches tall. Keep paths at least 24 inches wide so you can kneel, turn, and carry a basket without brushing wet leaves onto your clothes. If you’re tight on space, do a 2′ x 6′ bed and plant in tight blocks.
Modern style: crisp rectangle bed with straight gravel edging. Traditional: add a brick or paver path border. Transitional: cedar bed with charcoal mulch and a simple bench.
Beginner version: pick one bed size and commit—don’t overbuild. Avoid making beds wider than 4 feet; you’ll end up leaning, snapping stems, and quietly dreading harvest day.
3. How Do You Plan a Vegetable Garden Fall Layout That’s Fast to Pick?
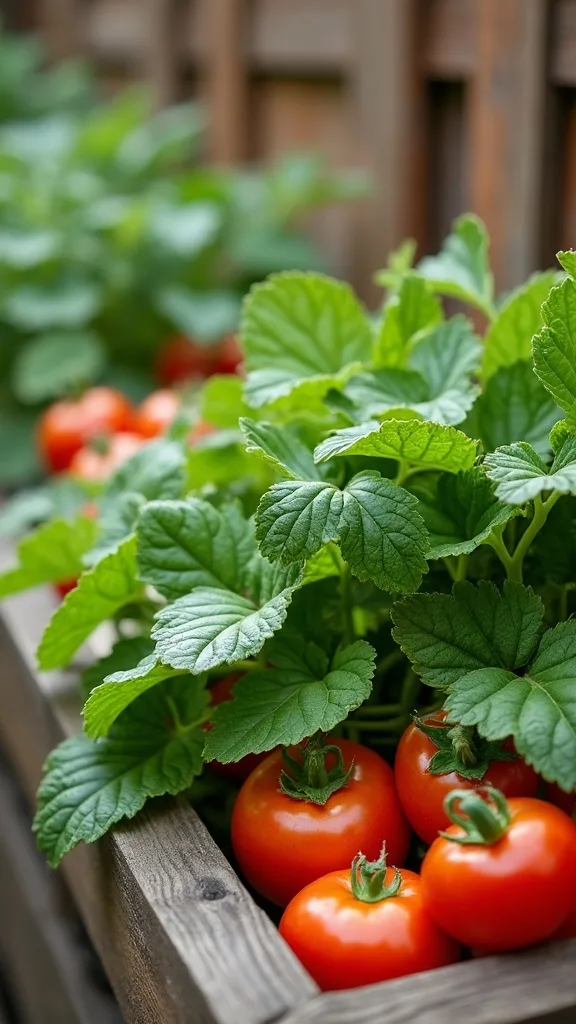
A fast-to-pick layout puts the most-harvested crops on the edges and the slow growers in the center. It works because your hands naturally go to what’s closest—so your daily greens get harvested at their best instead of turning tough.
Plant kale and swiss chard in an outer “ring” so you can do cut-and-come-again harvesting without stepping into the bed. Put beets and carrots toward the middle where you’ll disturb soil less often. Add a small open strip near a corner for a “drop zone” where you can set your shears while you pull roots.
For modern beds, use clean crop blocks with label stakes aligned. Traditional gardens look great with a simple symmetry—two rows of greens, one center row of roots. Transitional: mix blocks with one herb corner.
Beginner version: edge = greens, middle = roots. Pro tip: leave one 6-inch gap as a “hand lane” so you can reach labels and check soil without crushing leaves.
4. What’s the Easiest Raised Bed Fall Planting Plan for Kale, Chard, and Beets?
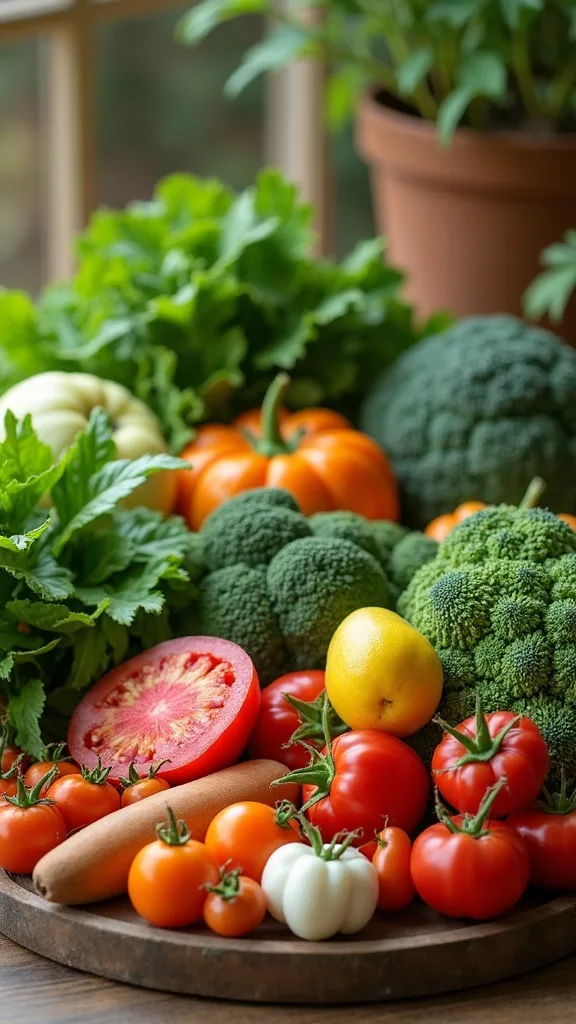
The easiest plan is a three-crop grid that repeats, so you don’t overthink spacing every season. It works because a consistent pattern lowers decision fatigue and makes thinning and harvesting feel automatic.
Divide a 4′ x 8′ bed into eight 2′ squares. Plant kale in two squares (one variety each), swiss chard in two squares, beets in three squares, and reserve one square for quick fillers like radishes or baby spinach. Keep a narrow “label strip” along one long edge so you can see what’s where at a glance.
Color and product choices: use cedar bed walls, black or galvanized label stakes, and a simple coil of garden twine for quick row lines.
Beginner version: plant just one square each of kale, chard, beets, and leave the rest for later. Pro tip: stagger beet sowing every 10–14 days in fall for a steadier kitchen harvest instead of one huge pull.
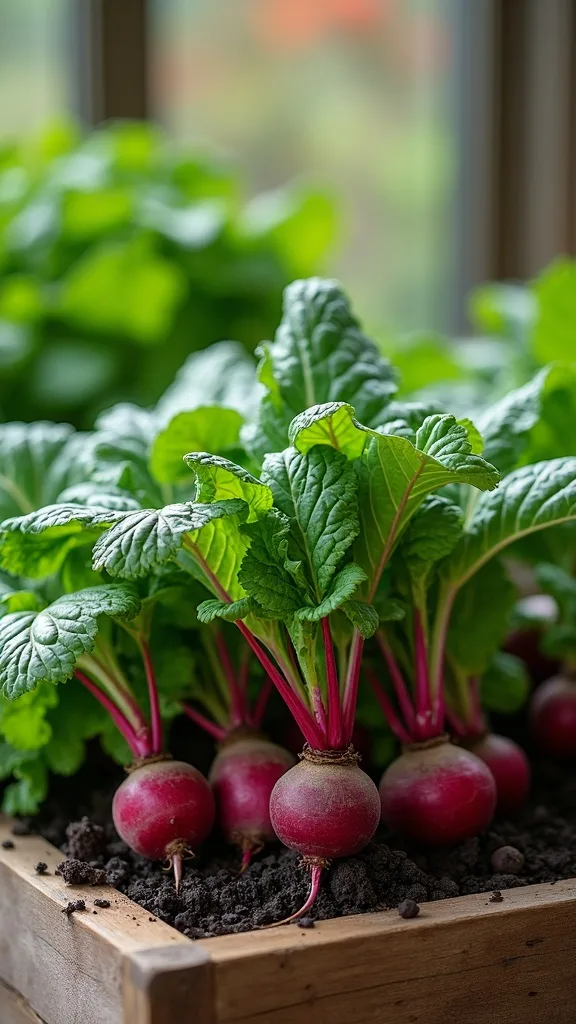
5. Where Should the Harvest Basket Live So You Actually Use It?
A harvest basket only helps if it has a parking spot you pass every time you go outside. This works because visibility beats willpower—when the basket is in your line of sight, harvesting becomes the default.
Place a small outdoor stool, narrow bench, or wall-mounted shelf right beside the bed entrance. Assign it one job: basket landing zone. Add a second, smaller bin for “seconds” (leafy bits for stock, cracked beets for roasting) so good produce stays clean and separate.
Modern: a slim black metal plant stand as the landing shelf. Traditional: a small wood bench with a cushion you can bring in. Transitional: a simple teak side table.
Beginner version: use a $5 plastic tote and call it done. Avoid setting the basket on soil or mulch—one damp bottom can turn a clean harvest into a gritty rinse-fest.
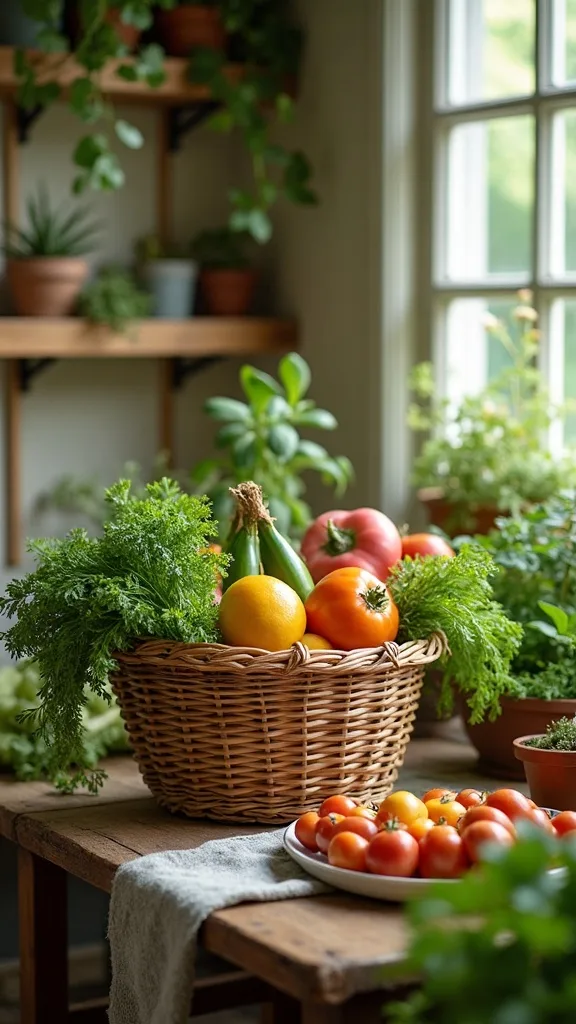
6. How Do You Set Up a Glove-and-Snips Station That Stays Tidy Outdoors?
A glove station is a tiny “reset button” for your garden routine. It works because you stop losing time hunting for tools—and you stop bringing muddy gloves into the house.
Mount a weatherproof hook rail on a fence, shed, or the end of the bed. Reserve three hooks: gloves, snips, and twine. Below, place a lidded outdoor bin for labels, a marker, spare clips, and a small brush for cleaning beets.
Choose powder-coated metal hooks, a plastic bin with a tight lid, and a washable pair of nitrile-dipped garden gloves. Keep colors simple—black, cedar, and one accent (like olive).
Beginner version: one hook + one bucket. Pro tip: add a cheap carabiner to your snips so you can clip them back in place with one hand—tiny friction removers make your garden feel effortlessly organized.
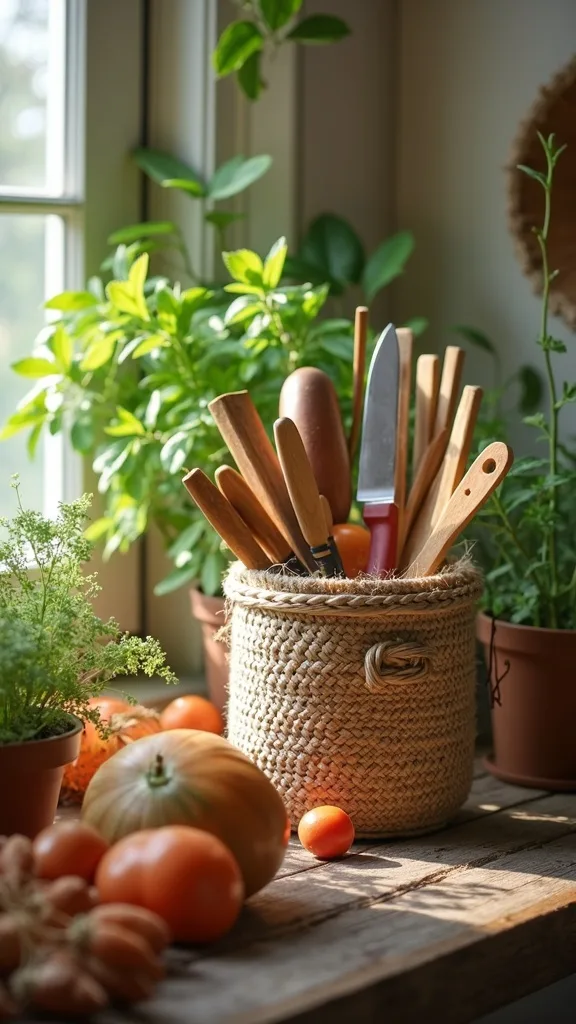
7. What Do You Avoid When Designing a Fall Harvest Station?
The biggest mistake is creating a “pretty corner” that ignores mud, water, and real workflow. It fails because the first messy harvest breaks the illusion, and then the station gets abandoned.
Avoid fabric baskets that can’t be rinsed, open bins that collect rain, and tool storage that requires two hands to put things away. Skip placing your station under a tree that drops leaves and sticks—your clean towel will never stay clean.
Instead, choose hose-friendly materials: plastic harvest trug, galvanized pail, and a small rubber mat. If you want softness, add it in removable pieces like a porch-safe cushion you can bring indoors.
Beginner version: start with washable, not fancy. Pro tip: if you love the look of woven baskets, keep one for display and use a washable trug for real harvesting—your setup can be both practical and styled, which is the whole point.
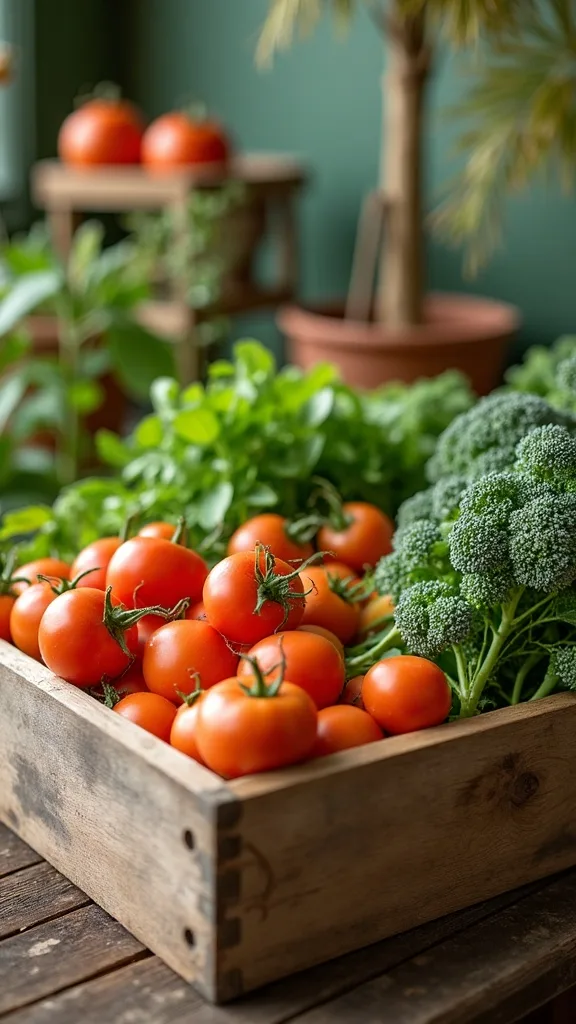
8. How Can You Make a Kitchen Garden Harvest Feel Like Part of Your Outdoor Decor?
The trick is to treat your harvest tools like accessories with boundaries. It works because a contained display reads as intentional decor, while scattered tools read as clutter—same items, different psychology.
Create one “styled strip” beside the bed: a bench or shelf with a basket, a small potted herb, and a lidded bin. Keep everything within a single 3-foot span so it looks curated. Add one vertical element—like a simple trellis or post—to anchor the vignette.
Modern: monochrome containers (black/gray) against cedar. Traditional: galvanized metal + a classic wood-handled trowel. Transitional: mix black hooks with a natural basket.
Beginner version: put your basket and gloves on one chair and stop there. Pro tip: repeat the same finish (all black or all galvanized) for hooks, labels, and bins—repetition is what makes “garden stuff” look like design.
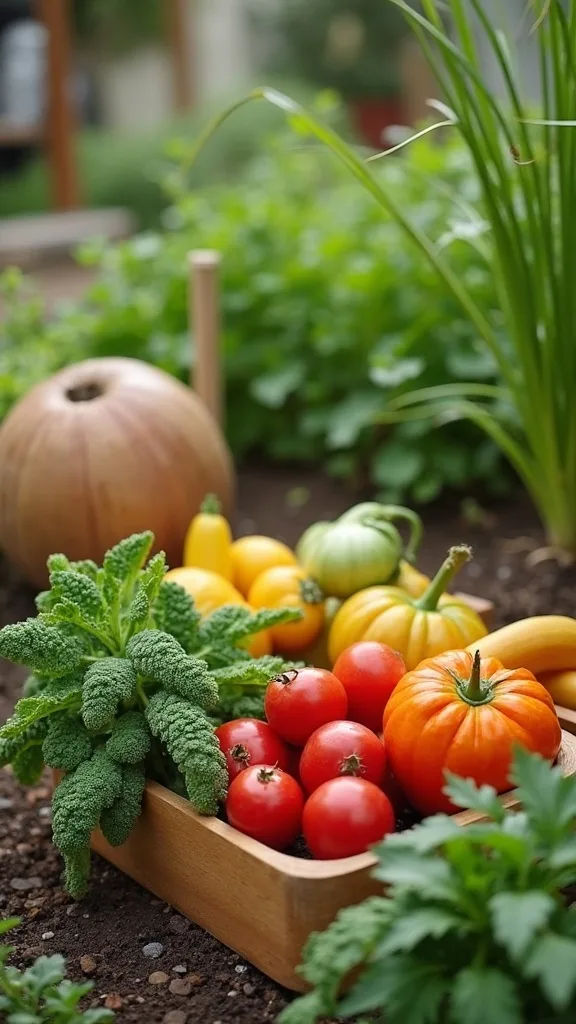
Cost & Materials Estimate
A practical cedar raised-bed harvest setup (bed + basket zone + glove/tool station) typically lands between $180 and $520 depending on bed size and whether you already own tools.
| Item | Estimated Cost | Where to Buy |
|---|---|---|
| Cedar raised bed kit (approx. 4′ x 8′) | $120–$260 | Home Depot |
| Outdoor hook rail + mounting screws | $12–$28 | Amazon |
| Washable harvest basket/trug | $14–$35 | Amazon |
| Lidded outdoor storage bin (for gloves, labels, towel) | $18–$45 | Lowe’s |
| Soil + compost to fill the bed | $30–$110 | Home Depot |
| Solar path lights or string lights | $20–$42 | Amazon |
Total estimated cost: $180–$520 Save money by starting with one bed and a basic hook rail; splurge on quality soil because it improves every harvest.
9. How Do You Light a Harvest Area for Early Evenings in Fall?
Good lighting extends your harvest window when sunset sneaks up earlier. It works because you’ll actually go out to cut greens after dinner if you can see—and if the space feels welcoming, not like a chore.
Wrap solar string lights along a fence line or stake them on a shepherd’s hook near the bed. If you use plug-in lighting, choose a porch-safe fixture with warm white light (2700K–3000K — the cosy, yellowish tone you see in most homes) and aim it toward the path, not your eyes. Keep cords clipped and off the ground.
Modern: slim solar path lights in a straight line. Traditional: lantern-style solar lights near the basket station. Transitional: a simple sconce on the shed wall plus subtle string lights.
Beginner version: one solar spotlight aimed at the bed corner. Pro tip: light the path first—confident footing makes harvesting feel easy and safe, which is the real luxury.
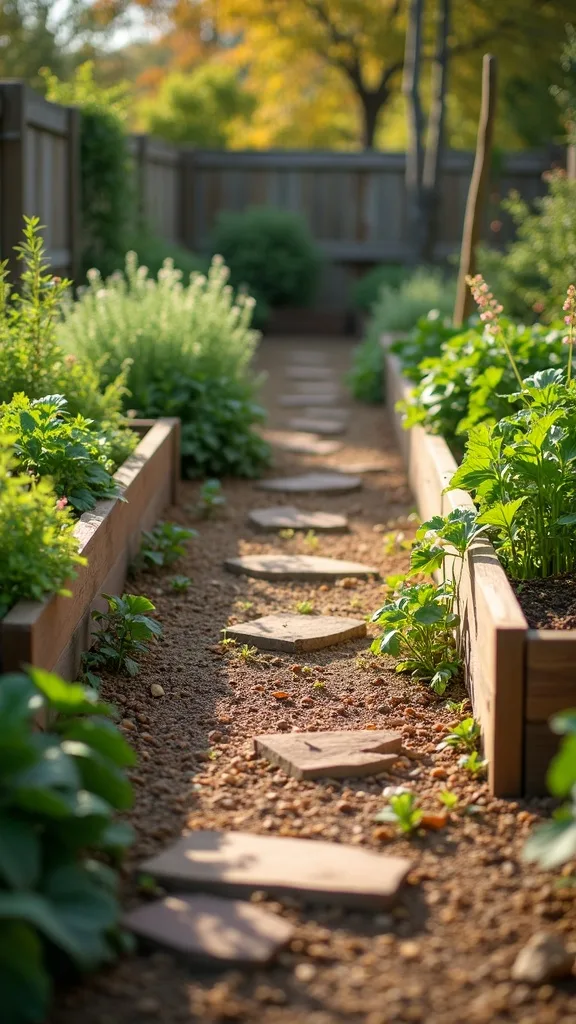
10. What’s the Best Path Surface Next to Raised Beds for Muddy Fall Days?
A stable path keeps your harvest clean and your mood steady. It works because you’re not fighting slippery ground, and you’re less likely to track mess inside—small wins add up during busy weeks.
Lay down landscape fabric, then add 2–3 inches of pea gravel or crushed stone along the bed edges. If you prefer a softer look, use cedar mulch but refresh it more often and add stepping stones at the entry point. Keep the path slightly crowned so water doesn’t pool.
Modern: dark gravel with steel edging. Traditional: brick pavers with gravel joints. Transitional: large concrete stepping stones with gravel around them.
Beginner version: a row of 16″ x 16″ pavers from the patio to the bed. Pro tip: put a boot brush at the path start—when cleanup is effortless, you’ll pop out for a quick harvest without negotiating with yourself.
11. How Do You Label Fall Crops So You Don’t Forget What You Planted?
Labels remove the tiny stress of uncertainty—especially in a mixed fall bed where greens can look similar. This works because clarity speeds decision-making: you know what to thin, what to leave, and what to harvest.
Use tall, weatherproof label stakes and place them at the “head” of each block, all facing the same direction. Write in paint pen or pencil (marker fades fast in sun and rain). Keep a spare label and pen in your glove station so you can label immediately after planting.
Modern: minimalist black stakes with white paint pen. Traditional: copper or wood stakes with engraved or burned names. Transitional: simple plastic stakes but consistent placement.
Beginner version: one stake per crop type, not per row. Pro tip: add planting dates on the back—your future self will thank you when you’re timing the next sowing.
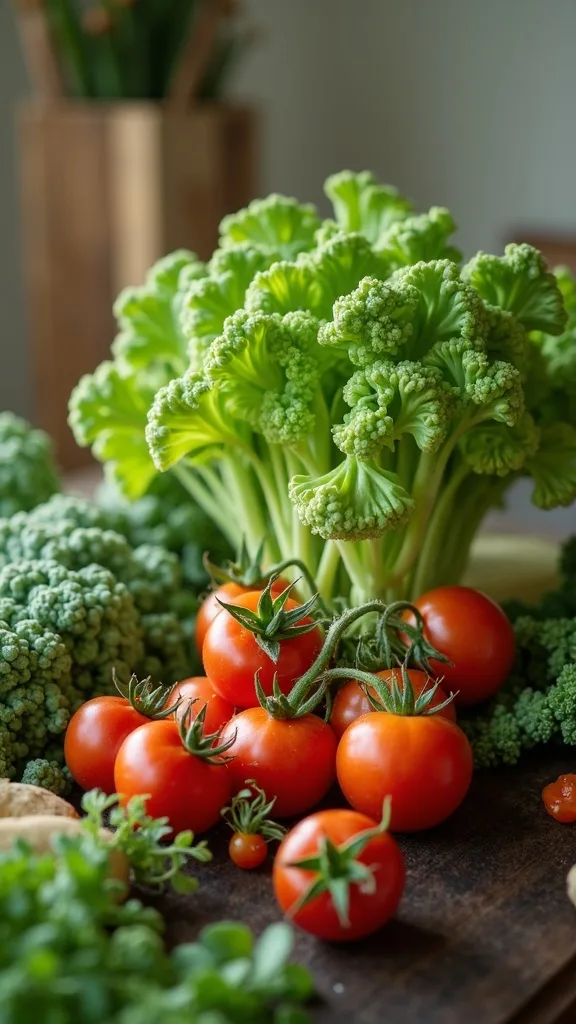
12. How Can You Protect Fall Crops Without Building a Whole Greenhouse?
Light protection keeps leafy greens tender and extends your season. It works because you’re creating a small, predictable microclimate—less weather drama, more reliable harvests.
Add simple hoop supports over the bed and drape frost cloth when nights cool down. Clip it on so wind doesn’t turn it into a sail, and open it on warmer days to avoid overheating. Store the folded cloth in a dry bin near your station so it’s easy to grab.
Modern: low-profile hoops and clean white fabric. Traditional: wooden hoops or a simple cold-frame lid look. Transitional: mix practical hoops with a tidy cedar frame edge.
Beginner version: keep one frost blanket and a handful of clamps on hand. Pro tip: don’t wait for a hard freeze—covering earlier prevents stress, and unstressed plants taste better.
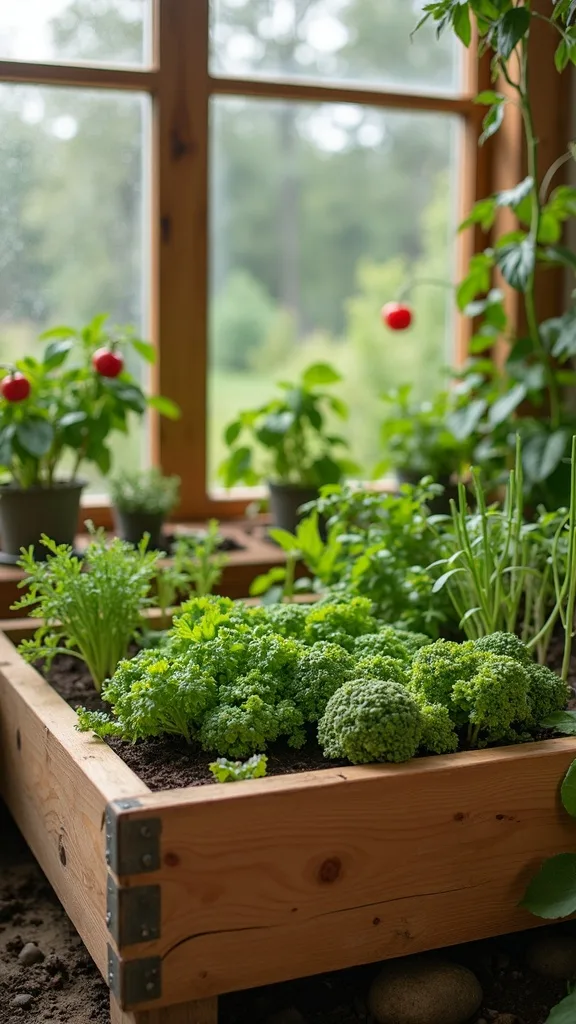
13. What’s the Cleanest Way to Rinse Beets and Greens Outdoors?
Outdoor rinsing prevents your sink from becoming a dirt trap. It works because you’re separating “garden messy” from “kitchen clean,” which makes the whole routine feel lighter.
Set a galvanized tub or plastic wash bin near the bed and keep a small watering can or hose nozzle on a hook. Do a quick first rinse outside: dunk beets, swish greens, then transfer to a clean colander or second bin for the trip inside. Keep a dedicated scrub brush in your station.
Modern: two matching black tubs for a clean look. Traditional: galvanized tub plus a wooden-handled brush. Transitional: neutral bins with a simple drying rack nearby.
Beginner version: one bucket rinse for beets only. Pro tip: avoid blasting greens with a hard spray—gentle dunking keeps leaves intact and makes your salads feel like the reward they should be.
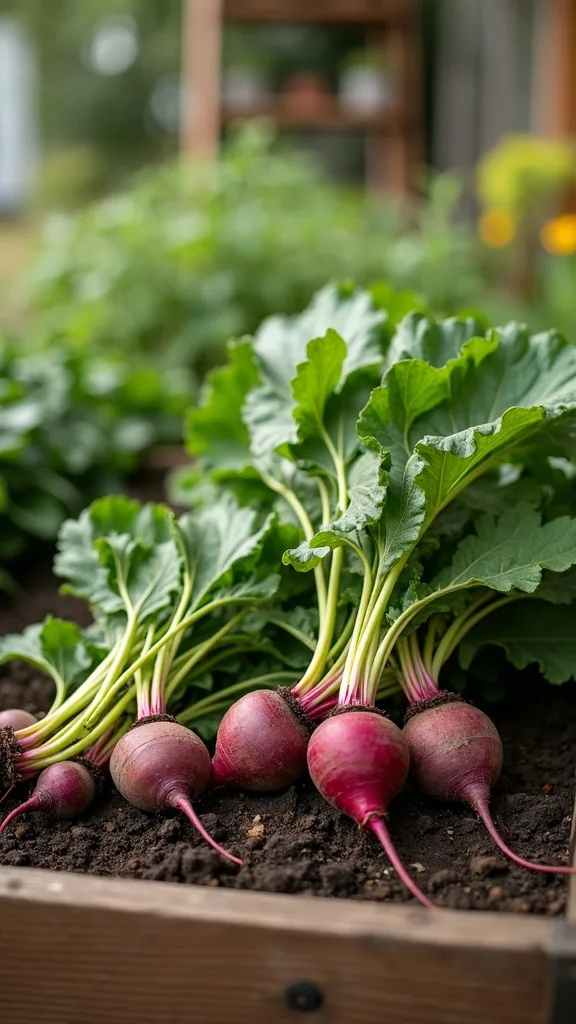
14. How Do You Store Harvest Tools So They Don’t Rust in Fall Weather?
Fall moisture is sneaky—dew, rain, and damp air can wreck tools fast. This works because a simple dry-down routine protects your tools and reduces replacement costs over time.
Keep a small towel and a dropper bottle of household oil in your lidded bin. After harvesting, wipe blades, add one tiny drop of oil, and store snips on a hook under cover. If you don’t have a shed, use a weatherproof deck box.
Modern: slim resin deck box tucked beside the bed. Traditional: a small wall cabinet on the fence. Transitional: open hooks plus a covered bin below.
Beginner version: wipe and store indoors by the back door. Pro tip: avoid leaving tools on the bed edge “just for a minute”—that minute becomes a week, and rust becomes your new maintenance hobby.
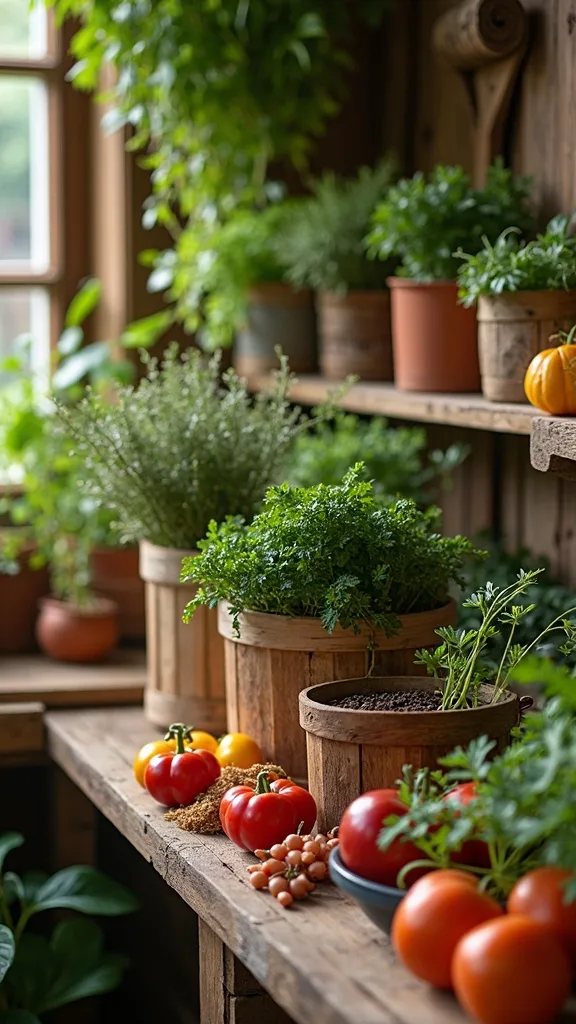
15. How Can a Small Space Patio or Balcony Still Do a Fall Harvest Setup?
Small spaces succeed when every item is dual-purpose. It works because visual simplicity makes a tiny outdoor area feel bigger—and you still get fresh greens.
Use one narrow raised planter or a tall elevated bed against a wall. Add a folding wall hook strip for gloves and snips, and store your basket inside the planter stand or under a small chair. Keep one wash tub that nests into the basket so it doesn’t add clutter.
Modern: matte black elevated planter with clean lines. Traditional: cedar planter box with classic label stakes. Transitional: mixed materials—cedar plus black hooks.
Beginner version: one large container with kale and chard. Pro tip: keep the station vertical—hooks and a slim shelf—so your feet have room to move, which is what makes harvesting feel easy in a tight spot.
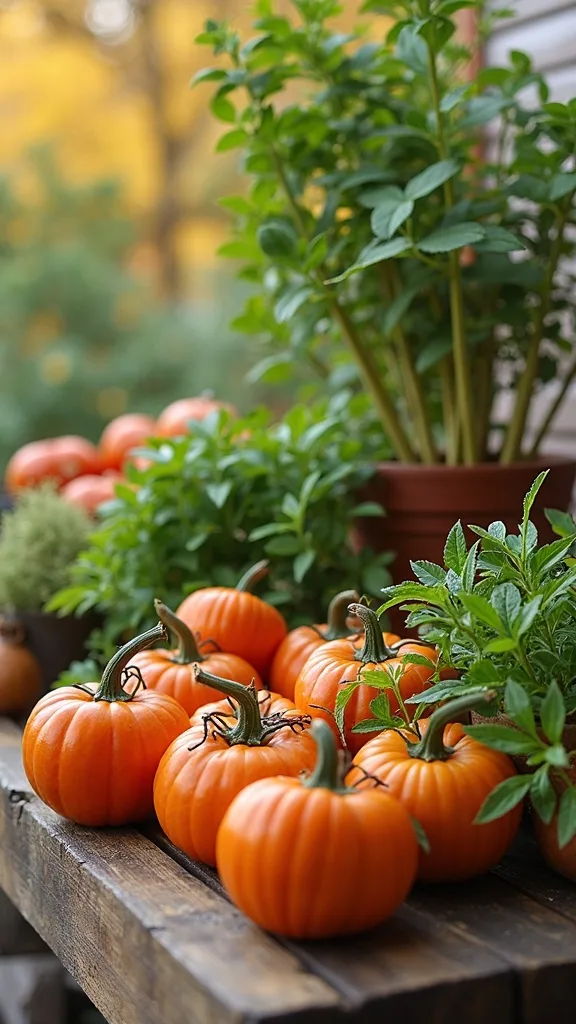
16. What Raised Bed Edge Details Make Harvesting Easier on Your Back?
Comfort is design—especially in the garden. It works because if your body feels supported, you’ll harvest more often and with better technique, instead of rushing and damaging plants.
Add a simple “lean rail” by capping the bed edge with a wider board, or attach a narrow ledge on the outside for setting tools temporarily. Keep it smooth so it doesn’t snag gloves. If you kneel, place a waterproof kneeling pad on the basket landing spot so it’s always nearby.
Modern: squared-off cap board in a matching stain. Traditional: slightly rounded edge for a softer look. Transitional: clean cap with black corner brackets.
Beginner version: keep a kneeling pad at the station. Pro tip: avoid sitting directly on damp soil edges—your clothes get wet, you get annoyed, and suddenly the garden feels like work again.
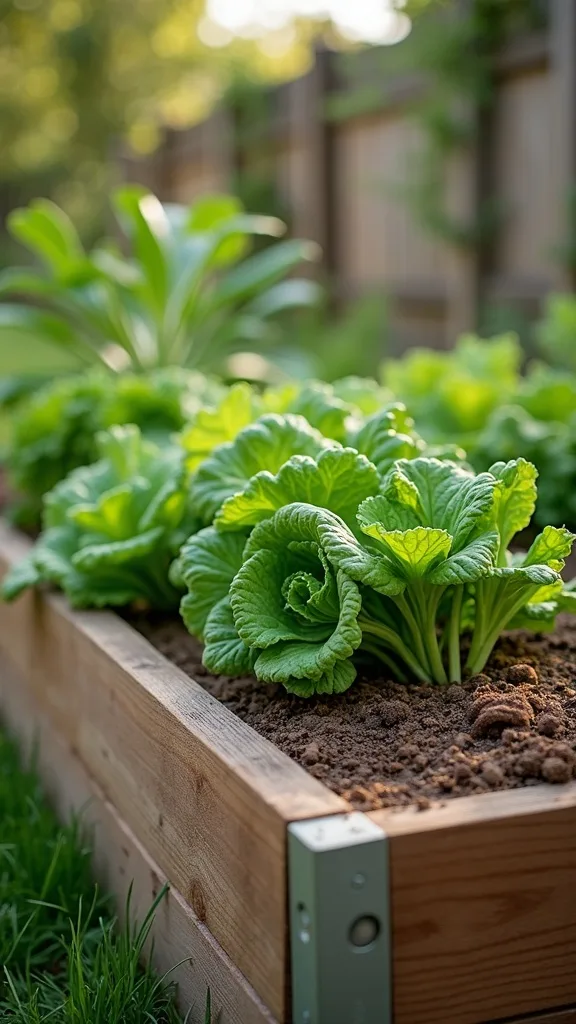
17. How Do You Keep Squirrels and Rabbits From Ruining Fall Crops?
Protection works best when it’s routine, not reactive. It works because consistent barriers remove the daily guesswork of “what ate my greens?” and keep your harvest predictable.
Use simple wire cloches over new seedlings and add a low fence panel around the bed perimeter. Keep clips at your glove station so you can open and close it quickly for harvesting. If you’re dealing with digging, lay wire mesh under mulch in problem corners.
Modern: black-coated wire panels for a sleek look. Traditional: galvanized mesh with wood stakes. Transitional: cedar frame with unobtrusive mesh.
Beginner version: cover just the newest plantings. Pro tip: avoid leaving ripe beets exposed above soil too long—pull or mound soil around shoulders, and you’ll reduce both pests and sun-scorch.
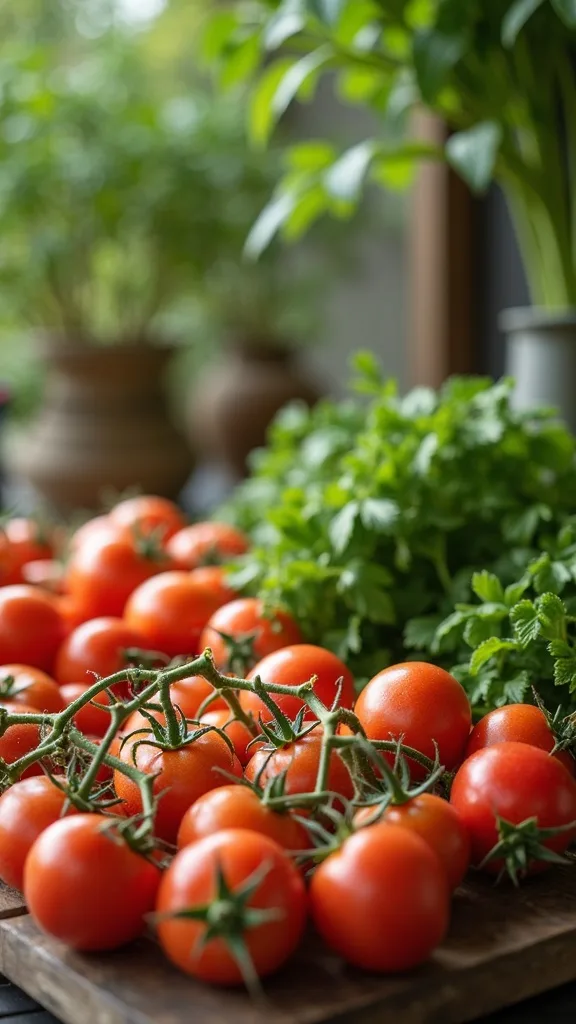
18. What’s the Best Way to Stage a Harvest Photo Without Making a Mess?
A quick “photo-ready” spot keeps your outdoor area feeling like a lifestyle space, not just a utility zone. It works because a small ritual—basket, gloves, greens—makes the harvest feel rewarding.
Create one clean surface: a side table or bench you wipe down after each harvest. Place the basket, one pair of gloves, and one bunch of greens there, then move produce to the rinse bin. Keep the rest of the tools hidden in the lidded bin so the scene stays calm.
Modern: one neutral cutting board and a black trug. Traditional: a woven basket and a plaid towel (stored indoors). Transitional: simple wood board with a galvanized pail.
Beginner version: use your patio chair as the staging spot. Pro tip: avoid laying produce directly on the ground “for the shot”—you’ll end up washing twice, and the moment won’t feel as satisfying.
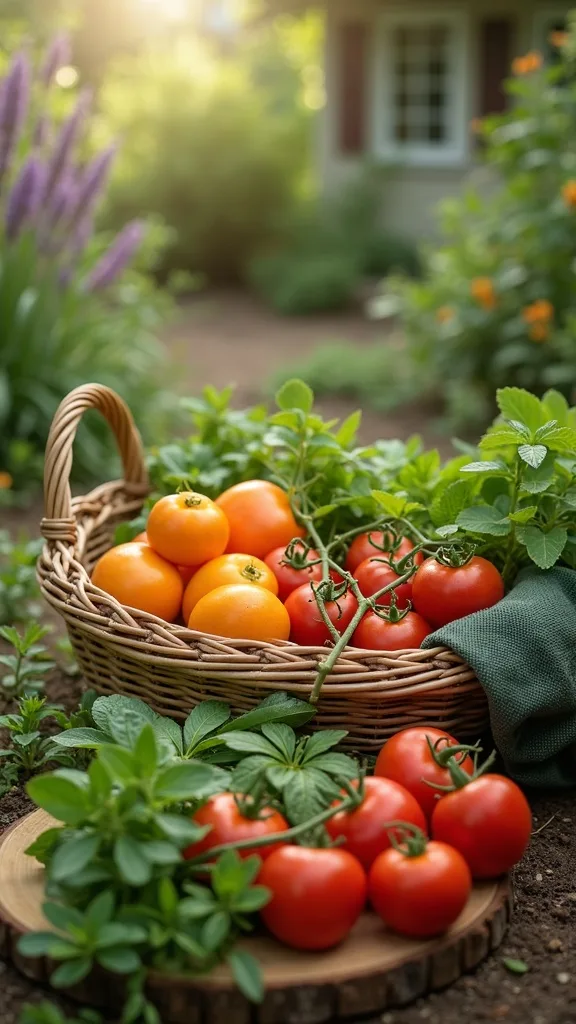
19. How Do You Time Harvesting for Tender Greens in Fall?
Timing is the invisible ingredient in flavor. It works because harvesting at the right moment keeps leaves sweet and crisp, which reinforces the habit of using your garden daily.
Go out in the late morning after dew dries for cleaner greens, or early evening if your schedule is tight—just bring a light. For kale and chard, cut outer leaves first and leave the center growing. For beets, harvest when they’re medium-sized for best texture, and don’t let them sit too long if shoulders are exposed.
Modern: keep a simple whiteboard on the shed with “harvest days.” Traditional: a garden journal on a hook in a zip bag. Transitional: phone reminder plus label dates on stakes.
Beginner version: pick one weekly harvest day. Pro tip: avoid stripping a whole plant at once—steady, small harvests keep the bed productive and your meals more consistent.
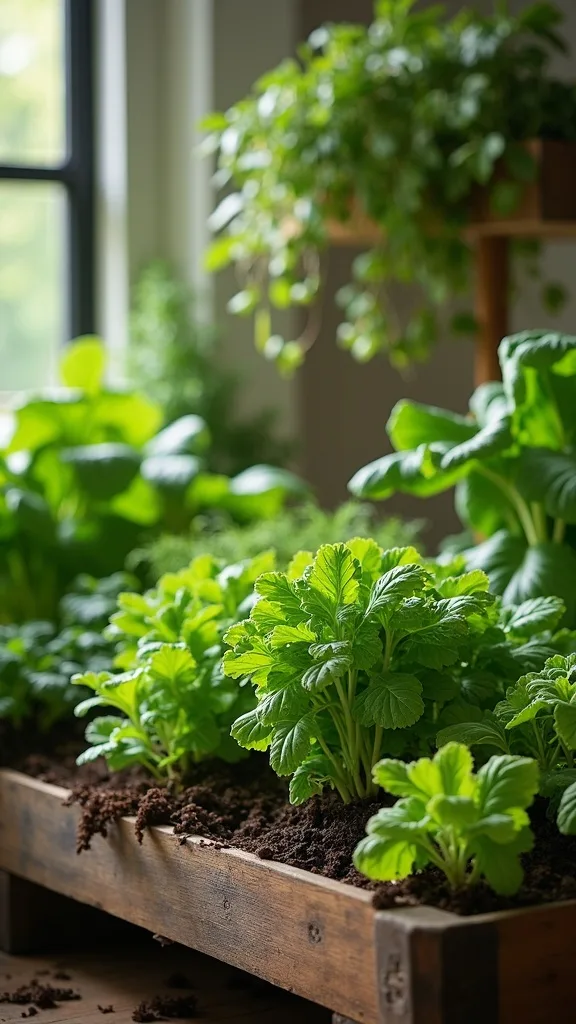
20. How Can Modern Style Work With Rustic Cedar Raised Beds?
Modern style isn’t about removing warmth—it’s about editing. It works because clean lines and limited colors make a productive garden read as intentional outdoor furniture.
Keep the cedar bed natural or lightly sealed, then choose matte black accessories: hook rail, label stakes, and a simple metal basket stand. Use one type of container for everything (one bin style, one basket style) so the area looks calm. Keep the path crisp with dark gravel.
Materials to consider: powder-coated steel hooks, a black resin deck box, and a washable black harvest trug. Add one plant with structure—like rosemary in a pot—near the station.
Beginner version: swap mismatched buckets for one matching set. Pro tip: modern gardens shine when clutter disappears—if you hide the “extras,” the cedar and greens do all the decorating for you.
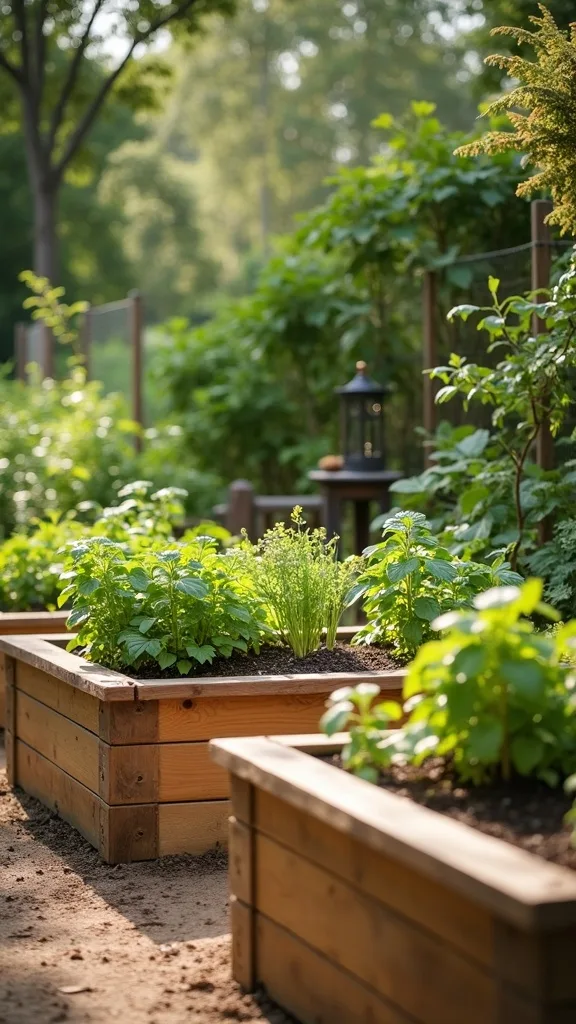
21. How Do You Make a Traditional Harvest Setup Feel Charming, Not Cluttered?
Traditional style thrives on warmth and familiarity, but it needs boundaries to avoid looking busy. It works because the eye relaxes when repeated materials—wood, galvanized metal—are grouped, not scattered.
Use a simple wood bench near the bed as the basket landing zone, and hang a small set of hooks above it for gloves and snips. Add a galvanized tub for rinsing and a classic watering can that also acts as decor. Keep labels consistent—same stake style throughout.
Colors: cedar, soft cream, muted green, and galvanized silver. Product types: wooden-handled tools, a sturdy woven basket (lined with a washable towel), and a lidded bin in a neutral tone.
Beginner version: pick one “old-school” material—galvanized or wood—and stick to it. Pro tip: one charming element is enough; too many signs, crates, and jars turns your harvest station into a flea market corner.
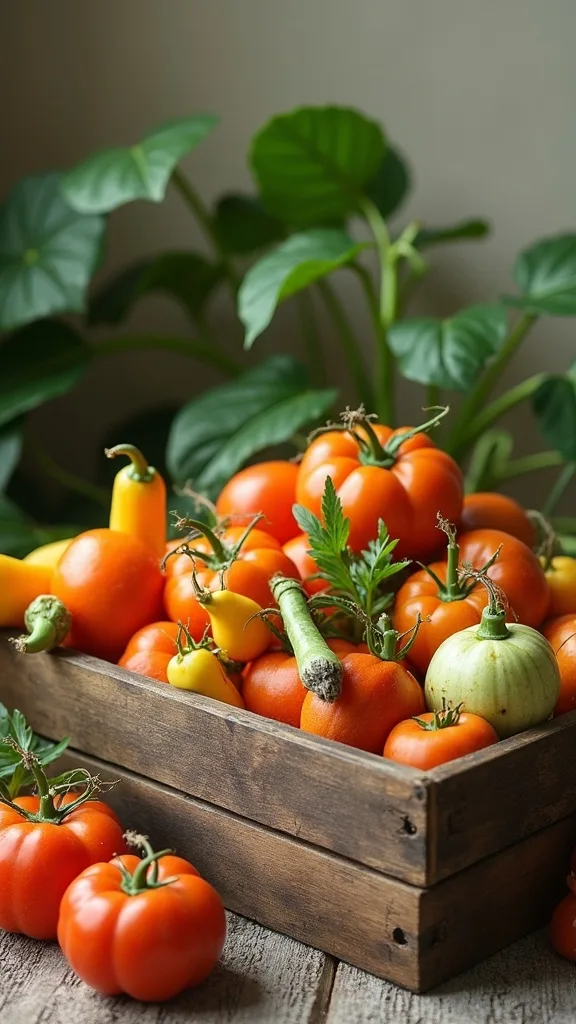
22. What Does Transitional Style Look Like for Outdoor Harvest Stations?
Transitional style is the bridge: warm materials with clean organization. It works because you get the comfort of cedar and baskets, but the function of streamlined storage—no theme overload.
Pair a cedar raised bed with black hooks and a simple neutral storage bin. Use one woven basket for display and one washable trug for real harvesting. Add a small outdoor rug or mat under the station to visually “zone” it like furniture.
Materials: cedar + black metal + a stone or gravel path. Colors: warm wood, charcoal, and one soft accent like oatmeal.
Beginner version: keep your existing basket, then standardize the rest (hooks, bins, labels). Pro tip: transitional spaces feel expensive when the small items match—your station will look pulled together even if it’s made from a few practical pieces.
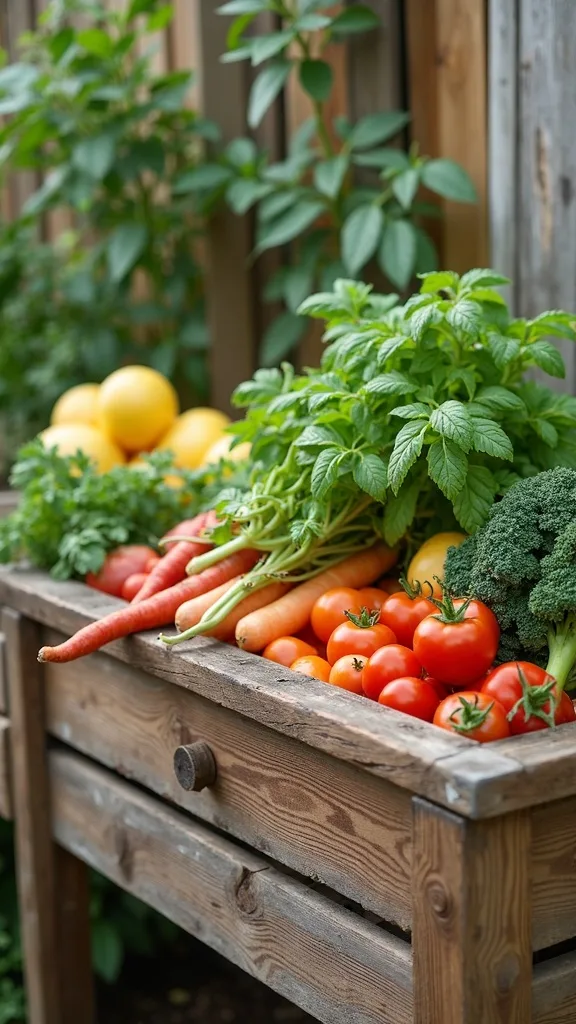
23. How Do You Add Seating Near Raised Beds Without Getting in the Way?
Seating turns harvesting into something you’ll linger over, not rush through. It works because comfort slows you down—so you notice pests earlier, harvest at the right size, and enjoy the space like an outdoor room.
Choose a narrow bench or backless seat and place it parallel to the bed, not blocking the main path. Keep at least 24 inches of clearance behind it for walking with a basket. Use the bench as your landing zone: basket on one side, kneeling pad tucked underneath.
Modern: slim metal bench with a wood slat top. Traditional: simple wooden garden bench. Transitional: teak bench with a neutral cushion stored indoors.
Beginner version: use a sturdy upside-down bucket as a seat. Pro tip: avoid plush outdoor cushions near muddy beds—stick to wipeable surfaces so your seating stays inviting all season.
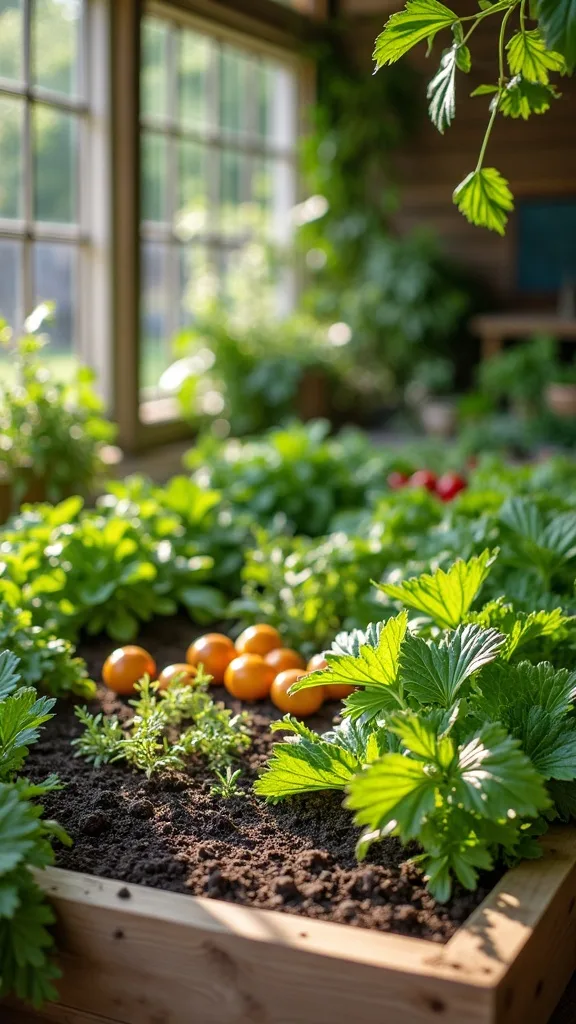
24. How Do You Keep a Fall Garden Looking “Done” After You Harvest?
A garden looks finished when it has structure even after plants shrink. It works because your eye needs anchors—edges, labels, trellises—so the bed doesn’t feel like an empty box.
After harvesting, tidy the bed edges, refresh mulch, and keep one intentional vertical element (a trellis, stake line, or simple arch). Leave a few healthy leaves on greens rather than cutting everything down at once. Store tools, wipe the station, and reset the basket so it’s ready for the next quick pick.
Modern: clean mulch surface and straight labels. Traditional: a simple border plant in a pot near the station. Transitional: one lantern-style light plus tidy hooks.
Beginner version: do a 5-minute reset after each harvest. Pro tip: avoid letting pulled plants pile up beside the bed—compost them the same day so your outdoor space stays calm and welcoming.
25. What’s the One-Minute Reset Routine That Makes Harvesting a Habit?
The one-minute reset is the secret to consistency: put everything back where it belongs immediately. It works because habits form when the next session is friction-free—tomorrow-you shouldn’t have to “set up” just to pick greens.
After harvesting, hang gloves and snips, dump soil from the mat, and nest the wash tub back into the basket. Close the bin lid. Do a quick scan: basket parked, hooks clear, path safe. If something is missing, replace it right then—not later.
Use a simple checklist taped inside the bin lid: gloves, snips, twine, labels, towel. Keep colors and storage consistent so your eyes notice when something’s off.
Beginner version: hang gloves and snips—done. Pro tip: treat the reset like turning off the kitchen light at night; it’s a small action that makes the whole space feel cared for, and that feeling keeps you coming back.
Final Thoughts
A good harvest setup is less about having more gear and more about giving each job a home: pick, carry, rinse, reset. Once that rhythm is built into the space, your garden starts acting like outdoor furniture—supporting your daily life instead of demanding attention.
If you lean modern, edit hard and hide the extras. If you love traditional charm, repeat materials and keep the vignette contained. If you land in the middle, transitional choices—cedar + black hooks + one clean bin—make the whole area feel intentional without trying too hard.
The single most important thing to get right is distance: keep your basket and glove station close enough that harvesting takes seconds, not a full trip inside. Today, choose the spot beside your bed, mount two hooks, and park your harvest basket there before you forget.
What I’d Do Differently
When I first tried this, I treated harvesting like a spontaneous activity instead of a setup. I had a nice cedar bed, but my basket lived in the garage, my gloves were somewhere in the laundry room, and my snips were “probably on the patio.” One evening I went out to grab kale for dinner, ended up using kitchen scissors, dropped leaves on the gravel, and then tracked mud back inside because I kept running in and out. The mistake wasn’t the bed—it was the lack of a dedicated landing zone and tool home. The correct approach is to build a tiny, repeatable station right at the bed: hooks at hand height, basket parked in one spot, and a lidded bin for the small stuff.
I also wish I’d known how much a one-minute reset matters. If the towel is dry, the snips are hung, and the basket is ready, you’ll harvest more often and waste less—especially during busy fall weeks. Pick one spot beside your bed today, mount two hooks, and give your basket a permanent “parking space.”