
This post contains affiliate links. As an Amazon Associate, I earn from qualifying purchases at no extra cost to you.
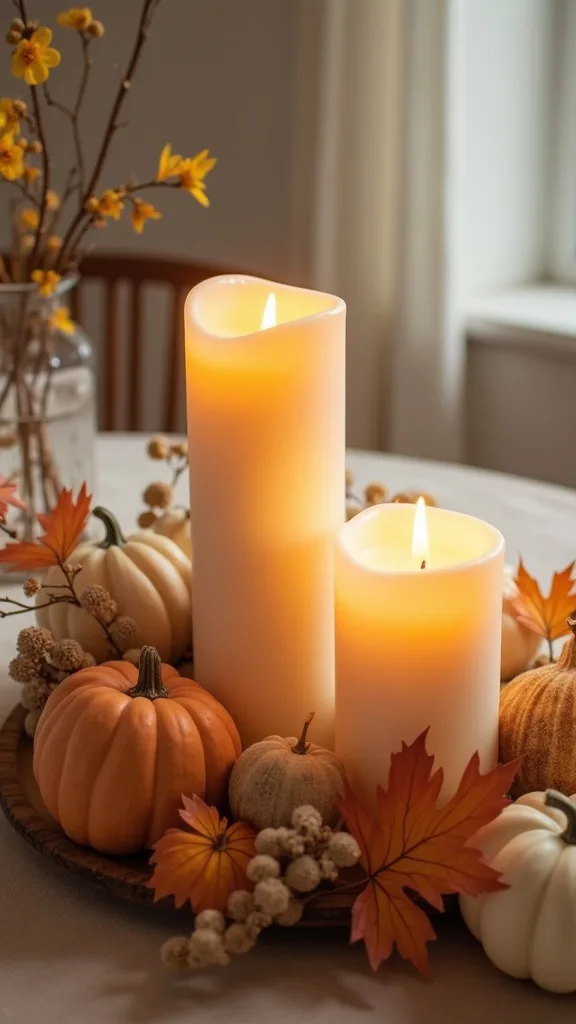
The living room can look totally put-together… until the sun goes down and that coffee table becomes a messy landing zone for remotes, cups, and half-read mail. My favorite fix is a candle vignette, because it’s one of the only decor moves that looks better at night than it does during the day.
This post is built around one design principle: create a single focal “triangle” using varying height, then support it with a tight color story and a grounded base. You’ll see exactly how to style candles for Halloween season without making your space feel like a party store exploded, and how to keep the setup functional for real life.
This is perfect for anyone who wants coffee table fall decor that feels elevated but still takes less than 30 minutes and doesn’t require a designer budget.
Inside, you’ll get practical candle vignette ideas that work in modern, traditional, and transitional living rooms—plus the small swaps that shift the mood from “cozy autumn” to “subtle Halloween” fast.
Below are 25 Fall Candle Arrangement & Vignette Styling that anchor your living room, simplify autumn table styling, and make Halloween decor feel intentional.
Products I Recommend for This Project
Here are some of my favourite products to help you bring these ideas to life:
- Homemory Flameless LED Pillar Candles (3″x4″, 3″x5″, 3″x6″ Set, Timer + Remote) — Gives you instant varying height and a safe, realistic flicker for coffee tables.
- CHENGU Amber Glass Votive Candle Holders (Set of 12) — Adds warm glow and that classic amber tone without changing your whole color palette.
- Gerson International Black Taper Candle Holders (Matte Metal, Set) — Brings in Halloween contrast in a clean, modern way.
- Winlyn Mini Artificial Pumpkins Assortment (Fall Decor Set) — Makes it easy to cluster pumpkins in consistent sizes and colors that look intentional.
- SuperMoss Preserved Sheet Moss — Creates a natural-looking base that hides gaps around candle plates and pumpkin stems.
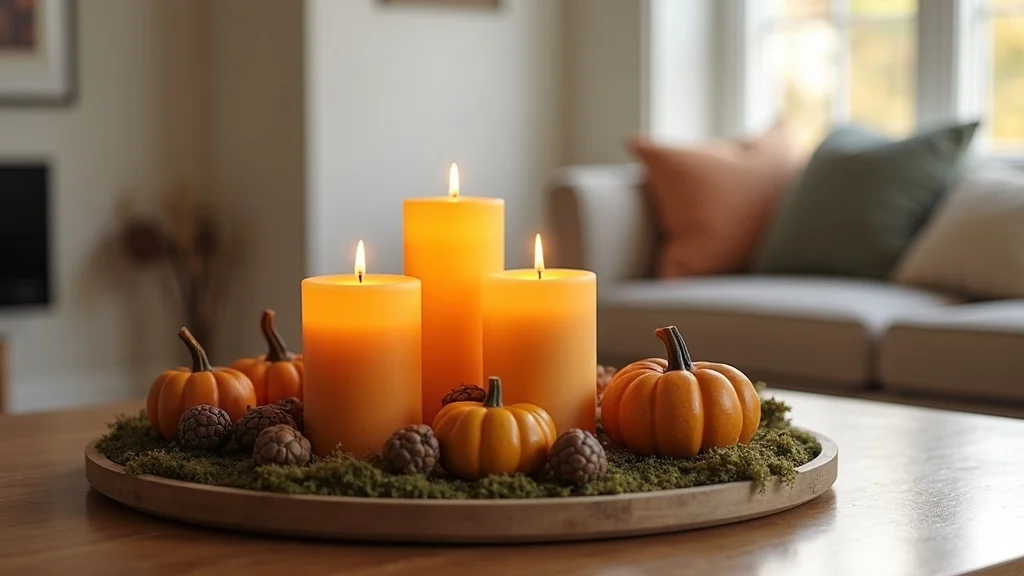
1. Start with the classic tray trio: amber + black pillars, acorns, mini pumpkins, and moss
This is the backbone look for a reason: a tight color palette and a clear height ladder instantly reads “styled,” not “stuff on a table.” The eye loves a simple triangle—tall, medium, short—because it feels stable and calm in a busy living room.
Set a 14″–18″ wooden tray slightly off-center on the coffee table. Place three pillar candles in varying heights (try 8″, 6″, 4″) in a loose triangle, then tuck moss around the bases to hide gaps. Add 3–5 mini pumpkins (real or faux) and a small scatter of acorns, keeping everything inside the tray so the vignette stays contained.
Choose amber glass or amber-toned candles for warmth, and matte black pillars for Halloween contrast. If you’re a beginner, use flameless pillars first—same look, less stress.
Pro tip: add one small “wild card” texture (a twig ball or dried pod) so it feels collected, not purchased in one aisle, and you’ll love how intentional it looks every evening.
2. How do you choose candle heights so the arrangement doesn’t look flat?
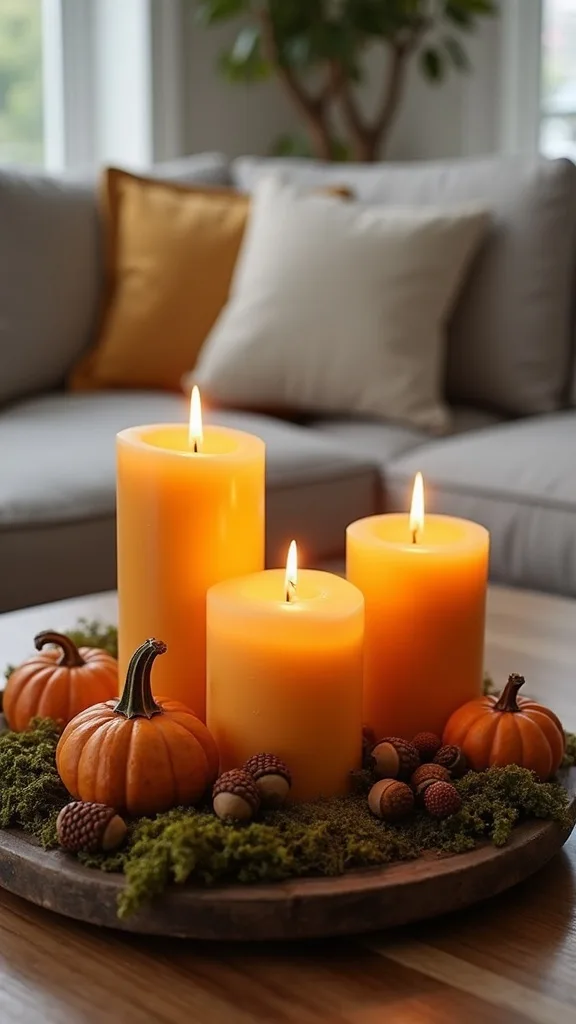
Height contrast is the difference between “decor” and “centerpiece.” When candles are too similar in size, your brain reads them as a row, which feels static and a little accidental.
Pick three heights with at least a 2″ difference between each—like 4″, 6″, and 8″ pillars, or two pillars plus one taper in a holder. Place the tallest slightly toward the back (from your main seating view), then step down in height as you move forward. Keep the spacing close enough that the group looks like one unit—about 2″–3″ between candles is a solid starting point.
For color, commit: amber + black + natural wood is plenty. If you want a beginner version, buy a pre-mixed set of three flameless pillars that already come in staggered heights.
Pro tip: if the coffee table is long, repeat the triangle once with smaller items (like two mini pumpkins and a short candle) so the whole surface feels balanced without becoming cluttered.
3. What’s the easiest way to make coffee table fall decor look intentional (not cluttered)?
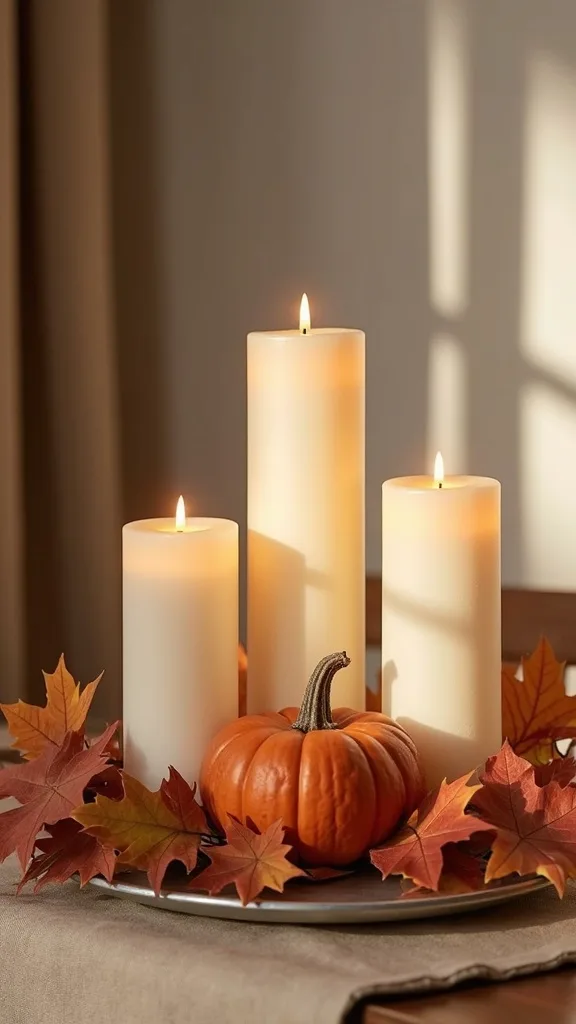
The secret is containment. A tray gives your decor a “frame,” so your brain sees a styled moment instead of a pile of objects competing for attention.
Choose one tray—wood, black metal, or rattan—then commit to keeping every decorative item inside it. Put candles first, then add fillers last, using them to bridge gaps and soften edges. Leave at least 30–40% of the tray surface visible so the vignette can breathe; that negative space is what makes it feel upscale.
Stick to three materials: wood + wax + natural elements (moss, acorns, dried leaves). Beginners: start with just three candles and one bowl of acorns—stop there and live with it for a day before adding more.
Pro tip: keep one practical item outside the tray (a remote caddy or coaster stack). That tiny “real life” zone prevents the whole coffee table from becoming a no-touch museum.
4. How do you build a modern Halloween candle vignette without going cheesy?
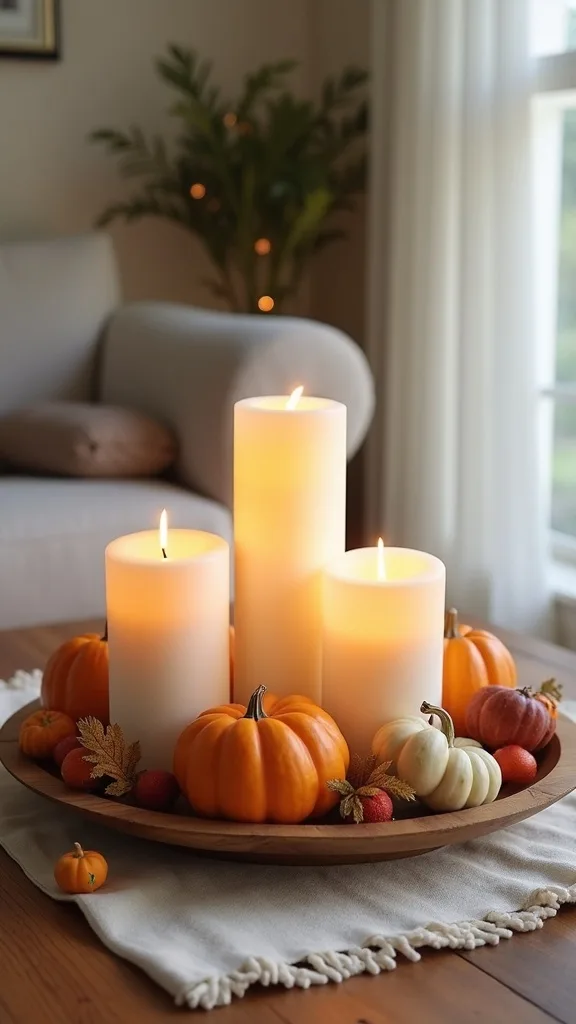
Modern styling works when you edit hard and repeat shapes. Halloween can go off the rails when every object is a different character; a modern vignette stays calm by staying graphic.
Use matte black pillars or sleek halloween candles with minimal labels, then pair them with one amber element for warmth (an amber cloche or one amber pillar). Keep pumpkins monochrome—black, white, or deep green—and limit yourself to two sizes. Arrange everything in clean lines: candles grouped tight, pumpkins grouped tight, with a clear “gap” between groups.
Products that fit: black ceramic taper holders, a low black tray, and a single sculptural pumpkin. Beginner move: use flameless black pillars and skip anything with faces or glitter.
Pro tip: add one reflective accent (a small smoked-glass votive) so candlelight bounces; it looks high-end at night with almost zero effort.
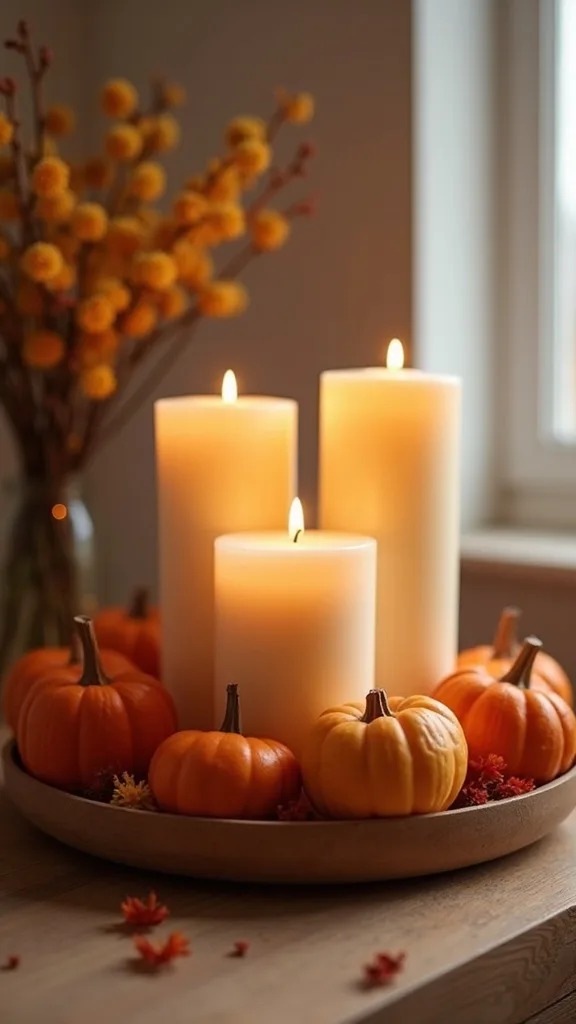
5. How do you style a traditional fall candle setup that still feels fresh?
Traditional looks best when it’s layered, not busy. The psychology is comfort: familiar materials—wood, warm metals, and natural elements—signal “seasonal home” without demanding attention.
Start with a wood tray, then add brass or antique-gold candle holders to introduce gentle shine. Use ivory or amber pillars (traditional reads warmer than stark white), then weave in mini pumpkins in classic orange plus one deep accent (burgundy or forest). Finish with a small garland of faux leaves tucked under the candle bases so it feels abundant but controlled.
Look for ribbed glass votives, warm-toned pumpkins, and textured linens nearby (a folded plaid throw on the sofa ties it together). Beginner version: do candles + pumpkins only, then add leaves later if you still want more.
Pro tip: if your living room already has patterns (rug, pillows), keep the vignette solids-only so it feels curated instead of crowded.
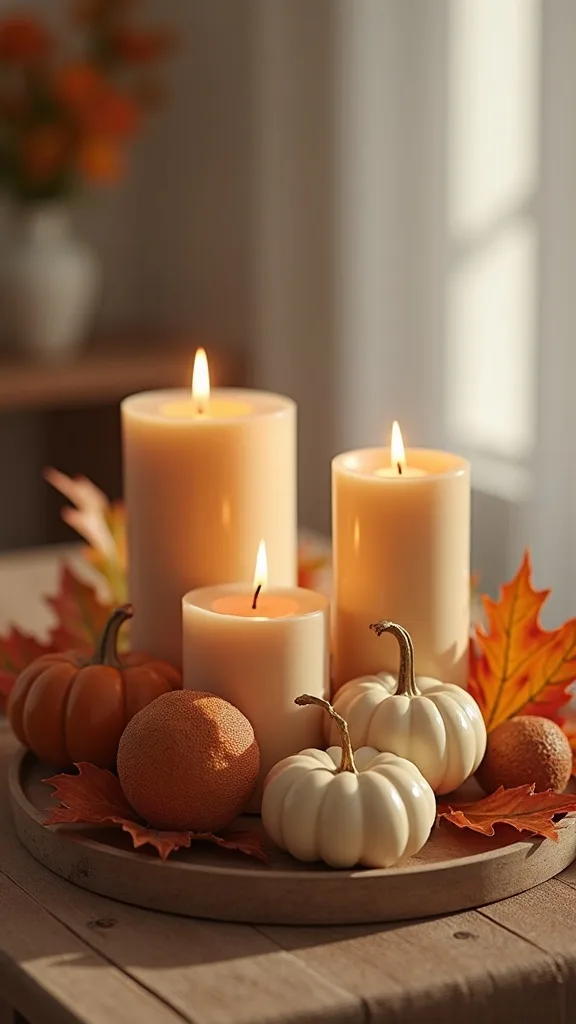
6. What makes a transitional candle arrangement work in a real family living room?
Transitional style wins by balancing clean structure with cozy texture. It works psychologically because it feels “orderly” at a glance, but soft up close—exactly what you want where people actually hang out.
Choose a simple tray (wood or black metal) and one neutral candle color (cream or amber). Add just one black element for Halloween—like a black pillar or black holder—so the whole setup nods spooky without turning theme-y. Then bring in texture with moss, acorns, and a small fabric ribbon tied around one candle (keep it away from flame; best with flameless).
Good product types: linen-textured flameless pillars, matte black holders, and realistic faux moss mats. Beginners: start with two candles and one pumpkin, then build outward.
Pro tip: repeat your room’s metal finish (black hardware or brass lamps) in one small candle accessory so the vignette feels like it belongs.
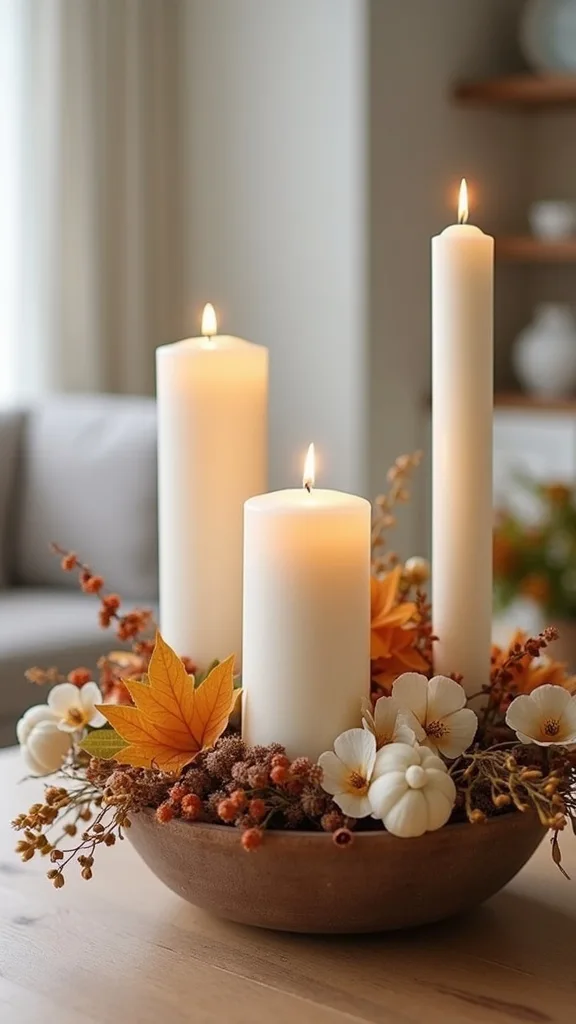
7. How do you use amber tones so the room feels warmer (not orange)?
Amber is cozy because it mimics firelight and fall sunsets—your brain reads it as warmth and safety. But too much orange can feel loud, especially on a coffee table that sits in your direct line of sight.
Keep amber to 1–2 elements: one amber pillar and one amber glass votive is plenty. Pair it with black and natural wood to “ground” the warmth, then add muted pumpkins (tan, sage, cream) instead of a whole patch of bright orange. If you want more color, add it in tiny hits—like a few rust-colored acorns or one dried orange slice tucked into the moss.
Choose amber glass, honey-toned candles, and warm brown fillers. Beginner version: swap one white candle for amber and stop there.
Pro tip: if your walls are warm beige already, go deeper (cognac/whiskey amber). If your walls are cool gray, keep amber lighter so it doesn’t fight the room.

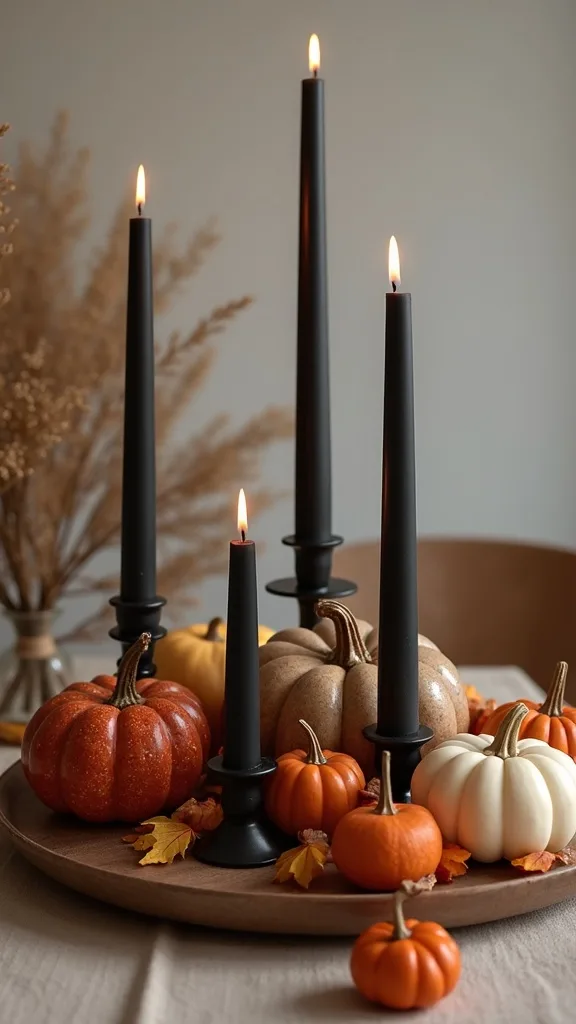
8. How can you decorate with black candles without making the table feel heavy?
Black adds instant Halloween mood, but it can visually “sink” a small surface. The trick is to treat black as an accent, not the whole story, so the vignette still feels welcoming.
Use one tall black pillar as the anchor, then surround it with lighter elements: an amber candle, cream mini pumpkins, and pale moss. Lift black off the tray with a small riser—like a short black candle plate or a stacked coaster—so it doesn’t look like a dark blob. Keep the tray itself warm (wood) to counterbalance the contrast.
Look for matte black pillars (they photograph better than glossy) and neutral fillers. Beginners: choose black holders with cream tapers instead of black candles; you get the contrast without the heaviness.
Pro tip: add a tiny shine point (brass snuffer or gold match holder). That micro-glint keeps black from feeling flat and makes the whole setup look more designed.
Cost & Materials Estimate
Plan on spending about $35–$140 to build a coffee-table candle vignette, depending on whether you choose flameless candles and how many reusable basics you already own.
| Item | Estimated Cost | Where to Buy |
|---|---|---|
| Wooden tray (14″–18″) | $18–$45 | IKEA |
| Flameless pillar candles set (3-pack, black or ivory) | $22–$45 | Amazon |
| Amber glass votive holders (set of 4–6) | $16–$28 | Wayfair |
| Mini pumpkins (faux set) | $10–$22 | Home Depot |
| Preserved moss + faux acorns | $8–$18 | Amazon |
Total estimated cost: $35–$140 Save money by going flameless and reusing a tray you already own; splurge on realistic candles because they’re the focal point.
9. What should you avoid in a fall candle arrangement for safety and style?
A gorgeous vignette isn’t worth a scorch mark—or a constant worry. The most common mistake is packing flammable fillers too close to real flames, which also looks messy because the arrangement has no breathing room.
Avoid stuffing dry moss, leaves, or ribbon right up against a lit wick. If you’re using real candles, keep a clear 3″–4″ radius around the flame area and place fillers lower than the candle tops. Another style avoid: mixing too many candle shapes at once (pillars + tapers + tea lights + jar candles) creates visual noise. Pick one main type and one supporting type, max.
Safer choices include flameless pillars, glass hurricanes, or LED tea lights inside votives. Beginner version: go 100% flameless for the season and focus on the look first.
Pro tip: if you love the idea of real flame, light them only when you’re in the room and use a hurricane around the tallest candle—peace of mind makes the whole space feel more relaxing.
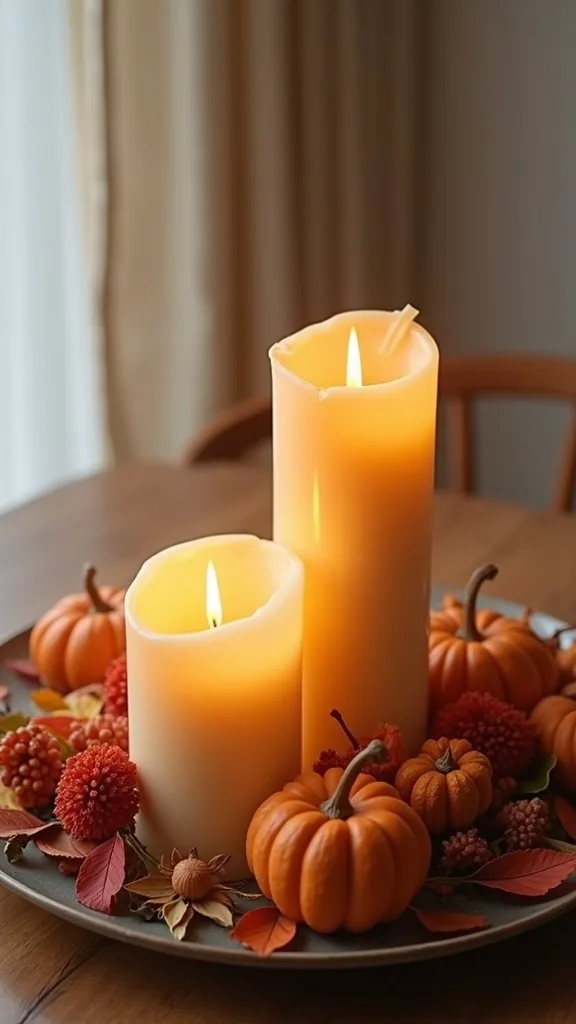
10. How do you style candles on a wooden tray without wax mess?
Wax drips instantly make a coffee table feel grimy, even if the rest of the room is spotless. The psychology is simple: mess on a central surface reads as “unfinished,” and your brain keeps noticing it.
Start by placing each candle on a small plate, coaster, or candle cup inside the tray. If you prefer the seamless look, line the tray with a thin removable layer—like a cut-to-size piece of kraft paper or a neutral placemat—so cleanup is easy. Choose dripless tapers if you’re using holders, and trim wicks to about 1/4″ so flames stay steady.
Materials that help: candle plates, glass hurricanes, and flameless pillars with a realistic melted top. Beginner version: use only pillars (they drip less than tapers) and light them for short bursts.
Pro tip: keep a small candle snuffer in the tray. It looks old-school in a good way, and it prevents smoky “blow out” smells that can ruin the cozy vibe.
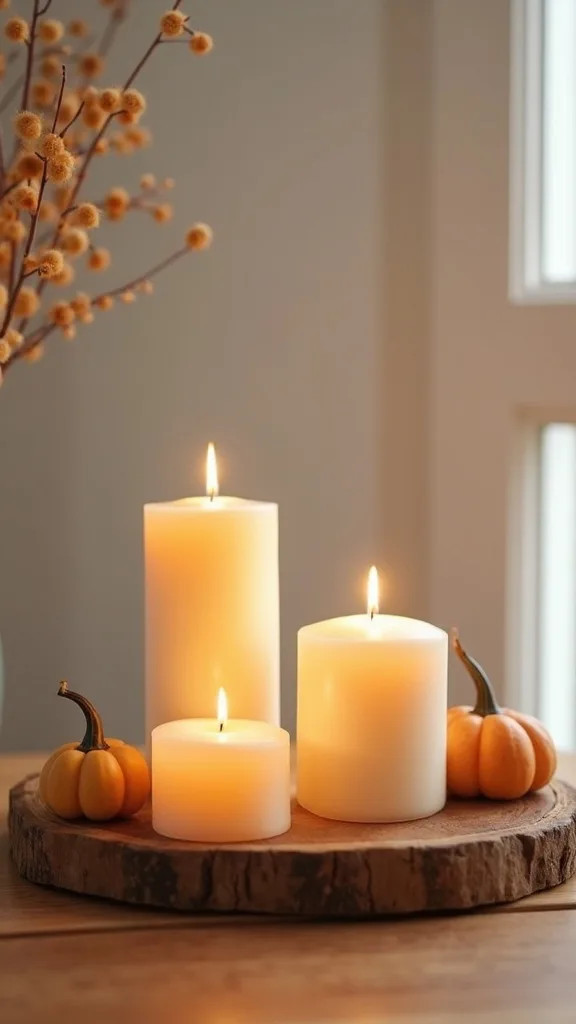
11. How do you make a small coffee table arrangement look bigger (without adding more stuff)?
Scale is a perception game. A vignette looks larger when it has one elevated element and one grounded “field” element; your eye reads depth, not clutter.
Add height with a small riser or stacked books under part of the tray—just 1″–2″ of lift changes everything. Then create a low “field” with moss or acorns spread in a thin layer across the tray bottom (not piled). Keep your candle triangle tight, then let the low fillers extend slightly outward to the tray edges so the footprint feels intentional.
Use slim pillars, a low-profile tray, and mini pumpkins in two sizes. Beginner version: stack one hardcover book under the tray and stop—instant upgrade.
Pro tip: if your table is tiny, go for fewer, larger objects (one tall candle, one medium, one pumpkin) rather than many small pieces that read like clutter from the couch.
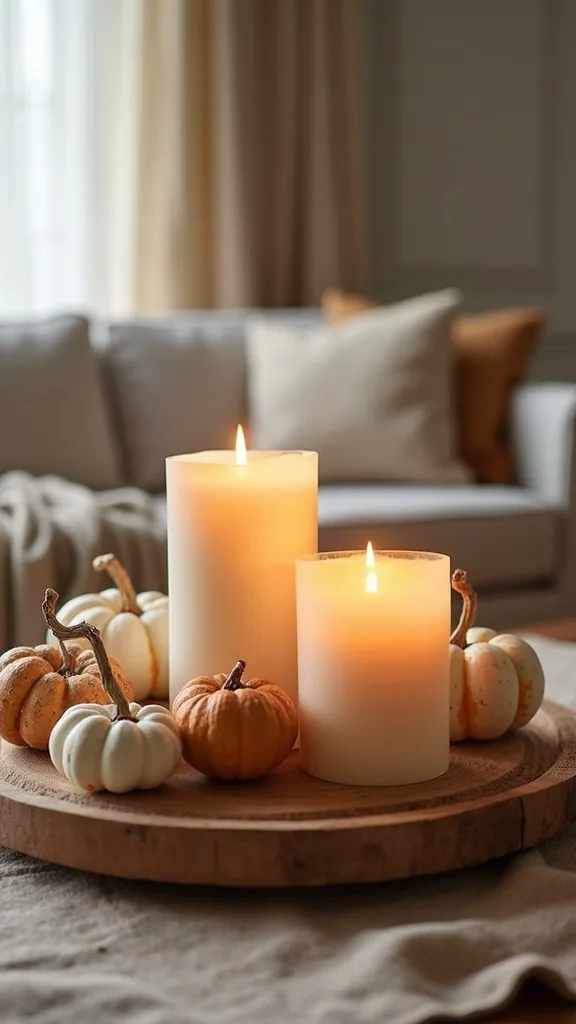
12. How do you style a candle vignette when you still need space for drinks and snacks?
Function is part of good design. A coffee table that can’t hold a mug isn’t styled—it’s blocked, and that low-key stress makes the room feel less livable.
Use a tray that takes up only one-third to one-half of the table length. Place it to one side, not dead center, and leave a clear “landing strip” on the other side for a coaster stack and a small plate. Keep candle heights toward the back edge of the tray so sightlines from the sofa stay open.
Choose a tray with handles (easy to move), and opt for flameless candles if you host often. Beginner version: do two candles + one pumpkin in a small tray so you can shift it quickly when pizza arrives.
Pro tip: add a lidded match holder or lighter in the tray so lighting feels effortless. When the routine is easy, you’ll actually use your candles—and that’s when the room feels its coziest.
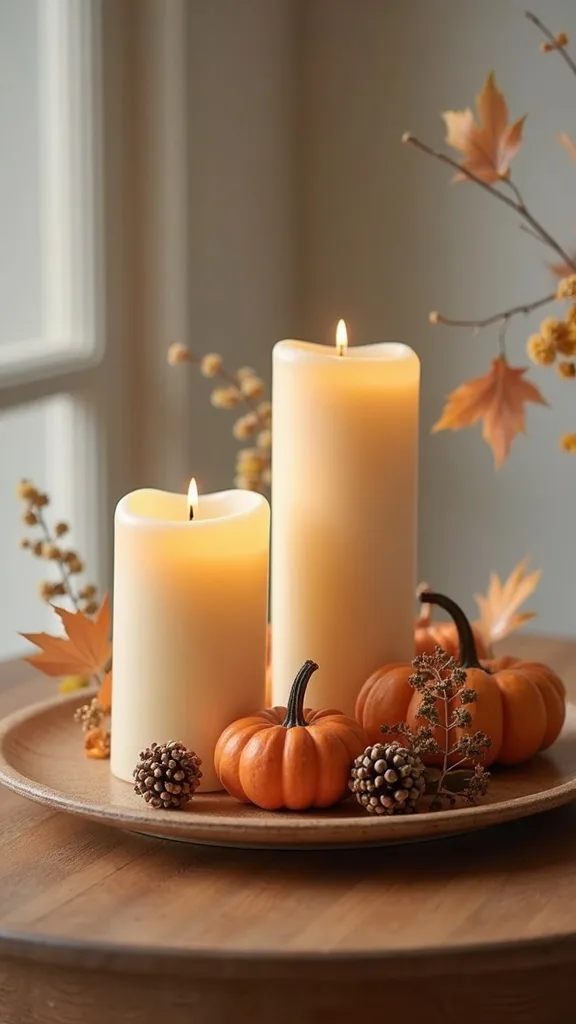
13. How do you use moss so it looks natural, not like a craft project?
Moss is a texture cheat code: it softens hard edges and makes store-bought items look collected outdoors. But big clumps can read fake fast, especially under bright daylight.
Pull moss apart into thin, uneven pieces instead of placing it in one mound. Tuck it where shadows naturally fall—around candle bases and along tray corners—so it looks like it “settled” there. Mix in a second natural element (acorns or tiny twigs) so the moss isn’t the only organic texture carrying the scene.
Look for preserved sheet moss or reindeer moss in muted green-brown, not neon green. Beginner version: use a moss mat cut to fit the tray, then place items on top—clean and controlled.
Pro tip: misting real moss is messy on a coffee table. Stick with preserved faux/preserved options indoors, and let candlelight do the work of making it feel alive.
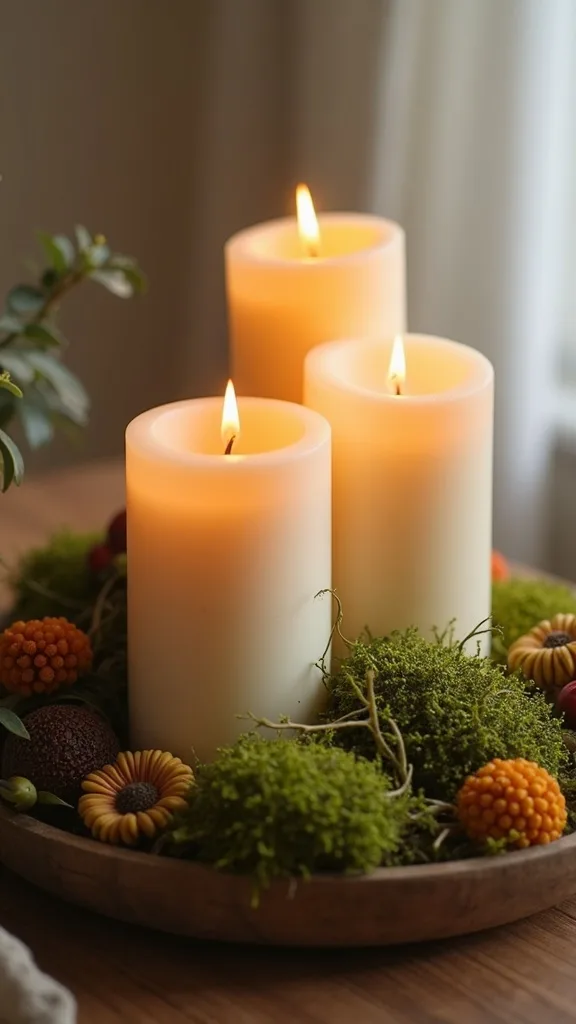
14. What are the best mini pumpkin placements so they don’t look scattered?
Pumpkins look polished when they’re grouped like a still life. Scattered pumpkins read like leftovers from a porch display, not intentional living room decor.
Use the “rule of odds”: cluster 3 or 5 mini pumpkins in one corner of the tray, with the tallest candle nearby as the anchor. Vary size and stem direction—turn a few stems outward, angle one sideways—so it looks natural. Keep at least one pumpkin touching the candle base or moss so the pieces feel connected.
Choose velvet pumpkins for a soft modern vibe, or realistic foam pumpkins for traditional. Beginner version: buy a small mixed bag of minis and select only the best 3; store the rest for another room.
Pro tip: add one “unexpected” pumpkin color (deep green or black) inside an otherwise neutral cluster. That single contrast note reads designer, especially for Halloween season.
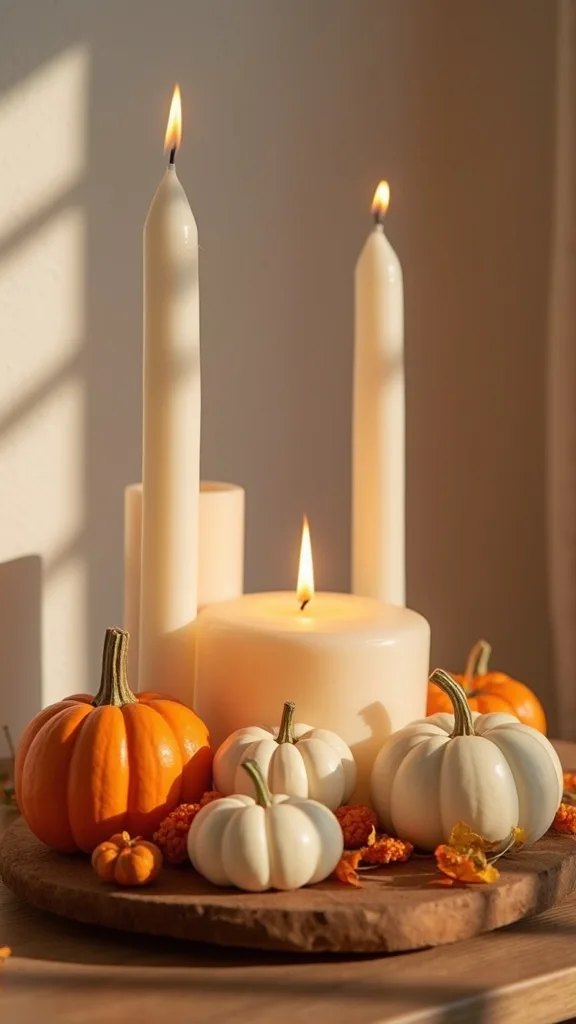
15. How do you incorporate acorns without making it look like a kid’s craft?
Acorns are tiny, so they can either elevate a vignette with detail or create visual confetti. The difference is restraint and placement—your eye wants a few intentional clusters, not a sprinkle everywhere.
Place acorns in two small groupings: one tucked near the candle bases and one near the pumpkin cluster. Keep them inside the tray lip so they don’t migrate across the coffee table. If you have real acorns, rinse and fully dry them before styling, and consider sealing them with a clear matte spray so they stay clean-looking.
Pair acorns with a small natural bowl or a shallow dish if you want a more traditional look. Beginner version: keep acorns contained in one small bowl and call it done.
Pro tip: mix in 3–4 acorn caps alone (without the nut) for texture variety. It’s subtle, but it reads like you paid attention—because you did.
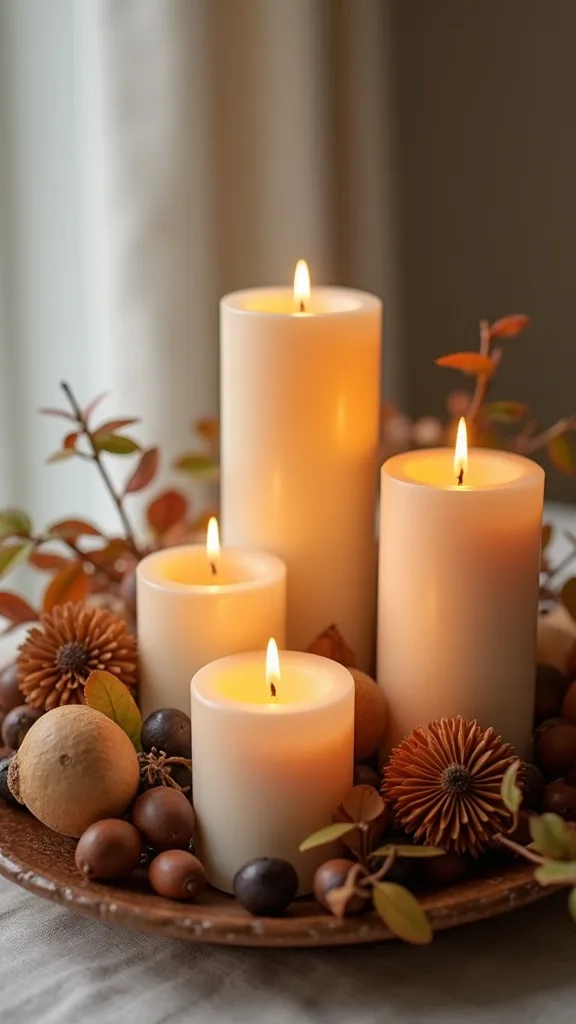
16. How can you shift the same vignette from early fall to Halloween in 2 minutes?
Seasonal decor feels easier when it’s modular. Your brain likes consistency (the base stays the same) and novelty (one small swap signals a new moment), so you get freshness without starting over.
Keep your tray, moss, and amber candle in place. For Halloween week, swap one candle to black, add a single spooky accent (a small black raven, skull match holder, or spider ring tucked into moss), and replace one pumpkin with a black or deep green version. Limit yourself to two Halloween cues so the vibe stays elevated.
Great swap items: black taper holders, smoked glass votives, and subtly labeled halloween candles. Beginner version: just add one black candle and one mini pumpkin—done.
Pro tip: store the Halloween add-ons in a zip pouch inside your decor bin. When the pieces are together, the switch happens fast, and you’ll actually do it.
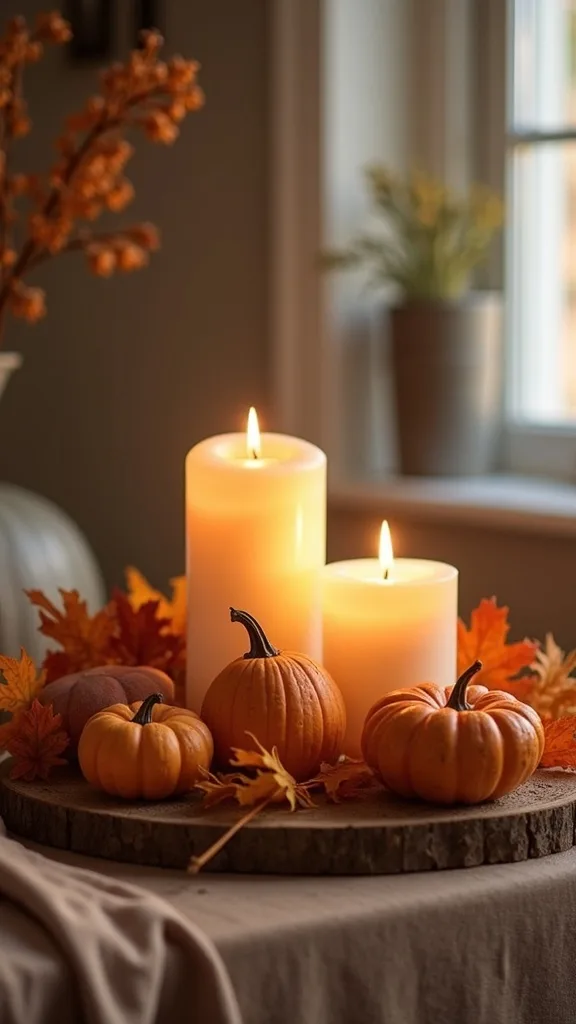
17. How do you choose scents that won’t overwhelm a living room?
Scent is part of styling because it changes how a room feels emotionally. Overpowering fragrance can make guests uncomfortable and can clash with food, which is the opposite of cozy hosting energy.
Use one scented candle max in the vignette, and keep the rest unscented (or flameless). Choose scents that read “natural” and warm—think cedar, apple peel, or spiced vanilla—rather than sugary blends. If your living room is open to the kitchen, go lighter; scent travels farther than you think.
Product types: single-wick scented jars (placed near the back of the tray) plus unscented pillars for height. Beginner version: skip scent entirely and let visuals do the work.
Pro tip: if you love fragrance, burn the scented candle for 30–45 minutes, then extinguish it and light unscented candles for ambience. You get the mood without lingering heaviness.
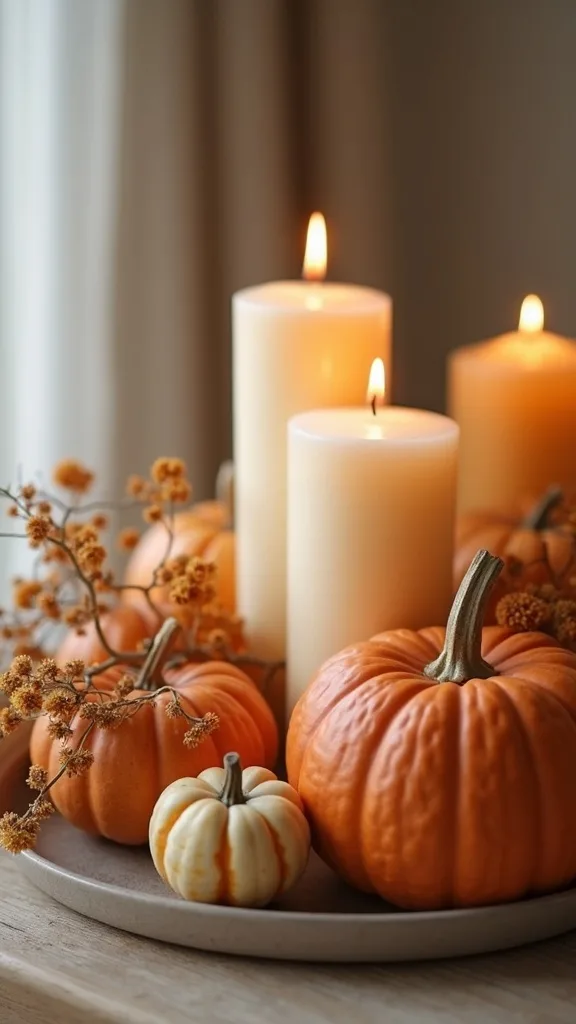
18. How do you layer books under a candle tray without it looking staged?
Books add instant height and a lived-in feel—when they look believable. The psychology is “collected over time,” which makes your decor feel personal instead of showroom-perfect.
Choose one or two hardcovers with neutral spines (black, tan, cream) and place them under one end of the tray, not centered. Angle the tray slightly so it feels casually placed. Keep titles subtle; if the spine is loud, turn it inward. Add one small object on the books beside the tray (like a match holder) so the stack looks used, not just propping decor.
Pick design, cooking, or photography books with matte covers. Beginner version: use one book only—less is safer.
Pro tip: if your coffee table is glass, books also prevent the vignette from feeling like it’s “floating.” That grounded look is what makes candlelight feel extra cozy at night.
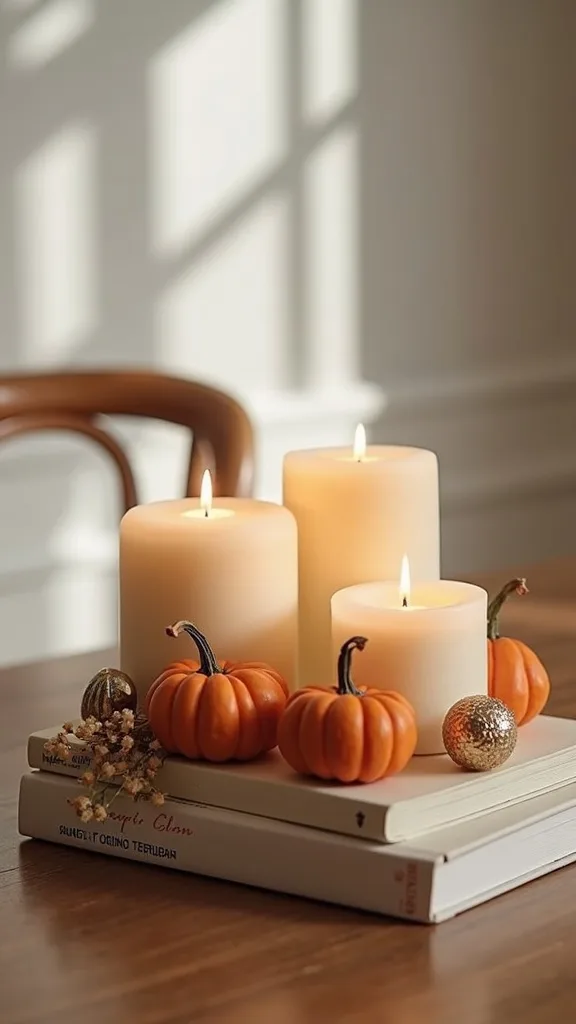
19. How do you style a candle vignette if you have a round coffee table?
Round tables need circular logic. A long, rectangular layout can fight the shape and make the table feel crowded on one side.
Use a round tray or a softly oval tray, then build your candle triangle inside it. Keep the tallest candle slightly off-center, and curve your fillers around it like a crescent: moss hugging the base, then pumpkins, then a small acorn cluster. Leave a clear outer ring of tabletop visible—at least 3″—so the table still feels open from every seat.
Great items: round wood tray, three pillars, and one small bowl for acorns. Beginner version: use two candles and one pumpkin cluster; round tables don’t need much.
Pro tip: if the table is very small, skip the tray and use one low plate as your “boundary.” The boundary is the point—it tells the eye where the vignette starts and stops.
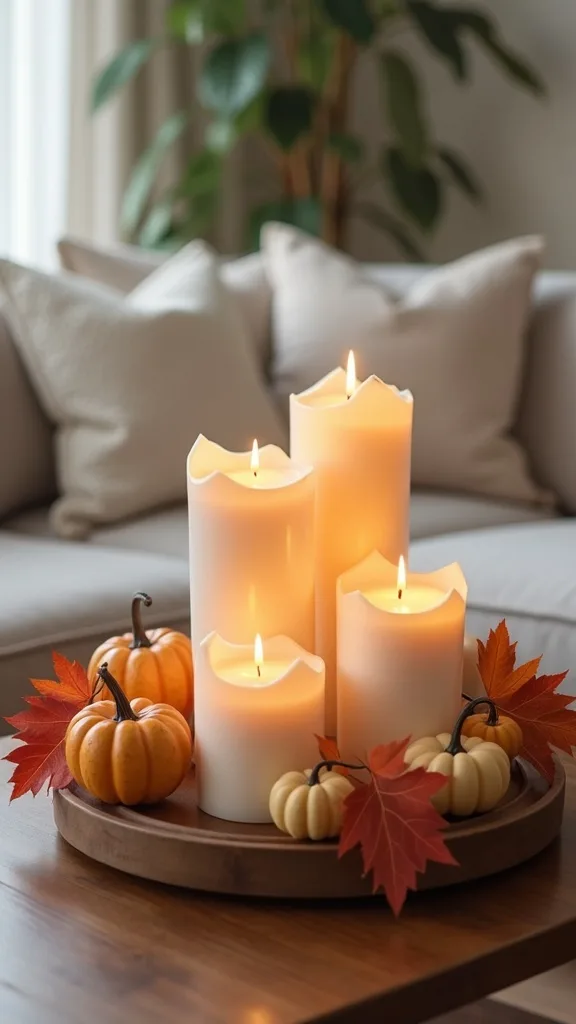
20. How do you make candlelight feel cozy in a living room with overhead lighting?
Candlelight looks best when it’s not competing with harsh light. Your brain reads warm, low lighting as rest and safety, which is why candles instantly make a room feel more inviting.
At night, turn off overheads and use lamps with warm white light (2700K–3000K — the cosy, yellowish tone you see in most homes). Place one lamp behind or beside the coffee table to create depth, then light your candles (or switch on flameless). If you use flameless candles, choose ones with a gentle flicker so the vignette still feels alive.
Helpful products: plug-in dimmers, warm-toned bulbs, and realistic flicker pillars. Beginner version: just turn off the ceiling light and use one table lamp—instant improvement.
Pro tip: add one reflective surface near the candles (a small mirror tray insert or glass votive). The doubled glow makes the arrangement feel richer without adding any extra objects.
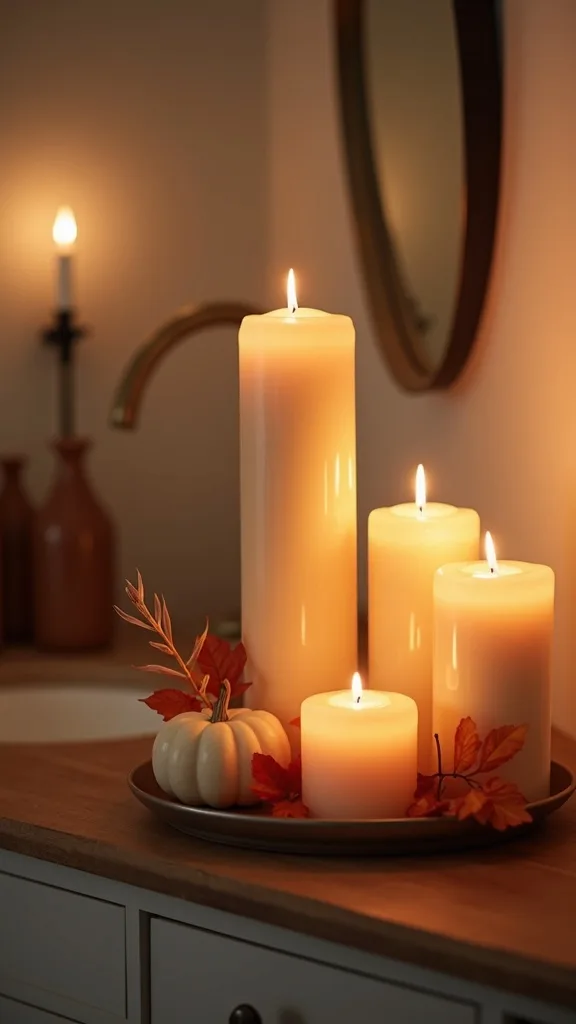
21. What candle colors work best with beige, gray, or white living rooms?
Neutral rooms need controlled contrast. The right candle colors create a focal point without making the space feel disconnected from the rest of your palette.
For beige rooms, lean into warmth: amber, cream, and deep brown accents. For gray rooms, use black and amber together (the warmth prevents the gray from feeling cold). For white rooms, add depth with matte black plus one natural wood tone so the vignette doesn’t look stark. Keep pumpkins muted—cream, tan, and one deep green—so the candles stay the star.
Choose matte finishes and textured candles (ribbed, sand-coated) to avoid a flat look in neutral spaces. Beginner version: pick one candle color family (all cream) and add contrast with acorns and black holders instead.
Pro tip: repeat your sofa pillow color once in the tray (one pumpkin or ribbon). That tiny echo makes the whole living room feel intentionally styled.
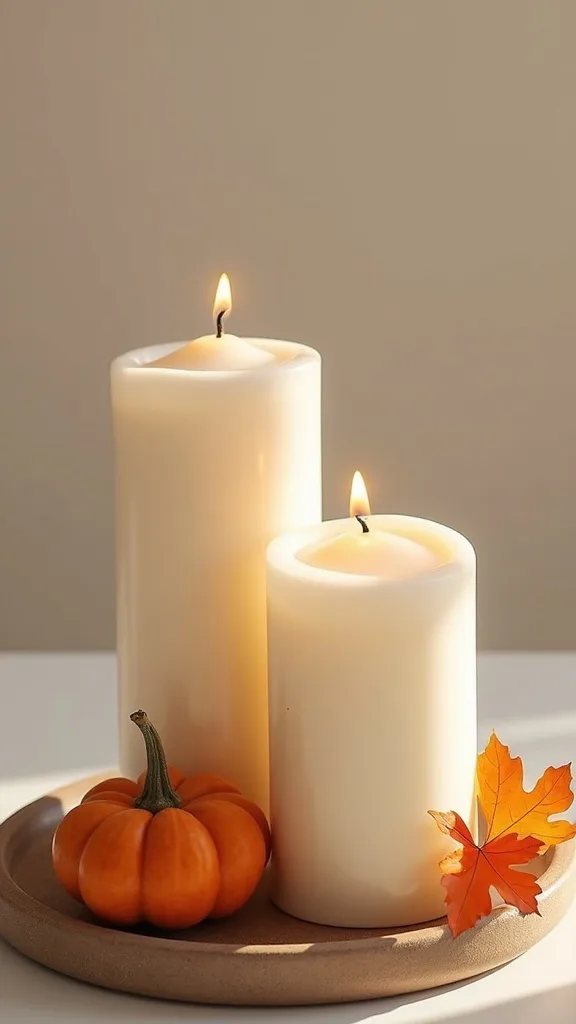
22. How do you keep pets and kids safe around a Halloween candle display?
A living room is a shared space, so safety has to be part of the design. When you remove the “worry factor,” you actually enjoy the decor more—your nervous system relaxes, and that’s the whole point of cozy season.
Choose flameless pillars with timers and place the tray at the center-back of the coffee table, not on the edge. Avoid tiny loose fillers (like dozens of acorns) if you have toddlers—use a small bowl to contain them. If you insist on real flames, use glass hurricanes and keep the vignette out of reach on a console instead of the coffee table.
Helpful products: timer flameless candles, weighted holders, and lidded match containers. Beginner version: go 100% flameless for October and save real candles for supervised evenings.
Pro tip: pick a timer schedule you’ll love—like 6 hours on, 18 off—so the candles “turn on” at dusk automatically. Cozy becomes effortless when it’s automated.
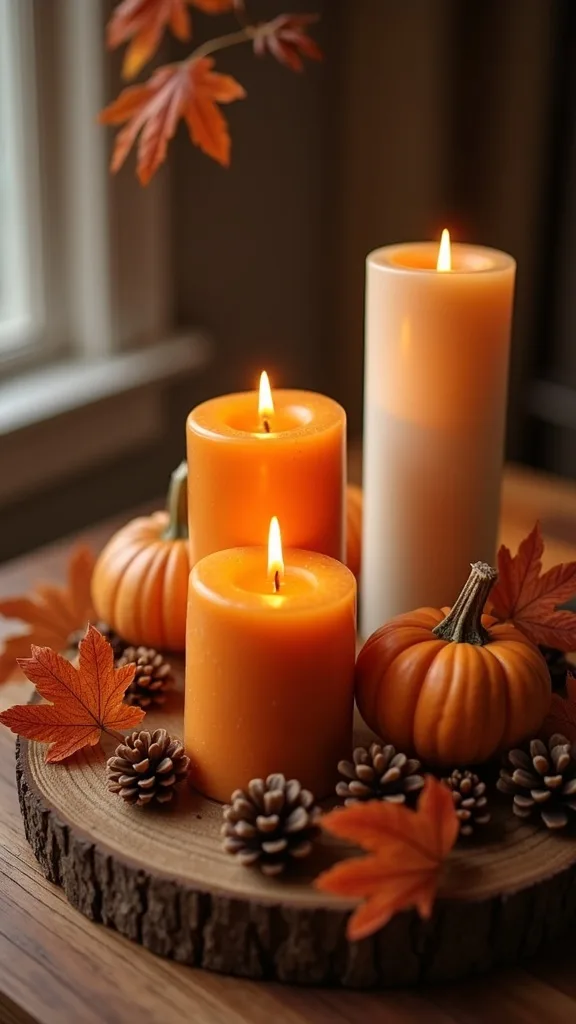
23. How do you create a taller vignette without blocking the TV view?
In the living room, sightlines matter. If your decor interrupts the TV view, it will get moved—or resented—no matter how pretty it is.
Keep your tallest candle below the bottom third of the TV screen from your seated position (a quick test: sit down, hold the candle up, and check). If you need height for style, build it downward instead: use a thicker tray, a book base, and low fillers for richness. Place the tallest candle on the side of the tray farthest from the TV so it’s less likely to cut across the screen.
Choose chunky low pillars, wide hurricanes, and squat pumpkins rather than super tall tapers. Beginner version: use all 4″–6″ candles and rely on texture instead of height.
Pro tip: if your room layout forces the coffee table directly in front of the TV, make the vignette movable—tray with handles, lightweight fillers—so “movie mode” takes five seconds.
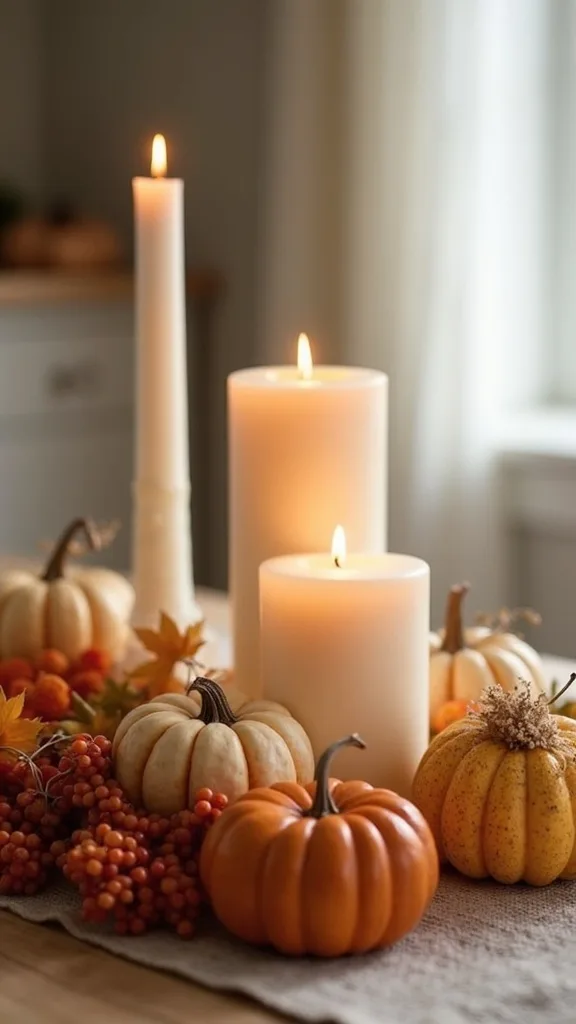
24. How do you make autumn table styling feel cohesive with the rest of the living room?
Cohesion comes from repetition, not matching. When one or two elements echo elsewhere in the room, your brain reads the whole space as intentional and calm.
Pick one repeatable element from the vignette—black, amber, or natural wood—and repeat it twice in the room. That could mean a black throw pillow, an amber vase on a shelf, or a wood bowl on a side table. Keep the coffee table vignette as the “headline,” then let the repeats be the supporting text.
Product types to coordinate: pillow covers, a small amber glass vase, and a wood bead garland used sparingly. Beginner version: repeat just one color (black) in one other spot (like a frame or candle holder).
Pro tip: avoid adding fall decor to every surface. One strong moment on the coffee table plus one small echo elsewhere feels designed; five small moments feels like clutter, even if everything is cute.
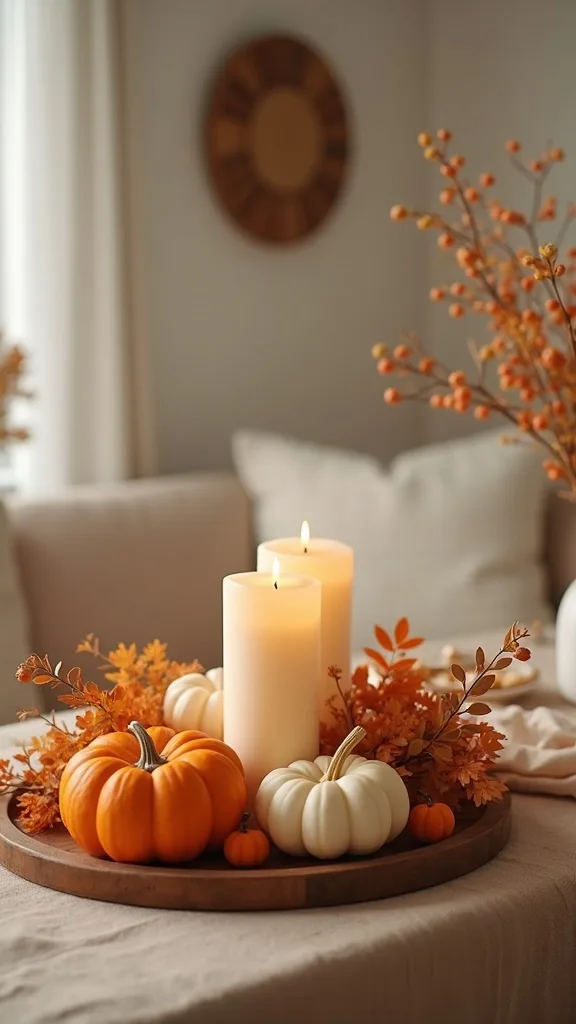
25. How do you finish a candle vignette so it looks styled from every angle?
A coffee table is seen from multiple seats, so a vignette has to read well in 360 degrees. The psychology is trust: when it looks good from every angle, the room feels “settled,” and you stop mentally rearranging it.
Do a quick walk-around test. From each seat, check for one clear focal point (usually the tallest candle) and one supporting cluster (pumpkins + acorns). Rotate pumpkins so stems face different directions, and make sure moss isn’t only on one side. If something looks empty, add one medium texture—not more tiny pieces.
Finishing touches: a small match holder, a candle snuffer, or one ribbed glass votive for sparkle. Beginner version: take one photo from your couch; the camera will show you gaps faster than your eyes.
Pro tip: stop when the tray still shows wood. That visible base is what makes the whole vignette feel intentional, and it’s the quiet detail that makes guests think you hired help.
Final Thoughts
A candle vignette works when it’s built like a small, stable “scene”: one triangle of heights, one tight palette, one boundary (the tray). That’s why it calms a living room down so fast—your eye lands somewhere on purpose, and the rest of the table stops feeling like visual noise.
If you only do one thing, do the containment step. Put everything inside a tray, leave some bare surface showing, and you’ll instantly get that styled, finished look that makes Halloween decor feel elevated instead of random.
Do this today: grab a tray, place three candles in 8″/6″/4″ heights, then add five mini pumpkins and a handful of acorns—set a timer for 15 minutes and stop when you can still see the wood.
What I’d Do Differently
When I first tried this, I made the classic mistake: I filled every inch of the tray because I thought “more fall stuff” would look richer. I packed moss up around real candle wicks, added too many tiny pumpkins, and sprinkled acorns like confetti. In daylight it looked busy, and at night it felt stressful—plus I kept worrying about the moss being too close to the flame. The correct approach is to build the candle triangle first, then use fillers only to connect the bases, leaving visible tray space. The tray isn’t empty space; it’s the backdrop that makes the candles and pumpkins look intentional.
I also wish I’d known how much better the vignette looks when you commit to one contrast note—like a single black candle or black holder—rather than adding multiple Halloween objects. That one decision keeps the look modern and elevated, even in a traditional room. Pick your tray, choose three candle heights, and give yourself permission to stop early—you can always add one more pumpkin later if you truly need it.