This post contains affiliate links. As an Amazon Associate, I earn from qualifying purchases at no extra cost to you.
Last August I watched a permission slip slide off the fridge like it was making a daring escape… and land directly in the dog’s water bowl. (The form survived. My pride did not.) That was the moment I stopped pretending “the kitchen counter” was a system and admitted we needed a real hub.
Here is the thing: a garage-based setup wins because it catches the chaos at the door—before it spreads into every room like glitter. This post walks you through a wall-mounted calendar, paper control, a backpack drop zone, and a charging spot that doesn’t look like a tech graveyard.
This is perfect for families who do mornings at warp speed, have kids in multiple grades, or keep “temporarily” stacking school papers on the passenger seat.
And look, you don’t need a Pinterest-perfect built-in. You need a few smart zones, labels that actually stick, and one or two upgrades that feel fancy (even if you spent Target money).
Below are 25 Back to School Command Center & Family Hub that bring family organization, a calmer homework station, and painless school papers organization into one garage-friendly wall.
Products I Recommend for This Project
Here are some of my favourite products to help you bring these ideas to life:
- U Brands 24″x36″ Dry Erase Monthly Calendar Board — Big enough to read from across the garage and easy to update when schedules change.
- SimpleHouseware Wall Mount Mail Organizer (5 Section) — Gives school papers a no-excuses home with multiple slots for sorting.
- Command Large Matte Black Hooks (or Heavy-Duty Utility Hooks) — Great for lighter bags with no drilling; step up to utility hooks for heavy backpacks.
- Anker USB Charging Station (Multi-Port) — Charges multiple devices in one spot so cords stop wandering all over the house.
- Brother P-touch PTD220 Label Maker — Makes durable, readable labels that survive real kid use (and garage temperature swings).
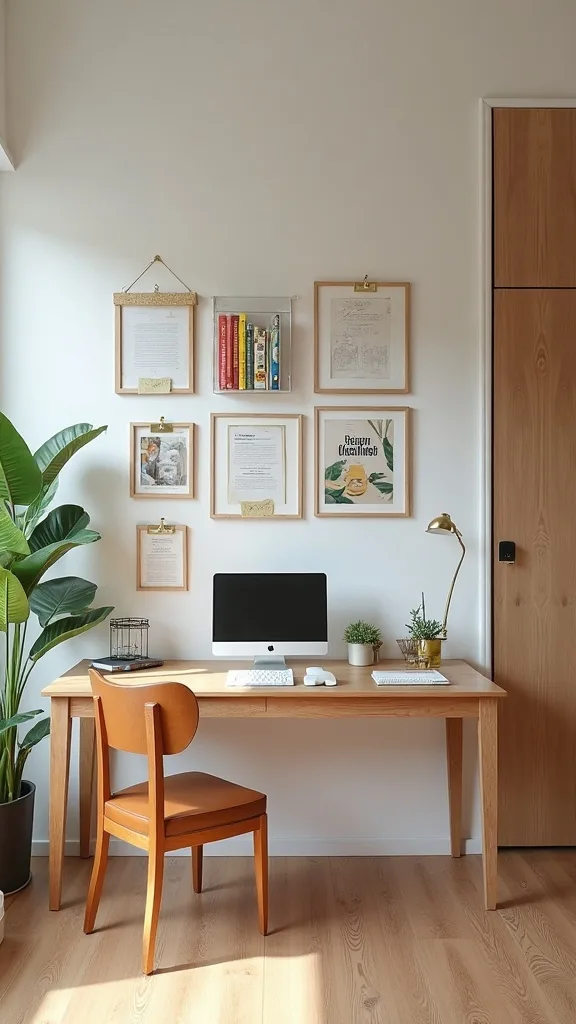
1. The “All-in-One Wall” Setup: Calendar + Mail Sorter + Hooks + Charging + Whiteboard
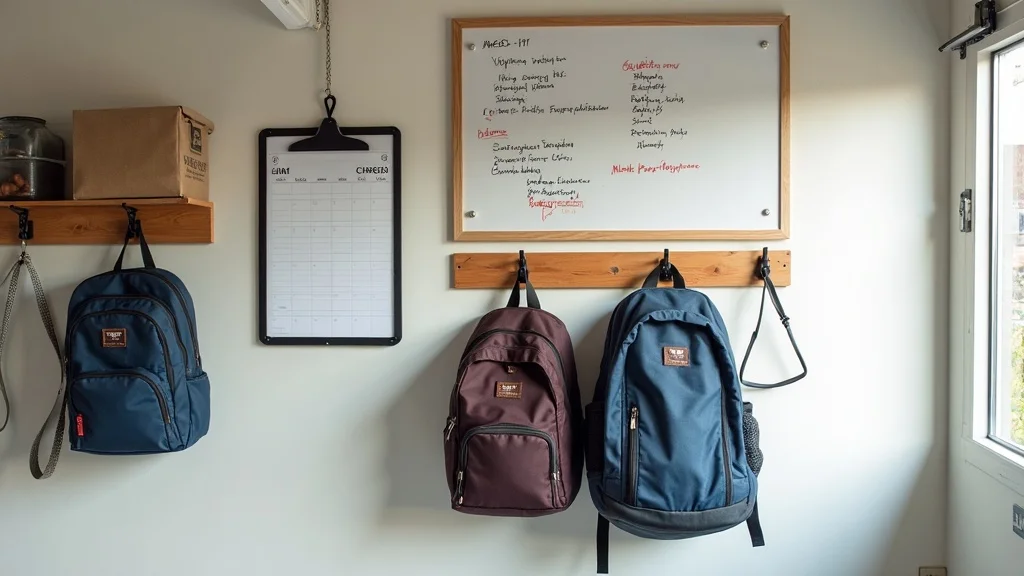
This idea is the backbone: one wall does the thinking so your brain doesn’t have to. It works because the calendar, incoming papers, backpacks, and devices all land in the same predictable spot—no scavenger hunts (or water-bowl permission slips).
Mount a 24″x36″ wall calendar at adult eye level, then install a vertical mail sorter to the right for school folders and forms. Below that, add labelled backpack hooks at kid height (about 42–48″ from the floor for elementary kids), and cap the whole thing with a slim charging shelf so cords don’t drape like sad spaghetti. Finish with a whiteboard for “tomorrow” notes: lunch money, spirit day, library books.
Go budget with a big dry-erase calendar and basic metal hooks, or go spendy with a modular wall rail system that looks custom. Pro tip: use one color per kid across hooks, folders, and markers—your eyes find the right lane instantly, and mornings feel weirdly… competent.
2. Where should a command center go: garage wall, not the kitchen
Put it where the mess is born: the entry from the car. A garage wall works because it catches backpacks, shoes, and papers before they reach your counters (and your sanity).
Pick a wall within 3 steps of the door into the house. You want a “drop, sort, hang” flow: hooks first, then paper slots, then calendar/whiteboard at the end so you can check tomorrow while you’re already standing there. If your garage gets dusty, add a simple wipeable panel (even a painted plywood sheet) behind the hooks so you can clean it fast.
Paint the command strip area a darker neutral—charcoal, navy, or warm greige—so scuffs don’t show. Budget option: leftover wall paint. Nicer option: peel-and-stick wallpaper on a backer board. Pro tip: avoid placing it behind where car doors swing open; one door ding and your “organized era” becomes “why is the calendar cracked?”
3. How much wall space do you need for a functional hub?
You don’t need a whole mudroom renovation. You need one clear rectangle of wall that you protect like it’s a reserved parking spot.
Aim for 36–60 inches wide. That fits a calendar, a sorter, and 3–5 hooks without crowding. Keep the bottom of the system at least 10 inches off the floor so sweeping is easy (and so lost crayons don’t become permanent garage decor). If your wall is narrow, stack vertically: calendar on top, sorter in the middle, hooks and charging shelf below.
Materials can be simple: a 1×6 board painted to match the wall becomes a mounting strip that unifies mismatched pieces. For a cleaner look, choose all-black hardware or all-brass—mixing finishes reads “random,” not “eclectic.” Pro tip: leave 6 inches of “blank buffer” on one side; you’ll thank me when an extra sport schedule appears mid-year.
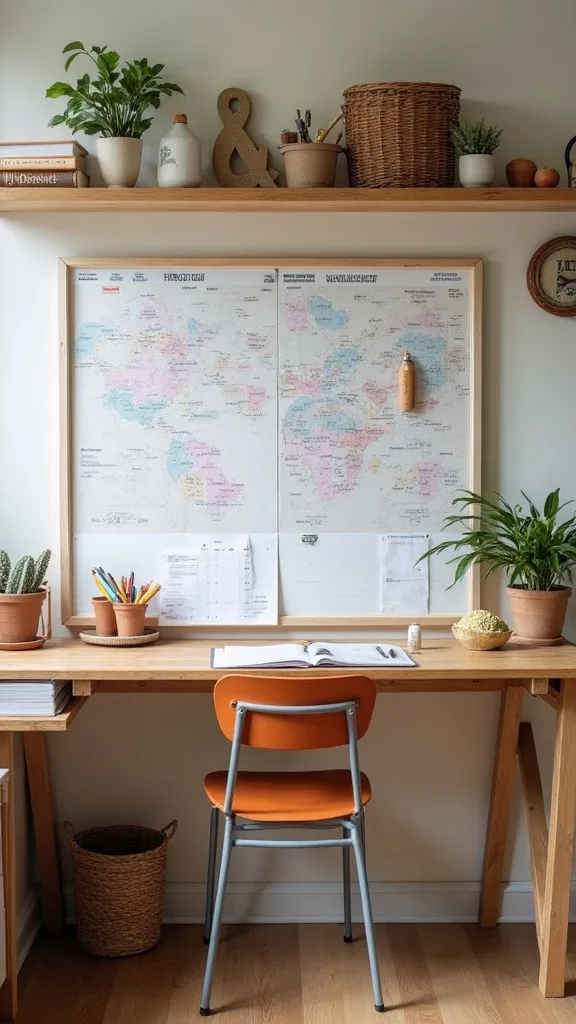
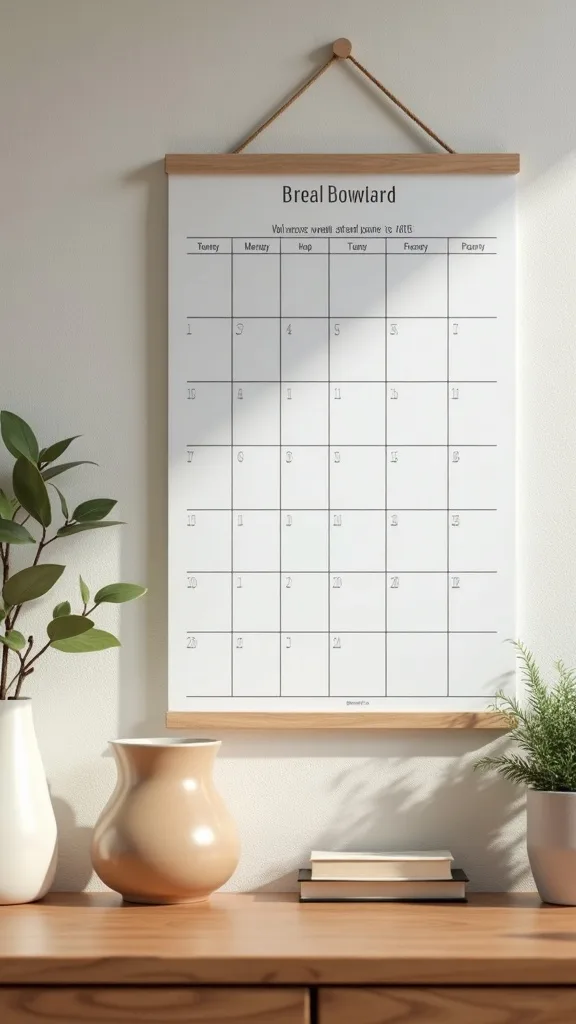
4. What’s the best wall-mounted calendar: dry-erase vs. paper vs. acrylic?
Dry-erase wins for real life because plans change and you deserve to erase without drama. Acrylic looks fancy, but a good whiteboard-style calendar is easier to read from six feet away.
Choose a 24″x36″ monthly calendar with thick grid lines so it doesn’t turn into a marker blur. Mount it with screws (not just adhesive) if your garage gets hot—heat can loosen sticky strips. Assign one marker color per person, and keep the markers attached with a magnetic cup so they don’t vanish.
Budget pick: a framed dry-erase calendar. Upgrade: an acrylic wall calendar with standoff mounts and wet-erase markers for crisp lines. Pro tip: avoid tiny desk planners pinned to the wall—if you can’t read it while holding a backpack and a coffee, it’s decorative, not functional.
5. How do you stop school papers from taking over the house?
You need a landing zone with rules, not a pile with dreams. The reason papers explode is because they don’t have a “next step” assigned.
Use a 3–5 slot wall sorter labeled: To Sign, To Pay, To Return, and one slot per kid if needed. Put a pen on a string (yes, like a bank—no, I’m not ashamed) and a small clipboard in the “To Sign” slot so forms don’t bend. Set a 5-minute daily paper sweep: empty lunch notes, file what matters, toss the rest.
Go budget with metal mesh sorters; upgrade to wood cubbies that look built-in. Pro tip: avoid “one slot per subject.” That’s how you accidentally create a library system in your garage and still can’t find the field trip form.
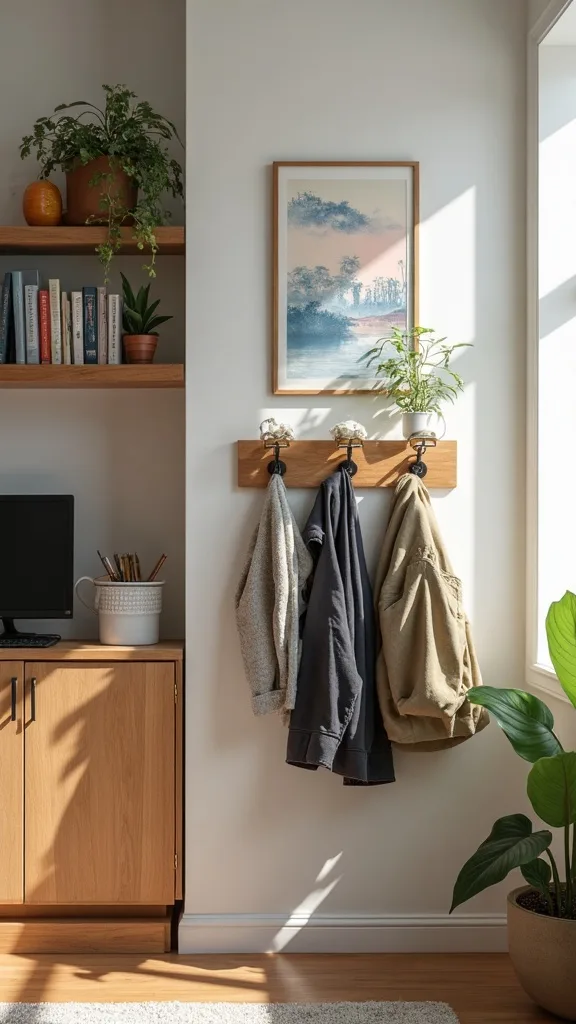
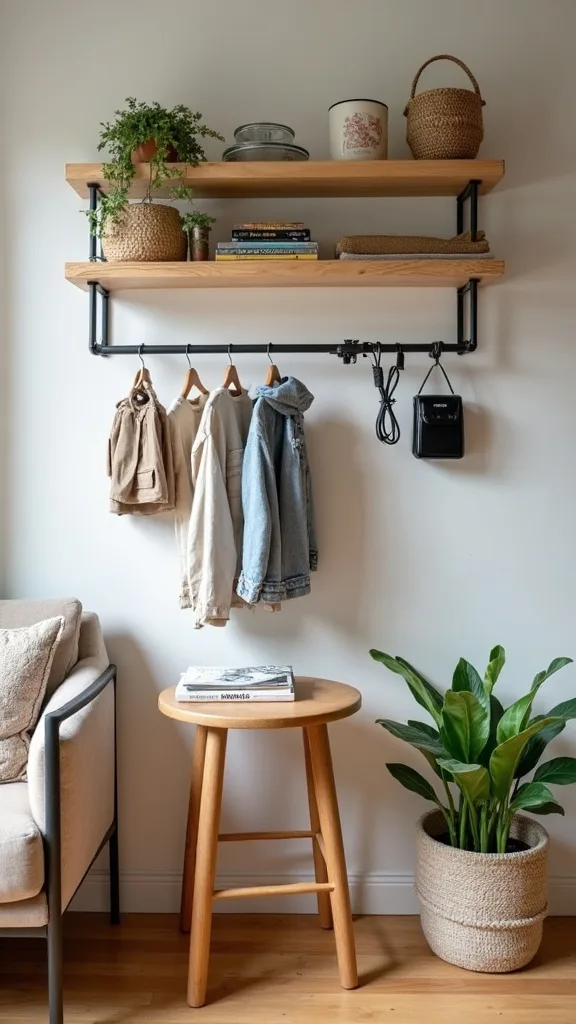
6. The backpack station: hooks that actually hold up all year
Backpacks are heavy, awkward, and apparently filled with bricks. The right hooks matter because flimsy ones pop off and then everyone blames the wall (it’s the hook).
Install individual hooks into studs when possible, or use heavy-duty wall anchors rated for at least 25 lbs. Place hooks 6–8 inches apart so straps don’t tangle. Label each hook with a name or icon—icons are clutch for younger kids who “forget” how to read when they’re tired.
Budget: sturdy single hooks from Home Depot. Upgrade: a hardwood hook rail with double hooks for backpack + jacket. Pro tip: avoid over-the-door hooks in a garage entry; the constant slamming loosens them, and your station becomes a sound effect.
7. Labeling that stays put (and doesn’t look like a label-maker crime scene)
Labels are the bossy friend your system needs. They work because they remove negotiation—no one asks where things go, they just… go there.
Use consistent label style: same font, same color, same placement. For bins, put labels on the front upper-left corner so they’re visible even when stacked. For hooks, place labels directly above the hook so the “right spot” is obvious even when the hook is empty.
Budget: painter’s tape + Sharpie under clear packing tape (shockingly durable). Upgrade: a label maker with laminated tape. Pro tip: avoid labeling everything. Label the decisions—papers, bags, chargers—not the obvious (“wall,” “floor,” “air”).
8. The charging shelf: how to avoid cord spaghetti in the garage
A charging shelf prevents the nightly “where’s my iPad?” panic. It works because devices charge in one spot with one power source and zero roaming cables.
Mount a narrow floating shelf (6–8 inches deep) near an outlet, then attach a power strip underneath with screws or strong adhesive mounts. Use short charging cables (1–3 ft) so you don’t have loops dangling. Add a small basket for headphones and a labeled spot for each device.
Budget: basic shelf + surge protector. Upgrade: a multi-port USB charging station with cable management. Pro tip: avoid charging on the floor—garages are dustier, and you’ll step on something expensive eventually (ask me how I know).
Cost & Materials Estimate
A garage family hub can be pulled together for a tight budget or upgraded to a sleek wall system—most families land somewhere in the middle.
| Item | Estimated Cost | Where to Buy |
|---|---|---|
| 24″x36″ wall calendar (dry-erase) | $18–$45 | Amazon |
| Wall-mounted mail sorter / file pockets | $22–$65 | Amazon |
| Heavy-duty hooks or hook rail (4–6 hooks) | $12–$55 | Home Depot |
| Floating shelf + surge protector for charging | $28–$85 | Lowe’s |
| Label maker + laminated tape refills | $24–$55 | Amazon |
| Whiteboard (or combo calendar/whiteboard set) | $15–$50 | IKEA |
Total estimated cost: $119–$355 Save money by using painter’s tape labels and a basic shelf; splurge on hooks and the paper sorter because they take the daily beating.
9. Whiteboard messages that kids actually read
If your note board turns into a graveyard of old reminders, it stops working. A whiteboard succeeds when it only shows what matters next.
Divide it into three simple zones: Tomorrow, This Week, and Don’t Forget. Keep it near the door handle height so you see it while leaving. Use big block letters for the one critical item (like “PICTURE DAY”)—design is readability, not calligraphy.
Budget: a basic whiteboard. Upgrade: a glass board that wipes cleaner. Pro tip: avoid writing paragraphs. If it takes longer than 5 seconds to read, nobody will.
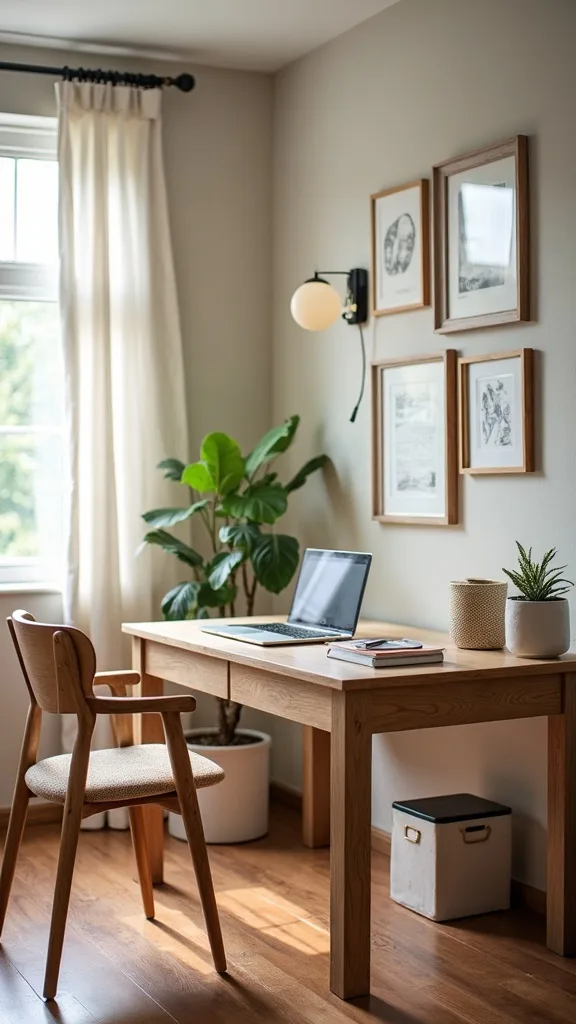
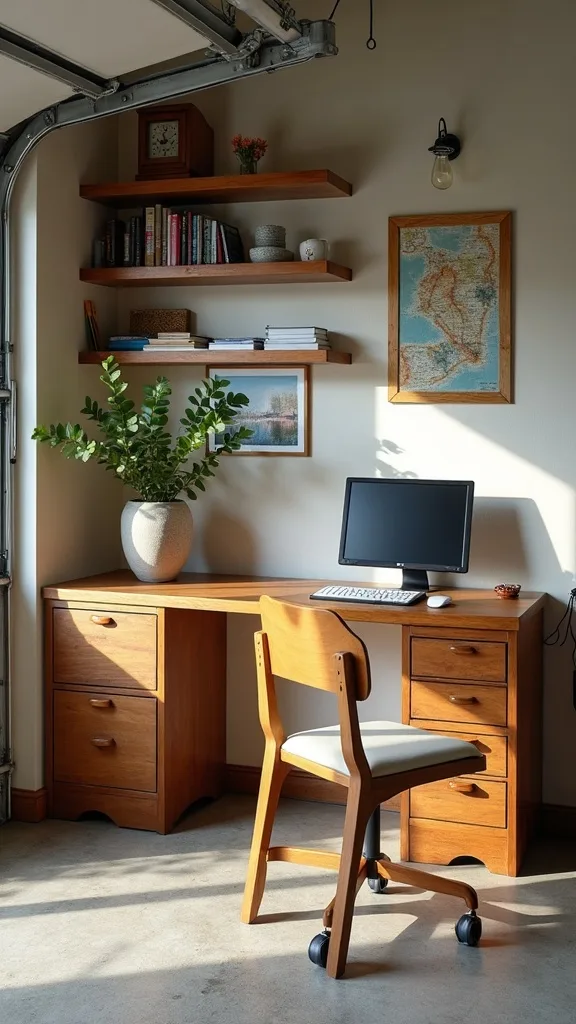
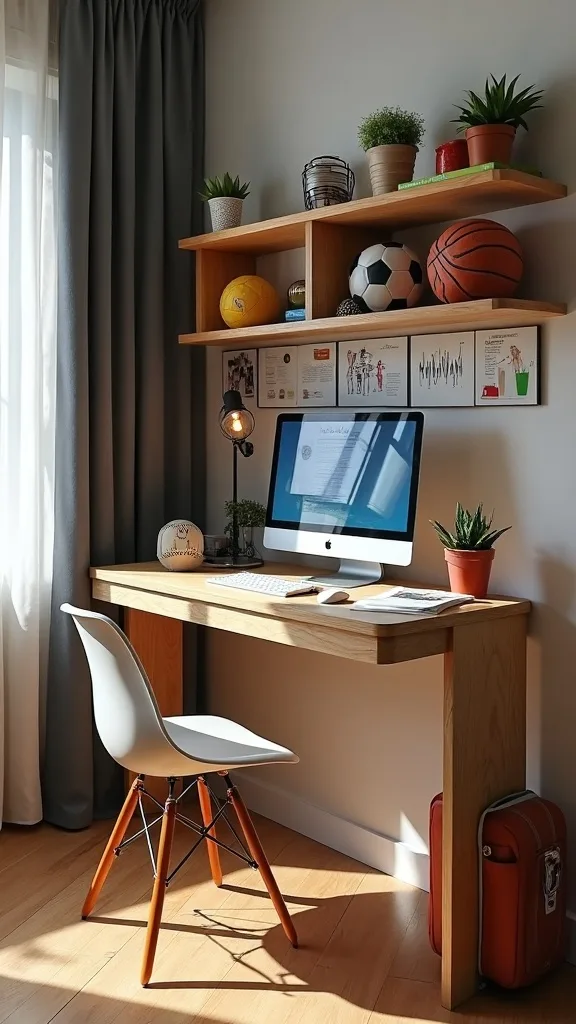
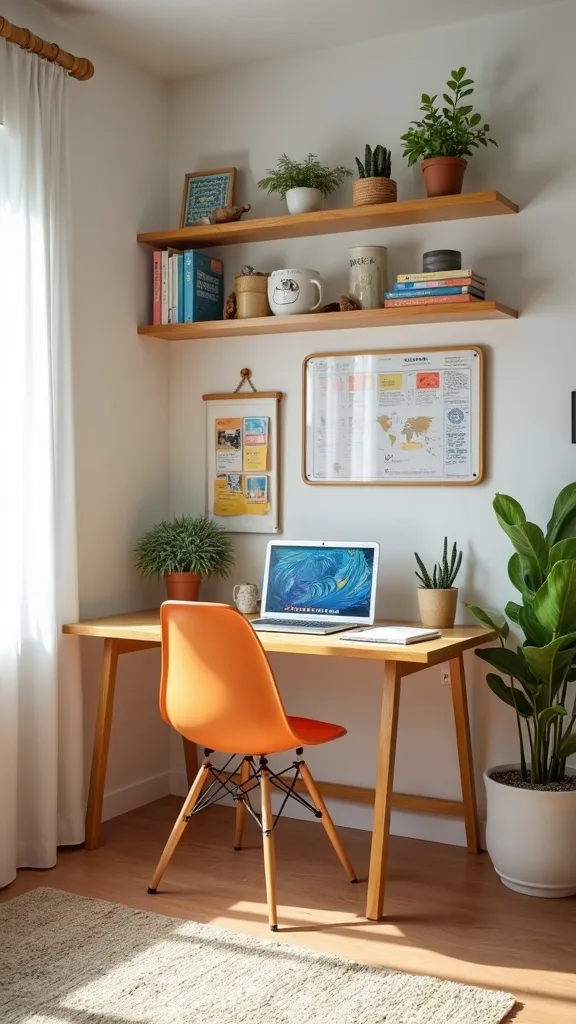
10. Homework station in the garage: smart or terrible?
It can be smart if your garage is clean, climate-friendly, and close to the action. It’s terrible if it’s freezing, sweltering, or doubling as a sawdust factory.
If you want a garage homework station, keep it inside the door leading into the house (not next to the cars). Use a wall-mounted drop-leaf desk so it folds up when not in use, and hang a task light above it. Store supplies in a small drawer unit labeled by category: pencils, glue, chargers.
Budget: folding wall desk + plastic drawer cart. Upgrade: a compact wall desk with built-in cubbies. Pro tip: avoid seating that’s too comfy. Homework doesn’t need a throne; it needs a chair that says “we are here to finish.”
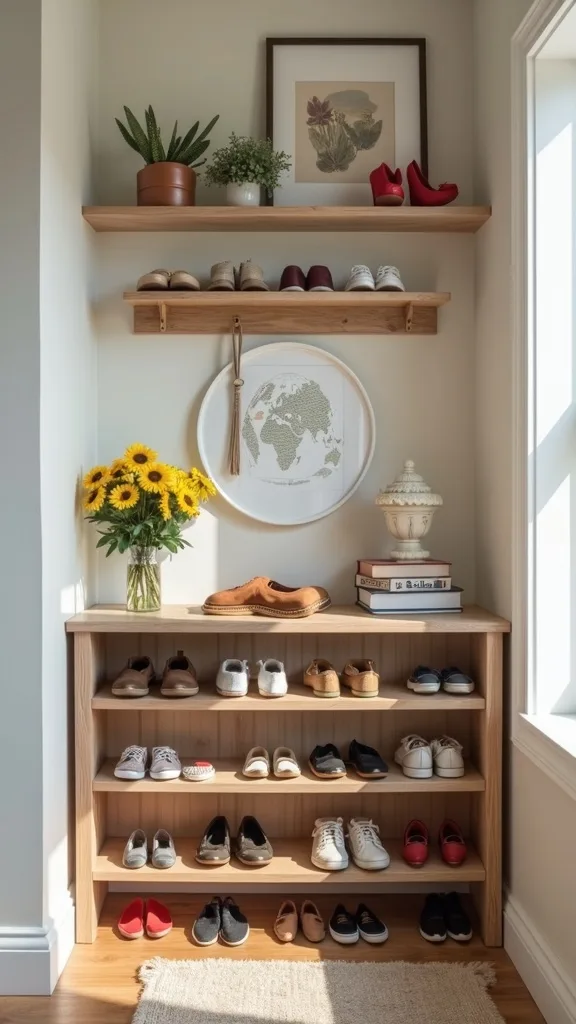
11. How do you handle shoes without creating a stink corner?
Shoes are the silent saboteur of any family hub. The fix works when shoes have airflow and a limit—yes, a limit.
Add a vented shoe rack directly under the backpack hooks, and set a rule: only “this week’s shoes” live there (school shoes, sports shoes, maybe one extra). Put a washable mat underneath to catch grit. If you have little kids, choose a low rack they can use without tipping it over.
Budget: metal wire shoe rack. Upgrade: a bench-style shoe cabinet with slatted doors. Pro tip: avoid deep bins for shoes; they trap odor and encourage kids to toss shoes like they’re scoring points.
12. Sports gear corral: the add-on that saves your evenings
Sports stuff multiplies overnight. A gear corral works because it keeps bulky items out of the paper-and-tech zone.
Install two large hooks for helmets/bats and a tall bin for balls right beside the backpack station. Add a labeled laundry bag hook for practice clothes so they don’t migrate to the car. Keep this zone at the far end of the wall so sweaty gear isn’t hanging over your school papers organization.
Budget: heavy-duty utility hooks + a plastic tote. Upgrade: a rolling wire cart with bins. Pro tip: avoid mixing gear with backpacks. Nothing ruins a math folder like a damp jersey.
13. Lunchbox and water bottle parking (so mornings stop being a scavenger hunt)
Lunch items disappear because they’re small and “not technically a backpack.” Giving them a home makes mornings boring—in the best way.
Add two small hooks or a narrow shelf under each backpack hook for lunchboxes. For water bottles, use a simple wall-mounted bottle holder or a bin with divided sections so they stand upright. Put it low enough that kids can grab their own stuff without asking you while you’re, you know, trying to be a person.
Budget: a labeled bin. Upgrade: a wall rack with individual slots. Pro tip: avoid storing water bottles on the charging shelf. One leak and your command center becomes a science experiment.
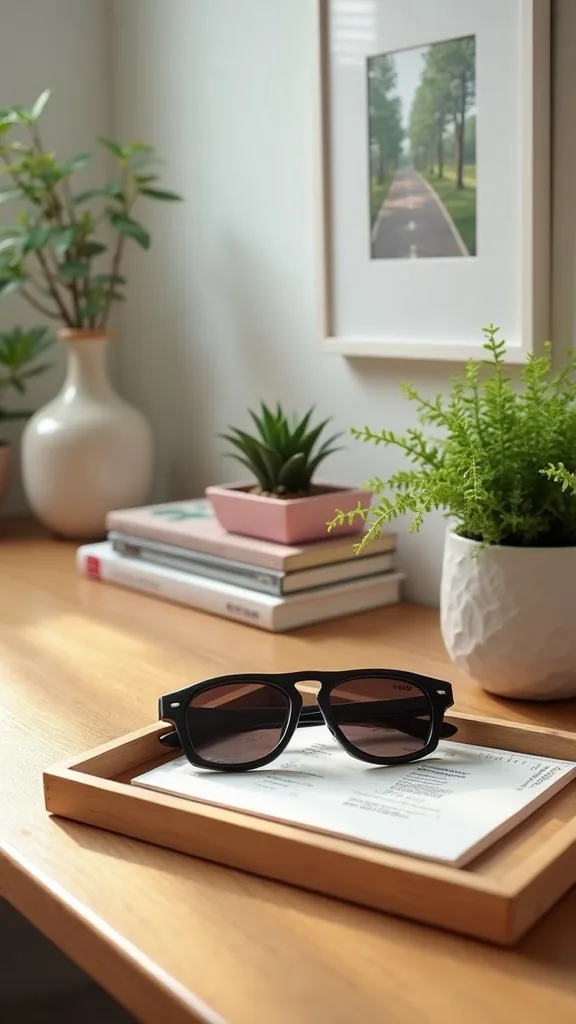
14. A “launch pad” tray for keys, sunglasses, and the one permission slip you can’t lose
Even with great hooks, small essentials still wander. A launch pad works because it’s a visual “do not forget this” zone.
Mount a shallow shelf with a lip, or place a sturdy tray on a wall-mounted ledge. Give each adult a small section, then reserve one spot for time-sensitive items like cash, signed forms, or library books. If you’re in a garage, pick something wipeable—dust happens.
Budget: thrifted metal tray. Upgrade: a wood catchall shelf with dividers. Pro tip: avoid making it too big. Big trays invite clutter like it’s a party.
15. Family organization with color-coding that doesn’t look like a daycare
Color-coding is powerful, but it can get loud fast. The goal is quick identification, not visual chaos.
Choose one neutral base (black, white, wood) for the main pieces: hooks, sorter, shelf. Then assign each person one accent color used only in small items—folder, marker, label dot. Keep the palette to 3–5 total colors so your wall still reads “home decor,” not “rainbow explosion.”
Budget: colored dot stickers. Upgrade: matching slim folders and bins in muted tones. Pro tip: avoid neon everything. It feels fun for two days and then your eyes start filing complaints.
16. What to avoid: the ‘everything goes in one giant basket’ trap
One big basket seems tidy until you’re digging for a field trip envelope like you’re panning for gold. It fails because it mixes categories—papers, tech, lunch stuff—into one mystery soup.
Instead, use multiple small containers with clear jobs: papers in slots, devices on the charging shelf, small accessories in a tray, and backpacks on hooks. If you love baskets, use them for one category only (like hats/gloves) and label them.
Budget: recycled shoe boxes covered in contact paper. Upgrade: matching lidded bins with front labels. Pro tip: if you can’t explain what goes in a container in three words, it’s not a container—it’s a clutter excuse.
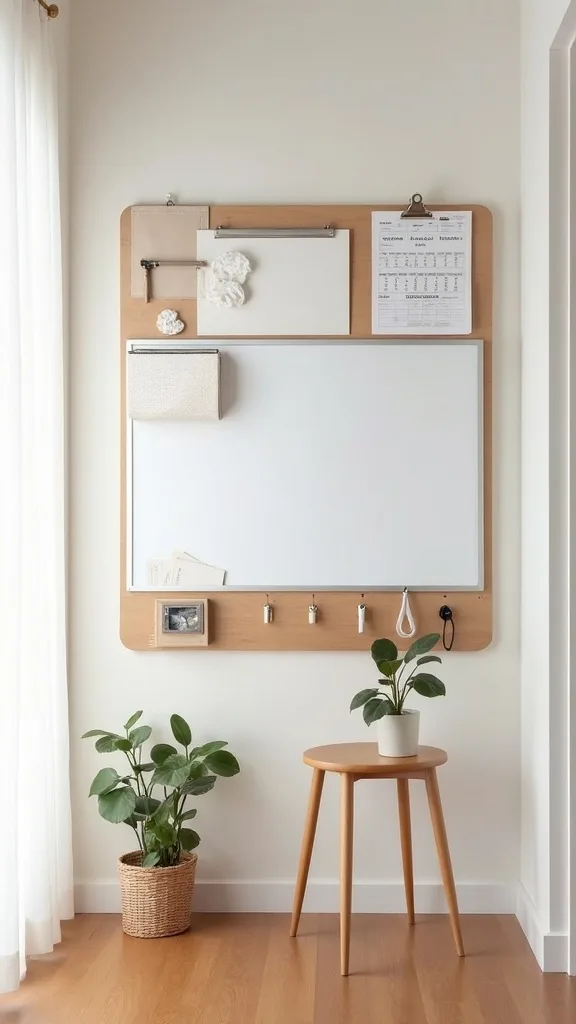
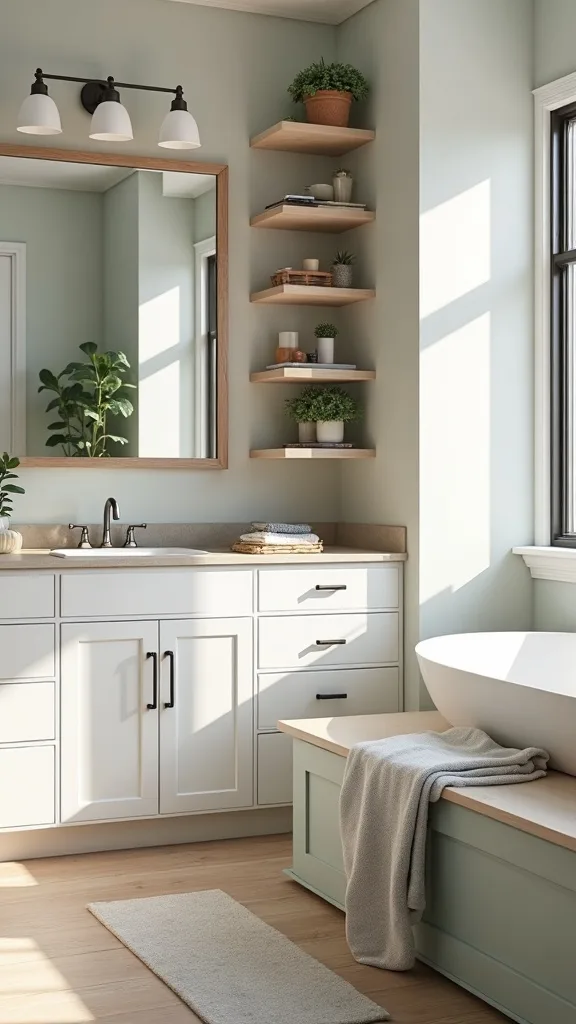
17. How do you make a garage command center look intentional (not like a utility wall)?
Design matters because you’ll actually use something that feels good to stand next to. A polished look comes from repetition and alignment.
Use a single mounting board (painted MDF or plywood) as a backdrop, then attach your calendar, sorter, and hooks to that. Align edges so the tops and sides line up—crooked systems feel stressful even when they’re functional. Add one small “nice” detail: a framed print or a small plant on a high shelf (fake is fine; we’re not performing).
Budget: painted backer board. Upgrade: slat wall panels for a modern, modular vibe. Pro tip: avoid mixing too many materials—wire, plastic, bamboo, chrome—unless you’re intentionally going industrial.
18. School papers organization for multiple kids (without building a filing cabinet city)
Multiple kids need lanes. This works because each child gets a simple, repeatable path for papers and you stop playing middleman.
Give each kid one vertical folder pocket or magazine file labeled with their name. Inside that, use two subfolders: Keep and Return. Once a week, do a 10-minute purge: keep only what truly matters (photos, report cards) and recycle the rest.
Budget: plastic magazine holders. Upgrade: wall-mounted file pockets in matching colors. Pro tip: avoid keeping every worksheet “just in case.” If you wouldn’t frame it or reference it, it’s probably recycle material.
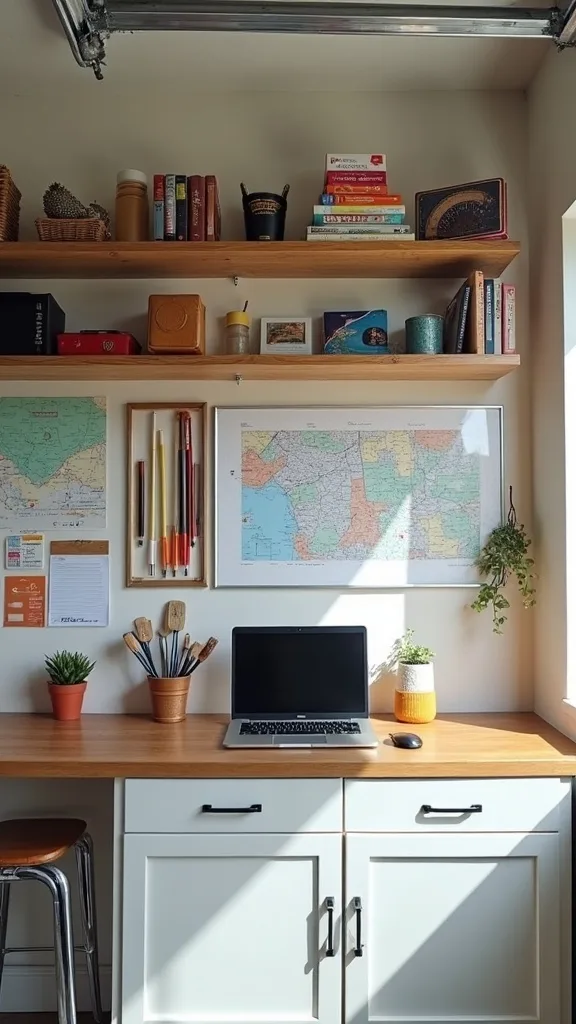
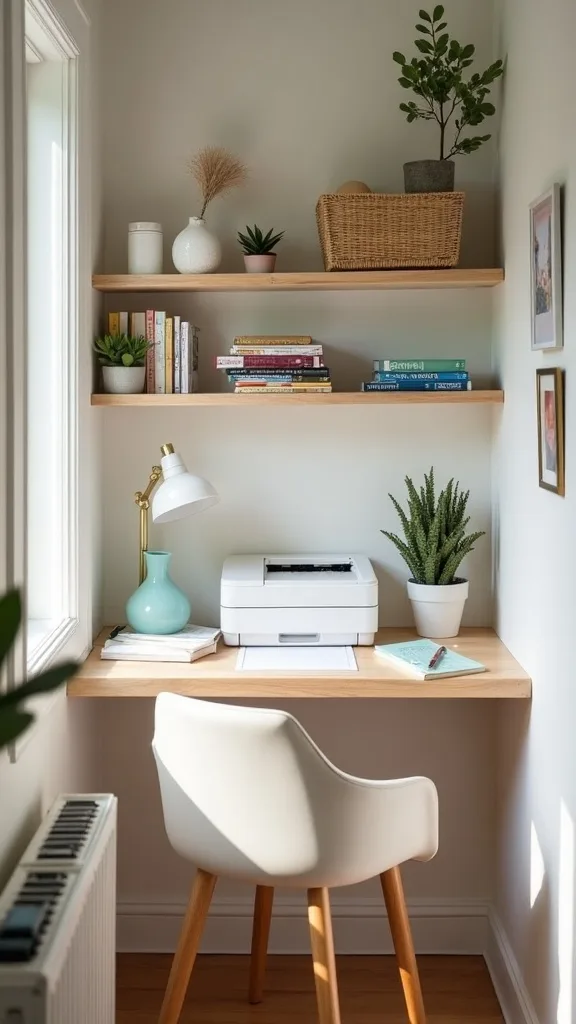
19. A mini printer + supplies shelf (for the families who always need ‘one more form’)
If your school lives in email, printing becomes a weekly sport. A dedicated shelf works because it keeps paper, ink, and forms from migrating to your dining table.
Mount a sturdy shelf near an outlet and keep a small bin with printer paper, envelopes, and stamps. Add a clipboard labeled “To Scan/Email” so documents don’t disappear mid-process. If you don’t want a printer in the garage, store supplies there and keep the printer inside—still counts as a system.
Budget: one shelf + one bin. Upgrade: a small cabinet with doors to hide it all. Pro tip: avoid placing a printer under the charging shelf—heat + dust + cords is a chaos sandwich.
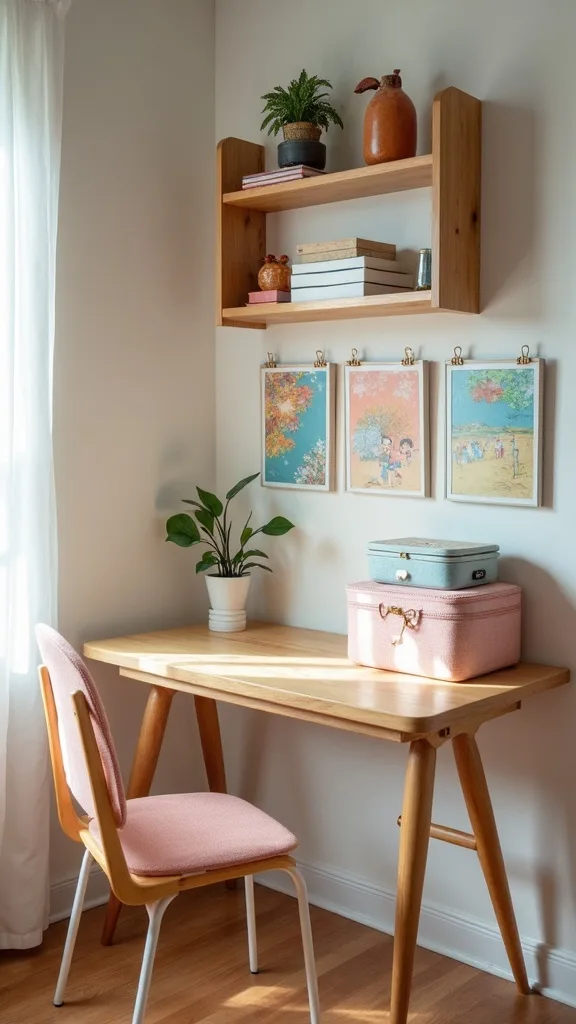
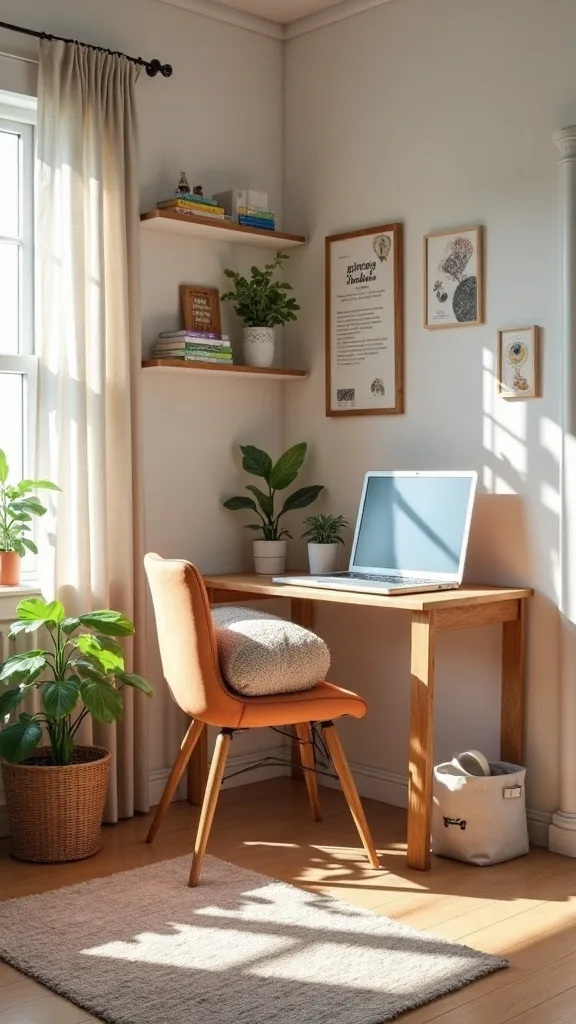
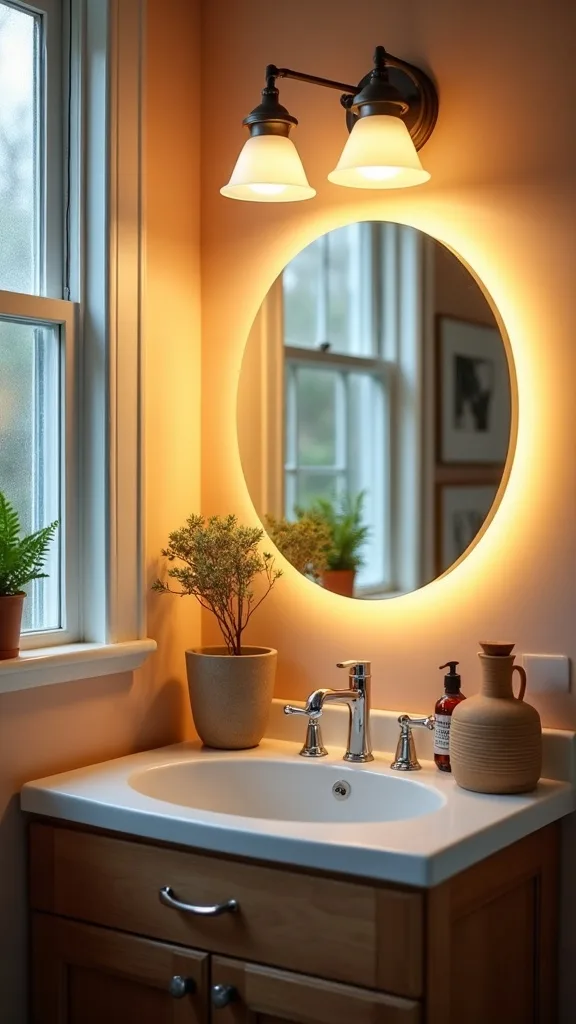
20. Lighting for the homework nook: what actually helps kids focus
Good lighting is not fancy—it’s fewer headaches and less squinting. A focused light source works because it reduces shadows on the work surface.
Add a plug-in wall sconce or clamp lamp aimed at the desktop. Choose warm white light (2700K–3000K — the cosy, yellowish tone you see in most homes) if the space is also your entry, or go slightly brighter if it’s strictly a work zone. If you’re choosing brightness (measured in lumens), aim for something around 800–1100 lumens for a small desk area.
Budget: clamp lamp. Upgrade: adjustable LED task light with a clean shade. Pro tip: avoid overhead-only lighting; it creates shadows right where pencils hit paper.
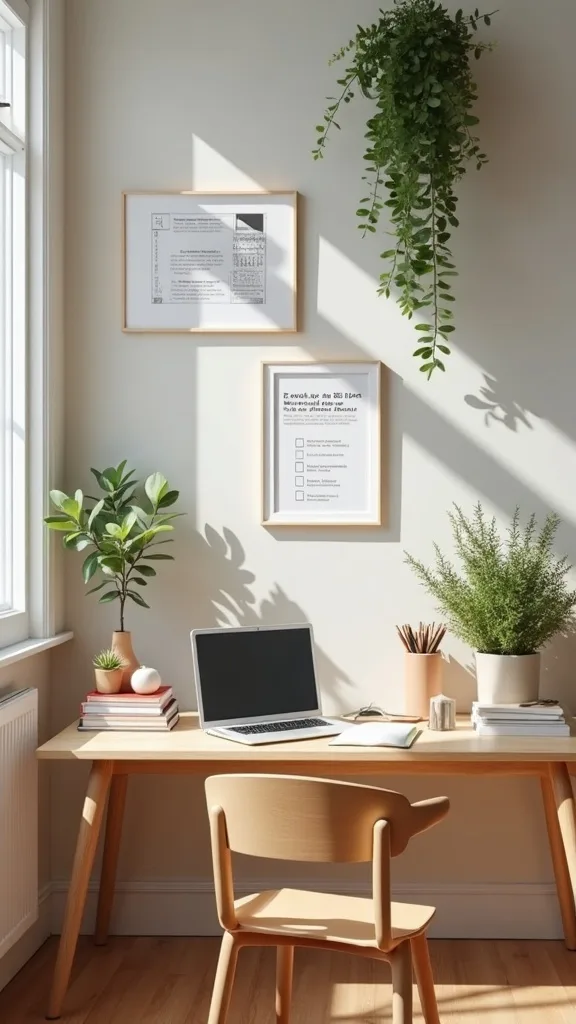
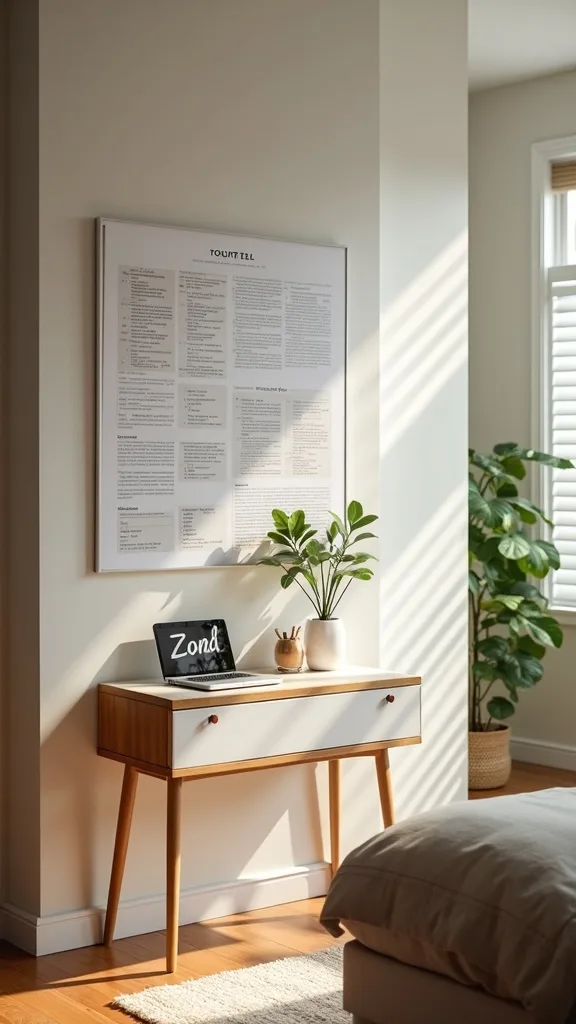
21. A ‘return to school’ checklist that doesn’t nag (it guides)
Checklists work when they’re short and placed at the moment of action. This one works because it turns your whiteboard into a calm co-pilot.
Write a simple 5-item list on the whiteboard: Backpack, Lunch, Water, Homework, Instrument/Gear. Put a small magnet or slider next to each item so kids can “complete” it quickly. Reset it at night while packing lunches—future you deserves the assist.
Budget: whiteboard marker + magnets. Upgrade: a reusable checklist board with sliders. Pro tip: avoid a 20-step list. That’s not organization; that’s a novel.
22. The ‘late slip’ emergency kit (because someone will forget something)
Real life happens. An emergency kit works because it keeps small fixes from becoming morning-ending crises.
Fill a small lidded box with: extra pens, a Sharpie, band-aids, stain remover pen, $5 cash, hair ties, and a spare phone charger. Label it “Emergency—Ask First” if you want it to exist longer than 48 hours. Store it high enough that it doesn’t become a toy.
Budget: a shoebox with a lid. Upgrade: a small locking cash box for money + gift cards. Pro tip: avoid keeping scissors loose in a drawer kids access; you want helpful, not chaotic.

23. A drop zone for teacher notes and forms (so they don’t die in backpacks)
Backpacks are black holes. This works because you create a “paper extraction” habit at the same time every day.
Place a small open bin right under the mail sorter labeled “Empty Backpack Papers.” Kids dump anything paper-ish there immediately after hanging their bag. Then you sort that bin into the correct slots: To Sign, To Pay, To Return. It’s one extra step, but it prevents the dreaded end-of-week backpack archaeology.
Budget: dollar-store bin. Upgrade: a divided bin with two sections (School vs. Activities). Pro tip: avoid asking kids “Do you have papers?” The bin asks for you, silently, every day.
24. A simple weekly reset routine (15 minutes, no martyrdom)
Systems don’t fail because you’re lazy; they fail because no one maintains them. A weekly reset works because it’s short, scheduled, and clears the backlog.
Pick one time—Sunday evening or Friday after school—and set a 15-minute timer. Empty the paper sorter, update the calendar, toss dead markers, and check the charging shelf for abandoned devices. Make it a family job: one person updates dates, one person purges papers, one person checks supplies.
Budget: free timer on your phone. Upgrade: a small wall clock near the hub (visible time helps kids move). Pro tip: avoid turning reset time into a lecture. Keep it brisk, like brushing teeth—non-negotiable, not emotional.
25. Make it resilient: how to keep the hub working after the first two weeks
The first two weeks are the honeymoon phase. The hub stays useful when it’s easy to use even on a bad day.
Do a “friction audit”: if backpacks keep landing on the floor, add one more hook or lower the height. If papers pile up, reduce categories—too many slots equals decision fatigue. If cords tangle, switch to shorter cables and label them. Adjusting the system isn’t failure; it’s design.
Budget: reposition hardware and relabel. Upgrade: swap in sturdier hooks or a nicer sorter once you know what your family actually uses. Pro tip: avoid chasing perfection. Chase consistency—the kind that makes weekday mornings feel like you’ve got a tiny, invisible assistant.
Final Thoughts
A family hub isn’t about being “that organized family.” It’s about removing tiny daily frictions—where’s the form, where’s the charger, why is the backpack on the floor again—that add up to big stress by Thursday.
Keep the vibe simple and the rules obvious: papers go in slots, bags go on hooks, devices charge on the shelf, and the calendar tells the truth. If something keeps failing, don’t blame yourself—blame the layout and adjust it. That’s design. (Also, you’re allowed to throw away 90% of the flyers. They will reappear. They always do.)
Today, grab painter’s tape and mark out a 36″-wide rectangle on your garage wall, then tape up three temporary labels—To Sign, To Return, Backpacks—so you can test the flow before you buy a single thing.
What I’d Do Differently
When I first tried this, I made the classic mistake: I built the whole setup around what looked good, not what my family actually does at 7:42 a.m. I mounted the calendar and whiteboard beautifully… and then put the hooks two feet too far away because “symmetry.” Guess where the backpacks went? On the floor. Every day. Then I’d move them “later,” which is a lie I tell myself a lot. The correct approach is to map the natural traffic pattern first: where do feet stop, where do hands unload, and what do you need to grab on the way out? Put hooks and the paper drop zone in that exact pause point, even if it offends your inner stylist.
I also wish I’d started with fewer categories for papers. Too many slots meant too many decisions, and decisions are expensive in the morning. Start with three: To Sign, To Return, To File—then add only if you feel real pain. Pick your wall, mark hook height with painter’s tape today, and you’ll be shocked how quickly the chaos calms down.