
This post contains affiliate links. As an Amazon Associate, I earn from qualifying purchases at no extra cost to you.
The Pinterest version of a backyard fire is all soft glow and clinking mugs—until you look closer and realize the “easy kit” is $499 plus delivery. Hard pass. My favorite kind of outdoor upgrade is the one that looks expensive from the patio door but was actually built from the “misc” aisle, a thrift-store score, and whatever was hiding behind the shed.
This post covers 25 beginner-friendly ways to build a backyard fire setup that’s affordable, portable when you need it, and safer than the sketchy “pile of bricks on grass” approach. You’ll get step-by-step build options, what to buy new vs. used, and the exact places I’d hunt first (Habitat ReStore, Facebook Marketplace, Dollar Tree, Aldi seasonal, and the Home Depot cull cart).
It’s perfect for renters (hello, portable bowls), first-time DIYers who want clear steps, and anyone who’d rather spend money on s’mores supplies than a fancy brand label.
Expect real-life honesty: the “before” is usually a sad patch of uneven dirt, a wobbly lawn chair, and a half-melted plastic citronella bucket pretending it’s decor. You’ll also see what to avoid so your backyard fire doesn’t turn into a smoke machine, a cracked bowl, or a neighbor complaint.
Below are 25 How to Build a Budget Backyard Fire Pit in 2026: DIY, Upcycled, Portable & Safe Options for Beginners that save money, look intentional, and keep setup simple.
1. Step-by-step: upcycled + portable fire pit setup that’s beginner-safe
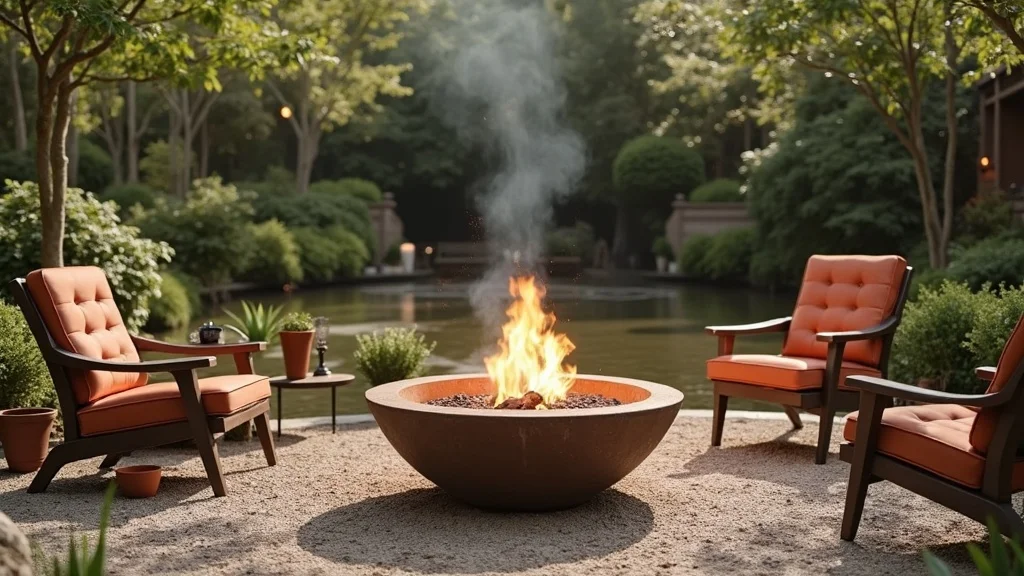
This is the “I want it this weekend” build: a portable fire bowl on a gravel pad with a simple seating ring. It works because the bowl stays movable, while the base handles heat and keeps things level.
How to do it: scrape a 48-inch circle flat, lay landscape fabric, then add 3–4 inches of pea gravel and tamp it down with a hand tamper or the flat side of a 2×4. Set your bowl centered, then place 8–12 pavers around the edge as a visual boundary.
For materials, hunt a used steel fire bowl on Facebook Marketplace ($20–$60) or grab the end-of-season one at Lowe’s (I’ve seen $39). Add a $6.50 bag of pea gravel (Home Depot) and thrifted pavers from Habitat ReStore (often $0.50–$1 each).
Pro tip: keep a small galvanized ash bucket nearby so cleanup is fast and you actually use it—portable doesn’t have to mean messy, and cheap can still look curated.
2. How can I build a fire pit with retaining wall blocks without it looking bulky?
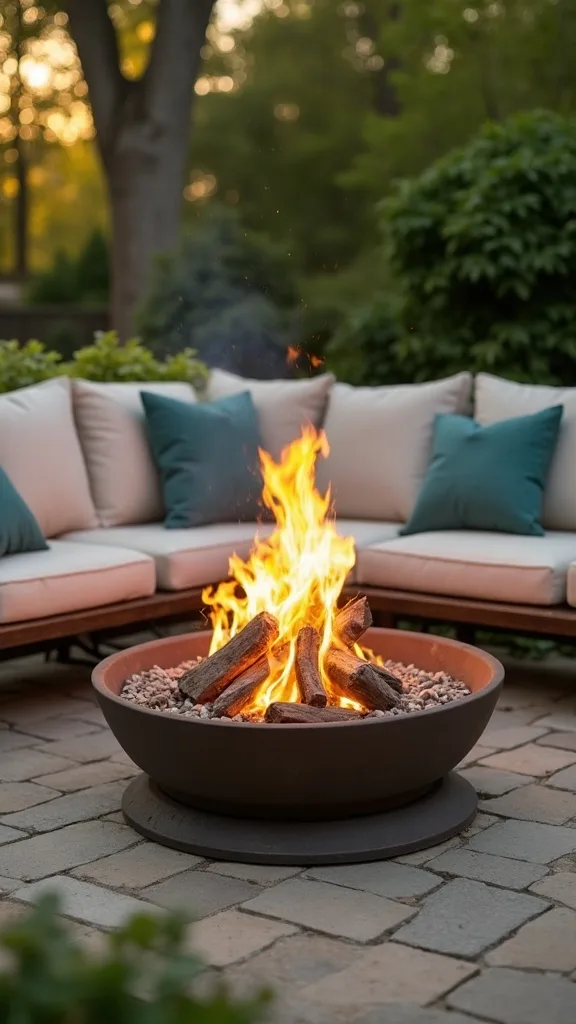
This build uses basic retaining wall blocks, but the trick is choosing thinner “cap” stones so it reads like a low, intentional ring instead of a fortress. It works because the blocks interlock and stay stable without mortar.
Level a 42–48 inch circle, add 2 inches of paver base, then a thin layer of sand. Dry-stack two courses of blocks, staggering seams like bricks; drop a steel fire ring inside so flames don’t lick the blocks directly.
Shop smart: Home Depot’s basic 12×4 retaining blocks are usually $2–$3 each; you’ll need about 20–26 for two rows. Thrift alternative: ReStore often has mismatched blocks for $1 each—mixing shades reads “collected,” not sloppy, if you keep the shape consistent.
Pro tip: finish with a contrasting top cap (even if it’s only four pieces) for a clean line—dry-stack is forgiving, and small upgrades make it look twice the price.
3. What’s the safest cheap base for a fire pit on a lawn?
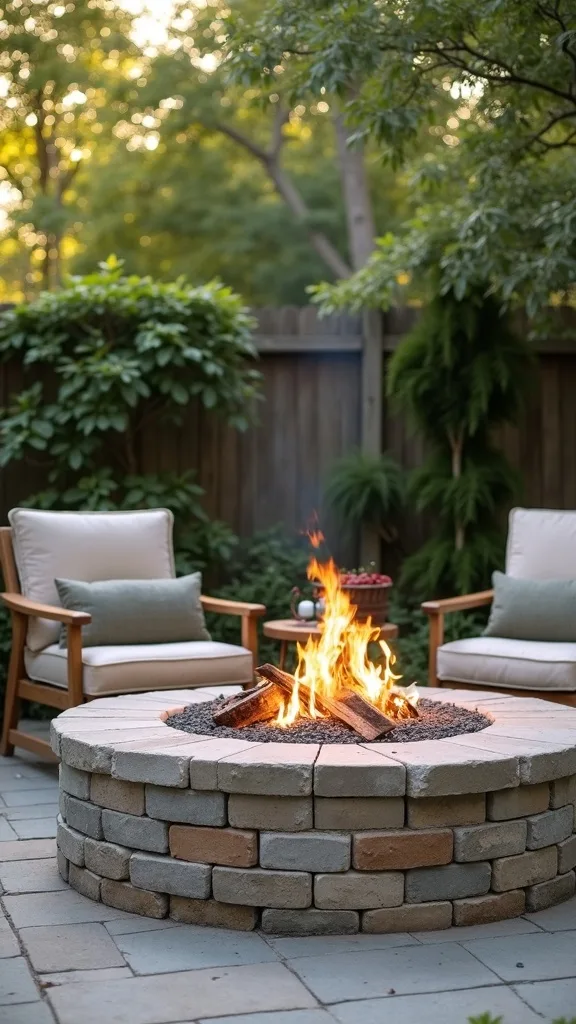
The safest low-cost base is a gravel pad over landscape fabric, not bare grass and not a random ring of stones. It works because gravel doesn’t burn, drains rain, and stops the “soggy smoke pit” problem.
Mark a 50-inch circle, cut turf (even a flat shovel works), and remove 2–3 inches of soil. Lay fabric, add 3 inches of crushed gravel, then 1 inch of pea gravel for a nicer finish; tamp between layers.
Materials: a roll of fabric can be $12–$18 (Amazon or Home Depot), gravel is typically $6–$8 per 0.5 cu ft bag, and pea gravel similar. Discount option: check Craigslist/Marketplace for leftover gravel—people give away half-piles after landscaping.
Pro tip: edge the circle with thrifted brick or curb stones so it stays crisp—the base is where safety lives, and it’s also what makes the whole setup look intentional.
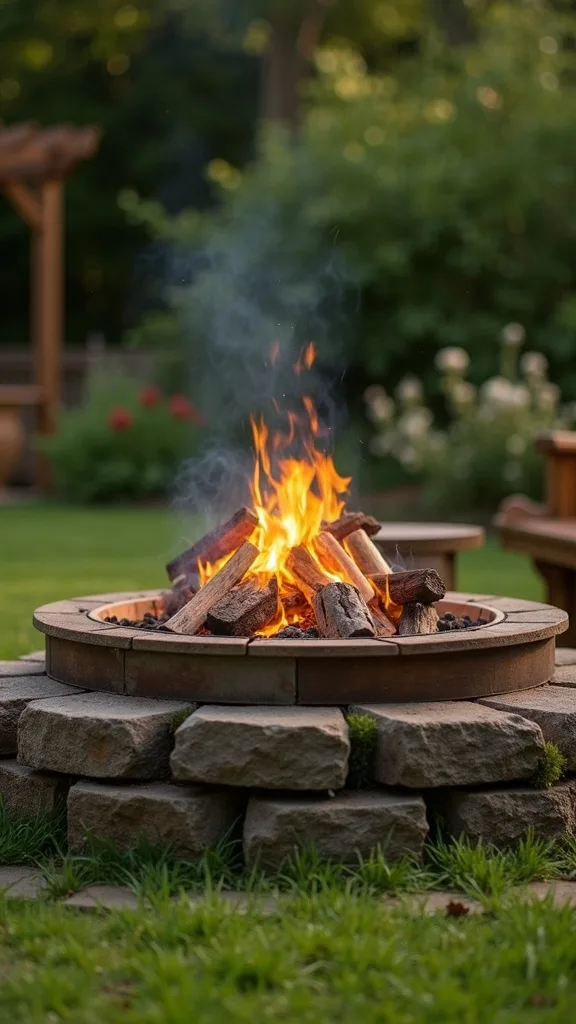
4. Can I use a washing machine drum as a fire pit in 2026 (and should I)?
A stainless washing machine drum makes an excellent upcycled fire basket with built-in airflow, which means cleaner burns and fewer smoky starts. It works because the perforations feed oxygen while keeping logs contained.
Implementation: remove any plastic bits and rubber gasket completely, then set the drum on three bricks over a gravel pad. Add a simple spark screen on top (or a mesh grill) to control popping embers.
Where to source: appliance repair shops sometimes sell drums for $10–$25; I’ve pulled one from curbside scrap for $0 (bring gloves). If you can’t find one, check a local metal recycler—ask for “stainless drum” specifically.
Pro tip: avoid painted or galvanized parts near high heat—stick to stainless steel and clean metal so your backyard nights smell like wood, not chemicals.
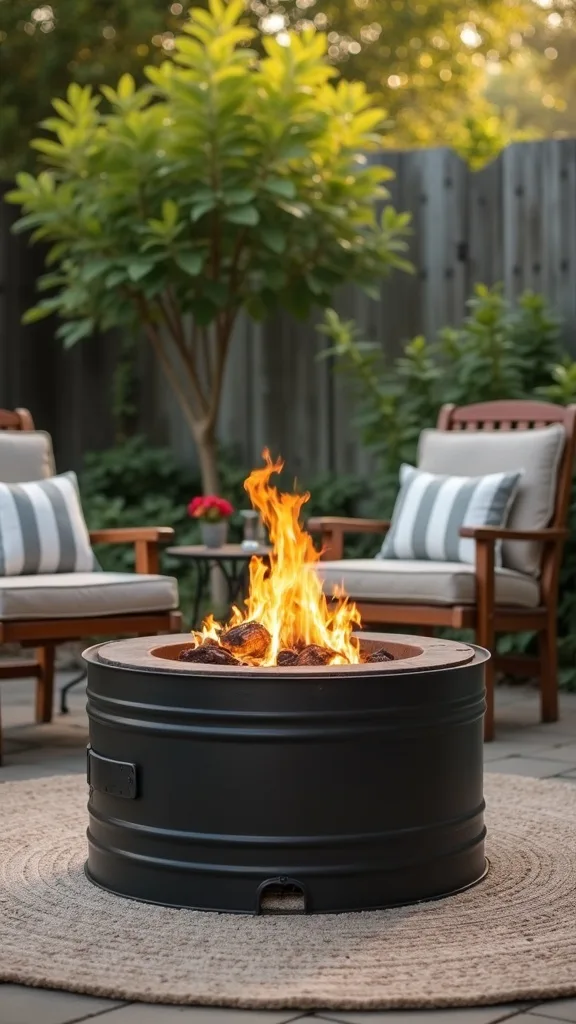
5. How do I make a portable fire pit I can store in a shed (or take camping)?
A folding fire pit frame with a fireproof mat is the ultimate “set up, use, stash” option. It works because you’re not building anything permanent, but you’re still protecting the ground.
Set it up on a level spot, place a fireproof mat underneath, then add a shallow layer of sand in the tray if your model allows (it helps with heat buffering). Keep your wood split smaller than you think—portable pits like 12–14 inch pieces.
Budget sourcing: Amazon folding fire pit frames commonly run $45–$90; thrift alternative is rare, but check REI garage sales or Facebook Marketplace after summer. For the mat, look for a 36×36 inch fireproof pad ($18–$30).
Pro tip: pair it with a lidded metal can for ash transport—portable should also mean easy cleanup, so you actually use it more than once.
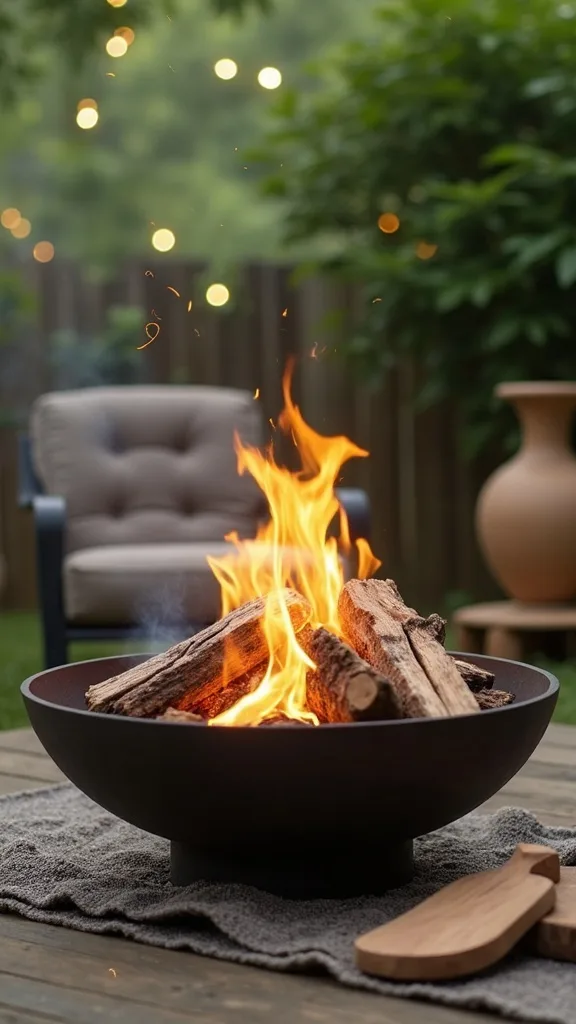
6. What should I avoid when building a cheap fire pit (so it doesn’t crack or tip)?
Avoid stacking random river rocks you found in the yard and calling it a day. It fails because some rocks hold moisture and can crack or pop when heated, and uneven stacks tip when someone bumps a chair.
Instead, use purpose-made pavers/blocks or a steel ring inside your block circle. If you’re using salvaged brick, keep it low (one to two courses) and set it on a compacted base so it doesn’t shift.
Materials that behave: concrete pavers from Lowe’s ($2–$4 each) or reclaimed brick from ReStore ($0.50–$1.50 each). Skip anything painted, sealed, or mystery-coated.
Pro tip: the safest fire pit is boring under the surface—level base, stable ring, and a clear boundary make your setup feel confident, not anxious.
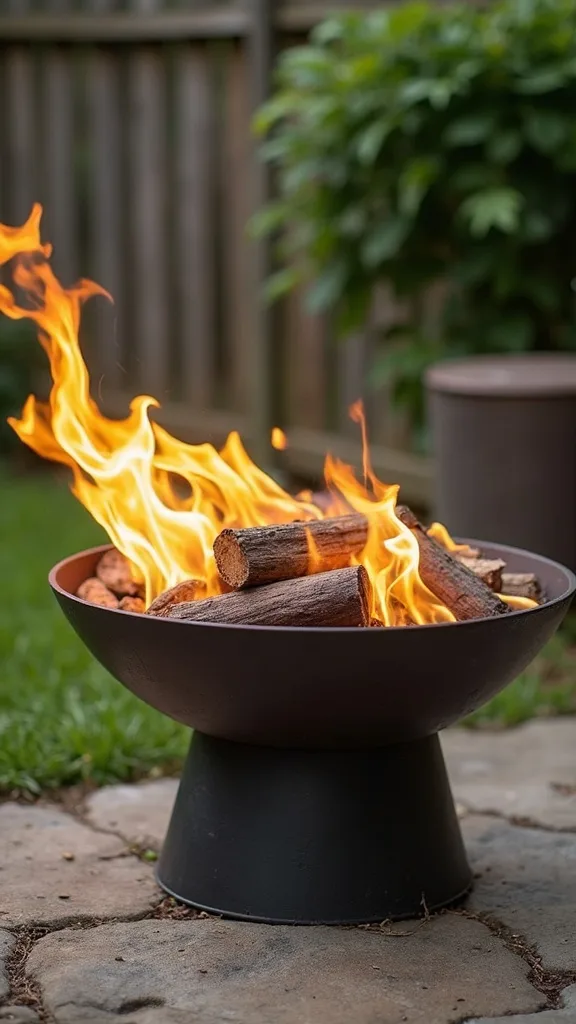
7. How can I build a no-dig fire pit for renters or HOA rules?
A no-dig setup uses a portable bowl plus a raised paver platform, so nothing permanent touches the lawn. It works because the platform spreads heat and keeps the bowl stable.
Lay down a 48×48 inch rubber paver underlayment or a thick layer of gravel in a shallow tray, then place 16 concrete pavers (12×12) in a tight grid. Set the fire bowl centered and add a slim ring of pea gravel around the edges for finish.
Costs: 12×12 pavers are often $2.25–$3.50 each at big box stores; you can score them used for $1 each on Marketplace when someone redoes a patio. Dollar Tree alternative: solar stake lights around the perimeter (not right next to heat) make it look planned.
Pro tip: keep everything modular—no-dig doesn’t mean “temporary-looking,” it means you can move like a pro.
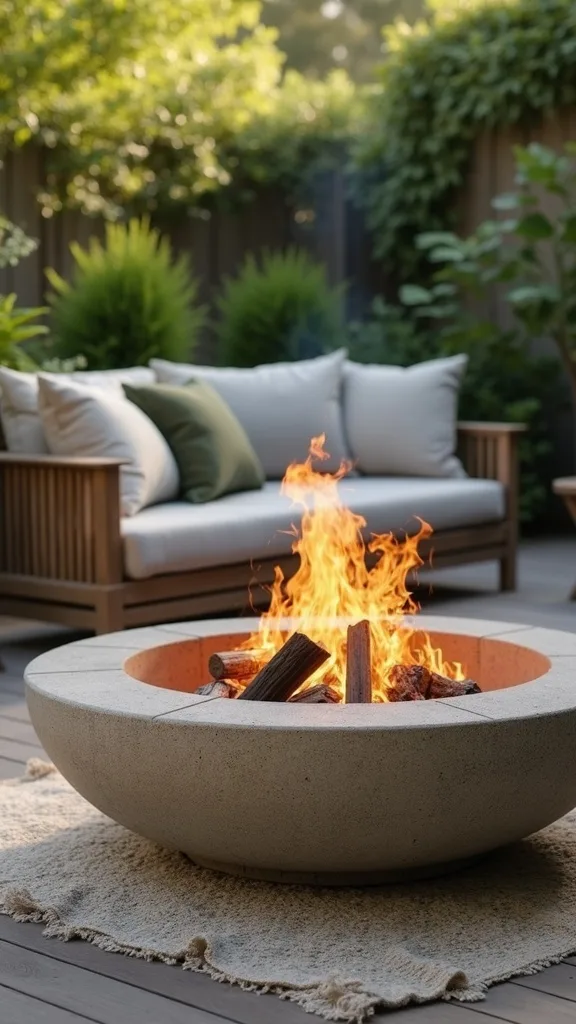
8. How do I turn a thrifted metal planter into a mini fire pit for a small patio?
This is a micro-fire feature for tight outdoor spaces: a metal planter becomes a contained fire bowl with a sand lining. It works because sand insulates the container and keeps heat from warping thin metal as fast.
Choose a wide, shallow metal planter (no plastic liner), fill 2/3 with play sand, then nest a smaller stainless bowl in the center as your burn area. Use only small, dry wood pieces and keep the flame low.
Sourcing: thrift stores regularly have dented metal planters for $6–$12; the “oops” dents are your friend. Play sand is about $6–$8 a bag at Home Depot.
Pro tip: this is for ambiance, not bonfires—pair with two compact chairs and a side table so it feels like a destination. Small space can still deliver a real fire moment.
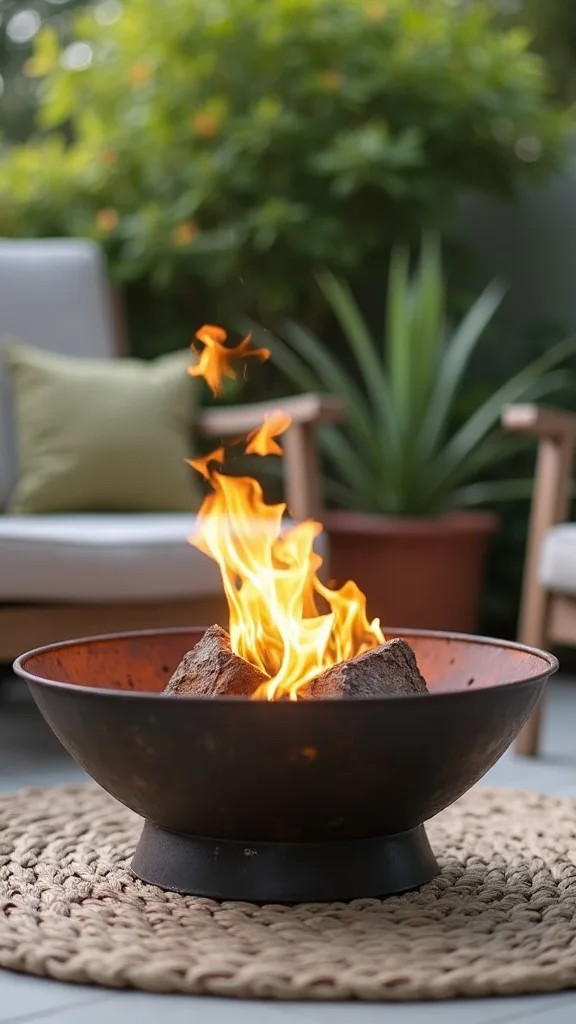
Cost & Materials Estimate
Most beginner-friendly backyard fire pit builds land between a thrifted-bowl setup and a simple block ring, usually totaling $35–$220 depending on what you score secondhand.
| Item | Estimated Cost | Where to Buy |
|---|---|---|
| Steel fire ring (36 in) | $35–$70 | Home Depot / Amazon |
| Pea gravel (0.5 cu ft bags, 4–8 bags) | $28–$64 | Lowe’s / Home Depot |
| Landscape fabric roll | $12–$22 | Amazon / Home Depot |
| Concrete pavers (12×12, 16 pcs for a 4×4 pad) | $36–$64 | Lowe’s / Home Depot |
| Spark screen (approx. 26–30 in) | $25–$45 | Amazon |
Total estimated cost: $35–$220 Save the most by buying the bowl/ring used, and splurge (if anywhere) on a spark screen and a solid base.
9. What’s the easiest ‘ring + gravel’ build that looks like a designer patio?
A steel ring dropped into a crisp gravel circle is the cleanest look-per-dollar build I know. It works because the ring gives structure, and the gravel reads modern and intentional.
Buy a 36-inch steel fire ring, set it on a leveled gravel pad, then add a second ring of larger crushed stone around the outside for contrast. Finish with four oversized pavers as “landing pads” for chairs so legs don’t sink.
Costs: steel rings typically run $35–$70 (Home Depot/Amazon). For thrift alternatives, check farm supply stores or salvage yards—sometimes you’ll find a metal culvert ring cut down for cheap.
Pro tip: use two gravel sizes (pea + 3/4 inch) for texture—simple geometry and contrast make it look like you hired help, even when you didn’t.
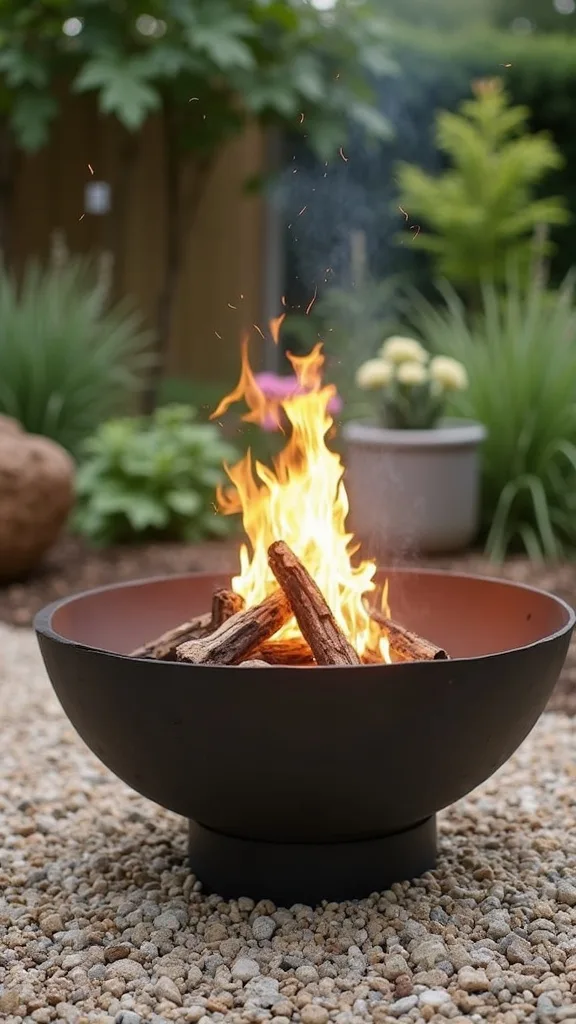
10. Can I build a fire pit from salvaged brick without mortar?
Yes—dry-stacked salvaged brick can work beautifully if you keep it low and reinforce with a steel ring. It works because the ring takes the heat and the brick provides the look.
Sort bricks by thickness first (this saves your sanity), then build a single course circle around the ring. If you want height, add a second course but stop there; tall dry stacks get wobbly.
Where to get brick: demolition salvage stores, ReStore, and Marketplace are gold. I’ve paid $0.75 per brick from ReStore bins; new brick costs add up fast.
Pro tip: don’t chase perfection—slight color variation is the charm. A salvaged mix reads collected and warm, and it proves resourcefulness is a style choice.
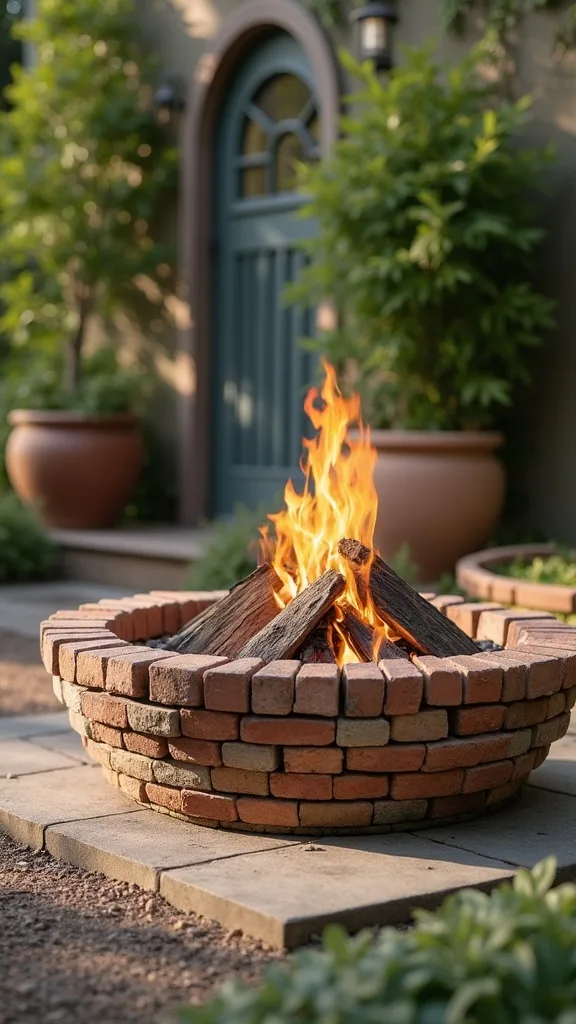
11. How do I make a smokeless-ish backyard fire on a tight budget?
You won’t get true “smokeless” without a pricier double-wall design, but you can get noticeably cleaner burns with airflow and dry wood. It works because oxygen helps wood burn hotter and more completely.
Use a perforated metal basket (washing machine drum or a purpose-made fire basket) set inside a ring. Build your fire with smaller kindling first, then add split hardwood—avoid damp logs and leaves.
Budget choices: a used drum ($0–$25) beats buying a $250 smokeless pit. For kindling, grab a $5 bundle at the grocery store once, then start saving your own small splits in a $12 lidded tote.
Pro tip: store wood off the ground under a cheap tarp—dry fuel is the secret ingredient, and it’s cheaper than chasing gadgets.
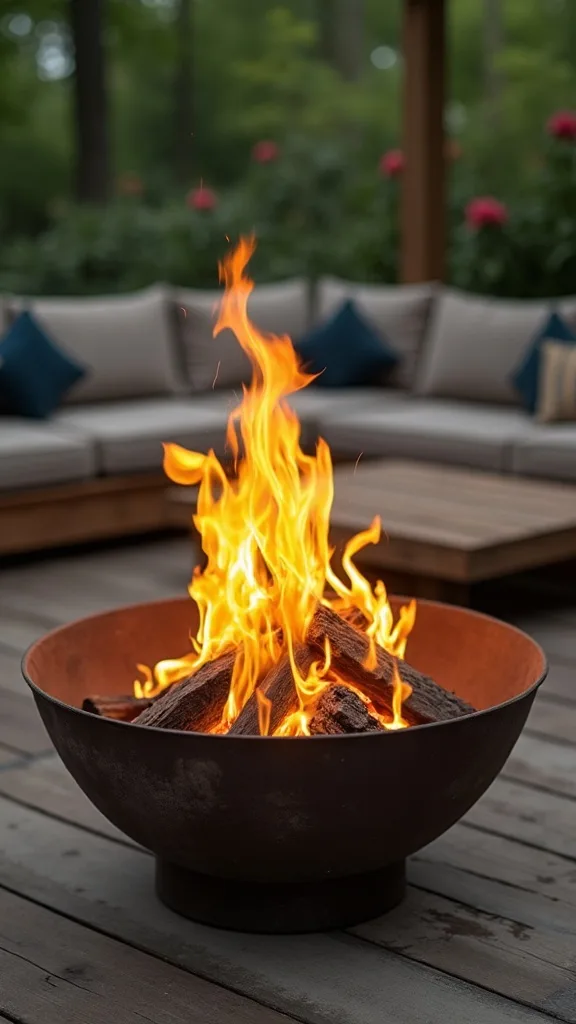
12. How far should a fire pit be from the house, fence, and trees?
Distance is the quiet safety upgrade nobody pins on Pinterest, but it matters more than the stone you choose. It works because heat and sparks travel farther than you think on breezy nights.
A good beginner rule: place your fire feature 10–20 feet from the house, fences, and sheds, and avoid anything under low branches. Pick a spot with a clear “sky view,” then test-sit in your chairs to make sure smoke won’t blow straight into your back door.
Tools: a $10 tape measure and a $3 can of marking paint make layout easy. If you’re in a small yard, go portable and keep fires smaller.
Pro tip: check city rules before you build—safe placement keeps your evenings relaxed, and planning first saves you from redoing the whole thing.
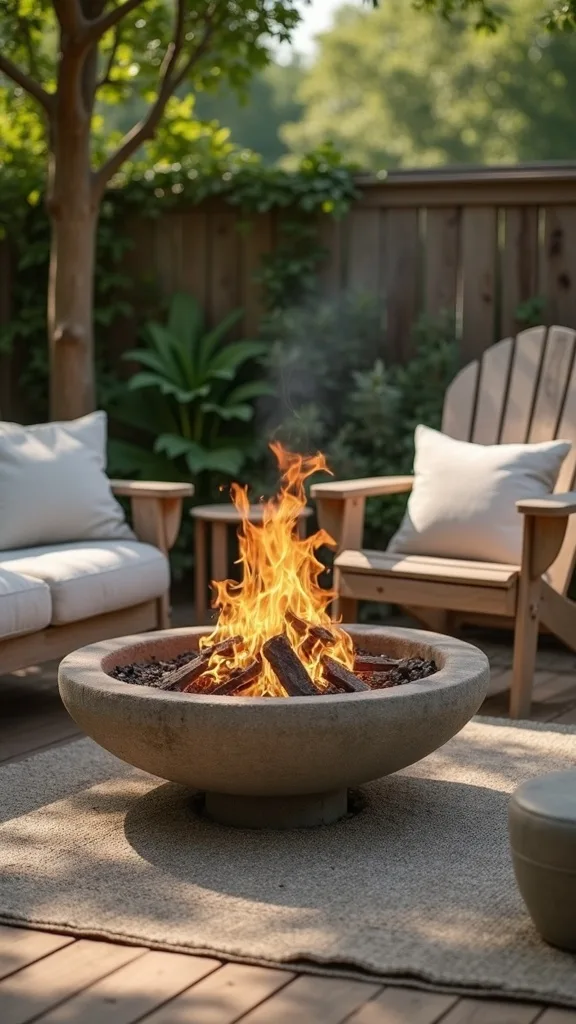
13. What’s a good fire pit option if I only have a tiny corner of outdoor space?
A corner-friendly setup uses a compact bowl and a heat-resistant pad, plus vertical storage for wood. It works because the footprint stays tight and the “zone” still feels styled.
Choose a 22–26 inch bowl, set it on a fireproof mat, and angle two chairs toward it. Add a narrow metal log rack (or a thrifted magazine rack—seriously) for kindling and gloves.
Sourcing: compact bowls go on sale for $35–$60; I’ve seen Aldi seasonal versions around $39. Thrift the side table and chairs—mismatched wood looks intentional once you add matching cushions.
Pro tip: define the corner with outdoor string lights on a shepherd’s hook—warm white light (2700K–3000K — the cosy, yellowish tone you see in most homes) makes even a tiny corner feel like a destination. Small space can still feel grown-up.
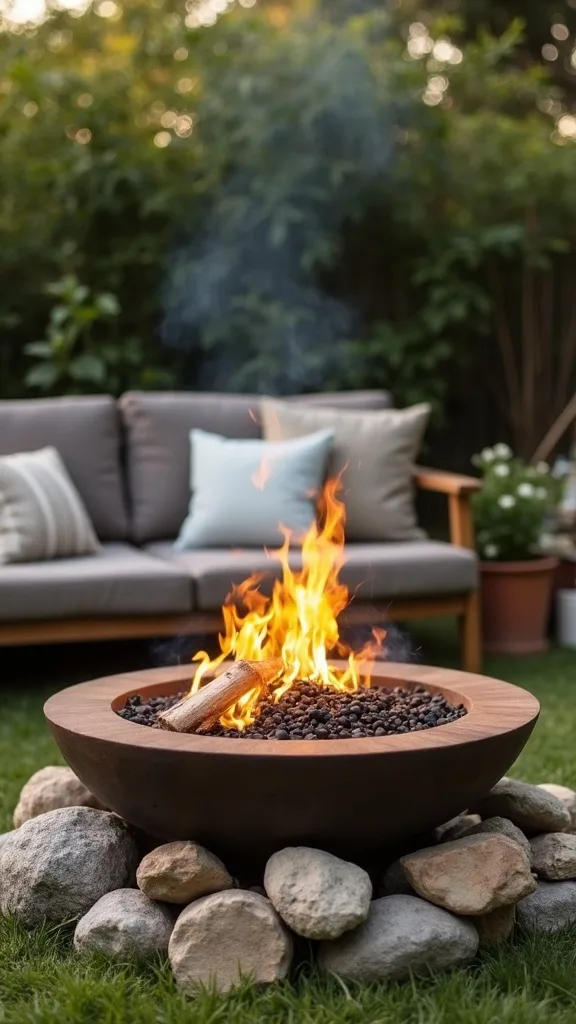
14. How can I build a fire pit area using only pavers from a discount store?
You can absolutely do this with basic 12×12 pavers and a simple ring, no fancy cuts. It works because repetition creates a clean look even with the cheapest materials.
Build a 4×4 paver pad (16 pavers) on a compacted gravel base, then set a portable bowl on top. Add a border row if you have extra pavers; if not, edge with gravel and call it modern.
Where to shop: big box stores for the pavers, and check the “damaged pallet” discount—ask an associate. Thrift alternative: Marketplace patio tear-outs; people sell stacks for $20–$50 just to get them hauled away.
Pro tip: stagger your paver seams like a checkerboard for visual polish—basic pavers become intentional design when the layout is tidy.
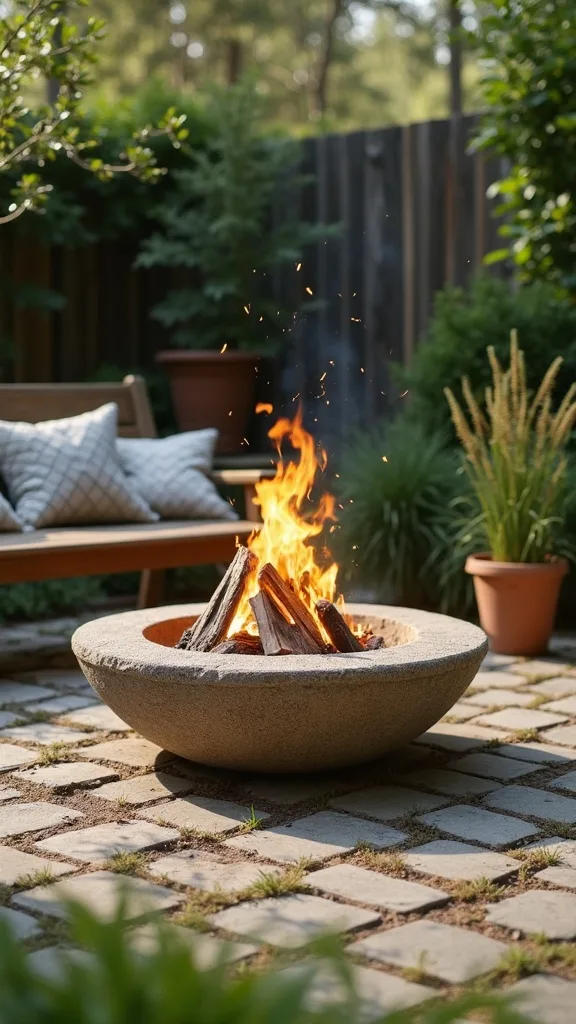
15. How do I use a $10 thrifted grill grate to make a cook-friendly fire pit?
A simple grate turns your fire pit into a dinner plan, not just a vibe. It works because you can cook hot dogs, foil packets, or skewers without investing in a dedicated fire pit grill.
Find a heavy grate (cast iron is best), scrub it clean, and set it on two bricks at the edge of the pit so it doesn’t smother the fire. Keep food on the cooler side—direct flames are dramatic but not delicious.
Sourcing: thrift stores often have old grill parts for $5–$15; I paid $9.99 for a grate that looked rusty but cleaned up with a wire brush. If thrift fails, Amazon has universal replacement grates around $25–$45.
Pro tip: season it like a pan (thin oil + heat) so it resists rust—thrifted tools can be the best tools when you treat them right.
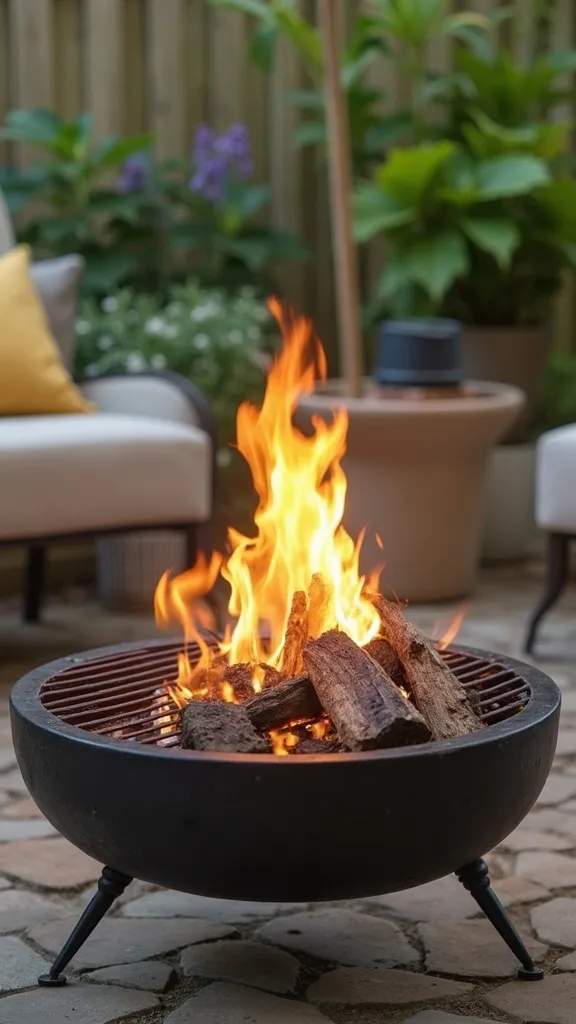
16. Can I make a fire pit from a metal stock tank or trough?
A shallow metal stock tank can become a wide, modern fire feature with a sand base. It works because the tank is sturdy, and the wide shape spreads heat.
Fill the bottom with 3–4 inches of sand, then build the fire in the center using smaller logs. Place the tank on pavers, not directly on grass, and keep the flame lower than the rim.
Where to get one: Tractor Supply has new stock tanks ($80–$160), but the budget play is used—Marketplace often has dented tanks for $30–$70. Dents are cosmetic, not structural.
Pro tip: add a simple lid (metal sheet or purpose-made cover) to keep rain out—wide and low feels modern, and practical covers keep it ready-to-use.
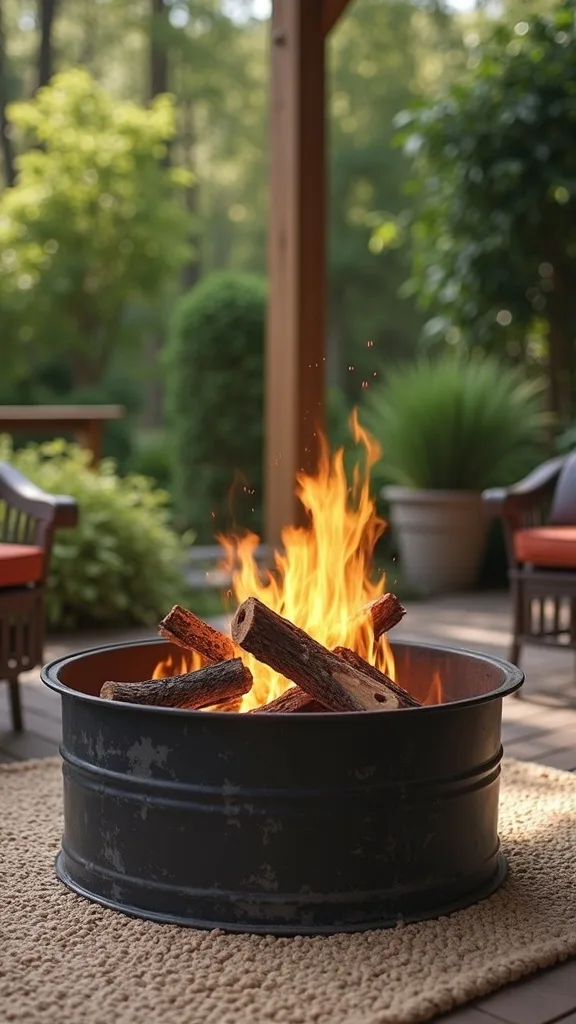
17. How do I stop my fire pit from turning into a muddy mess after rain?
Mud happens when water has nowhere to go and ash mixes into sludge. It works to prevent it by separating layers and choosing drainage-friendly fill.
Start with landscape fabric, then use crushed gravel under pea gravel so water drains quickly. Keep ash in a lidded metal bucket and dump it only when fully cold—wet ash is the mess-maker.
Materials: fabric ($12–$18), crushed gravel ($6–$8 per bag), pea gravel ($6–$8). Discount tip: look for torn-open bags on the garden aisle—stores often mark them down 25–50%.
Pro tip: place a simple cover over your bowl when not in use—drainage is the difference between “cute backyard fire spot” and “sad wet crater,” and you deserve the cute version.
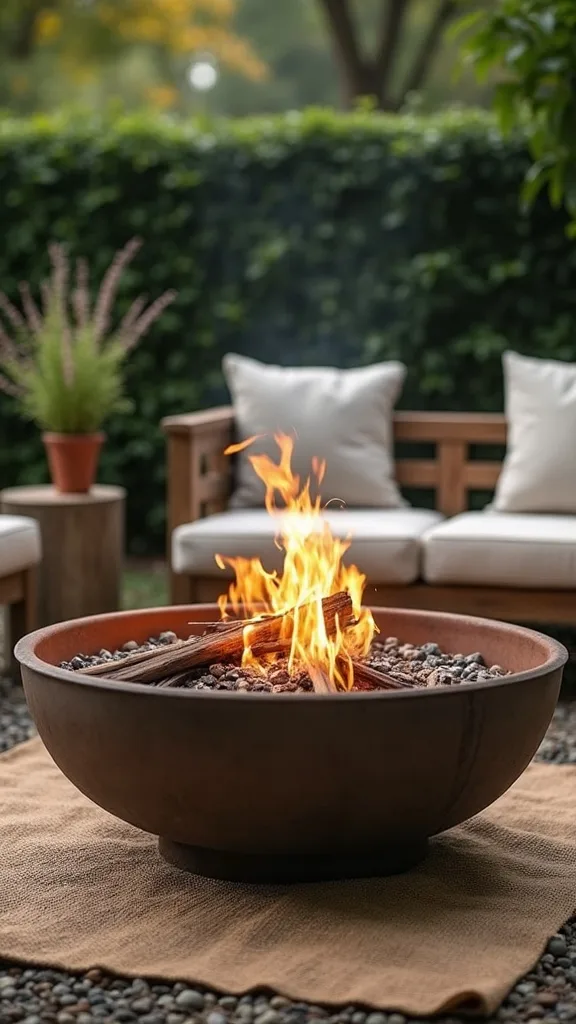
18. What’s the cheapest way to add built-in-looking seating around a fire pit?
The cheapest “built-in” look is a low paver bench wall—without actually building a permanent bench. It works because the eye reads a continuous line as custom.
Use two stacks of leftover pavers as supports and set long concrete caps or thick reclaimed wood across as the seat. Keep it at chair height (around 16–18 inches) so it’s comfortable, not a squat workout.
Sourcing: caps are $4–$8 each new; reclaimed 2×10 boards can be free from pallets if you’re careful (avoid treated wood near heat). Thrift option: buy two outdoor cushions secondhand and cover them in washable canvas.
Pro tip: repeat one color in all seating (black, tan, or olive) so mismatched finds feel cohesive—resourceful seating can look intentional with one simple rule.
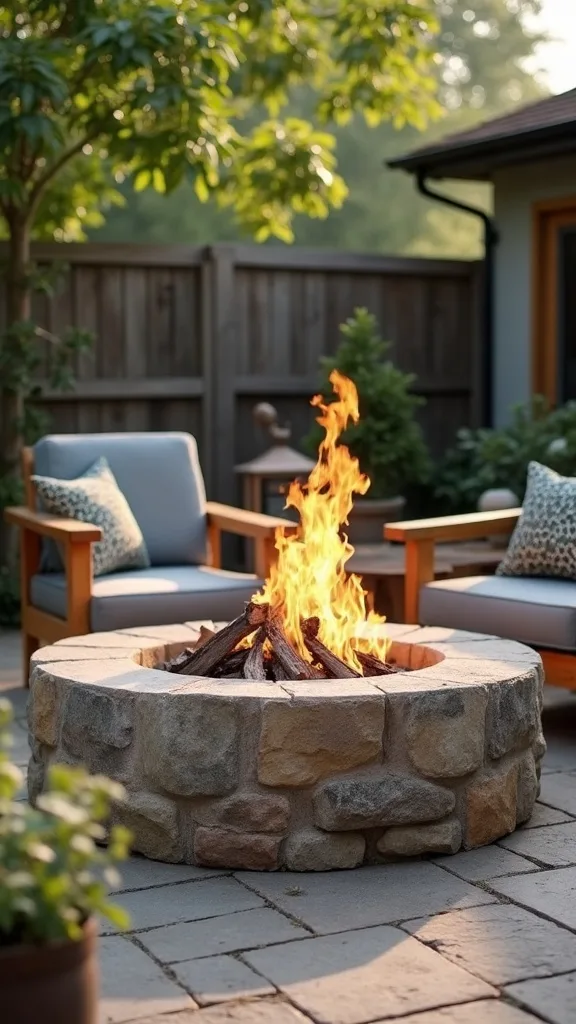
19. How do I build a fire pit with leftover patio stones (the mismatched pile)?
Leftover stones are a gift—if you commit to a pattern instead of pretending they match. It works because deliberate repetition beats accidental randomness.
Sort stones into “similar sizes,” then make a mosaic-style ring: bigger pieces outside, smaller pieces inside, with gravel filling gaps. Use a steel ring in the center so the stones aren’t taking direct flame.
Where to find more: ask neighbors after spring patio projects, check Buy Nothing groups, or scan curb alerts. The best stones are the ones people want gone today.
Pro tip: keep the outside edge perfectly circular even if the interior is patchwork—clean outline makes mixed materials read like design, not leftovers.
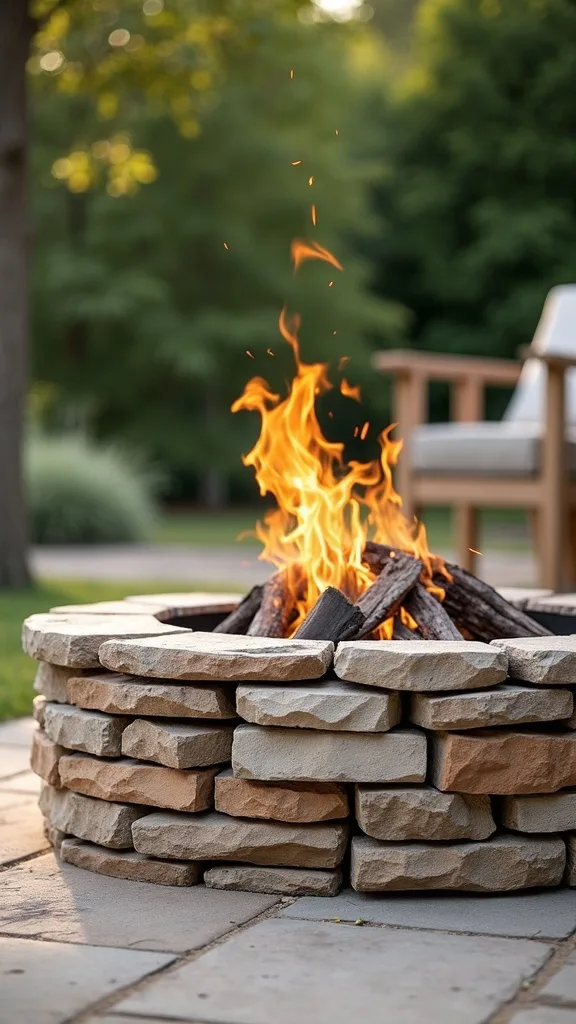
20. How can I create a ‘Pinterest trending’ fire pit zone with thrift-store decor?
The vibe is half the project: a defined zone with soft light, a place to set drinks, and one cozy texture. It works because styling makes a simple pit feel like an outdoor room.
Start with your fire feature, then add two thrifted chairs and one small table. Layer in an outdoor rug (polypropylene is easiest), plus a basket for blankets—yes, even in summer nights.
Shopping list: thrift chairs ($10–$25 each), a used side table ($8–$15), and an outdoor rug from discount stores like Ollie’s ($30–$60) or Marketplace. Dollar Tree has citronella candles; just keep them away from direct heat.
Pro tip: stick to a tight palette (black + tan + one accent) so your finds look curated—thrifted styling is a skill, and it’s the fastest way to make budget look like taste.
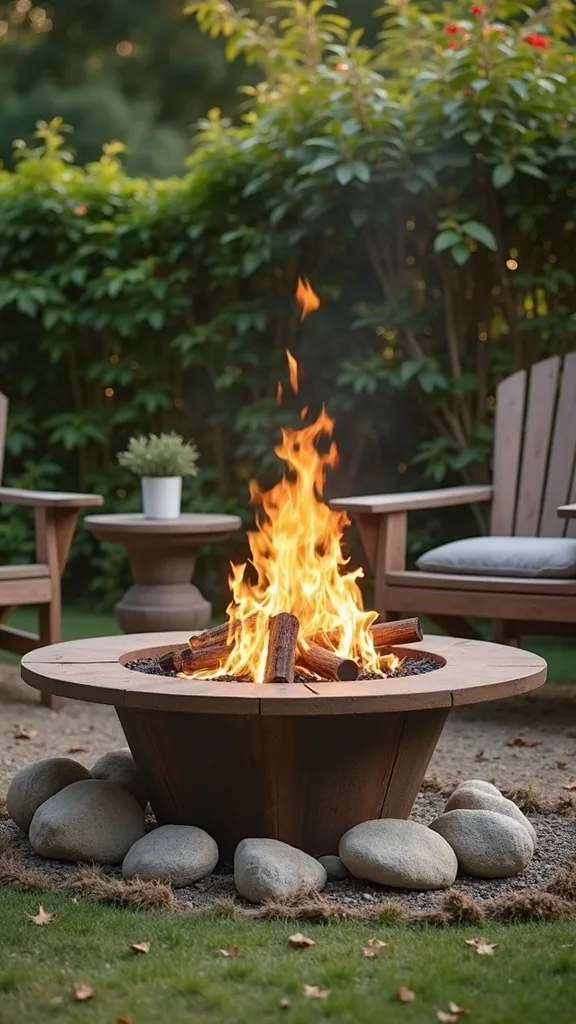
21. How do I make a fire pit safer for kids and pets without killing the vibe?
Safety doesn’t have to look like caution tape. It works when you add subtle barriers and consistent habits.
Create a clear “no-cross” line with a ring of pavers 12 inches outside the pit, then place chairs beyond that ring so bodies naturally stay back. Keep a spark screen on top and a small fire extinguisher nearby, plus a bucket of water for the end.
Affordable options: spark screens run $25–$45 on Amazon; I’ve found used ones for $10–$15 on Marketplace. A basic extinguisher is typically $20–$35.
Pro tip: teach a simple rule—no running inside the paver ring—and stick to it every time. Predictable boundaries keep everyone relaxed, and relaxed is what makes a backyard night feel luxurious.
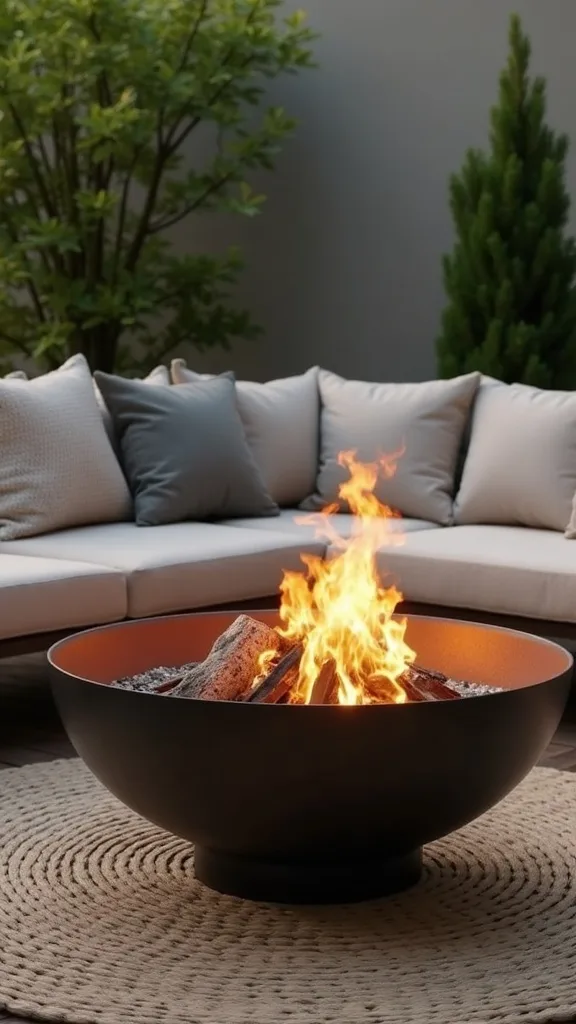
22. What’s a good option if my town bans wood fires (or I want less smoke)?
A propane fire bowl is the cleanest workaround when wood fires are restricted. It works because you still get flames and gathering energy without the smoke and ash.
Choose a portable propane fire pit rated for outdoor use, connect it to a standard 20-lb tank, and place it on a paver pad. Hide the tank in a thrifted metal patio side table or a DIY cover box with ventilation.
Costs: new propane bowls often run $120–$250; used ones pop up for $60–$150. For the tank, exchange programs are convenient but pricier—refill is usually cheaper.
Pro tip: avoid cheap “decor glass” that pops—use lava rock or fire-rated glass only. Clean flame can still feel cozy when the zone is styled right.
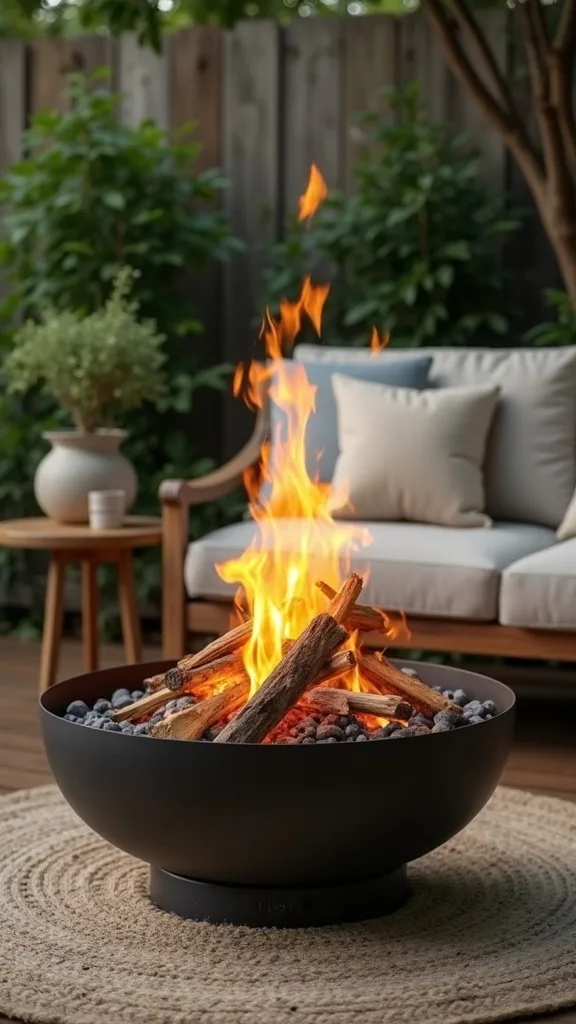
23. How do I build a super-simple fire pit for under $60?
This is the true shoestring build: used bowl, gravel base, and a thrifted spark screen if you can find one. It works because you’re prioritizing the parts that matter—containment and a non-burn base.
Buy a used 26–30 inch steel bowl ($25), lay a 40–48 inch fabric-and-gravel circle ($20), and add four free/cheap patio stones as stabilizers ($0–$10). If you can’t find stones, use bricks.
Where to shop: Marketplace for the bowl, ReStore for stones, and Home Depot for a single bag or two of gravel. Don’t overbuy—start small and expand later.
Pro tip: spend your “extra” on dry kindling and a long lighter—easy starts are what make you use it, and using it is the whole point of a budget win.
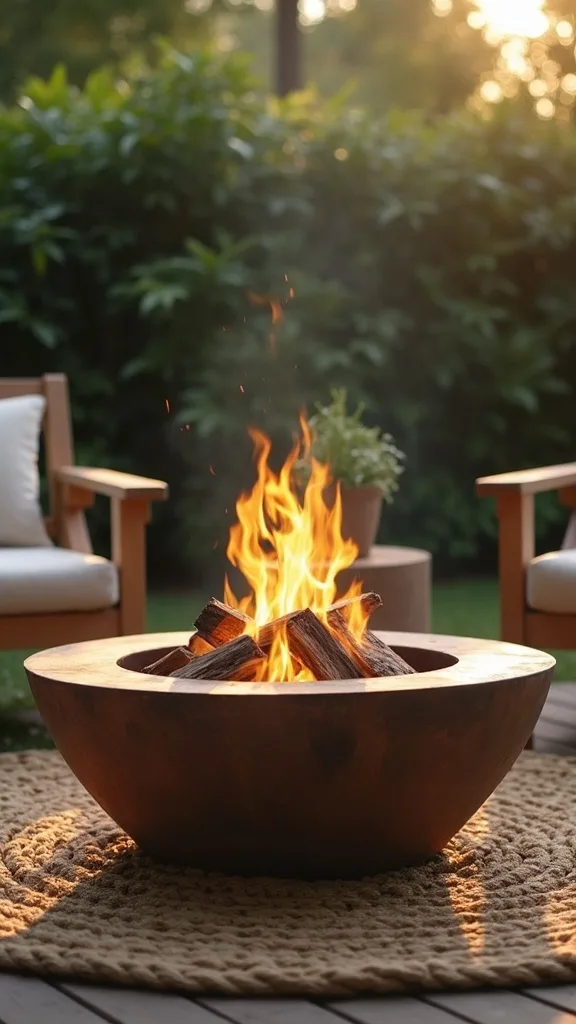
24. How do I make my fire pit look good in daylight (not just at night)?
Daylight reveals everything—especially the crooked ring and the ash pile. It works to design for daytime by adding structure, storage, and one focal element.
Add a dedicated ash bucket and a small log rack so the area looks maintained. Place a planter or two behind the seating line (not right next to the heat) to frame the zone.
Budget decor: thrift galvanized tubs ($6–$12) for kindling, and use nursery clearance plants late summer for cheap greenery. Even a $5 bag of mulch around the zone edges sharpens the look.
Pro tip: sweep the gravel like you’d sweep a porch—maintenance is the secret decor item, and it costs almost nothing while making everything feel cared for.
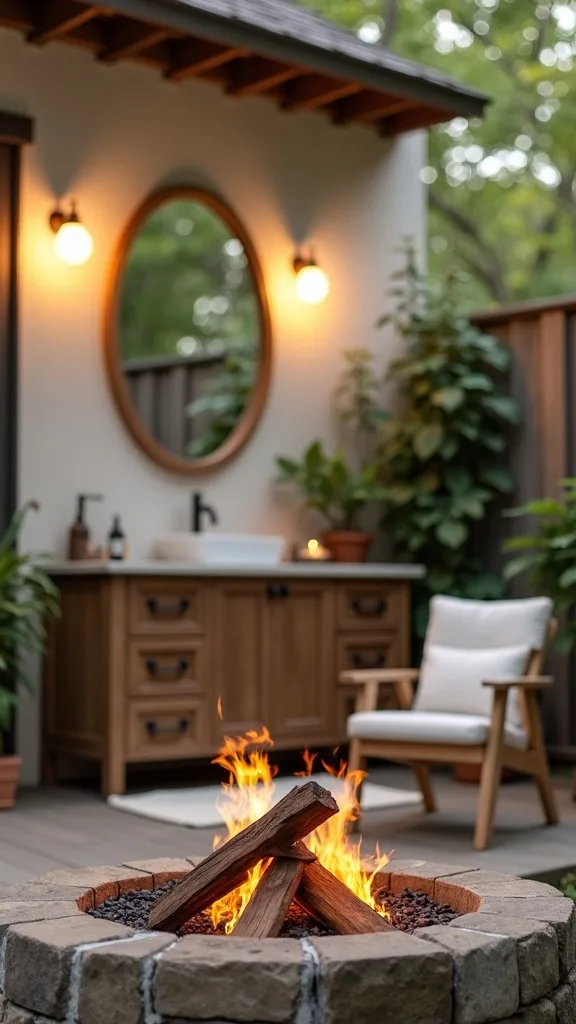
25. How do I plan the ‘before’ honestly so my after actually feels like a transformation?
The real “before” is usually worse than you remember: uneven ground, random chairs, and a half-burned spot that looks like a mistake. It works to document it because you’ll make smarter choices when you see what’s actually wrong.
Take one photo from your back door and one from the seating angle, then mark where people naturally walk. Measure the space (even just pacing it out) so your circle isn’t awkwardly tiny or shoved too close to the fence.
Use painter’s tape or a garden hose to outline a 48-inch circle and live with it for a day. Thrift a cheap tape measure if you don’t have one—mine was $1.99.
Pro tip: treat the “before” as data, not embarrassment—honest starting points lead to better builds, and that’s how budget projects end up looking high-end.
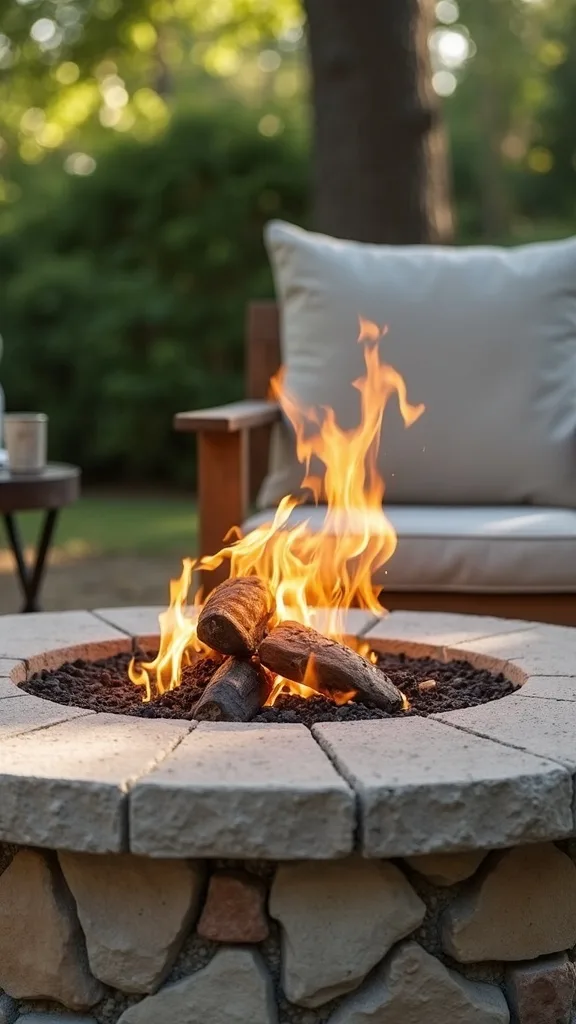
Final Thoughts
A backyard fire setup doesn’t need a contractor, a stone delivery, or a big reveal budget. It needs a stable base, a contained flame, and a layout that makes people want to sit down and stay awhile—whether your materials came from a cull cart or a curbside pile.
If you only do one thing, do the unglamorous part first: level the spot and build the gravel pad. That’s the difference between “we used it once” and “we use it every weekend.” And if you’re choosing between spending on prettier blocks or a spark screen, buy the screen. You’ll feel the difference the first time a log pops.
Do one 20-minute task today: open Marketplace, search “fire bowl” and “pavers,” and message three listings with a pickup time. Then grab a garden hose and outline your circle so tomorrow’s build is basically already decided.
What I’d Do Differently
When I first tried this, I went for the “fast” option: I set a cheap fire bowl directly on a thin patch of grass and surrounded it with a random ring of yard rocks. The before was genuinely rough—lopsided bowl, chairs sinking, and after one rain it turned into an ash-mud pancake that smelled like a wet campfire for days. The biggest mistake was skipping the base. The correct approach is boring but life-changing: scrape it level, put down landscape fabric, and build a 3–4 inch gravel pad so water drains and the bowl stays stable.
I also wish I’d measured placement before buying anything. I ended up too close to a fence line, which meant I felt nervous the whole time instead of cozy. If I could rewind, I’d outline a 48-inch circle with a hose, sit in the chairs, and check the wind direction before spending a dollar—then build the base first and let the “pretty” part follow. Pick your spot tonight and mark it; tomorrow you can actually build.
Products I Recommend for This Project
Here are some of my favourite products to help you bring these ideas to life:
- Sunnydaze 36-Inch Steel Fire Pit Ring Insert — A simple way to protect block/brick rings and keep the fire contained.
- Mr. Bar-B-Q 30-Inch Round Fire Pit Spark Screen — Helps control popping embers without ruining the view of the flames.
- Fireproof Hearth Pad (36 x 36 inch) — Adds a safer buffer under portable pits on pavers or compacted gravel.
- VIVOSUN Heavy Duty Landscape Fabric (3 ft x 100 ft) — Keeps gravel from sinking into soil so your base stays level and clean.
- AMES 2917200 Steel Hand Tamper — Makes a noticeably sturdier gravel base without renting tools.