
This post contains affiliate links. As an Amazon Associate, I earn from qualifying purchases at no extra cost to you.
The most luxurious backyards don’t feel packed with toys—they feel composed. Think: a place where iced water is always within reach, bare feet land on something soft, and every activity has a “home” so the space resets in five minutes, not fifty.
This guide breaks the look into a simple formula you can repeat: symmetry (so the yard feels calm), layering (so kids have options), scale (so the play pieces fit the space), and contrast (so the fun doesn’t look messy). You’ll see the luxury version and the accessible version side by side, plus finishing details that make it feel designed—not improvised.
This is perfect for families who want an outdoor kids space that supports real play and still looks like an adult lives there too.
Inside you’ll find a timber swing set layout, a sandbox that stays clean, a chalkboard fence panel for quiet creativity, a water table zone that doesn’t flood the patio, and a few surprising “grown-up” tricks—like using one tray and two hooks to make cleanup automatic.
Below are 25 Kids Outdoor Play Area & Backyard Ideas that make summer feel easy, elegant, and wonderfully lived-in.
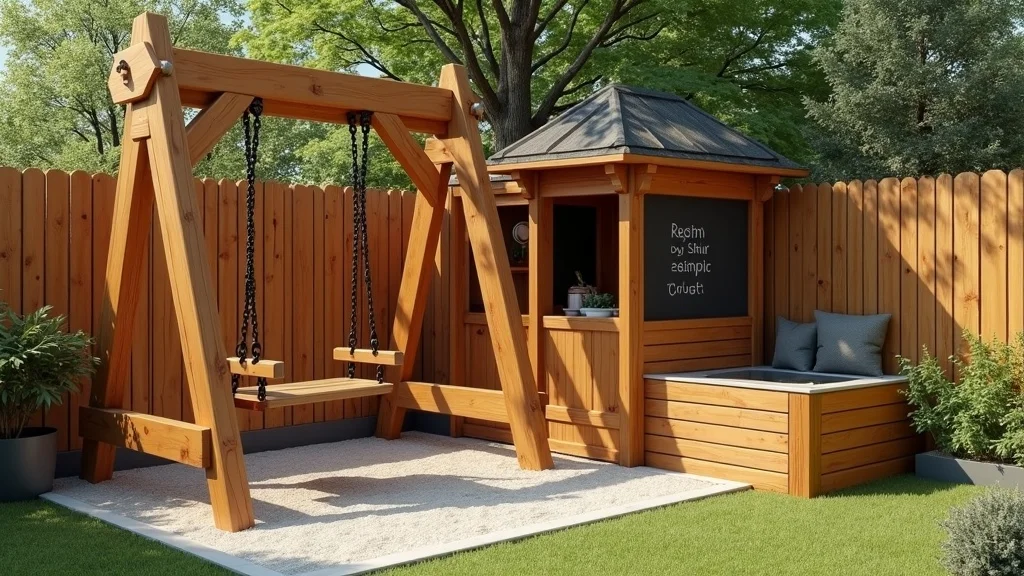
1. The Signature Zone: Timber Swing Set + Covered Sandbox + Chalkboard Fence + Water Table
This is the “designed” version of a backyard playground: one strong anchor, three supporting stations, and clear sight lines so the yard feels calm. It works because it uses layering—active play (swing), sensory play (sand/water), and quiet play (chalk)—without scattering toys everywhere.
Implement it by placing the timber swing set as the focal point, centered on the longest view from your back door. Keep a 6 ft safety buffer around the swing path, then set the sandbox with cover to one side and the water table to the other for balanced symmetry. Mount a chalkboard fence panel behind the sensory zones so art stays “contained,” not on your siding.
Luxury version: cedar swing set, lidded sandbox with integrated bench seating, and a framed exterior chalkboard panel. Accessible version: pressure-treated kit, a simple covered sandbox, and a DIY chalkboard sheet screwed onto a fence panel with capped edges.
Pro tip: add one outdoor tray on a small side table for chalk, cups, and sunscreen—when items have a home, the whole area looks intentional.
2. How Do You Plan the Layout So It Doesn’t Look Like Toy Storage?
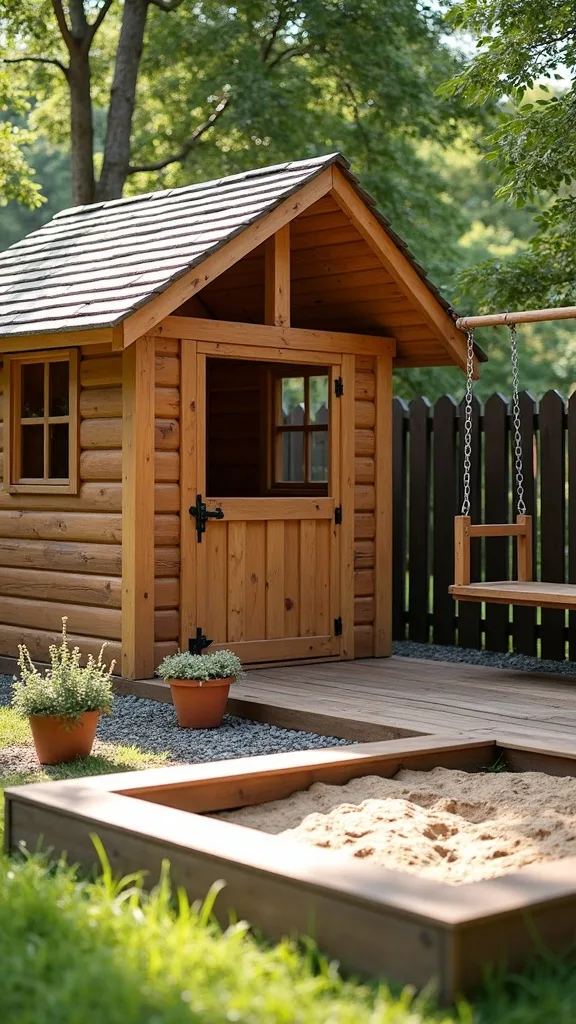
The secret is treating play like an outdoor room: define edges, repeat materials, and keep the “mess” in one direction. This works because scale and contrast create order—big pieces feel anchored, small pieces feel curated.
Start by sketching three zones: Active (swings/climber), Sensory (sand/water), and Quiet (chalk/books). Place Active farthest from the door so the view from inside is tidy; put Quiet closest so it reads like décor. Use one consistent ground material per zone—mulch under swings, pea gravel under water, and a border (pavers or timber) around sand.
Luxury version: matching stone edging and a pergola that visually “frames” the play. Accessible version: pressure-treated landscape timbers and a simple shade sail for definition.
Pro tip: limit visible colors to two neutrals plus one accent (like navy). When everything isn’t rainbow, your outdoor kids space looks intentionally styled.
3. What’s the Best Ground Cover Under a Backyard Playground?
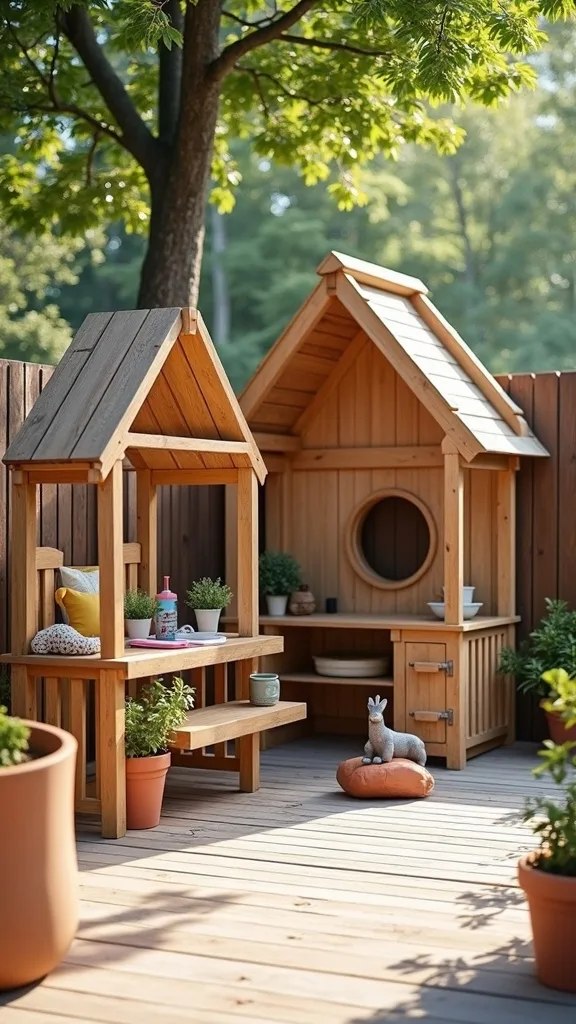
Good ground cover is the quiet luxury of play spaces: it makes the yard feel finished while keeping falls less dramatic. It works when you choose one surface that matches the intensity of the play—then repeat it for visual cohesion.
For swings and climbing, install playground mulch in a defined rectangle with a clean border; it reads neat and is easy to top off. For a small space, use interlocking rubber tiles in a tight footprint so the area looks like a deliberate “mat,” not a patch. Keep transitions crisp with a paver line or timber edge to prevent mulch migration into the lawn.
Luxury version: poured-in-place rubber surfacing in a deep charcoal (sleek, modern). Accessible version: certified playground mulch plus a $20–$40 edging kit from Home Depot.
Pro tip: place a slim boot tray at the exit point (back step). That single detail stops mulch-in-the-house and makes your summer kids activities feel easier from day one.
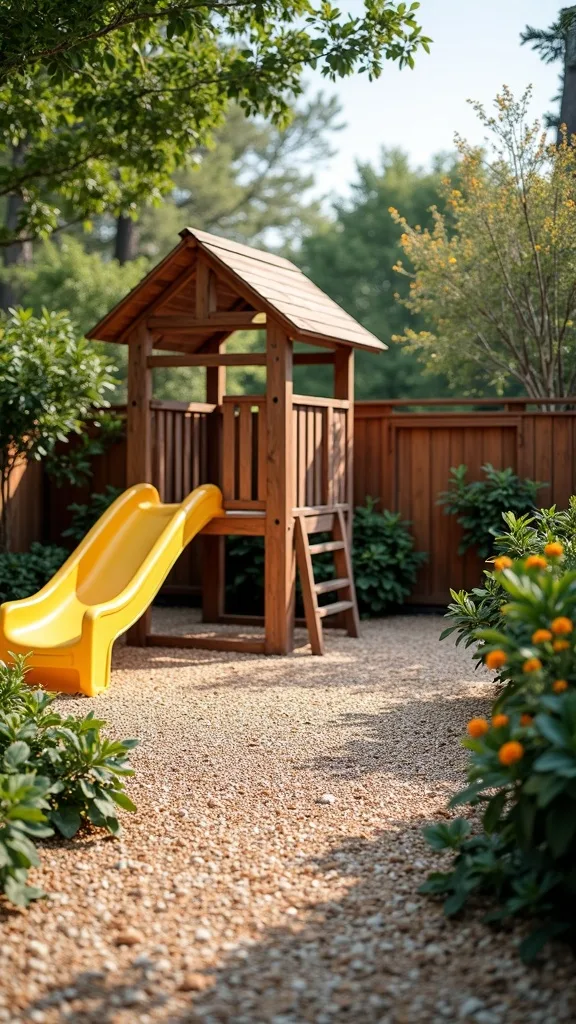
4. How Can You Add Shade Without Blocking the Whole Yard?
Shade is comfort—and comfort is what makes kids stay outside longer. It works best when it’s layered: one main shade source plus a smaller, moveable option for flexibility.
Start with a shade sail angled over the water table and sandbox where kids linger. Then add a patio umbrella near a bench so you can reposition it as the sun shifts. Anchor posts or hardware into solid framing (not just a fence picket), and keep the sail high enough that adults can walk under it comfortably.
Luxury version: a cedar pergola with a slatted top and outdoor curtains for softness. Accessible version: a quality shade sail plus an umbrella on a rolling base.
Pro tip: choose neutral fabric (sand, slate, or cream). The restraint reads elevated—and suddenly the backyard playground looks like part of the home, not an add-on.
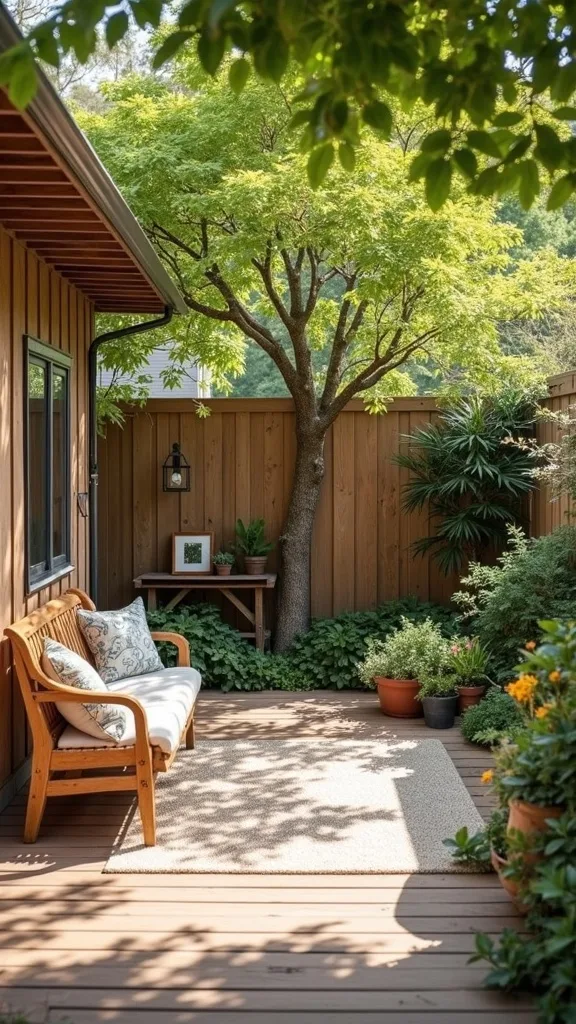
5. Where Should a Water Table Go So It Doesn’t Make a Mud Pit?
A water table area feels like a tiny summer resort—until the ground turns to soup. The fix is contrast: put water play on a surface that drains cleanly and looks intentional.
Set the water table on pea gravel contained by edging, or on a 3′ x 5′ outdoor mat that can be rinsed and hung to dry. Keep it 10–15 feet from your back door so drips don’t become indoor puddles, but close enough that you can refill quickly. Add two hooks on the fence for towels and a small bucket for scoops so the zone resets fast.
Luxury version: a low teak bench beside the table with matching lidded storage. Accessible version: a resin bench box and an outdoor mat from Amazon.
Pro tip: place one small tray with a carafe and cups on the bench. It’s a grown-up touch that quietly elevates summer kids activities.
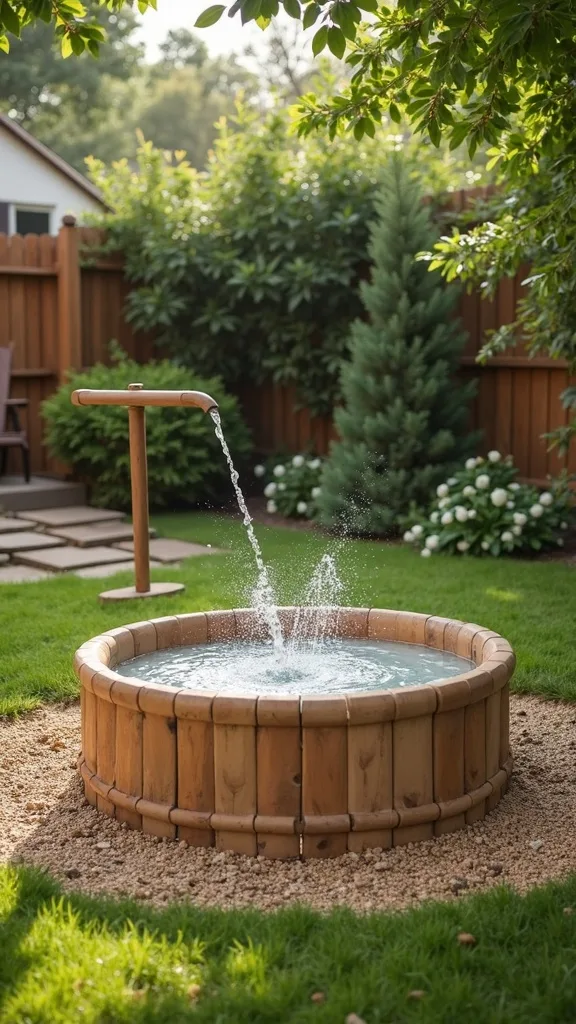
6. How Do You Keep a Sandbox Clean (Without Constant Work)?
A sandbox is magical when it feels fresh—never gritty, never questionable. The system that works is simple: cover, border, and a “close-down” routine that takes one minute.
Choose a sandbox with a fitted cover (or make one with exterior plywood and hinges) and keep it closed whenever it’s not in use. Add a solid border that doubles as seating so kids aren’t tracking sand out with every step. Keep a handheld brush and dustpan in a lidded bin nearby; do a quick sweep before you cover it, like straightening throw pillows indoors.
Luxury version: a cedar sandbox with built-in benches that fold into the cover. Accessible version: a simple wood frame plus a taut cover secured with clips.
Pro tip: keep sand toys to one curated set. Fewer pieces, better play—and the outdoor kids space looks composed.
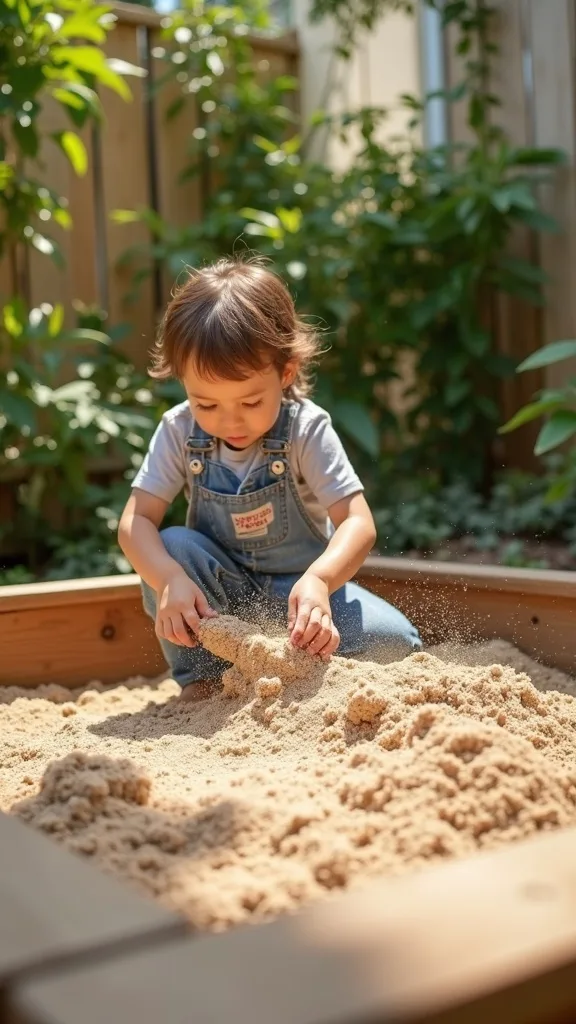
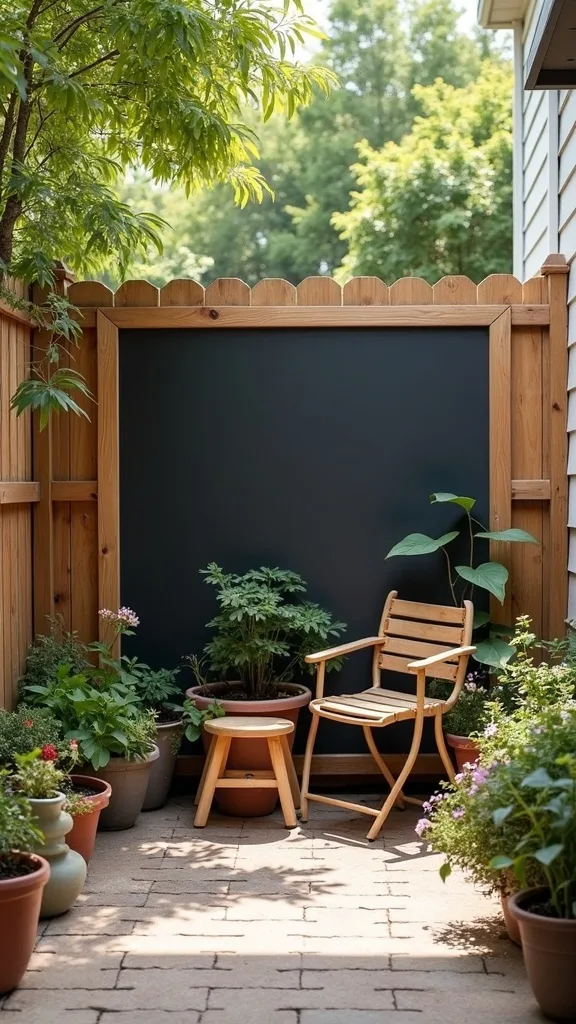
7. How Do You Add a Chalkboard Fence Panel That Actually Lasts Outside?
Chalk art feels like the European sidewalk café version of kid creativity—casual, charming, and contained. It works because it creates a vertical “activity wall,” which frees up floor space and reduces clutter.
Mount an exterior-rated chalkboard panel (or a sealed plywood sheet painted with chalkboard paint) to a fence section at kid height. Frame the edges with slim trim to make it feel finished and to reduce peeling. Add a narrow ledge beneath for chalk and an eraser so supplies aren’t constantly underfoot.
Luxury version: a framed, weatherproof board with brass hooks for baskets. Accessible version: chalkboard paint + a simple pine frame, sealed well.
Pro tip: keep chalk colors in a small lidded container and rest it on a single designated tray. That tray is your “signature” finishing detail—instant order.
8. What’s the Safest Way to Place a Swing Set in a Small Backyard?
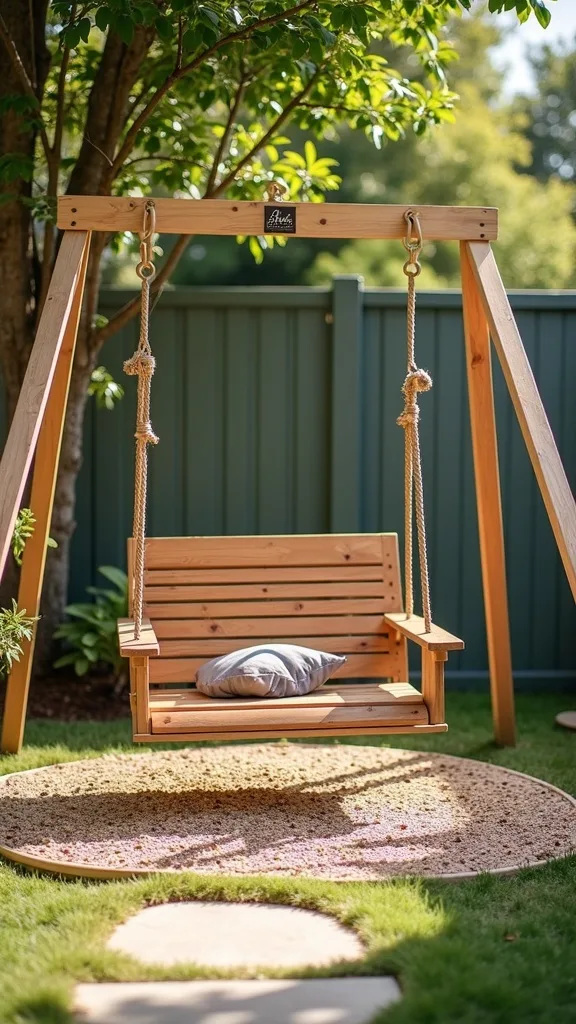
Small yards can still feel generous when you respect scale and give motion room. The swing set works when it’s slightly smaller than you think you need—and perfectly placed so it doesn’t dominate the view.
Choose a compact timber or metal set with one or two swings instead of a sprawling multi-tower. Center it on a clear rectangle and maintain a 6 ft clearance around the swing arc. If your yard is narrow, align the swing path parallel to the fence (not toward the patio) to keep play contained and sight lines calm.
Luxury version: custom timber frame with one statement swing and a climbing rope. Accessible version: a streamlined A-frame kit with upgraded neutral seats.
Pro tip: swap bright plastic accessories for matching tones (black, tan, or navy). It reads intentional—like outdoor furniture, not playground clutter.
Cost & Materials Estimate
A realistic budget for a polished play setup ranges from a simple DIY starter zone to a fully outfitted backyard playground with defined surfaces and storage.
| Item | Estimated Cost | Where to Buy |
|---|---|---|
| Timber swing set kit (compact size) | $450–$1,200 | Home Depot |
| Sandbox with cover | $90–$220 | Amazon |
| Water table + outdoor mat | $60–$170 | Amazon |
| Playground mulch + edging materials | $80–$240 | Lowe’s |
| Outdoor storage deck box | $70–$190 | Wayfair |
| Shade sail + hardware | $45–$140 | Amazon |
Total estimated cost: $795–$2,160 Save money by DIYing edging and the chalkboard panel; splurge on the swing set frame and one good storage box so the space stays tidy.
9. How Can You Make One Corner Feel Like a Kids Garden (Not a Messy Patch)?
A kids garden is the most elegant kind of play because it’s alive—and it changes every week. It works when it’s framed, labeled, and treated like décor with a purpose.
Build (or buy) one raised bed, about 2′ x 4′, and place it where it gets sun but stays in your line of sight. Plant three reliable growers: cherry tomatoes, basil, and marigolds for color and pollinators. Add simple plant markers and a small watering can that lives on a hook, not on the ground.
Luxury version: cedar raised bed with a drip line and matching tool set. Accessible version: a galvanized trough planter with drainage holes and bagged soil.
Pro tip: edge the bed with a thin gravel band. That crisp border is the difference between “garden feature” and “random dirt corner.”
10. What Outdoor Storage Looks Like Décor (So Cleanup Is Automatic)?
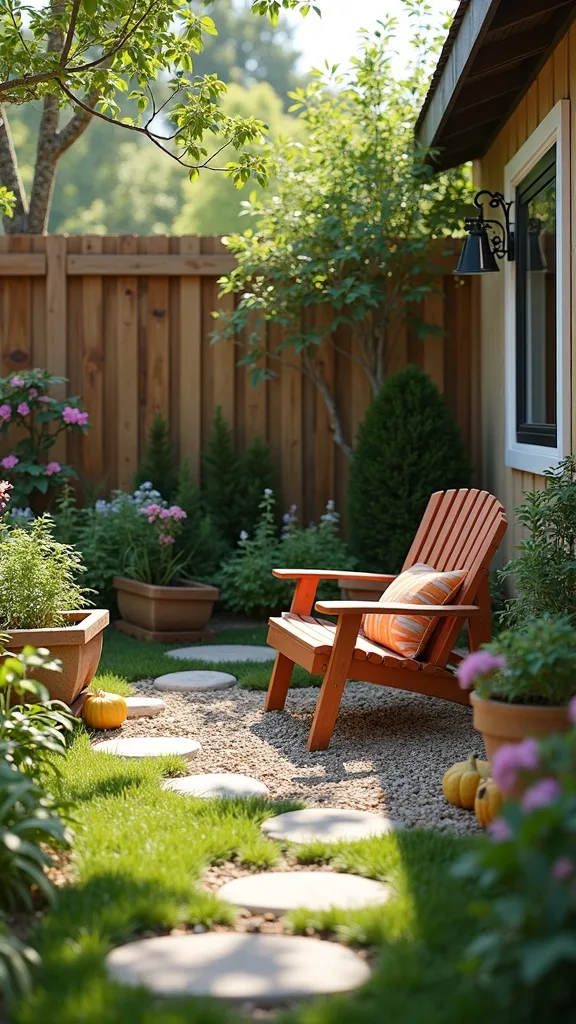
The fastest way to elevate a play area is to hide the small stuff beautifully. Storage works when it’s symmetrical and easy: lids that open smoothly, bins that slide in, and labels that kids can read.
Place two matching deck boxes or a storage bench along a fence line—one for sand/water toys, one for sports gear. Add two identical lidded bins inside so categories don’t mix. Finish with one outdoor pillow on the bench (centered, not tossed) so it reads like seating first, storage second.
Luxury version: teak storage bench with soft-close hinges. Accessible version: resin deck box in a neutral tone with weatherproof labels.
Pro tip: keep one “donation bag” inside the box. When a toy breaks or gets ignored, it leaves immediately—your outdoor kids space stays refined.
11. How Do You Create a Reading & Calm-Down Spot Outdoors?
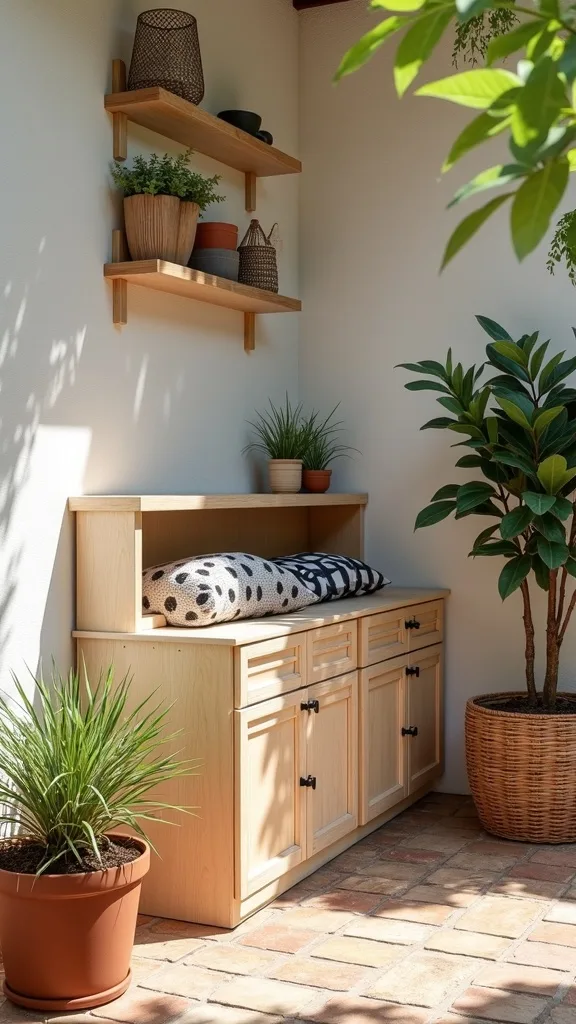
Every energetic zone needs a soft counterpoint. A calm corner works because of contrast: hard play equipment nearby, then one gentle spot that invites stillness.
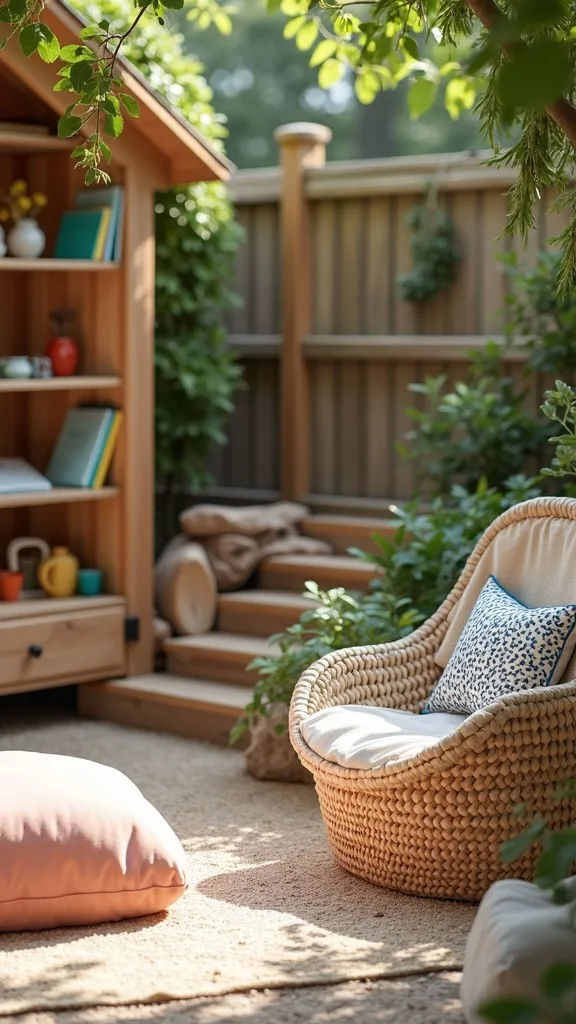
Set a low outdoor rug under a small canopy or umbrella. Add two floor cushions (or one kid-size Adirondack chair) and a lidded basket for books and bubbles. Keep it visually tidy by limiting the palette—cream and navy, or gray and olive—so it reads like a styled patio vignette.
Luxury version: an outdoor cabana-style daybed with washable covers. Accessible version: a shade umbrella + two outdoor poufs + a waterproof basket.
Pro tip: add a small lantern with warm white light (2700K–3000K — the cosy, yellowish tone you see in most homes). Evenings feel magical, and the space looks intentionally layered.
12. How Can You Add a DIY Obstacle Course That Packs Away?
Obstacle courses deliver big play without big footprints. They work when the pieces are modular and stored like a set—so set-up feels like a ritual, not a project.
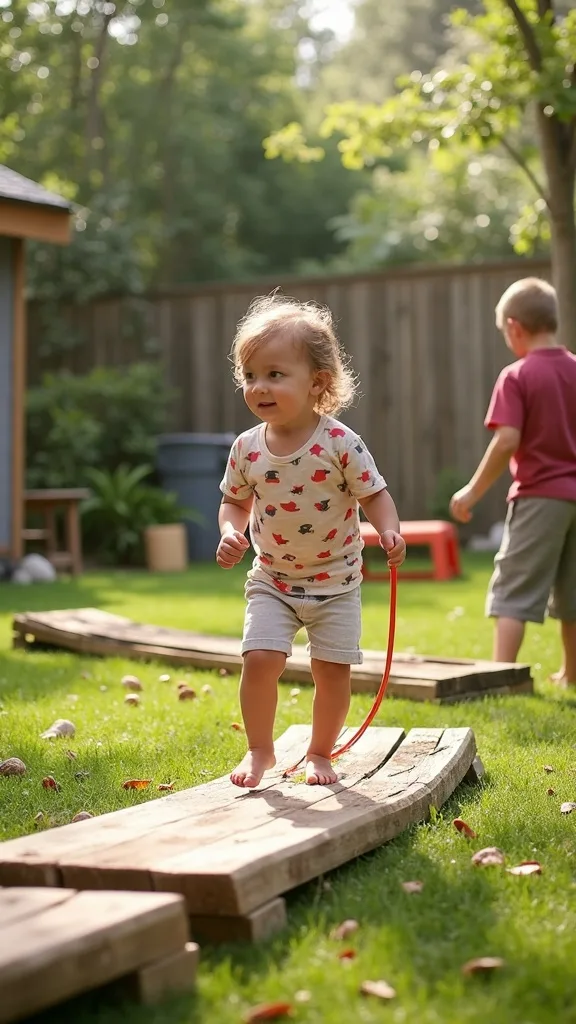
Create a simple kit: stepping stones, cones, a jump rope, and a collapsible tunnel. Store everything in one labeled bin, and set a “start line” with two pavers so kids always begin in the same spot. Change the pattern weekly to keep interest high without buying anything new.
Luxury version: wooden balance beams and a curated set of natural-tone stepping stones. Accessible version: foam stepping stones and cones in a neutral palette.
Pro tip: keep a small clipboard on a hook for “course cards.” That one touch turns summer kids activities into something kids can run independently.
13. What’s the Best Way to Add Outdoor Art Without Ruining Your Fence?
Outdoor art should feel playful, not permanent damage. It works when you provide a designated surface and a cleanup tool within reach—so creativity stays contained.
Besides a chalkboard panel, add a removable “gallery line” using outdoor command hooks and a taut weatherproof cord. Clip artwork with mini clothespins, then swap pieces weekly. Keep a small bin for chalk, sponge, and a spray bottle so resetting the wall is quick.
Luxury version: framed outdoor display rails with matching clips. Accessible version: a simple cord line and neutral clips.
Pro tip: limit displayed pieces to five at a time. Curating—like a gallery—keeps the outdoor kids space elegant and intentional.
14. How Do You Add Seating for Adults Without Taking Over the Play Zone?
Adult seating is what turns a kids area into a family space. It works when it’s placed like a viewing lounge: close enough to supervise, far enough to feel restful.
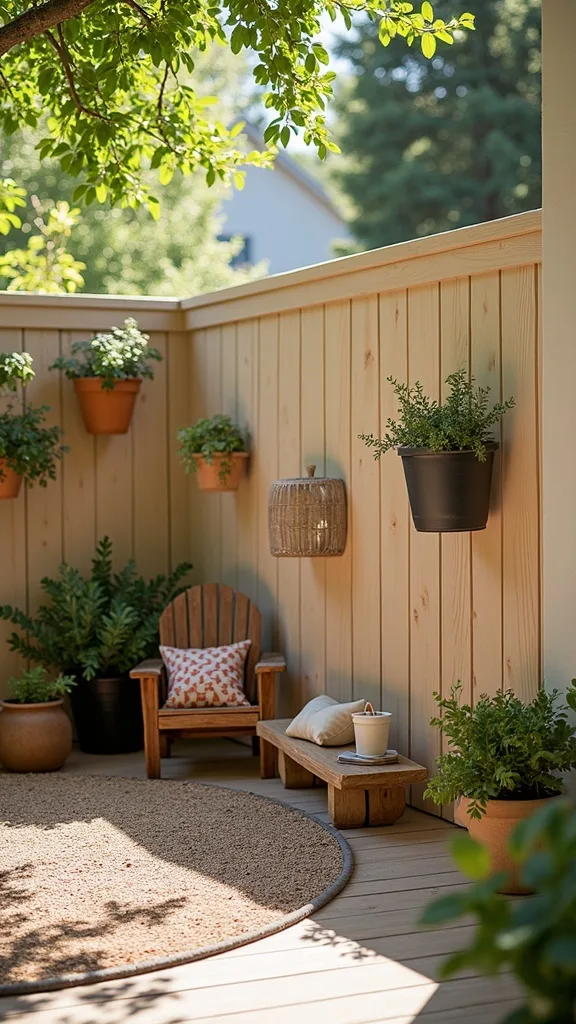
Position a bench or two chairs at the edge of the play rectangle, angled slightly toward the action. Add a small side table for drinks and sunscreen—this is the “control center.” Keep textiles minimal: one outdoor throw folded once and draped over one arm, not bunched in the middle.
Luxury version: a pair of lounge chairs with a slim teak table. Accessible version: a weather-resistant bench and a lightweight side table from IKEA.
Pro tip: group three candles (or LED lanterns) in staggered heights on the table. The grown-up styling makes the whole backyard playground feel curated.
15. How Can You Use Symmetry to Make the Yard Feel Calmer?
Symmetry is the fastest path to “designed.” It works because the eye relaxes when it can predict the layout—especially in a space full of movement.
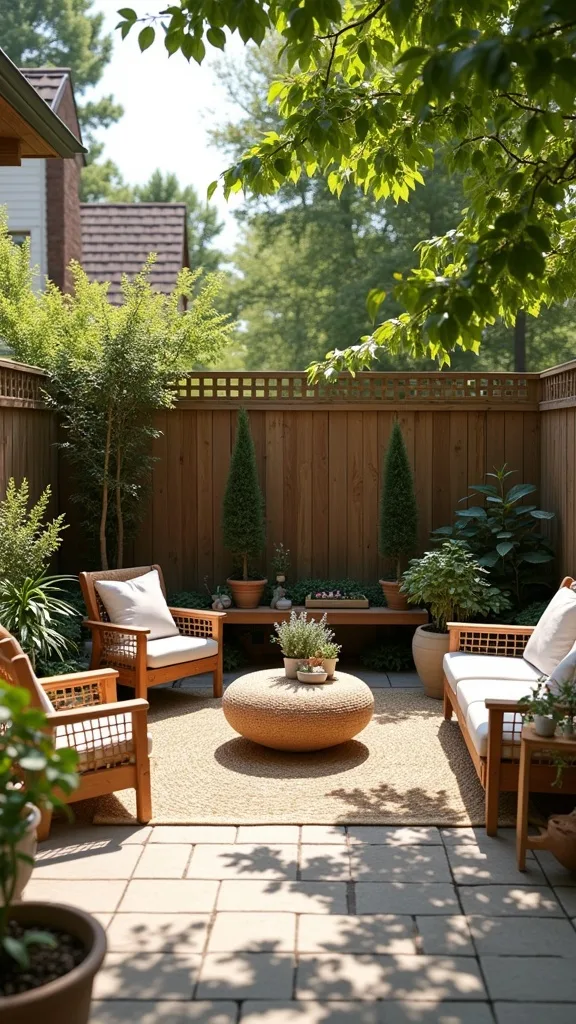
Pick one centerline: often it’s the view straight out from the back door. Place the swing set centered, then mirror two supporting elements—like two planters, two storage boxes, or two gravel pads for sand and water. Repeat one material (wood, black metal, or stone) across all zones to tie it together.
Luxury version: matching planters with clipped boxwoods framing the play area. Accessible version: two identical resin planters with tall grasses for movement.
Pro tip: even if the activities differ, match the containers. When the bins and boxes match, the outdoor kids space reads intentional, not chaotic.
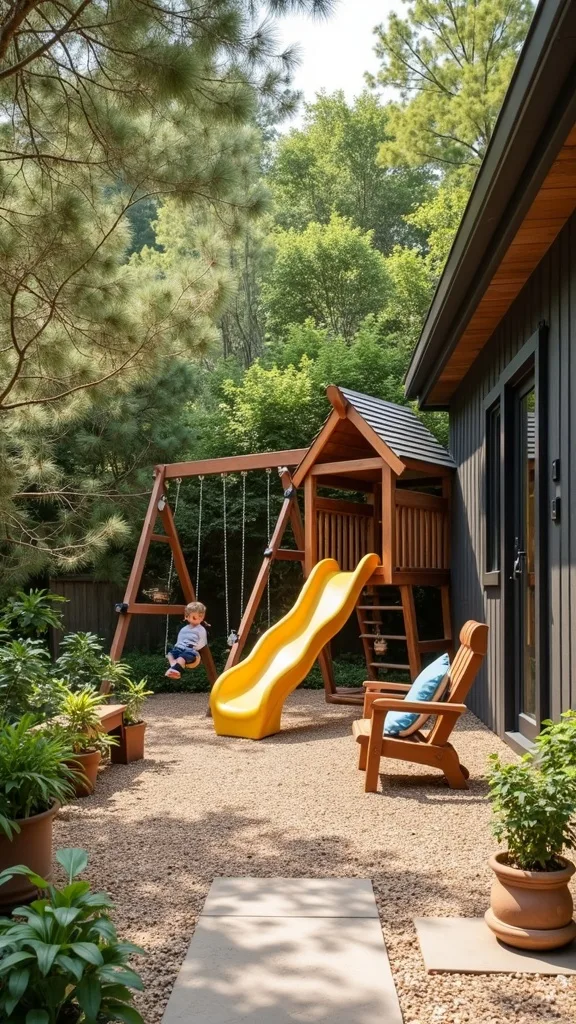
16. What Should You Avoid When Building a Kids Outdoor Play Area?
Avoid the “everything station.” It’s the fastest way to end up with a yard that looks like a clearance aisle and plays like a distraction loop. The best setups work because they edit—fewer zones, clearer purpose, better play.
Skip buying five activity pieces at once. Instead, start with one anchor (swing set or climber), then add one sensory element (sand or water), then one creative element (chalk). Leave breathing room between zones so kids can move without collisions and so you can mow or sweep easily.
Luxury version: curated, neutral equipment with concealed storage. Accessible version: fewer pieces, placed with intention, and upgraded with matching bins.
Pro tip: if a toy can’t be stored in your designated storage within 30 seconds, it doesn’t belong outside. That boundary keeps your backyard playground feeling elevated.
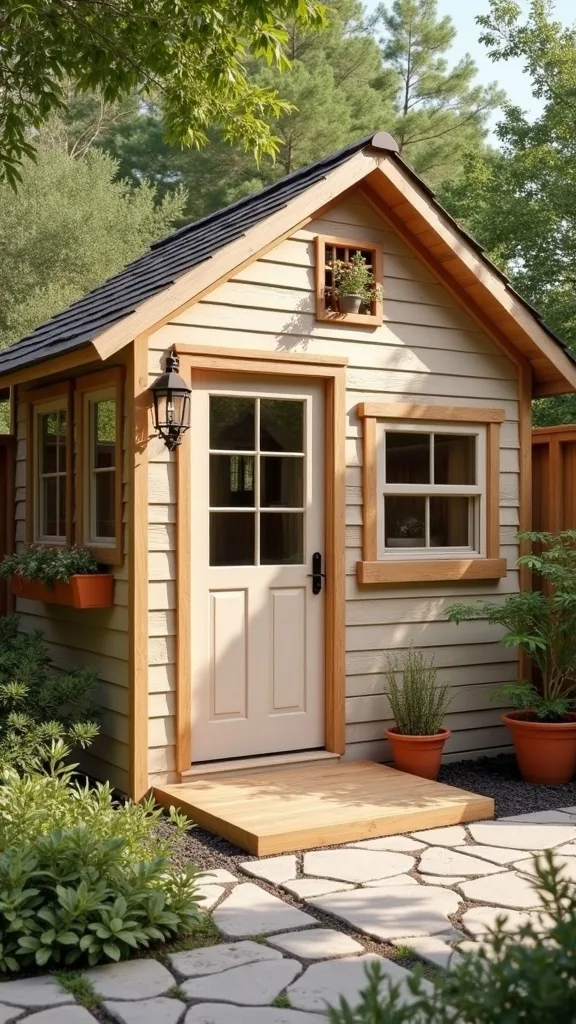
17. How Do You Light the Area for Summer Evenings (Without Harsh Glare)?
Evening light is where outdoor spaces turn cinematic. It works when it’s layered: soft overhead glow, low path guidance, and one warm focal point.
String lights along the fence line or pergola, then add two solar path lights to mark the transition between lawn and play surfacing. Keep lighting warm white light (2700K–3000K — the cosy, yellowish tone you see in most homes) so it feels like an extension of your interior. Avoid bright floodlights aimed at the play zone; they flatten everything and feel like a parking lot.
Luxury version: hardwired sconces with dimmers plus subtle landscape lighting. Accessible version: outdoor-rated string lights and quality solar stakes.
Pro tip: place one lantern near the adult seating area. That small glow makes the whole outdoor kids space feel intentional and welcoming.
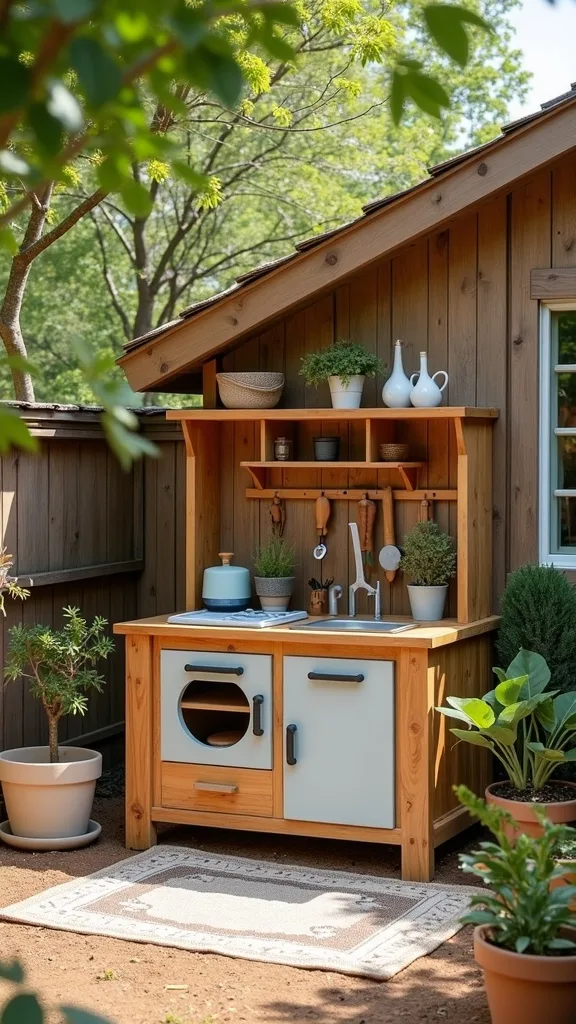
18. How Can You Add a Mini Mud Kitchen That Doesn’t Look Junky?
A mud kitchen is sensory play with structure—when it’s built like furniture, not scrap. It works because it gives messy play a defined boundary and a clear reset routine.
Use a small outdoor potting bench or a slim console table as the base. Add two metal bowls inset into the top (or set into a tray), plus hooks for utensils. Place it on gravel or a washable mat, and keep a small bucket of water nearby so cleanup stays local.
Luxury version: a cedar mud kitchen with a backsplash and brass hooks. Accessible version: a used potting bench sealed with exterior stain and two thrifted stainless bowls.
Pro tip: store “ingredients” (pinecones, smooth stones) in two matching jars. The matching containers are the finishing detail that makes play feel curated.
19. How Do You Make a Small Lawn Feel Like a Real Outdoor Kids Space?
Small doesn’t need to mean cramped. It works when you prioritize vertical play, keep the center open, and use edges as storage and activity walls.
Install a compact swing set or climbing dome along the back edge, then run a narrow activity strip along the fence: chalkboard panel, hook rail, and a slim storage bench. Keep the middle of the lawn open for running games—this “negative space” is what makes the yard feel bigger.
Luxury version: built-in bench seating along the fence with hidden storage. Accessible version: a freestanding bench box and a DIY chalk panel.
Pro tip: choose one accent color (like deep green) and repeat it in bins, planters, and a small outdoor rug. Repetition is what makes everything look planned.
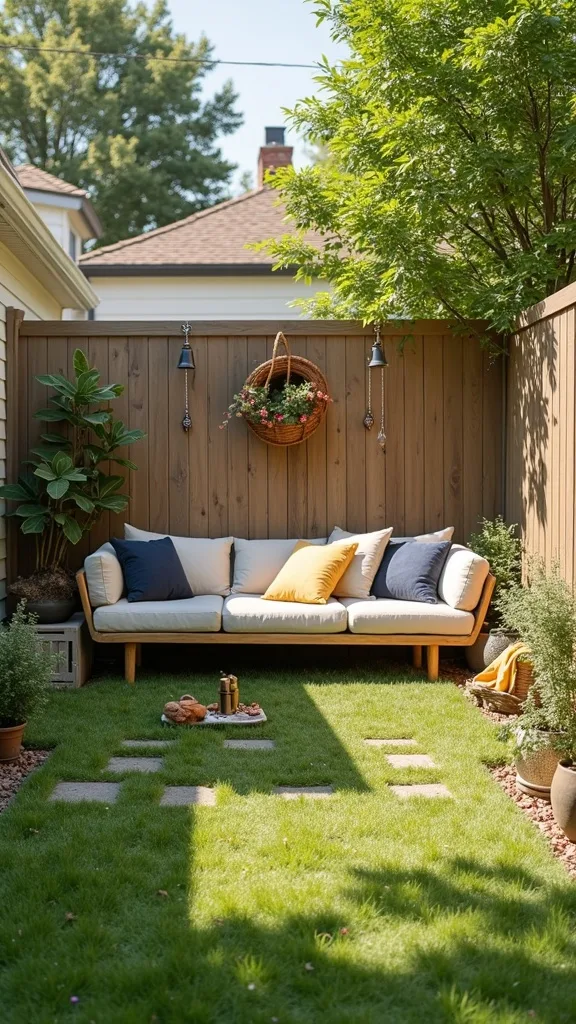
20. What Backyard Playground Add-Ons Are Worth It (And Which Aren’t)?
Worth-it add-ons are the ones that extend play without adding visual noise. They work because they’re either multi-use or they replace something you already have indoors.
Prioritize: a quality swing seat, a trapeze bar, or a climbing rope—these change play dramatically. Skip: oversized plastic panels and loud, single-use attachments that fade fast and clutter the view. If you want variety, rotate add-ons seasonally and store the rest in a labeled bin.
Luxury version: minimalist accessories in matching tones and materials. Accessible version: one premium add-on at a time, chosen for longevity.
Pro tip: choose add-ons in black, tan, or wood tones. When the palette is quiet, the outdoor kids space feels elevated even on a budget.
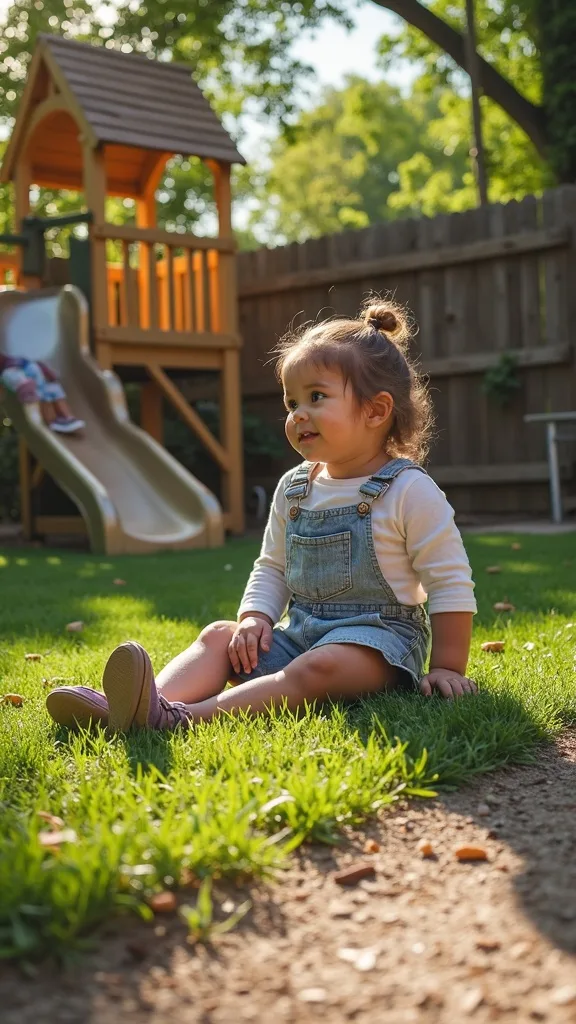
21. How Do You Add Water Play Without a Pool?
You don’t need a pool to get that summer glow. It works when water is contained, refill is easy, and towels have a dedicated place to land.
Pair a water table with a small sprinkler pad or a misting hose attached to a fence. Keep the wet zone on gravel or a washable mat, and hang two towels on hooks at kid height. Add a lidded bin for swim diapers or extra clothes so you’re not running inside mid-play.
Luxury version: a sleek misting line under a pergola plus teak slatted flooring. Accessible version: a sprinkler pad and a water table with a drain plug.
Pro tip: set a “dry-off station” with one tray holding sunscreen, a brush, and bandages. It’s the tiny detail that makes summer kids activities feel effortless.
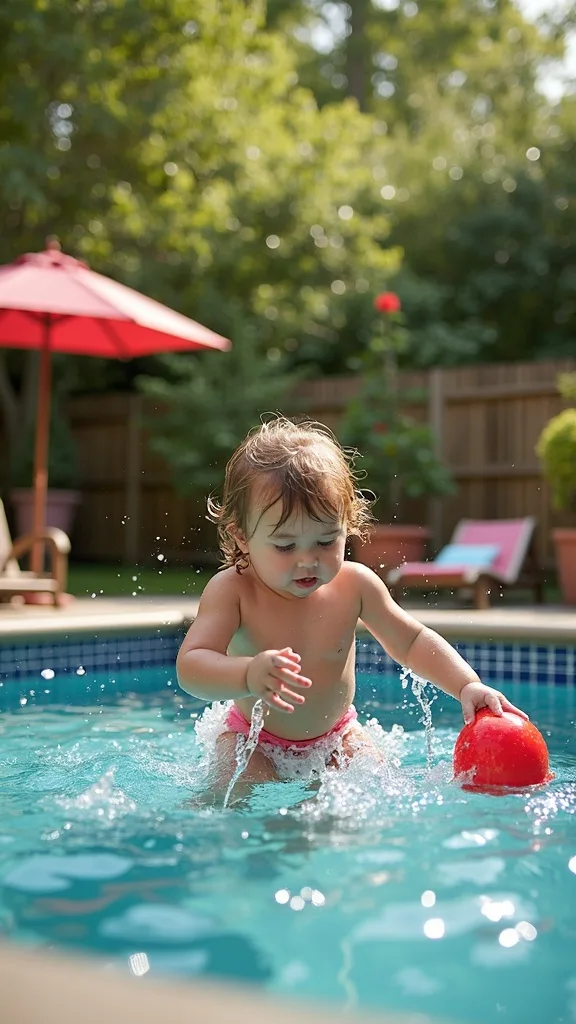
22. How Can You Build a Simple Path That Guides Play (And Looks Finished)?
A path is a designer’s trick: it quietly tells people where to go. It works because it adds structure and makes the yard feel like a cohesive outdoor room.
Create a stepping-stone path from the patio to the play zones. Space stones so kids can hop comfortably, and edge the path with gravel to keep it crisp. If you have a kids garden bed, branch the path to it—suddenly gardening feels like part of the play narrative.
Luxury version: large-format pavers set in gravel with clean steel edging. Accessible version: concrete stepping stones and pea gravel.
Pro tip: repeat the same stone near the water table as a “parking spot” for a bucket. When objects have designated landing points, the whole space looks intentional.
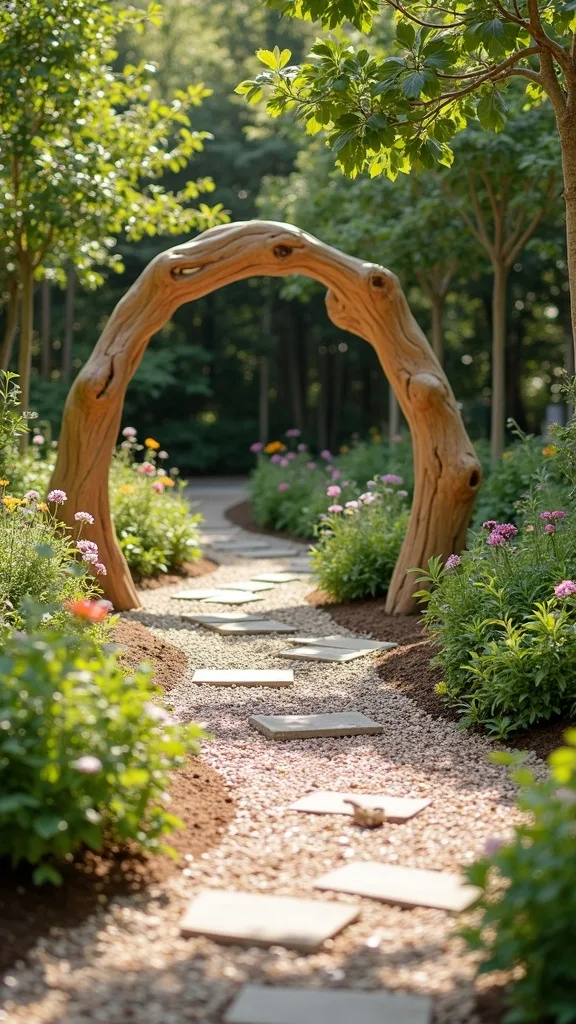
23. How Do You Keep Bugs Away Without Making the Yard Smell Like Chemicals?
Comfort matters, and bugs can end the evening fast. It works when you combine habitat tweaks with subtle, beautiful deterrents.
Start by removing standing water and keeping the water table drained overnight. Plant mosquito-unfriendly herbs near seating—like rosemary and lavender—in matching planters for a styled look. Use citronella candles sparingly and place them in a trio on a tray so they feel like décor, not a campsite.
Luxury version: discreet outdoor fans near seating (mosquitoes struggle in airflow) plus layered planting. Accessible version: herb planters and a candle grouping.
Pro tip: keep one pretty lidded container for bug wipes on the adult side table. When the practical items are contained, the outdoor kids space stays elegant.
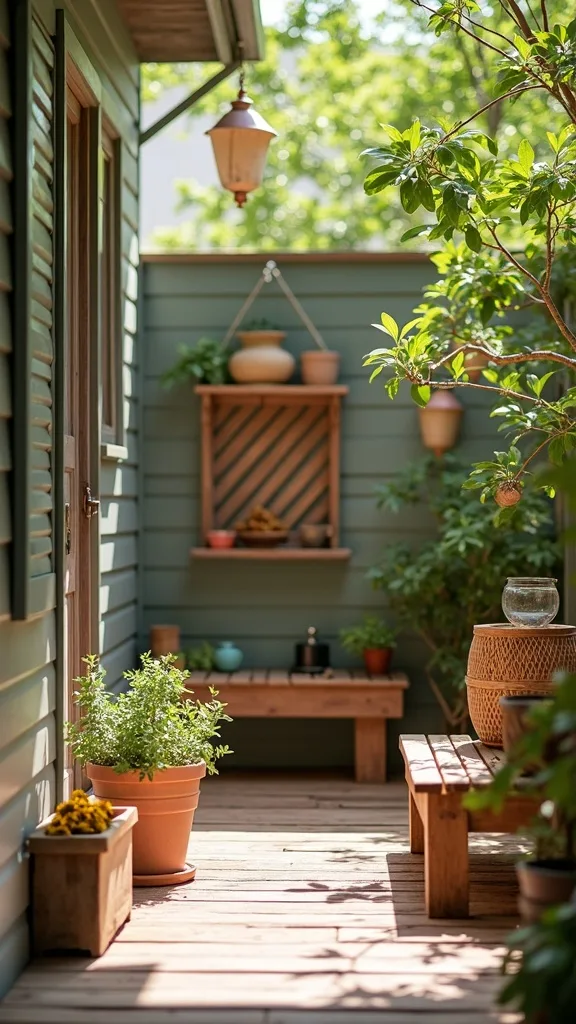
24. What Are the Easiest Summer Kids Activities to Rotate Weekly?
The best summer rhythm is predictably fun: kids know where to go, but the activity changes just enough. It works when you rotate one “feature” per week while the layout stays the same.
Week 1: chalk mural theme on the fence. Week 2: water table “car wash” with cups and sponges. Week 3: sandbox treasure dig with painted stones. Week 4: kids garden harvest and herb snipping. Store weekly add-ons in labeled gallon bags inside one bin so the switch takes five minutes.
Luxury version: a curated activity cart that rolls out and back. Accessible version: one lidded bin with weekly kits.
Pro tip: print a simple four-week rotation and clip it inside the storage lid. That tiny system keeps summer kids activities from turning into daily decision fatigue.
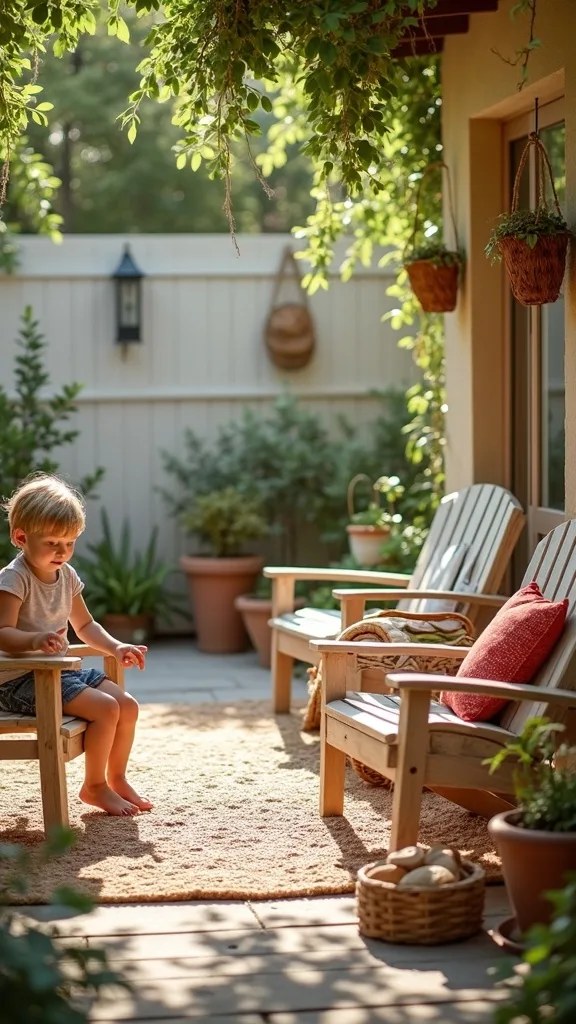
25. How Do You Make the Whole Play Area Look Intentional in One Afternoon?
Intentional is rarely about spending more—it’s about finishing. This works because the final 10% (borders, trays, hooks, and matching containers) is what signals “designed.”
Do a quick edit: remove broken toys, choose one color palette, and assign every category a container. Add two hooks for towels, one hook for a watering can, and one tray on the adult table for sunscreen, wipes, and a small vase. Straighten the seating like you would indoors: pillow centered, throw folded once, lantern placed slightly off-center for ease.
Luxury version: matching teak accessories and woven baskets. Accessible version: resin bins in one tone and an outdoor tray from Amazon.
Pro tip: finish with one crisp border—timber, stone, or gravel—around your main zone. Borders are the detail that makes everything look deliberate.
Final Thoughts
The goal isn’t a yard that looks untouched. It’s a yard that resets easily—so the space can hold real life and still feel like a retreat. When your anchor piece is placed with care, your zones are layered with purpose, and your palette is edited, the whole backyard starts to feel like an extension of your home.
Keep choosing “fewer, better” as you add. One strong swing, one clean sensory zone, one quiet creative wall, and storage that closes. That’s the formula that lets kids play hard while the space stays composed.
Do one thing today: set a timer for 20 minutes, pick your anchor location, and mark the three zones with temporary items (cones, buckets, or painter’s tape on the patio). Once you can see the layout, everything else becomes a simple, satisfying next step.
What I’d Do Differently
When I first tried this, I made the classic mistake: I bought the “fun” items first and assumed the layout would sort itself out. I put the water table right by the back step for convenience, and within two days the patio was constantly wet, towels were everywhere, and I felt irritated every time I looked outside. The play was great, but the space felt chaotic—like we were camping in our own yard. The correct approach is to place the messy zones (water and sand) on a surface that can handle them and to give them a defined border. Once I moved the water table onto a gravel pad and added two hooks for towels, the whole area started to reset itself.
I also wish I’d known how much calmer the yard would feel if I committed to one palette early. Neutral bins, one accent color, and a single “control center” tray for sunscreen and chalk turned daily cleanup into a 3-minute habit. Pick your anchor spot, mark three zones, and start with the border—everything gets easier from there.
Products I Recommend for This Project
Here are some of my favourite products to help you bring these ideas to life:
- Step2 Naturally Playful Sand Table — A tidy, contained sandbox option that’s easy to cover and reset.
- Step2 Rain Showers Splash Pond Water Table — A classic water table with multiple stations that keeps kids engaged longer.
- Keter Brightwood 120 Gallon Resin Deck Box — Weather-resistant storage that hides the visual clutter and doubles as seating.
- HAPPYGRILL Sun Shade Sail (Rectangle) — A simple way to add shade over sand and water zones without building a structure.
- Brightech Ambience Pro Outdoor String Lights — Soft evening lighting that makes the play area feel like an outdoor room.