
This post contains affiliate links. As an Amazon Associate, I earn from qualifying purchases at no extra cost to you.
The morning can be sunny and calm, and still somehow feel like a sprint. One sock missing. A permission slip that “was right there.” And the lunch situation—always the lunch situation—becomes the thing that tips the whole kitchen into chaos.
This is where a lunch station earns its keep. Not a fussy makeover, not a Pinterest shrine—just a designated, good-looking corner that makes the daily routine feel lighter. We’re talking school lunch organization that’s practical, wipeable, and kind of satisfying to use.
This is perfect if your kitchen counter is already doing triple duty (coffee bar, homework drop zone, random mail pile) and you want a clear, kid-friendly system without losing your style.
Inside, you’ll get snack-bin setups, bento box storage that doesn’t avalanche, a mini menu that actually gets used, and small upgrades—like liners and labels—that make everything feel intentional.
Below are 25 Back to School Lunch Station Ideas that turn a messy morning into a smooth little rhythm—without asking you to become a different person.
Products I Recommend for This Project
Here are some of my favourite products to help you bring these ideas to life:
- mDesign Plastic Pantry Storage Bins (Set of 4) — Clean, stackable bins that make snack categories instantly obvious.
- SimpleHouseware Mesh Desk File Organizer (5 Sections) — A perfect vertical “lid file” for bento lids and small cutting boards.
- Rubbermaid Brilliance Food Storage Containers — Leak-resistant, clear containers that stack neatly for reliable bento-style packing.
- Mr. Pen Mini Chalkboard Signs with Stand — Easy mini menu boards for lunch combos and quick weekly notes.
- Command Large Utility Hooks — No-drill hooks to create a lunch bag garage on a pantry wall or cabinet side.
1. The “One Counter, One Job” Station (Bins + Bento Tower + Chalkboard)
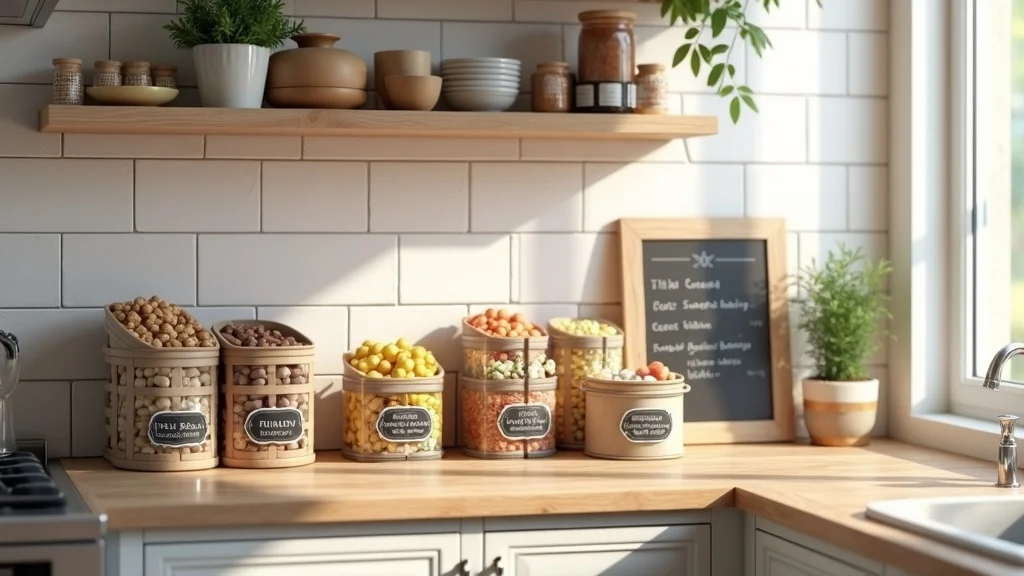
This is the cleanest way to make mornings feel less like a rummage sale: one designated counter station with labeled snack bins, a bento storage tower, and a mini chalkboard menu. It works because everything has a home, and no one has to ask where the pretzels are.
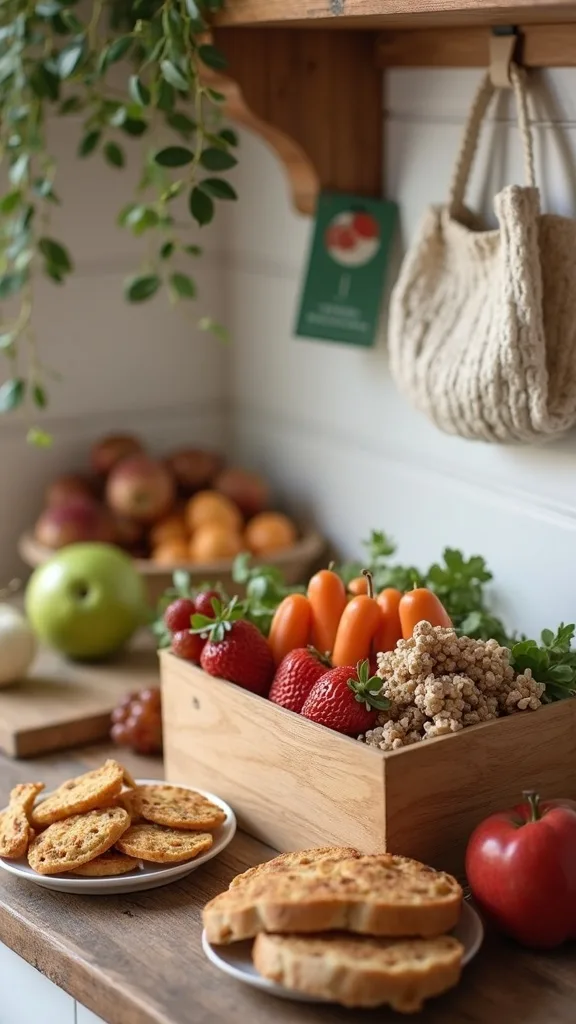
Claim a 24–36 inch stretch of counter near the fridge. Add two or three labeled snack bins (salty, sweet, “healthy-ish”), a vertical bento box storage tower for containers and lids, and a small chalkboard that lists 3 lunch combos for the week. Keep the most-grabbed bin closest to the edge so little hands don’t drag everything forward.
Go for matte plastic or woven bins—textures that don’t look messy when they’re half-full. A thrifted wooden clipboard can hold the menu if chalk feels too dusty.
Pro tip: add a shallow tray under the whole setup so you can lift, wipe, and reset in one move—like a tiny stage for your morning calm.
2. A Kid-Height “Grab Shelf” That Stops the Pantry Dig
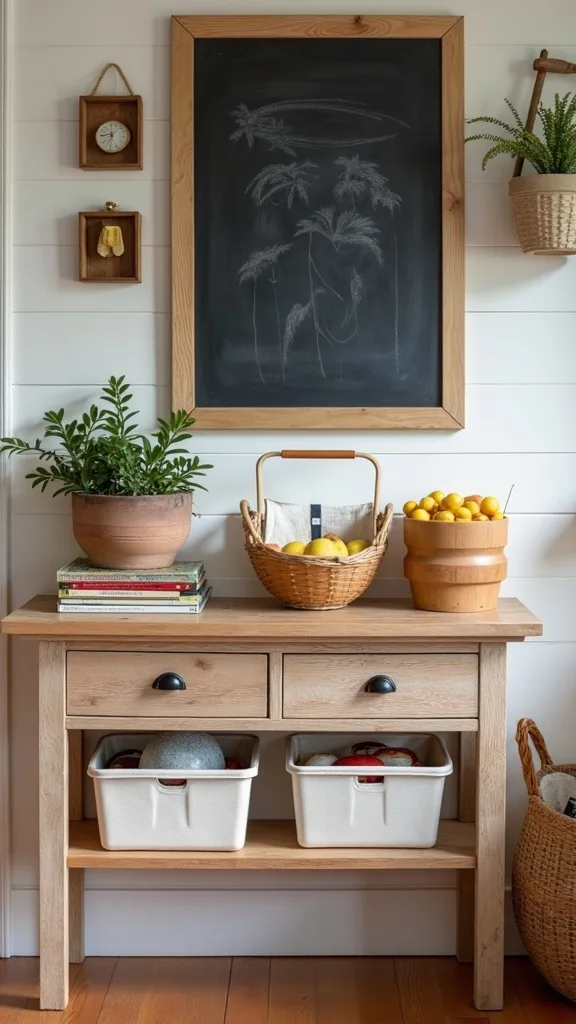
This idea is simple: give kids a single shelf that’s theirs, stocked with lunch-safe options. It works because it turns “Can I have…?” into “Choose two,” and suddenly your pantry isn’t being excavated at 7:12 a.m.
Clear one pantry shelf at shoulder height for your child, then add two bins: proteins (jerky, sunflower butter packs) and crunch (crackers, pretzels). Keep a third bin for fruit cups or applesauce if you’re okay with occasional stickiness. Set a rule: they can pick one from each bin, plus one fresh item from the fridge.
Woven water-hyacinth bins feel warm and slightly vintage, and they age well—little scuffs just make them look lived-in. Clear bins are great if you want instant inventory without thinking.
Pro tip: label with painter’s tape for week one, then upgrade to vinyl labels once you know what actually gets eaten.
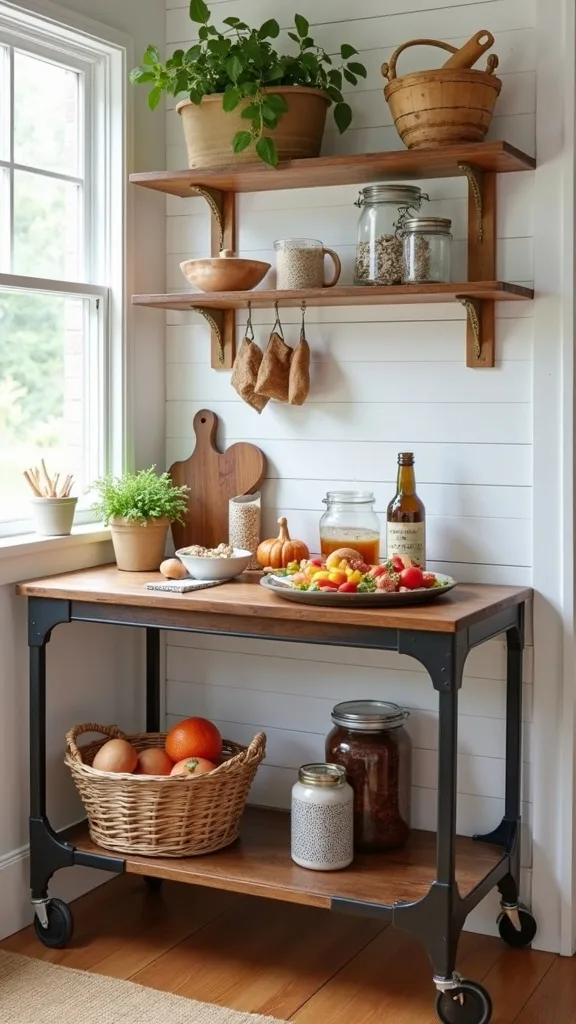
3. A Slim Rolling Cart as a Lunch Prep Station (Small Kitchens Win)
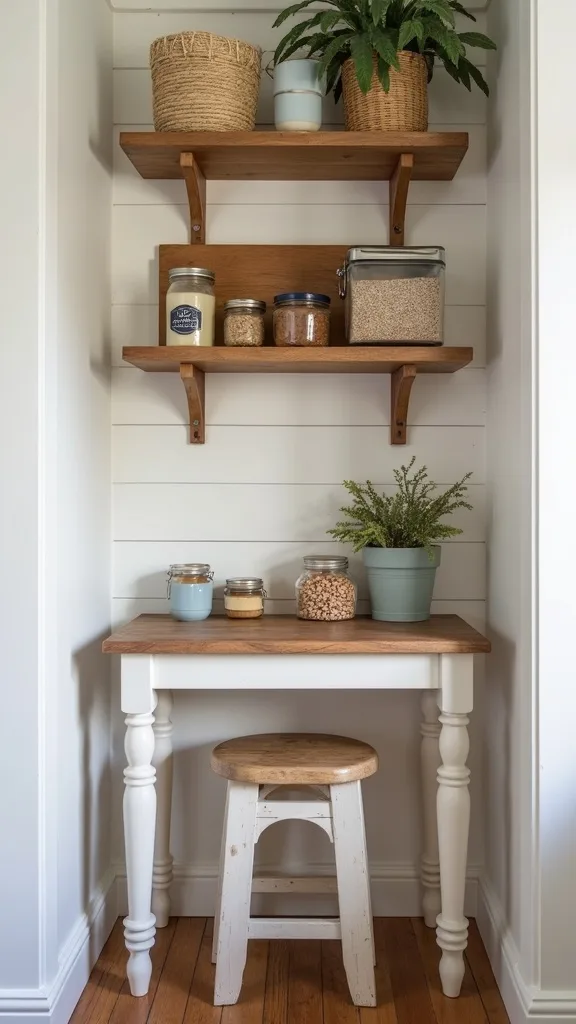
If your counter space is precious, a slim rolling cart becomes your lunch prep station without taking over the kitchen. It works because it moves where you need it—next to the fridge at night, tucked away by breakfast.
Choose a cart around 8–10 inches deep and load it in layers: top tier for daily tools (lunch bags, napkins, markers), middle for snacks, bottom for backup containers and a stash of shelf-stable sides. Roll it out during prep, roll it back when the day starts moving.
Metal carts look crisp and modern, but soften them with a linen liner or a thin cork mat so things don’t rattle. A vintage enamel tray on top gives it that effortless “found it somewhere good” vibe.
Pro tip: hook a small pair of scissors and a Sharpie on the side—tiny tools that save you from tearing packages like a raccoon.
4. A Bento Lid File (Because Lids Are the Villain)
Lids are where lunch organization goes to die. A simple lid file fixes the daily frustration and makes bento box storage feel… shockingly adult.
Use a vertical file organizer (the kind meant for magazines) and stand it inside a cabinet right above your lunch station. Sort lids by size—small, medium, large—and keep bases stacked separately. If you’re using multiple bento brands, dedicate one slot per brand so you’re not playing “will this fit?” every morning.
Look for powder-coated metal for that smooth, cool-to-the-touch finish. If you want warmer texture, thrift a wooden letter sorter and wax it—adds that soft sheen that ages beautifully.
Pro tip: retire any container that doesn’t have a matching lid today. The moment you stop “saving it just in case,” the whole system breathes again.
5. Snack Bins by Time, Not Type (AM vs PM)
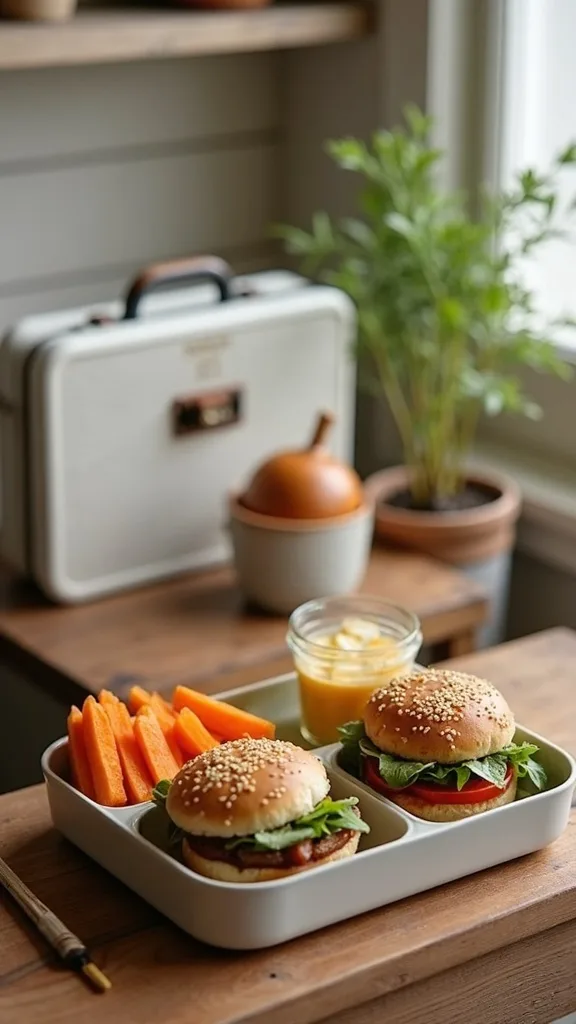
Sorting snacks by “what it is” is fine, but sorting by when it’s eaten is next-level calm. It works because it matches the school day: one bin for morning snack, one for lunch add-ons, one for after-school.
Set three bins on your kids lunch counter area and label them AM Snack, Lunch Side, and After School. Refill on Sunday with a simple rule: 7 items per bin, one per day. If something runs out midweek, don’t panic—swap in fruit or yogurt and keep the rhythm.
Clear bins make it obvious when you’re low; frosted bins hide visual clutter if your kitchen leans minimalist. Add a bamboo divider inside if your kids like variety.
Pro tip: keep the “After School” bin slightly out of reach so it doesn’t get raided at 6:58 a.m. (Ask me how I know.)
6. A Mini Chalkboard Menu That Prevents Decision Fatigue
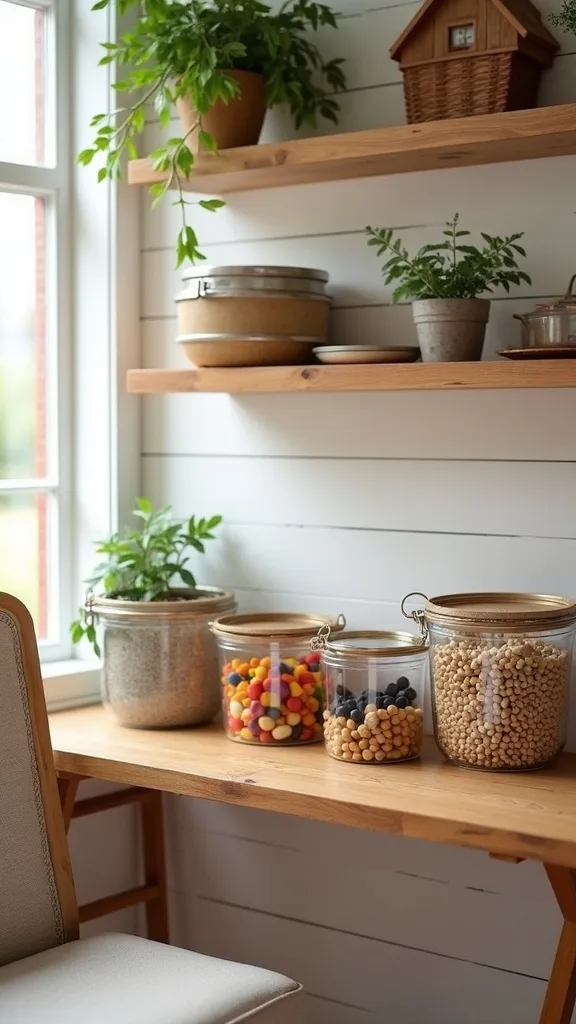
A tiny menu board sounds cute, but it’s secretly a workhorse. It works because you’re not inventing lunch from scratch every day—you’re choosing from a short, dependable list.
Hang or lean a mini chalkboard right at the lunch prep station and write three rotating combos like: “Turkey + cucumbers + chips,” “Hummus + pita + grapes,” “Sunbutter sandwich + carrots + cookie.” Keep it to three. Any more and it becomes décor instead of a tool.
Chalk feels nostalgic, a little dusty in the best way. If you prefer clean lines, use a black acrylic board with a white paint marker—same look, less smudge.
Pro tip: let kids add one “wild card” lunch per week. The station stays structured, but it still feels like theirs.
7. A “Cold Pack Parking Spot” in the Freezer
Cold packs wandering around the freezer is how you end up stuffing a room-temp pack into a lunch bag. A dedicated spot works because it removes the search.
Place a small open bin in the freezer door or on the top shelf labeled ICE PACKS. Store them flat like records, not piled like bricks. If you have two kids, label by color or initial so you’re not negotiating at 7 a.m.
Choose a bin that stays flexible in the cold—silicone or sturdy plastic. A little frost and scuffing is normal; it’s the patina of a working kitchen.
Pro tip: keep one emergency cold pack in the fridge too. It won’t be as icy, but it saves a lunch when the freezer is chaos.
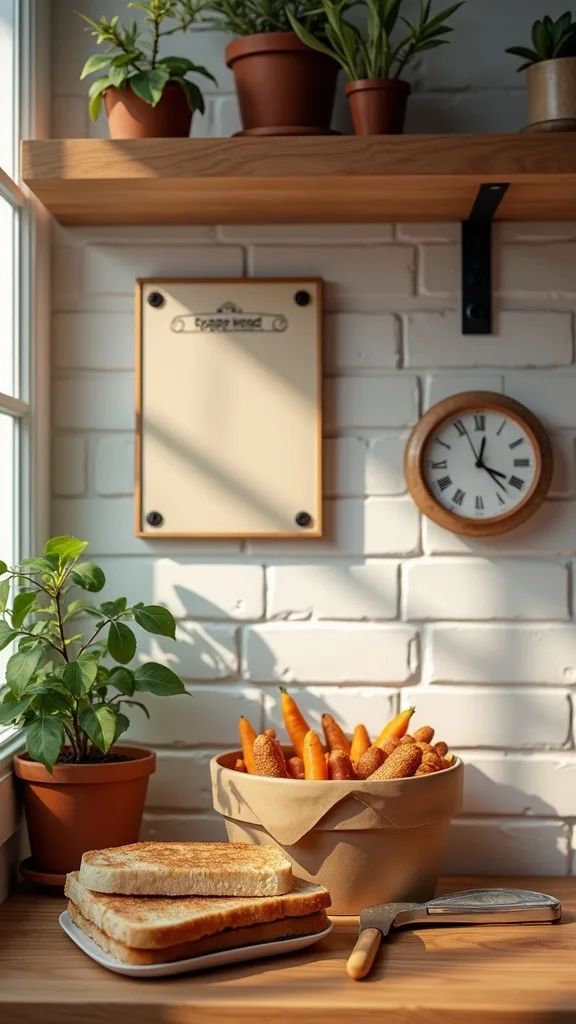
8. Countertop “Lunch Tool Caddy” for the Little Stuff
Markers, bag clips, spare napkins, tiny forks—these are the things that derail you. A tool caddy works because it keeps the small stuff visible and contained.
Use a handled caddy on the counter and divide it into zones: labels + marker, napkins, bag clips, and a small cup for toothpicks or food picks. Keep it right beside the lunch bags so you can label, pack, and go without crossing the kitchen five times.
Galvanized metal feels utilitarian in a good way; a ceramic utensil crock feels softer and more coastal. If you thrift a wooden caddy, sand the edges so it feels smooth in your hand.
Pro tip: stash a roll of painter’s tape in there. It labels everything, peels clean, and doesn’t leave sticky ghosts on containers.
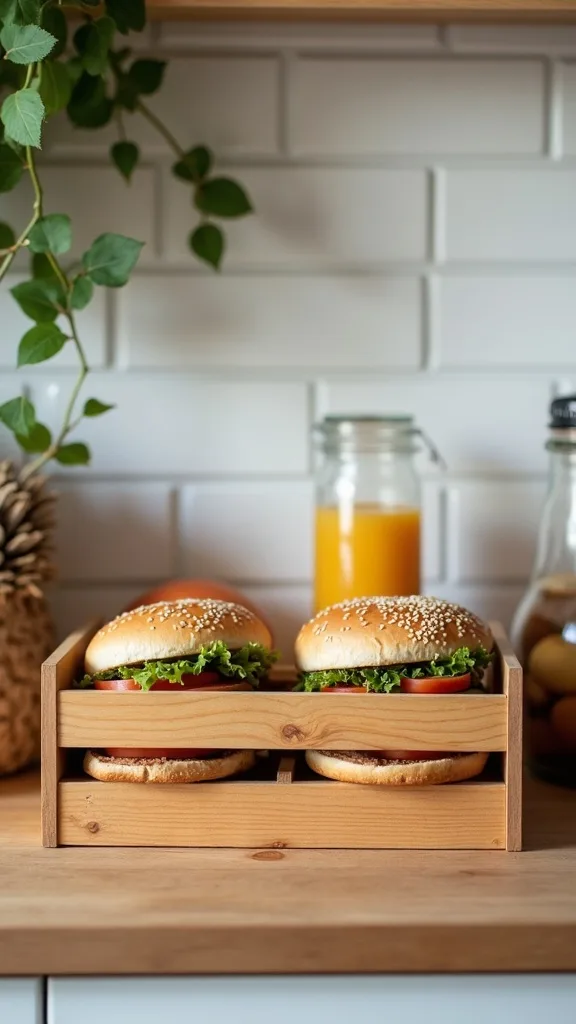
Cost & Materials Estimate
A functional, good-looking lunch prep station typically lands between $60 and $200 depending on how many bins, containers, and labels you start with.
| Item | Estimated Cost | Where to Buy |
|---|---|---|
| Set of 3 pantry bins (clear or handled) | $18–$35 | Amazon |
| Vertical file organizer (for bento lids) | $10–$18 | IKEA |
| Mini chalkboard or acrylic message board | $12–$25 | Amazon |
| Label set (chalk labels or vinyl) | $7–$15 | Amazon |
| Two-tier tray or handled counter caddy | $20–$45 | Wayfair |
Total estimated cost: $67–$138 Save money by thrifting the tray/caddy and spending a little more on bins you’ll touch every day.
9. Dedicated Kids Lunch Counter Lighting (So You Don’t Hate Mornings)
Early mornings are dim, and dim light makes everything feel harder. A small lamp or under-cabinet light works because it turns your lunch corner into a bright little island of competence.
Add a plug-in under-cabinet light strip above the station, or place a small lamp on the counter if you have an outlet. Choose warm white light (2700K–3000K — the cosy, yellowish tone you see in most homes) so it feels inviting, not clinical. Keep cords clipped neatly so it doesn’t look like a tech project.
A linen shade adds softness; it glows instead of glares. If you go modern, choose a matte finish that doesn’t show fingerprints every day.
Pro tip: put the light on a timer plug so it turns on before you wake up. Walking into that gentle glow feels like a head start.
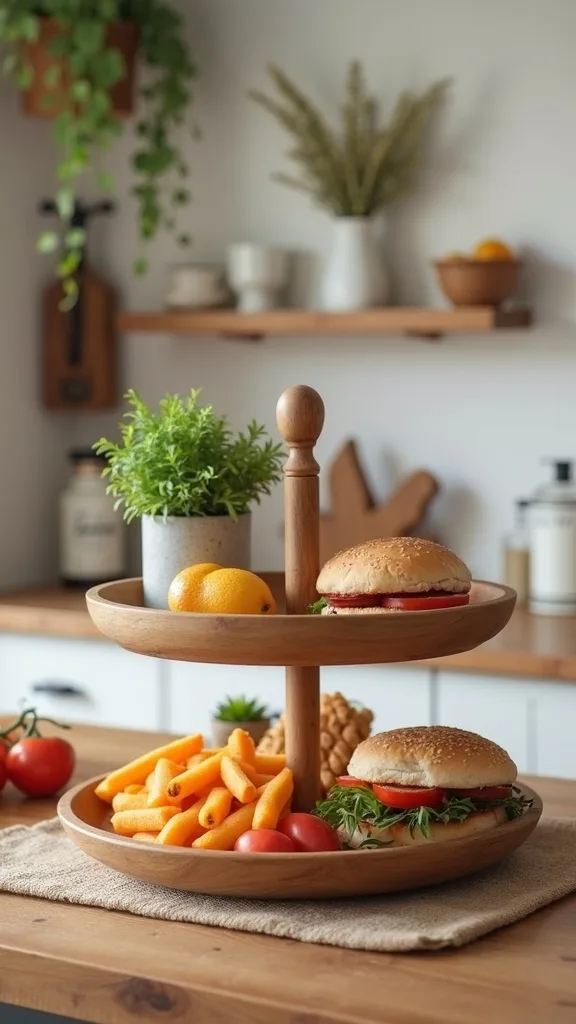
10. A Two-Tier Tray for “Pack Now” vs “Pack Later”
Not everything can be packed the night before, and pretending it can is how you forget the yogurt. A two-tier tray works because it separates what’s ready from what’s waiting.
Use the top tier for shelf-stable items and utensils. Use the bottom tier for a sticky note list: “Add cold pack, add fruit, add water.” In the morning, you’re not making lunch—you’re finishing it.
Look for a tray with a little weight to it, something that doesn’t skid when you pull a granola bar. Wood feels warm; metal feels crisp. Both look better when they’re slightly worn.
Pro tip: keep a small bowl on the tray for “one-off” items (a single cheese stick, the last applesauce). It prevents half-open boxes from living on your counter.
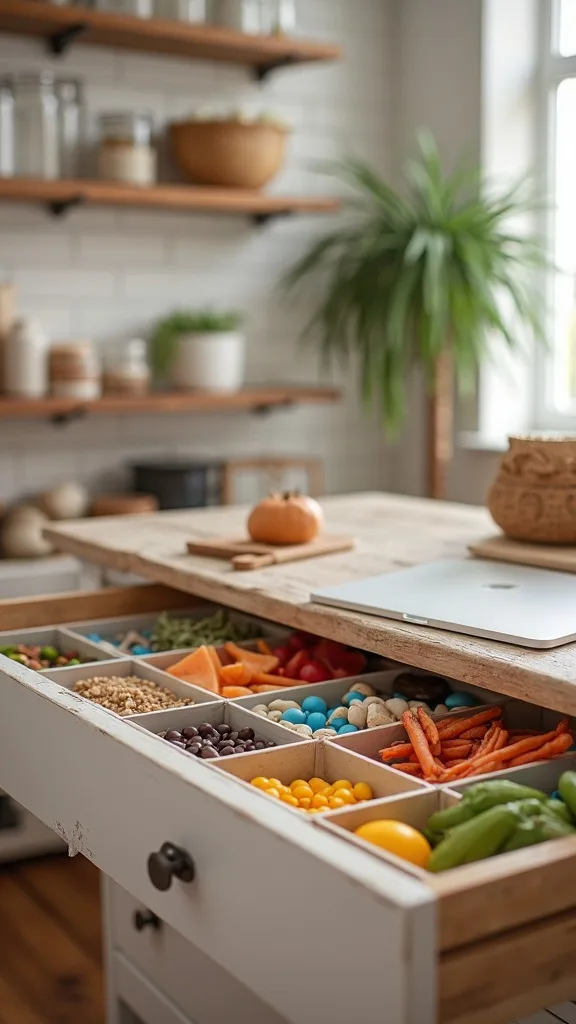
11. A Drawer Divider Setup for Bento Accessories
Bento accessories are adorable until they’re a tangled drawer situation. Dividers work because they turn the chaos into a quick grab.
Dedicate one shallow drawer near your lunch prep station for silicone cups, mini forks, and leak-proof sauce containers. Add adjustable drawer dividers so each category has a lane. Keep the most-used items at the front; the novelty picks can live in the back like a treat.
Bamboo dividers feel smooth and spa-like, and they hold up well to daily use. Clear acrylic looks modern and makes it easy to see what you’re running out of.
Pro tip: keep only one week’s worth of accessories in the “front zone.” Extras can live elsewhere so the drawer stays easy, not stuffed.
12. A Fridge “Lunch Shelf” That Ends the Door Stare
The fridge door stare is real. A dedicated shelf works because it limits choices and keeps lunch items from disappearing behind dinner leftovers.
Assign one shelf as the lunch shelf: washed fruit, yogurts, cheese sticks, pre-cut veggies. Add a clear bin for “packable” items so kids can grab without touching everything. If you prep at night, line up completed bento boxes right there.
Clear bins feel clean and modern, and they wipe out fast. Add a thin washable liner so drips don’t become a science project.
Pro tip: avoid putting the lunch shelf in the crisper. Out of sight is out of mind, and then you’re buying berries twice a week.
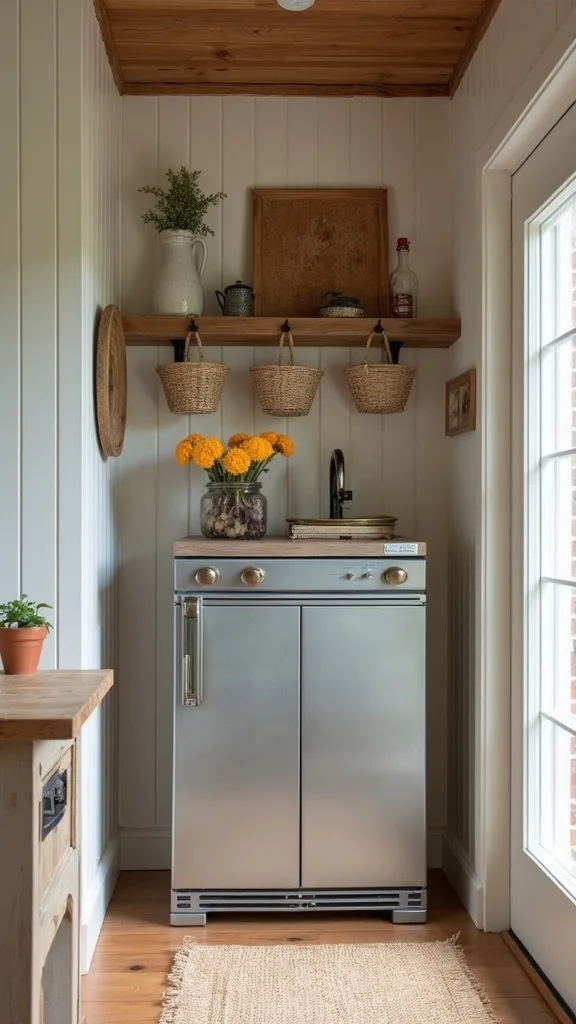
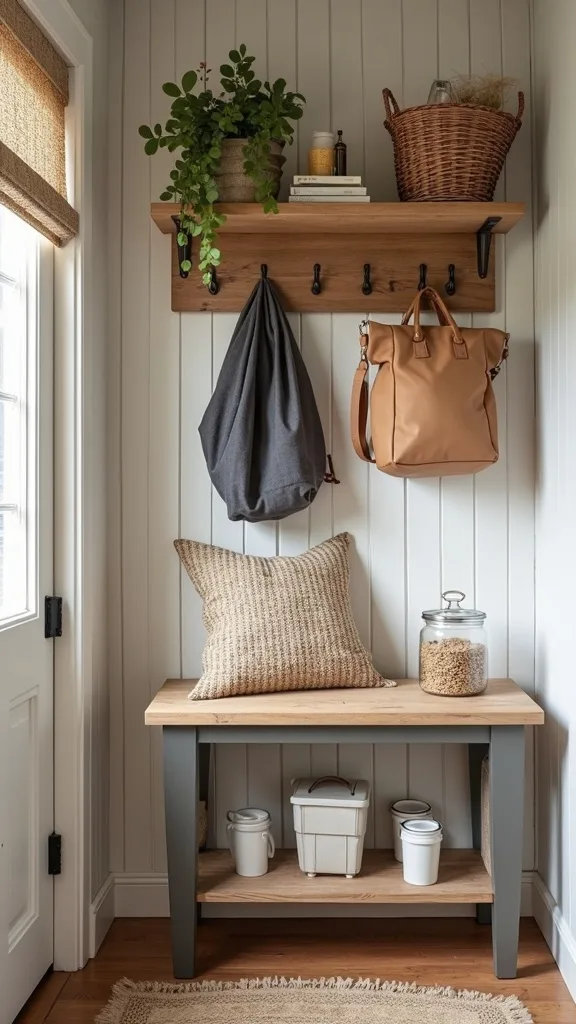
13. A “Lunch Bag Garage” Hook Rail
Lunch bags tossed on a chair is how they get forgotten, stepped on, and slowly destroyed. A hook rail works because it gives bags a home with airflow.
Mount a simple rail with 3–5 hooks on the side of a cabinet or pantry wall near the station. Hang lunch bags, reusable snack pouches, and even the water bottle carrier. Keep the hooks spaced so bags don’t overlap—wet fabric needs breathing room.
Brass hooks patina beautifully and feel a little vintage. Matte black is modern and disappears visually, which is nice if your kitchen is already busy.
Pro tip: add one extra hook labeled EMPTY—that’s where bags go after school, so they’re always returned to the zone.
14. An After-School Unpack Bin (So It Doesn’t Hit the Counter)
After school, everything lands somewhere. Give it a landing spot that isn’t your clean counter. This works because it creates a one-step habit: drop, unpack, rinse.
Place a medium bin near the entry to the kitchen labeled UNPACK LUNCH. Kids drop their lunch bag inside, then you empty it at your convenience. Keep a small towel nearby for quick wipe-downs and a spray bottle of dish soap + water for sticky spots.
Choose a bin that’s easy to wipe—smooth plastic or sealed wood. A vintage bushel basket looks great, but line it with a washable cloth so it doesn’t absorb mystery juice.
Pro tip: if you can, position this bin within three steps of the sink. The shorter the distance, the more it actually happens.
15. The “One Lunch Per Kid” Basket System
If you pack for multiple kids, separate baskets stop mix-ups and last-minute label drama. It works because each child has their own lane from start to finish.
Set two or three baskets on the counter—one per kid—with their name on the front. During prep, every item goes into that basket until it’s packed. In the morning, the basket becomes the staging area: lunch bag, water bottle, snack, done.
Canvas bins feel soft and relaxed; they fold when you don’t need them. Wire baskets are sturdy and give that airy, industrial look—especially nice against a wood counter.
Pro tip: keep a mini dry-erase tag on each basket for notes like “field trip” or “no nuts.” It’s a tiny upgrade that saves big headaches.
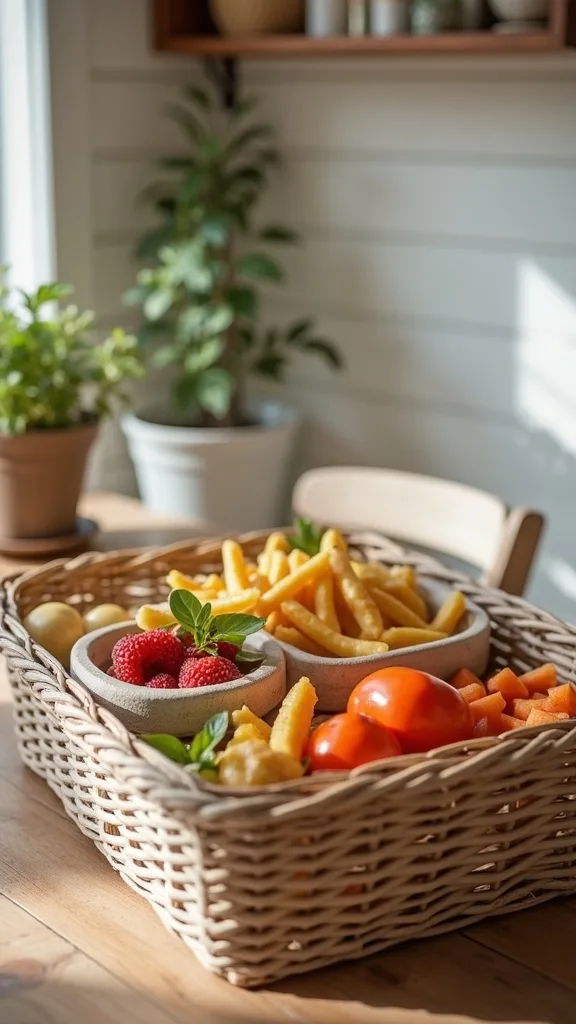
16. A Cutting Board “Prep Dock” That Lives on the Counter
If you’re slicing fruit every day, putting the cutting board away is just extra friction. A prep dock works because it makes lunch prep feel like a quick ritual, not a whole production.
Keep one medium cutting board (around 12×18 inches) standing in a vertical rack at the station. Pair it with a small compost bin or a bowl for scraps. When you prep, everything stays contained—then you rinse and slide it back into place.
Wood boards feel warm and get better with age, especially if you oil them occasionally. If you prefer low-maintenance, a dishwasher-safe board is fine—just choose one that doesn’t scar instantly.
Pro tip: avoid glass cutting boards. They’re loud, hard on knives, and the sound alone can ruin your morning mood.
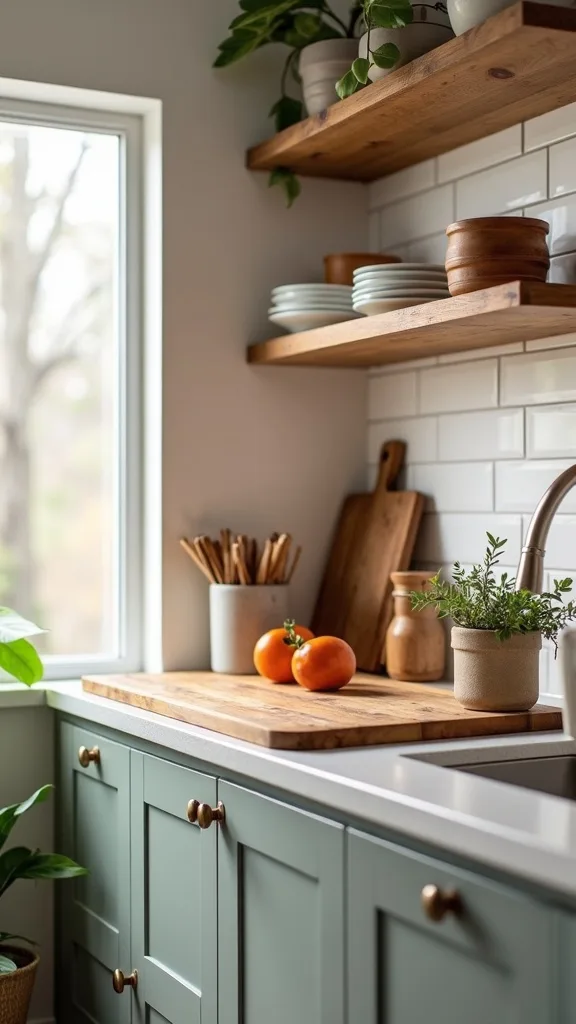
17. A “Weekly Restock” Note That Makes Snacks Last
Snacks disappear fast when there’s no plan. A weekly restock note works because it keeps you from overbuying random things and underbuying what actually gets eaten.
Clip a small notepad to the inside of a cabinet door near the station. Make three columns: Running Low, Out, and “Never Again.” When someone finishes the last granola bar, they mark it. On grocery day, you shop the list instead of guessing.
A kraft paper notepad feels casual and vintage; a clean white pad looks modern. Either way, keep a pen attached with string so it doesn’t wander.
Pro tip: if you’re doing any kind of back to school lunch ideas planning, this is the unglamorous piece that actually makes it sustainable.
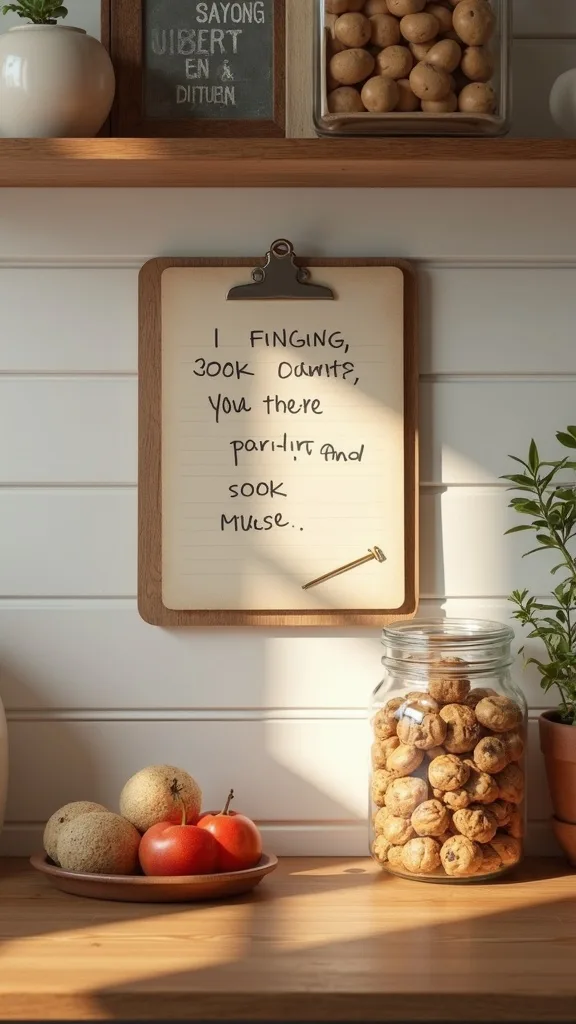
18. A Bento Box “Drying Zone” That Doesn’t Take Over the Sink
Wet bento boxes stacked in the sink is a fast track to mildew vibes. A drying zone works because it gives containers airflow and keeps your sink usable.
Set a slim drying rack on the counter near the station, specifically for lunch containers and lids. If space is tight, use a foldable rack and store it vertically when it’s not in use. Make it a rule: containers dry there, then go straight into the bento storage tower.
Stainless racks feel clean and hold up. Bamboo racks add warmth, but they like to be dried fully so they don’t warp over time.
Pro tip: keep a small microfiber cloth nearby for quick drying when you’re in a rush—because sometimes you need that container now, not later.
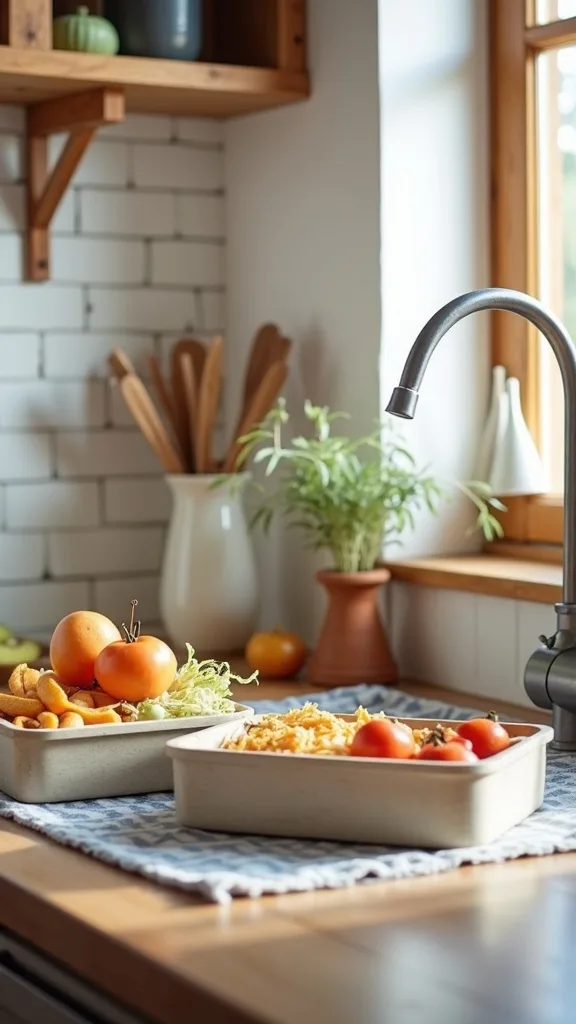
19. A “No-Prep” Snack Bin for the Truly Wild Mornings
Some mornings you’re not making a curated lunch. You’re surviving. A no-prep bin works because it gives you a backup plan that still feels intentional.
Fill one bin with shelf-stable, single-serve items: applesauce pouches, packaged trail mix (nut-free if needed), crackers, fruit leather. Keep it at the front of the pantry so it’s the first thing you see when time is slipping. Pair it with a simple protein from the fridge and call it done.
Use a bin that’s easy to grab with one hand—smooth sides, no snaggy weave. Neutral colors keep it from looking like a kid explosion in your kitchen.
Pro tip: avoid stocking only sugar-forward snacks. The crash is real, and you’ll feel it at pickup when everyone’s suddenly feral.
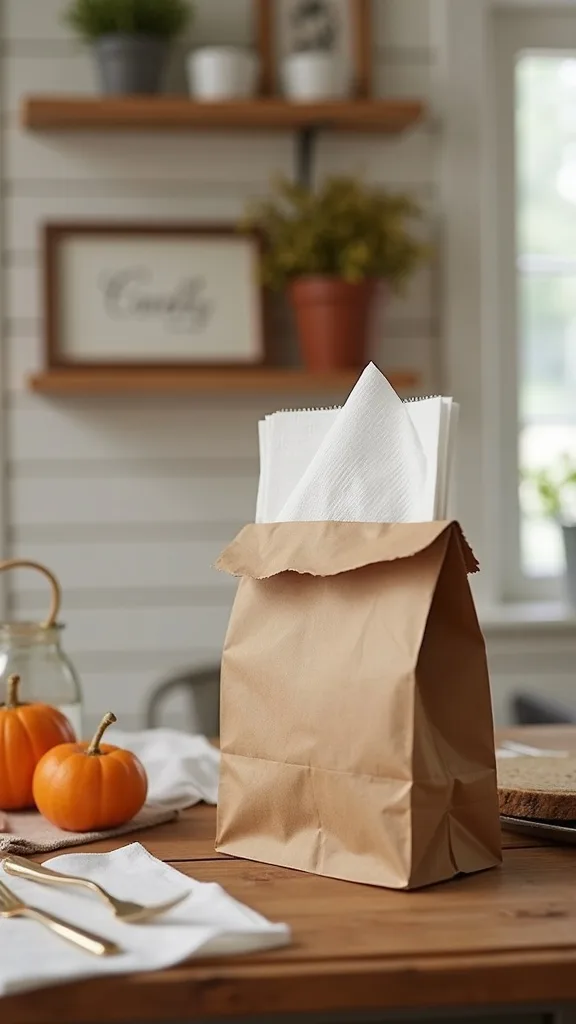
20. A Paper Bag + Napkin Dispenser Setup (Old-School, So Easy)
If you’re mixing reusable and disposable lunches, a paper-bag station is a nice throwback that still works. It works because it speeds up packing and keeps supplies from being scattered across drawers.
Store paper lunch bags upright in a canister or magazine file near the station, with napkins in a simple dispenser. Add a small jar for twist ties or stickers. When you’re in a hurry, you can build a lunch in under two minutes without hunting.
Kraft paper bags look good in a casual, coastal kitchen—especially next to wood and stone. Choose a dispenser with a little weight; flimsy ones slide around and get annoying fast.
Pro tip: write the lunch combo on the bag. It’s weirdly satisfying, and it helps kids actually remember what they asked for.
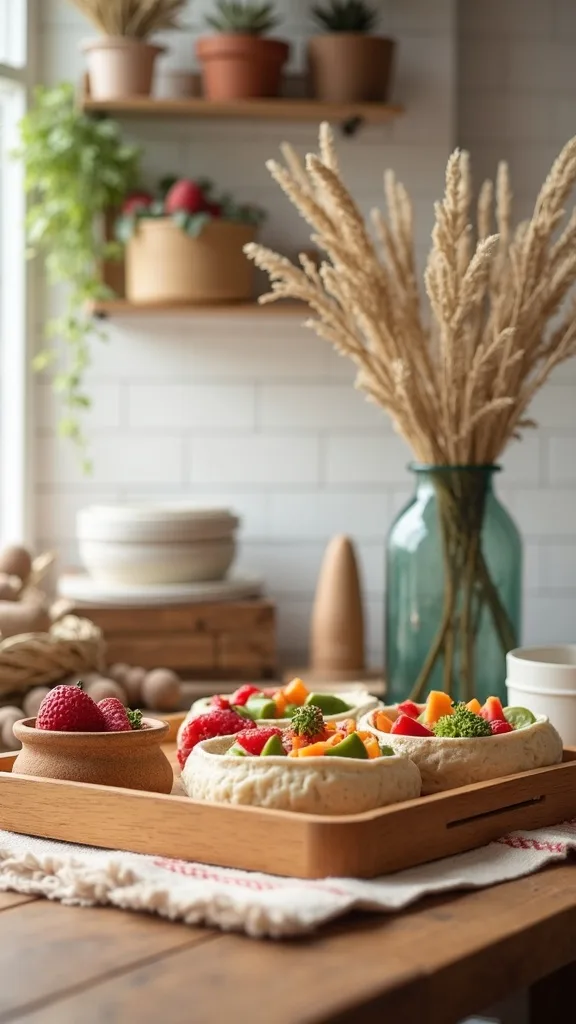
21. A “One-Container Rule” to Simplify Bento Box Storage
Too many container shapes is the hidden clutter behind most lunch stations. The one-container rule works because it reduces decision-making and makes storage stack clean.
Pick one main bento style and commit for weekday lunches. Keep a small set of backup containers for exceptions, but don’t let them multiply. Stack bases together, file lids vertically, and store accessories in one drawer tray so everything feels cohesive.
Choose containers with a finish that doesn’t look cloudy after washing. Soft-touch silicone lids feel nice in the hand, and they age better than brittle plastic.
Pro tip: avoid buying “cute” sets that don’t seal well. Leaks turn your lunch prep station into a stain-removal station, and nobody has time for that.
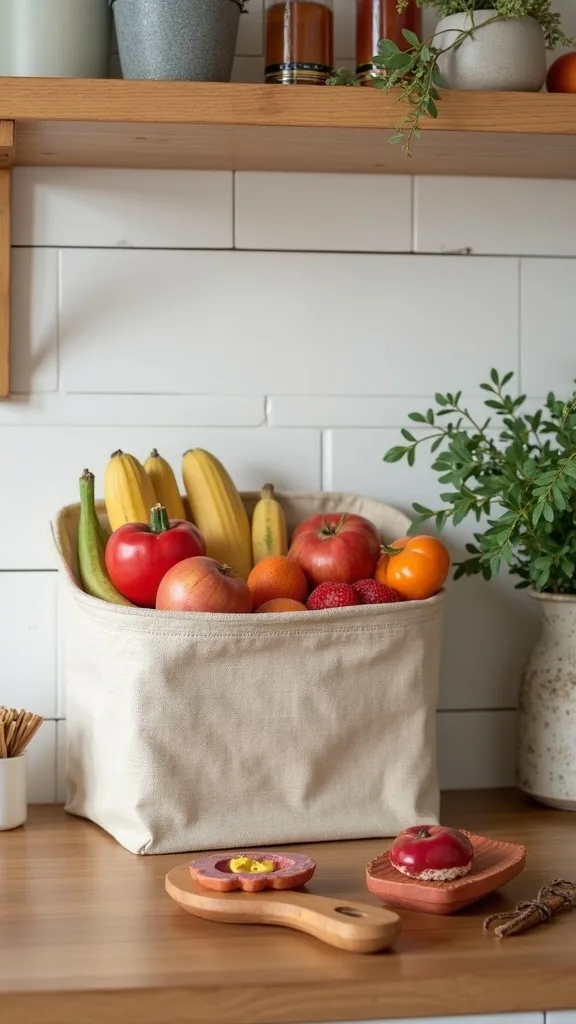
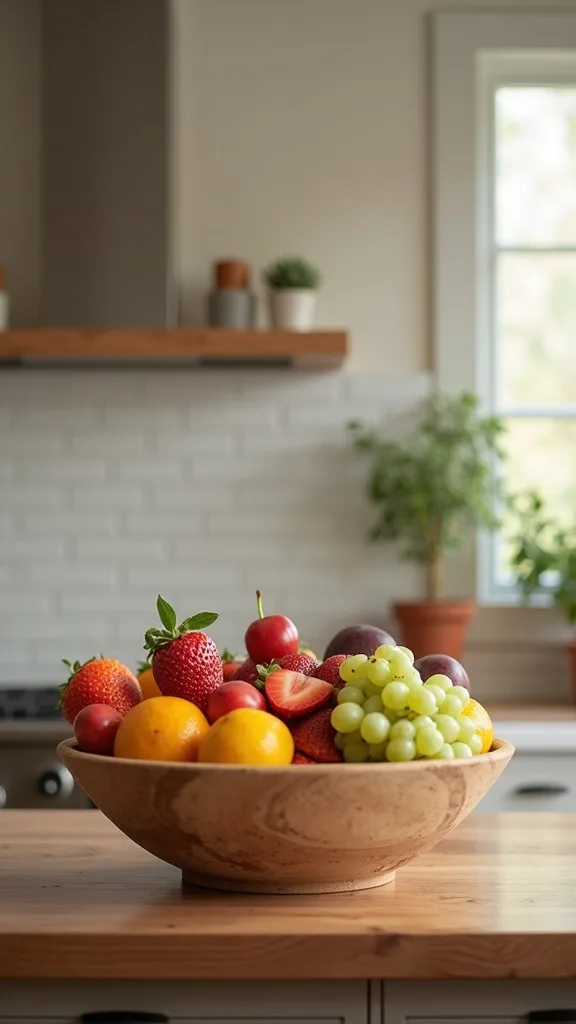
22. A Countertop Fruit Bowl That’s Actually for Lunch
A fruit bowl can be décor, sure—but it can also be a lunch tool. It works because it keeps fresh options visible, so they get packed before they go sad.
Place a shallow bowl on the station stocked with apples, mandarins, and bananas. Keep it shallow so fruit doesn’t bruise under its own weight. If you wash fruit ahead of time, add a small tea towel underneath—soft, breathable, and it catches drips.
Stoneware feels grounded and slightly vintage; wire bowls feel airy and modern. Either way, let it patina—little marks mean it’s being used.
Pro tip: keep berries in the fridge, not the bowl. Counter heat makes them turn fast, and then your “healthy option” becomes compost.
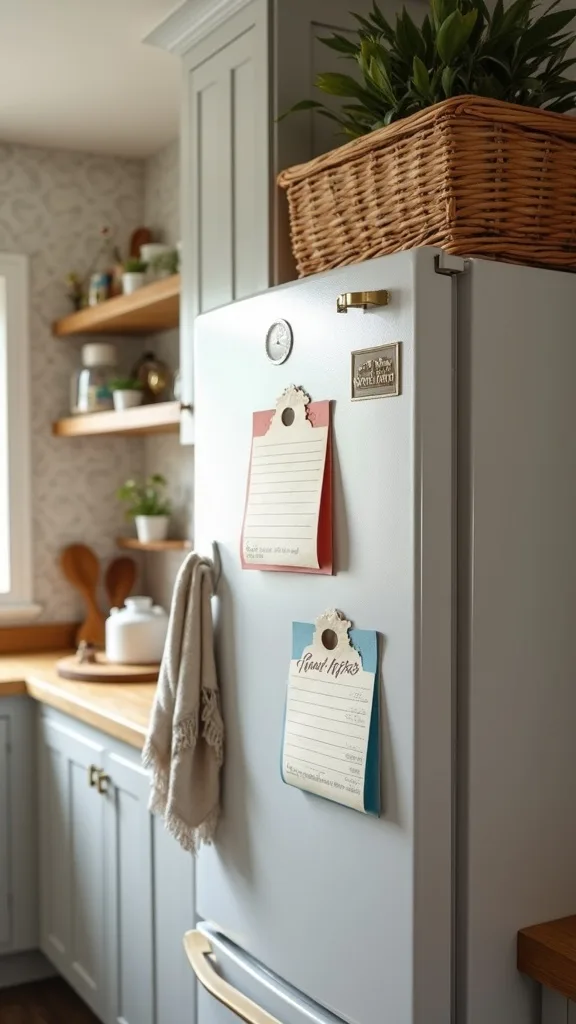
23. A Magnetic “Lunch Notes” Spot on the Fridge
Lunch notes are tiny, but they change the mood. A dedicated spot works because it’s easy to keep up with—no digging for paper, no hunting for pens.
Add a magnetic notepad and pen to the fridge right beside your lunch shelf. Write quick notes like “Good luck on your quiz” or “Tell me one funny thing today.” Keep it short so it stays doable, even when you’re tired.
Choose a clean, minimal notepad if your kitchen is modern, or a retro-style one if you like a little vintage charm. Either way, the tactile act of tearing off a note feels sweetly analog.
Pro tip: avoid guilt-notes (“Eat your veggies!”). Keep it light. The station should feel like support, not surveillance.
24. A “Pack the Night Before” Routine Corner (Without Perfection)
Night-before packing is the calmest version of school mornings, but only if it’s realistic. This works because you prep what you can, then leave a clear finish line for the morning.
Set a small tray at the station for completed items: napkins, utensils, shelf-stable snacks, empty bento boxes ready to fill. Add a sticky note that lists the cold items to grab in the morning. If you have time, pre-fill water bottles and line them up in the fridge door.
A tray in warm wood or matte black keeps it feeling intentional, not like stuff left out. A linen napkin under the tray softens the whole scene.
Pro tip: don’t try to prep everything. Focus on removing the annoying steps so mornings feel like a glide, not a grind.
25. The “Reset in 5 Minutes” End-of-Day Station Sweep
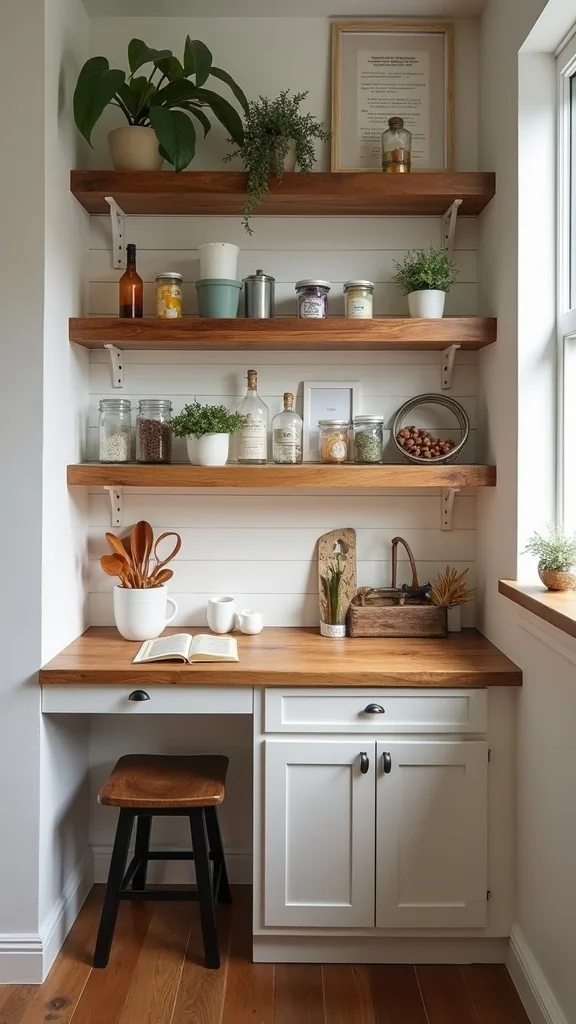
The secret to a lunch station that lasts is the reset. It works because tomorrow’s ease is built in tiny increments, not big weekend overhauls.
Set a timer for five minutes after dinner: refill one snack bin, stack containers back into the bento tower, wipe the counter, and update the chalkboard menu if needed. Put anything stray into the unpack bin so your counter stays clean. If you do nothing else, just make sure lunch bags are back on the hooks.
Keep a small spray bottle of gentle cleaner and a soft cloth in the station so wiping feels effortless. Choose materials that forgive you—matte finishes, wipeable surfaces, baskets that don’t show every crumb.
Pro tip: this is where back to school lunch ideas become a lifestyle, not a one-week experiment—small resets that make the whole kitchen exhale.
Final Thoughts
A lunch station isn’t about being the kind of person who has matching everything. It’s about removing the small daily frictions—the lid hunt, the snack chaos, the decision spiral—so your kitchen can be a kitchen again.
If there’s one thing to avoid, it’s building a system that only works when it’s fully stocked and perfectly reset. Real life is half-full bins, slightly damp lunch bags, and a kid announcing they “don’t like that anymore” on a random Tuesday. Choose forgiving materials, keep the categories simple, and let the station look a little lived-in.
Do one thing today: clear a 24-inch strip of counter, set down two labeled snack bins, and park a mini chalkboard menu right next to them. When you walk in tomorrow morning and everything you need is waiting in the same place, the whole room feels quieter—like the day is yours again.
What I’d Do Differently
When I first tried this, I treated my lunch station like a mini convenience store—too many options, too many tiny packages, too many containers that didn’t match. I had three different “cute” bento styles, plus random lids that belonged to nothing, and every morning started with me pulling out a stack and whispering, “Where are you?” like the lid was going to answer. The mistake was thinking variety would make mornings easier. It did the opposite. The correct approach is to pick one main container system, give it a dedicated home (vertical for lids, stacked for bases), and keep the snack bins tight—three categories max—so the station stays calm even when it’s half-empty.
I also wish I’d started with painter’s tape labels for the first week instead of committing to permanent labels on day one. Your family will tell you what works by what disappears first. Start small, adjust fast, and then lock it in—set up one 24-inch counter zone tonight and let tomorrow morning feel different.