This post contains affiliate links. As an Amazon Associate, I earn from qualifying purchases at no extra cost to you.
The garage is the only room in the house where clutter is allowed to pretend it’s “temporary” for years. One broken rake becomes five, summer pool floats migrate onto the hood of the car, and suddenly you’re doing a sideways shuffle just to reach the freezer.
This guide covers a practical garage reset built for real households: a simple zone system, a fast declutter flow, and a few small storage moves that make fall garage organization feel effortless instead of aspirational. You’ll get specific setups for seasonal tools, a sports zone, and a car care station—plus the labels and floor-tape layout that keeps everything from drifting.
This is perfect for homeowners who want a tidy, good-looking garage without custom cabinetry, contractor quotes, or a weekend lost to decision fatigue.
The best ideas inside are the ones that prevent re-clutter: a “one-touch” donation exit, vertical parking for awkward gear, and garage storage fall upgrades that cost less than a dinner out but change how the space works.
Below are 25 Garage Cleanout & Fall Prep Organization that…
Products I Recommend for This Project
Here are some of my favourite products to help you bring these ideas to life:
- ScotchBlue Original Multi-Surface Painter’s Tape (2-inch) — Makes crisp, removable floor zones so your system has clear boundaries.
- IRIS USA 27-Gallon Clear Storage Totes with Latching Lids — Clear, stackable bins that make seasonal swaps faster because you can see what you own.
- HORUSDY Heavy Duty Garage Utility Hooks (10-Pack) — Affordable hooks for rakes, shovels, bikes, and awkward gear that steals floor space.
- Brother P-touch PTD210 Label Maker — Fast, readable labels that keep bins from turning into mystery boxes.
- Rubbermaid Roughneck Heavy-Duty Shelf (or similar heavy-duty shelving unit) — A sturdy, no-fuss way to create “walls” of storage without custom cabinets.
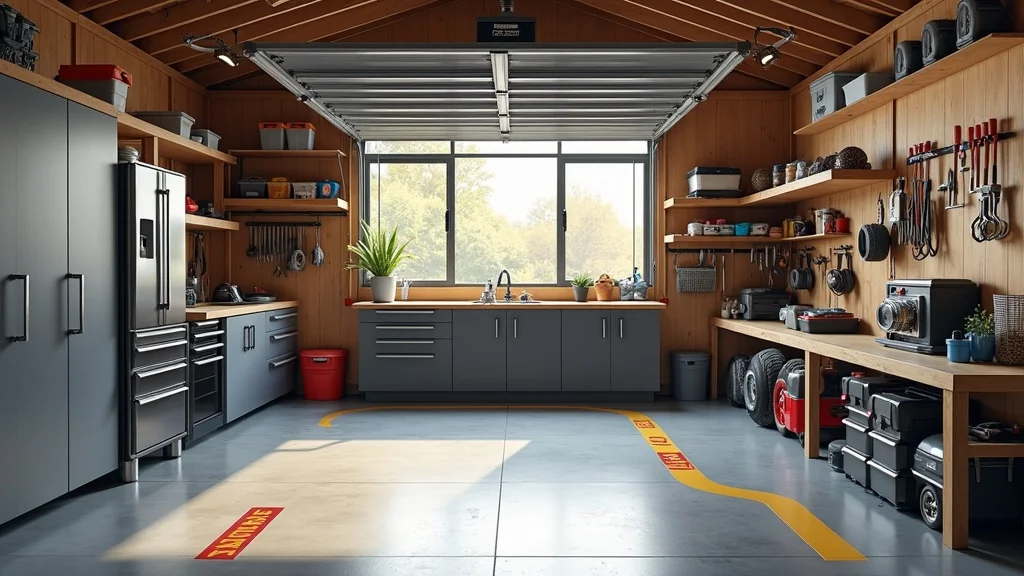
1. Lay Out a Floor-Tape Zone System (Seasonal Tools, Sports, Car Care)
This idea is exactly what it sounds like: you draw your garage’s “map” on the floor, then you keep items inside their borders. It works because clutter isn’t a storage problem—it’s a boundary problem, and visual limits stop the slow creep.
Start by sweeping and then using 2-inch painter’s tape to mark three rectangles: seasonal tools (near the door to the yard), sports zone (near the house door), and a car care station (closest to the garage door). Leave a 24–30 inch walking lane so you’re not stepping over bins. When something doesn’t fit its zone, it’s a signal to reduce, hang, or re-home.
Choose tape in high-contrast colors (blue for sports, green for tools, yellow for car care) and add simple label cards in clear sleeves. If you want it to look more finished, upgrade to vinyl floor tape.
Pro tip: make the zones slightly smaller than you think you need—constraints create calm, and calm is what makes a garage stay organized.
2. Do a 30-Minute “Door-to-Back” Clear Path First
This is the fastest way to feel progress before you touch a single bin. It works because a clear path reduces friction, and friction is what makes you abandon a project halfway through.
Set a timer for 30 minutes and clear one uninterrupted lane from the garage door to the back wall. Don’t sort deeply yet—just move items into their closest future zone or into one temporary “staging pile” along a side wall. If something is broken, it goes straight into a trash bag, no debate.
Keep it simple: one large contractor bag, one empty tote for “belongs in the house,” and one box for donations. Neutral black bags and a lidded tote keep the visual mess from spiking while you work.
Pro tip: stop at 30 minutes even if you want to keep going. Ending with a win makes tomorrow’s round easier—and consistency beats marathon motivation.
3. Use the “Four-Bin Sort” to Declutter Without Overthinking
If you’re trying to declutter garage chaos, decision fatigue is the real enemy. The four-bin sort works because it forces fast, clean choices with no “maybe” pile that grows teeth.
Set out four containers: Keep (garage), Keep (house), Donate/Sell, Trash/Recycle. Touch each item once and place it immediately—no setting things back down “for later.” For anything you haven’t used since last fall, ask one question: would I pay $20 to buy this again today? If not, it’s likely not worth the square footage.
Use laundry baskets or cardboard boxes as budget-friendly bins; matching totes are nicer, but not required at this stage. Add large, readable labels with a marker so helpers don’t ask you questions every two minutes.
Pro tip: put Donate/Sell directly into your trunk as you fill it. A donation that never leaves the garage is just clutter with better intentions.
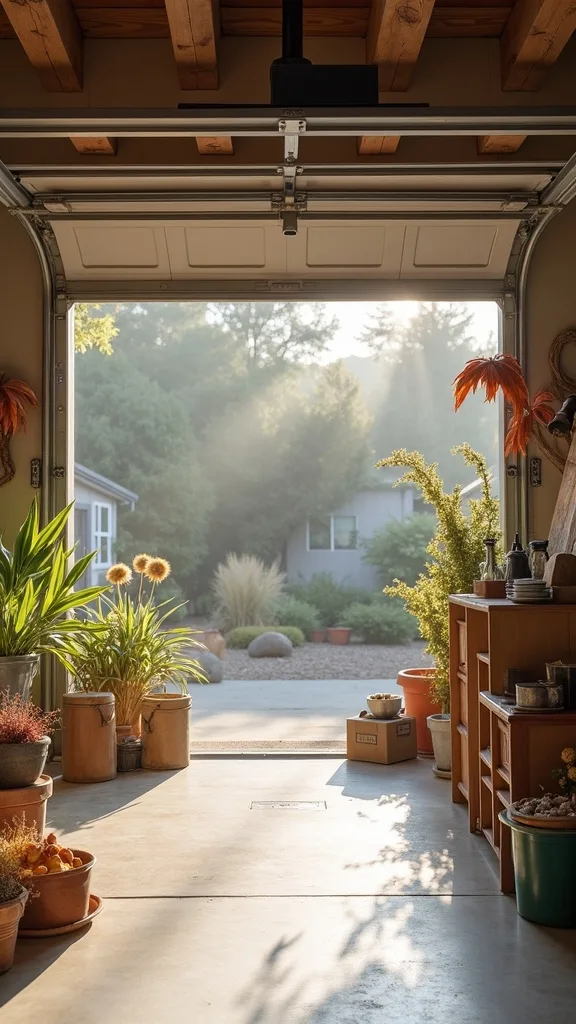
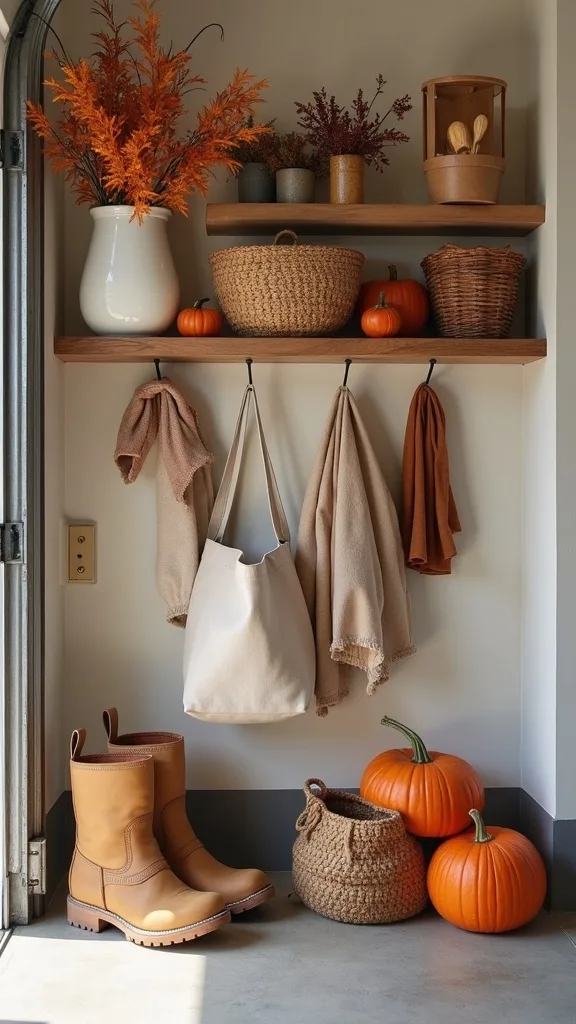
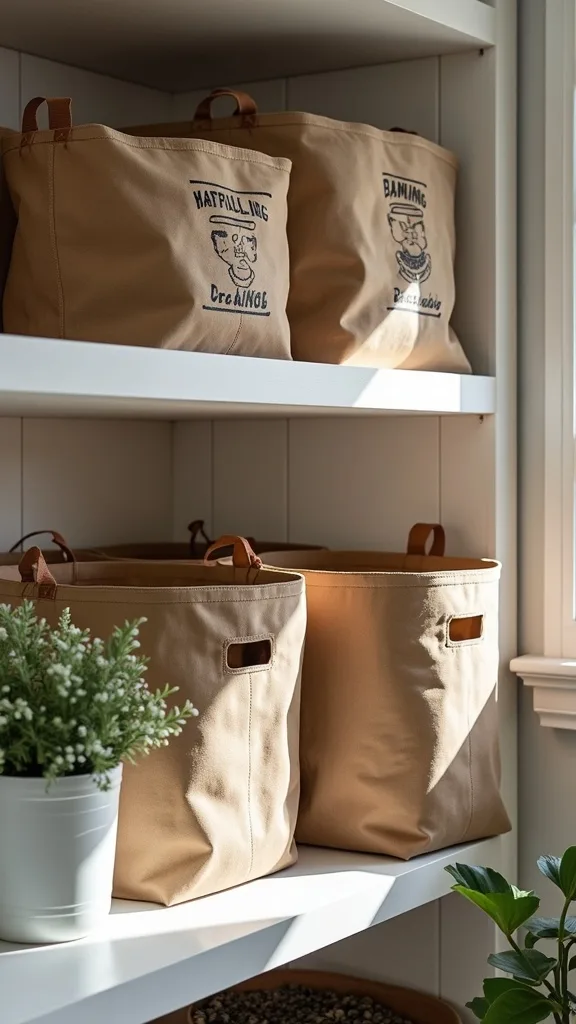
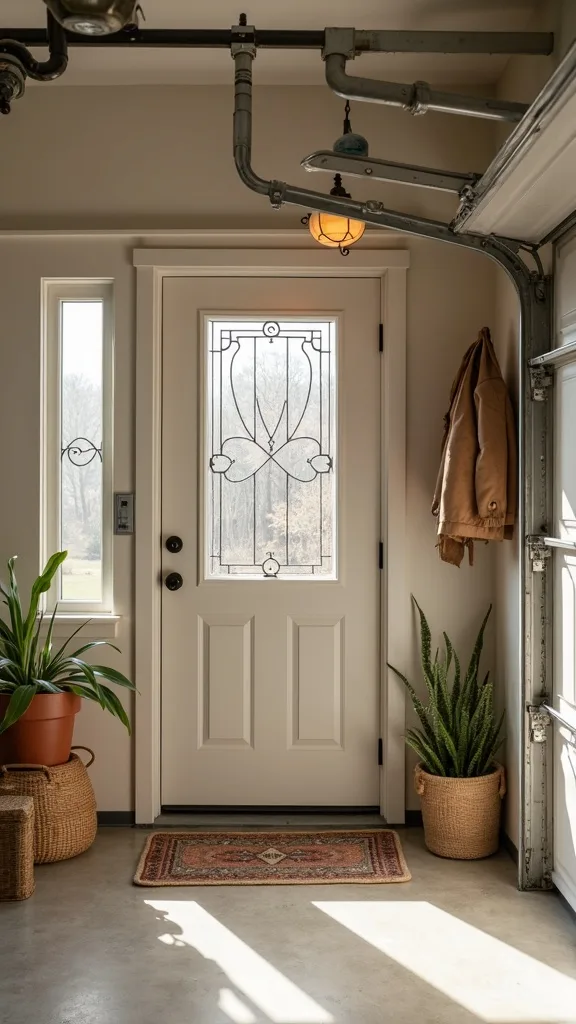
4. Create a “Fall Arrival” Shelf for Leaf Bags, Gloves, and Boots
Fall brings a new category of mess: leaf bags, muddy boots, and gloves that vanish exactly when you need them. A dedicated arrival shelf works because it captures the season’s daily-use items at the point of entry.
Install a simple 36-inch wire shelf or repurpose a sturdy bookcase near the door to the yard. Keep the top shelf for leaf bags and paper yard-waste liners, the middle for gloves and small tools in a bin, and the bottom for boots on a tray. If you’re tight on space, a wall-mounted shelf plus two hooks can do the same job.
Choose a dark boot tray (black or charcoal) so it looks intentional even when it’s messy. Add one labeled bin for cold-weather accessories so you’re not hunting inside the house.
Pro tip: store one extra pair of work gloves here. The “backup pair” is what keeps the system functioning when life gets busy.
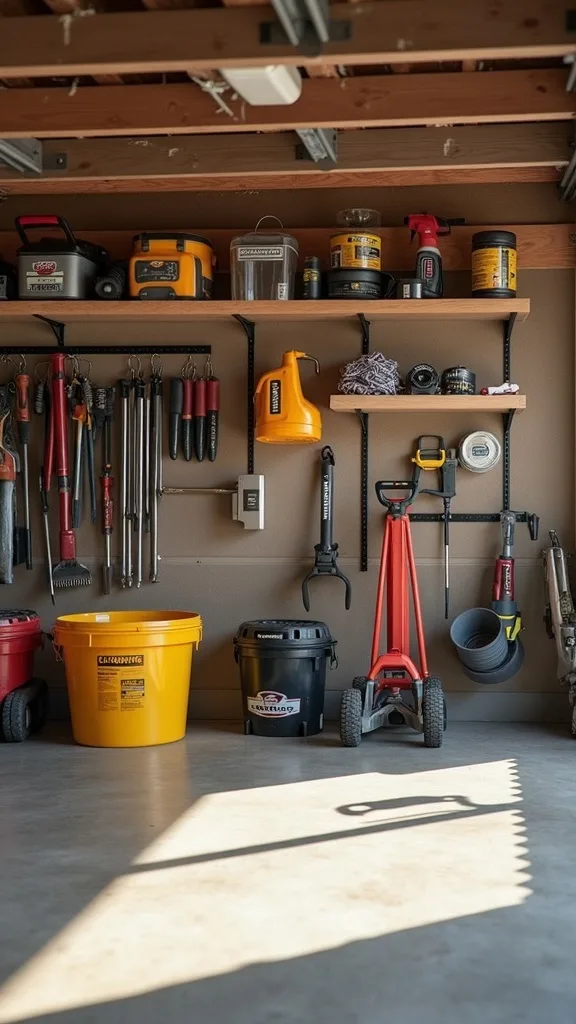
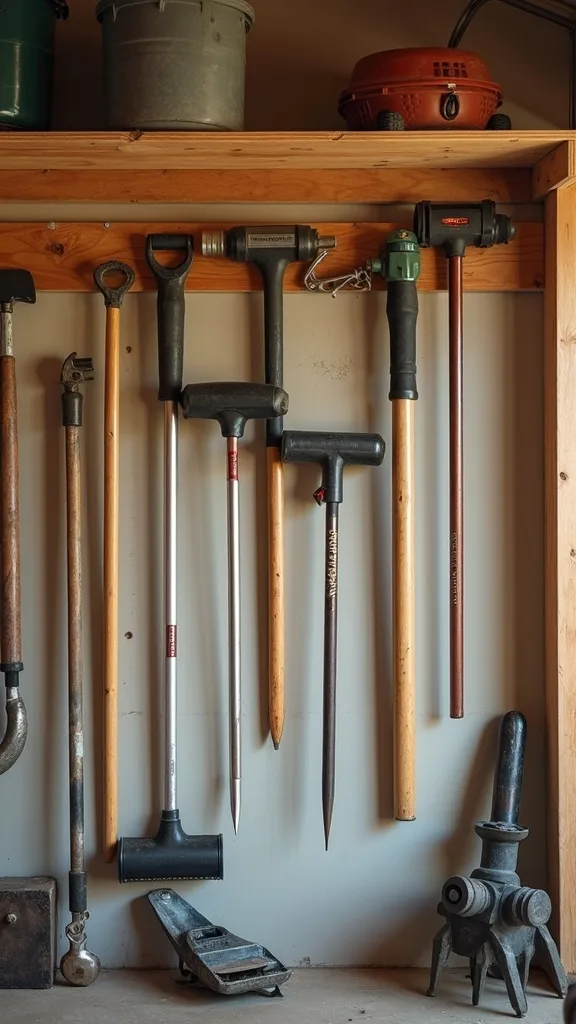
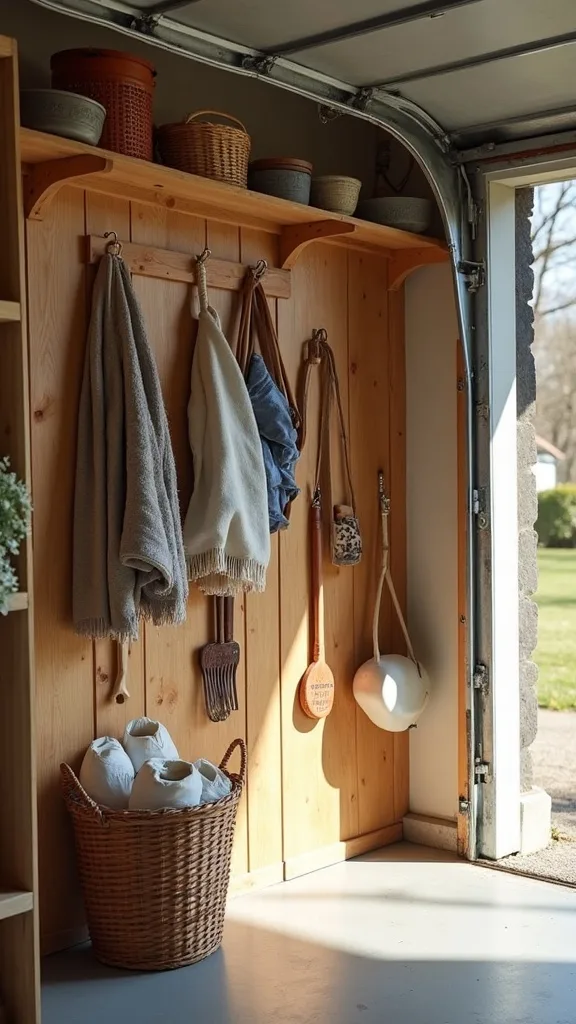
5. Hang Long-Handled Tools Vertically to Free a Full Square Yard
Rakes and shovels are floor-space thieves. Hanging them works because vertical storage uses the wall, not your parking spot, and it prevents the domino effect of leaning tools.
Mount a wall tool rack (or two heavy-duty utility hooks per tool) in the seasonal tools zone. Place the rack at a height where the tool heads don’t hit the floor—usually 10–12 inches up from the ground. Group by function: rakes together, digging tools together, and pruning tools in a small caddy.
If you want it to look clean, choose one consistent metal finish (black is forgiving) and keep tool handles facing the same direction. Budget option: a strip of plywood with evenly spaced hooks.
Pro tip: leave one empty hook. That “open slot” becomes a pressure release valve for the next new tool, instead of a reason the whole wall collapses into clutter.
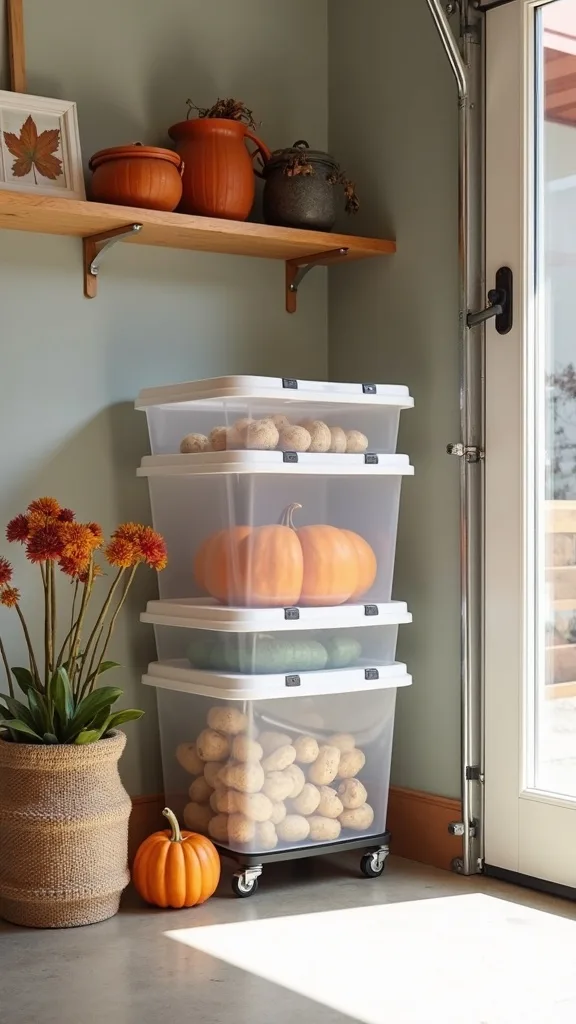
6. Switch to Clear, Stackable Totes for Seasonal Decor
Cardboard boxes feel harmless until they collapse and multiply. Clear totes work because you can see what you own without opening everything, which prevents accidental duplicates.
Pick one tote size (27-gallon is a practical sweet spot) and commit to it for holiday decor and seasonal gear. Label two sides and the lid with a simple category: “Fall Decor,” “Winter Lights,” “Outdoor Entertaining.” Stack them in the seasonal tools zone or along the back wall, with the heaviest on the bottom.
Choose clear bins with latching lids; the small upgrade is worth it when you’re dealing with moisture and dust. If cost is tight, mix clear bins for the most-used seasons and reuse sturdy opaque bins for the rest.
Pro tip: store an index card inside each bin listing what’s inside. It’s low-tech, but it makes your future self feel wildly organized.
7. Build a Sports Zone with One “Drop Bin” Per Person
Sports gear becomes garage clutter because it’s shared but not managed. A sports zone works because it assigns ownership, and ownership keeps items from migrating.
In the taped sports zone, place a cube shelf or a simple rack and give each person one labeled drop bin. Helmets go in the bin, balls go in a mesh bag hung on a hook, and bats/sticks go upright in a tall bin. Keep frequently used gear at chest height so kids can actually put it away.
Choose bins in one color family (gray, navy, black) so the area looks calm even when it’s full. Budget alternative: milk crates with zip-tied labels.
Pro tip: add a small “missing pieces” basket. When a glove loses its mate, it doesn’t derail the whole system—it just has a place to wait.

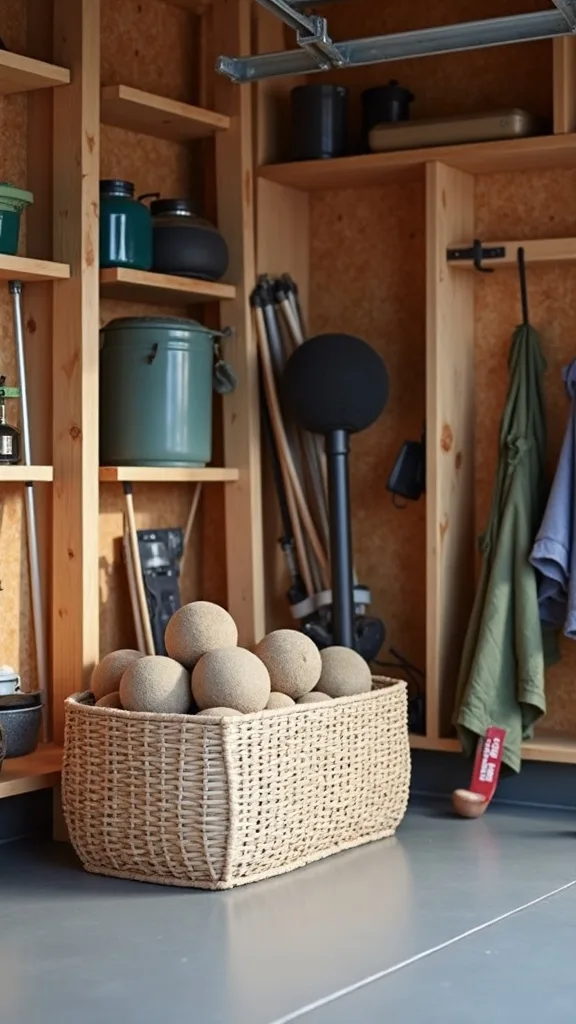
8. Add a Ball Corral to Stop the Roll-and-Chase Routine
Loose balls are the fastest way to make a tidy garage feel chaotic. A ball corral works because it contains round items in a vertical footprint and makes cleanup almost automatic.
Use a tall wire bin, a rolling laundry hamper, or a DIY corral with bungee cords across a narrow frame. Place it at the edge of the sports zone so it’s the first thing kids see when they walk in. Keep the opening accessible—if it’s hard to use, it won’t get used.
Wire or mesh is ideal because you can see inventory at a glance. If you prefer a more finished look, choose a black metal bin that matches your hooks.
Pro tip: set a capacity rule: when the corral is full, one ball leaves before another comes in. That single boundary prevents a slow takeover.
Cost & Materials Estimate
Most fall garage organization resets land between a low-cost labeling/zone refresh and a modest storage upgrade, depending on how many bins and wall hooks you add.
| Item | Estimated Cost | Where to Buy |
|---|---|---|
| 2-inch painter’s tape (multi-pack for floor zones) | $12–$22 | Home Depot |
| Clear 27-gallon latching storage totes (set of 4) | $68–$96 | Amazon |
| Heavy-duty wall utility hooks (10-pack) | $18–$30 | Lowe’s |
| Label maker (basic handheld model) | $24–$40 | Amazon |
| Heavy-duty storage shelving unit | $79–$140 | Home Depot |
Total estimated cost: $201–$328 Save money by reusing boxes for the first sort and spending first on hooks and labels; splurge on matching totes only after your categories are stable.
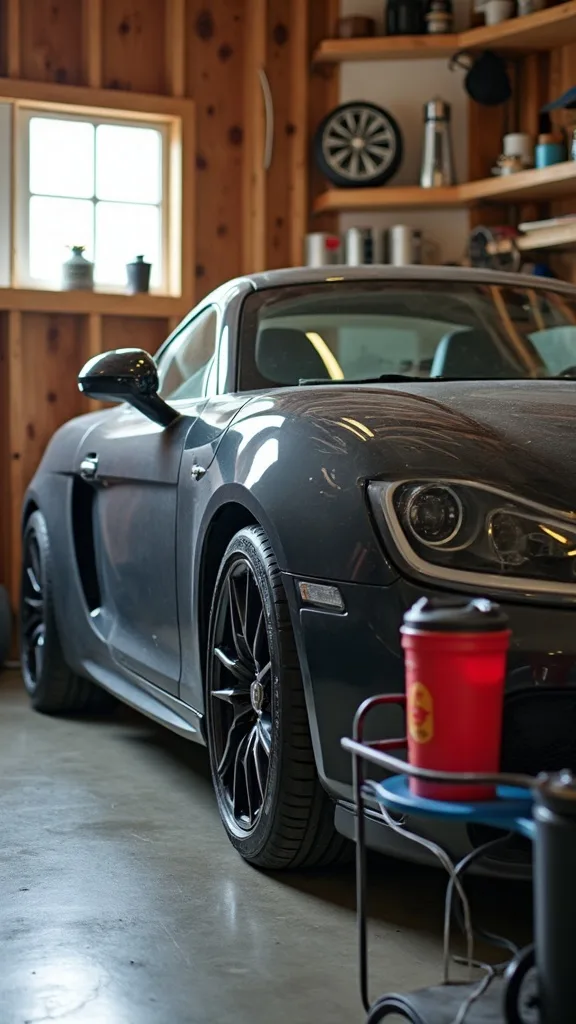
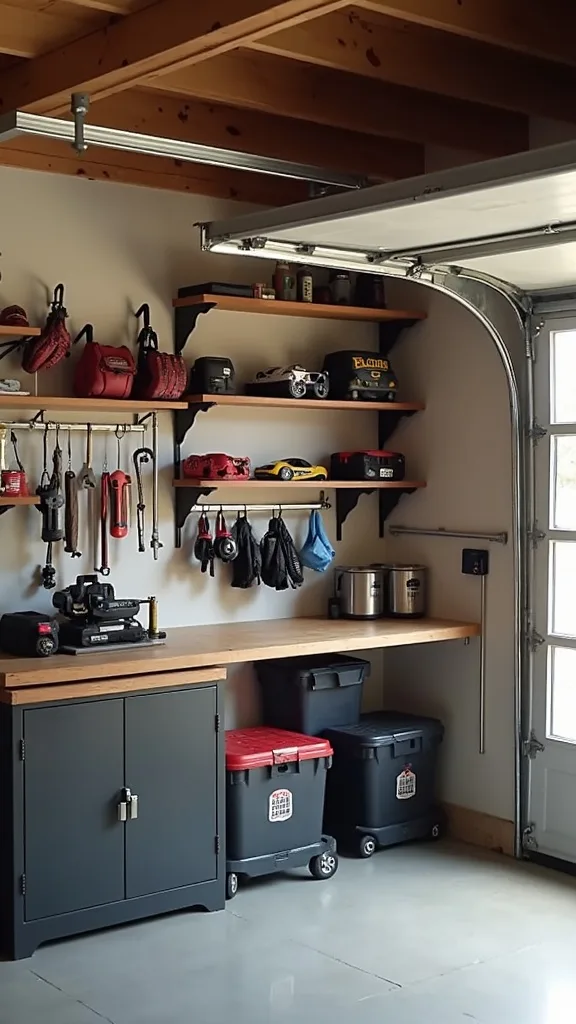
9. Create a Car Care Station with a Single Caddy and a Drip Tray
Car supplies scattered across shelves look messy and get lost fast. A car care station works because it consolidates “maintenance” into one grab-and-go kit.
In the taped car care zone, place a small shelf or wall-mounted basket and keep everything in one handled caddy: microfiber cloths, glass cleaner, tire shine, and a small trash bag roll. Add a drip tray or oil-change pan on the bottom shelf for anything that might leak.
Choose a caddy that’s easy to carry to the driveway. Dark plastic hides grime; a simple label makes it feel intentional. If you’re going ultra-budget, a sturdy tote bag works surprisingly well.
Pro tip: keep duplicates out of this zone. One of each product is plenty—extras belong in a backstock bin, not scattered where they create visual noise.
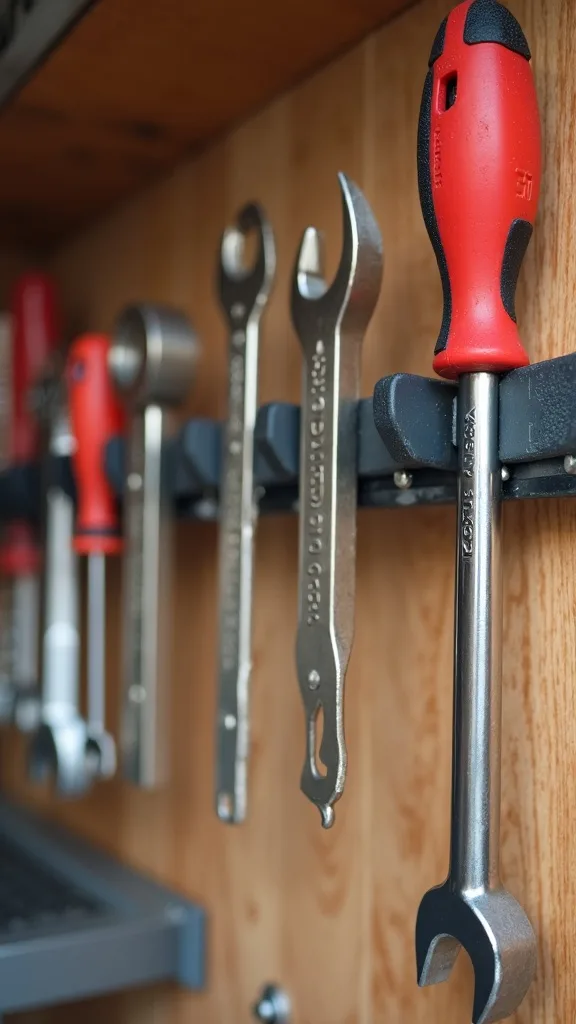
10. Use a Magnetic Strip for Small Metal Tools and Bits
Small tools disappear because they don’t have a home with enough “stickiness.” A magnetic strip works because it stores items in plain sight and keeps them off surfaces where they get buried.
Mount a magnetic tool holder near your workbench or in the seasonal tools zone. Line up screwdrivers, pruners (if metal), and small shears. Keep sharp items out of kid reach—higher placement is safer and cleaner looking.
Choose a black or stainless strip to match common garage hardware. If you don’t want to drill into drywall, mount it to a small board first, then secure the board into studs.
Pro tip: leave a 2-inch gap between tools so you can grab one without knocking the rest down. The goal is effortless use, not a museum display.
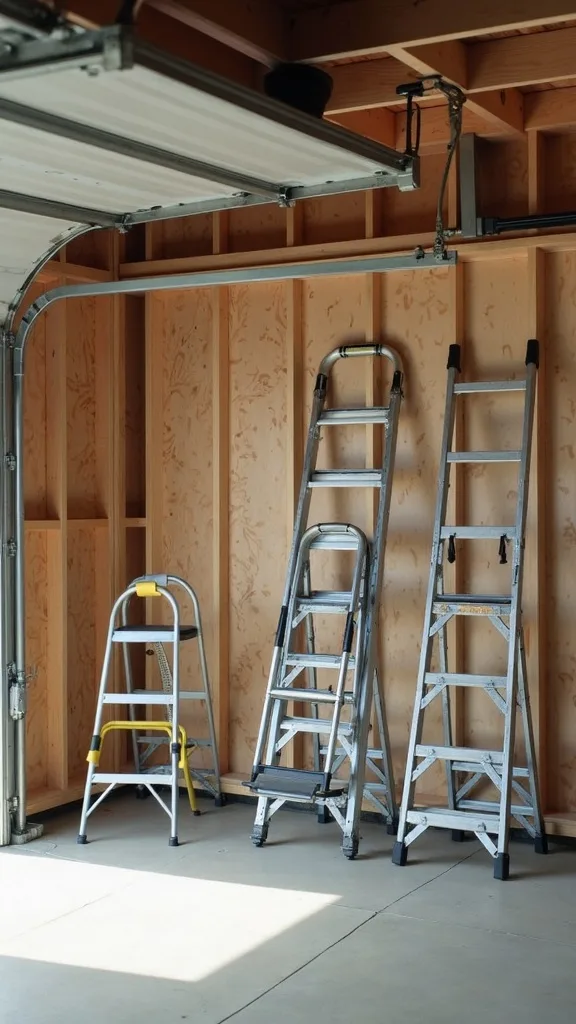
11. Install Two Ceiling Hooks for Ladders and Folding Chairs
Bulky, flat items are perfect for overhead storage. Ceiling hooks work because they use dead air space while keeping the floor clear for parking and walking.
Locate ceiling joists and install heavy-duty hooks rated for the load. Hang folding chairs, a step ladder, or even lightweight sawhorses. Keep the hooks within reach of a stable step stool—this is storage, not a circus act.
Choose coated hooks to prevent scratching and reduce squeaks. If you’re renting or avoiding ceiling installs, a vertical ladder wall mount is the next best option.
Pro tip: never store anything overhead that you wouldn’t feel comfortable catching. Seasonal decor totes? Maybe. A box of old dumbbells? Absolutely not.
12. Make One “Backstock” Bin to Stop Duplicate Purchases
Garages collect duplicates because we can’t see what we already own. A backstock bin works because it creates one controlled place for extras, instead of five half-used bottles in five corners.
Designate a single lidded tote labeled “Backstock: Paper + Cleaning + Auto.” Put extra windshield fluid, shop towels, trash bags, and batteries inside. Store it on a higher shelf so it’s accessible but not in the daily-use zone.
Pick an opaque bin for backstock so it doesn’t visually compete with your everyday storage. Add a simple list taped to the lid: what’s inside and what’s running low.
Pro tip: when you open the last of something, write it on the lid list immediately. That tiny habit saves real money—because “I think we’re out” is how duplicates happen.
13. Set Up a Donation Exit Spot Right by the Door
Most garages don’t stay organized because the “out” system is missing. A donation exit spot works because it keeps momentum—items leave the house before they have time to settle back in.
Place a medium bin or box near the interior door labeled “Donate This Week.” When you find something you don’t need, it goes straight in. When the bin is full, it goes to the car trunk—no exceptions.
Choose a bin that looks intentional, not like another random box. A simple handled tote works well and doesn’t snag on everything.
Pro tip: avoid a “sell pile” unless you have a specific plan and a date. Selling is a hobby; donating is a system. If your goal is space, choose the system.
14. Avoid the “Maybe Shelf” (It’s Just Clutter in Disguise)
The thing to avoid: creating a shelf for items you’re not sure about. It feels responsible, but it works against you because it delays decisions and invites more indecision.
Instead, create a tiny “quarantine” box with a deadline: 14 days. If you don’t retrieve the item in that window, it gets donated or tossed. Keep the box small on purpose—shoebox size is enough to be useful without becoming a storage unit.
Use a lidded container and a bold label like Decide by Sept 15. If you want it to look tidy, pick a neutral bin that stacks.
Pro tip: write the deadline on painter’s tape on the lid. When the date passes, you don’t need to re-argue with yourself—you simply follow the plan you already made.
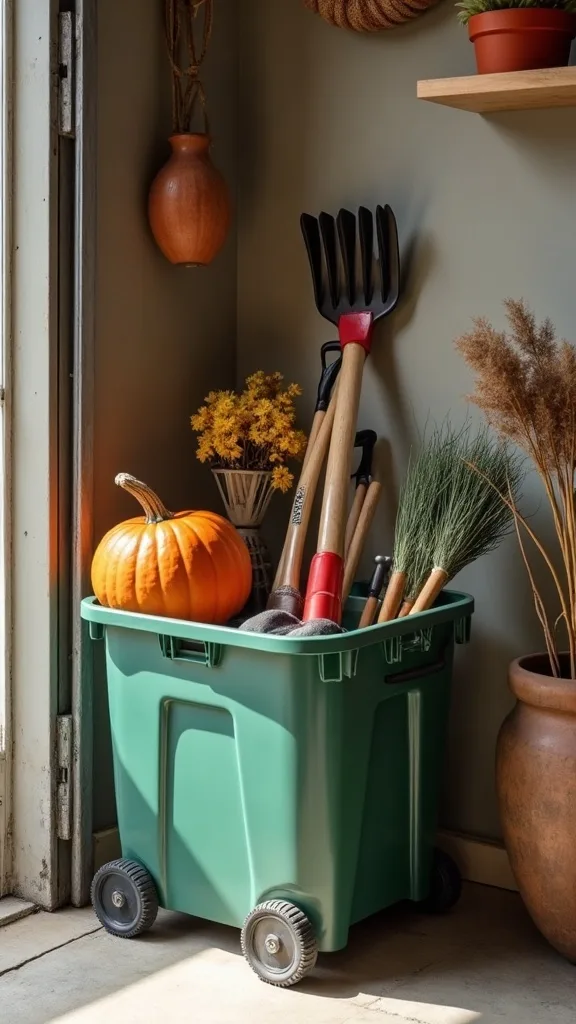
15. Group Fall Yard Tools in a Rolling Bin for Easy Grab-and-Go
Seasonal garage prep gets smoother when tools move as a set. A rolling bin works because it brings everything to the driveway or yard in one trip.
Use a rolling trash can, garden cart, or large tote on casters and load it with leaf rake, hand rake, pruners, twine, and yard-waste bags. Park it inside the seasonal tools zone so it’s always ready. When fall ends, swap the contents for winter items like ice melt and a scraper.
Choose a bin with sturdy wheels—cheap casters fail when you hit a crack in the driveway. If you’re on a budget, a basic plastic bin plus a small dolly underneath works.
Pro tip: keep the rolling bin half-full. Empty space is not wasted space; it’s what makes the system flexible when the season throws you a curveball.
16. Use Wall-Mounted Bins for Gloves, Goggles, and Small Parts
Small items create big mess because they spread. Wall-mounted bins work because they keep tiny essentials visible and contained—no more digging through a mystery drawer.
Mount a row of bins above a work surface or along the side wall within your taped zones. Assign each bin a single category: gloves, safety glasses, bungee cords, batteries. Labels matter here; without labels, bins become junk bowls.
Choose clear-front bins if you want quick visual inventory, or solid bins if you want a calmer look. Either way, keep the palette consistent so the wall reads as organized, not busy.
Pro tip: reserve one bin labeled “In Progress”. It’s the difference between a project being contained and a project taking over your entire garage.
17. Add Bright, Even Lighting Where You Sort and Label
Organization fails in dim garages because you can’t see what you have. Better lighting works because it reduces friction—sorting is faster, labels are readable, and you stop shoving things into dark corners.
Swap one old bulb for an LED shop light and place it over your primary work zone. Aim for warm white light (2700K–3000K — the cosy, yellowish tone you see in most homes) if you want the garage to feel less harsh, especially if it connects to a mudroom.
Look for plug-in fixtures if you want an easy install. If you’re cost-conscious, even a clamp light aimed at your sorting table helps.
Pro tip: lighting is the most underrated “decor” move in a garage. When the space feels good to stand in, you’ll actually maintain it.
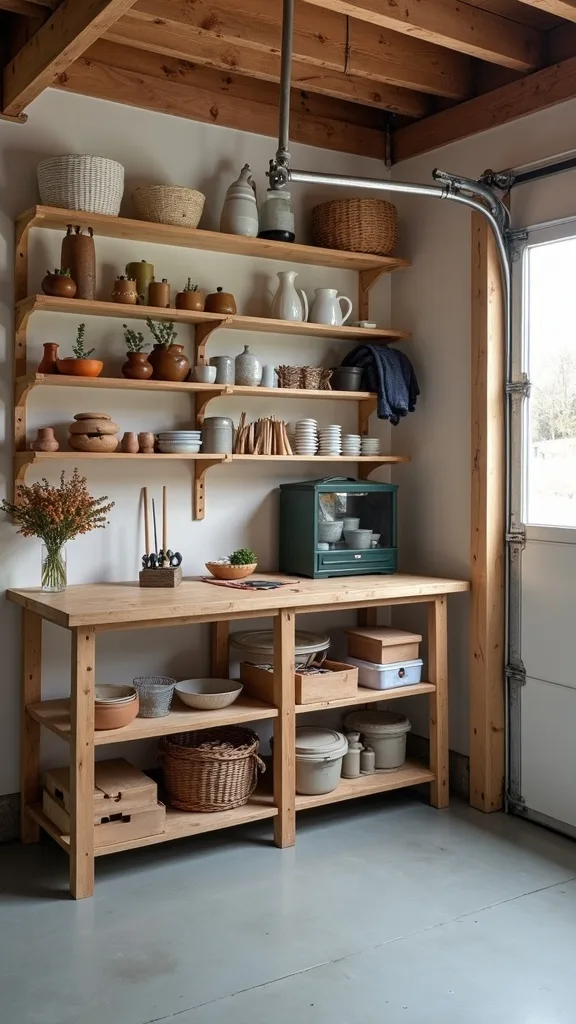
18. Keep a Label Station in the Garage (So You Actually Label Things)
Unlabeled bins are just future confusion. A label station works because it removes the excuse of “I’ll label it later,” which is how systems quietly fail.
Store a permanent marker, scissors, painter’s tape, and a small pack of label cards in a zip pouch hung on a hook in your car care or work zone. When you add a new bin, you label it immediately—two sides and the lid.
Choose bold black-on-white labels for readability from a distance. If you like a cleaner look, a simple label maker is a small splurge that pays off fast.
Pro tip: write labels as categories, not item lists. “Camping” is maintainable; “tent, stove, lantern, two mugs…” becomes outdated the moment you change one thing.
19. Store Paint and Chemicals Safely (And Not on the Floor)
Paint cans and chemicals on the floor are a mess magnet—and a spill risk. Elevated storage works because it protects items from moisture and keeps dangerous products out of the traffic lane.
Dedicate one high shelf or a wall cabinet for paint, pesticides, and automotive fluids. Add a plastic tray underneath to catch drips. Keep a clear rule: lids must be tight, and anything leaking gets disposed of properly.
Use a neutral tray and matching bins so the area looks controlled, not like a hazard zone. If cabinets aren’t possible, a heavy-duty shelving unit anchored to studs is a solid alternative.
Pro tip: avoid storing chemicals near a furnace or water heater. The safer the setup, the more confident you’ll feel using the garage as a functional home space.
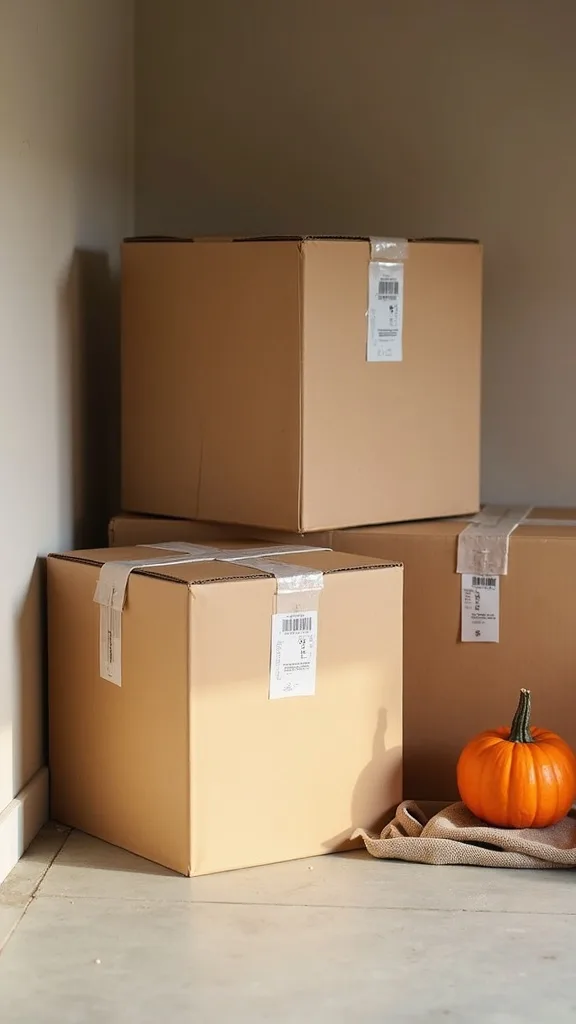
20. Make a Small “Package Breakdown” Corner for Cardboard
Cardboard piles are the stealth clutter that makes a clean garage look chaotic overnight. A breakdown corner works because it gives shipping boxes a job and a limit.
Place a slim recycling bin and a box cutter on a hook nearby. Break down boxes immediately and slide them behind the bin or into a tall paper bag. Keep the footprint small—if it grows, it’s a sign to take recycling out.
Choose a bin with a lid if pests are a concern. If you want it to feel tidy, tuck the corner behind a shelf end so it’s functional but not the first thing you see.
Pro tip: set a simple rule: if cardboard blocks your walking lane, it’s recycling day. That one trigger keeps the mess from becoming normal.
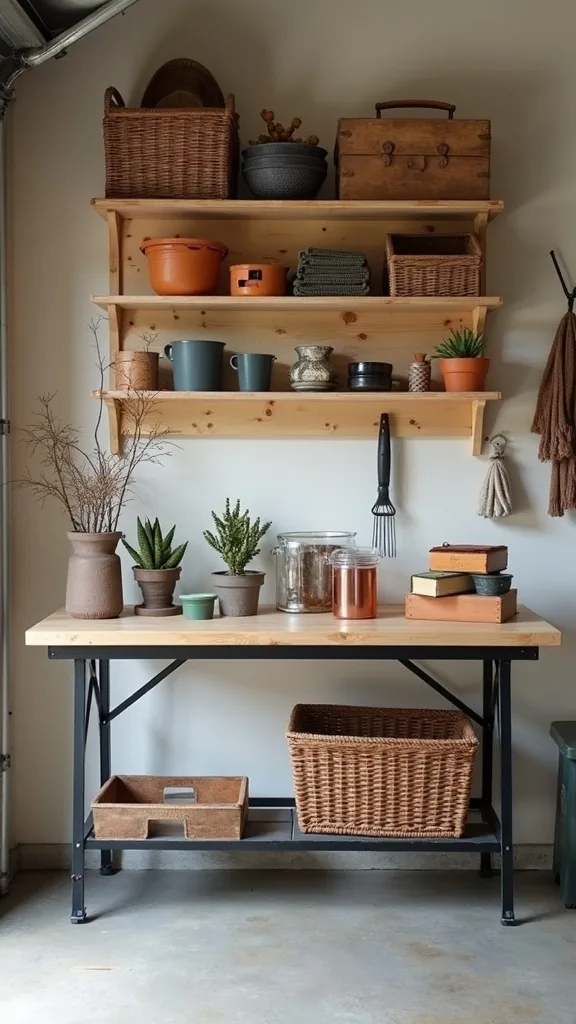
21. Use a Folding Table as a Temporary Sorting Surface
Sorting on the floor is hard on your back and bad for decision-making. A folding table works because it creates a clear, comfortable “thinking surface” without becoming permanent clutter.
Set up a 4-foot folding table during your cleanout and place your four sorting bins underneath it. As you handle items, you’re forced to decide before they hit the table. When you’re done, the table folds and stores flat behind shelves.
Choose a simple white or black table for a clean look. If you already own a workbench, clear it and treat it the same way.
Pro tip: keep the table empty at the end of each session. A clear surface is a psychological reset—and it makes the next round feel like a fresh start, not a continuation of chaos.
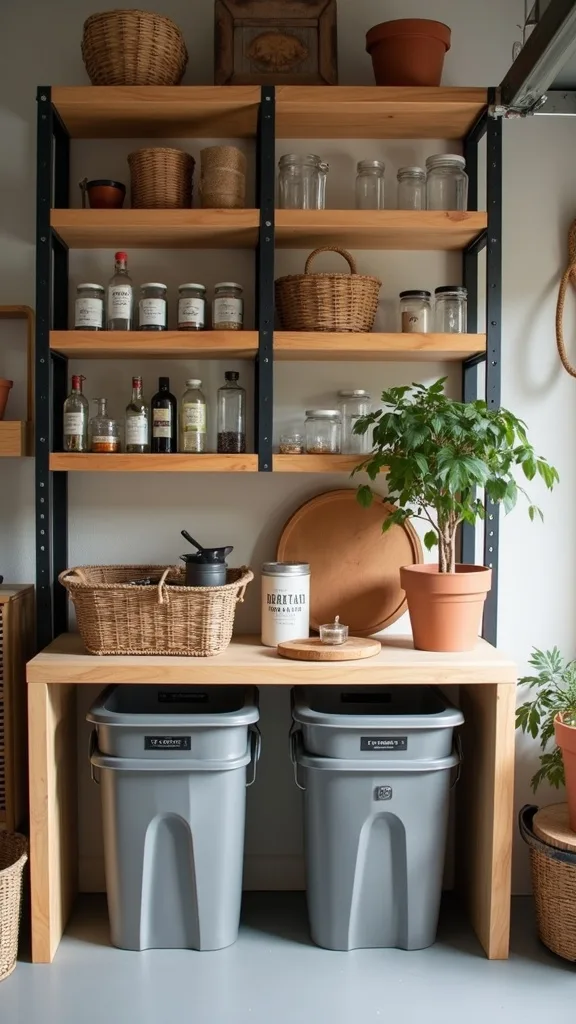
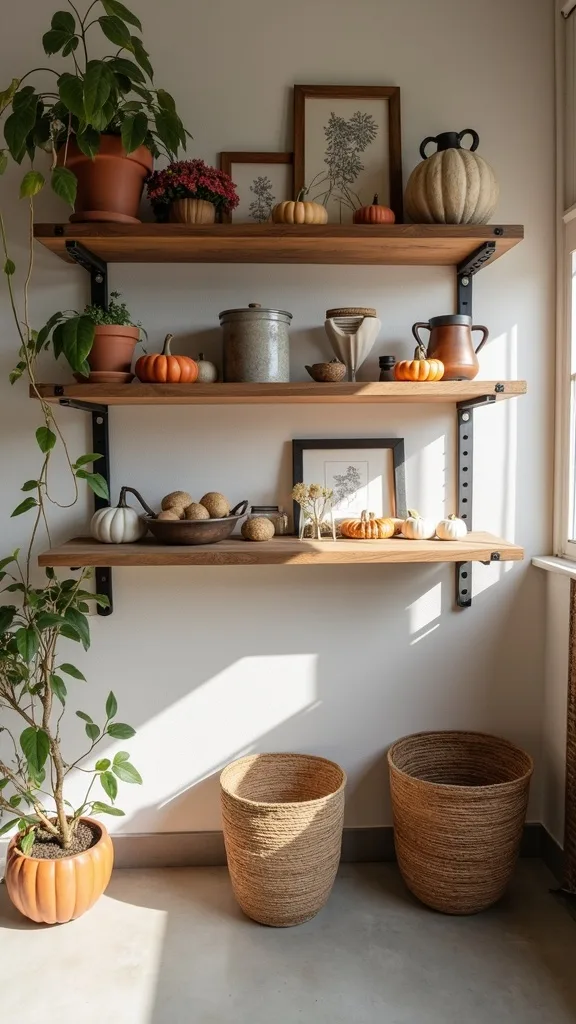
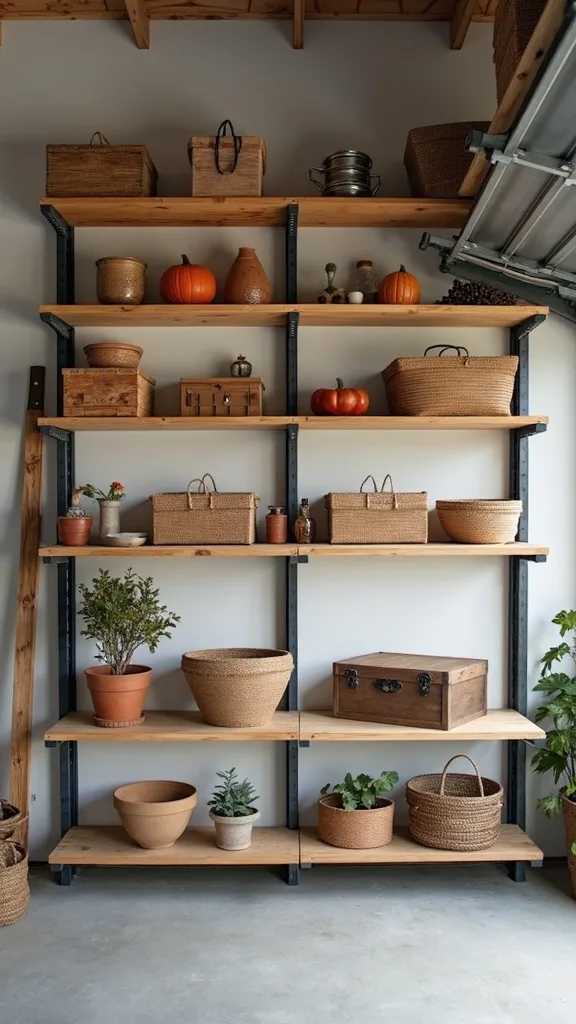
22. Anchor Shelving Units to Create “Walls” Inside the Garage
Open garages feel messy when storage floats without structure. Anchored shelving works because it creates visual “rooms” inside the garage, which makes your zone system easier to maintain.
Place a heavy-duty shelf unit along one wall aligned with your floor tape zones. Keep the bottom shelf for heavy items (salt, soil, car fluids in trays) and higher shelves for light bins. Anchor the shelf to studs to prevent tipping—especially if kids grab things.
Choose black or gray shelves for an unobtrusive look, or go with white if you want the garage to feel brighter. Budget option: sturdy resin shelving that won’t rust.
Pro tip: leave 10% of shelf space empty. Empty space is what keeps your garage from feeling like a storage locker and lets you adapt as seasons change.
23. Do a “Season Swap” Checklist for Fall Garage Organization
Seasonal transitions are where garages fall apart. A season swap checklist works because it turns a vague project into a repeatable routine you can finish in one afternoon.
For fall, pull summer-only items (pool gear, beach chairs) and store them in the back or overhead. Bring forward leaf tools, extension cords, and cold-weather car supplies. Then do a quick scan of your zones: if anything is outside its border, it gets moved or purged.
Keep the checklist taped inside a cabinet door or on the side of a shelf in a clear sleeve. Make it short enough to actually use.
Pro tip: schedule it like an appointment—first weekend of October is ideal in many US climates. When it’s on the calendar, it becomes maintenance, not a crisis.
24. Use One “Parking Spot Rule” to Protect Your Hard Work
The garage becomes cluttered again when items don’t have a home. A parking spot rule works because it eliminates the “just set it here” habit that quietly undoes everything.
Decide: every item must have one parking spot—hook, bin, shelf, or zone. If you bring something new in, you assign its spot before you walk away. If there’s no spot, something else has to leave.
Use clear labels and consistent containers to make parking spots obvious. This is where your tape zones and labeled bins do the heavy lifting.
Pro tip: when you catch yourself setting something on the hood of the car, treat it as an alarm bell. That’s not a surface; it’s a sign your system needs one more hook or one less item.
25. Finish with a 10-Minute Weekly Reset That Takes Zero Willpower
Maintenance is what makes organization real. A weekly reset works because it’s small enough to do even when you’re tired—and small is sustainable.
Set a timer for 10 minutes every week (Sunday evening works well). Walk the zones: return sports gear to bins, put car supplies back in the caddy, and hang tools on hooks. Empty the donation exit if it’s full and take out trash.
Keep a small broom and dustpan visible so sweeping doesn’t feel like a production. If you want a nicer feel, store them on matching hooks so they look intentional.
Pro tip: don’t aim for “perfect,” aim for “reset.” When your garage returns to baseline fast, you’ll feel the impact everywhere—mornings run smoother, projects start faster, and your home feels more spacious.
Final Thoughts
A garage doesn’t have to look like a showroom to feel good. It just has to behave. When your zones are visible, your categories are honest, and your exit path is real, the space starts giving back time—especially in the fall when everything ramps up.
If you remember one thing, make it this: store by activity, not by object. Yard work lives together, sports lives together, car care lives together. That’s the difference between a garage you constantly “organize” and one that stays organized.
Today, grab painter’s tape and mark three zones on the floor—even rough rectangles are fine—then fill one donation box and put it straight into your trunk before the day ends.
What I’d Do Differently
When I first tried this, I made the classic mistake: I bought bins before I had zones. I came home with a stack of “good deal” totes, filled them quickly, and felt productive—until I realized I’d just created neatly packaged confusion. The worst moment was needing jumper cables in a hurry and finding three different bins labeled “car stuff” because I hadn’t defined what belonged where. The correct approach is the opposite: tape the zones first, then sort into categories that match how you actually move through the garage (yard door, house door, garage door). Once the zones exist, the right containers basically choose themselves.
I also wish I’d known to make the zones a little smaller than my instincts. A tight sports zone forces editing, and editing is what keeps the floor clear. If you’re staring at your garage and feeling behind, start with tape and one trash bag—your first 15 minutes can change the whole project.