
This post contains affiliate links. As an Amazon Associate, I earn from qualifying purchases at no extra cost to you.
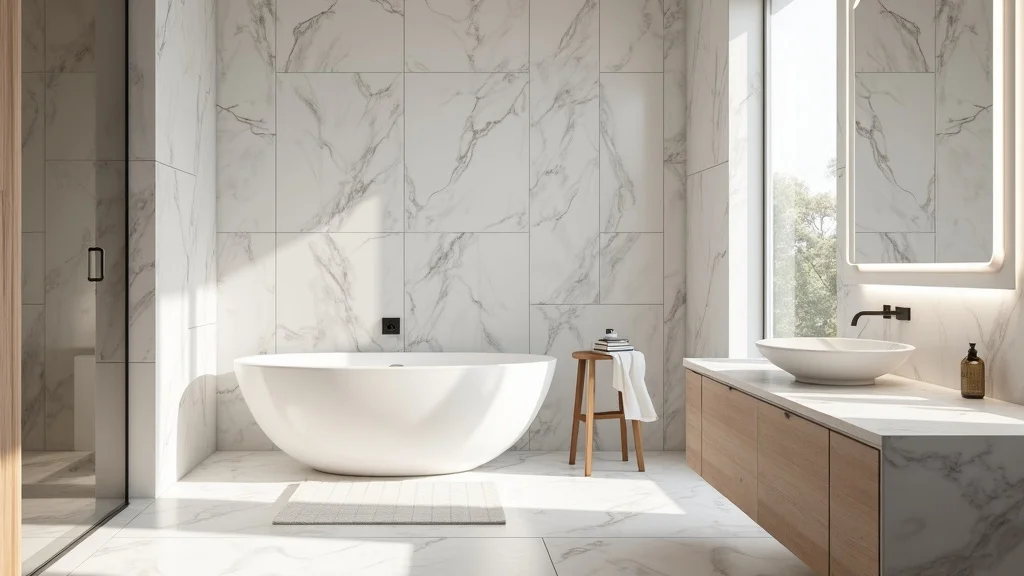
The most luxurious part of a fall morning isn’t a latte or a candle—it’s stepping out of the shower and feeling the floor meet you with gentle warmth. No shock. No sprint for slippers. Just that quiet, hotel-grade comfort that makes an ordinary bathroom feel composed.
This article covers what makes radiant floor heating worth it, how to choose tile that looks elevated underfoot, and how to style the room so the warmth reads as intentional design—not a gadget. You’ll get practical layout guidance, smart thermostat tips, and the finishing touches that turn “installed” into “designed.”
This is perfect for anyone craving a warm bathroom in fall—whether you’re renovating with new tile or simply planning a measured, high-impact upgrade.
Inside, you’ll find the luxury version and the accessible version of each idea: rectified tile versus classic ceramic, sculptural trays versus simple stone, and the little contrasts—matte with gloss, warm with crisp—that create a truly cozy bathroom.
Below are 25 Heated Bathroom Floor Ideas & Radiant Heat that make comfort feel architectural, polished, and surprisingly achievable.
Products I Recommend for This Project
Here are some of my favourite products to help you bring these ideas to life:
- Schluter Ditra-Heat Electric Floor Heating System Kit — A trusted, tile-friendly system that makes radiant comfort feel built-in.
- Schluter Ditra-Heat-E WiFi Thermostat — Lets you schedule warmth and fine-tune comfort without fuss.
- Nuheat HOME Programmable Floor Heating Thermostat (WiFi) — A sleek alternative with intuitive scheduling for daily routines.
- Custom Building Products LevelQuik RS Self-Leveling Underlayment — Helps create a smooth, flat bed so rectified tile looks crisp and aligned.
- RUBI Tile Leveling System Starter Kit — Keeps large-format tile edges even, which is where “luxury” shows up first.
1. Electric mat under rectified tile with smart thermostat — a clean install that looks custom
This idea is the modern classic: an electric heating mat hidden beneath crisp, rectified tile so the comfort feels invisible and high-end. It works because the geometry reads tailored, while the warmth makes the room feel emotionally generous.
Start with a detailed floor plan—measure the open walking zones (skip under the vanity and tub) and dry-fit the mat so you’re not cutting corners at the doorway. Embed the mat in a self-leveling underlayment for a smooth tile bed, then place the floor sensor centered between two heating wires so the thermostat reads the true surface temperature. Finally, set tile with a notch trowel that matches your tile size and keep grout lines consistent with spacers for that “new-build luxury” precision.
Choose porcelain rectified tile in a soft stone tone—warm greige, pale travertine-look, or matte white with subtle movement. Pair it with a smart thermostat that lets you schedule a gentle preheat before wake-up.
Pro tip: upgrade to a slim profile transition at the threshold so the warmth feels like it belongs to the architecture—not an add-on.
2. Where should radiant floor heating go in a bathroom (and where should it not)?
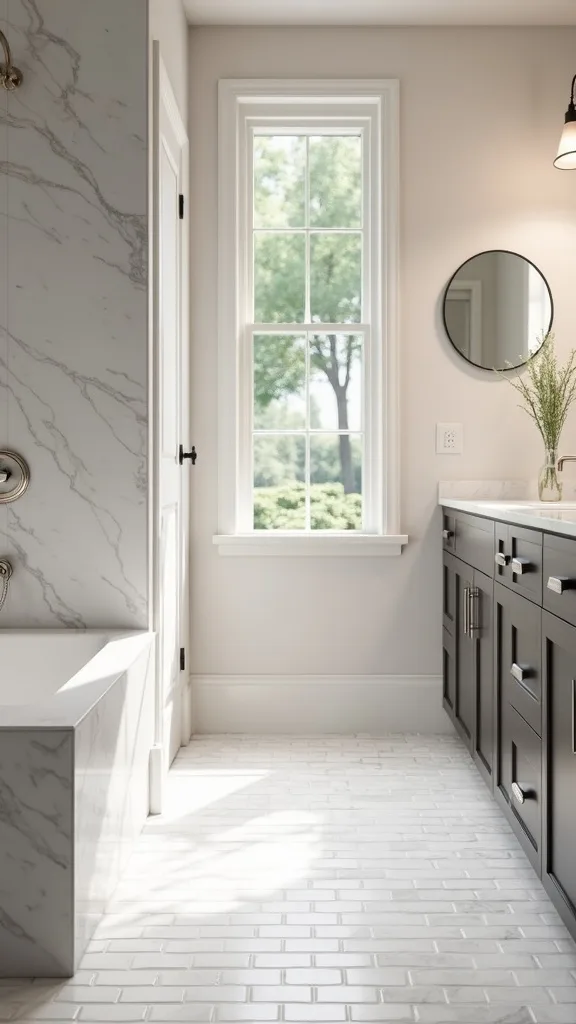
Radiant heat feels most luxurious when it’s exactly where you stand, not wasted where you store shampoo. The idea works because comfort is targeted—warmth underfoot in the “ritual zones” makes the entire room feel warmer.
Map three zones: the shower exit path, the vanity standing area, and the toilet approach. Place heating in those lanes and leave it out from under the vanity cabinet toe-kick, built-in linen towers, and the tub base—areas that trap heat and don’t need it. Keep at least 3 inches from the toilet wax ring area and follow your system’s spacing rules so wires never cross.
Material-wise, tile is the best partner: porcelain, ceramic, and many natural stones conduct heat well. For color, a mid-tone matte tile hides daily water spots better than bright white gloss, keeping the room looking composed.
Pro tip: draw your layout on painter’s tape directly on the subfloor; that full-scale template prevents costly “oops” moments and makes the finished bathroom heated floor feel intentional.
3. What tile works best over radiant heat for a warm, polished look?
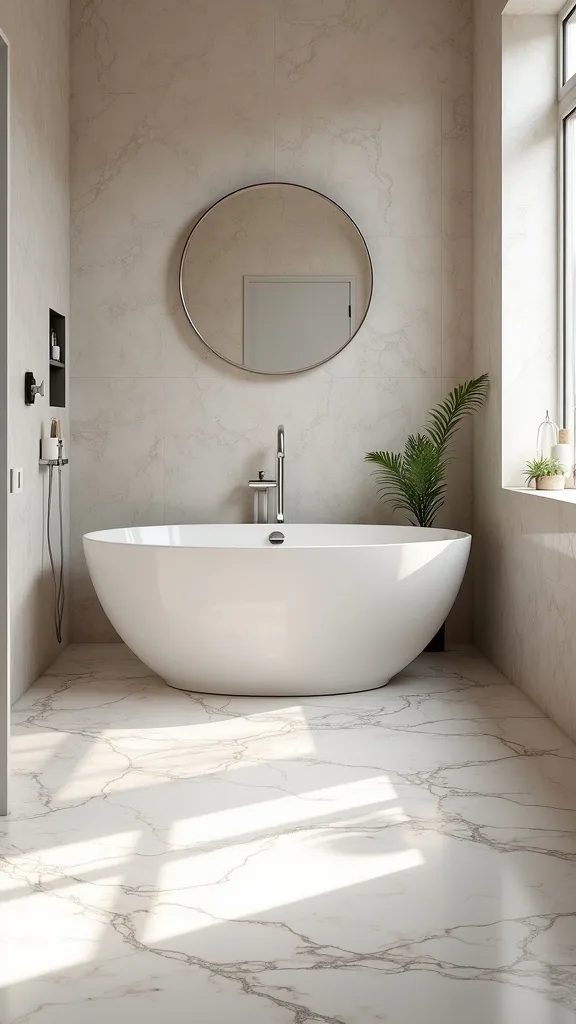
The right tile choice is half comfort, half visual discipline. It works because dense materials hold heat steadily, and the surface finish controls how “spa” versus “builder-basic” the room reads.
For an elevated look, choose porcelain that mimics limestone or marble with restrained veining—less contrast, more calm. Aim for 12×24 or 24×24 tiles if your room scale allows; larger formats reduce grout lines, which reads quieter and more expensive. If your bathroom is small, keep it proportional: 12×24 still feels expansive without awkward cuts. Use a grout color one shade deeper than the tile for a forgiving, tailored finish.
Luxury version: rectified porcelain with a matte or soft-satin finish and tight grout joints. Accessible version: quality ceramic in a classic 12×12 with a warm gray grout.
Pro tip: avoid ultra-gloss tile on the floor—water spots and slip risk can undermine the whole cozy bathroom mood, no matter how warm the surface feels.
4. Is an electric bathroom heated floor worth it in fall (even in a small bath)?
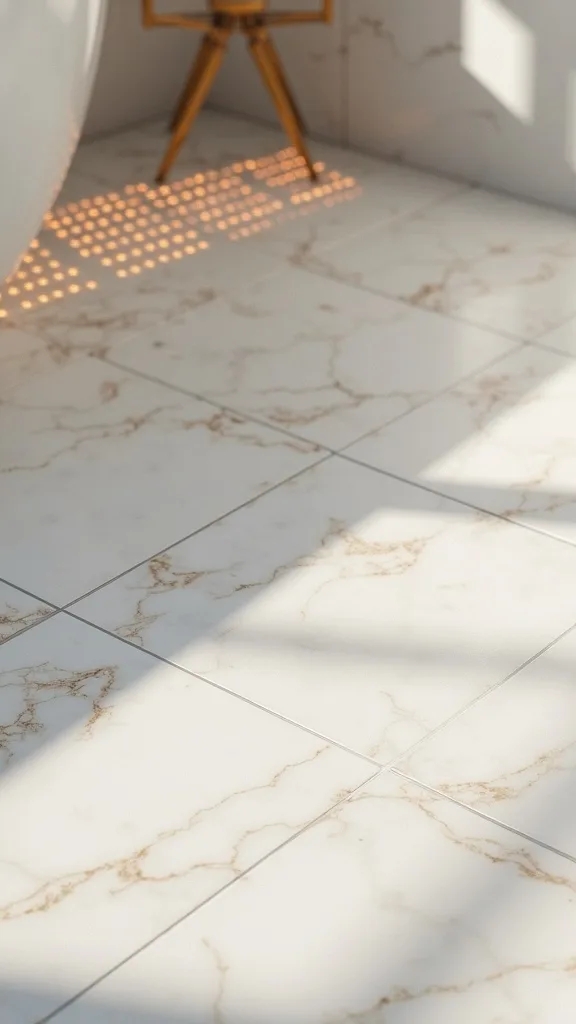
Yes—because fall comfort is about the first 30 seconds of your morning, not just the room temperature. This idea works especially well in small bathrooms, where a little heat feels like a lot of luxury.
Electric systems are straightforward for a remodel: you’re not rerouting plumbing, you’re layering comfort under the finish you already planned. Program the thermostat to warm the floor 30–60 minutes before wake-up and again before bedtime; you’ll feel it when you brush your teeth and when you step out of the shower. In a powder room, heat the single standing zone in front of the sink for a “boutique hotel” touch without a full-room install.
Luxury version: smart scheduling plus a floor sensor for steady warmth. Accessible version: a simple programmable thermostat with morning/evening presets.
Pro tip: pair the warmth with a small, thick bath mat placed two inches off the vanity toe-kick—close enough to soften the look, far enough to show off the beautiful tile.
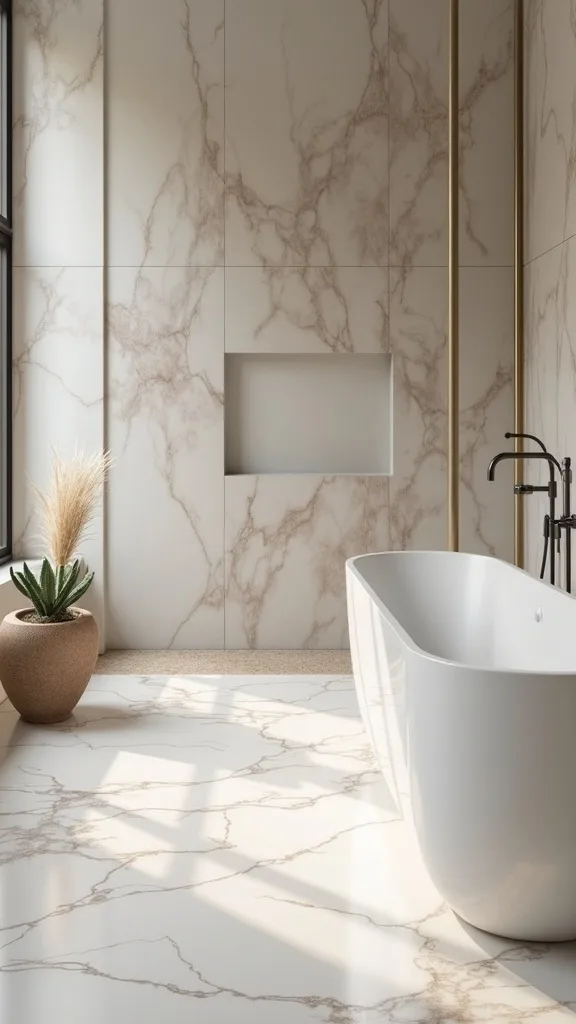
5. What’s the simplest layout formula for a bathroom that feels warm and designed?
A warm-feeling bathroom isn’t cluttered; it’s layered with restraint. The formula is symmetry, scale, contrast, and one tactile “softener” to balance all the tile and glass.
Start with symmetry at the vanity: matching sconces or a centered light bar, and a pair of identical countertop canisters. Then layer textures—matte tile, plush towels, a wood stool, and one stone tray. Keep scale honest: if the vanity is 36 inches, your mirror should be visually substantial (think 30–34 inches wide) so it doesn’t look like an afterthought. Add contrast with black or aged brass hardware against a quieter tile field.
Luxury version: a sculptural marble tray with a ribbed glass diffuser bottle. Accessible version: a simple stone-look tray and an amber soap pump.
Pro tip: group candles in a set of three (two short, one taller) on the tray—instant editorial polish without feeling fussy.
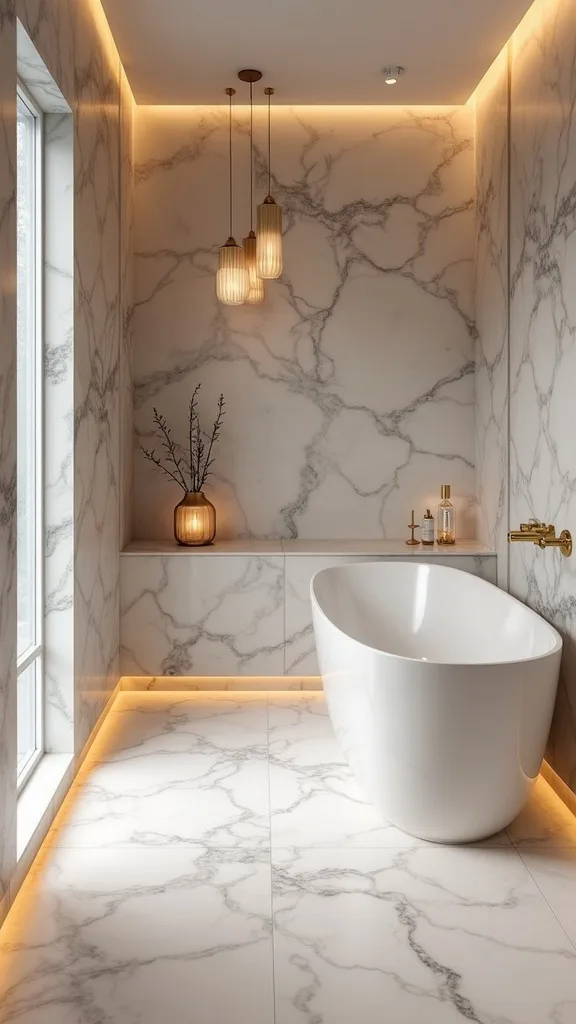
6. How do you choose a smart thermostat that feels seamless, not techy?
The best thermostat disappears into the design and reappears only as comfort. This works because consistent warmth is what makes the room feel expensive—no one wants to “manage” their bathroom.
Look for a thermostat that supports scheduling, a floor temperature sensor, and an easy-to-read display that can dim at night. Place it at a natural reach point near the entry, not behind the door swing. Program a weekday routine and a weekend routine so the floor is warm when you actually use the space, not all day long.
Luxury version: Wi‑Fi control so you can adjust settings from bed and track energy use in plain language. Accessible version: a reliable programmable model with simple morning/evening blocks.
Pro tip: choose a faceplate color that matches your switch plates (white on white, or matte black on black) so the wall reads as one calm plane—the quiet backdrop that makes a warm bathroom feel curated.
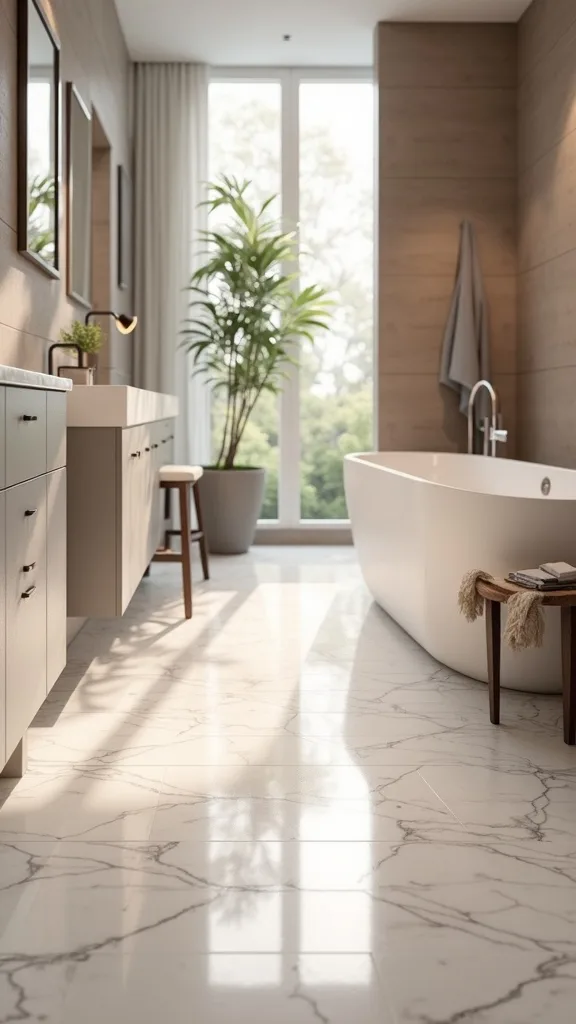
7. What should you avoid when planning radiant floor heating under tile?
The fastest way to ruin the upgrade is to treat it like a heated blanket you can cut and fold anywhere. Radiant systems reward patience; they punish improvisation.
Avoid placing heating where it will be trapped under fixed cabinetry—especially vanities with solid bases—because heat can build up and reduce efficiency. Avoid skipping the floor sensor or burying it too close to a heating wire; that can lead to inaccurate readings and a floor that swings between “meh” and “too much.” And avoid rushing the tile curing timeline—turning on the heat too early can stress thinset and grout before they fully set.
For materials, stick to manufacturer-approved mortars and underlayments; they’re designed to handle gentle expansion and contraction. Choose a grout sealer if you’re using a light grout color, especially in a busy family bath.
Pro tip: photograph the wire layout before tiling. That one-minute habit protects you later when you install a new vanity or drill for a doorstop.
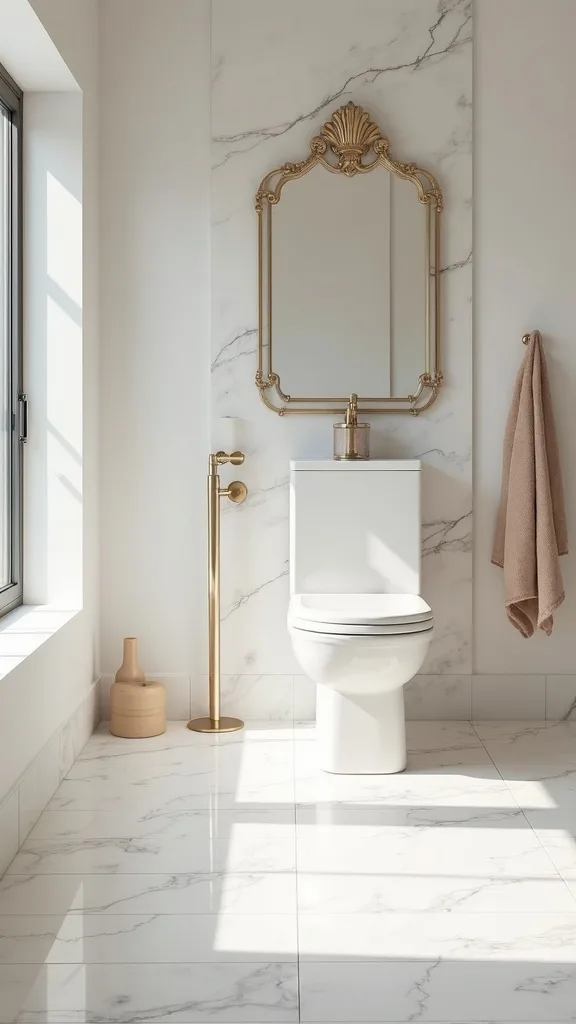
8. How can you make a small bathroom feel warmer without changing the whole layout?
Warmth is as much visual as it is literal. This idea works because you’re layering cues—color temperature, textiles, and reflective surfaces—so the space feels enveloping even when the footprint is tight.
Use a warmer wall paint (think creamy off-white or soft greige) and keep the ceiling crisp to maintain height. Add a towel ladder or double towel bars so towels can actually dry and look abundant. If you’re installing radiant heat, focus it on the vanity and shower exit lane; in small rooms, that’s where your feet live.
Luxury version: a framed mirror with a thin brass edge and a linen Roman shade. Accessible version: a larger builder-grade mirror upgraded with a simple frame kit and a woven shade.
Pro tip: place a small upholstered stool (or teak shower stool) angled slightly toward the vanity—this intentional diagonal softens a boxy room and makes the bathroom heated floor feel like part of a thoughtful suite.
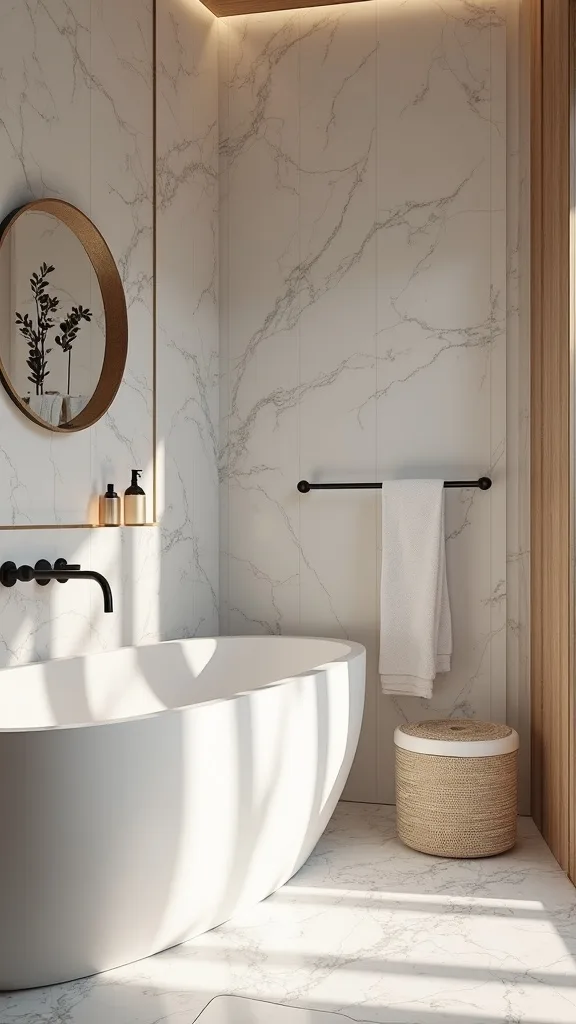
Cost & Materials Estimate
For a typical small-to-medium bathroom (about 40–60 sq ft of heated area), materials for an electric radiant floor upgrade often land between the low four figures and the mid two-thousands depending on tile and controls.
| Item | Estimated Cost | Where to Buy |
|---|---|---|
| Electric radiant heating mat kit (50 sq ft class) | $450–$850 | Home Depot |
| Smart thermostat + floor sensor | $180–$320 | Amazon |
| Self-leveling underlayment (2–3 bags) | $90–$180 | Lowe’s |
| Porcelain tile (60 sq ft) | $180–$600 | Home Depot |
| Thinset mortar + grout + sealer | $120–$240 | Home Depot |
| Transitions, spacers, trowels, misc. install supplies | $60–$140 | Amazon |
Total estimated cost: $1,080–$2,330 Save by choosing a classic mid-priced porcelain and splurge on the thermostat—daily comfort is where you’ll feel the upgrade.
9. What grout color makes heated tile floors look high-end (and stay practical)?
Grout is the quiet linework that decides whether your tile reads bespoke or busy. It works because the right grout color reduces visual noise, letting the floor feel like a single, warm surface.
Choose grout one shade darker than the tile for a tailored, forgiving finish—especially in a bathroom where hair products and mineral deposits happen. For marble-look porcelain, a warm gray grout keeps the pattern soft and modern. For true white tile, consider a pale greige rather than bright white; it stays cleaner-looking and feels more sophisticated.
Luxury version: epoxy grout for stain resistance and consistent color. Accessible version: cement grout sealed well, with careful wipe-downs during installation for crisp edges.
Pro tip: keep grout lines consistent and minimal for rectified tile, but don’t chase “hairline” joints if your subfloor isn’t perfect—precision without obsession is what makes a cozy bathroom feel calm.
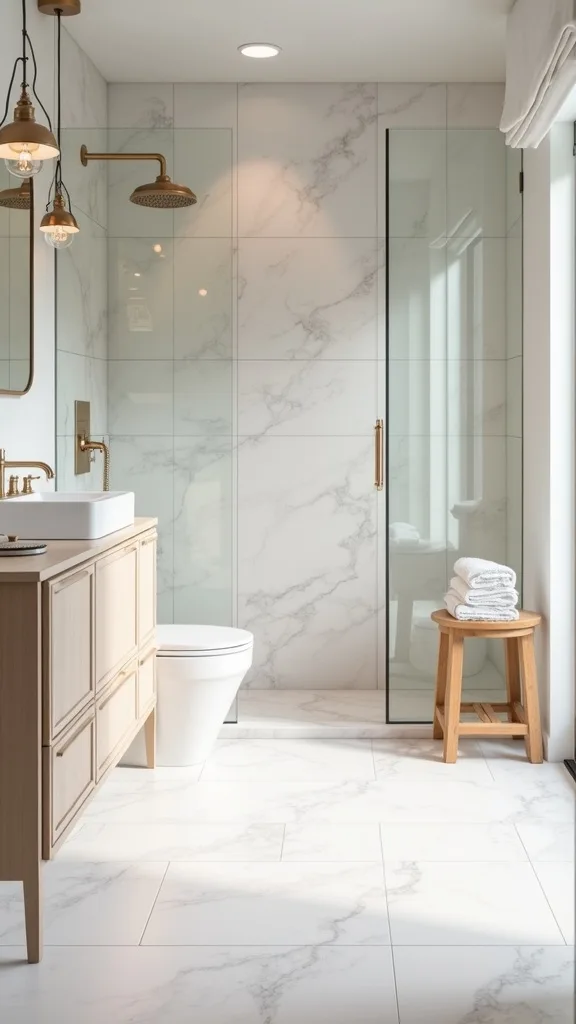
10. How do you layer bath mats over heated floors without hiding the upgrade?
A bath mat should soften the scene, not smother it. This works because you’re using textiles as punctuation—small, deliberate moments that highlight the tile rather than covering it wall-to-wall.
Choose one plush mat at the shower exit and, if needed, a slimmer runner in front of a double vanity. Keep at least a few inches of tile visible around each mat so the floor reads as a designed surface. Skip rubber-backed mats that can trap moisture; opt for cotton with a reversible weave or a mat labeled suitable for heated floors.
Luxury version: a dense, hotel-style cotton mat in ivory or oatmeal. Accessible version: a simple flatweave in a warm neutral that can be washed weekly.
Pro tip: place the mat so its edge aligns with a tile grout line—this micro-alignment is the styling trick that makes the whole room feel intentional and lets the radiant floor heating remain the star.
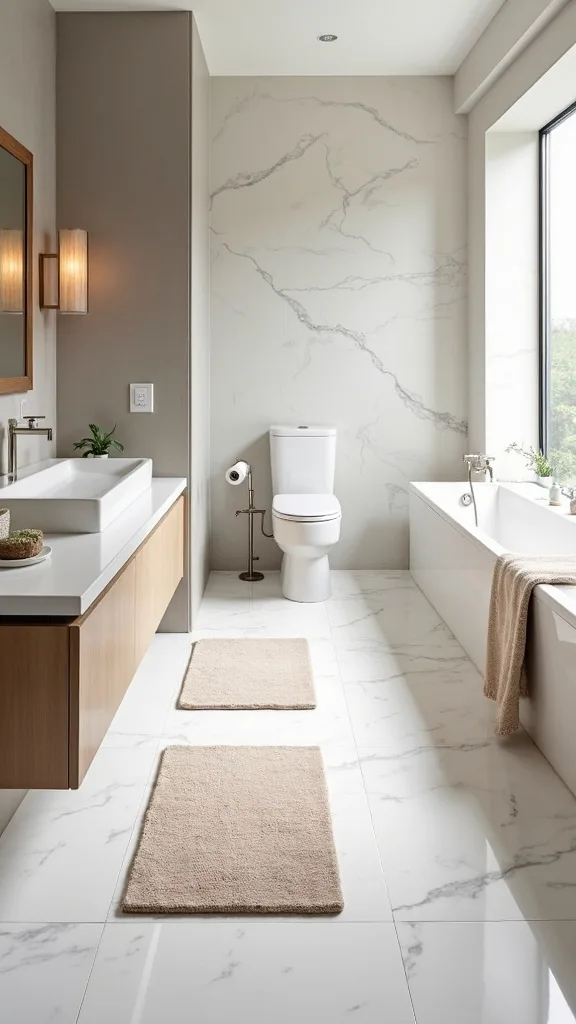
11. Can you combine radiant heat with a curbless shower look?
Yes, and it’s one of the most refined ways to make a bathroom feel architectural. It works because the floor becomes a continuous plane—warm, clean, and quietly luxurious.
Plan the layout so heating stays outside the shower pan area unless your system is explicitly approved for wet zones. Keep the warming wires in the main floor field and run tile continuously into the shower threshold for visual unity. Use a linear drain and slope the shower floor correctly so water moves where it should—beauty only works when performance is flawless.
Luxury version: large-format stone-look porcelain with a concealed linear drain cover. Accessible version: smaller mosaic in the shower (for grip) and matching 12×24 outside to keep the palette cohesive.
Pro tip: repeat one finish—aged brass, matte black, or polished nickel—three times (faucet, towel hook, drain). That rule of three makes the warmth feel like part of a complete design.
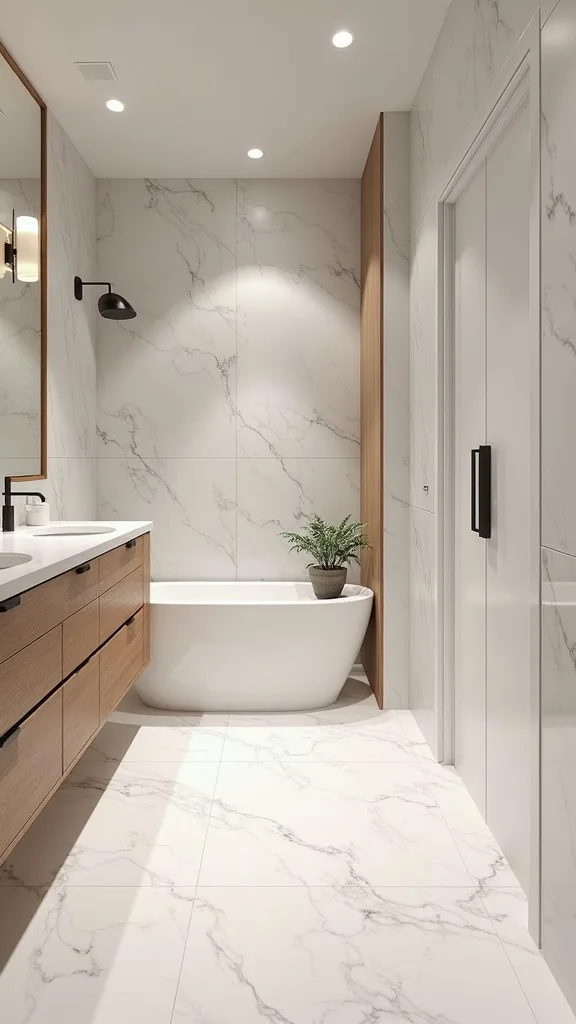
12. How do you keep a warm bathroom from feeling steamy and overdone?
Warmth should feel like cashmere, not a sauna. This works because comfort is balanced: heat underfoot, fresh air above, and finishes that don’t cling to moisture.
Pair heated floors with a quiet exhaust fan sized for your room and actually use it—set a timer for 20 minutes after showers. Choose towels that dry quickly (waffle weave is excellent) and hang them spread out, not folded in half. If you love candles, keep them in a defined cluster on a tray, not scattered around every ledge; restraint reads sophisticated.
Luxury version: a timer-controlled fan switch and a matching vent cover that blends into the ceiling. Accessible version: a simple humidity-sensing switch upgrade.
Pro tip: avoid heavy, floor-length shower curtains in small baths—they hold moisture and visually weigh down the room, fighting that clean, warm air feeling you want.
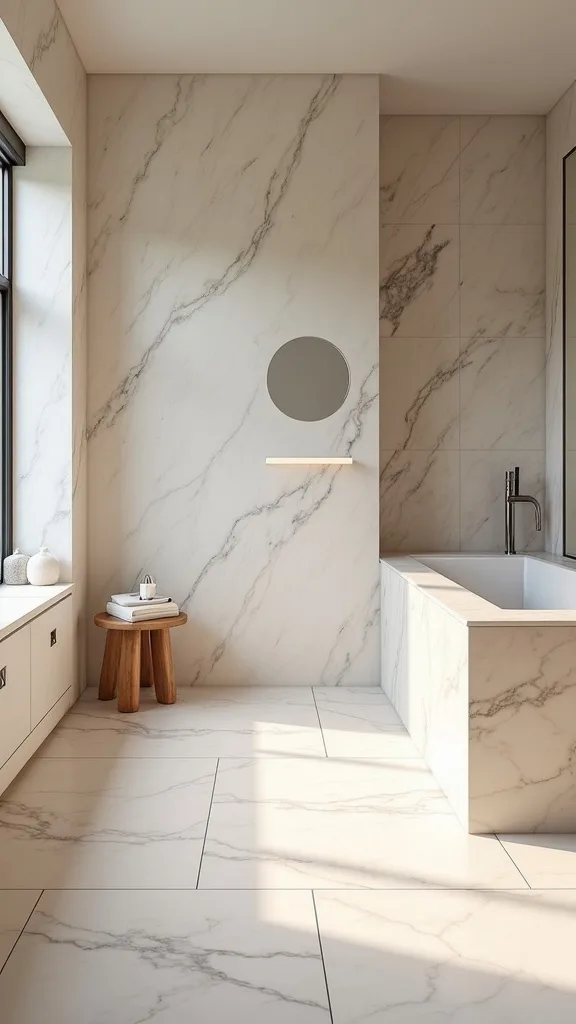
13. What lighting makes heated tile feel even warmer at night?
Lighting is the invisible layer that turns heat into atmosphere. It works because warm light makes cool materials—tile, chrome, glass—feel inviting instead of clinical.
Use warm white light (2700K–3000K — the cosy, yellowish tone you see in most homes) in sconces or a vanity light, and put it on a dimmer. Add a small, indirect night light or toe-kick glow so the room feels gentle for late-night visits. If you’re replacing bulbs, choose consistent color temperature throughout so the room doesn’t look patchy.
Luxury version: matching sconces flanking the mirror for symmetry and flattering light. Accessible version: a single, well-proportioned vanity bar plus a plug-in night light with a soft diffuser.
Pro tip: place a candle trio on a tray and light only one on weeknights; that single flame against a warmed floor is quiet, editorial comfort.
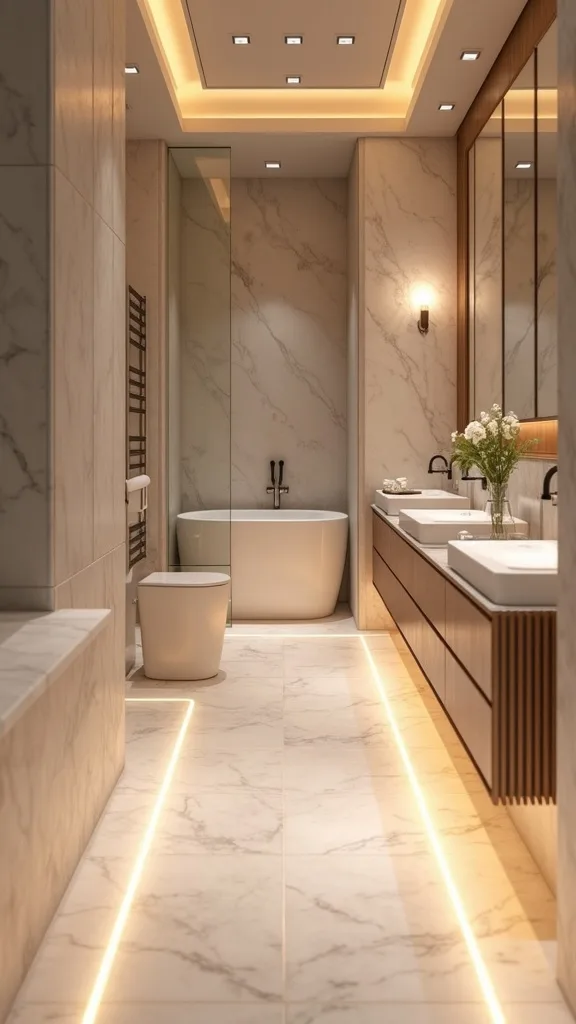
14. How do you style a vanity so the room feels like a boutique hotel?
A boutique-hotel vanity is about editing, not buying more. This works because the counter becomes a still life: balanced, layered, and calm against the hard surfaces of tile.
Start with one tray—stone, brushed metal, or sealed wood—placed on the side opposite the faucet handle (it keeps the daily reach zone clear). Add two bottles only: soap and lotion in matching tones. Then add one low object (a lidded jar) and one vertical object (a small bud vase or diffuser). Keep the rest tucked away so the eye rests.
Luxury version: a marble tray, ribbed glass canisters, and a linen hand towel folded into thirds. Accessible version: a ceramic tray and amber pump bottles with simple labels.
Pro tip: fold the hand towel so one corner drapes slightly forward—this soft asymmetry makes the whole setup feel styled, especially in a warm bathroom.
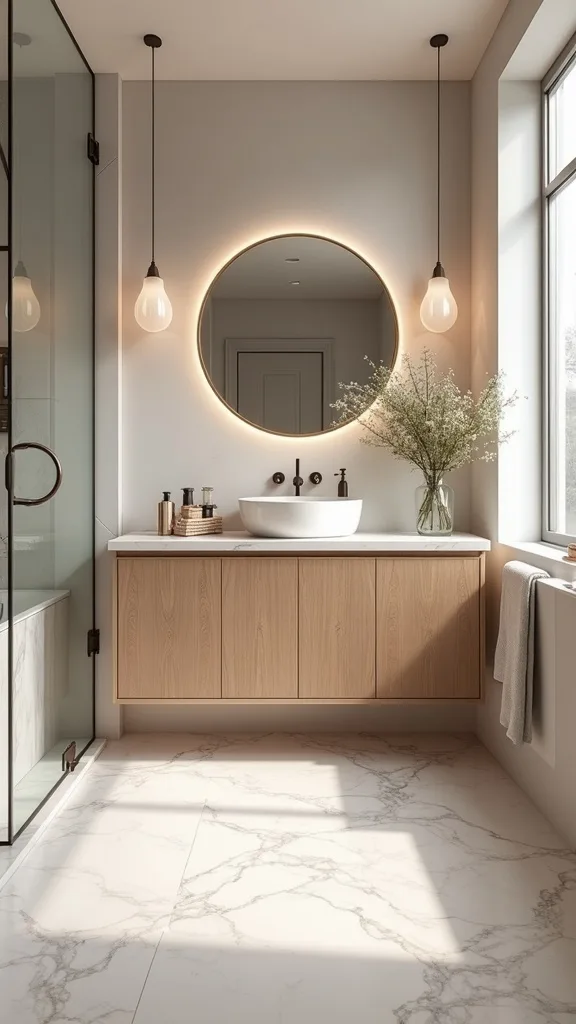
15. What’s the best floor pattern for radiant heat: straight lay, herringbone, or grid?
Pattern is the mood-setter under your feet. It works because the floor is the largest surface; its rhythm determines whether the room feels serene or busy.
Straight lay (stacked) with large-format rectified tile feels modern and calm—ideal if you want the warmth to feel spa-like. Herringbone is beautiful but visually active; reserve it for larger bathrooms or keep the color very quiet to avoid a dizzy effect. A classic offset grid is the accessible favorite: forgiving, familiar, and still elevated with the right grout color.
Luxury version: large-format stacked pattern with minimal joints and a matte finish. Accessible version: offset 12×24 porcelain with a warm gray grout.
Pro tip: avoid tiny, high-contrast mosaics across the entire floor—they can make the room feel restless, which undermines the cozy bathroom promise of radiant floor heating.
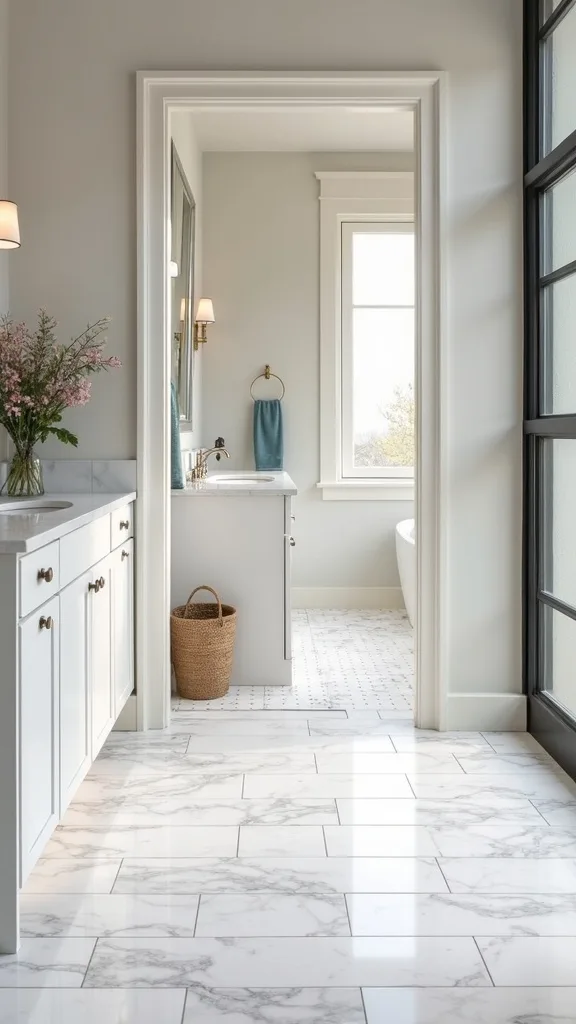
16. How can you make a rental bathroom feel warm without installing floor heat?
If you can’t add wires under tile, you can still design for warmth. This works because you’re using sensory layering—texture, light, and color—to mimic that enveloping feeling.
Choose a thick cotton bath mat and a second flatweave runner to create a “path” from sink to shower. Swap to warm white light (2700K–3000K — the cosy, yellowish tone you see in most homes) and add a small lamp if your outlet placement allows. Bring in one natural element—teak stool, bamboo tray, or a terracotta pot with a humidity-loving plant like a pothos.
Luxury version: a tailored waffle robe on a hook and a stone tray with matching bottles. Accessible version: a plush robe and a simple ceramic dish for daily jewelry.
Pro tip: keep the palette tight—two neutrals and one accent (like tobacco, olive, or ink). That controlled color story is what makes “rental” feel curated.
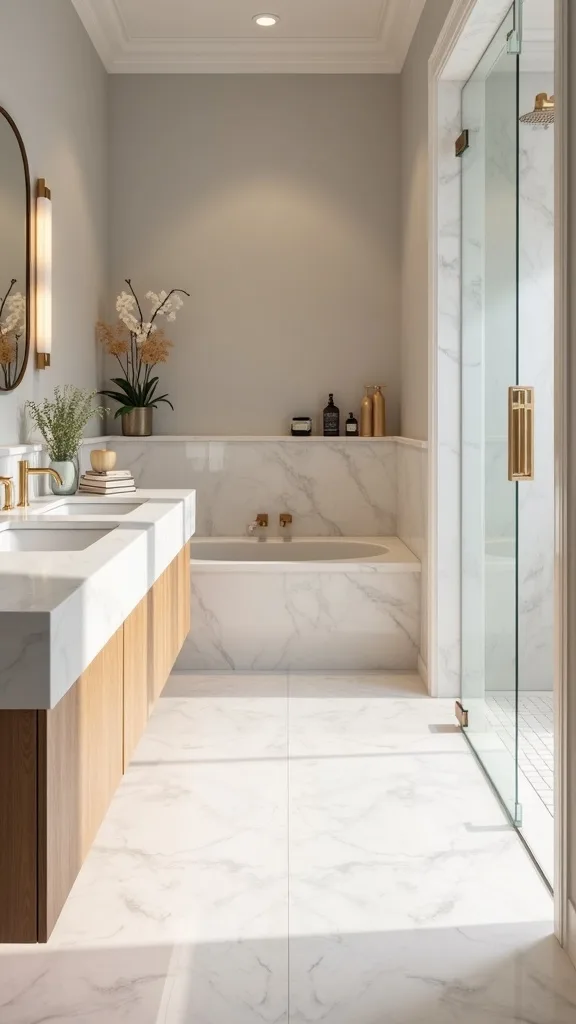
17. What towel strategy makes the space feel instantly cozier?
Towels are the easiest way to make a bathroom feel abundant and warm. It works because softness is visible; you see comfort before you touch it.
Use two towel types: plush bath towels for the shower and waffle or Turkish-style towels for hands (they dry faster and look tailored). Roll two towels and stack them on a shelf, then hang two on hooks at shoulder height for easy reach. Keep colors within one family—cream, sand, warm gray, or muted olive—so the room reads intentional.
Luxury version: monochrome towels with a subtle border and a matching bath sheet. Accessible version: solid towels in a warm neutral with one darker hand towel for contrast.
Pro tip: position one folded towel on the counter edge—just a two-inch overhang—to soften hard lines and echo the comfort of a heated bathroom floor.
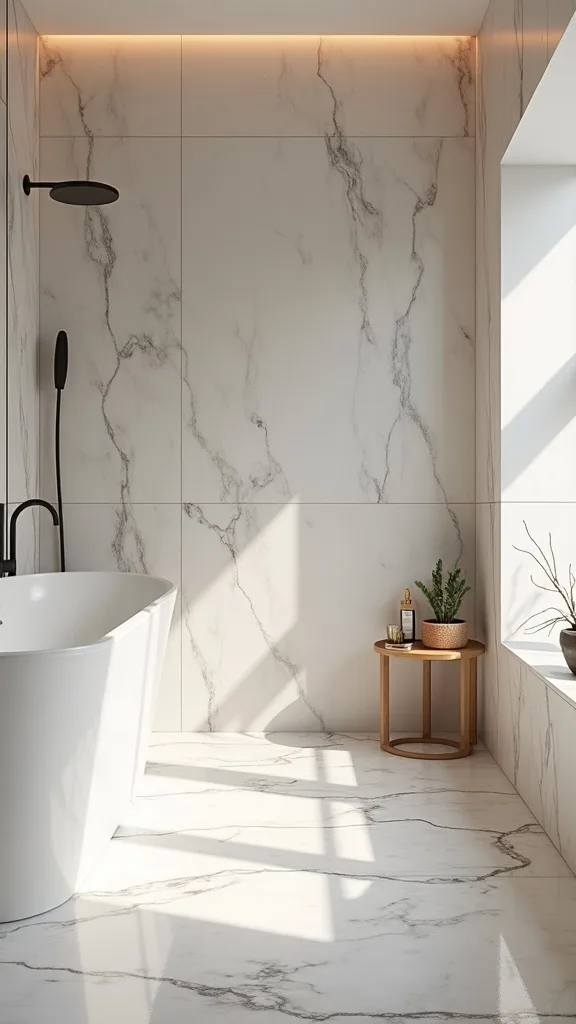
18. How do you pair tile color with wood tones for fall warmth?
Fall warmth comes from the conversation between cool and warm materials. This works because tile brings clarity while wood brings soul—together, they feel grounded and refined.
If your tile is cool (marble-look white or pale gray), introduce wood in a medium tone: teak, walnut, or oak. Add it in one or two pieces only—a stool, a framed mirror, or a slim shelf—so it reads deliberate. If your tile is warm (beige stone-look), keep wood lighter or more neutral to avoid an overly yellow cast.
Luxury version: a floating oak vanity with matte stone-look tile. Accessible version: a simple wood stool and a wood-framed mirror against classic porcelain.
Pro tip: repeat the wood tone in a small detail—like a wooden-handled brush on a tray. That echo makes the whole warm bathroom feel composed.
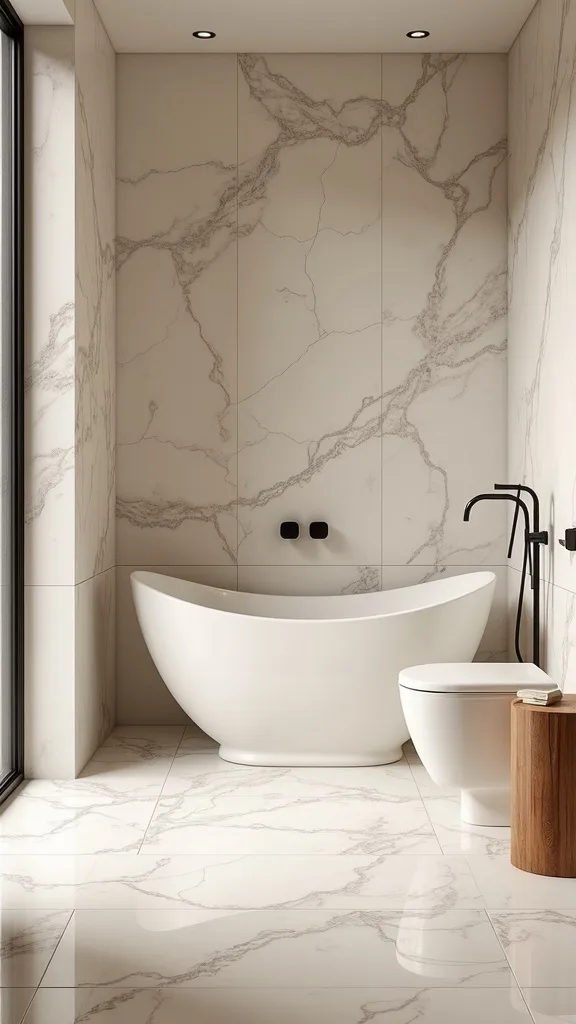
19. What’s the right way to add a shower bench without cluttering the floor?
A bench is functional, but it should also feel like sculpture. This works because it introduces a spa note while keeping the floor visually open—especially important when you want to showcase tile.
Choose a slim teak bench or a stone stool that can handle moisture. Place it along the long wall, not centered, so the room keeps a clear walking lane. If you have radiant heat, keep the bench legs minimal to avoid blocking too much of the warmed surface; the goal is comfort without visual heaviness.
Luxury version: a low-profile teak bench with a folded towel and a small dish for jewelry. Accessible version: a compact shower stool with clean lines and a neutral finish.
Pro tip: drape a throw-style towel over one corner (not perfectly centered). That casual placement reads editorial and makes the cozy bathroom vibe feel effortless.
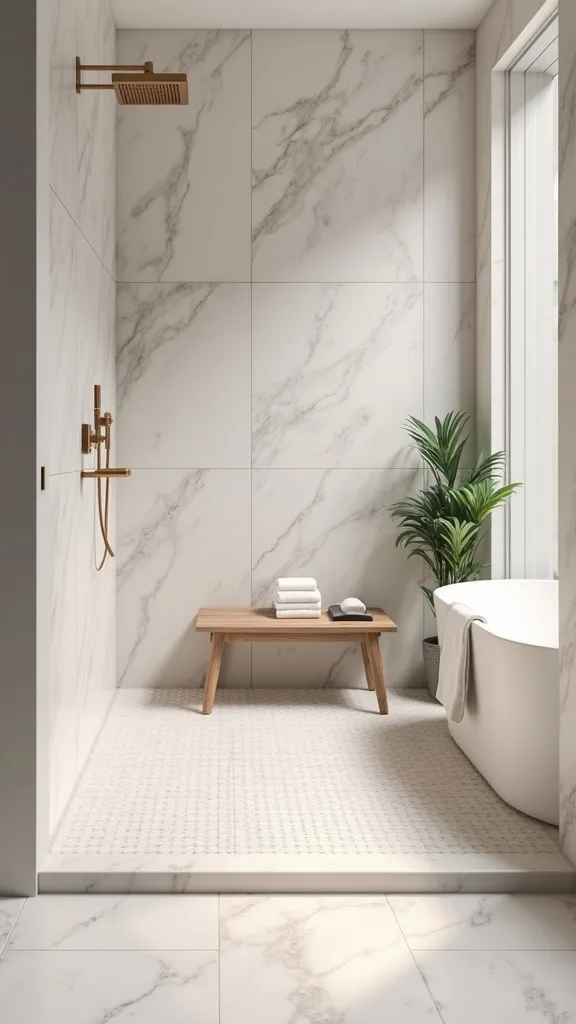
20. How do you keep the floor looking crisp with hair, dust, and water spots?
Even the warmest floor won’t feel luxurious if it always looks messy. This works because maintenance is part of the design—clean lines require clean surfaces.
Pick a matte or soft-satin tile that hides water spotting better than glossy finishes. Use a grout color that forgives daily life, and seal grout if it’s cement-based. Keep a slim squeegee in the shower and do a quick pass on the glass; less dripping means fewer spots migrating to the floor. For daily upkeep, a microfiber dust mop is faster than vacuuming and gentler on grout lines.
Luxury version: tone-on-tone tile and grout that reads like one surface. Accessible version: mid-tone porcelain with warm gray grout.
Pro tip: avoid high-contrast white grout with dark tile unless you love constant scrubbing—practical elegance keeps your bathroom heated floor looking newly finished.
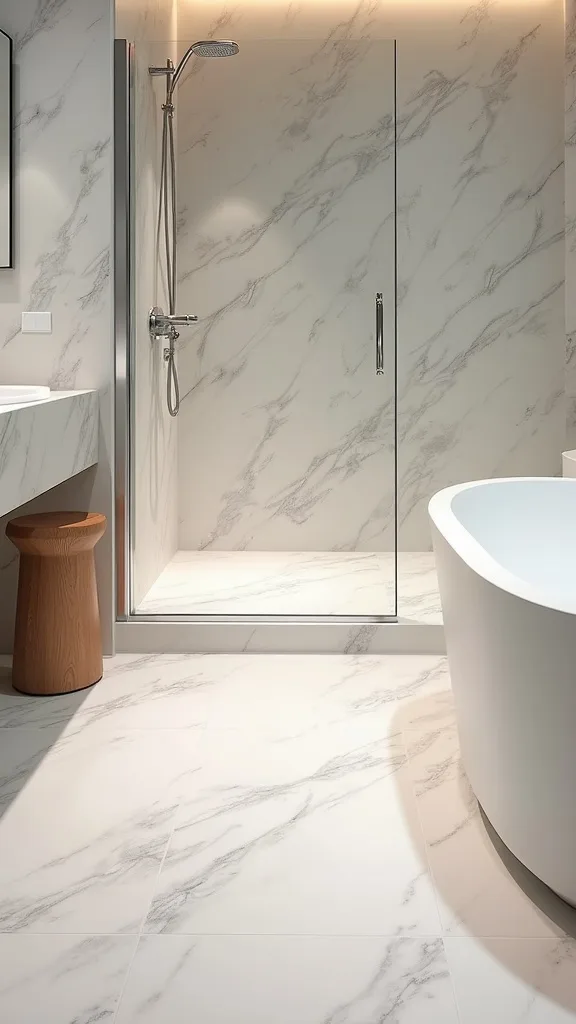
21. What accessories make radiant heat feel like a spa experience?
Heat is the foundation; accessories are the choreography. This works because the room needs small rituals—objects that invite you to slow down.
Create one vignette: a tray with a candle, bath salts, and a small brush. Keep it near the tub or on a floating shelf, not scattered across the counter. Add one plant with a sculptural pot (matte black, warm stone, or terracotta) to bring life against tile. Choose scents that feel clean and warm—cedar, eucalyptus, or bergamot—so the room reads fresh, not sugary.
Luxury version: a stone tray, a heavy glass candle, and a lidded apothecary jar. Accessible version: a ceramic dish, a simple soy candle, and a labeled canister.
Pro tip: keep labels facing the same direction. That tiny alignment is the difference between “stuff” and spa.
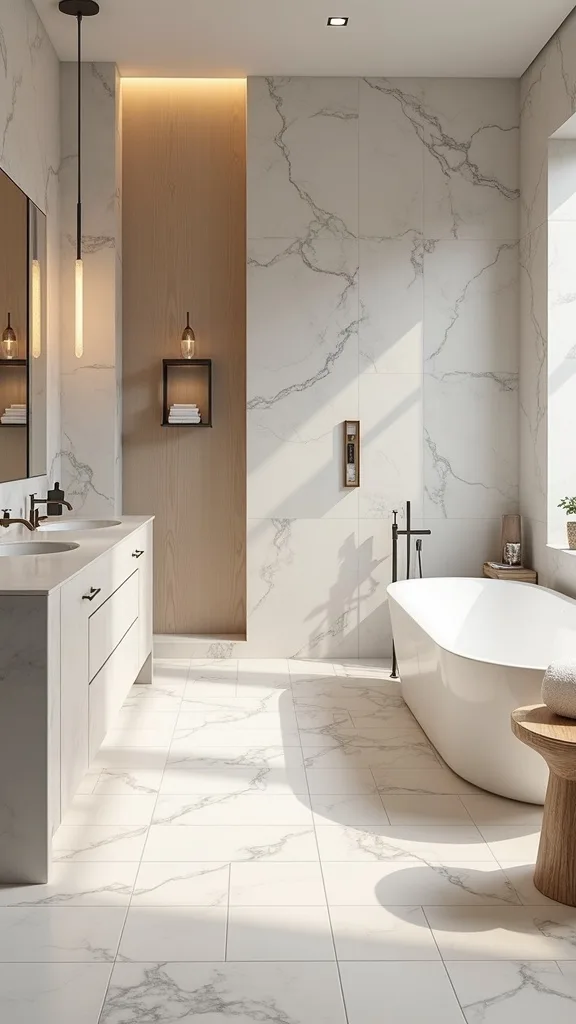
22. How do you make a double vanity feel balanced and not oversized?
Double vanities can feel like furniture shoved into a bathroom—unless you design the symmetry. This works because balance creates calm, and calm reads expensive.
Anchor the setup with two matching mirrors or one long mirror with centered lighting. Use identical hardware and repeat the same countertop objects on both sides: one tray, one canister, one towel ring. Leave the center zone clear so the eye has a place to rest. If you have radiant heat, keep the warmed zone consistent across both sink areas so comfort matches the visual symmetry.
Luxury version: matching sconces and a long stone countertop with minimal decor. Accessible version: one large mirror, a balanced light bar, and matching soap/lotion sets.
Pro tip: choose one accent—like black hardware—and repeat it at least three times. That repetition makes the whole room feel intentional.
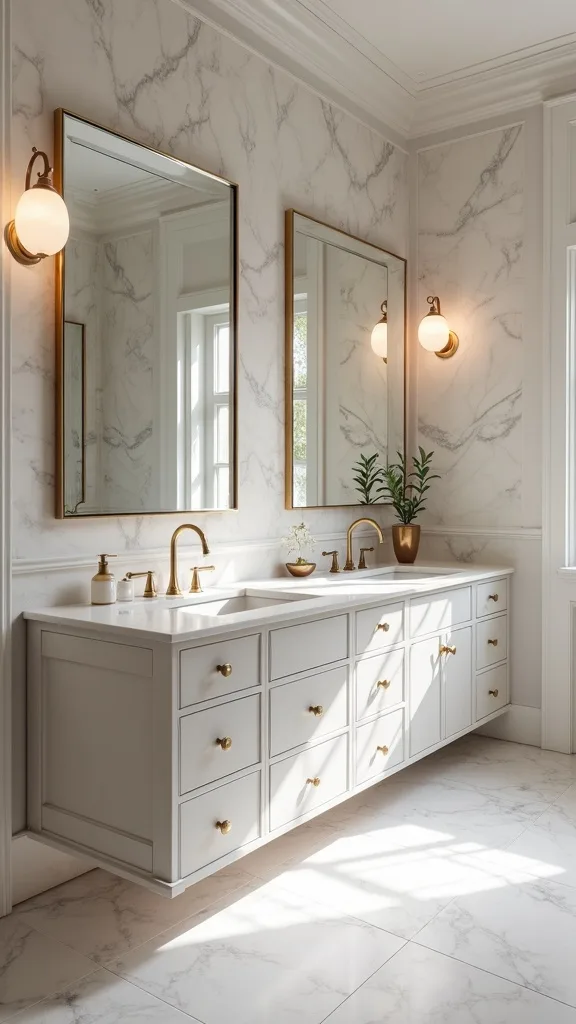
23. Can you add radiant floor heating during a cosmetic refresh (not a full remodel)?
Sometimes, yes—if you’re willing to lift the floor finish. This works because the comfort upgrade can be the “one big move” that elevates everything else you keep.
If your current floor is tile and you’re not changing it, adding heat is usually not practical without demolition. But if you’re already planning to replace flooring, you can keep your vanity, toilet, and paint—then focus budget on the floor build-up, heating mat, and tile. Choose a tile that complements existing finishes so the refresh feels cohesive, not piecemeal.
Luxury version: new tile plus a smart thermostat and upgraded baseboards. Accessible version: new tile in a classic pattern with a reliable programmable thermostat.
Pro tip: plan the doorway transition early. A clean threshold strip is the detail that makes the upgrade look original to the home, not patched in.
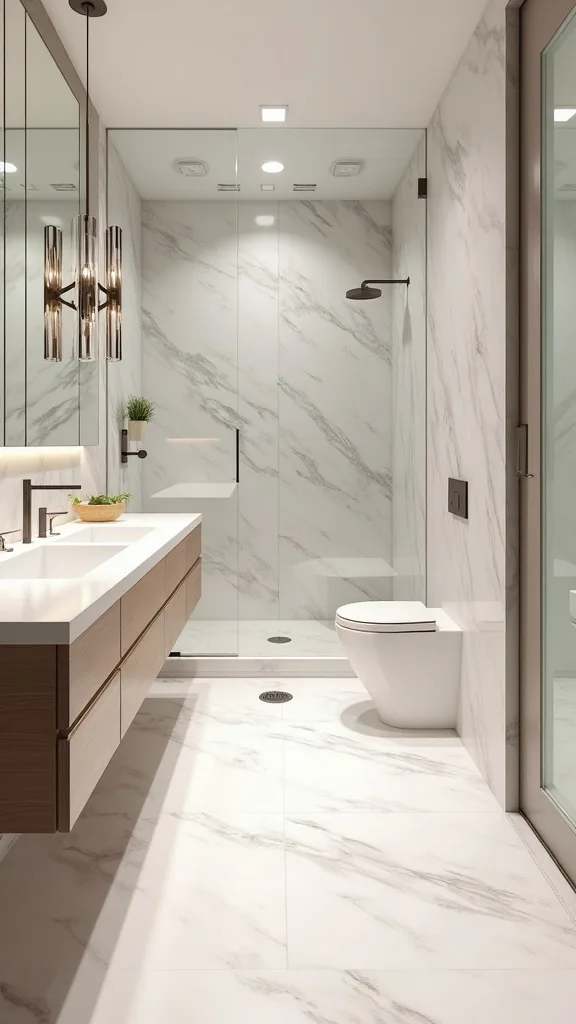
24. What’s the best mirror choice to amplify warmth and light in fall?
A mirror is a light tool, not just a reflection. This works because it doubles the glow—both from lighting and from the warm-toned finishes you layer in.
Go bigger than you think: a mirror that fills most of the width above the vanity feels more architectural and makes the room feel brighter. Choose a frame finish that complements your hardware—aged brass for warmth, matte black for contrast, polished nickel for crispness. If your bathroom lacks natural light, a subtly antiqued mirror can soften harsh reflections and feel more atmospheric.
Luxury version: a thin metal frame with a slight curve at the top. Accessible version: a clean rectangular mirror framed with a simple kit in a matching finish.
Pro tip: center the mirror precisely with the faucet, not the vanity cabinet. That alignment is what makes the whole space read “designed,” especially paired with a heated bathroom floor.
25. What’s the one detail that makes a warm bathroom look intentional?
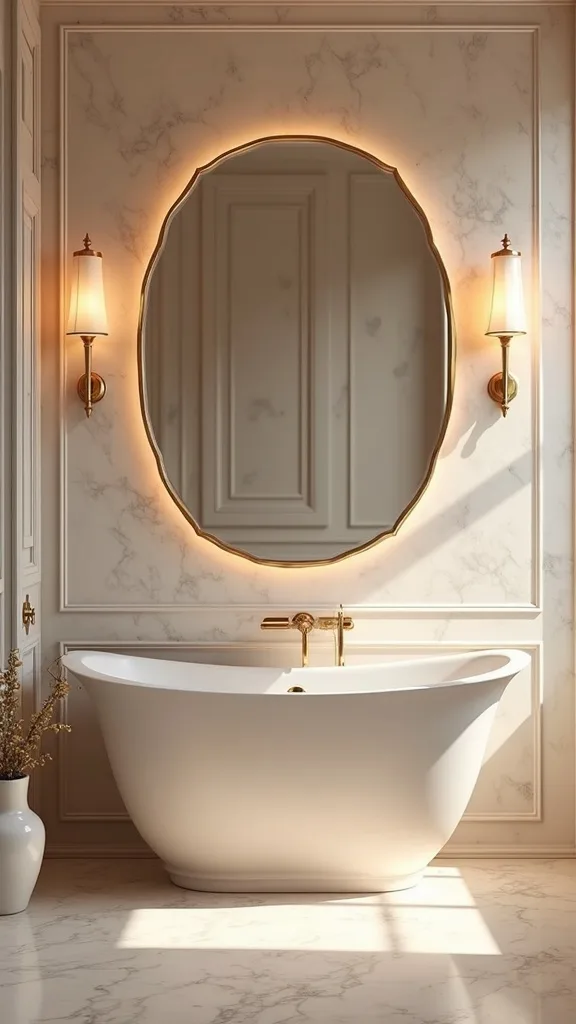
It’s not the most expensive tile or the fanciest thermostat. It’s the disciplined repetition of one finish and one tone—so the room feels edited, not accumulated.
Pick one metal finish (aged brass, matte black, or polished nickel) and commit: faucet, hooks, mirror frame, and even the tray rim if possible. Then pick one “soft neutral” (oatmeal, warm white, or greige) and repeat it in towels, mat, and a candle label. Keep the counter nearly clear—one tray, one candle grouping, one small plant—so the warmth underfoot feels like part of a calm composition.
Luxury version: custom-look hardware and a stone tray with glass vessels. Accessible version: matching off-the-shelf hardware and a simple ceramic tray.
Pro tip: fold your towels the same way every time. That consistent fold is the quiet signature that makes a cozy bathroom feel like a boutique stay.
Final Thoughts
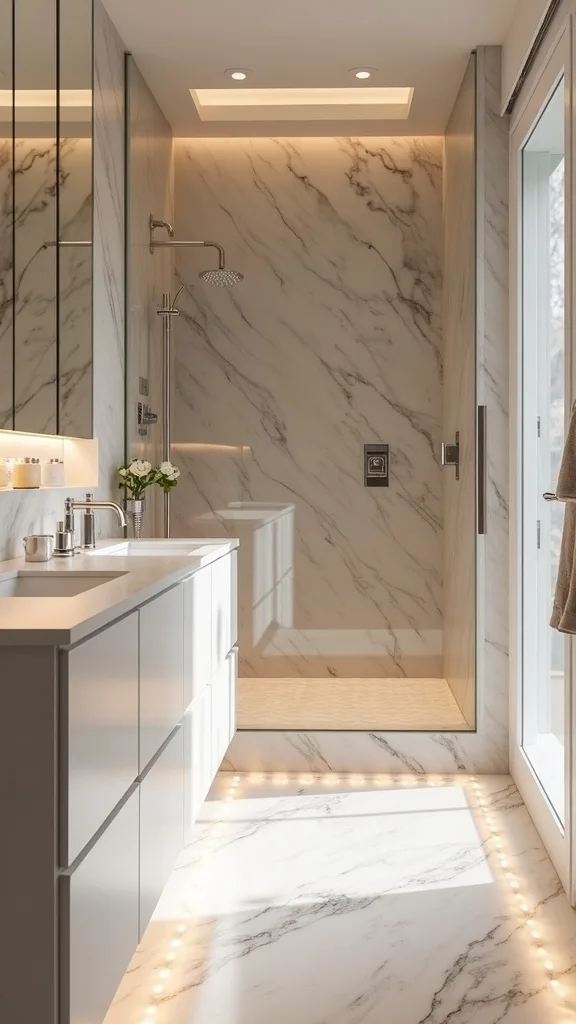
A bathroom becomes truly comforting when the design supports your routines: a warm surface where you stand, a calm palette that doesn’t shout, and a few tactile layers that make tile feel welcoming. Radiant heat is the invisible upgrade, but the styling is what makes it read like a deliberate choice.
Keep the formula simple: symmetry at the vanity, layering through textiles and one natural material, scale that matches the room, and contrast that’s repeated—not scattered. Avoid the temptation to over-accessorize; a tray, a candle grouping, and one plant will do more than a counter full of objects.
Do one thing today: measure your open floor area (the true standing zones) and sketch a heating layout with painter’s tape—then choose one tile sample and one metal finish to repeat throughout. That single plan turns “someday” into a bathroom that feels intentionally warm.
What I’d Do Differently
When I first tried this, I treated the heating layout like it was flexible right up until tile day. I didn’t fully commit to where the vanity legs would land, and I ended up with a warmed area that looked fine on paper but felt slightly “off” in real life—my feet were warm at the sink, yet the spot where I stepped out of the shower was cooler than I expected. The fix wasn’t complicated; it just required doing the unglamorous work earlier: I re-mapped the true standing zones with painter’s tape and dry-fit the mat so the warm lanes matched how the bathroom is actually used.
I also wish I’d known how much the small details matter once the floor is perfect. A mismatched switch plate and a bulky threshold strip can cheapen the whole effect. If you plan the layout carefully, photograph the wire run before tile, and choose one finish to repeat, you’ll get that quiet, hotel-grade comfort—so pick a date this week to measure your floor and start the plan.