
This post contains affiliate links. As an Amazon Associate, I earn from qualifying purchases at no extra cost to you.
The most memorable Labor Day gatherings don’t feel “decorated.” They feel composed—like you stepped outside and accidentally wandered into a resort backyard where everything is exactly where it should be.
This guide walks you through a backyard party setup that looks intentional without being fussy: a table formula (symmetry + layering), a lighting plan (scale + warmth), and a flow plan (zones + contrast). You’ll get luxury and accessible versions side by side so you can choose what fits your yard and your budget.
This is perfect for anyone hosting an end of summer party who wants the space to feel elevated—even if you’re working with a basic patio set, a cooler, and a patchy lawn.
Inside, you’ll see how to style kraft paper runners like a designer, how to build a DIY drink tub that keeps lines moving, and how to set up lawn games so they look curated—not like a garage sale spill.
Below are 25 Labor Day Backyard Party Setup Ideas that turn outdoor entertaining Labor Day into a relaxed, polished experience from the first drink to the last sunset photo.
Products I Recommend for This Project
Here are some of my favourite products to help you bring these ideas to life:
- Brightech Ambience Pro Waterproof Outdoor String Lights (48 ft) — Creates that patio “ceiling” glow and holds up to real backyard weather.
- Behrens Galvanized Steel Beverage Tub (17 gal) — A classic drink tub that looks styled even when it’s doing the messy job of melting ice.
- Kirkland Signature Kraft Paper Roll (Brown, 18 in x 150 ft) — The easiest way to get a clean, tailored runner look across long picnic tables.
- Homemory Flameless LED Pillar Candles with Timer (set) — Gives you candle glow on tables and pathways without worrying about wind, kids, or pets.
- Rubbermaid Commercial Products Wastebasket (large) — A simple, sturdy bin you can label and tuck into a “trash station” that stays upright all party.
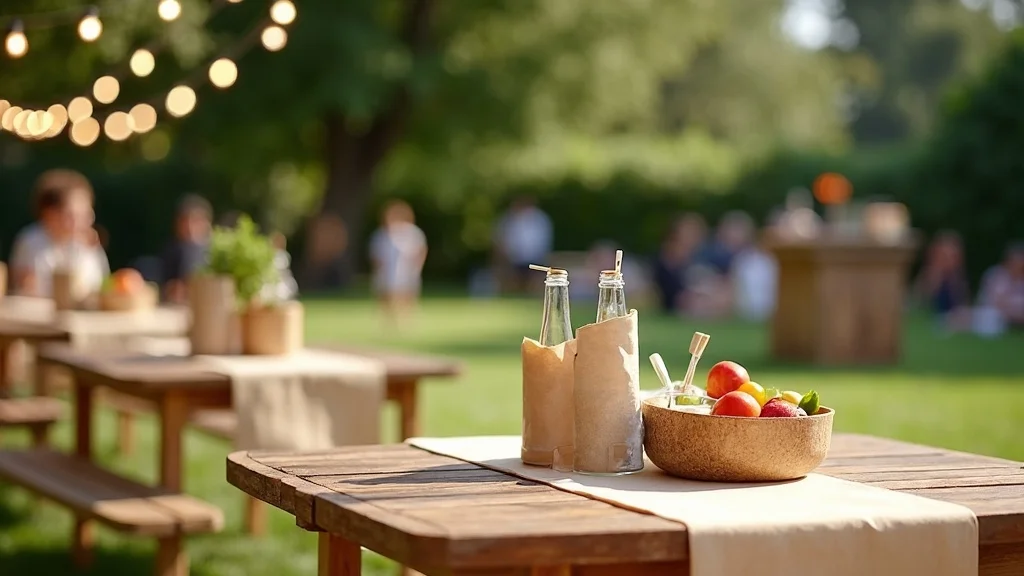
1. The Signature Setup: Picnic Tables + Kraft Paper Runner + Drink Tub + String Lights + Games
This is the backbone of the look: one long dining moment, one chilled drink moment, and one playful moment—balanced so the yard feels designed, not scattered. It works because it uses symmetry (repeated place settings), layering (runner + boards + candles), and contrast (soft paper with sturdy wood and metal tubs).
Start by centering your picnic tables so there’s a clear path on both sides. Roll out kraft paper as a runner, leaving a 6–8 inch border of bare tabletop on each side so it feels intentional. Build a DIY drink tub nearby (galvanized tub on a small table) and hang string lights overhead in one clean line, not a tangled web.
Choose a tight palette: kraft + white + one accent color (navy, sage, or terracotta). Add wood boards, clear cups, and striped napkins for texture.
Pro tip: place the lawn games station opposite the drink tub to create a natural “loop” through the party—your space will feel like it’s hosting for you.
2. How do I plan the layout so guests naturally mingle?
A great layout feels like a gentle suggestion: people drift where you want them to drift. The secret is spacing zones so no one bottlenecks, and using scale (one big anchor) to make the yard feel cohesive.
Mark three zones: dining, drinks, games. Keep 6 feet of walking space between them if possible, and angle each zone slightly toward the center like they’re in conversation. Put the drink station closest to the house (easy refills), dining in the middle (your anchor), and games farthest out (keeps noise and movement away from plates).
Use one repeated “linking” detail across all zones—matching lanterns, the same napkin color, or identical metal bins. That repetition reads as luxury.
Upgrade idea: add a simple “entry moment” (one potted plant + a small sign) so guests feel guided the second they step outside—calm is the most underrated party decor.
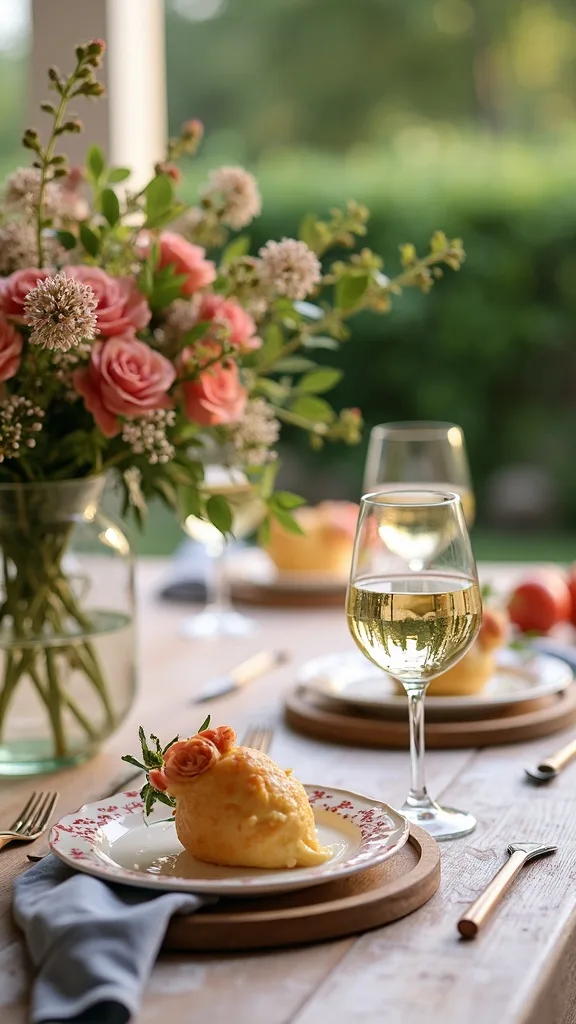
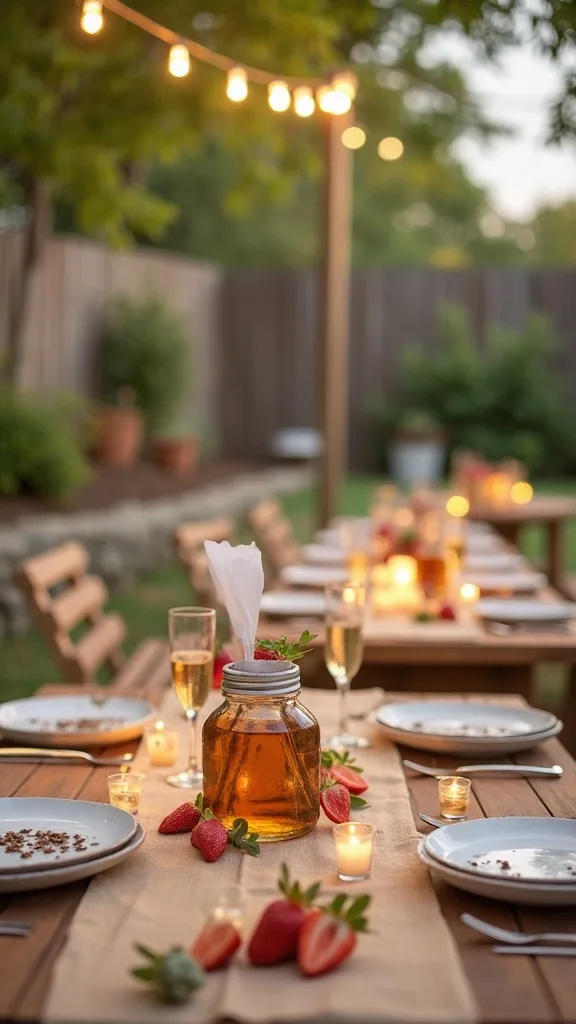
3. What’s the easiest way to make a picnic table look styled (not like a cookout)?
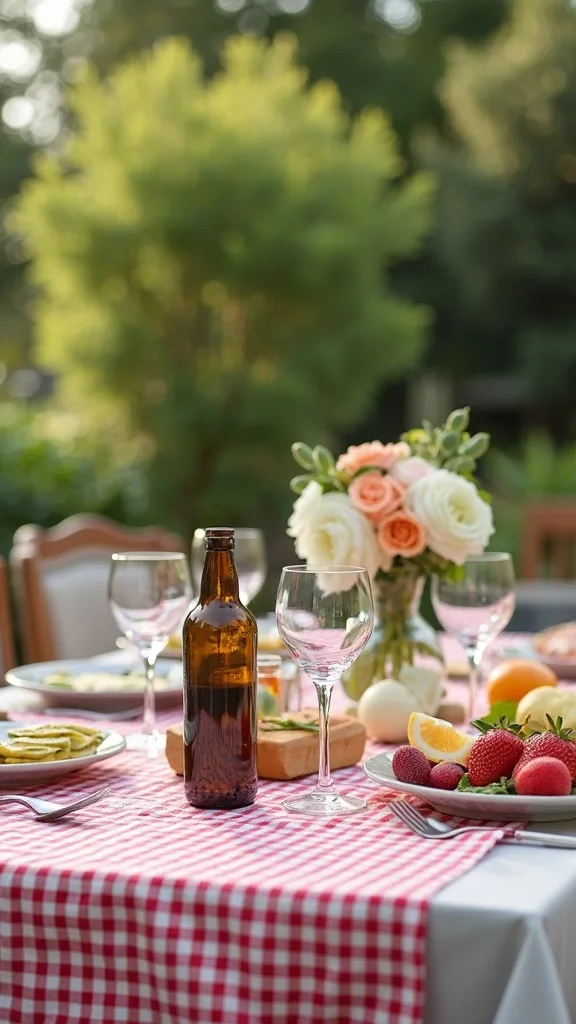
A picnic table becomes “styled” when you treat it like a dining table: you give it a centerline and a rhythm. This works because symmetry keeps it tidy, and layering adds depth without clutter.
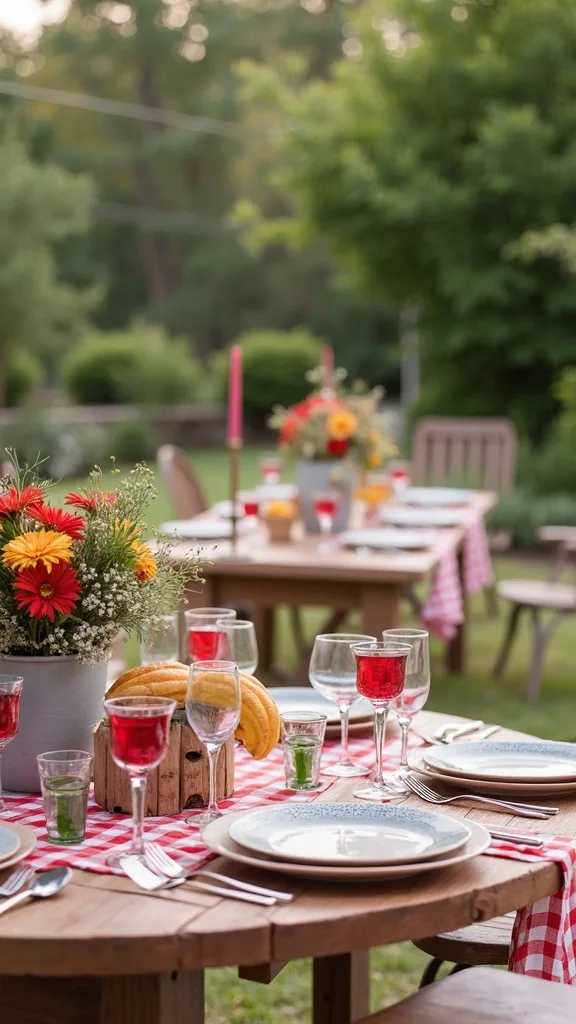
Run kraft paper down the center and tape it underneath at both ends so it doesn’t slide. Create a repeating pattern: every 18–24 inches, place a small cluster—one bud vase, one candle, one serving board. Then set plates at each seat with napkins folded the same way (simple rectangle, tucked under the plate edge).
Luxury version: linen napkins + ceramic side plates + small glass bud vases. Accessible version: paper napkins with a subtle stripe + melamine plates + repurposed jars as vases.
Pro tip: keep the center decor under 8 inches tall so guests can actually talk—good design always respects conversation.
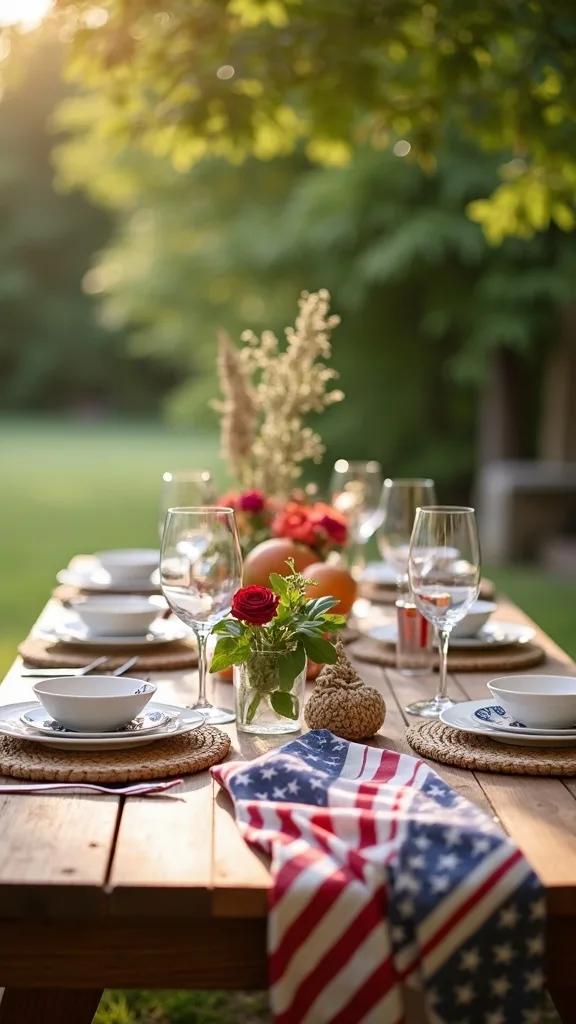
4. How do I create a ‘resort glow’ with string lights without overdoing it?
Resort lighting is not brighter—it’s more deliberate. It works when you use contrast (dark yard, warm pools of light) and scale (one strong overhead line rather than many competing strands).
Hang one main line of string lights over the dining area first, then add a second line only if the space still feels dim. Choose warm white light (2700K–3000K — the cosy, yellowish tone you see in most homes) so faces look flattering. Keep the strand height around 8–9 feet so it’s overhead but intimate.
Luxury version: café bulbs + dimmer plug. Accessible version: solar string lights + a few lanterns on the table edges.
Pro tip: anchor the ends with something substantial (a post, a sturdy tree, or a mounted hook)—straight lines read expensive, even when the lights aren’t.
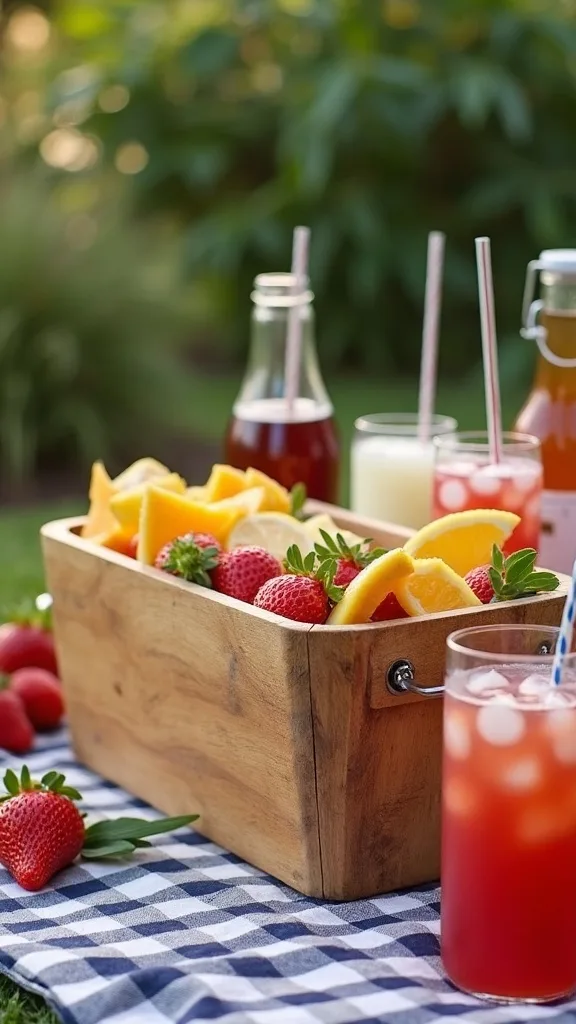
5. What’s the best DIY drink tub setup for fast self-serve drinks?
A drink station feels luxurious when it’s self-explanatory. The win here is symmetry (labels and groupings) and layering (tub + tray + garnish).
Set a galvanized tub on a small outdoor side table, then fill it half ice, half drinks so bottles don’t float and tip. Place cups on a tray to the right, napkins underneath, and a small “garnish bowl” to the left (lime wedges, mint, or sliced oranges). Add a small trash bin directly under the table—out of sight, but within reach.
Luxury version: matching glass bottles + acrylic drink tags. Accessible version: canned drinks + painter’s tape labels + a thrifted metal tub.
Pro tip: include one non-alcoholic “signature” option in a beverage dispenser so everyone feels considered—hosting is design in motion.
6. How do I set up a lawn games station that looks curated?
Lawn games look intentional when they have a home base. This works because scale (one station) keeps the yard from feeling messy, and contrast (neat storage next to playful chaos) reads polished.
Choose one corner of the yard and place a low bench or outdoor console there. Stack games in two neat piles (cornhole bags in a basket, bocce in a bin), and add a small sign that says “Play.” Keep a towel hook or small bin for sunscreen and bug spray so the station earns its footprint.
Luxury version: matching woven baskets + a slim outdoor console table. Accessible version: a folding table + two plastic bins labeled with kraft tags.
Pro tip: set one game out “ready to start” and store the rest—one visible invitation beats five visual distractions.
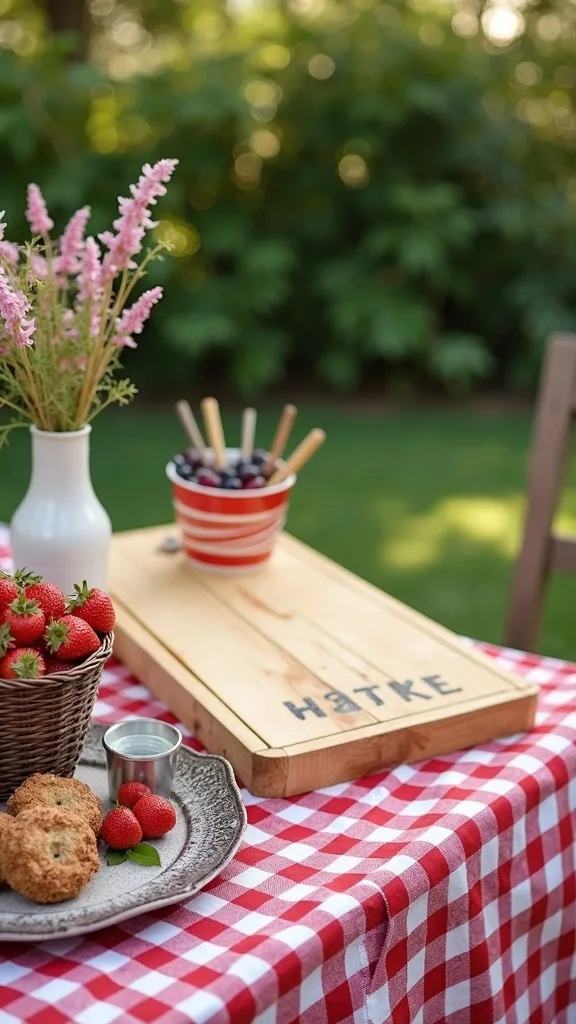
7. How can I make folding chairs feel comfortable and elevated?
Comfort is the fastest path to lingering, and lingering is the whole point. The trick is layering: one soft element, one supportive element, one finishing detail.
Add a thin outdoor cushion to each folding chair and tie it on so it doesn’t slip. Then drape one throw across every other chair—folded in thirds and placed diagonally across the back so it looks styled, not abandoned. Keep a small basket of extra throws near the dining area for when the sun drops.
Luxury version: neutral outdoor seat pads + lightweight cotton throws. Accessible version: indoor pillows inside pillowcases you don’t mind washing + thrifted blankets.
Pro tip: repeat the same throw color twice at the table ends to create symmetry—your seating will look planned, even if the chairs are mismatched.
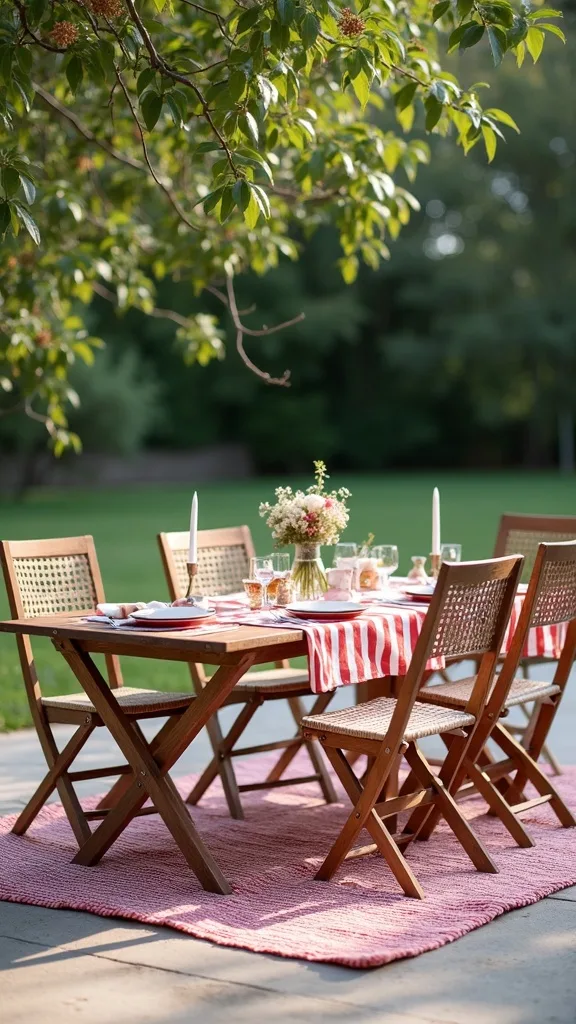
8. What’s a simple centerpiece formula that won’t block conversation?
The best centerpiece is low, rhythmic, and repeatable. It works because you’re using symmetry (repetition) and contrast (matte paper runner + glossy glass + flicker).
Pick a “set of three” and repeat it down the runner: one bud vase, one small candle, one serving board. Keep each cluster under 8 inches tall. Space clusters evenly—think about the table as a runway with intentional stops.
Luxury version: tapered candles in short holders + single-stem florals. Accessible version: tea lights in small jars + grocery-store greenery cut into short sprigs.
Pro tip: place candles in groups of 3 or 5, never 2—odd numbers feel styled, and the table instantly reads like an event.
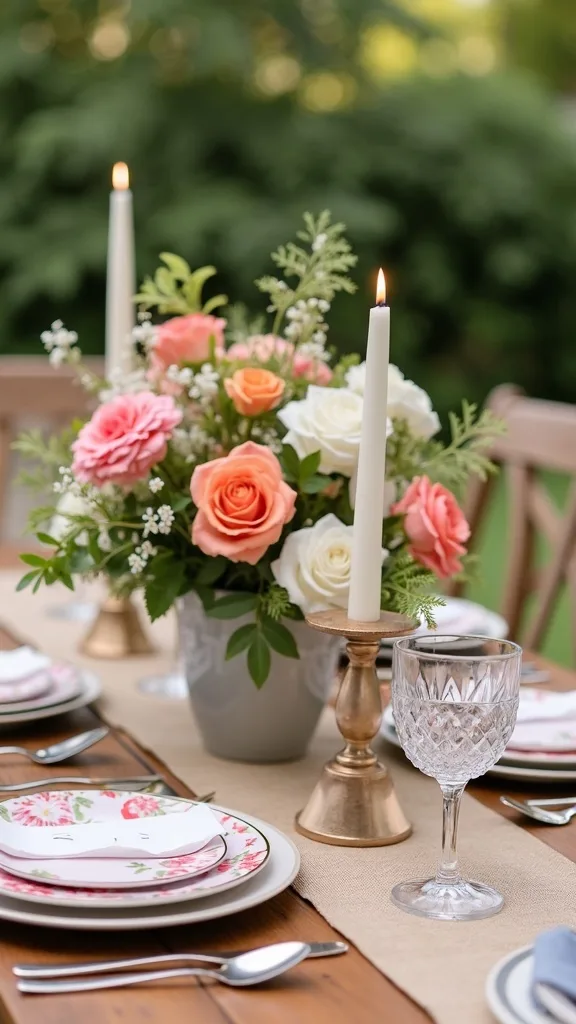
Cost & Materials Estimate
A polished Labor Day backyard setup can land anywhere from a simple refresh to a full “event” look, depending on what you already own.
| Item | Estimated Cost | Where to Buy |
|---|---|---|
| Kraft paper roll (table runner) | $8–$15 | Amazon |
| Outdoor string lights (48 ft, warm white) | $22–$45 | Home Depot |
| Galvanized beverage tub | $18–$35 | Lowe’s |
| Lanterns or hurricane candle holders (set of 2) | $24–$60 | Wayfair |
| Outdoor melamine plates + cups (set for 8–12) | $20–$55 | IKEA |
| Two storage baskets/bins for lawn games + sprays | $18–$40 | Amazon |
Total estimated cost: $110–$250 Save by using what you own for trays and vases; splurge on string lights because they upgrade every outdoor night you host.
9. How do I style disposable plates so they still look ‘host-level’?
Disposable doesn’t have to look disposable. This works when you use layering (charger + plate) and a tight color story so nothing screams “last minute.”
Start with a simple charger—woven, bamboo, or even a sturdy paper placemat. Add a white disposable plate on top, then a napkin folded cleanly with flatware tucked inside. Finish with one small detail at each seat: a sprig of rosemary, a name card, or a single wrapped chocolate.
Luxury version: real chargers + compostable plates + linen napkins. Accessible version: kraft paper placemats + sturdy white plates + paper napkins in your accent color.
Pro tip: avoid busy patterns on disposable plates; they fight your runner and make the table feel noisy—quiet surfaces read expensive.
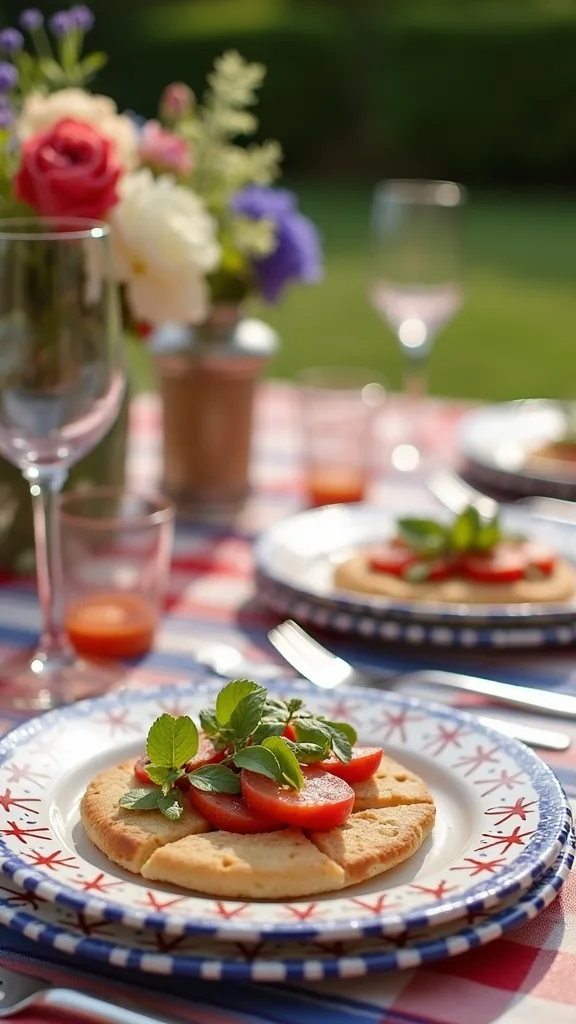
10. What should I avoid so my backyard setup doesn’t look cluttered?
The biggest style killer is “too many small things everywhere.” Clutter breaks the sense of scale, and suddenly your end-of-summer party looks like a storage unit with snacks.
Avoid scattering decor across every surface. Instead, choose two hero surfaces: the dining table and the drink station. Keep everything else functional—one towel hook, one trash point, one sunscreen basket. If you’re tempted to add another decorative item, swap it for something larger and simpler (one lantern instead of five mini votives).
Luxury version: fewer, larger pieces—oversized lanterns, substantial trays, big serving boards. Accessible version: one thrifted tray + one statement plant + a single string-light line.
Pro tip: do a “two-step test”—stand two steps back from each zone; if you can’t describe it in one sentence, edit until you can.
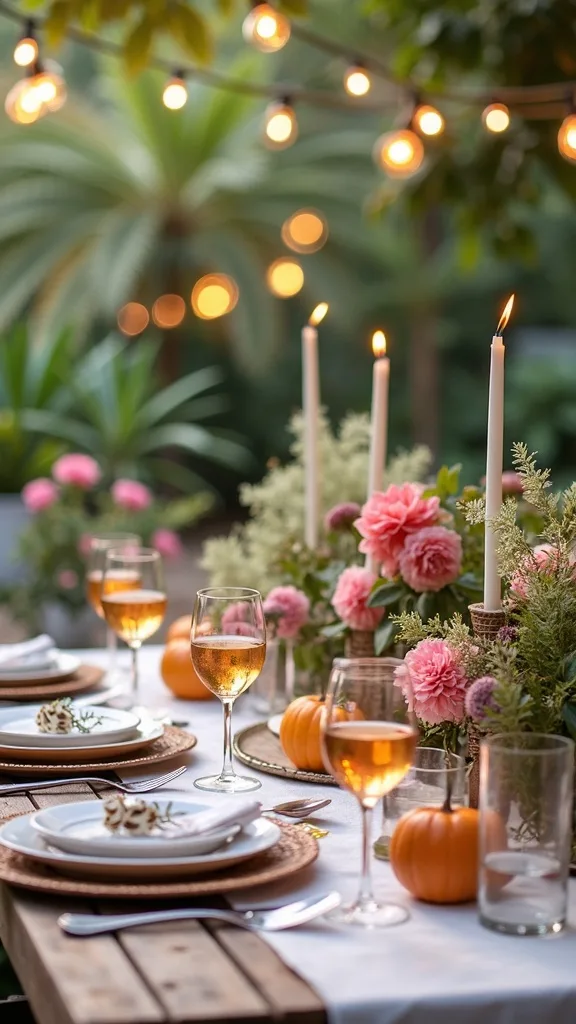
11. How do I keep food service looking tidy all afternoon?
A tidy food setup is about containment. This works because symmetry and layering let you hide the practical stuff (tongs, stacks, refills) inside a composed frame.
Create a buffet line on one table: plates at the start, mains in the center, condiments at the end. Put messy items (sauces, toppings) on a rimmed tray so drips stay corralled. Keep a “backup bin” under the table with extra napkins, utensils, and a roll of paper towels—out of sight, instantly accessible.
Luxury version: matching serving bowls + labeled acrylic containers. Accessible version: sheet pans lined with parchment + kraft labels on jars.
Pro tip: place one small vase or candle at the far end of the buffet—one decorative anchor makes the whole line feel styled, not cafeteria.
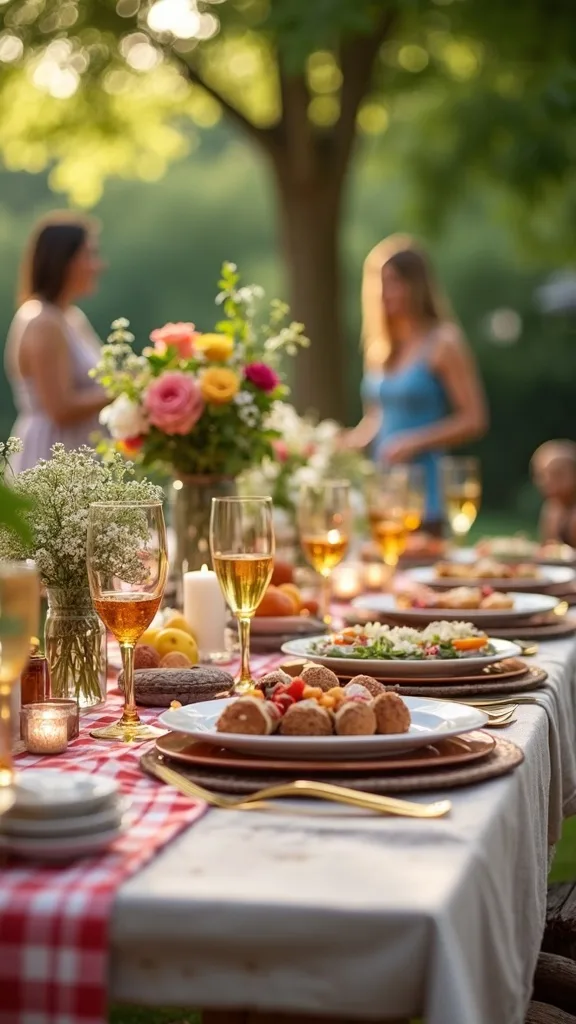
12. How can I create shade that looks intentional in photos?
Shade reads luxurious when it feels architectural. It works when you use scale (one big canopy moment) and contrast (soft fabric against greenery and wood).
If you have a patio umbrella, center it over the dining area and angle it so it shades faces, not just the tabletop. No umbrella? Hang a simple shade sail or even a light outdoor curtain panel between two anchor points. Keep lines taut; sagging fabric looks accidental.
Luxury version: large cantilever umbrella + weighted base. Accessible version: standard umbrella + DIY side ties to keep fabric neat.
Pro tip: match the shade fabric to your runner tone (cream with kraft, white with gray) so the whole scene looks like one design decision.
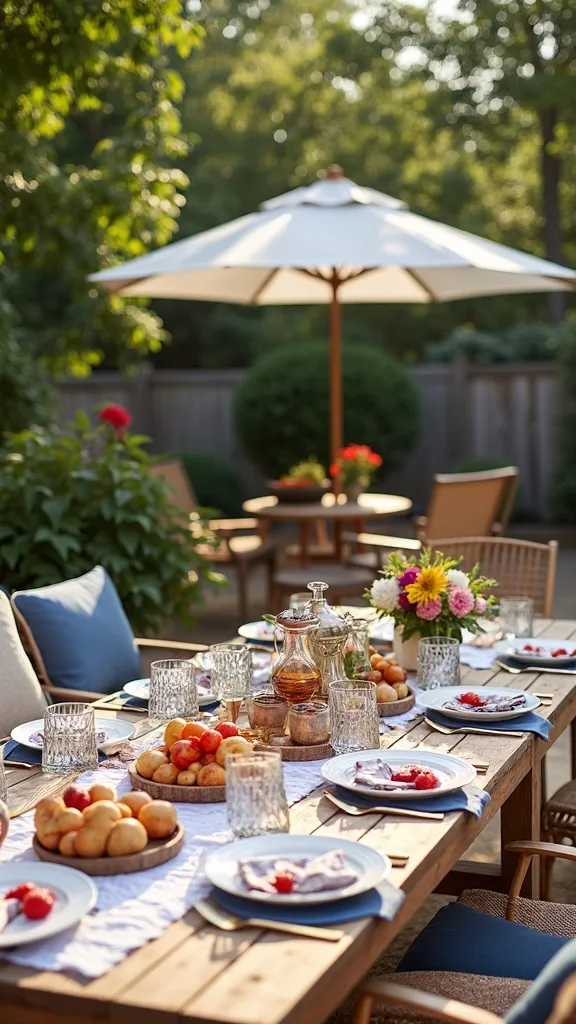
13. What’s the simplest way to add a ‘lounge zone’ without buying furniture?
A lounge zone is just a permission slip to relax. This works because layering makes the ground feel inviting, and symmetry makes it feel planned.
Lay down an outdoor rug (or two smaller ones overlapped) near the games area. Add floor cushions or poufs, then anchor the middle with a low tray table—one place for drinks changes everything. Finish with two lanterns flanking the rug edges to define the zone.
Luxury version: outdoor sectional + low teak coffee table. Accessible version: picnic blankets + oversized pillows + a sturdy tray on an upside-down crate.
Pro tip: keep cushions in a tight palette and vary texture instead—mix canvas, woven, and knit for depth without chaos.

14. How do I use candles outdoors safely and still get that glow?
Outdoor candlelight is about containment and repetition. It works when you use contrast (flicker against dusk) and symmetry (matched groupings).
Choose hurricane holders or lanterns so flames are protected from wind. Group candles in threes—one taller, two shorter—on the table and at the drink station. If kids or pets are around, use LED flameless candles and still keep the same grouping rules.
Luxury version: glass hurricanes + real taper candles on the table ends. Accessible version: LED pillar candles in thrifted lanterns.
Pro tip: place candle groupings at “pause points” (buffet end, drink station corner, lounge edge)—light tells guests where to linger.
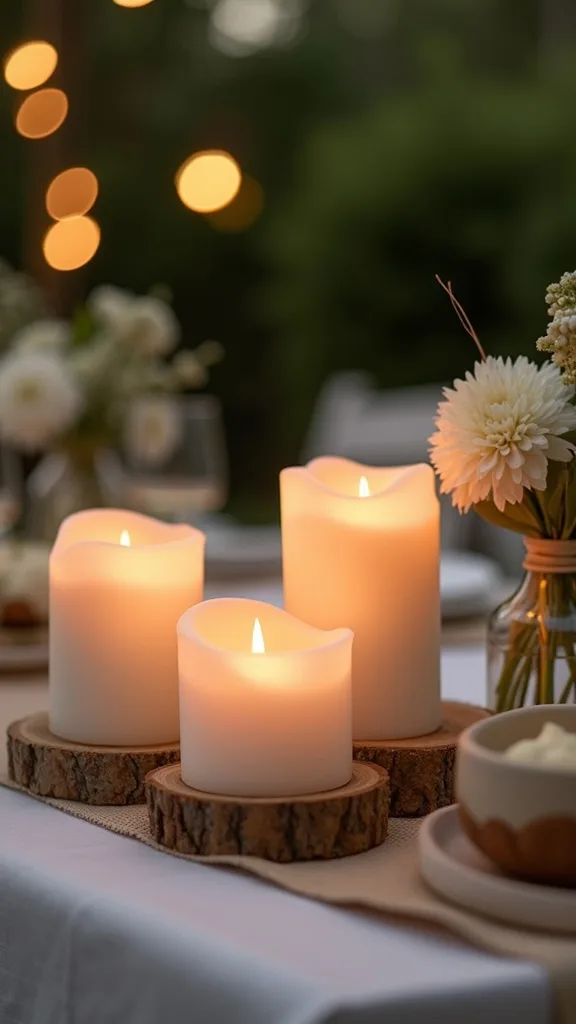
15. How do I keep bugs away without ruining the vibe?
The bug plan should disappear into the styling. This works because layering lets you hide practical tools inside pretty containers.
Set one small basket at the edge of the dining zone with bug spray wipes and sunscreen—label it with a simple kraft tag. Use citronella in neutral vessels (stone, metal, or glass), and place them downwind so scent doesn’t sit on the food. Add a small fan near the buffet; moving air discourages bugs and keeps guests comfortable.
Luxury version: sleek outdoor fan + unscented candles plus discreet repellents. Accessible version: repellent wipes + citronella in plain jars.
Pro tip: avoid placing citronella directly on the dining table; it competes with food aromas and makes the whole meal feel like a campsite.
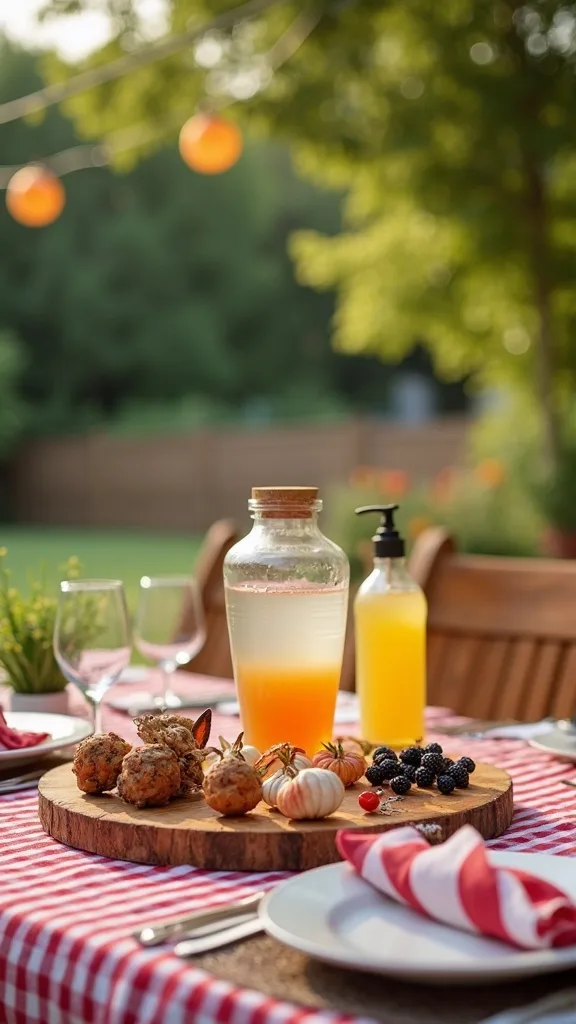
16. What’s a smart cooler strategy so people aren’t digging for drinks?
Coolers feel chaotic when they’re a mystery box. This works when you apply symmetry (sorted sections) and contrast (clear labels on a busy surface).
Use two coolers if you can: one for alcoholic, one for non-alcoholic. If you only have one, create zones inside with divider bins or even reusable grocery bags. Put the most-grabbed drinks on top, and add a small laminated label card so guests don’t ask you every five minutes.
Luxury version: beverage tub for display + cooler for backup. Accessible version: one large cooler + labeled zip bags for categories.
Pro tip: keep a dedicated ice bag in a second small cooler—nothing derails outdoor entertaining like running out of ice mid-afternoon.
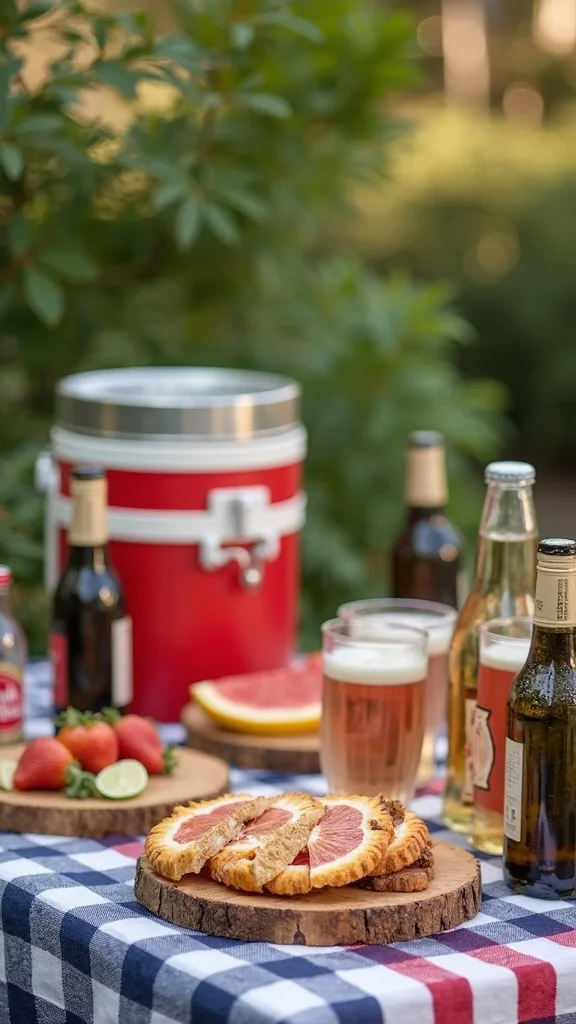
17. How do I make the drink station feel like a ‘bar’ with minimal effort?
A bar feel comes from one thing: a clear sequence. It works because layering creates stations within the station—pour, garnish, finish.
Set up left to right: cups + ice scoop, then drinks, then garnishes + stirrers. Add one cutting board with a small knife for citrus, and place a cloth towel folded neatly under it. Include a small menu card (even handwritten) that lists 2–3 options so guests feel guided.
Luxury version: acrylic risers to vary height + matching glassware. Accessible version: one tray flipped upside down as a riser + sturdy clear cups.
Pro tip: add one “finish” item—salt rim, mint, or sparkling water top-off—because tiny rituals make a DIY outdoor party feel like service.
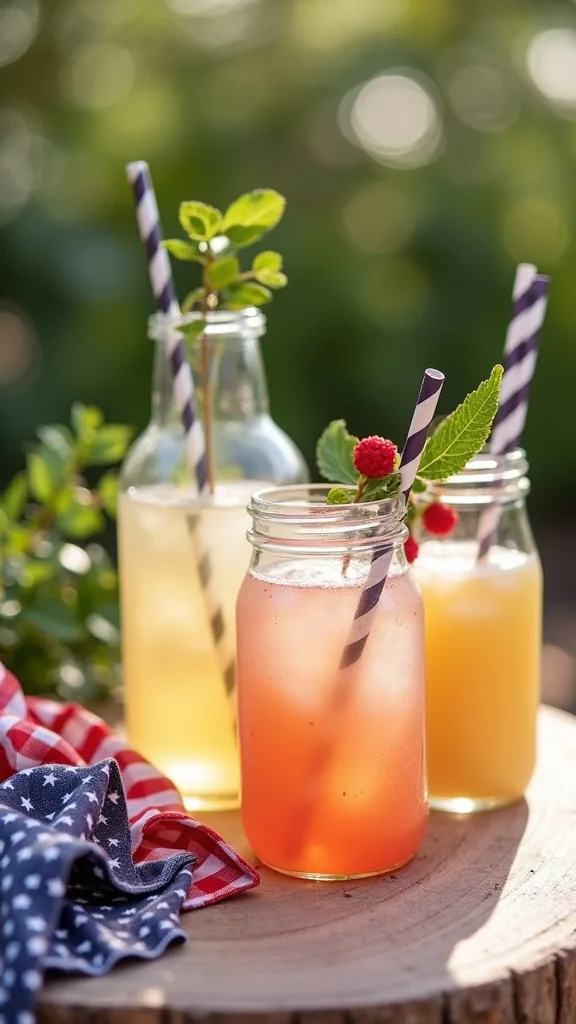
18. How can I use planters and greenery as decor instead of buying more stuff?
Greenery is the most believable kind of luxury because it’s alive. It works when you use scale (bigger plants, fewer of them) and contrast (matte leaves against reflective trays and glass).
Pull two large planters forward to frame the dining area like an outdoor room. Snip a few stems from safe garden greenery (herbs, olive-like branches, or hardy leaves) and drop them into bud vases along the runner. Keep it consistent—same plant, same vase shape.
Luxury version: oversized planters flanking the table ends. Accessible version: grouped terra-cotta pots in threes, spray-cleaned for a fresh look.
Pro tip: avoid mixing five types of flowers; one repeated stem looks intentional and photographs like a magazine spread.
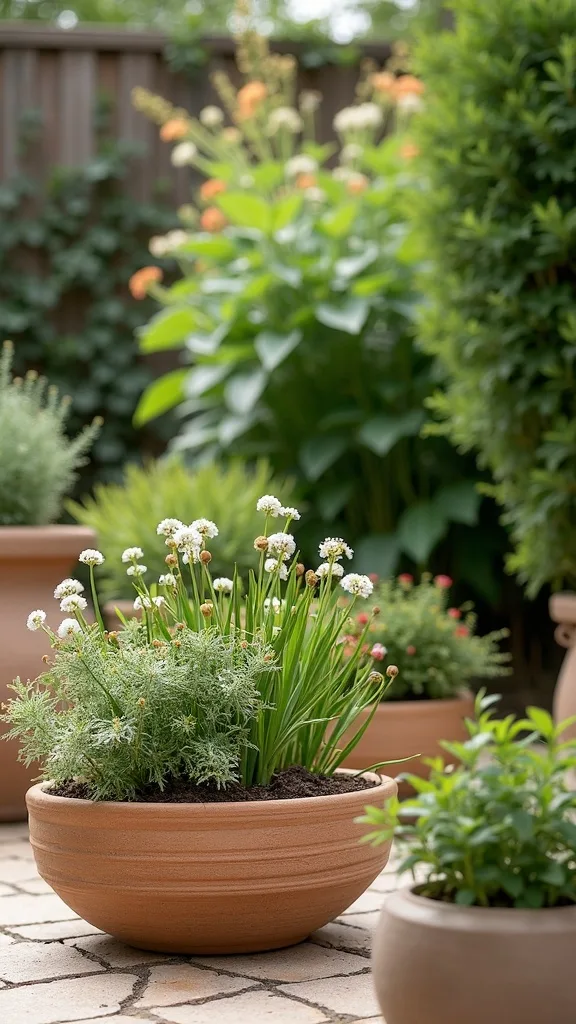
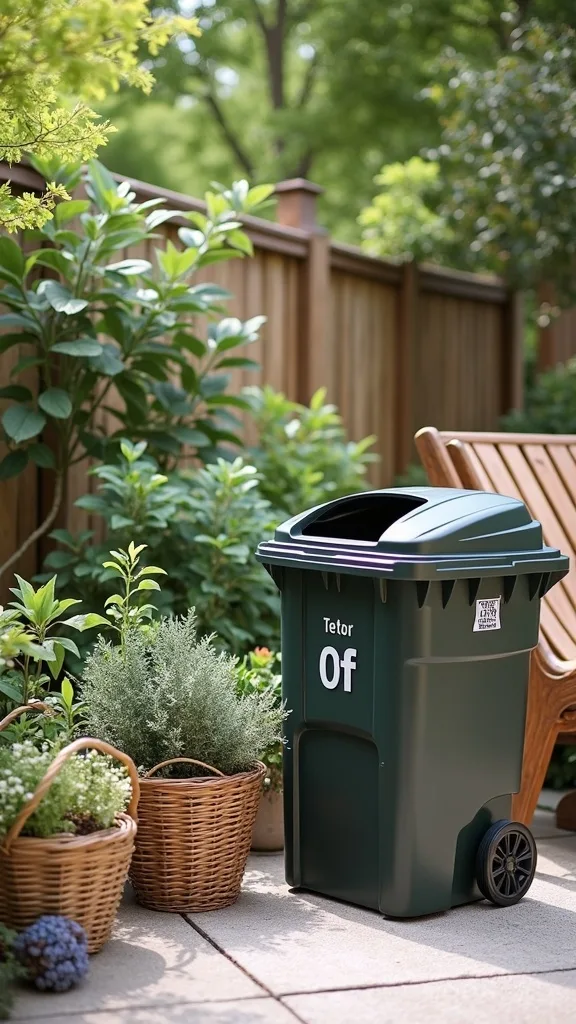
19. What’s the best way to set up a trash and recycling point without it looking ugly?
Waste stations are part of the design, whether you style them or not. This works because contrast lets you hide the utilitarian pieces inside a cleaner outer layer.
Place two bins side by side near the exit back into the house—guests naturally pass them. Use tall outdoor trash cans, then wrap each with a simple kraft label: TRASH and RECYCLE. Add a small lantern or potted plant between them so the station reads like a “setup,” not an afterthought.
Luxury version: matching lidded bins + printed labels. Accessible version: two standard cans tucked into a large basket or behind a screen.
Pro tip: avoid tiny open bins near the table; they fill fast and become the visual focal point for all the wrong reasons.
20. How do I time the setup so I’m not sweating when guests arrive?
The calm host look is mostly scheduling. It works because you separate “pretty” from “perishable,” and you protect your energy like it’s part of the decor.
Night before: set tables, hang lights, stage the games station, and place trays and serving pieces. Two hours before: fill the drink tub halfway with ice, prep garnishes, and set out non-perishable snacks. Thirty minutes before: add candles, finish the runner styling, and place fresh ice on top so it looks crisp.
Luxury version: pre-chilled drinks + extra ice stored in a second cooler. Accessible version: freeze water bottles as ice packs to reduce melt.
Pro tip: put your “host kit” (lighter, tape, scissors, wipes) in one small caddy—nothing breaks elegance faster than frantic searching.
21. How can I create a photo-worthy ‘moment’ without building a full backdrop?
A photo moment doesn’t need a wall—it needs a frame. This works because symmetry and scale create an instant focal point.
Choose one spot near the dining area and place two tall planters or two lanterns to form “bookends.” Hang a short run of string lights behind it, or drape a simple outdoor fabric panel. Add one small side table with a tray of sparklers or dessert plates so it’s functional, not just decorative.
Luxury version: outdoor curtain panels + coordinated planters. Accessible version: a sheet clipped to a line + potted mums or ferns you already own.
Pro tip: keep the backdrop neutral and let people be the color—photos look elevated when the environment doesn’t compete.
22. How do I use serving trays and boards to make the table feel expensive?
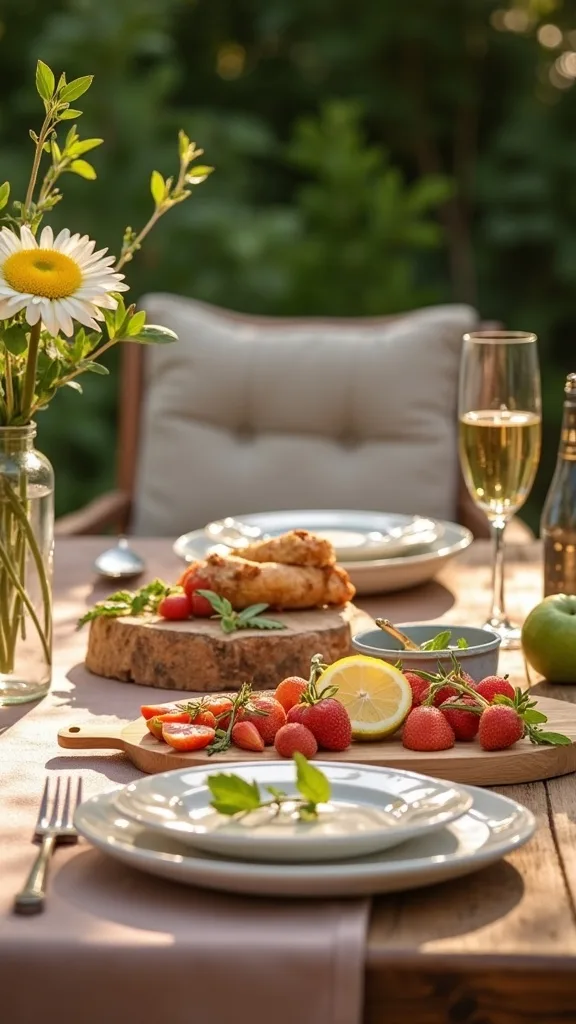
Trays and boards are the shortcut to “host knows what they’re doing.” They work because layering adds levels and contrast makes simple food look styled.
Choose one large wood board for bread or fruit and one rimmed tray for anything messy (dips, sauces, sliders). Place boards slightly off-center on the runner so the table feels curated, not rigid. Keep one small tray near the drink station for lemon slices and stirrers—tiny containment reads high-end.
Luxury version: marble board + teak tray mix. Accessible version: a thrifted cutting board + a sheet pan lined with parchment, tucked into a basket.
Pro tip: wipe boards with a little food-safe oil before guests arrive; that subtle sheen photographs like a catalog.
23. What are the best ‘end of summer’ colors that still feel timeless?
End-of-summer color should feel sun-warmed, not theme-park patriotic. It works when you use contrast thoughtfully: one deep tone, one light tone, one natural tone.
Start with kraft + white as your base (runner and plates). Add one accent: navy (classic), sage (fresh), or terracotta (warm). Repeat the accent exactly three times—napkins, one vase ribbon, and one small sign—so it feels intentional instead of random.
Luxury version: muted tones in linen and ceramic. Accessible version: the same palette in paper goods and inexpensive glassware.
Pro tip: avoid bright primary red/blue everywhere; a small nod is fine, but softer shades make outdoor entertaining Labor Day feel elevated and adult.
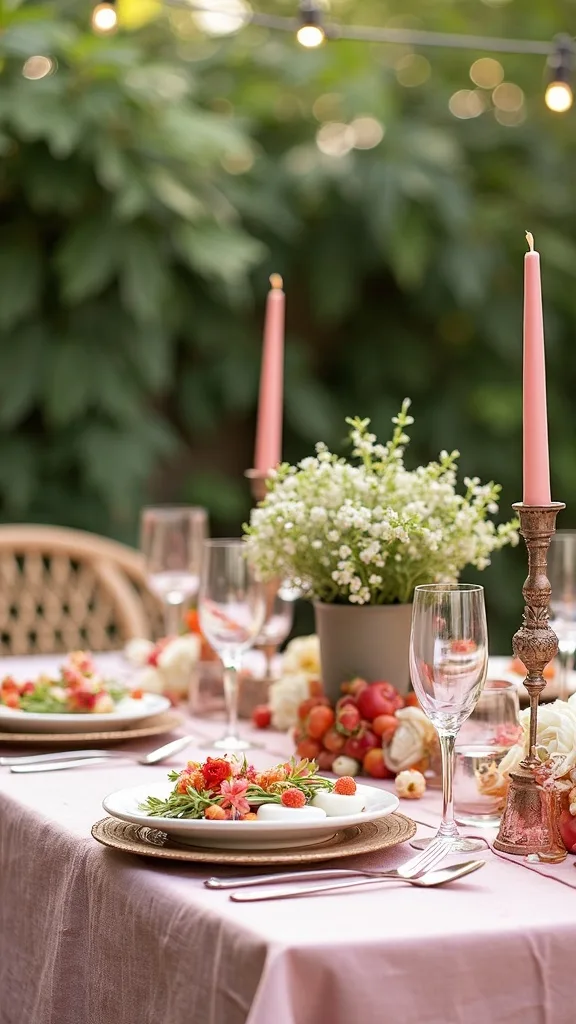
24. How do I keep the party going after sunset without harsh lighting?
After-dark comfort is about layered light—overhead, tabletop, and pathway. It works because layering prevents glare and scale keeps the yard from disappearing into darkness.
Keep string lights as the “ceiling.” Add lanterns on the ground near steps and walkways, spaced every 6–10 feet so guests don’t stumble. On the table, use candle clusters or LED candles to add flicker without blinding anyone.
Luxury version: plug-in dimmable string lights + heavy lanterns. Accessible version: solar pathway lights + LED candles in jars.
Pro tip: avoid cool white bulbs; warm white light (2700K–3000K — the cosy, yellowish tone you see in most homes) makes everyone look better and makes the yard feel like a room.
25. What’s the one finishing detail that makes everything look intentional?
The finishing detail is repetition—one small thing repeated on purpose. It works because symmetry and contrast tell the eye, “This was planned.”
Choose one “signature”: a striped napkin, a kraft tag, a sprig of rosemary, or a simple black-and-white label. Then repeat it across the table, drink station, and games station. Keep it consistent in placement—tags always on the right side of a tray, napkins always under plates, labels always centered.
Luxury version: custom printed tags tied with thin linen string. Accessible version: painter’s tape labels written in a bold marker, trimmed cleanly with scissors.
Pro tip: do one final walk-through with a small basket and remove anything that doesn’t match your signature—editing is what makes a DIY outdoor party feel like a designer’s work.
Final Thoughts
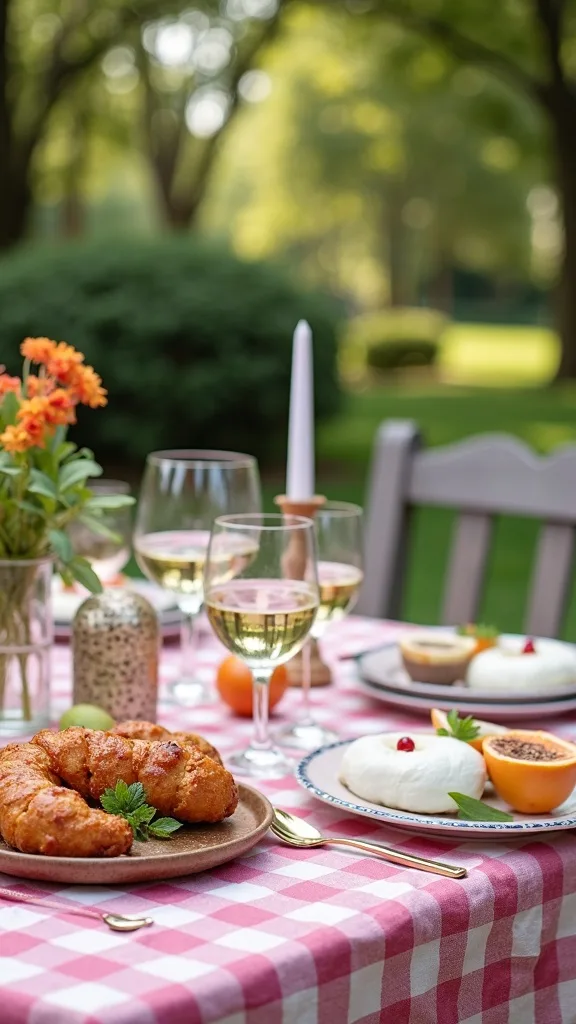
A Labor Day backyard party feels elevated when every zone has a job and every surface has a purpose. Build the dining table as your anchor, keep drinks self-serve and obvious, and let games live in one curated station so the yard never looks scattered.
If you only do one thing, do this: repeat one detail three times across the space—napkin color, kraft tags, or lantern style. That repetition is the quiet signal that turns “we threw something together” into “we hosted.”
Today, grab a roll of kraft paper, clear one table, and set a simple centerline with three clusters (vase + candle + board). Once that anchor is done, the rest of your setup will fall into place.
What I’d Do Differently
When I first tried this, I over-styled the table and under-planned the flow. I had cute little details everywhere—mini vases, extra signs, too many condiment bowls—so the picnic table looked busy, and guests kept asking, “Where do I put this?” and “Where are the cups?” The specific mistake: I didn’t create a clear sequence at the drink station. People hovered, the cooler lid stayed open, and the whole area felt hectic even though the rest of the yard looked pretty.
What I wish I knew: the most “luxury” part of a backyard party is how easy it is to move through it. Now I always set the drink station left-to-right (cups → drinks → garnish) and I place one obvious trash point on the route back to the house. Pick your three zones, place one signature detail across all of them, and start with the drink station today—you’ll feel the difference immediately.