This post contains affiliate links. As an Amazon Associate, I earn from qualifying purchases at no extra cost to you.
School starts, the calendar fills up, and somehow dinner becomes a daily scavenger hunt: Where’s the cutting board? Which container has a lid? Why is the freezer a jumble of mystery bags? My strongest opinion on back-to-school meals is this: you don’t need more recipes—you need a setup that makes the right choice the easiest choice.
This article is built around one design principle: reduce decision points by creating a single, repeatable path from “unpacked groceries” to “ready-to-eat.” You’ll see exactly how to build a counter-top prep zone, a portioning station, and a freezer system that supports weekly meal prep without taking over your kitchen.
This is perfect for households juggling family meal planning, after-school activities, and tight budgets—especially if your kitchen is shared by multiple hands (and not all of them put things back).
Inside, you’ll get 25 specific setups—labeled container zones, a sheet pan station, smart drawer groupings, and freezer labels that stop food waste—plus beginner versions so you can start with what you already have.
Below are 25 Meal Prep Kitchen Organization & Setup that make kitchen meal prep organization feel automatic instead of exhausting.
Products I Recommend for This Project
Here are some of my favourite products to help you bring these ideas to life:
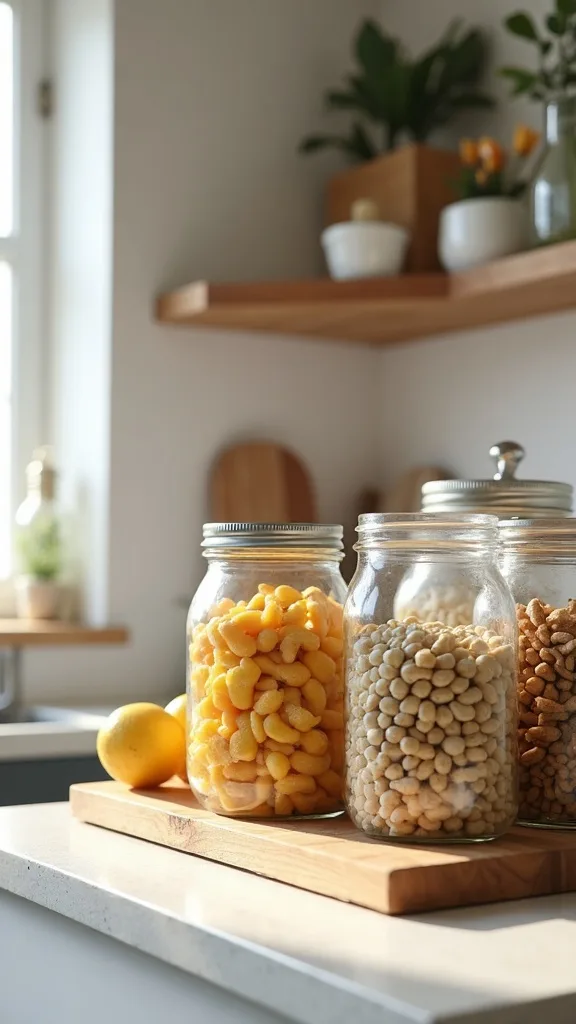
- Rubbermaid Brilliance BPA-Free Food Storage Containers (Meal Prep Set) — Stackable, clear, and leak-resistant so portions stay tidy in the fridge.
- Pyrex Simply Store 18-Piece Glass Food Storage Set — Great for reheating and reducing stains/odors when you prep saucy meals.
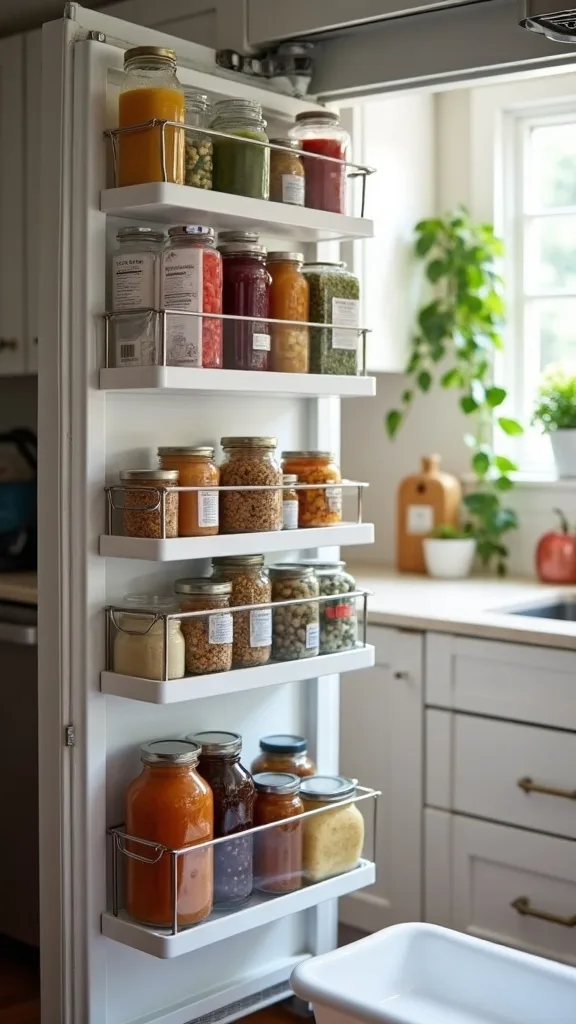
- Vtopmart Clear Plastic Pantry Organizer Bins (Set of 4) — Creates instant fridge and pantry zones you can pull out like drawers.
- Scotch Freezer Tape — Holds up in cold and peels cleanly, making freezer labeling fast and readable.
- SimpleHouseware Expandable Kitchen Cabinet Organizer Rack — A vertical rack that keeps sheet pans and cutting boards upright and easy to grab.
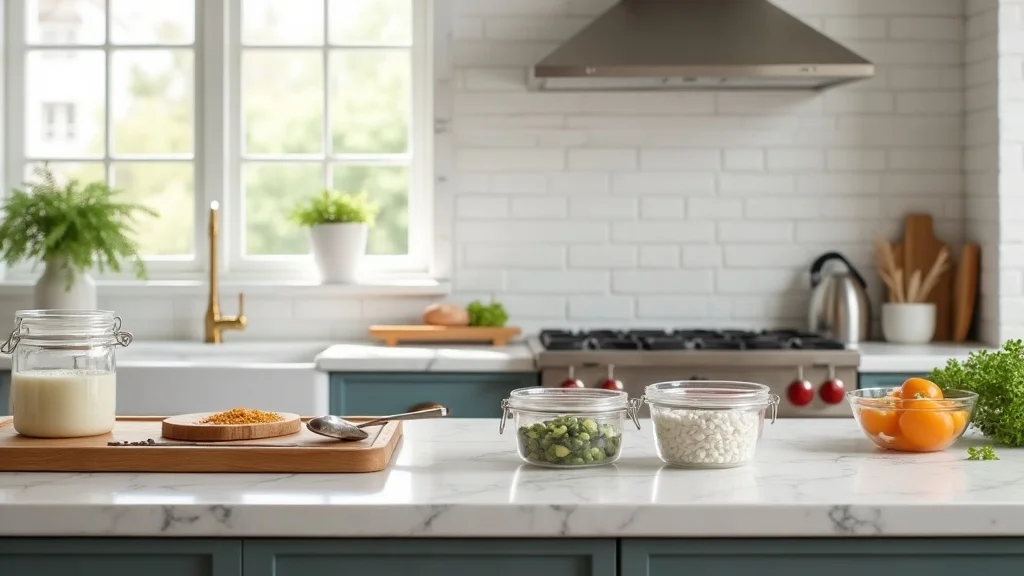
1. Build the “3-Foot Prep Path” on One Counter
This idea is a counter-top prep zone where everything you touch during prep lives within one arm’s reach, and it works because it removes micro-decisions that drain energy at 5:30 p.m. The psychology is simple: when your tools are visible and grouped, you follow the same routine without negotiating with yourself.
Set a 24–36 inch stretch of counter as the only prep surface. Place a cutting board, a small bin for compost/trash, and a labeled meal prep containers stack right beside it; add a nearby sheet pan station (vertical rack or file organizer) and keep freezer labels in a cup with a marker. Beginner version: claim one corner of counter and use a shoebox bin to corral the essentials.
Choose wipeable materials: a silicone prep mat, nesting stainless bowls, and clear containers so you can see portions fast. Colors stay calm—white, clear, or matte black—so the zone reads as intentional, not clutter.
Pro tip: tape a tiny “PREP” label on the counter edge (underside if you prefer) as a boundary reminder; a simple boundary turns chaos into a habit you can trust.
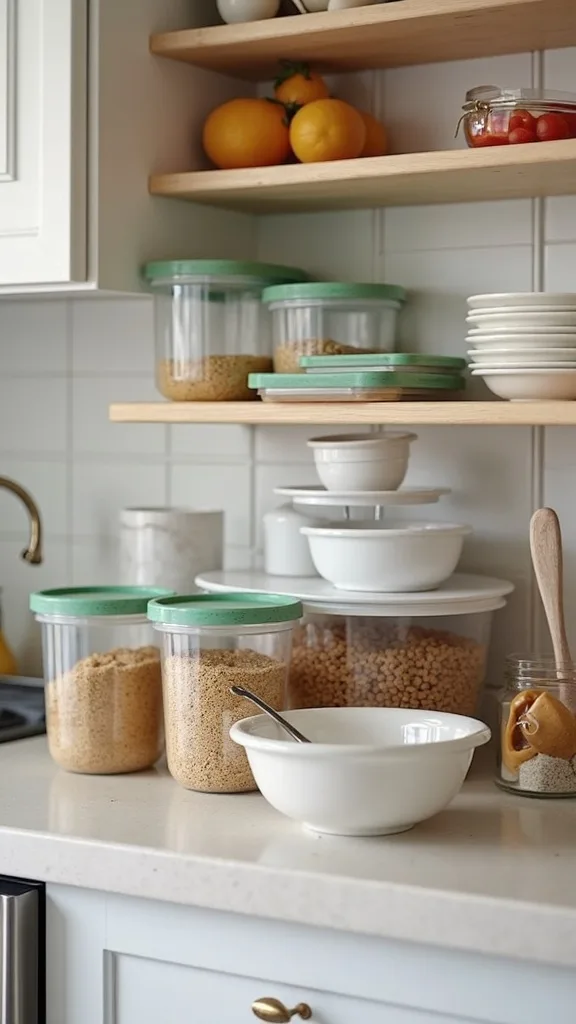
2. Store Containers Like Dishes (Not Like Tupperware Chaos)
This idea is treating containers and lids as a daily-use dish category, and it works because it stops the “lid hunt” that makes prep feel harder than it is. When your brain expects friction, it avoids the task; when it expects a smooth step, it starts.
Use one deep drawer or lower cabinet for containers only. Stack same-size bases together and stand lids vertically in a divider so you can flip through them like files; label the divider “1-cup,” “2-cup,” and “family” for weekly meal prep. Beginner version: keep just one container size for a month and donate the rest.
Look for stackable, square or rectangular sets (they pack better than rounds) and a lid style that snaps without wrestling. Clear plastic is affordable; glass is heavier but resists staining—mixing both is fine if the system is consistent.
Pro tip: keep 2–3 “lunchbox-safe” containers on the top of the stack for back to school meals; the easiest grab becomes the default.
3. Create a Sheet Pan “Weeknight Rack”
This idea is dedicating a vertical slot for sheet pans and roasting racks, and it works because sheet-pan cooking is the fastest bridge between raw groceries and dinner. The psychology behind it: when the pan is easy to reach, you’re more likely to roast once and eat twice.
Place a wire rack organizer in the cabinet closest to your oven. Store one rimmed half-sheet pan, one cooling rack, and one piece of parchment or a reusable silicone liner together; add a small caddy for spice blends you actually use. Beginner version: stand pans upright using two tension rods inside a cabinet.
Choose heavy-gauge aluminum or aluminized steel pans that don’t warp; they last longer and cook more evenly. For a traditional kitchen, hide it behind a cabinet door; for modern, a slim vertical rack can sit neatly on a shelf.
Pro tip: keep a “protein + veg” cheat card taped inside the cabinet door (temps and times in plain English) so dinner feels like assembly, not research—kitchen meal prep organization should reduce thinking.
4. Use a Two-Board System to Prevent Cross-Contamination Stress
This idea is owning two cutting boards that live in the prep zone—one for produce, one for raw proteins—and it works because it removes the mental load of “Did I wash that well enough?” When safety feels automatic, you prep faster and with less second-guessing.
Pick two boards in different colors or materials and store them upright beside the counter zone. Mark them with a simple permanent-ink icon (leaf and chicken) so anyone in the house follows the rule without being told. Beginner version: use painter’s tape labels until it becomes habit.
Consider a dishwasher-safe plastic board for proteins and a wood or bamboo board for produce and bread. In modern kitchens, go monochrome and use subtle engraved marks; in traditional kitchens, a classic wood board looks at home on the counter.
Pro tip: add a thin silicone mat under each board so it doesn’t slide; stability makes prep feel calm, and calm is the real fuel for family meal planning.
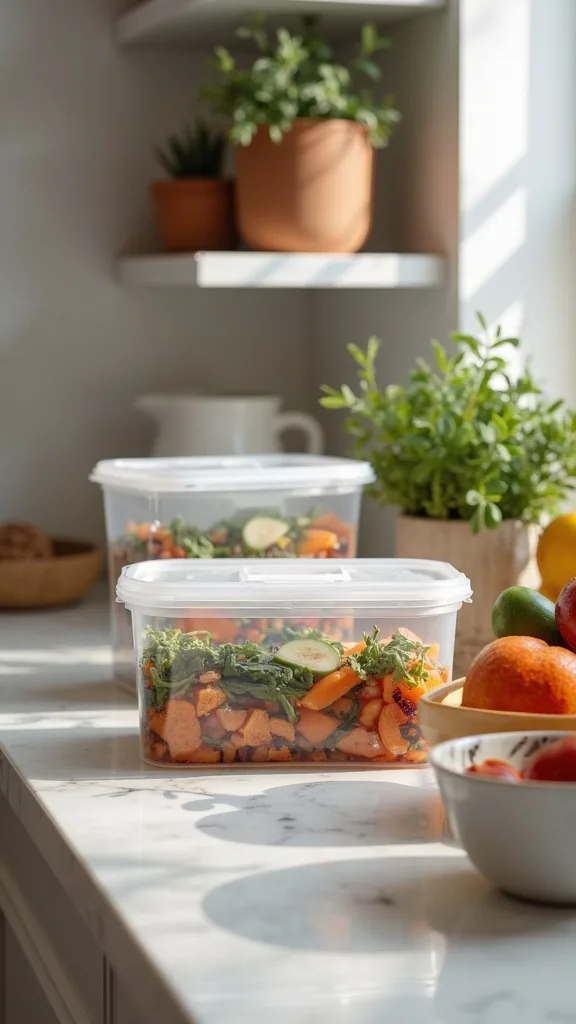
5. Set Up a “Portioning Shelf” at Eye Level
This idea is a dedicated shelf where finished portions land, and it works because it creates a clear finish line. Psychologically, a visible “done” zone gives your brain closure, which makes you more likely to repeat the routine next week.
Clear one fridge shelf (or a bin on a shelf) for ready-to-grab meals and snacks. Place a row of containers plus a few small snack boxes; add a label like “GRAB & GO” so it stays protected from random leftovers. Beginner version: use one clear bin as the portioning shelf—no rearranging required.
Use clear bins with handles so you can pull the whole shelf forward. Keep colors simple and labels bold—black on white reads fast in a busy fridge.
Pro tip: stock this shelf first during prep (even if other items aren’t perfect). When the easy food is front and center, back to school meals stop turning into drive-thru decisions.
6. Make Freezer Labels Non-Negotiable (and Put Them Where You Freeze)
This idea is labeling at the moment food goes into the freezer, and it works because memory fades faster than you think. The psychology is brutal: “I’ll remember” is a lie your future self pays for in wasted food and weeknight stress.
Keep freezer tape or dissolvable labels and a marker in a small magnetic cup on the fridge, or in a tiny bin inside the freezer door. Write three things only: item, date, and portion count (like “Chili 6/6 – 4 bowls”). Beginner version: use masking tape and a Sharpie—done beats fancy.
Choose labels that tolerate cold and moisture; white labels with thick black ink are easiest to read. For a modern look, use uniform label sizes; for traditional, handwritten is still charming if it’s consistent.
Pro tip: add one “Eat First” freezer bin. A single prioritized bin turns your freezer into a plan, not a storage unit—weekly meal prep should pay you back.
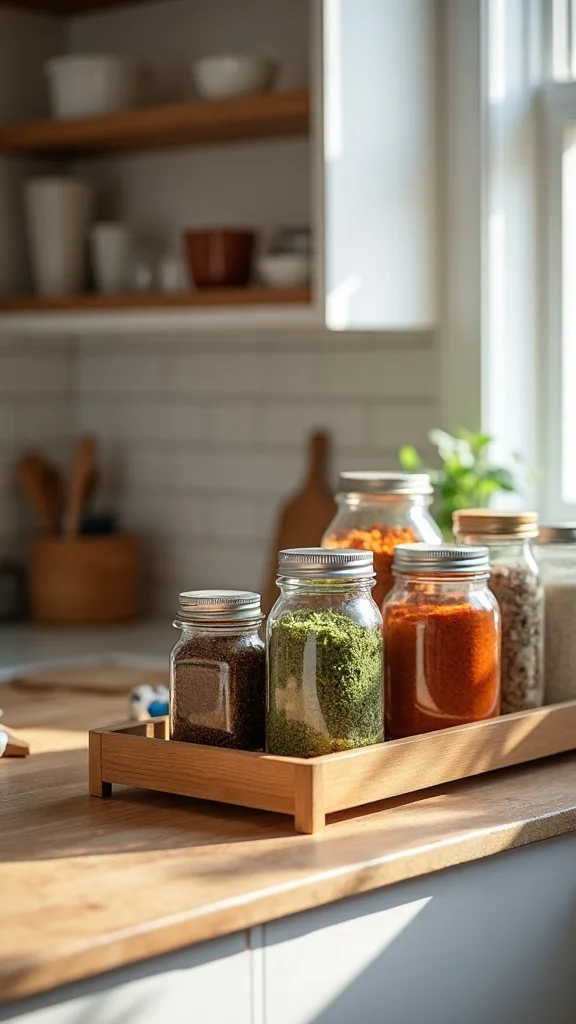
7. Organize Spices by Use, Not Alphabet
This idea is grouping spices by the way you cook during the school year, and it works because speed cooking relies on muscle memory. Alphabetical sounds tidy, but it forces your brain to search—every single time.
Create three zones: “Everyday” (salt, pepper, garlic, Italian blend), “Sheet Pan” (paprika, cumin, chili), and “Breakfast” (cinnamon, vanilla). Keep Everyday in a small tray right by the stove and store the rest in a drawer insert or riser. Beginner version: pick five spices and place them in a small bin you can move around.
Product types that help: angled drawer spice inserts, tiered cabinet risers, or a lazy Susan for deep cabinets. Match jar tops (all black or all stainless) if you want a cleaner visual line in a modern kitchen.
Pro tip: label the top of each jar, not the side. When you look down into a drawer, the answer should be immediate—this is kitchen meal prep organization as a time-saver.
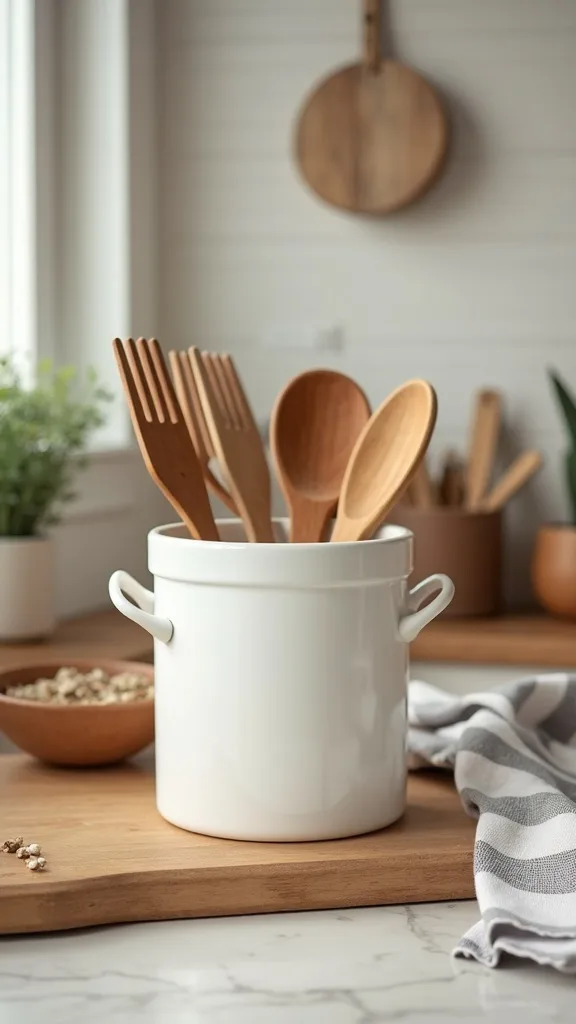
8. Use One “Prep Tools” Crock (and Ban Everything Else from the Counter)
This idea is keeping only the tools you use weekly in one container, and it works because counters either support a routine or interrupt it. Visual clutter signals unfinished work, and unfinished work makes people avoid the kitchen.
Choose one crock or small bin and limit it to 6–8 tools: tongs, fish spatula, chef’s knife (if you prefer), kitchen shears, silicone spatula, and a whisk. Store the rest in drawers so the prep zone stays open. Beginner version: use an old pitcher and set a hard limit of five tools.
For modern style, pick matte ceramic or stainless; for traditional, a stoneware crock fits right in; transitional kitchens do well with clear acrylic or light wood. Keep it near the stove, not the sink, so you’re not crossing traffic lanes.
Pro tip: avoid the utensil “graveyard” where duplicates pile up. Fewer tools means faster cleanup, and faster cleanup is what makes family meal planning sustainable.
Cost & Materials Estimate
A practical meal-prep setup can be done for about $60–$180 depending on how many containers and bins you need to standardize.
| Item | Estimated Cost | Where to Buy |
|---|---|---|
| Stackable meal prep container set (10–20 pieces) | $25–$55 | Amazon |
| Clear fridge/pantry bins (set of 4) | $28–$48 | IKEA |
| Freezer labels + permanent marker | $8–$15 | Amazon |
| Vertical rack organizer for sheet pans | $12–$25 | Home Depot |
| Drawer dividers/organizer inserts | $10–$22 | Wayfair |
Total estimated cost: $83–$165 Save money by using masking tape and shoebox bins at first; splurge on containers that stack and seal well because they protect every meal you store.
9. Turn a Drawer into a “Label + Bag + Wrap” Command Drawer
This idea is grouping all food-wrapping supplies together, and it works because packaging is the last step that often breaks the routine. When wrap, bags, and labels are scattered, you stall—and stalling turns into quitting.
Use a shallow drawer near your prep zone for parchment, foil, zip bags, snack bags, and labels. Add two small dividers so rolls don’t slide and a slim container for markers. Beginner version: keep everything in one handled bin inside a cabinet you can pull out during prep.
Look for bamboo drawer dividers, acrylic organizers, and a bag dispenser box if your household goes through a lot of snacks. Keep the palette simple so it doesn’t feel like a junk drawer—white, clear, and light wood work in most kitchens.
Pro tip: store your freezer labels here too, even if you also keep a backup in the freezer. Redundancy sounds silly until it saves a whole batch of soup from becoming “mystery meal.”
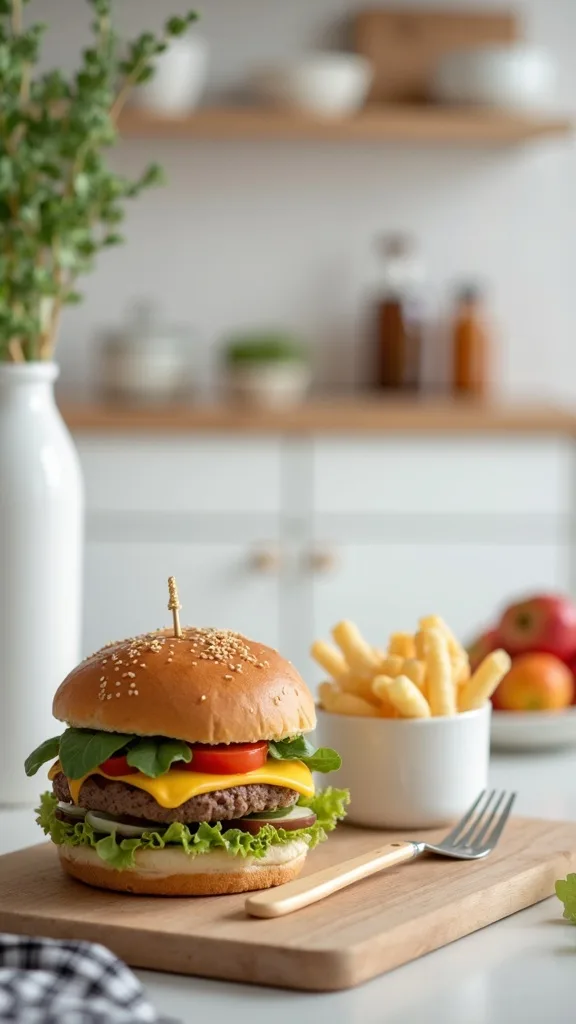
10. Add a “Lunch Build Station” for Back-to-School Mornings
This idea is setting one spot where lunches get assembled, and it works because mornings don’t have extra bandwidth. A fixed station reduces friction and prevents the whole kitchen from becoming a staging area.
Choose a section of counter or a rolling cart and stock it with lunch containers, napkins, water bottles, and shelf-stable snacks. Put a small bin for “today’s fruit” and a second bin for “treat/extra” so you’re not negotiating at 7 a.m. Beginner version: designate one cabinet shelf for lunch items and pull them to the counter only when packing.
Products that help: a slim rolling cart, a divided snack bin, and a small countertop basket. Style it to match your kitchen—black metal for modern, woven for traditional, mixed wood/metal for transitional.
Pro tip: avoid storing lunch supplies across the kitchen from the fridge. Shorter steps mean calmer mornings, and calmer mornings make back to school meals feel doable.
11. Set a “Sunday Night Reset” Timer (15 Minutes, Not a Full Clean)
This idea is a short, scheduled reset that protects your system, and it works because organization fails when it requires perfection. The psychology is powerful: small commitments are easier to keep, so they become identity (“We reset on Sundays”).
Set a 15-minute timer and do only three tasks: return containers to their home, clear the prep counter, and check the grab-and-go shelf. Keep a short checklist on the inside of a cabinet door. Beginner version: do a 7-minute reset and stop when the timer ends—momentum matters more than completion.
A simple dry-erase board or a notepad on the fridge works well. Use a black marker and a clean layout so it reads like a plan, not a nag.
Pro tip: avoid turning the reset into a deep clean. Deep cleans get skipped; tiny resets get repeated—and repetition is the quiet engine of weekly meal prep.
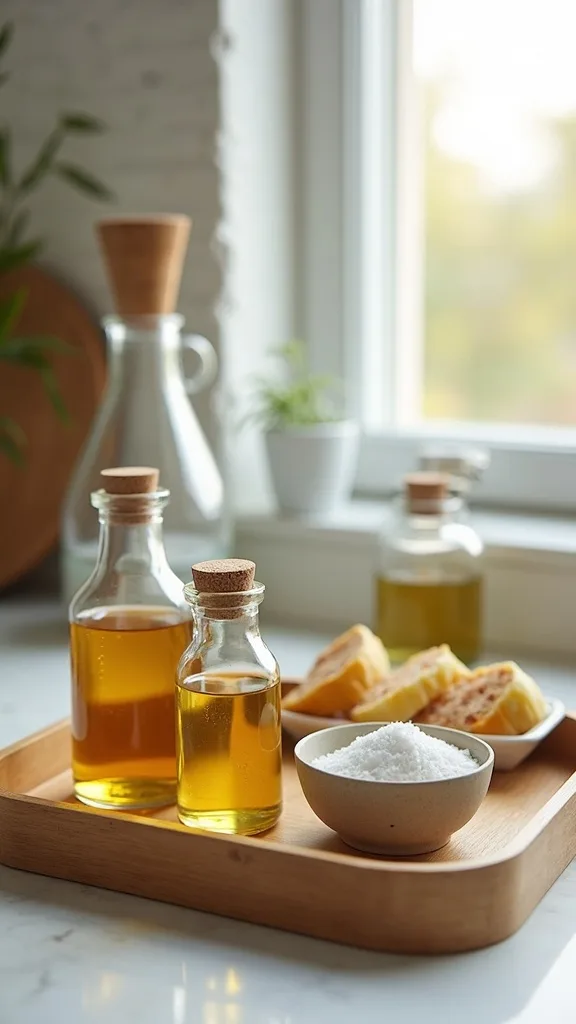
12. Use a Tray to Contain Oils, Salt, and Your “Always” Ingredients
This idea is putting your most-used cooking basics on one movable tray, and it works because it creates a portable mini-station. Psychologically, a tray signals “these belong together,” which reduces wandering and countertop sprawl.
Pick a tray that fits beside your stove and hold only what you use weekly: olive oil, neutral oil, salt, pepper, and one favorite seasoning blend. Wipe the tray weekly so it stays pleasant to touch and look at. Beginner version: use a dinner plate as a temporary tray until you find one you like.
For modern kitchens, choose a low-profile metal or acrylic tray; traditional kitchens look great with wood; transitional can blend both. Amber glass oil dispensers look tidy and reduce visual noise.
Pro tip: avoid keeping every sauce bottle here. If it doesn’t get used weekly, it doesn’t earn counter space—your prep zone should feel like a runway, not a storage shelf.
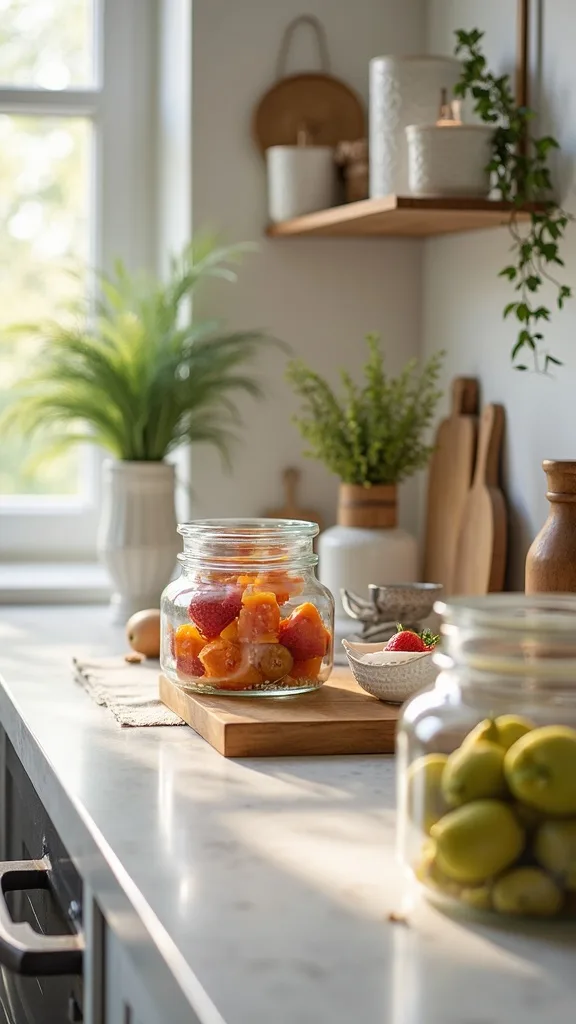
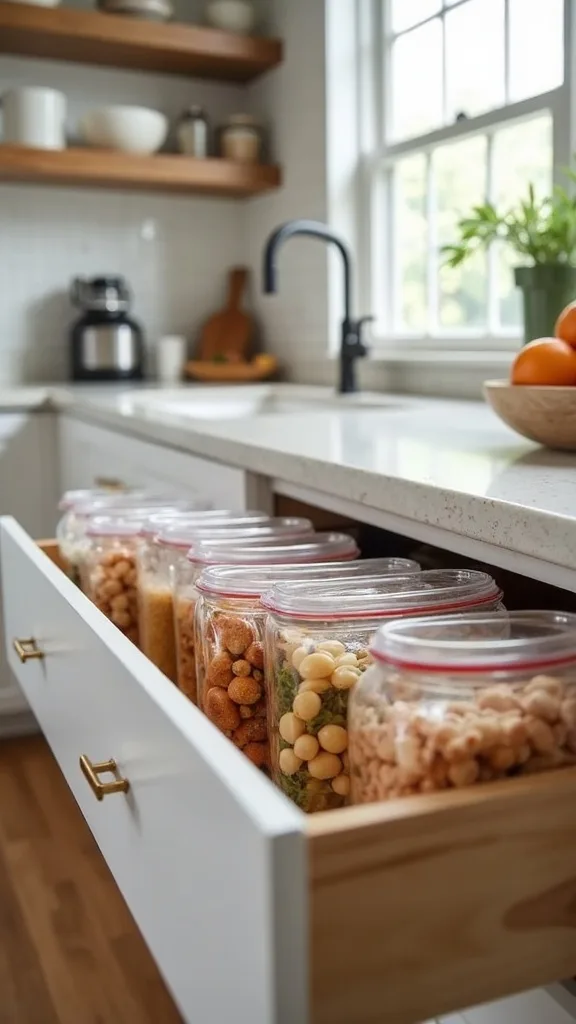
13. Create a “Cook Once, Freeze Twice” Bin System
This idea is assigning freezer bins by category, and it works because a freezer without categories becomes a black hole. Your brain can’t plan meals from what it can’t see, so the system should do the remembering.
Use 3–4 bins: “Breakfast,” “Lunch,” “Dinner,” and “Ingredients.” Store flat items vertically like files when possible, labels facing up. Beginner version: start with one bin labeled “Eat First” and one bin labeled “Later.”
Choose sturdy plastic bins with handles that tolerate cold; clear bins let you scan quickly. In a modern kitchen, use matching bins and uniform labels; traditional kitchens can use simple masking tape labels and still look orderly if placement is consistent.
Pro tip: keep one empty “incoming” bin. When you freeze new items, they go there first until labeled—no exceptions. This is how kitchen meal prep organization stays intact under real life.
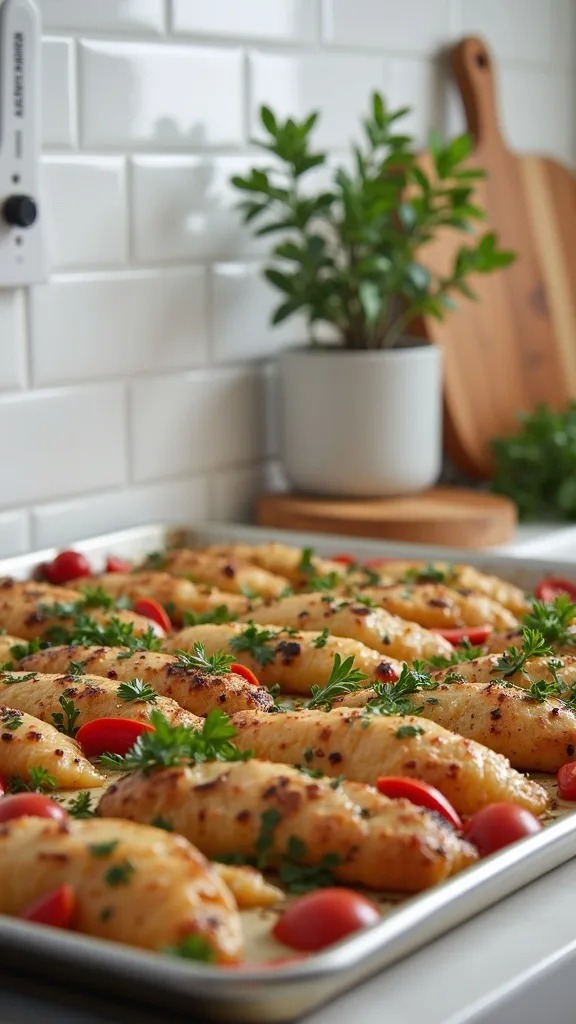
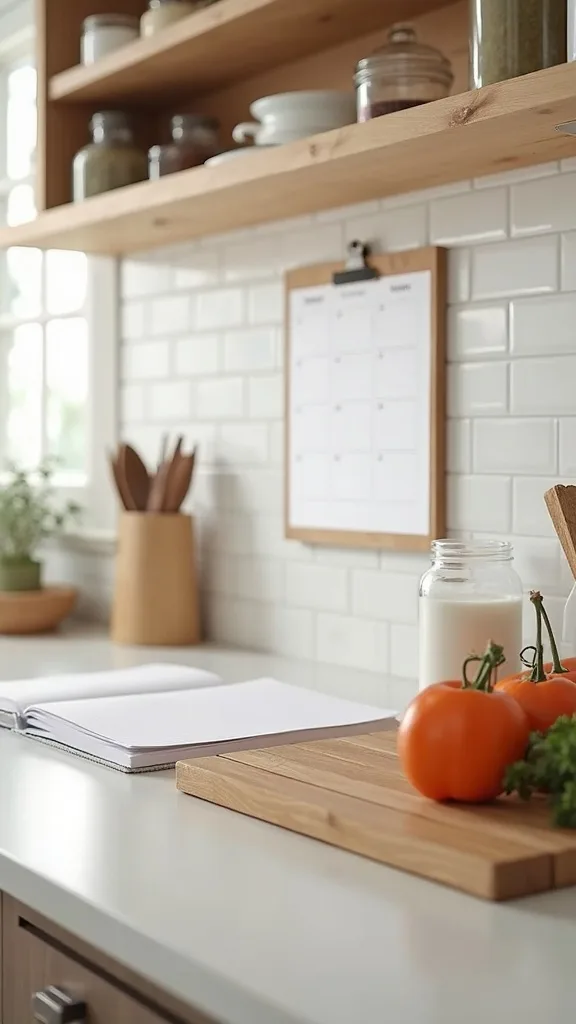
14. Use a Magnetic Notepad for a Two-Meal Weekly Plan
This idea is planning only two anchor dinners, and it works because over-planning is the fastest path to quitting. The psychology: a small plan is believable, and a believable plan gets executed.
Write two dinners that create leftovers (like sheet-pan chicken and a big pot of chili) and one flexible “assembly” night (tacos, salad kits, breakfast-for-dinner). Put the list on a magnetic notepad on the fridge so everyone sees it. Beginner version: plan one dinner and one lunch prep—done.
Use a simple notepad or dry-erase board. Keep the design clean: black ink, clear headings, and a short grocery add-on list below.
Pro tip: avoid planning seven brand-new recipes. Familiar food reduces decision fatigue, and familiarity is your best friend during family meal planning season.
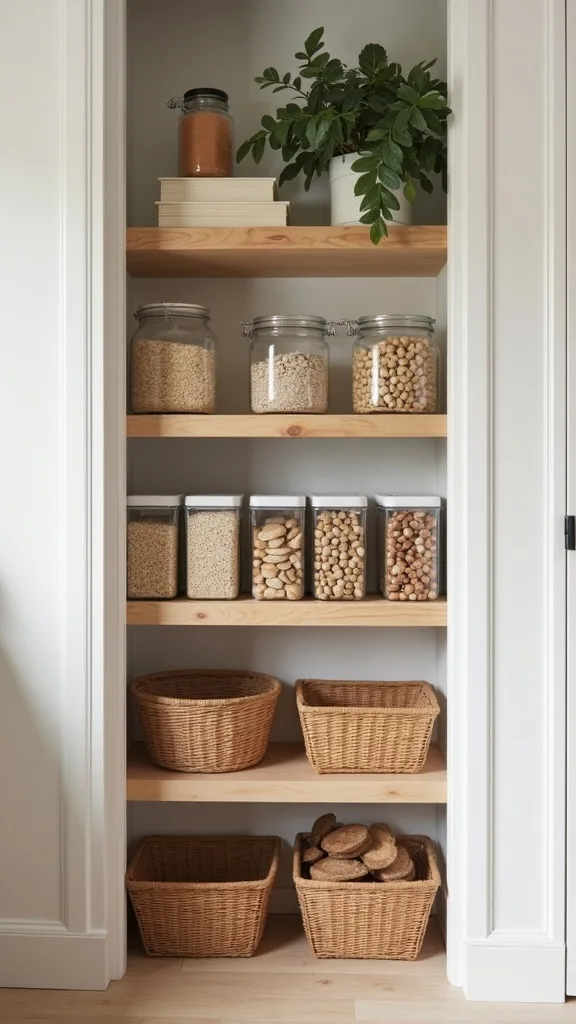
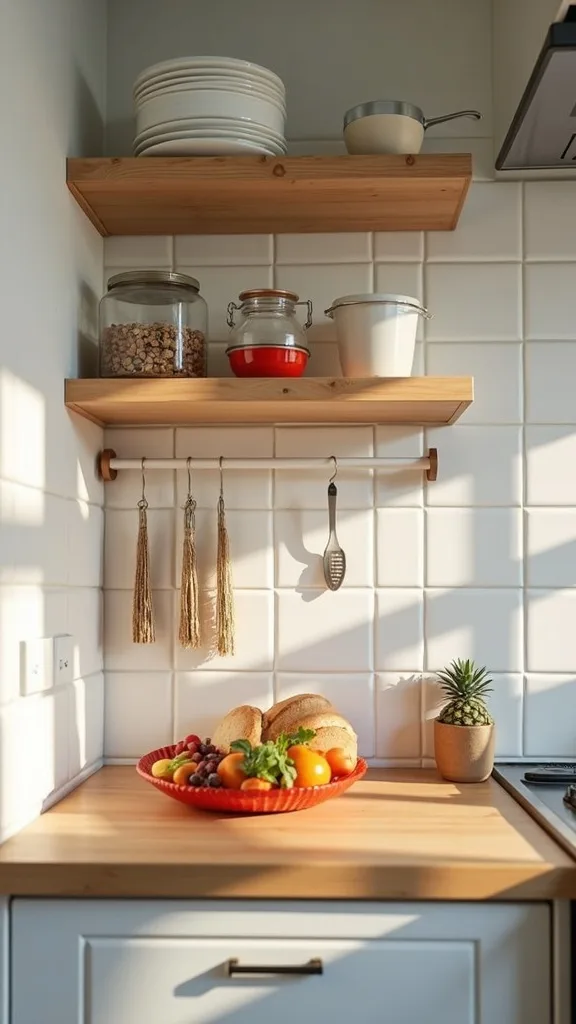
15. Install Under-Shelf Baskets for Snacks (No Pantry Remodel Needed)
This idea is adding vertical storage inside pantry shelves, and it works because kids and adults grab what they can see. Visibility drives behavior; hidden snacks become forgotten snacks, then expired snacks.
Slide an under-shelf basket onto an existing pantry shelf for granola bars, applesauce pouches, or popcorn. Label it by category: “School Snacks” or “After Practice.” Beginner version: use a shoebox-sized bin on the shelf and keep it at kid height.
White wire baskets feel light and modern; woven baskets suit traditional pantries; clear acrylic works beautifully in transitional spaces. Keep labels large and simple so the system doesn’t rely on one person’s memory.
Pro tip: avoid stocking the snack zone with everything. Curate it weekly so it supports back to school meals instead of undermining them.
16. Give Your Fridge Door a Purpose (Condiments Don’t Get the Best Real Estate)
This idea is reserving fridge-door space for items you need daily, and it works because the door is the most convenient zone. The psychology is about defaults: what’s easiest becomes what’s eaten.
Move rarely used condiments to a lower shelf and place yogurt, string cheese, or ready snacks in a door bin. Add a small bin labeled “Lunch Add-Ons” for hummus cups or mini guacamole. Beginner version: pick one door bin and make it the “school week” bin only.
Clear bins reduce visual noise and prevent small items from falling over. For a modern look, keep bins uniform; for traditional, even one labeled bin makes a big difference.
Pro tip: avoid overfilling the door. Airflow matters for keeping food fresh, and a calm fridge supports weekly meal prep more than a stuffed one ever will.
17. Use a Small Trash Bowl to Speed Up Prep and Cleanup
This idea is keeping a dedicated scrap bowl on the counter while you prep, and it works because it eliminates dozens of tiny trips to the trash. Less movement equals less disruption, and disruption is what stretches prep into an all-night project.
Place a medium bowl beside your cutting board and toss peels, packaging, and scraps into it as you go. Empty it once at the end and wipe the counter. Beginner version: use a paper grocery bag as a temporary scrap container.
Any bowl works, but a lightweight stainless or melamine bowl is easy to carry. Choose a neutral color so it blends into modern, traditional, or transitional kitchens without looking like clutter.
Pro tip: avoid using your sink as a trash can. A sink full of scraps makes your kitchen feel dirty fast, and clean visuals are part of what makes a system feel worth repeating.
18. Keep a “Protein Defrost” Bin to Prevent Leaks and Panic
This idea is a dedicated bin for thawing proteins, and it works because it removes the gross factor that derails meal prep. When you don’t trust the process, you avoid it; a bin makes thawing feel safe and contained.
Use a lidded bin on the bottom fridge shelf labeled “Defrost.” Put frozen meat (still wrapped) inside to catch drips, and write the cook-by day on a label. Beginner version: place the package in a shallow baking dish—same effect, no purchase.
Clear plastic bins are practical; a white bin looks clean in modern fridges; a simple label works in any style direction. Keep it on the lowest shelf to protect other food.
Pro tip: avoid thawing on the counter “just for a bit.” A reliable routine is the heart of kitchen meal prep organization, and reliability comes from safe habits.
19. Set Up a “Breakfast Assembly” Shelf for School Days
This idea is making breakfast a grab-and-assemble routine, and it works because mornings are not the time for creativity. The psychology is about reducing choices: fewer options, faster action, less stress.
Dedicate one pantry shelf (or bin) to oats, cereal, nut butter, and shelf-stable add-ons like raisins. Pair it with a fridge bin for yogurt, berries, and pre-cooked egg bites. Beginner version: put breakfast items in one reusable grocery bag inside the pantry so they travel together.
Use clear bins and simple labels like “Breakfast” and “Toppers.” For traditional kitchens, a lidded canister set looks tidy; for modern, uniform clear containers keep lines clean; transitional styles can mix glass and acrylic.
Pro tip: avoid buying five new breakfast products at once. Start with two reliable options and repeat them—consistency is what makes back to school meals feel easy.
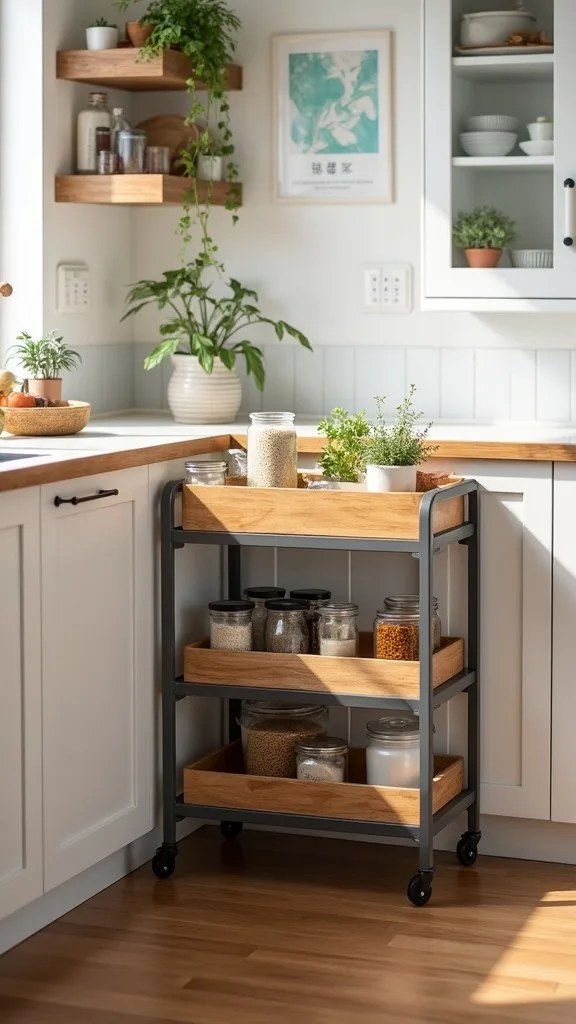
20. Use a Rolling Cart as a Small-Space Meal Prep Kitchen Extension
This idea is adding a mobile station for overflow tools and snacks, and it works because small kitchens need flexible surfaces. The psychology: when your environment adapts, you don’t feel boxed in—and you’re more likely to follow through.
Choose a slim rolling cart and assign each tier: top for containers and labels, middle for sheet pans and liners, bottom for snack bins or small appliances. Park it beside the fridge during prep and roll it away after. Beginner version: use a sturdy laundry basket as a temporary “prep caddy” you carry in and out.
Black metal reads modern; white metal fits cottage/traditional; wood-top carts land nicely in transitional kitchens. Add hooks for measuring cups or oven mitts if you need them.
Pro tip: avoid letting the cart become a dumping ground. A cart is a tool, not a closet—keep it curated and it will feel like extra square footage.
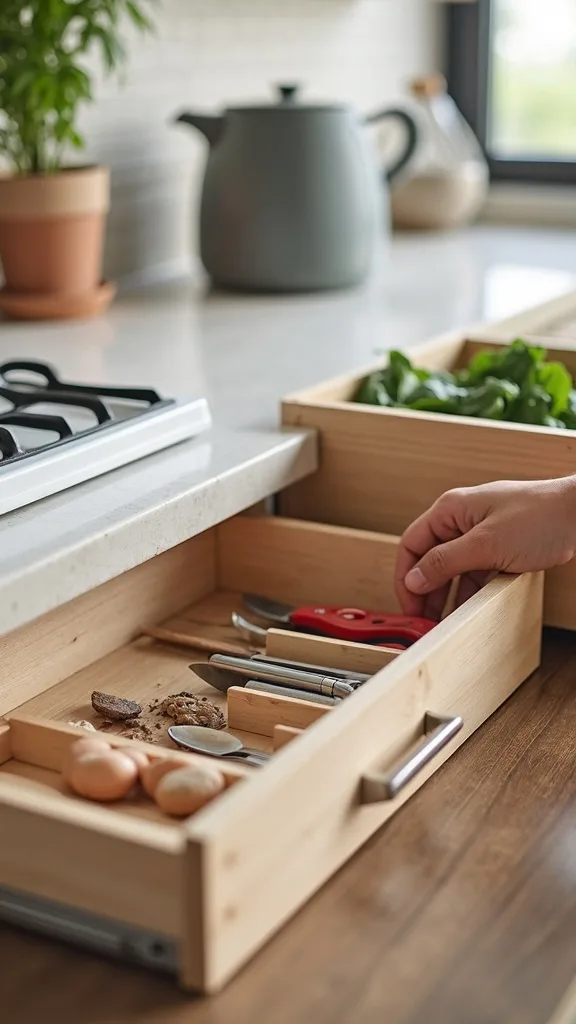
21. Make One Drawer the “Knife, Shears, Measuring” Drawer
This idea is grouping precision tools together, and it works because these items are used in quick succession during prep. Psychologically, fewer drawer opens keeps you in flow—and flow is what makes prep feel shorter than it is.
Use a drawer insert with sections for a chef’s knife, paring knife, kitchen shears, measuring spoons, and a small scale if you use one. Place it nearest the prep counter, not the stove. Beginner version: use a simple felt-lined tray to keep sharp tools from sliding around.
Bamboo inserts look warm in traditional and transitional kitchens; matte black organizers look crisp in modern spaces. Keep only the tools you reach for weekly; store specialty gadgets elsewhere.
Pro tip: avoid tossing knives loose into a drawer. Safety is part of good design—when a drawer feels safe, everyone in the house uses it correctly.
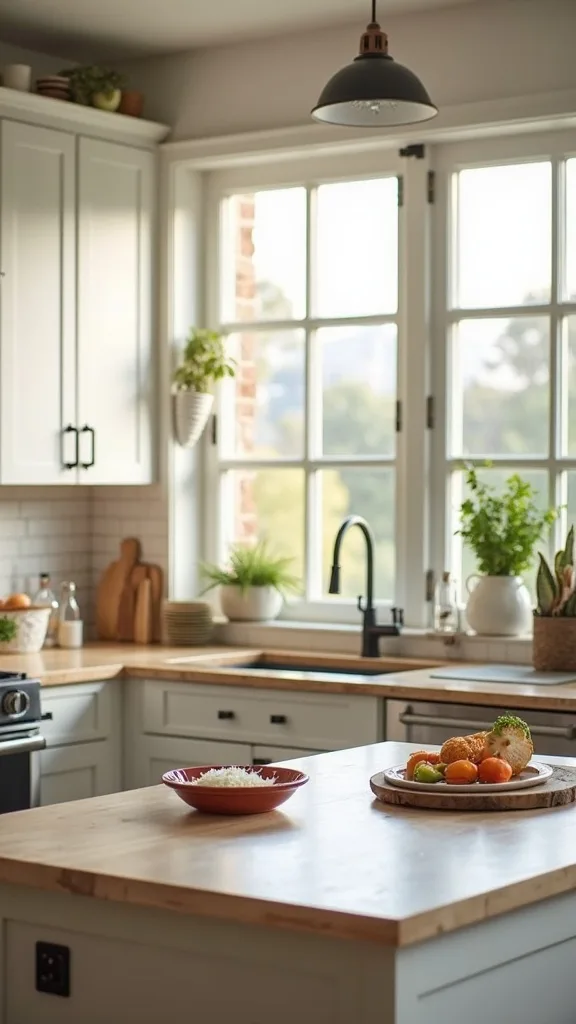
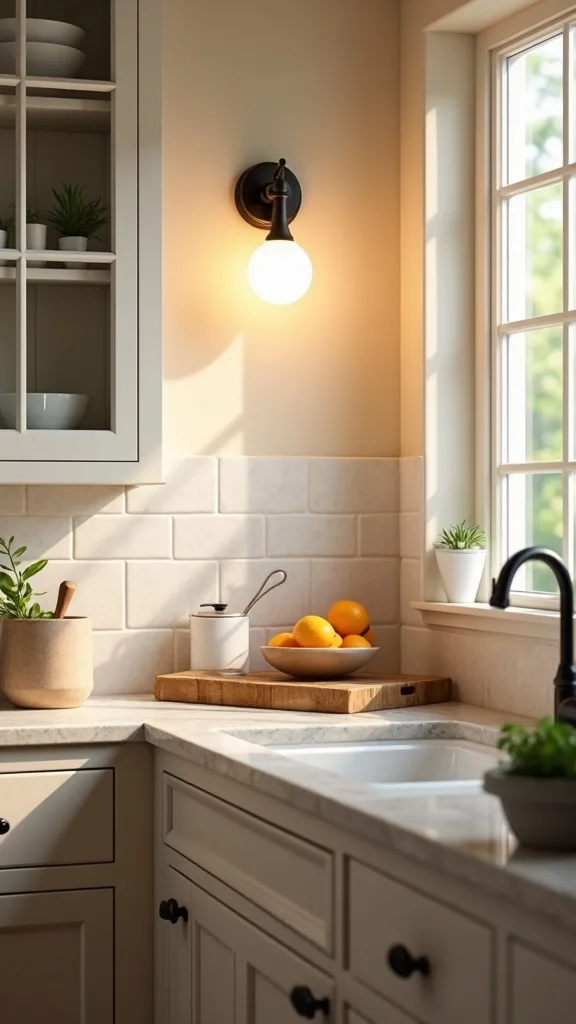
22. Add Warm White Task Lighting to Your Prep Zone
This idea is improving lighting right where you chop and portion, and it works because dim kitchens make tasks feel harder. The psychology is real: brighter, warmer light reduces perceived effort and increases accuracy—especially during early-morning lunch packing.
Install stick-on under-cabinet lights above your prep counter, aiming them toward the cutting area. Choose warm white light (2700K–3000K — the cosy, yellowish tone you see in most homes) so the kitchen feels inviting, not clinical. Beginner version: plug in a small counter lamp at the end of the counter if outlets allow.
Look for rechargeable light bars with motion or tap controls and a low-profile design. Modern kitchens benefit from hidden light sources; traditional kitchens can use a small shaded lamp for a softer look; transitional kitchens do well with simple, clean lines.
Pro tip: avoid cool, bluish lighting that makes food look unappetizing. When the space feels good, you’ll actually want to prep.
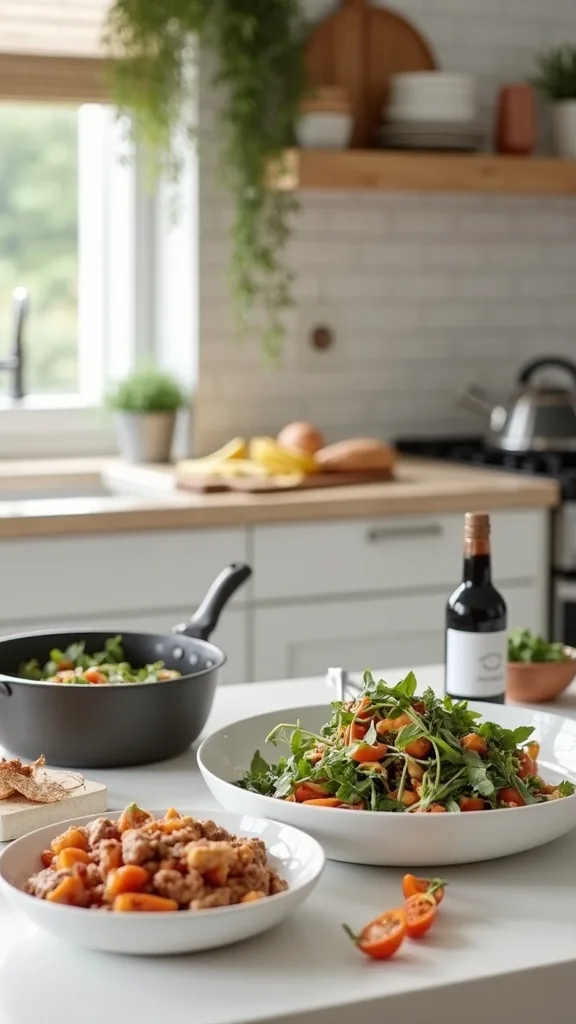
23. Use a “One-Pot + One-Pan” Equipment Rule to Stay Organized
This idea is limiting your meal prep equipment choices, and it works because too many options create decision fatigue and extra dishes. The psychology: constraints create clarity, and clarity creates follow-through.
Pick one large pot (for soups, pasta, rice) and one rimmed sheet pan (for roasting) as your default tools. Store them in the easiest-to-reach cabinet and plan your weekly meal prep around those two pieces. Beginner version: pick just one sheet pan meal and repeat it weekly until it’s automatic.
Choose durable, easy-to-clean cookware: a heavy-bottom pot with a lid and a non-warp sheet pan. Keep accessories minimal—one wooden spoon, one ladle, one pair of tongs.
Pro tip: avoid building a “gadget kitchen” that looks impressive but slows you down. A simple toolkit is what keeps family meal planning alive when life gets loud.
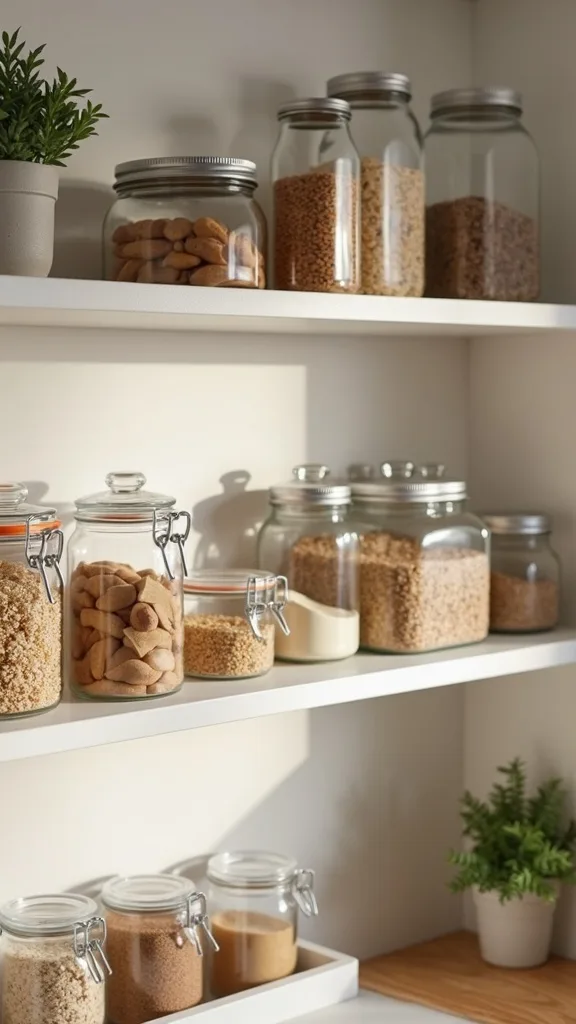
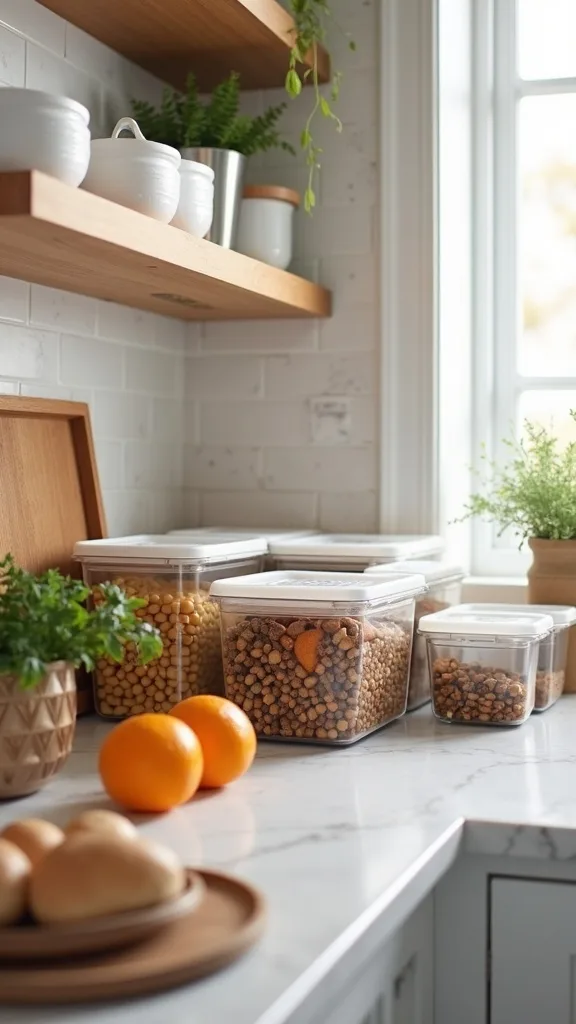
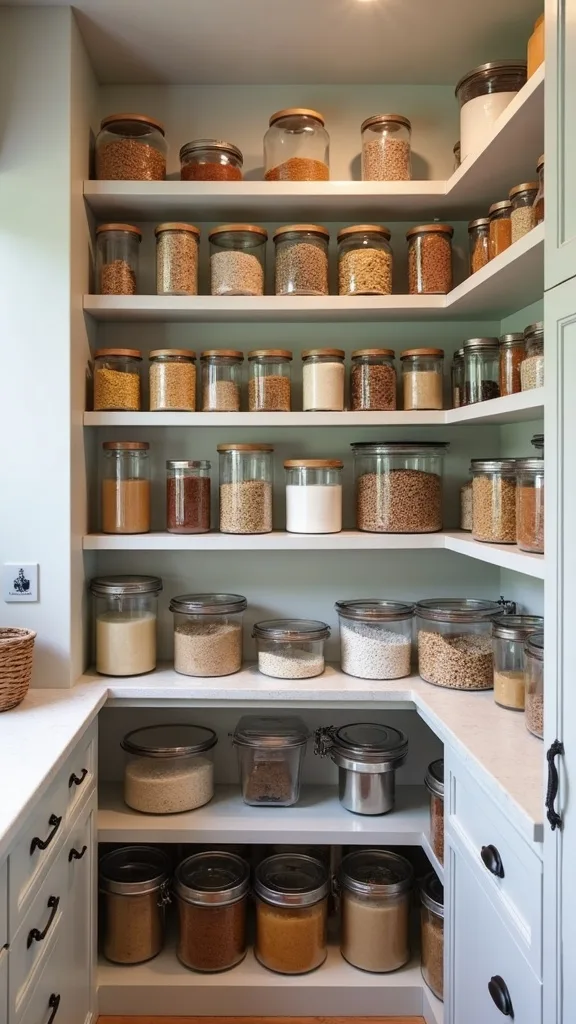
24. Label Pantry Zones Like a Grocery Store Aisle
This idea is assigning pantry shelves to categories, and it works because your brain shops faster when it recognizes patterns. When the pantry is predictable, groceries get put away correctly, and meal prep starts with less friction.
Create zones: “Breakfast,” “Lunch,” “Dinner Helpers” (broths, canned beans, pasta), and “Baking.” Use simple shelf labels and keep like items in bins so they don’t migrate. Beginner version: label only two zones—snacks and dinner helpers—and refine later.
Use clear bins for visibility, or matching woven bins for a traditional look. Modern kitchens look great with uniform labels and containers; transitional kitchens can mix clear bins with a few warm wood accents.
Pro tip: avoid labeling too specifically (“quinoa,” “couscous,” “lentils”). Broad categories stay accurate even when brands and foods change, which is the point of kitchen meal prep organization.
25. Create a “Leftovers Night” Signal So Food Doesn’t Die in the Back
This idea is making leftovers a planned event, and it works because leftovers fail when they’re accidental. The psychology is simple: when something has a name and a time, it gets respected.
Pick one weeknight (often Wednesday) as “Leftovers Night” and keep a visible fridge bin labeled “Eat Me First.” During prep, place leftover containers there instead of scattering them across shelves. Beginner version: put a sticky note on the fridge that says “WED = LEFTOVERS” and keep one shelf reserved for them.
Use stackable containers and a bold label that’s easy to read. For modern kitchens, keep labels uniform; for traditional, a chalkboard-style label looks cozy and intentional; transitional kitchens can use clean white labels with black text.
Pro tip: avoid letting leftovers become “maybe lunches.” Decide their purpose when you store them, and your future self will feel genuinely supported.
Final Thoughts
The most affordable kitchen upgrade is the one that saves you from ordering dinner on a random Tuesday. A setup that reduces steps—prep, portion, store—does that quietly, week after week, without demanding more willpower.
One thing to avoid as you put this together: don’t build a system that requires everyone to “be careful.” If the containers don’t stack, if labels aren’t within reach, if the prep counter is always blocked, the system will fail on your busiest day—the day you needed it most.
The single most important thing to get right is the location of your prep zone. Today, clear 24 inches of counter, place a cutting board there, add a small bin for labels + marker, and move your most-used containers to the closest shelf—then do your next prep session only from that spot.
What I’d Do Differently
When I first tried this, I made the classic mistake: I bought a big variety pack of containers because it felt “prepared.” In reality, it created instant friction—none of the lids matched, stacks fell over, and I’d end up using random jars instead of the system I’d paid for. The breaking point was a Sunday night when I had roasted veggies ready to portion, but I couldn’t find two matching lids, so everything went into a giant bowl “for later.” Later never came, and I tossed half of it on Thursday. The correct approach is boring but effective: pick one or two container sizes and build the system around them so your hands can move on autopilot.
I also wish I’d known that labels aren’t optional—they’re the whole promise of freezing. If you only do one upgrade, put freezer labels and a marker where you can reach them with one hand, and give yourself permission to start small this week.