This post contains affiliate links. As an Amazon Associate, I earn from qualifying purchases at no extra cost to you.
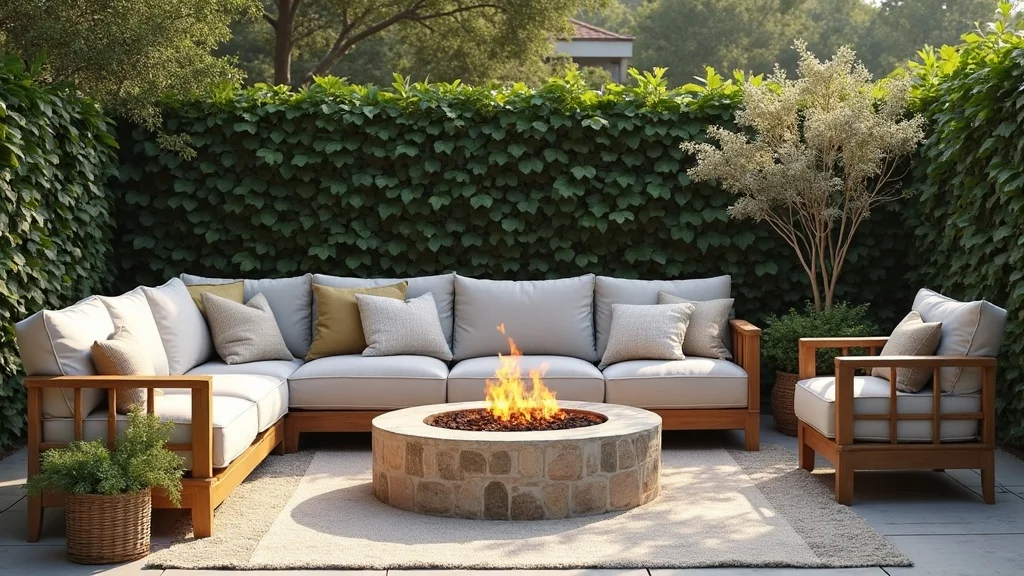
The fastest way to make a backyard feel like “the place everyone gathers” isn’t a pergola or a new patio set. It’s a fire. One warm circle turns awkward lawn space into a destination—especially on those nights when you’re tired of staring at the living room walls.
The design principle is simple: build a clear focal point with a safe, non-flammable base, then repeat one material two or three times so it reads intentional. Psychologically, our brains relax when there’s a predictable center (the flame) and a defined boundary (pavers, gravel, or a pad). That’s what makes a humble backyard fire setup feel like a resort moment instead of a random object in the grass.
This guide covers 25 ideas—DIY builds, upcycles, ceramic and steel options—each with a quick cost breakdown and a beginner version so you can start without specialized tools.
It’s perfect for renters (where allowed), first-time homeowners, and anyone who wants a Pinterest-worthy backyard fire setup without committing to a full hardscape project.
You’ll see modern bowl-and-gravel looks, traditional ring-and-stone layouts, and transitional mixes that bridge both. Below are 25 7 Budget Backyard Fire Pit Ideas 2026: DIY, Upcycled, Ceramic & Steel Options Under $200 that…
Products I Recommend for This Project
Here are some of my favourite products to help you bring these ideas to life:
- Sunnydaze 36 Inch Steel Fire Pit Ring Insert — Creates a safer, cleaner burn zone inside DIY block surrounds.
- Outland Living Firebowl 893 Portable Propane Fire Pit (19-Inch) — A deck- and small-space-friendly option when wood burning isn’t practical.
- Stanbroil Fire Pit Spark Screen Cover with Poker — Helps contain embers so the area feels more family-ready.
- Arlmont & Co. Outdoor Fire Pit Mat (Fireproof Deck Protector) — Adds a protective layer under portable pits on patios and near seating.
- GIGALUMI Solar Lantern Lights (Warm White) — Adds soft perimeter glow that makes the fire pit zone feel finished at night.
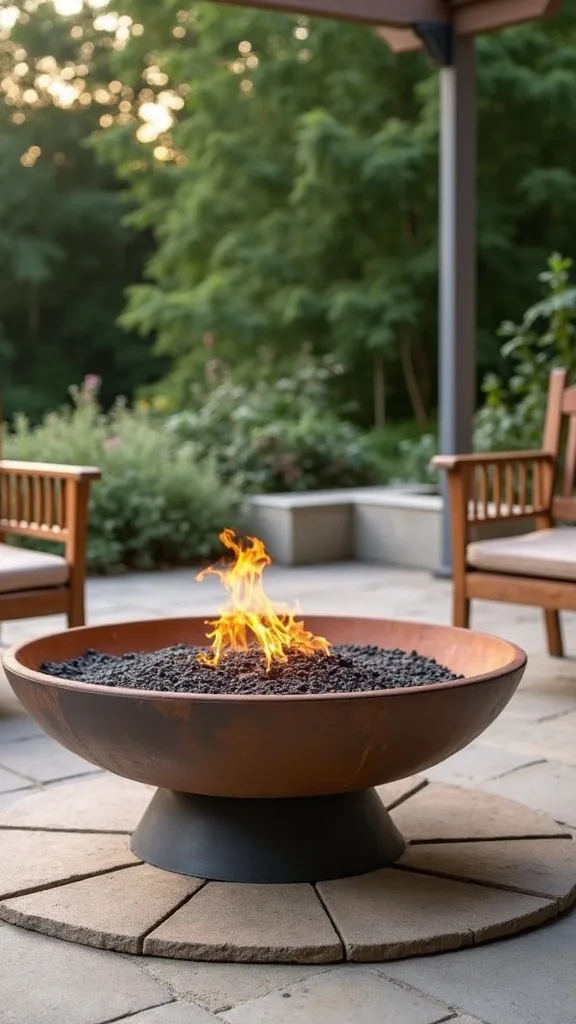
1. Affordable fire pit ideas with cost breakdowns (the “hearth zone” starter plan)
This idea is less about one product and more about a repeatable formula: a defined base, a simple ring or bowl, and a boundary that signals “gather here.” It works because it turns a loose backyard fire moment into a designed outdoor room without buying a full patio set.
How to do it: pick a flat spot, then create a 6×6 ft (or larger) non-flammable zone using pea gravel or pavers. Center a 36–44 inch steel ring or bowl, then add two matching elements—like two planters or two lanterns—so the scene reads cohesive.
For materials, stick to one core texture (black steel, warm stone, or natural concrete) and one accent (light gravel or tan pavers). Add warm white light (2700K–3000K — the cosy, yellowish tone you see in most homes) in a couple of solar lanterns.
Pro tip: spend your money on the base first; a clean gravel border makes even a cheap ring look upgraded, and that’s the kind of “done” feeling Pinterest saves are built on.
2. How can I build a simple paver-ring fire pit for under $150?
A paver-ring pit is the classic budget move because it looks permanent while staying modular and repairable. It works psychologically because the circular edge creates a “contained” feeling—people instinctively sit at a comfortable distance.
To implement: set a 36-inch steel fire ring in the center, then build one to two courses of concrete retaining-wall blocks around it. Level the first layer on a thin bed of sand, keep the circle tight, and backfill gaps with paver base or sand so it doesn’t wobble.
Choose charcoal or greige blocks for modern yards, warm tan for traditional, or mix tones for transitional. Pair with a simple gravel apron so ash cleanup is easy.
Pro tip: if leveling feels intimidating, do the beginner version—skip the stacked wall and use only the steel ring set into a shallow gravel bed. The stable first course is what matters most, and once it’s solid, upgrades feel effortless.
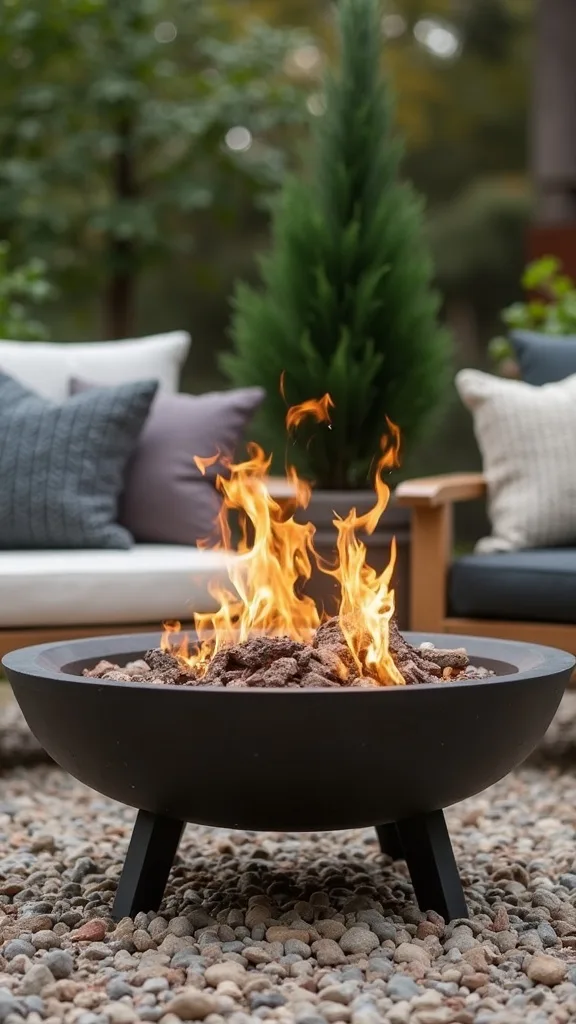
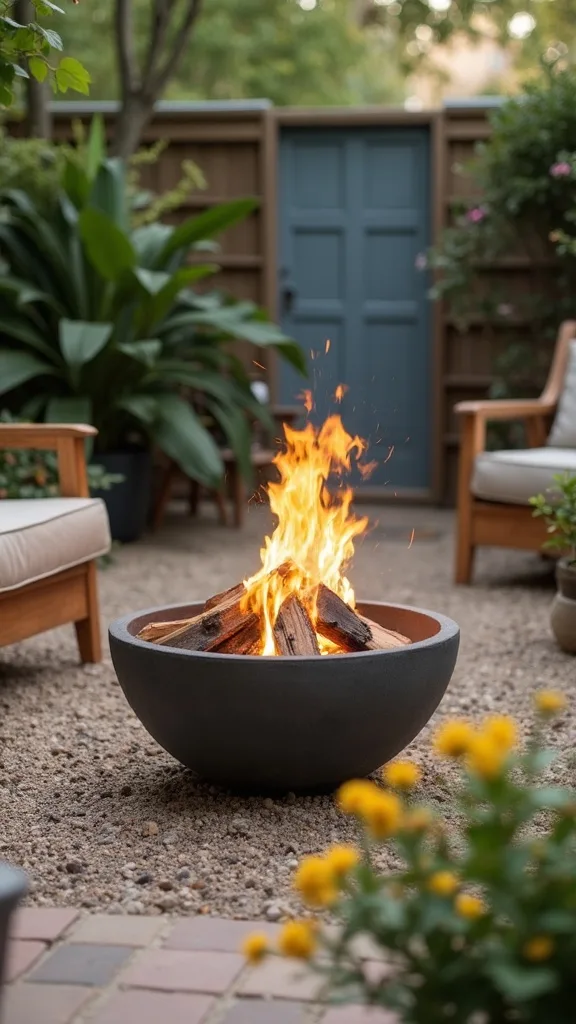
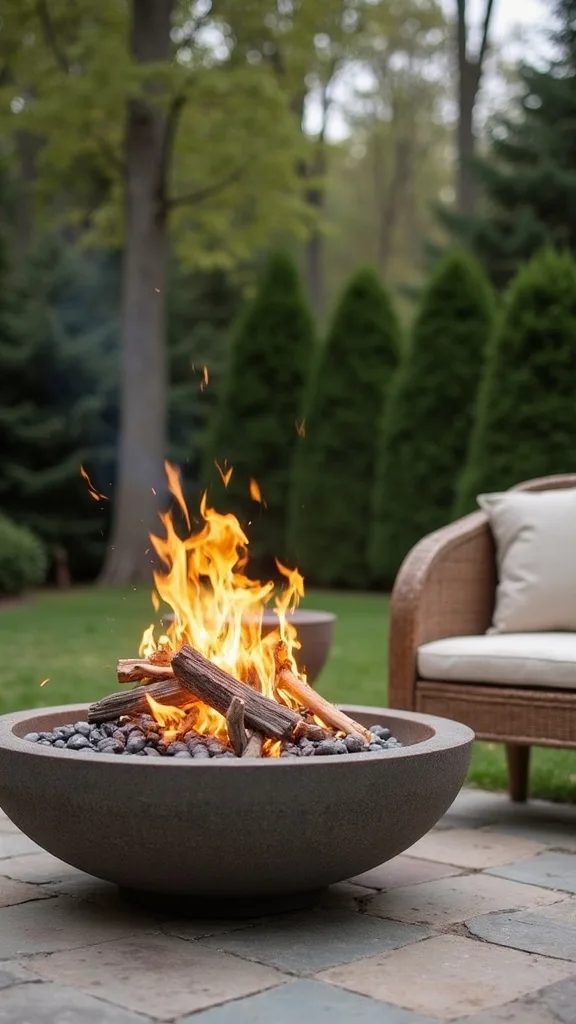
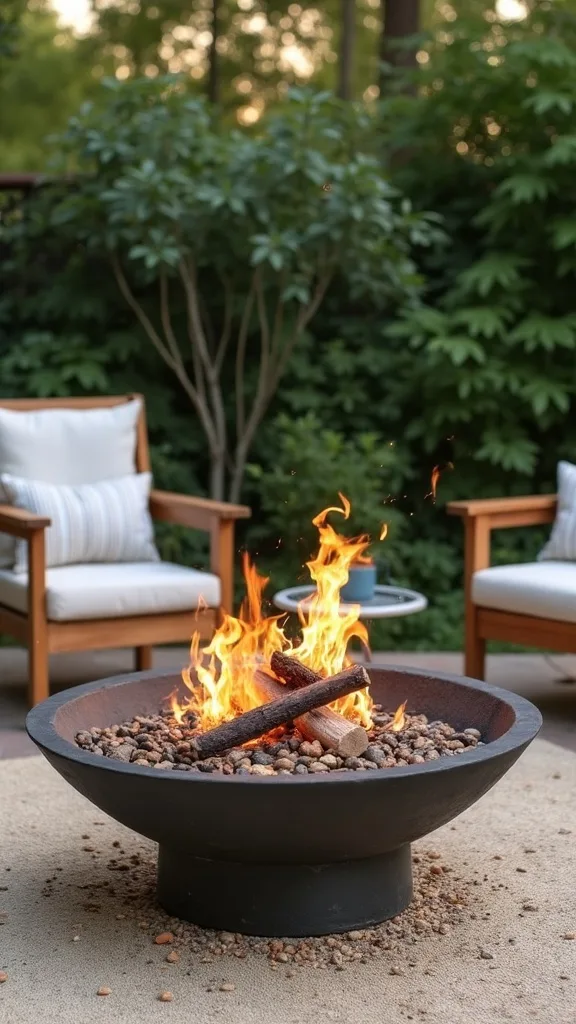
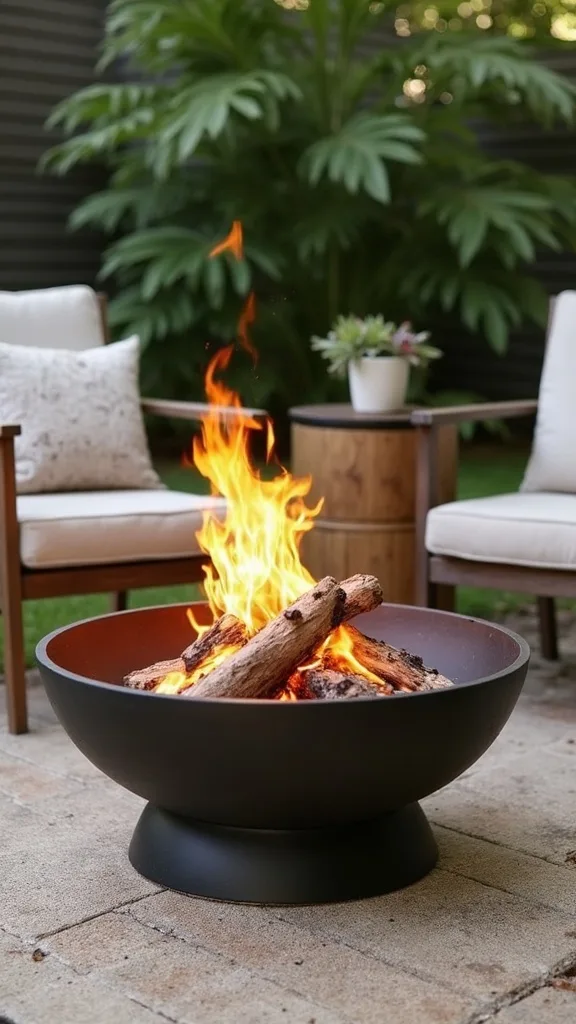
3. What’s the cheapest DIY fire pit that still looks modern?
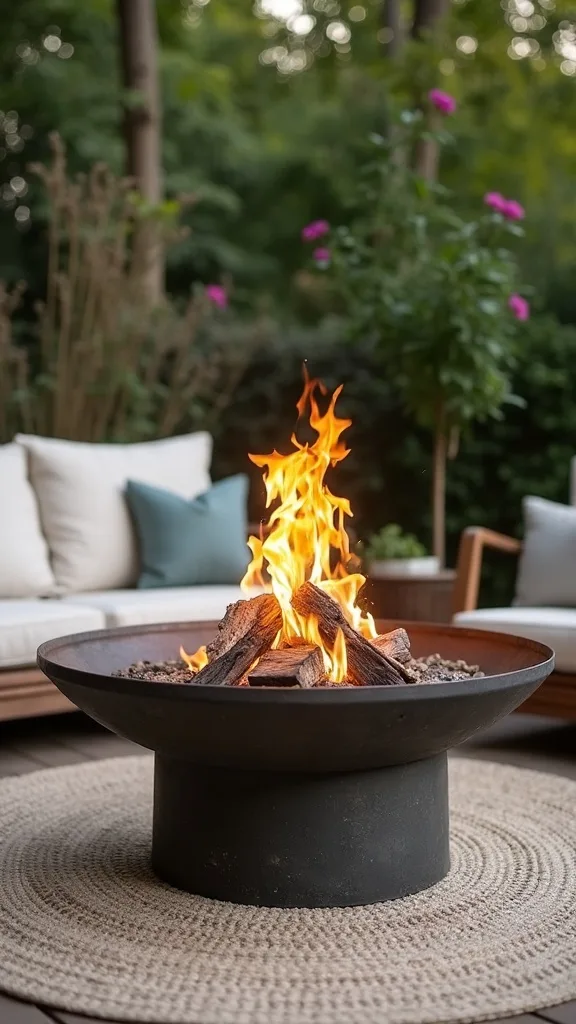
The modern cheat code is a black steel bowl on bright gravel—high contrast, low cost, clean lines. It works because modern style is about editing; fewer materials read more expensive.
Set a 24–30 inch steel bowl on a compacted gravel pad, then frame the pad with 12×12 concrete pavers in a crisp square. Keep the edges straight and the gravel depth around 2–3 inches so it looks intentional, not like leftover driveway rock.
For color, go monochrome: black bowl, light gray gravel, and pale concrete. Add two low sling chairs or a simple bench to reinforce the modern silhouette.
Pro tip: upgrade with a matching black log rack or a single minimalist side table. Beginner version: even if you only do the bowl + gravel (no paver frame), keep the gravel shape geometric—square or rectangle—so the yard instantly feels designed.
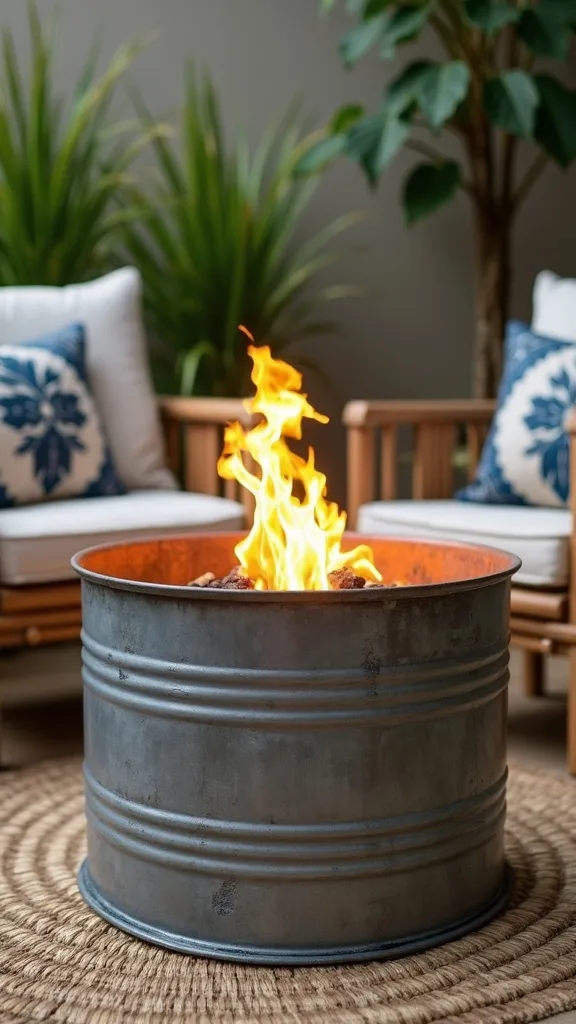
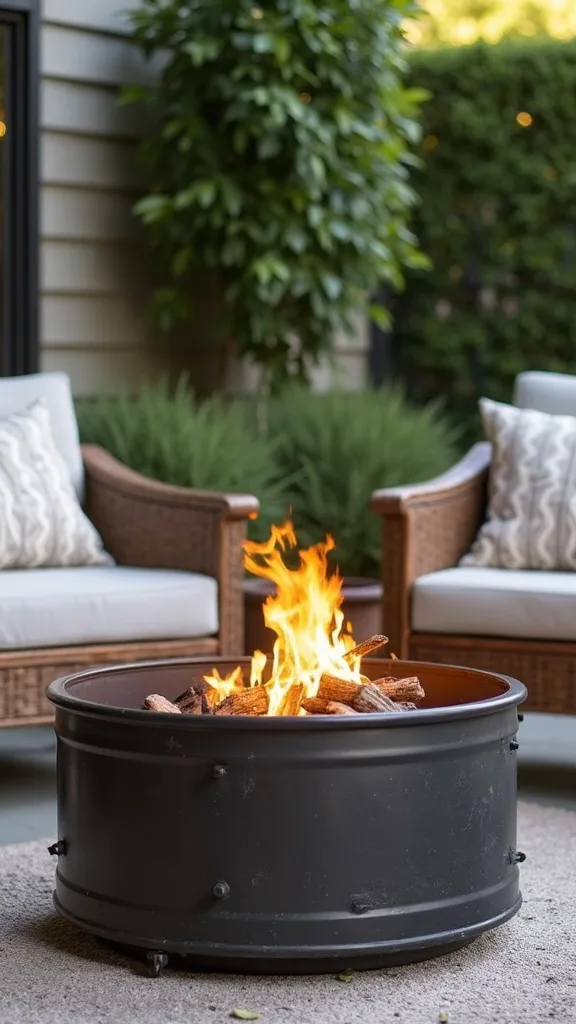
4. Can I use a galvanized stock tank as a fire pit safely (and cheaply)?
A stock-tank fire pit is a bold, rustic-to-industrial statement that costs less than many prefab pits. It works because the oversized shape reads like a “feature,” the same way a big dining table anchors a room.
Implementation: use the tank as a surround, not the burn surface. Place a steel fire ring or bowl inside the tank with a 2–3 inch air gap, and fill the gap with sand or lava rock to buffer heat. Keep it on a non-flammable base like pavers or a gravel pad.
Visually, galvanized metal pairs well with weathered wood benches (rustic), black chairs (industrial modern), or woven textures (transitional).
Pro tip: avoid painted or lined tanks—unknown coatings can off-gas when heated. Beginner version: if the tank feels too involved, use a galvanized tub as a log holder next to a simple steel ring to get the same vibe for less.
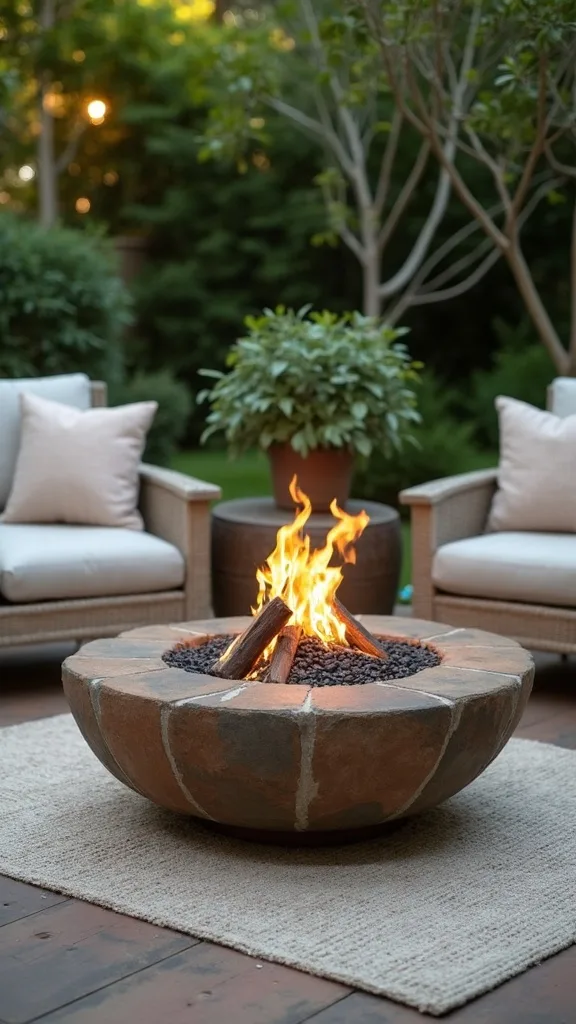
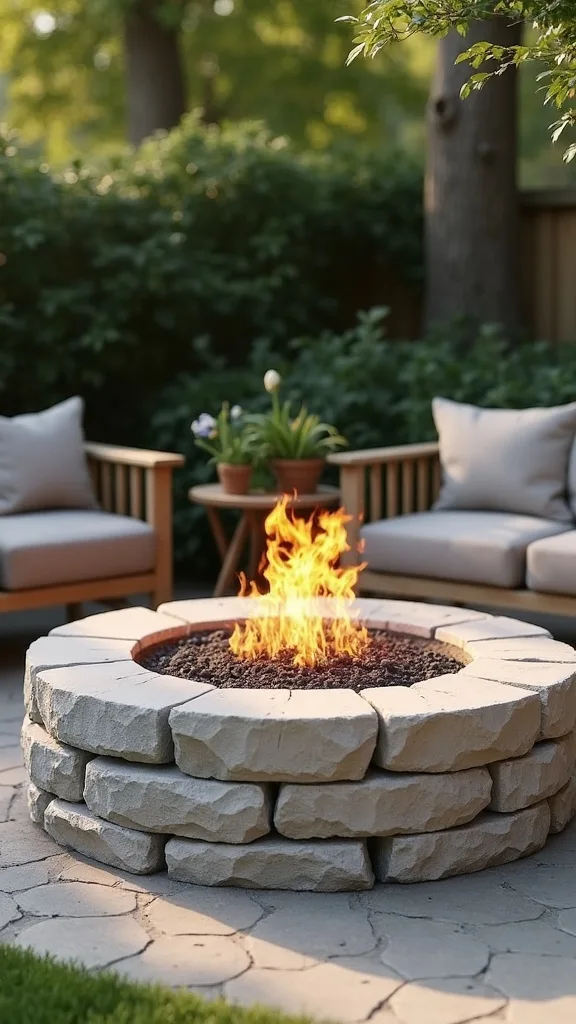
5. How do I make a traditional stone-look pit without real stone prices?
The traditional look comes from mass and texture—stone signals permanence and heritage. You can mimic it with affordable concrete wall blocks and the right proportions.
Build a 40–48 inch outer circle using textured retaining-wall blocks (the ones designed for garden walls), then drop a steel ring inside. Keep the wall height low—about 8–12 inches—so it feels welcoming, not like a fortress.
Choose warm buff or mixed-earth tones for a classic backyard fire feel, and pair with Adirondack-style chairs or a simple wooden bench. Add a gravel apron to keep weeds down.
Pro tip: don’t mix too many block colors; one family of tones looks more expensive. Beginner version: do a single-course ring only, then add river rock around the outside to fake the layered stone effect without stacking.
6. What’s a renter-friendly fire pit setup that doesn’t damage the yard?
A movable setup is the smart choice when you can’t dig or you may move soon. It works because the “room” comes from the base layer—your ground treatment—not from permanent construction.
Start with a heavy-duty fire mat or a layer of pavers laid directly on the ground (no mortar). Place a steel bowl or a compact chiminea on top, then define the perimeter with a 5×7 ft outdoor rug placed outside the non-flammable zone.
For style, modern renters should go black steel + gray pavers; traditional renters can add lanterns and a wood crate side table; transitional renters can mix a neutral rug with matte-black accessories.
Pro tip: avoid setting any backyard fire element directly on grass—scorch marks are hard to hide. Beginner version: one fireproof mat plus a bowl is enough to start hosting tonight.
7. How can I upcycle an old washing machine drum into a fire pit?
A washing machine drum pit is an upcycle that looks surprisingly sculptural—especially at night when the perforations glow. It works because it adds pattern and “designed light,” which feels premium even when the materials were free.
Remove any plastic pieces, rubber seals, or wiring remnants, and set the drum on bricks or a short paver base so air can flow underneath. Keep it centered on gravel or pavers and use smaller, dry wood so airflow stays strong.
For a modern look, paint the base accessories matte black (not the drum if it’s galvanized). For rustic, pair with stump stools. For transitional, add a simple circular gravel pad so it feels intentional.
Pro tip: avoid unknown coatings or enamel parts—only burn in bare metal. Beginner version: if you can’t source a drum, look for a perforated steel basket designed for fire use and get a similar lantern effect.
8. Are ceramic chimineas still worth it for a small backyard fire vibe?
Ceramic chimineas are back on Pinterest because they’re compact, sculptural, and naturally cozy. They work by focusing heat forward—so a small patio can feel warm without a huge flame footprint.
Place the chiminea on a level paver pad (at least 3×3 ft) with a spark screen if it’s included. Keep seating in a half circle about 5–7 ft away and angle the opening toward where you actually sit.
Terracotta reads traditional and Southwestern; glossy black or charcoal feels modern; a sandy neutral works beautifully in transitional spaces. Add one outdoor throw basket nearby to soften the hard materials.
Pro tip: avoid leaving ceramic exposed to freezing rain; it can crack. Beginner version: start with a smaller clay chiminea and a simple ash bucket—maintenance is what keeps it looking good, not the price tag.
Cost & Materials Estimate
Most setups here land between a simple portable bowl on gravel and a low block surround—typically $60 to $200 depending on what you already own.
| Item | Estimated Cost | Where to Buy |
|---|---|---|
| 30–36 in steel fire pit bowl or fire ring | $45–$120 | Amazon / Home Depot |
| Concrete pavers (12×12) or retaining wall blocks (12–24 pcs) | $35–$90 | Lowe’s / Home Depot |
| Pea gravel (4–6 bags) + landscape fabric | $28–$65 | Home Depot / Lowe’s |
| Fireproof mat (deck/patio protection) | $20–$45 | Amazon |
| Spark screen + poker set | $18–$40 | Amazon / Wayfair |
Total estimated cost: $60–$200 Save money by upcycling seating and spending on a clean base; splurge only if you want a thicker steel bowl that won’t warp.
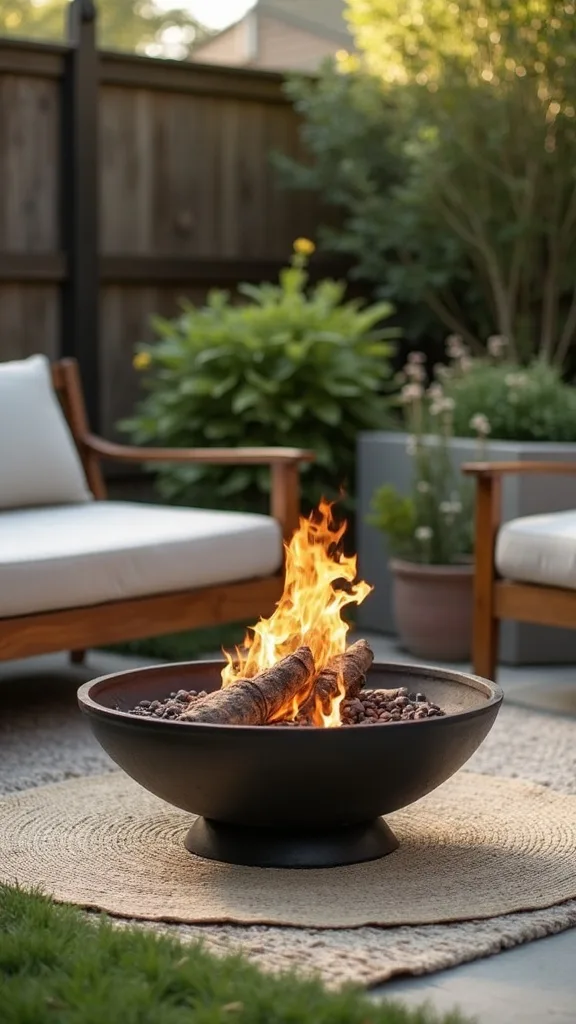
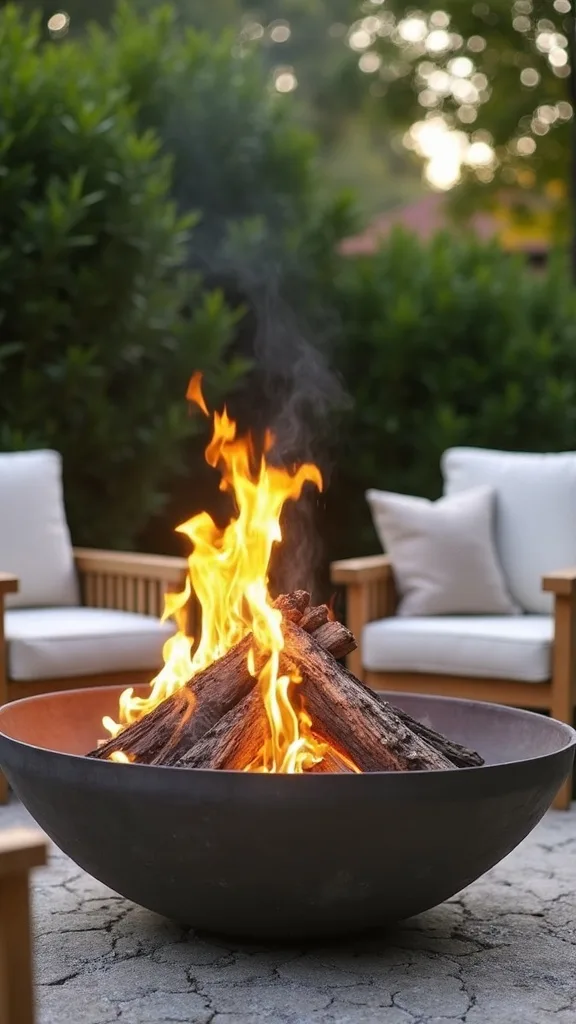
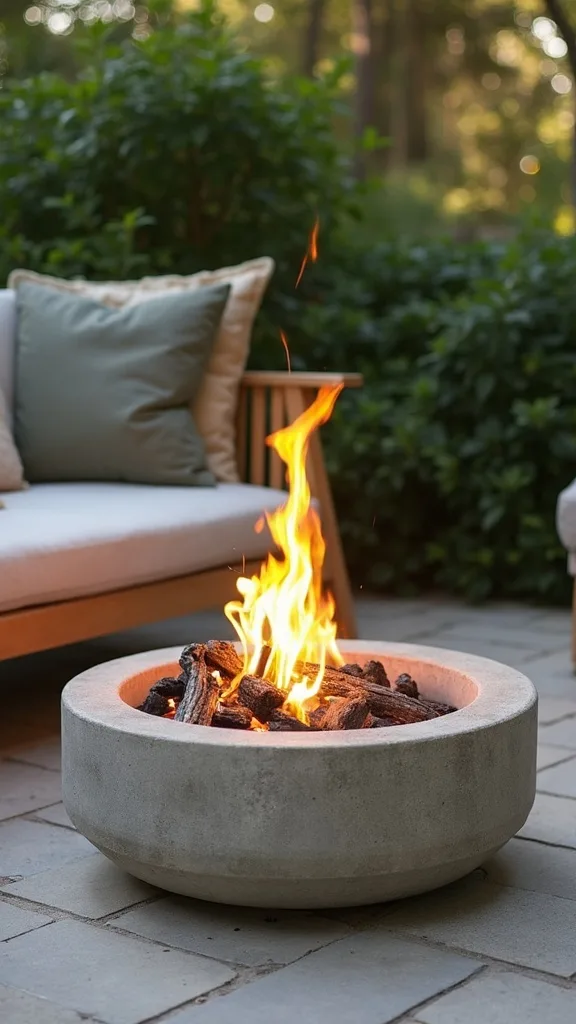
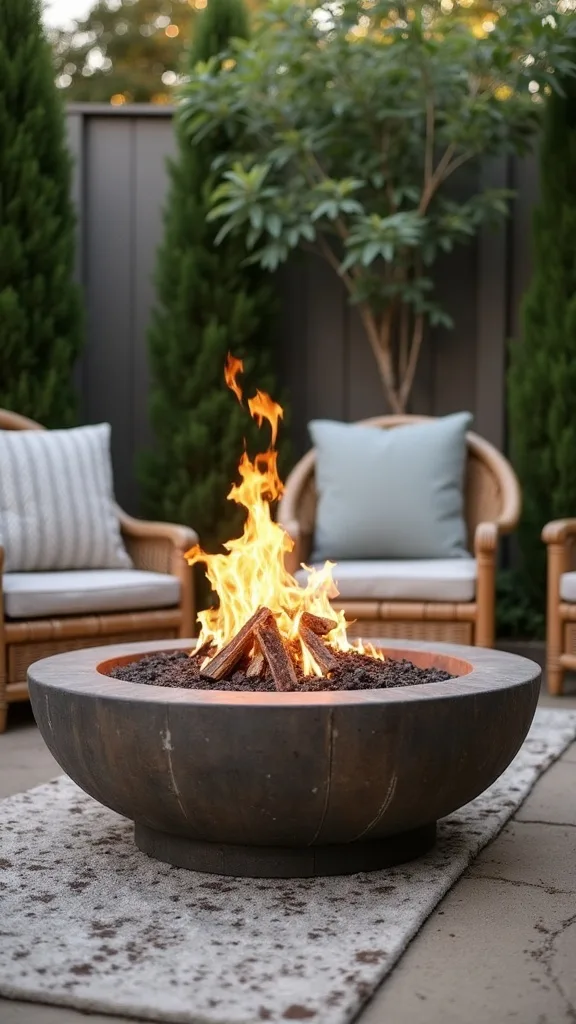
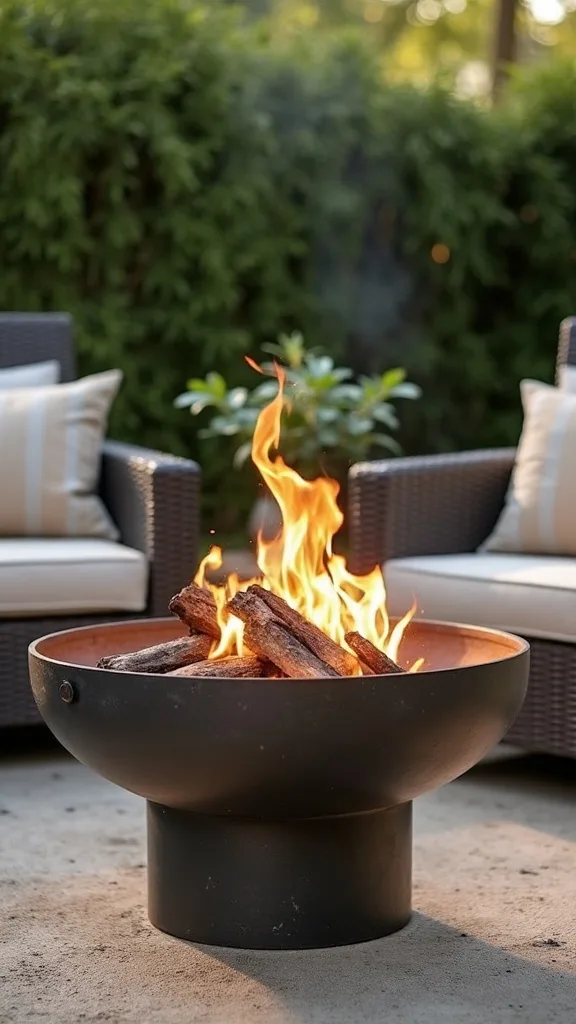
9. What’s the best steel fire pit option under $200 that looks intentional?
A simple steel bowl with a wide rim is the easiest “buy once” option that doesn’t feel temporary. It works because the silhouette is clean and the rim becomes a visual boundary—like a frame around art.
Choose a 30–36 inch diameter bowl for most yards and place it on a gravel pad with a paver edge. Keep accessories minimal: one log rack, one tool set, one side table. Too many extras read cluttered.
For modern, go matte black steel with gray gravel. For traditional, pair the bowl with warm-toned pavers. For transitional, mix black steel with natural wood seating.
Pro tip: avoid ultra-thin metal bowls; they warp faster and look tired quickly. Beginner version: if you already own a bowl, upgrade the setting—add a crisp paver border and suddenly it looks like a planned backyard fire feature.
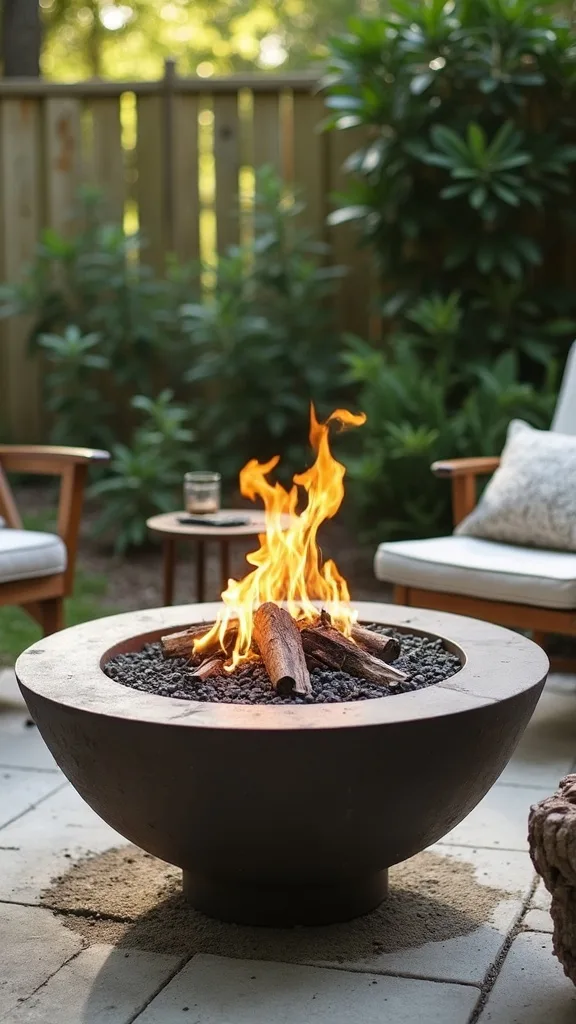
10. How do I create a smokeless-style look on a budget (without paying smokeless prices)?
The “smokeless look” is really about a tidy cylinder, a clean base, and controlled fuel—not necessarily a premium branded unit. It works because the form feels engineered and modern.
Use a compact stainless or black steel cylinder pit (often under $200) and keep the area highly edited: gravel base, two chairs, one wood storage bin. Burn kiln-dried wood or hardwood chunks to reduce smoke compared to damp logs.
Color direction: stainless + pale concrete reads modern; black + tan gravel reads transitional; pair either with classic wood chairs for a traditional twist.
Pro tip: avoid burning soft, wet wood—it’s the fastest way to ruin the experience with smoke. Beginner version: even with a standard bowl, you can mimic the vibe by using dry hardwood and keeping the seating layout symmetrical.
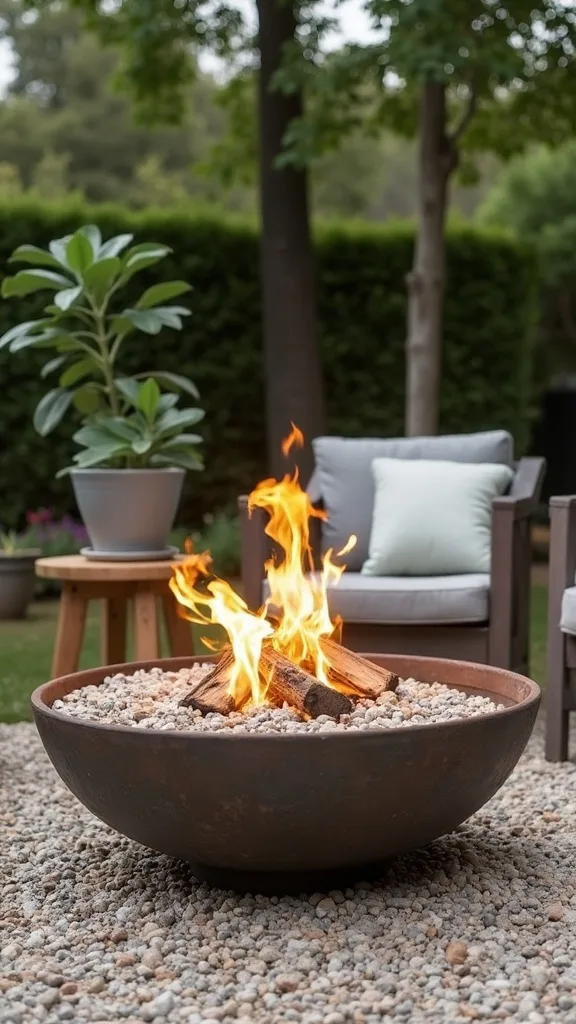
11. Can I build a fire pit area with pea gravel if I’m bad at DIY?
Yes—pea gravel is forgiving, fast, and one of the most budget-friendly ways to make a backyard fire zone feel finished. It works because texture creates a “floor,” which signals an outdoor room.
Outline a 7–8 ft circle with a garden hose, remove the top layer of grass, and lay landscape fabric to slow weeds. Add 2–3 inches of gravel and compact it by walking it in or using a hand tamper.
For style, pair light gravel with black steel for modern; pair warm gravel with wood furniture for traditional; mix black + natural for transitional.
Pro tip: avoid skipping the border—gravel migrates. Use inexpensive edging, bricks, or a paver ring to contain it. Beginner version: do a 4×6 ft gravel rectangle under just the pit and two chairs; you can expand later without redoing anything.
12. How do I make a small-space fire pit feel bigger without spending more?
Scale is the secret: a small pit can feel substantial when the base and seating layout are proportioned like a real “room.” It works because our eyes read the perimeter, not the object.
Use a 24–28 inch bowl, but place it on a larger 6×6 ft pad of pavers or gravel. Add two chairs opposite each other and one bench, creating a balanced triangle around the flame.
Modern: slim black chairs and a concrete-look side table. Traditional: Adirondacks and a plaid throw. Transitional: mixed seating in the same color family.
Pro tip: avoid pushing all seating to one side; it makes the pit feel like an afterthought. Beginner version: mark the seating spots with cheap stepping stones first—if the layout feels good, then commit to the base.
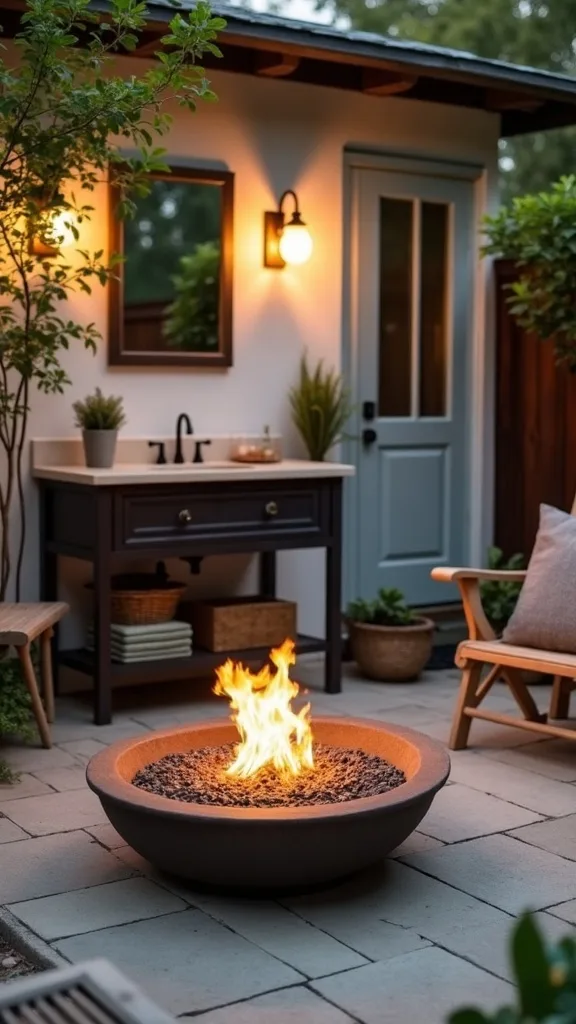
13. What’s the safest budget way to add a fire pit on a deck or patio?
The safest approach is to keep flame off wood surfaces and protect what can’t be replaced. It works because prevention is cheaper than repairs—and it keeps the space usable without anxiety.
If you have a composite or concrete patio, use a fireproof mat under a portable pit and keep it well away from railings and overhangs. For wood decks, consider a propane tabletop fire bowl (often under $200) rather than wood-burning.
Style-wise, tabletop fire bowls look modern with clean lines, traditional with lanterns and classic chairs, and transitional with neutral cushions and black accents.
Pro tip: avoid using a wood-burning pit on a wood deck even with a mat—embers travel. Beginner version: start with a tabletop propane fire bowl and treat it like candlelight you can actually feel.
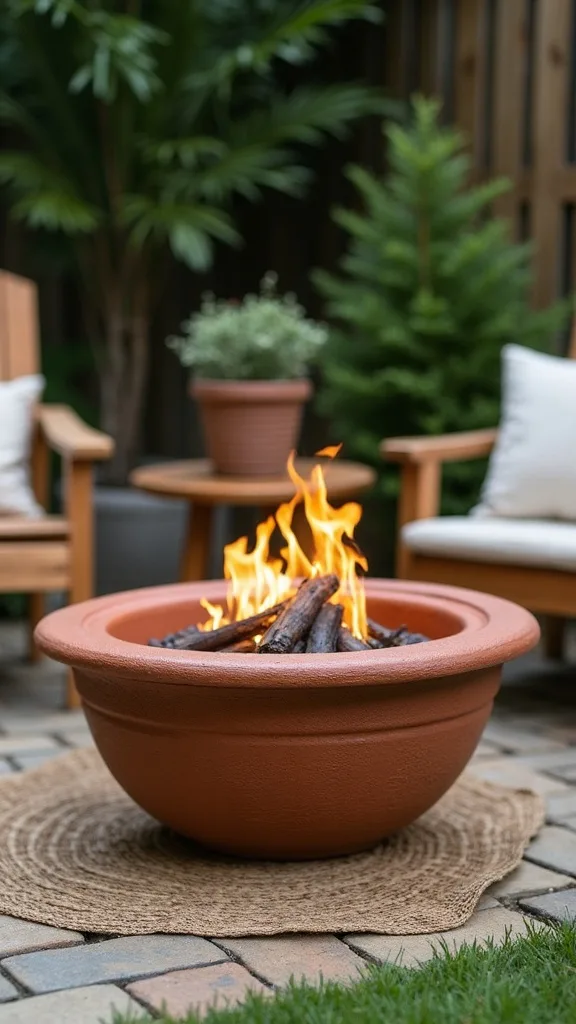
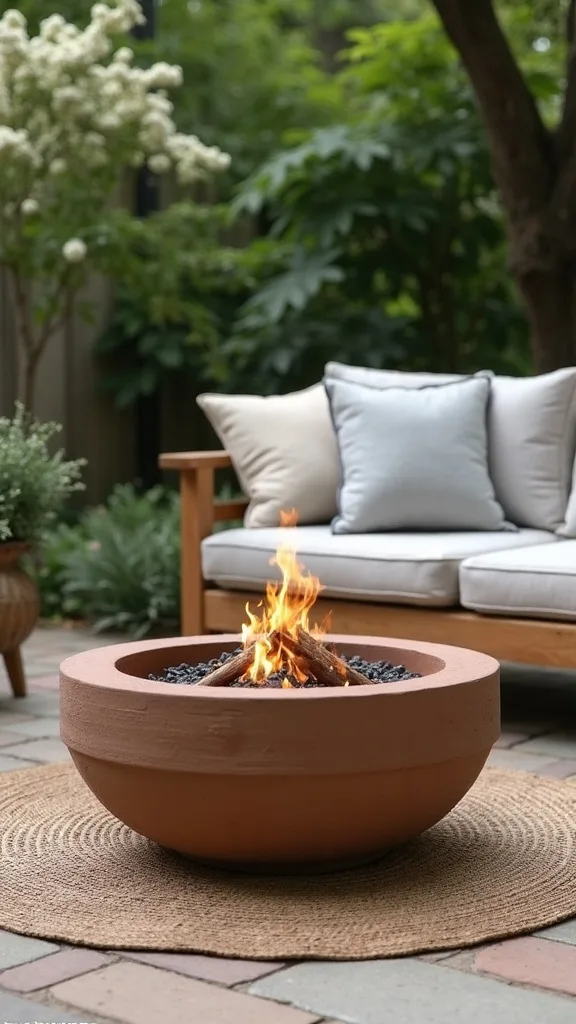
14. How can I use a concrete planter as a fire pit look-alike (without risky DIY)?
Concrete planters give you the sculptural “fire feature” look without complicated masonry. It works because the weight and texture read high-end, even when the function is simple.
Instead of turning a planter into a burner, use it as the styling anchor: place a small steel bowl in front of a large concrete planter, then fill the planter with tall grasses to create a backdrop and wind buffer.
Modern: smooth gray planter + black bowl. Traditional: textured stone-look planter + warm-toned bowl surround. Transitional: neutral planter + natural wood accessories.
Pro tip: avoid trying to burn inside a sealed planter—heat and trapped moisture can crack it. Beginner version: one large planter, one bowl, and a matching gravel strip behind them creates a “designed wall” effect with almost no tools.
15. What’s an easy way to get a built-in look with modular blocks?
A built-in look comes from straight lines and consistent joints, not from expensive labor. It works because the eye trusts repetition—uniform blocks suggest permanence.
Create a square or rectangle surround using concrete wall blocks around a round steel ring. Keep the outer shape crisp and the inner burn area round; that contrast reads modern-transitional and very Pinterest.
Choose one block color and repeat it in a small side table or a couple of stepping stones nearby. Add black accessories for modern, warm wood for traditional, or mix both for transitional.
Pro tip: avoid going too tall; higher walls trap smoke at face level. Beginner version: build only a single-course square frame around the ring and stop—one clean line often looks better than a wobbly stacked wall.
16. How do I style a fire pit area so it doesn’t look like camping gear?
The difference between “camping” and “designed” is styling restraint and repeat materials. It works because a cohesive palette reduces visual noise, which reads more upscale.
Pick one metal finish (black or galvanized) and one natural texture (wood or stone). Then add only three accessories: a log holder, a tool set, and one soft element like outdoor pillows or a throw stored in a weatherproof bin.
Modern: black steel + gray textiles. Traditional: warm wood + plaid. Transitional: neutral cushions + matte-black lanterns.
Pro tip: avoid mismatched plastic chairs in bright colors unless that’s your intentional vibe—they pull focus from the flame. Beginner version: wrap two seat cushions in neutral covers and add one lantern; the whole backyard fire scene will feel calmer immediately.
17. Can I use bricks I already have to build a fire pit without it crumbling?
Reclaimed brick can look beautifully traditional, but not all brick handles repeated heat well. It works when used as the outer surround with a steel ring protecting the inner burn zone.
Stack bricks in a circle around a steel ring, keeping the bricks as a decorative wall rather than the direct fire surface. Set them on compacted sand and keep the wall low so it stays stable.
For traditional style, let the brick be the star and add black iron tools. For transitional, mix brick with a light gravel apron. For modern, pair brick with simple black seating.
Pro tip: avoid using soft, crumbly bricks or bricks with unknown sealers close to flame. Beginner version: use your bricks as a border for the gravel pad and buy an inexpensive steel ring—safer and still charming.
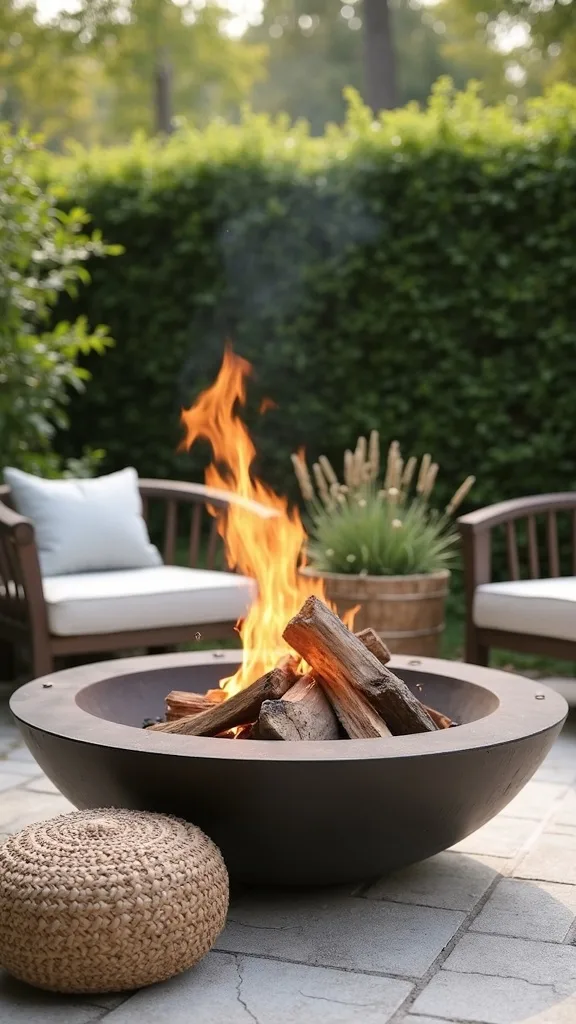
18. How do I create a coastal fire pit vibe on a budget (without themed décor)?
Coastal style works best when it’s about lightness and texture, not seashell signs. It works because pale, airy colors make the flame feel warmer by contrast.
Use a black or dark bronze bowl on light gravel, then add natural elements: a simple wood bench, a woven outdoor pouf, and white or sand cushions. Keep the layout open so it feels breezy.
Materials to consider: pale concrete pavers, light pea gravel, driftwood-toned seating, and a couple of glass hurricane lanterns.
Pro tip: avoid bright turquoise accessories everywhere; one accent is enough. Beginner version: add a light outdoor throw and swap cushions to white—those two changes shift the entire backyard fire mood without rebuilding anything.
19. What’s a good budget option for a fire pit with a spark screen?
A spark screen is one of those practical details that makes a setup feel more “family-ready.” It works because it reduces flying embers, which helps everyone relax and sit closer.
Look for a steel bowl kit that includes a screen and poker, then place it on a non-flammable pad. Keep the screen on whenever the fire is active, especially if you’re near dry landscaping or kids’ play zones.
Modern: black kit with clean-lined chairs. Traditional: add Adirondacks and a small side table. Transitional: mix a bench with two woven chairs.
Pro tip: avoid screens that don’t fit snugly; gaps defeat the purpose. Beginner version: if your current pit doesn’t have one, buy a universal spark screen sized to your bowl—cheaper than replacing the whole unit.
20. How can I DIY a fire pit seating area with free or cheap materials?
Seating is where most budgets blow up, so the smart move is to create comfort with layout and a few upgrades, not a full matching set. It works because people remember warmth and conversation, not whether chairs matched.
Use two existing chairs, then add a simple bench made from cinder blocks and a 2×12 board (sealed for outdoors). Place seating 6–8 ft from the center and keep a clear walking path behind.
Modern: paint blocks charcoal and use a natural wood plank. Traditional: leave blocks raw and add cushions in warm tones. Transitional: neutral cushion covers and matte-black lanterns.
Pro tip: avoid seating that’s too low; it makes tending the fire annoying. Beginner version: even one folding camp chair can look intentional if you repeat its color in a lantern or pillow.
21. What’s the best way to light a fire pit area on a budget for Pinterest nights?
Lighting is the cheapest “glow up” because it adds atmosphere without adding clutter. It works because layered light makes the flame feel brighter and the space feel safer.
Use two layers: pathway markers (solar stakes) and eye-level glow (lanterns or string lights). Keep lights warm: warm white light (2700K–3000K — the cosy, yellowish tone you see in most homes). Aim for gentle brightness (measured in lumens) rather than stadium lighting.
Modern: black lanterns and straight-line string lights. Traditional: lantern clusters and café lights. Transitional: one strand of café lights plus two neutral lanterns.
Pro tip: avoid cool white lights—they fight the fire’s warmth. Beginner version: place two lanterns at the “entrance” of the fire pit area; it instantly feels like a destination.
22. How do I keep my fire pit looking clean and not ash-stained?
Cleanliness is what separates “budget” from “cheap.” It works because a tidy hearth zone signals care, and care is what makes simple materials look elevated.
Use a gravel or paver base so you can sweep up ash easily. Keep a metal ash bucket with a lid nearby and do a quick reset the next morning: scoop, sweep, and return tools to a single spot.
Choose dark gravel if you hate seeing every speck, or light gravel if you want a crisp modern contrast—just commit to occasional raking.
Pro tip: avoid dumping ash into plastic bins or near mulch; embers can stay hot longer than you think. Beginner version: keep a small metal shovel and a stiff brush in a weatherproof tote so cleanup takes three minutes, not thirty.
23. What should I avoid when building a budget backyard fire pit?
The biggest mistake is building for looks while ignoring heat, airflow, and surface safety. It works only when the design principle—safe, defined hearth zone—comes first.
Avoid placing any pit directly on grass, mulch, or composite decking. Avoid random leftover stones that can crack or pop when heated, and avoid stacking blocks without leveling the first course.
For a cleaner look across modern, traditional, and transitional spaces, keep your palette tight: one main material, one accent, one metal finish. That’s how a backyard fire feature feels curated.
Pro tip: don’t oversize the pit for your seating; a huge ring in a tiny area makes everyone sit too close or too far. Beginner version: if you’re unsure, start with a portable steel bowl on a paver pad—test your layout for two weekends before committing to a built surround.
24. How do I choose modern vs traditional vs transitional fire pit styling?
The fire is the same; the styling cues change. This works because style is mostly repetition—repeat shapes and finishes and the brain reads a clear category.
Modern: choose a black steel bowl, geometric base (square pavers), and minimal accessories. Traditional: use textured blocks or brick tones, curved seating, and classic lanterns. Transitional: mix a clean black pit with warmer materials like wood and tan pavers.
Products to consider include sling chairs (modern), Adirondack chairs (traditional), and woven club chairs (transitional). Keep textiles neutral so soot and smoke don’t show.
Pro tip: pick one “anchor finish” (matte black, galvanized, or warm bronze) and repeat it in the tool set and lanterns. Beginner version: swap only one thing—like changing lanterns to matte black—and watch the whole backyard fire area shift styles.
25. What’s the fastest one-day fire pit upgrade if I already own a pit?
The fastest upgrade is redefining the ground plane. It works because a base is what makes a loose object feel like architecture.
In a day, create a 6×6 ft gravel pad or a simple paver “stage” under your existing pit. Add a border—brick, metal edging, or pavers—to keep it crisp, then place two chairs symmetrically to signal intention.
Modern: light gravel + black accents. Traditional: warm pavers + wood seating. Transitional: mix neutrals and keep accessories minimal.
Pro tip: add one small surface for drinks—people linger when their hands can rest. Beginner version: even if you can’t build a full pad, lay down four 12×12 pavers under the pit’s feet and rake the surrounding area clean; that small act of order makes the whole backyard fire scene feel “done.”
Final Thoughts
A great fire pit isn’t a product—it’s a place. When the ground is defined, the materials repeat, and seating is set at a comfortable distance, the flame becomes the easiest focal point you’ll ever decorate around. That’s why the same principle works across modern (edited contrast), traditional (warm texture), and transitional (clean lines softened by natural elements).
If you only remember one “avoid,” make it this: don’t put a pit directly on grass, mulch, or a surface you can’t replace. The base is the quiet hero of every Pinterest-worthy backyard fire setup, and it’s where budget projects either look intentional or look improvised.
Do one thing today: pick the spot, mark a 6–8 foot seating circle with a rope, and price out a simple gravel pad plus a steel ring. Once the hearth zone is mapped, the rest becomes a fun, low-risk weekend project.
What I’d Do Differently
When I first tried this, I blew my budget on the pit and treated the rest like an afterthought. I set a basic steel bowl right on the lawn because I wanted the “instant backyard fire” moment—and it worked, technically. But the grass scorched into a brown ring, the chairs sank unevenly after one damp weekend, and the whole thing looked temporary in photos. The specific mistake was skipping the base layer. The correct approach is the opposite: build the non-flammable zone first (pavers or 2–3 inches of gravel contained by a border), then place whatever pit you can afford in the center. Once the ground plane is defined, even a low-cost bowl looks intentional and feels safer to use.
I also wish I’d known how much layout matters. A pit can be the right size and still feel wrong if seating is pushed to one side or too close to the heat. Now I mark a 6–8 foot seating radius with a rope before I buy anything, and I keep accessories to a tight palette—one metal finish, one wood tone. Pick your spot, mark your circle, and start with the base this weekend.