
This post contains affiliate links. As an Amazon Associate, I earn from qualifying purchases at no extra cost to you.
The inspiration photos always look like nobody in that house ever carried a sticky juice box, a trombone case, and a crumpled permission slip through the same door. Real life is louder than that. And if your garage entry is currently a backpack pile with a side of sports gear… you’re not failing. You’re just living in it.
This post covers practical, affordable ways to build a back-to-school landing spot that actually works in a garage or entry area—without needing a remodel. You’ll see hook-and-bin layouts, charging solutions, paper control, and simple routines that make mornings smoother and afternoons less chaotic.
This is perfect for families who want less clutter and fewer “Where is it?!” moments, even if you’re working with a narrow wall, a shared garage, or rentals that don’t allow major changes.
My favorite ideas lean on a few repeatable tools: backpack hooks kids can reach, labeled cubbies that match each child, a small charging shelf (so devices stop disappearing), and a daily schedule board that stops the constant re-asking.
Below are 25 Back to School Drop Zone & Family Hub that make entryway organization kids can maintain, turn your garage into a family hub entryway, and feel like a real back to school command center—even on the messy days.
Products I Recommend for This Project
Here are some of my favourite products to help you bring these ideas to life:
- Command Large Utility Hooks (damage-free) — Great for renters and lightweight bags when you can’t drill right away.
- Amazon Basics Heavy Duty Wall Mounted Coat Hooks — Sturdy, affordable hooks that can handle backpacks and sports bags.
- mDesign Plastic Storage Bins with Handles — Easy-to-wipe bins that work well in dusty garage spaces.
- 3M Cable Clips (adhesive cord organizers) — Keeps charging cords from tangling and falling behind the shelf.
- Dry Erase Weekly Planner Board (magnetic) — A simple weekly view for activities and reminders without paper piles.
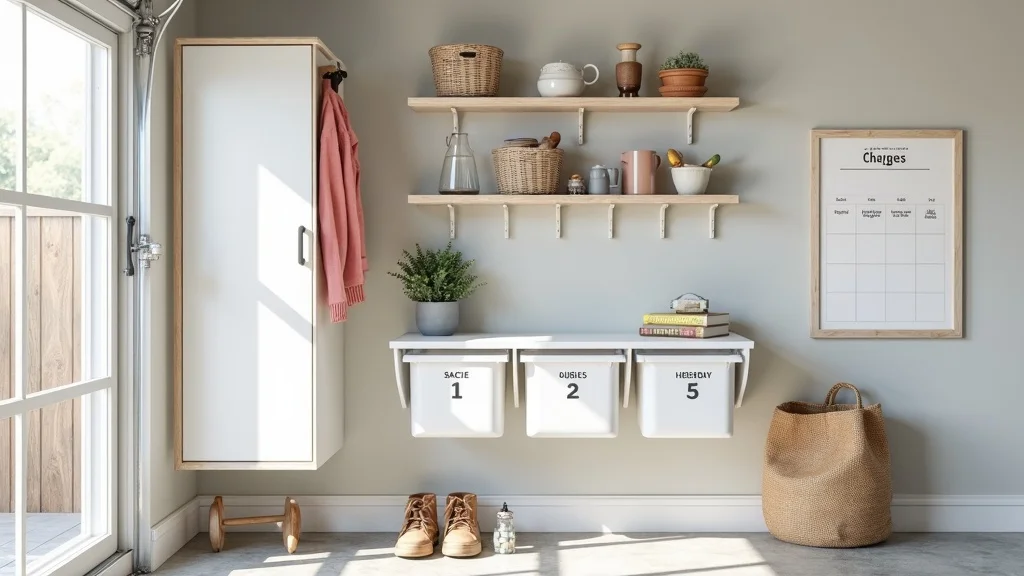
1. The “Everything Has a Number” Wall: Hooks + Cubby Bins + Charging Shelf + Schedule Board
This is the visual “anchor” setup: numbered wall hooks, labeled cubby bins per child, a charging shelf, and a daily schedule board. It works because kids don’t have to guess—each item has one obvious home, every single day.
Implement it on a 4–6 ft garage wall near the door: mount 3–5 sturdy hooks in a row, add a slim cubby shelf underneath, then install a small floating shelf above for charging. Finish with a dry-erase board beside it for the day’s plan and reminders.
Choose numbered hooks (or number stickers), plastic or fabric bins labeled by child, and a board with a weekly grid. Neutral bins hide visual noise; bright labels help younger kids.
Pro tip: keep the schedule board simple—“Today: homework, practice, library book.” The win isn’t perfection; it’s that your home feels calmer the moment you walk in.
2. Backpack Hooks at Kid Height (So You’re Not the Hook Police)
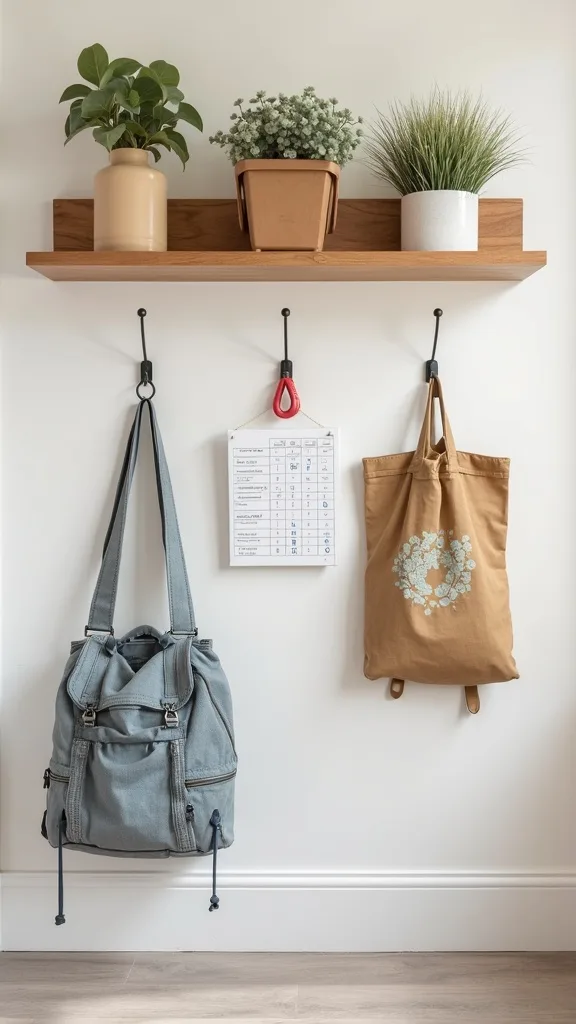
Hooks only work if kids can actually use them without asking for help. Setting backpack hooks kids can reach turns “hang it up” from a battle into a habit.
Mount hooks 42–48 inches from the floor for elementary kids (adjust higher for older kids), and choose heavy-duty hooks rated for backpacks and sports bags. If you’re in a rental, use a wall-mounted rail so you’re only drilling a few holes.
Go for matte black, brushed nickel, or simple white so it doesn’t look like a hardware aisle exploded. If you want a softer look, choose wood pegs or a peg rail.
Pro tip: add one extra “overflow” hook at the end labeled HOT MESS for the weird stuff (science project, poster board). It keeps the system intact—even on chaotic weeks.
3. Labeled Cubby Bins Per Child (One Bin, Not Ten Piles)
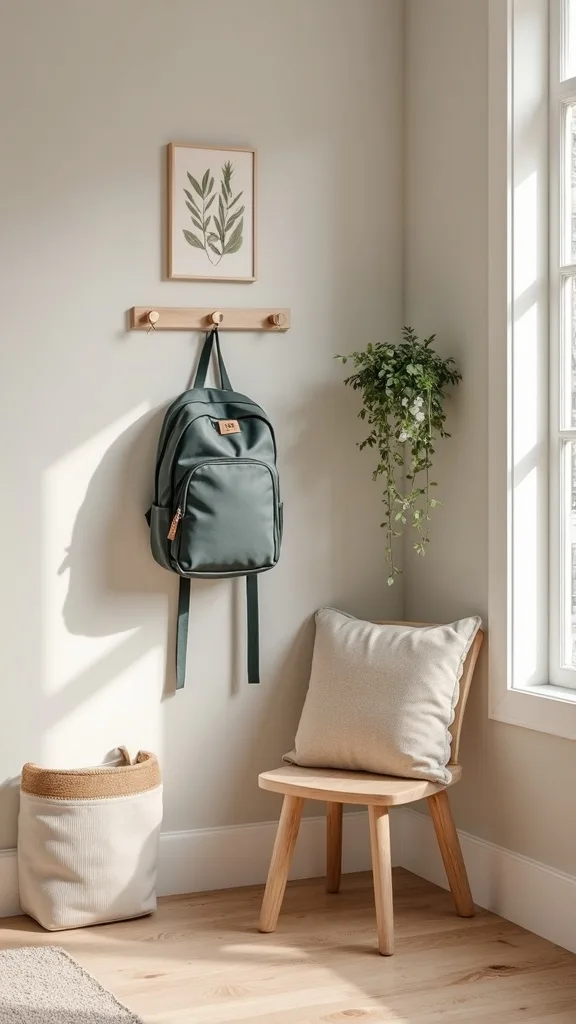
Kids don’t need more storage—they need fewer decisions. A single labeled bin per child works because it limits where papers and small items can scatter.
Set a cubby shelf on a bench or mount it to studs in the garage. Assign one bin per kid and make the label big: name + icon for non-readers. Teach one rule: “If it’s not trash, it goes in your bin.”
Choose wipeable plastic bins if your garage is dusty, or fabric cubes if you want a softer entryway vibe. Use bold labels (vinyl or laminated cardstock) so they don’t peel off in week two.
Pro tip: once a week, dump-and-sort together for five minutes. The bin isn’t about being tidy—it’s about keeping important stuff from vanishing.
4. A Charging Shelf That Stops the Nightly Device Hunt
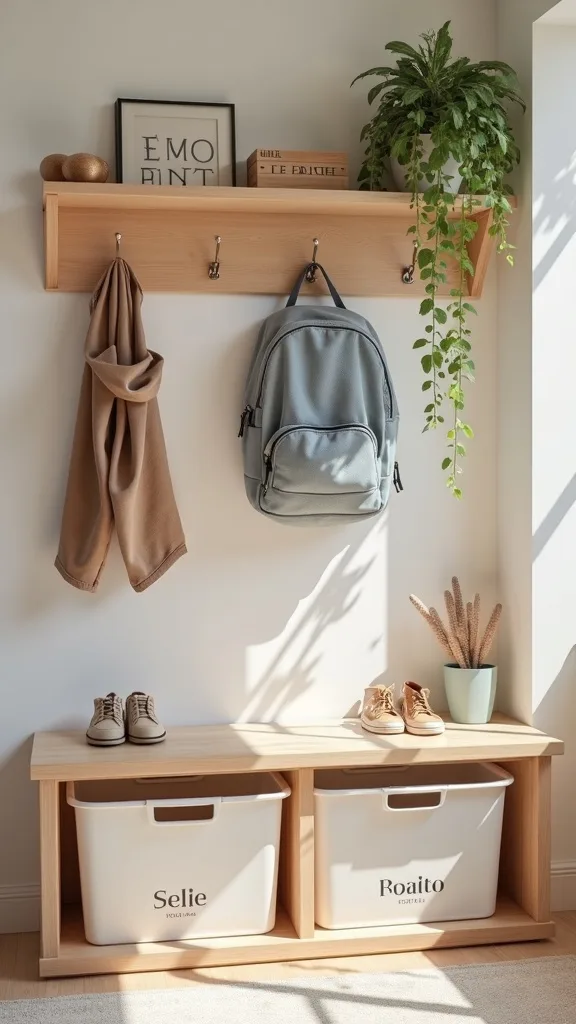
If your evenings include yelling “Who took my charger?” a dedicated charging shelf is a small change with a big emotional payoff. It works because devices have a “parking spot,” not a wandering lifestyle.
Install a narrow floating shelf (6–8 inches deep) near an outlet and add a power strip with a long cord. Use cord clips or a cable box so cords don’t dangle into chaos. If outlets are limited, mount the shelf slightly higher to keep it away from little siblings.
Pick a white or wood shelf to blend in, and use short charging cables in different colors so everyone can tell what’s theirs. Add a charging label right on the wall.
Pro tip: store portable chargers in a small basket on the shelf for game days and field trips. Your future self will feel genuinely cared for.
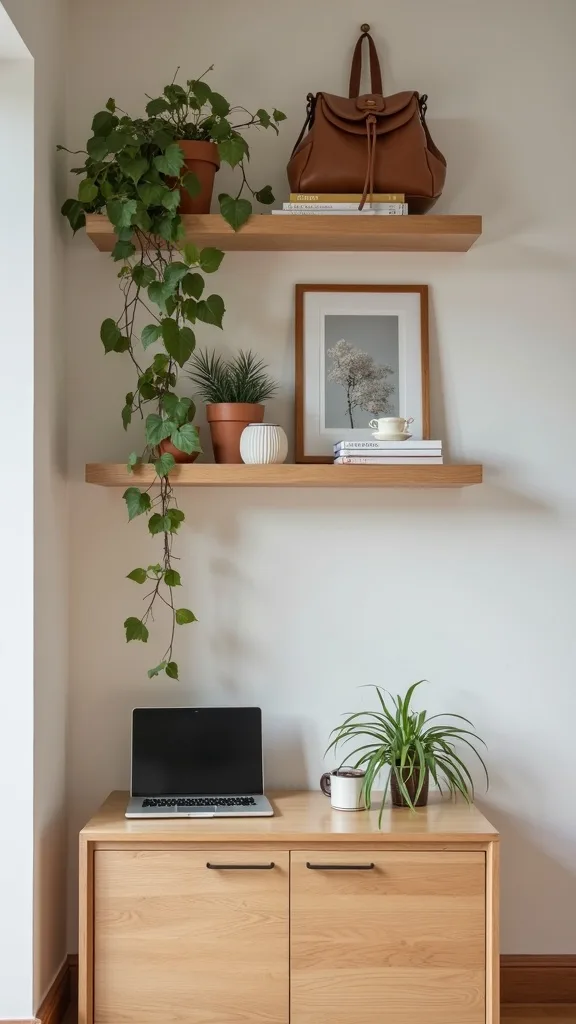
5. Daily Schedule Board That Cuts Down on Repeat Questions
A simple schedule board turns the entry wall into a calm “what’s next” cue—especially during back-to-school whiplash. It works because it offloads reminders from your brain onto a visible, shared spot.
Hang a dry-erase weekly board at adult eye level and keep a marker clipped to it with a string (so it doesn’t disappear). Use three sections: “Today,” “Tomorrow,” and “Due Soon.” Keep it short; details belong in your phone.
Choose a board with a magnetic strip if you want to stick permission slips or a lunch menu. A framed board looks finished, but a basic one works just as well.
Pro tip: write one positive thing too—“Friday: movie night.” A daily schedule board can feel like support, not another task.
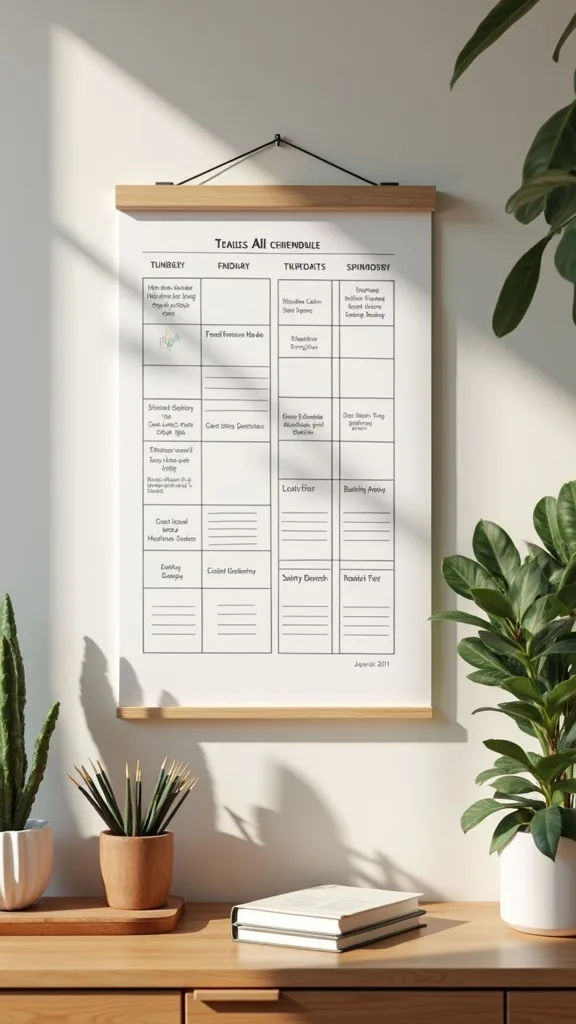
6. The Two-Basket Paper System: “To Sign” and “To File”
The biggest back-to-school clutter isn’t backpacks—it’s paper. Two baskets work because they give paper a short, clear path instead of letting it roam your counters.
Mount or set two letter trays near the drop zone: one labeled “To Sign” and one labeled “To File.” When kids unload folders, papers go straight into one of the two. You sign once per day (same time), then move it to “To File” or recycle.
Use sturdy plastic trays in the garage, or woven baskets if your entry is indoors. Add big labels you can read from across the room.
Pro tip: avoid adding a third basket called “To Do Later.” It becomes a paper graveyard. Two steps is the sweet spot for a system that survives real life.
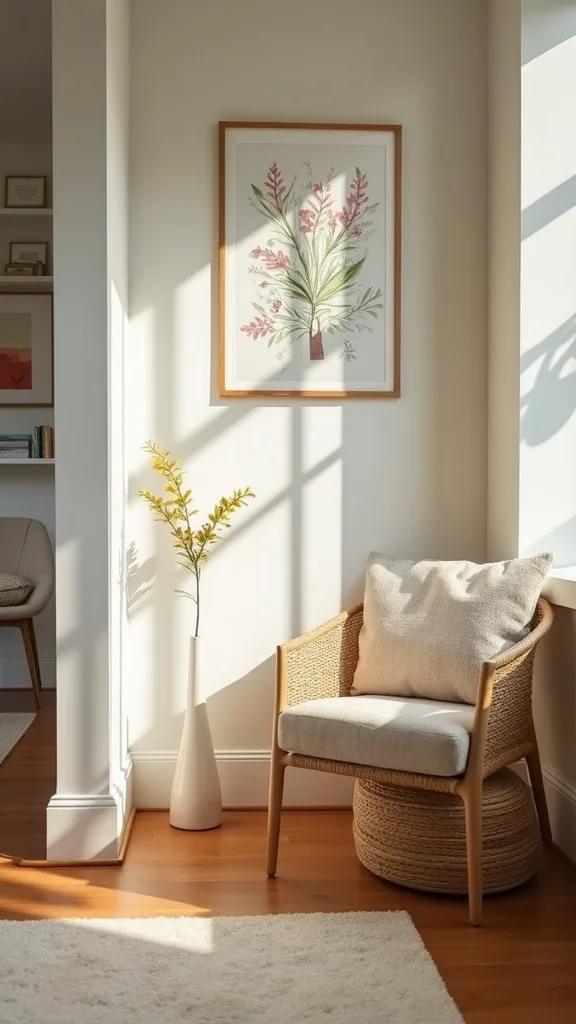
7. A Bench With Shoe Limits (Because Shoes Multiply Overnight)
A bench makes the drop zone feel welcoming—and it’s the easiest way to control shoe sprawl. It works because sitting down to remove shoes is simpler than balancing on one foot while everything falls everywhere.
Choose a bench with storage underneath and set a clear limit: one pair per person in the drop zone. Extra shoes live elsewhere. Add a small tray or boot mat underneath to catch dirt and wet.
Wood benches add warmth to a garage; metal benches lean more industrial. Pair with a washable runner if your entry is indoors.
Pro tip: avoid open floor piles “just for today.” Today becomes three weeks. A shoe boundary is progress over perfection, and it makes the whole house feel cleaner.
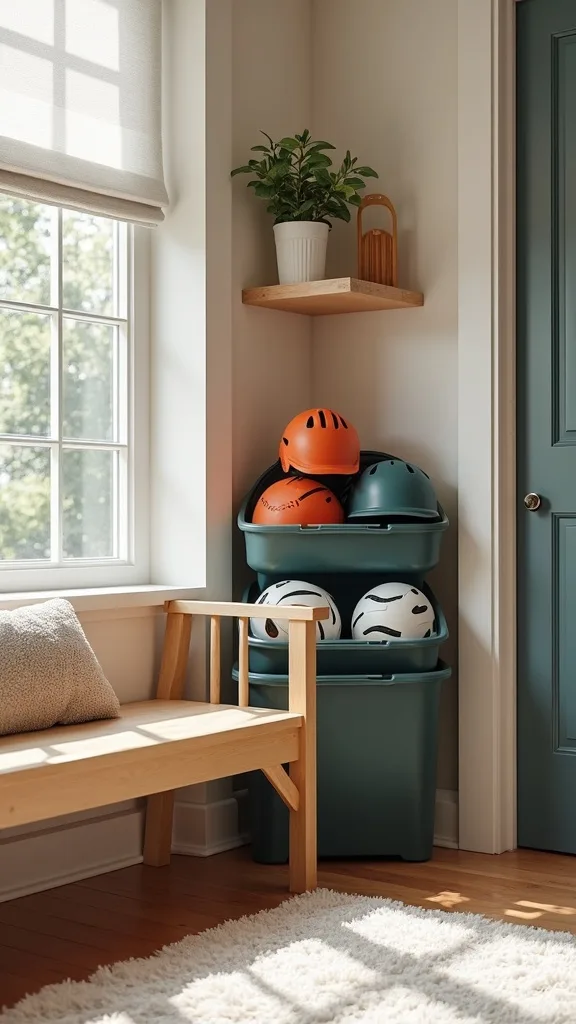
8. Sports Gear Corral: One Tall Bin Per Kid (No More Helmet Pyramids)
Sports stuff is bulky, loud, and never shaped like it wants to be stored. A tall bin per kid works because it gives awkward gear one dedicated home without needing custom cabinetry.
Line up 18–22 gallon tall bins along the garage wall and label them by name or sport. Add a hook above each bin for a helmet or uniform bag. If you’re tight on floor space, tuck bins under a wall-mounted shelf.
Choose bins with handles so kids can drag them to the car, and pick dark colors to hide scuffs. Add a mesh laundry bag inside for sweaty gear.
Pro tip: avoid storing wet gear in sealed bins overnight—hello, smell. Leave lids off until items dry. The goal is a home that feels easier to live in.
Cost & Materials Estimate
A functional garage drop zone and family hub can realistically land between a quick $60 setup and a more built-out $250 system, depending on how many kids and how many pieces you add.
| Item | Estimated Cost | Where to Buy |
|---|---|---|
| Heavy-duty wall hooks (pack of 5–10) | $12–$28 | Home Depot |
| Cubby organizer or cube shelf (6–9 cubes) | $45–$110 | IKEA |
| Fabric or plastic cube bins (set of 6) | $22–$45 | Amazon |
| Floating shelf for charging (24–36 in) | $18–$40 | Lowe’s |
| Dry-erase weekly board (medium) | $15–$35 | Wayfair |
| Surge protector power strip (8–12 outlet) | $14–$30 | Amazon |
Total estimated cost: $126–$288 Save money by starting with hooks + one bin per child; splurge on the cubby shelf if you want the biggest day-to-day payoff.
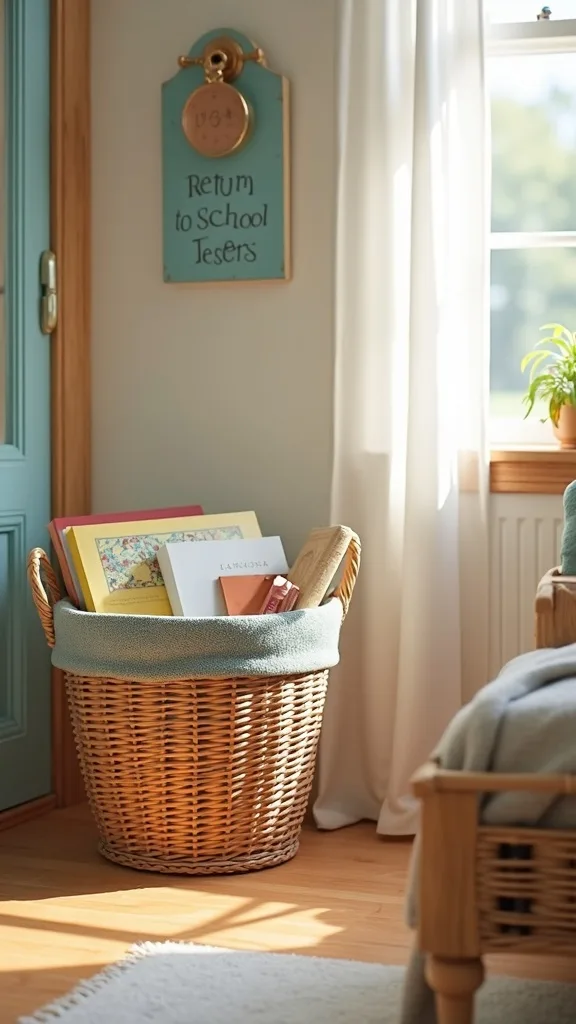
9. The “Return to School” Basket for Library Books and Borrowed Items
Library books and borrowed items don’t belong in backpacks forever, but they also can’t wander. A “Return to School” basket works because it creates a single, reliable launch point.
Place a medium basket on the bench or cubby shelf and label it clearly. Teach one rule: if it must go back tomorrow, it goes in the basket tonight. Put it near the door you actually use, not the one that looks nicest.
Choose a basket that’s easy to carry to the car—wire for visibility, fabric for softness, plastic for garage durability. Add a tag-style label so it’s obvious.
Pro tip: avoid placing this basket on the kitchen counter “temporarily.” It will become décor. Keep it in the hub where it does its job.
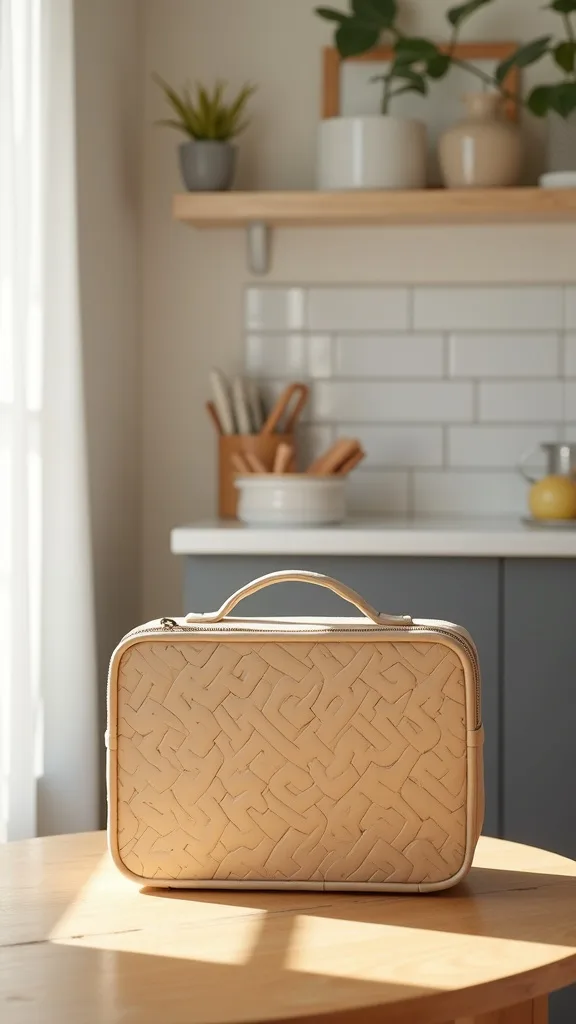
10. Lunchbox Reset Station (Quick Clean + Repack Area)
Lunchboxes cause a special kind of daily mess—crumbs, ice packs, mystery notes. A lunchbox reset spot works because it turns repacking into a short routine instead of a late-night scramble.
Add a small tray or bin near the drop zone for empty lunchboxes and ice packs, then assign one step: lunchbox goes to the kitchen sink, ice pack goes to the freezer. If your garage is attached, a labeled tote by the interior door works well.
Use a wipeable tray and a lidded bin for snack backups (granola bars, napkins) if you have space. Keep labels simple: LUNCH IN and LUNCH OUT.
Pro tip: avoid storing lunchboxes closed with food bits inside—smell happens fast. A small routine here makes mornings feel kinder.
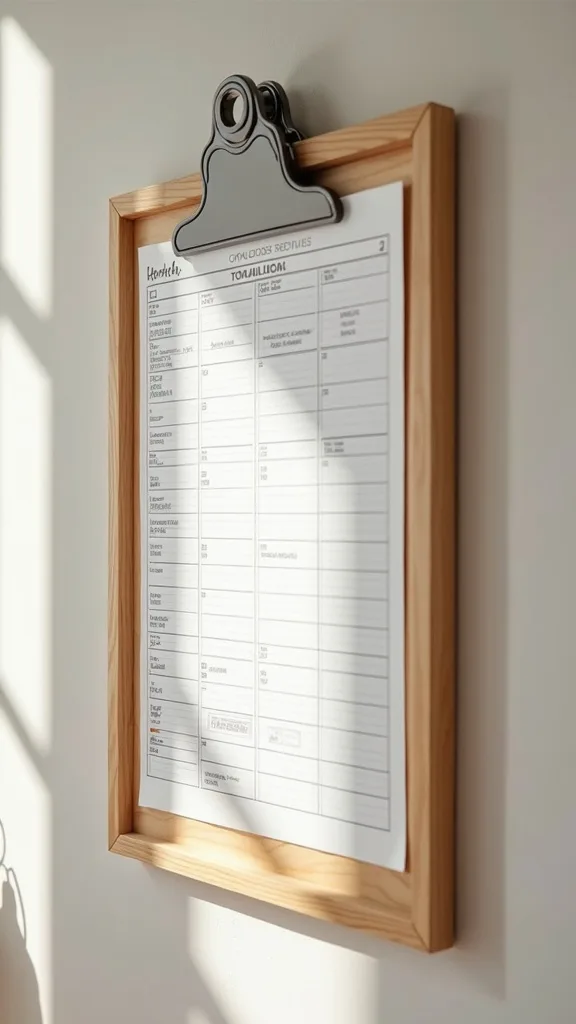
11. Command Center Clipboard Wall for Forms and Schedules
Some families do better with “visible and clipped” than “hidden in folders.” A clipboard wall works because it keeps the week’s most important papers front and center without taking over the kitchen.
Mount 3–6 clipboards on the wall near your hub: one per child, plus one for family-wide info. Slip in weekly schedules, school calendar pages, or after-school pickup notes. Refresh on Sunday night.
Choose matching clipboards (wood or acrylic) so it looks intentional, then use different colored paper for each kid. Add one pen on a string so it’s always there.
Pro tip: avoid clipping everything. Only the current week belongs here. When you keep it lean, it actually gets used.
12. A Small “Drop Bowl” for Pocket Stuff (So It Doesn’t End Up in the Laundry)
Kids come in carrying tiny chaos: coins, earbuds, hair ties, Pokémon cards. A drop bowl works because it gives pocket stuff a home before it disappears into couch cushions.
Place a sturdy bowl or tray on the cubby shelf and make it part of the routine: empty pockets, keys, and small items go in the bowl. If you have multiple kids, use a divided tray with sections.
Choose something heavy enough that it won’t slide—ceramic for indoors, metal or melamine for garages. Keep it neutral so it doesn’t look like clutter.
Pro tip: avoid using a deep basket where items sink and vanish. A shallow tray keeps everything visible, which means fewer frantic searches at 7:42 a.m.
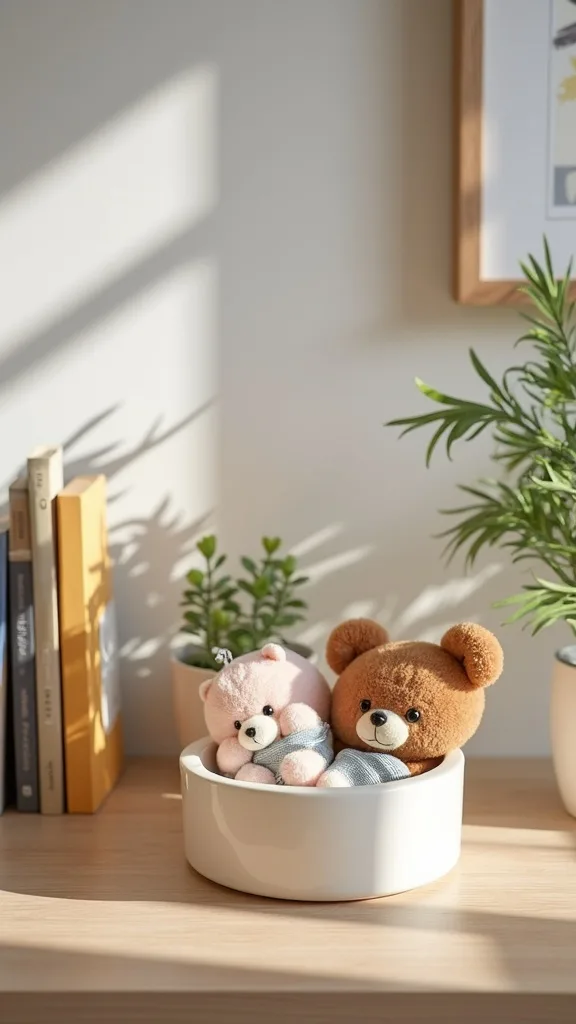
13. Sticker-and-Icon Labels for Pre-Readers (Yes, It Matters)
If your kids can’t read yet, written labels are basically décor. Icon labels work because they let kids succeed independently, which is the whole point of the system.
Print or buy simple icons (soccer ball, star, dinosaur) and pair them with the child’s name. Put the icon on their hook, bin, and shoe spot so the “map” matches everywhere. Keep the icons consistent year to year.
Use waterproof labels or clear packing tape over paper labels in garage spaces. Choose high-contrast colors so they’re easy to spot.
Pro tip: avoid changing labels every week to match new obsessions. Consistency beats cuteness. A kid-friendly system that works is more beautiful than one that photographs well.
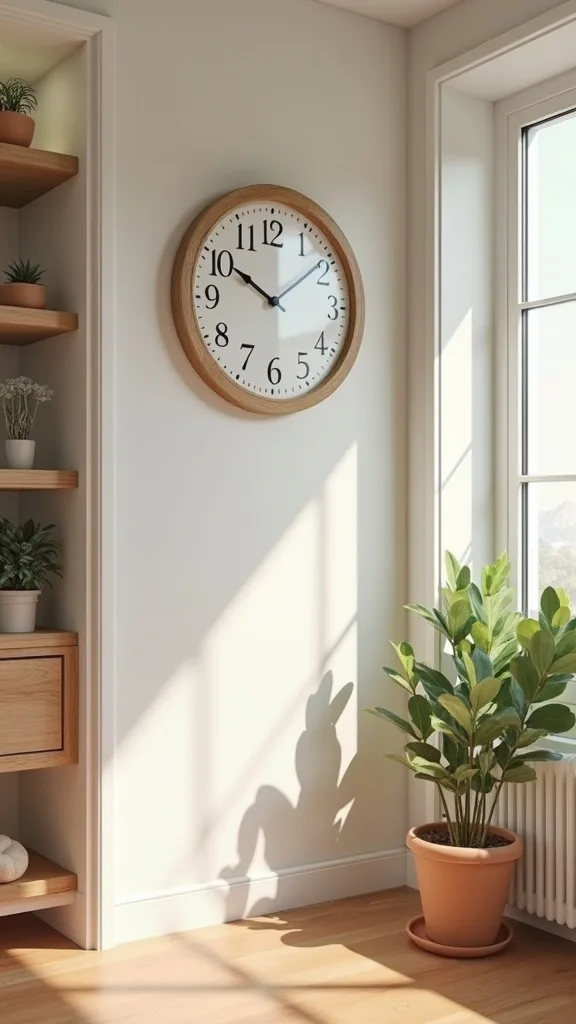
14. A Timer-Based “Unload in 3 Minutes” Routine
The problem usually isn’t the setup—it’s the follow-through. A 3-minute timer routine works because it turns unloading into a game instead of a lecture.
Set a small kitchen timer (or phone timer) at the door. When kids walk in, hit start: backpack on hook, papers in bin, shoes on mat, lunchbox to kitchen. Done. The timer ends before anyone can negotiate.
Keep the routine posted on a small card near the hooks with 3–4 steps. Use simple verbs: Hang, Drop, Place, Wash.
Pro tip: avoid adding too many steps (“put away your art project, clean your water bottle, practice piano”). Keep it tight. A tiny daily win builds a routine that sticks.
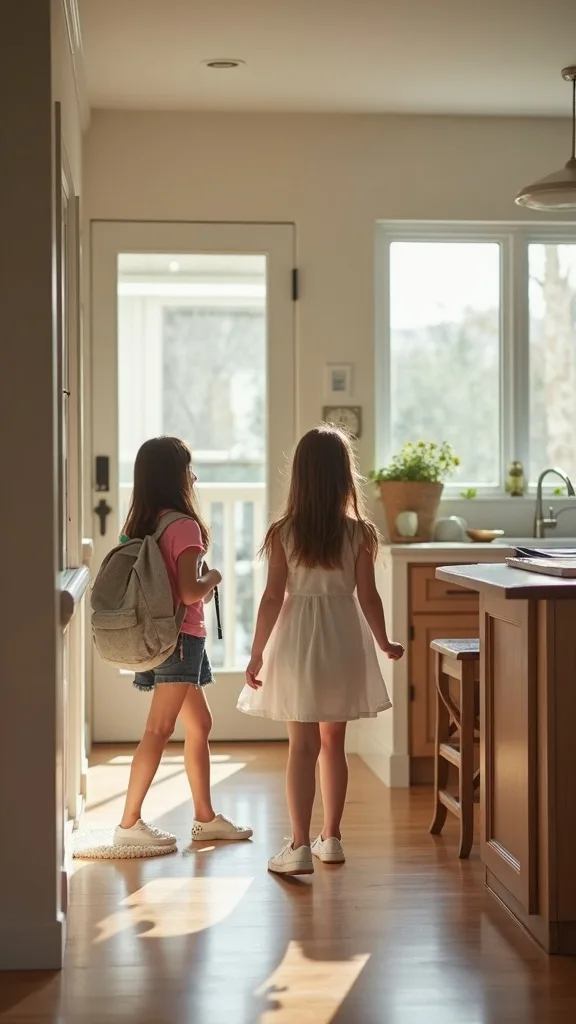
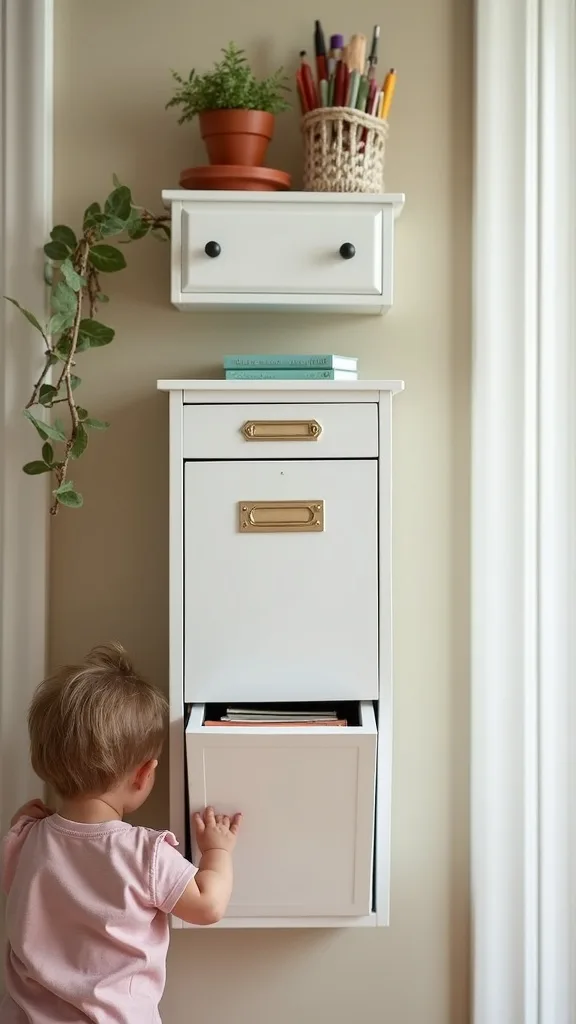
15. Wall-Mounted Mailbox for Each Kid (Great for Middle School Paper Floods)
Older kids bring home fewer crafts and more forms, slips, and printed emails. A wall-mounted mailbox per kid works because it organizes paper vertically and keeps it from spreading.
Mount small metal or plastic wall bins in a row and label them by name. Make it a rule: papers go in the mailbox the moment they come out of the backpack. Parents check once daily, not 12 times.
Choose slim bins that don’t stick out too far in a garage walkway. Neutral colors (black, white, gray) look cleaner longer.
Pro tip: avoid letting backpacks become the “mailbox.” That’s where papers go to die. A paper landing zone keeps you out of last-minute panic.
16. A Small Whiteboard for “After School Jobs” (One Kid, One Task)
When everyone walks in hungry and tired, chores can feel like punishment. A tiny after-school jobs board works because it’s clear, fair, and not delivered as a surprise.
Use a small whiteboard with three lines—one per child—and write one simple job each (feed pet, empty lunchbox, put shoes away). Rotate weekly. Keep it near the schedule board so it’s part of the hub.
Choose a board with a marker holder so supplies don’t wander. Use a single color marker for calm—no rainbow chaos needed.
Pro tip: avoid assigning multi-step jobs at 3:15 p.m. That’s when kids are running on fumes. One small task is enough to keep the home running and the mood intact.
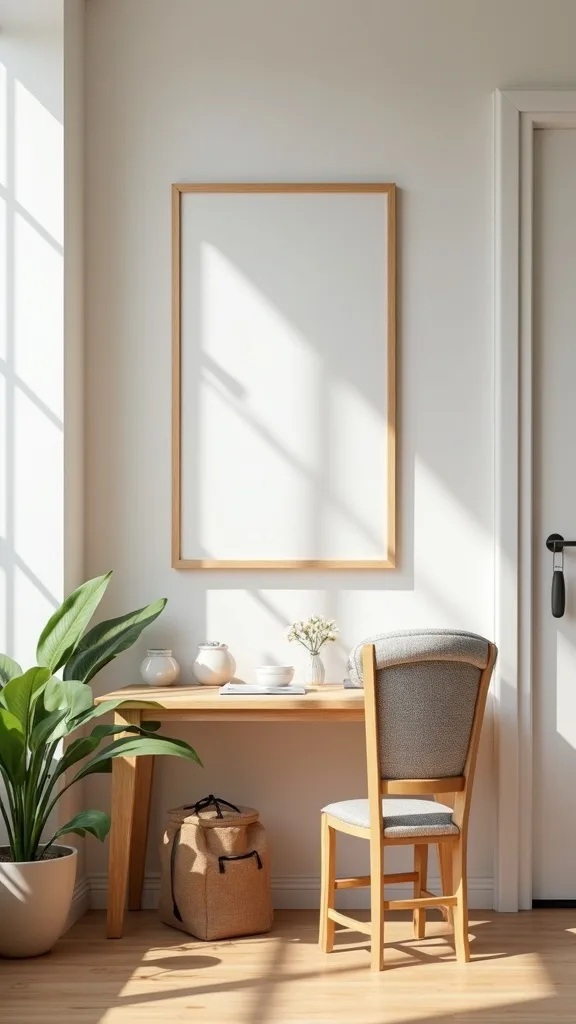
17. The “Grab-and-Go” Shelf for Morning Essentials
Mornings go sideways when essentials are scattered. A grab-and-go shelf works because it turns the exit into a simple checklist: keys, sunglasses, water bottles, permission slips.
Install a slim shelf above the hooks and add two small baskets: one for adults, one for kids. Keep only what you truly grab daily. If you need it once a month, it doesn’t belong here.
Use a lip-front shelf or baskets so items don’t slide off. Choose materials that match your vibe—wood for warm, metal for industrial garage utility.
Pro tip: avoid making this a dumping ground for random stuff. A curated shelf is what makes mornings feel lighter, even when the day is heavy.
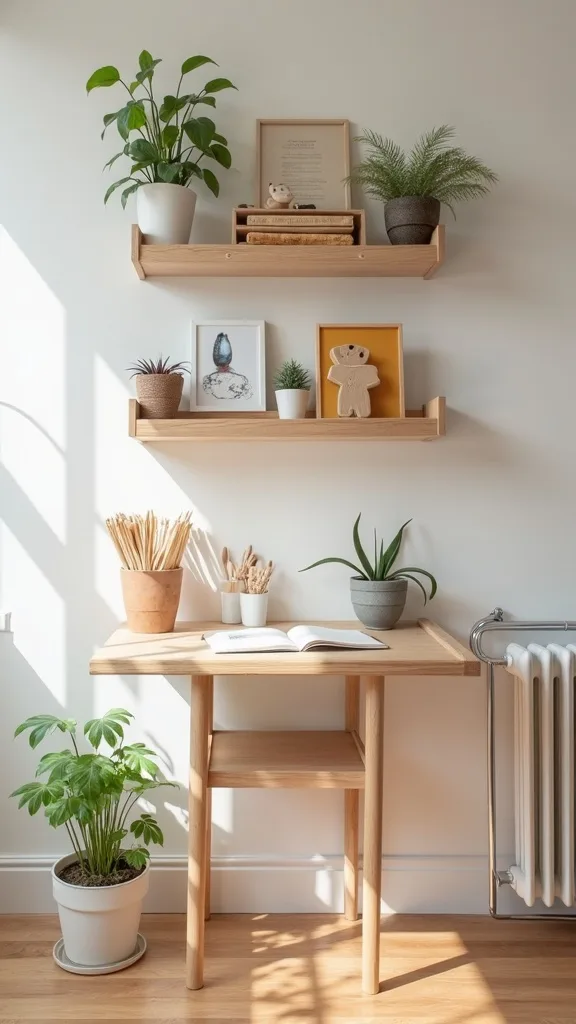
18. A Rolling Cart Family Hub for Tight Garage Walls
No wall space? You can still build a functional hub. A rolling cart works because it creates vertical storage you can move out of the way when cars need to park.
Choose a 3-tier cart and assign each tier: top for papers and chargers, middle for bins by child, bottom for shoes or sports gear. Add adhesive hooks on the side for lanyards and headphones. Roll it to the door at drop-off times.
Pick a cart with locking wheels so it doesn’t drift. Neutral carts look cleaner; bright ones are easier for kids to spot.
Pro tip: avoid overloading the top tier—it becomes unstable and messy. A mobile hub is about flexibility, not stuffing everything into one spot.
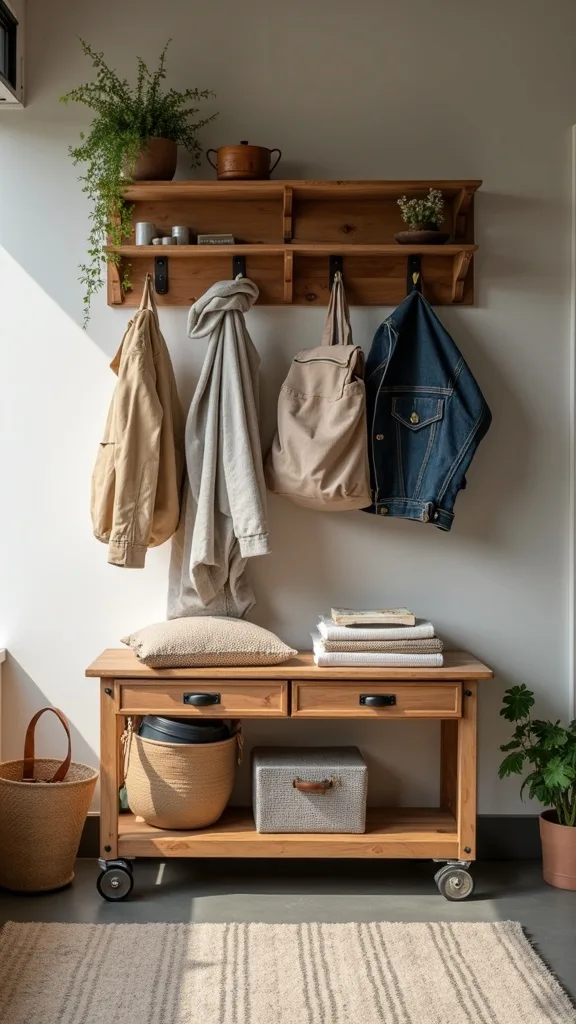
19. Magnetic Strip for Scissors, Keys, and Small Metal Tools
Little items cause big frustration. A magnetic strip works because it keeps frequently used metal items visible and off surfaces that collect clutter.
Mount a magnetic tool strip in the garage hub area and use it for keys, small scissors for opening school packets, and a mini tape measure. Keep it high enough that toddlers can’t reach sharp items.
Choose a slim black or stainless strip for a clean look. Pair it with a small labeled cup for non-magnetic items like pens.
Pro tip: avoid putting everything on the strip. Keep it to daily-use essentials only, so it stays helpful instead of chaotic.
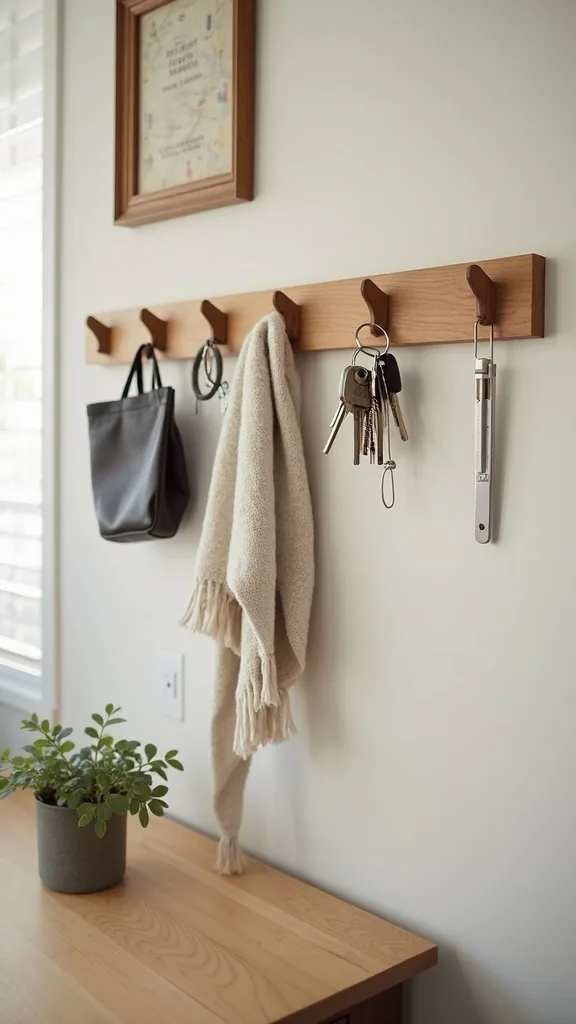
20. Laundry Bag Hook for “Wear Again” Hoodies and Jackets
Not everything is dirty, but it also shouldn’t live on the floor. A laundry-bag-on-a-hook solution works because it gives “wear again” items a contained place.
Hang a sturdy hook and clip a mesh laundry bag or tote to it. Teach kids: hoodies and light jackets go here if they’ll be worn again this week. When the bag is full, it’s time to wash or put away.
Pick mesh to prevent musty smells, especially in a garage. Use a bag with a zipper if you’re dealing with windy doors.
Pro tip: avoid using a closed hamper for damp jackets. A breathable bag keeps the hub from turning into a smell zone.
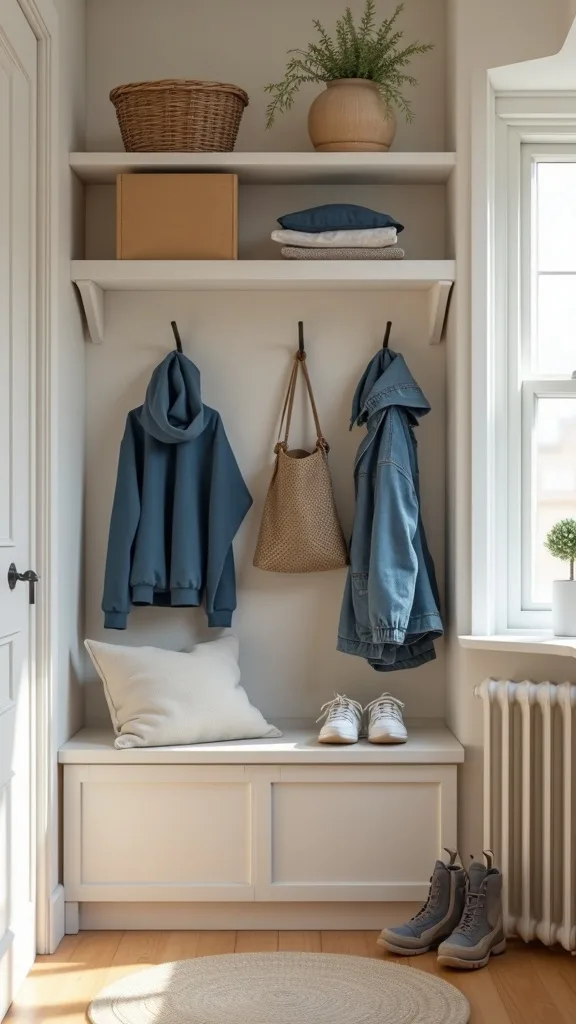
21. Seasonal Swap Bin (So Winter Gear Doesn’t Haunt September)
Back-to-school is the perfect time to reset seasonal clutter. A swap bin works because it removes off-season gear from the daily traffic lane.
Keep one large lidded bin labeled “Not This Season” on a high shelf. As you set up the hub, toss in winter gloves, last year’s sports gear, and random extras that don’t belong right now. Revisit it when seasons change.
Choose clear bins if you like seeing what’s inside, or solid dark bins if you want visual calm. Add a big label on two sides so it’s easy to spot.
Pro tip: avoid storing sentimental school projects in this bin. That’s a different category. Keep this bin purely functional for faster daily life.
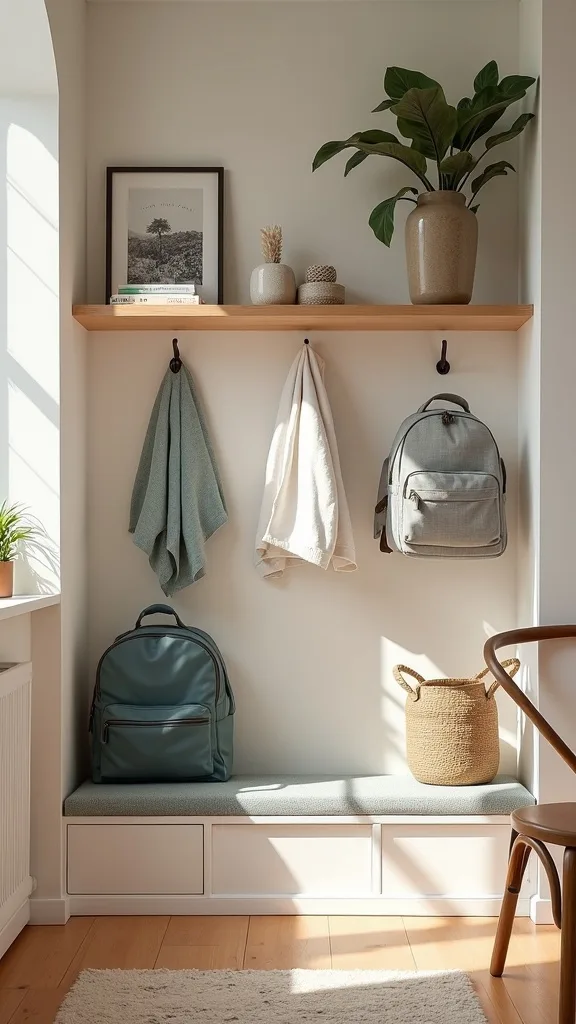
22. Warm White Light in the Garage Hub (So You Actually Use It)
If your garage entry feels like a cave, you’ll avoid using the system—especially in darker fall afternoons. Better lighting works because it makes the hub feel welcoming and easy to navigate.
Add a plug-in LED shop light or a screw-in garage light near the hub, and aim it so hooks and labels are visible. Choose warm white light (2700K–3000K — the cosy, yellowish tone you see in most homes) so it doesn’t feel harsh.
Look for a fixture with adjustable panels so you can direct light toward the schedule board and bins.
Pro tip: avoid super-cool blue lighting that makes everything feel sterile. A comfortable entry gets used, and that’s what makes the organization stick.
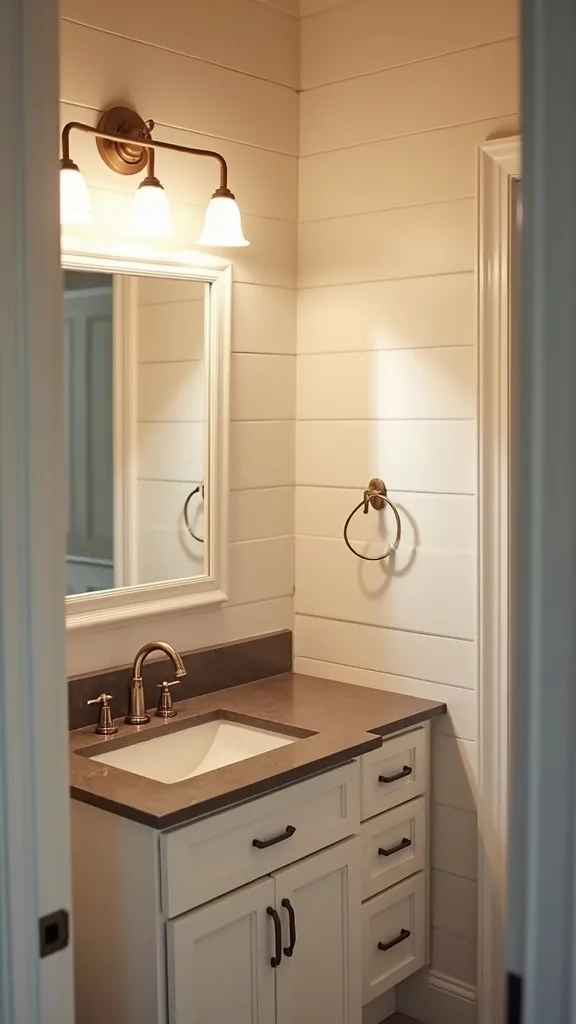
23. A Tiny “Lost and Found” Basket (Because Someone Always Loses Something)
Every house needs a place for the random single shoe, stray water bottle, and mystery sweatshirt. A lost-and-found basket works because it keeps the mess contained without requiring immediate detective work.
Set one basket at the end of the hub and label it clearly. Anything that doesn’t have an obvious home goes there. Once a week, everyone claims their items in two minutes—timer optional but recommended.
Choose a basket you can’t ignore (bright label, open top). Wire baskets show contents; fabric baskets hide visual noise.
Pro tip: avoid letting this basket become permanent storage. The magic is in the weekly reset. Containment is a real strategy, not a failure.
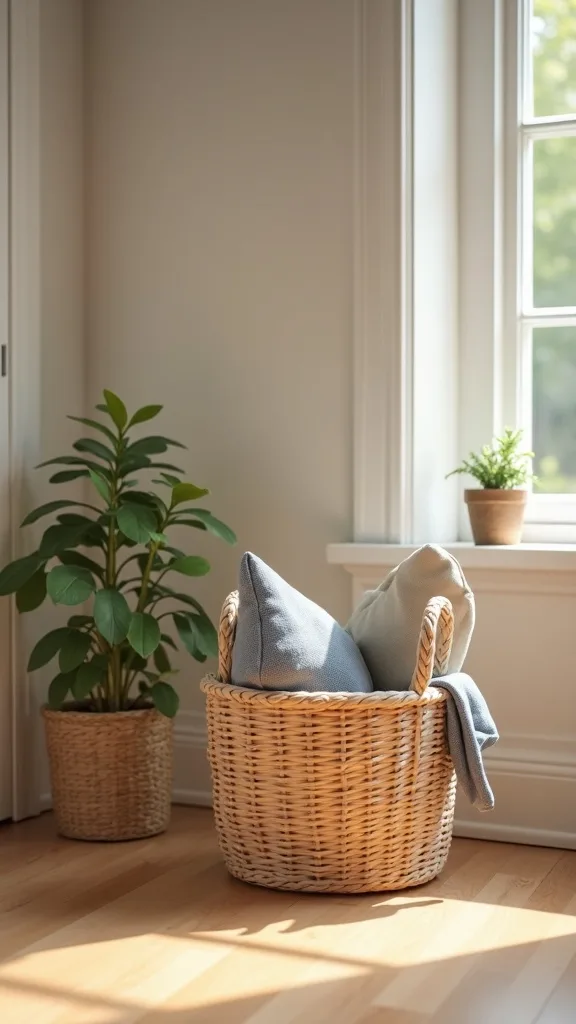
24. A Simple “One In, One Out” Rule for Backpacks and Bags
Backpacks breed duplicates—old backpacks, tote bags, random drawstring sacks. A one-in, one-out rule works because it keeps storage from slowly overflowing.
When a new backpack or sports bag comes in, one old bag gets donated or stored in the seasonal bin. Keep only the current daily backpack on the hook, plus one backup per child if you truly need it.
Use a small tag on the backup bag that says “Backup” so it doesn’t sneak into daily rotation. Keep colors neutral if you want less visual clutter.
Pro tip: avoid keeping every bag “just in case.” That’s how hooks become unusable. A lighter load makes the whole hub feel more doable.
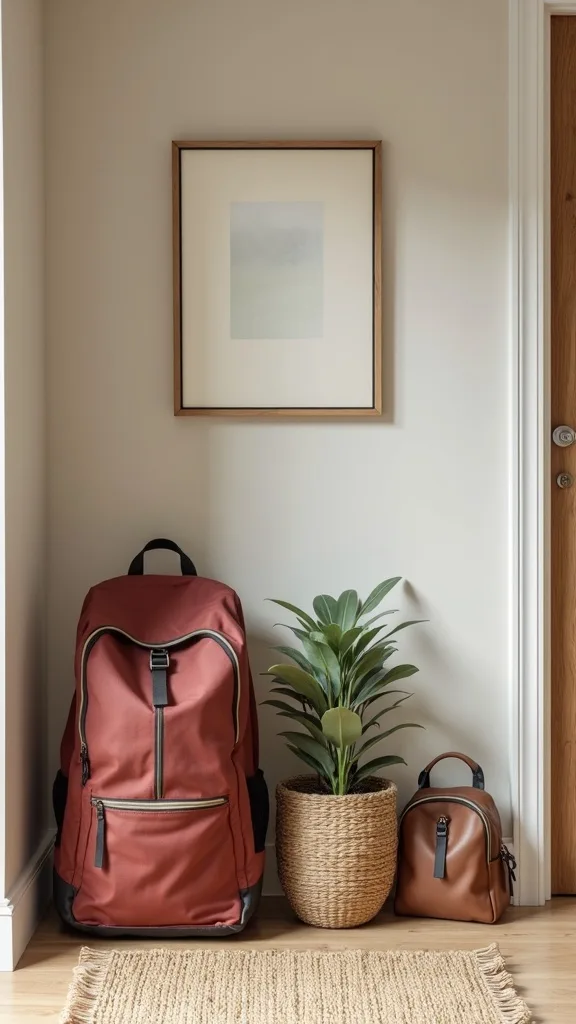
25. The 10-Minute Sunday Reset (The Secret That Makes It All Work)
The hub isn’t a one-time project—it’s a rhythm. A 10-minute Sunday reset works because it prevents small messes from turning into “we need a whole day to fix this.”
Set a timer for 10 minutes: empty bins of trash, move papers through the two-basket system, wipe the charging shelf, and re-write the weekly schedule board. Kids can do their own hook/bin area while you handle the board and papers.
Keep supplies nearby: wipes, a marker, and a small trash bag. Choose a Sunday reset time that fits your life—after dinner, before showers, whenever.
Pro tip: avoid skipping the reset for three weeks and then blaming yourself. Start again. Progress over perfection is the whole point, and your home gets to support you.

Final Thoughts
A working drop zone doesn’t have to look like a catalog to change your day. When backpacks land on hooks, papers have a place to go, and chargers stop wandering, the whole house feels like it exhales—especially in that busy back-to-school stretch when everyone’s tired and time feels tight.
If you try this and it gets messy again, that doesn’t mean you did it wrong. It means you have a home that’s being used. Celebrate what improves—one fewer lost folder, one calmer morning, one less pile on the floor—and let that be enough.
Do one thing today: pick a 3–5 foot section by your garage door, install two hooks, and label one bin per child. That’s it. Imperfect isn’t just acceptable here—it’s the point.
What I’d Do Differently
When I first tried this, I made the classic mistake: I set up the drop zone for the life I wished we had, not the life we actually live. I put hooks up high because it looked cleaner, bought cute matching baskets, and assumed the kids would “figure it out.” What happened was predictable—backpacks landed on the floor anyway, papers got shoved back into bags, and by Wednesday the whole area felt like proof that I couldn’t keep up. The correct approach was humbling but simple: bring everything down to kid height, label it so clearly it’s almost silly, and limit each child to one bin. The system didn’t need more style; it needed fewer steps.
I also wish I’d known how much lighting and timing matter. Our garage was dim, and the hub felt like a chore to use—until we added a warmer light and a 3-minute unload routine. If you’re on the fence, start with one hook and one labeled bin today, then adjust after a week of real use.