This post contains affiliate links. As an Amazon Associate, I earn from qualifying purchases at no extra cost to you.
The prettiest canning stations aren’t the ones with matching everything—they’re the ones where you can find your funnel with one hand while the jam is boiling over with the other. Late summer harvest season has a way of turning a normal kitchen into a sticky, steamy obstacle course, and I’m going to say the quiet part out loud: “just set it on the counter” is how jars get chipped, labels go missing, and your preserving momentum dies by day three.
This post breaks down a real-world, budget-smart canning kitchen setup using thrift finds, discount-store basics, and a few DIY tricks that look intentional. You’ll get ideas for a mason jar shelving unit, a fruit canning station, a label system that doesn’t peel off, and a spice rack that actually supports harvest-season cooking.
This is perfect for anyone who loves the hunt—thrift-store regulars, Facebook Marketplace scrollers, and renters who need a setup that can pack up fast.
Expect the honest “before” (think: random lids in a cereal bowl) plus the kind of small upgrades that change everything, like a $3 cooling rack that becomes a jar-landing pad and a $1.25 bin that stops lid avalanches.
Below are 25 Canning & Fall Harvest Kitchen Setup Ideas that pull your fall harvest kitchen together, build a smarter preserving pantry, and make food preservation feel doable on a weeknight.
Products I Recommend for This Project
Here are some of my favourite products to help you bring these ideas to life:
- Ball Wide Mouth Mason Jars (32 oz, 12-pack) — Reliable, uniform jars that stack neatly and make labels easy to read.
- Ball Jar Lifter — Gives you a confident grip on hot jars so your cooling zone stays safe.
- Ball Wide Mouth Canning Funnel — Cuts down on sticky rims and counters when you’re filling jams and salsas.
- Brother P-touch PTD210 Label Maker — Fast, legible labels that make pantry rotation painless.
- EZOWare Clear Pantry Organizer Bins (set) — Turns shelves into pull-out “drawers” for finished jars, lids, and canning tools.
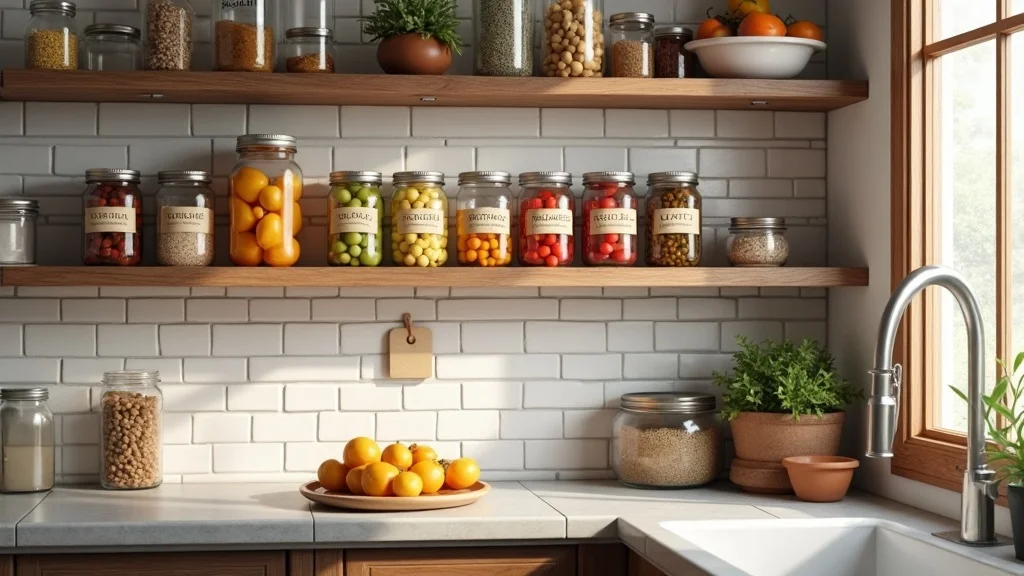
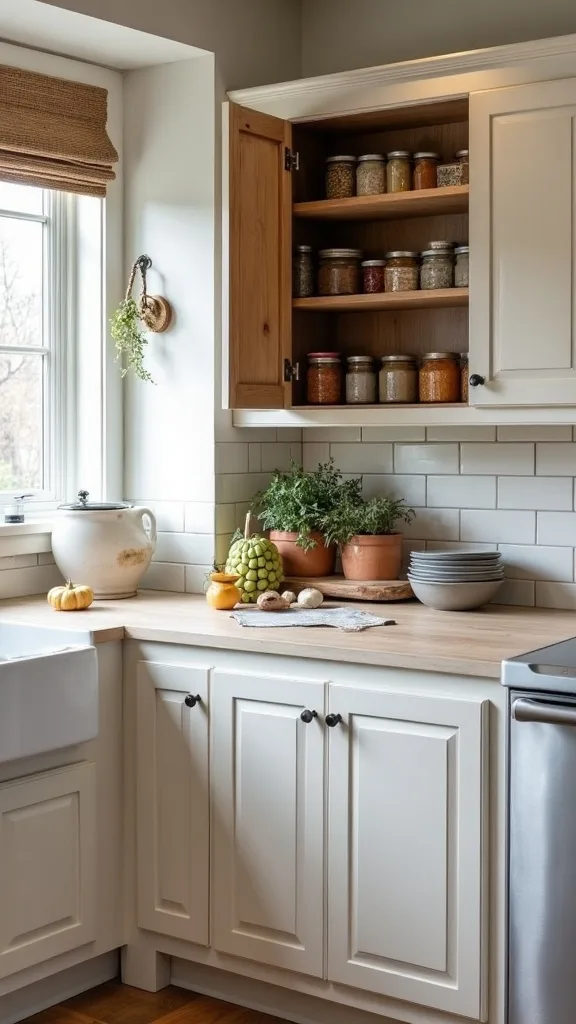
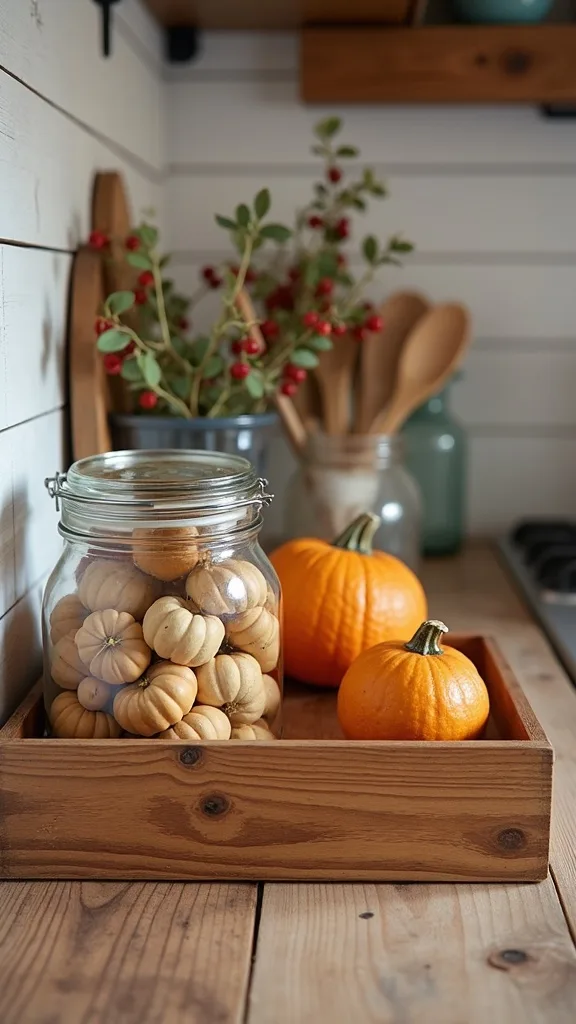
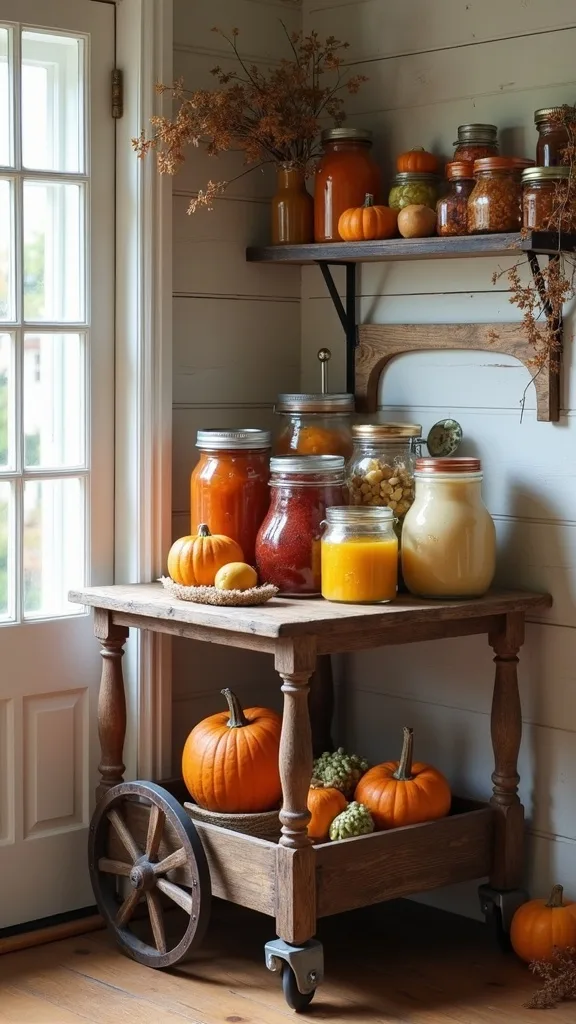
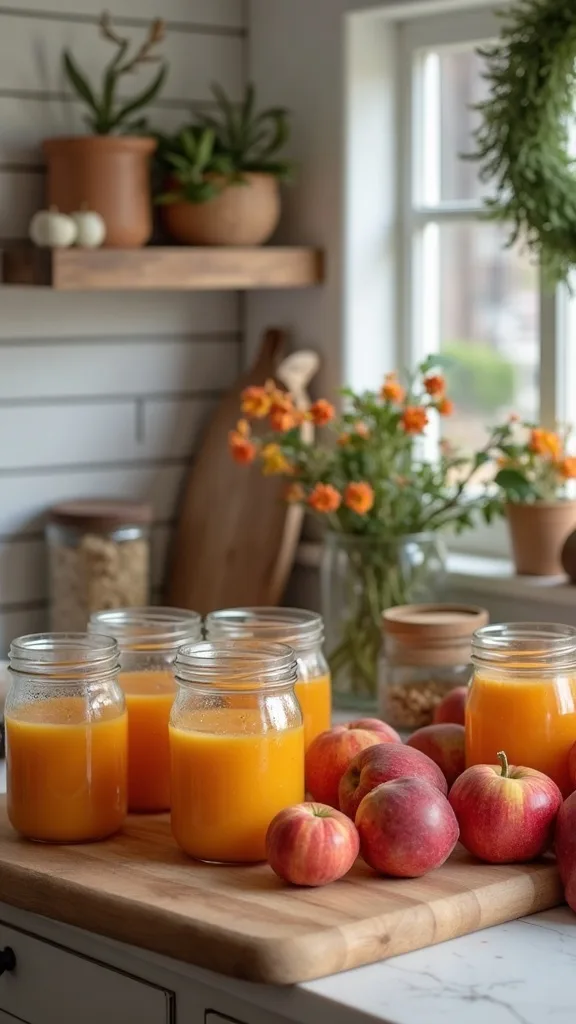
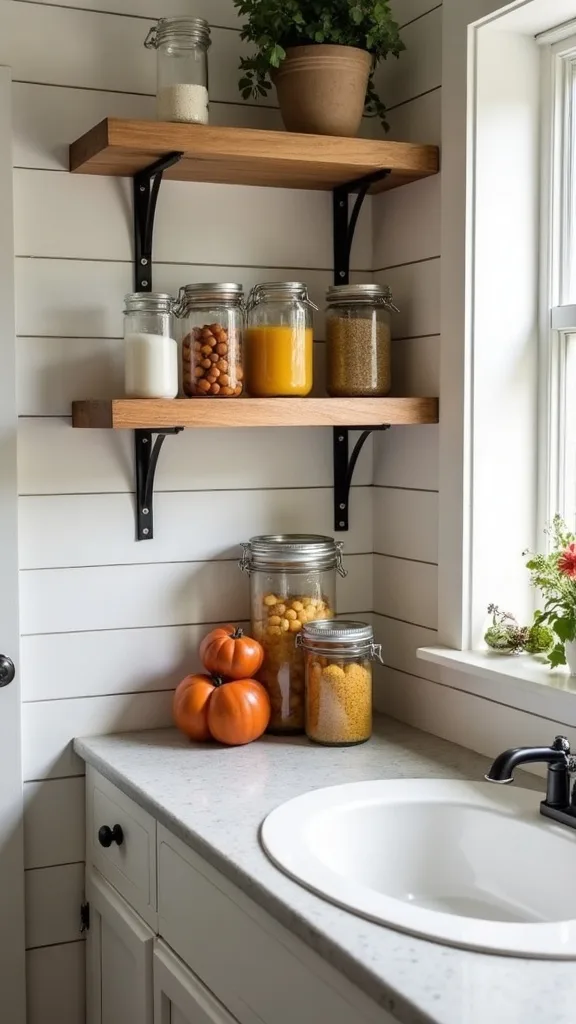
1. The “All-in-One” Harvest Wall: Mason jar shelf + fruit station + labels + spice rack
This idea is one vertical zone that handles the whole harvest workflow: jars up top, fruit tools at counter height, labels in a drawer, spices within reach. It works because it keeps hot, messy steps in one predictable lane instead of spreading across the kitchen like a tomato-scented fog. Start with a narrow shelving unit (I thrifted a solid wood one for $18) and anchor it to studs; add two hooks on the side for a funnel and jar lifter. Set a 24″ x 18″ tray on the counter below as the fruit canning station so drips land somewhere washable, not in your grout. Keep a small caddy for pens, date dots, and a label roll—your label system lives here, not “somewhere safe.” Finish with a cheap spice rack mounted on the inner side panel for cinnamon, cloves, and pickling spice. Pro tip: add one strip of warm white light (2700K–3000K — the cosy, yellowish tone you see in most homes) under the shelf so you can read labels at night and feel like you actually planned this.
2. How do you pick the best counter spot for canning without losing your whole kitchen?
The best spot is the one closest to your stove and sink, with enough landing space that you aren’t balancing hot jars beside the toaster. It works because canning is a three-step shuffle—boil, fill, cool—and distance is what makes it chaotic. Claim a 36″ stretch of counter and remove everything that isn’t part of the process (yes, even the cute utensil crock). Put your largest cutting board there as a heat-safe “stage,” then park a cooling rack beside it so jars aren’t sitting on a cold counter that can crack them. If your kitchen is tight, roll your microwave cart or bar cart into that spot for the week; I found a wobbly one at Goodwill for $14 and tightened the screws at home. Consider a washable vinyl placemat under the rack in a warm neutral so splatters don’t visually scream. Pro tip: tape a simple boundary line with painter’s tape—once you see the zone, you’ll stop “just setting things down” and your rhythm will stay calm.
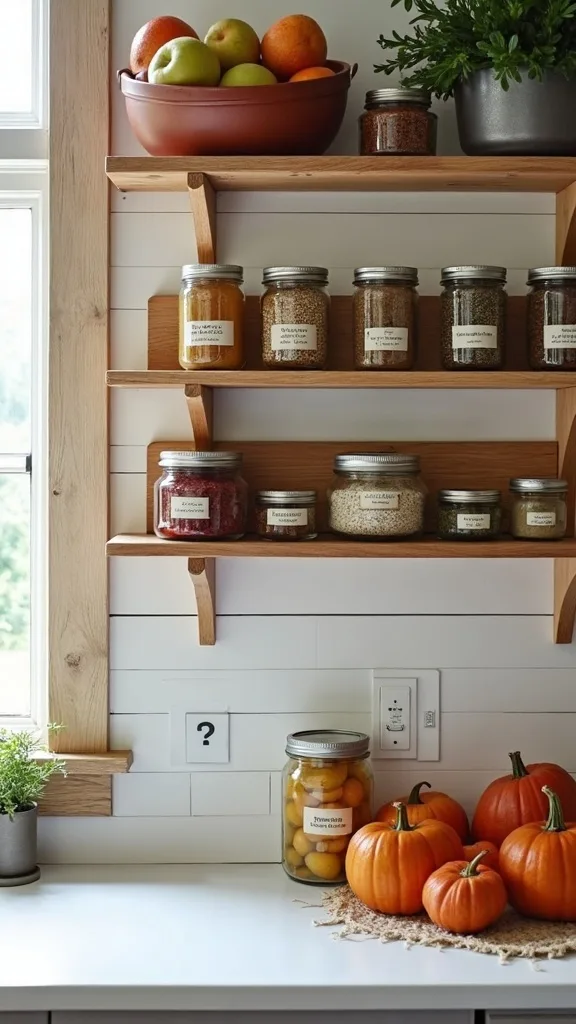
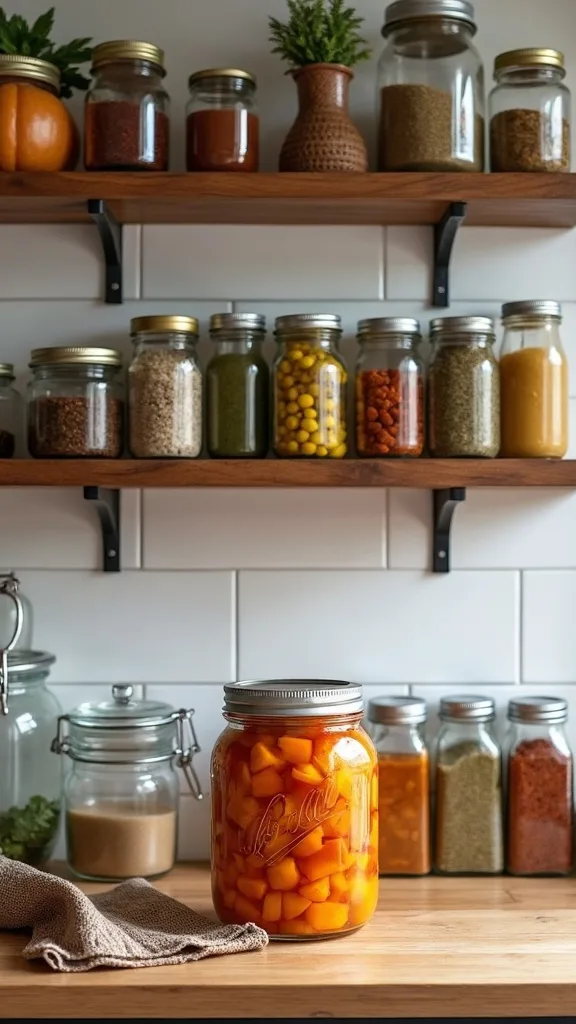
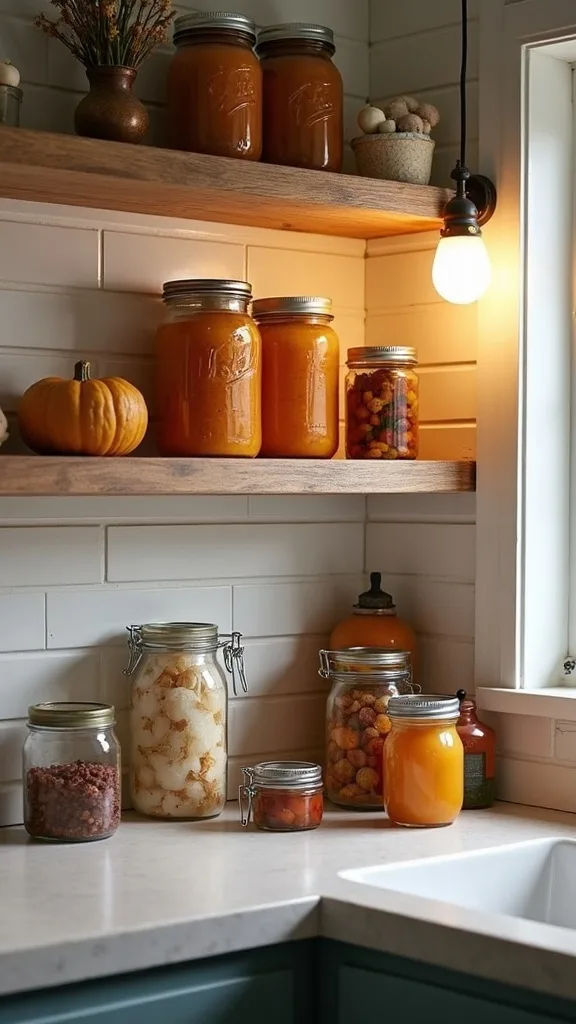
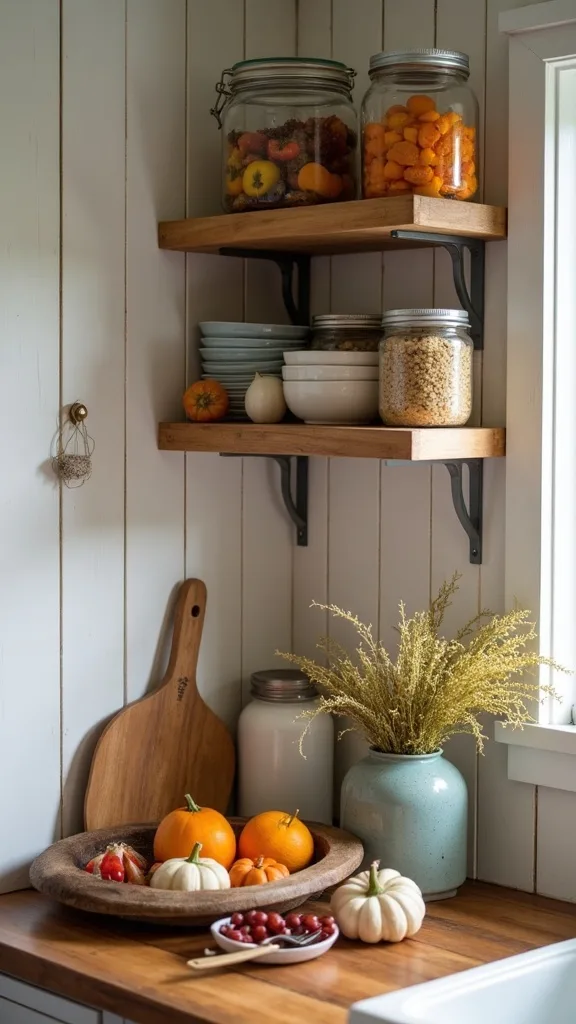
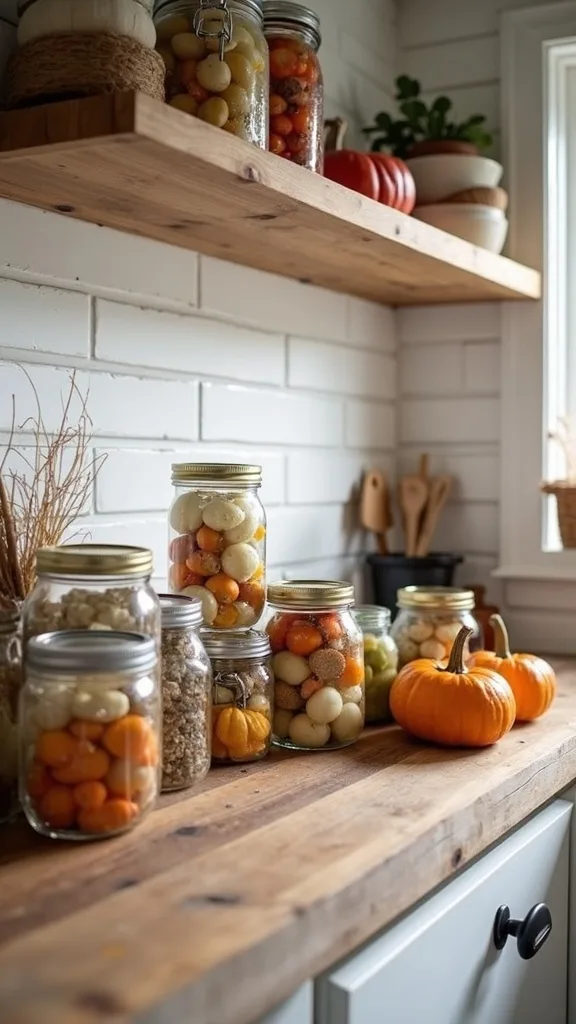
3. What’s the easiest way to create mason jar storage that doesn’t look like clutter?
Open shelves can look tidy when the jars are grouped by size and the lids aren’t freelancing. It works because mason jar storage becomes decor when it’s uniform and intentional, not a pile. Use a thrifted plate rack as a jar rack—mine was $9.99—and flip it so the slots hold pint jars upright. For quart jars, add one IKEA-style picture ledge (a shallow shelf) so you can see labels without pulling everything out. Keep lids in a lidded bin on the same shelf; Dollar Tree has locking bins for $1.25 that stop the “lid rain” problem. Choose one label color scheme (kraft + black, or white + green) so the shelf reads like a collection. Pro tip: store jars you use most at chest height; the highest shelf is for extras and seasonal jars, so you’re not reaching over steam while holding glass.
4. How do you build a preserving pantry in a regular kitchen cabinet?
A preserving pantry isn’t a separate room—it’s a cabinet that’s been edited on purpose. It works because the ingredients and tools you need for food preservation stop hiding behind cereal boxes. Clear one upper cabinet and line it with a wipeable shelf liner; I used a $5 roll from Big Lots and it saved my sanity during spill season. Put pectin, citric acid, and pickling salt in matching canisters (thrift store set: $6) and label the front, not the lid. Store funnels, jar lifter, and bubble remover in a narrow bin so you can pull one “tool drawer” out like a file. If you’re short on space, add an over-the-shelf basket for rings and flats. Pro tip: keep a small notepad taped inside the door with “running low” items—your future self will thank you when peaches hit their peak price drop.
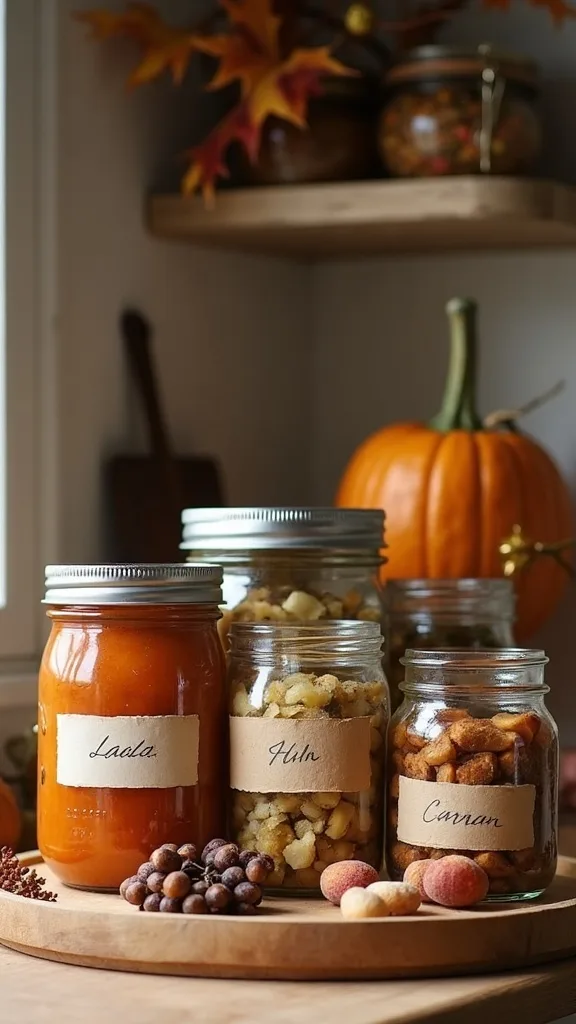
5. What label system actually stays on jars through pantry life?
The label system that wins is the one that survives humidity, sticky fingers, and the “I’ll remember what it is” lie. It works because clear dating prevents waste and keeps your shelves safe and usable. Use freezer labels or dissolvable canning labels; I grabbed a two-pack at a discount store for $4 and they didn’t curl at the edges. Write the item + date + batch note (like “low sugar”) in black marker; skip fancy pens that smear. If you’re using a label maker, stick the label onto painter’s tape first—then tape goes on the jar, not the plastic label adhesive that never wants to come off. Keep a small envelope in your canning zone with extra labels and a backup Sharpie. Pro tip: label the lid and the jar side; when jars stack, you still see what’s what and your preserving pantry stays searchable.
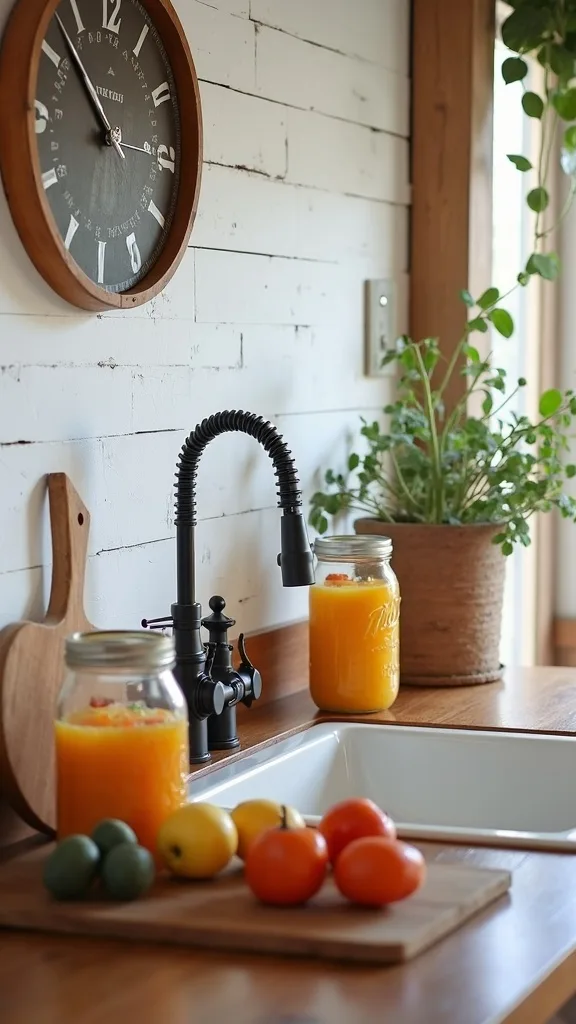
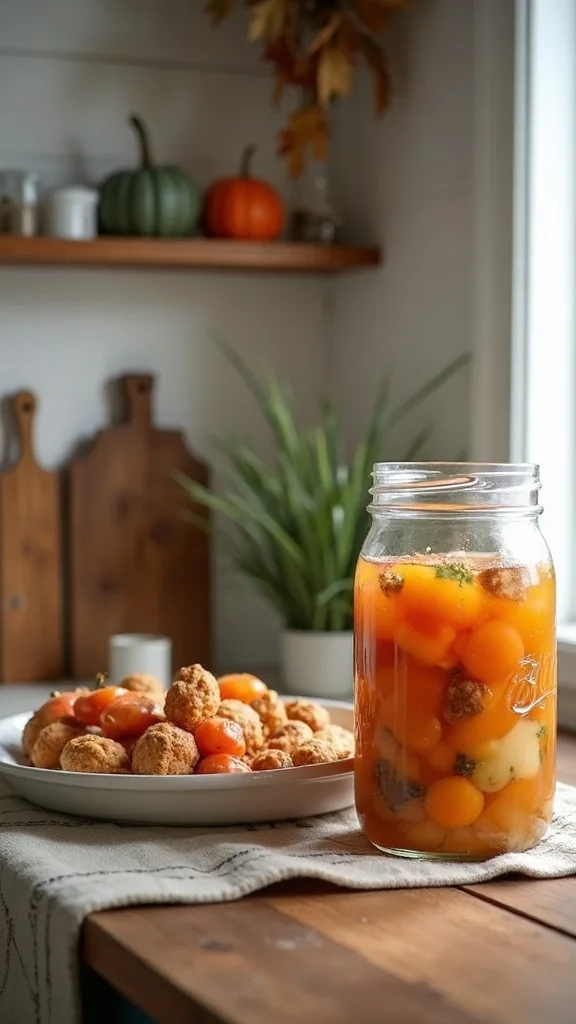
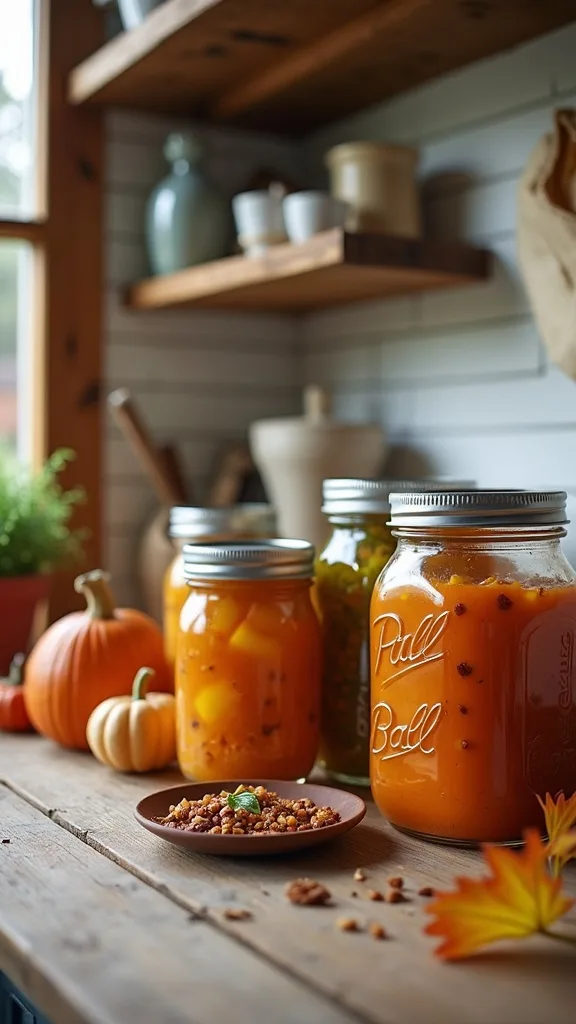
6. How do you set up a fruit-washing and prep station that doesn’t wreck your sink area?
A fruit prep station works when it’s modular: it appears for harvest weekends and disappears on Monday. It works because you control drips and peels instead of letting them migrate across the counter. Put a dishpan in the sink for washing (I paid $3 at Walmart), then set a second dishpan on the counter for “clean fruit only.” Add a thrifted colander ($2) and a towel-lined sheet pan as the drying zone. Keep a compost bowl right there—mine is literally a $1.25 stainless mixing bowl from Dollar Tree—and empty it twice a day. If your sink is small, use a collapsible colander that can sit over the sink edges. Pro tip: set your knife and peeler on a small tray between tasks; it’s a tiny habit that keeps you from losing tools under peach fuzz and makes prep feel smooth.
7. What’s the safest way to create a hot-jar landing zone?
Hot jars need a predictable, heat-safe place to cool—every time. It works because the biggest accidents happen in the “where do I put this?” moment. Use two cooling racks side-by-side on the counter, and place a folded cotton towel underneath to buffer temperature changes; I thrifted two racks for $1 each and they became my best canning purchase. Keep the landing zone at least 12″ away from the counter edge so you aren’t brushing past jars with your hip. If you’re short on counter space, use the stovetop (burners off) as the cooling zone with a rack on top. Avoid setting jars directly on granite or quartz right out of the canner—thermal shock is real and heartbreakingly loud. Pro tip: mark the zone with a small “HOT” tag on the rack; it sounds silly until a helper reaches in without thinking.
8. How do you store rings, lids, and bands so they don’t explode into a drawer mess?
Lids and rings behave when they’re sorted by size and contained like hardware, not kitchenware. It works because you stop buying duplicates you already own. Use a small parts organizer (the kind for screws) and dedicate one row to regular-mouth flats, one to wide-mouth flats, and one to rings; I found one at Harbor Freight for $7 on sale. If you want a thrift route, repurpose cookie tins for rings and a photo box for flats—both stack nicely. Label the front with big text so you can grab the right size fast. Keep one “open package” bin so you don’t end up with three half-used boxes. Pro tip: store lids flat, not standing on edge; bent lids cause seal failures, and no one wants to cry over salsa.
Cost & Materials Estimate
A practical harvest-season setup typically costs $55–$190 depending on what you thrift, what you already own, and whether you add lighting or a cart.
| Item | Estimated Cost | Where to Buy |
|---|---|---|
| Narrow shelving unit (or wall shelf/picture ledge combo) | $25–$70 | IKEA / Wayfair |
| Under-shelf LED light strip (warm white) | $12–$25 | Amazon |
| Clear pantry bins (set of 4–6) | $18–$40 | Target / Amazon |
| Handheld label maker + tape | $14–$30 | Amazon |
| Wire spice rack (mountable) | $12–$28 | Amazon / Home Depot |
| Rolling utility cart (optional) | $35–$85 | Wayfair / IKEA |
Total estimated cost: $55–$190 Save money by thrifting the shelf/cart and splurge only on a label maker that won’t jam when you’re mid-batch.
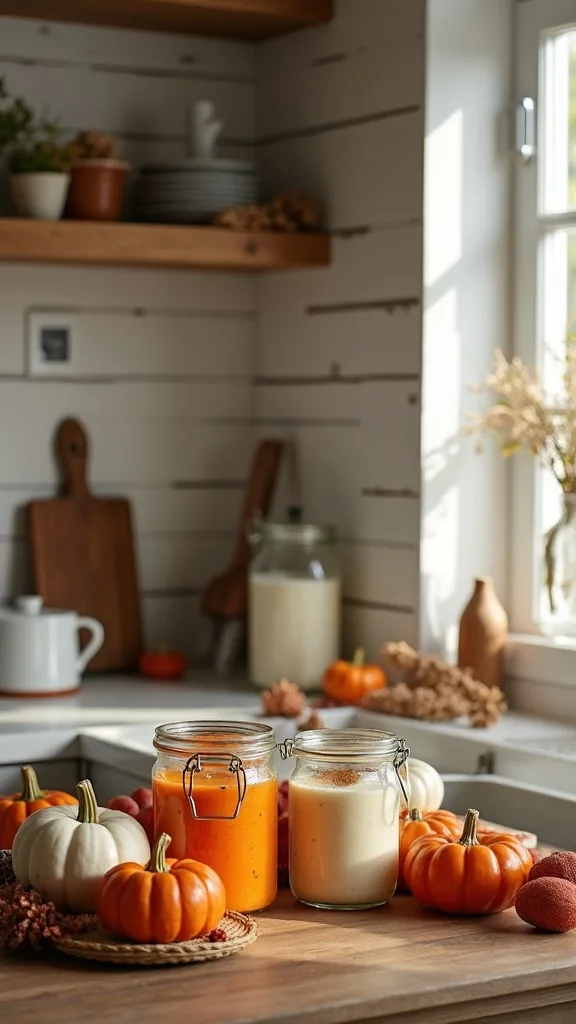
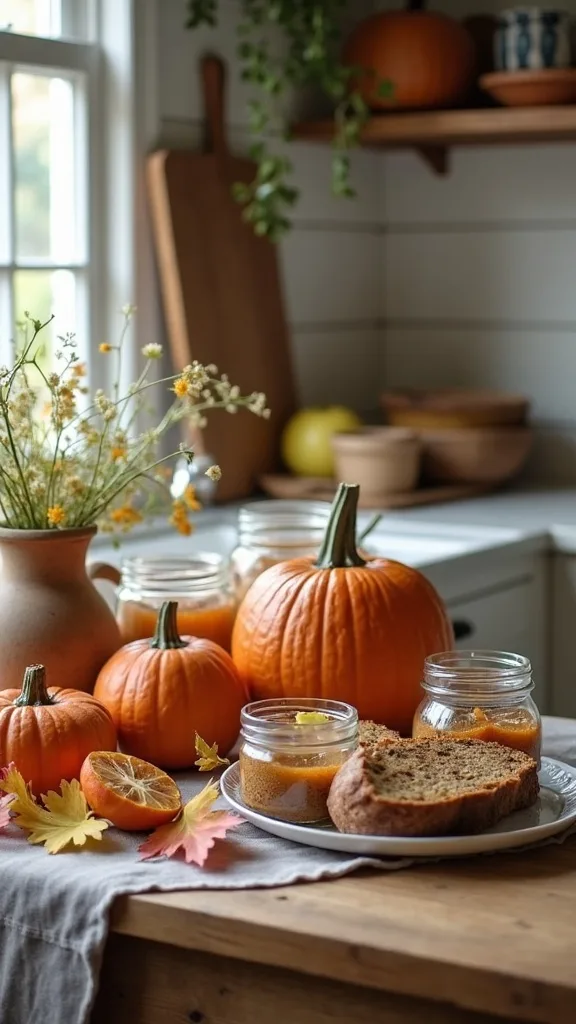
9. How can you make a small kitchen feel like a fall harvest kitchen without adding clutter?
A fall harvest kitchen isn’t pumpkins everywhere—it’s a few practical textures that make the work feel seasonal. It works because the decor is doing a job: catching drips, holding tools, warming up the space. Swap one everyday towel set for two harvest-toned towels (rust + cream) and add a wipeable runner under your canning shelf. Thrift a wooden cutting board ($4) and lean it behind your canning zone; it reads rustic and it’s ready for use. Use one crock for wooden spoons and keep it half-full so it doesn’t look like a bouquet. Avoid tiny filler decor around the stove—grease + dust will turn it grimy fast. Pro tip: choose one accent color (I like deep green) and repeat it in labels, towels, and one small plant so the whole setup feels intentional.
10. What spice rack setup helps with pickling and fall baking season?
The right spice rack is less about aesthetics and more about speed. It works because pickling spice, cinnamon, cloves, mustard seed, and red pepper flakes shouldn’t require a scavenger hunt. Mount a narrow rack inside a cabinet door or on the side of your shelving unit; I used a $12 wire rack from Amazon and it freed an entire drawer. If you’re going thrift-first, look for a CD rack—seriously—because the slots fit spice jars surprisingly well. Decant frequently used spices into matching jars so you can see levels at a glance; add bold labels on the front. Keep a small scoop clipped to the rack with a binder clip. Pro tip: group by “use,” not alphabet—put pickling spices together, baking spices together, and you’ll move faster when the kitchen is hot and loud.
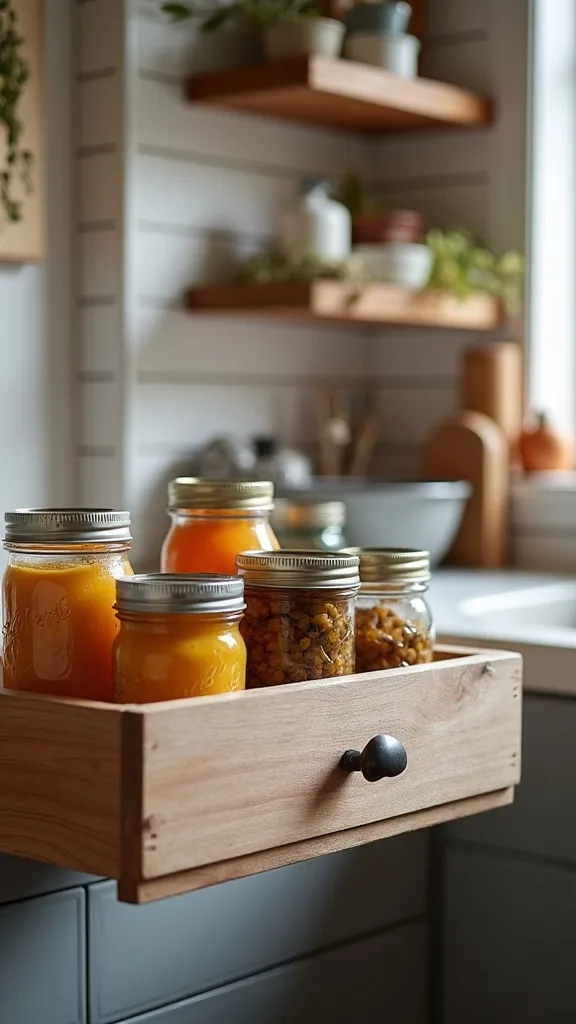
11. How do you create a canning-tool drawer that doesn’t snag and jam?
A canning-tool drawer works when every long tool has a lane and nothing can tangle. It works because jar lifters and tongs love to hook onto each other at the worst moment. Use two drawer organizers end-to-end (Target dollar spot versions are great when you catch them; I paid $5 total) and reserve one section for “hot tools only.” Add a small silicone mat in the bottom so metal tools don’t slide when you open the drawer. If you don’t have a spare drawer, hang tools on a pegboard strip; a 12″ peg rail above the counter is enough. Avoid tossing tools into a deep bin—handles disappear and you’ll end up grabbing the sharp thing first. Pro tip: keep your funnel in the same spot every time; muscle memory is the secret ingredient in a calm canning day.
12. How can you set up a thrifted cart as a mobile canning station?
A rolling cart is the cheat code when your counter space is limited. It works because you can stage jars, towels, and tools near the stove, then roll it away once the batch is done. Look for a metal utility cart at Habitat ReStore or Goodwill; I paid $22 for one with three tiers and a little rust that cleaned up with vinegar. Put heavy items (full jars, water bath canner) on the bottom shelf for stability, and use the top as your active work surface with a washable mat. Add two S-hooks for a ladle and thermometer so they aren’t dripping on your counter. If you buy new, discount-store carts wobble—tighten every screw and add felt pads. Pro tip: dedicate a small bin on the cart for “labels + marker” so finished jars don’t sit unlabeled overnight.
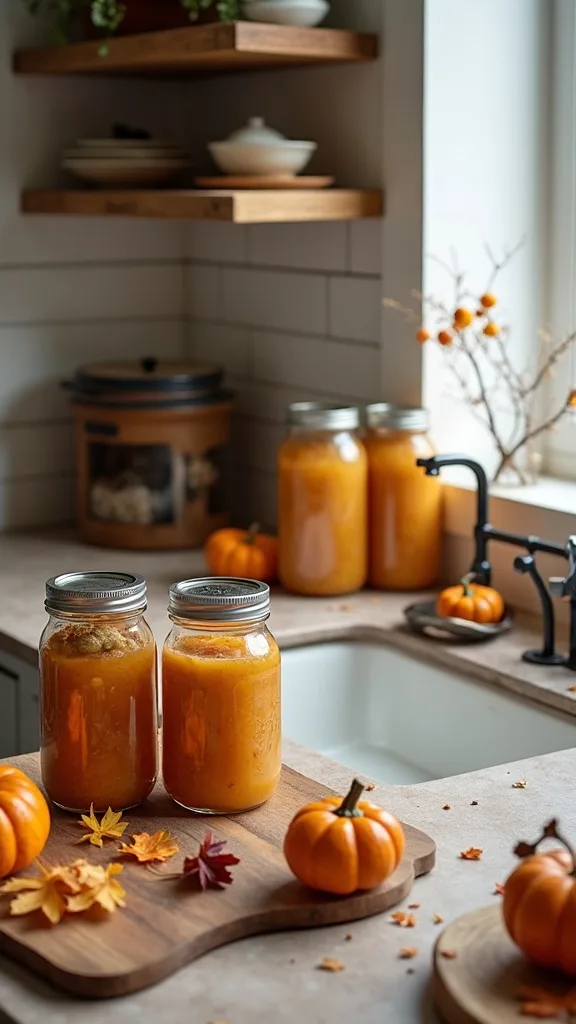
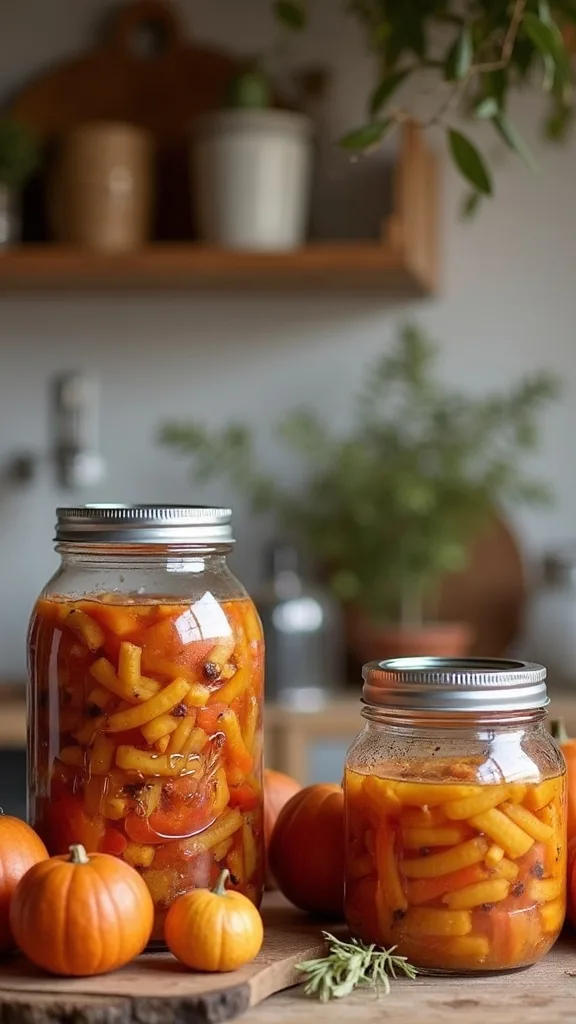
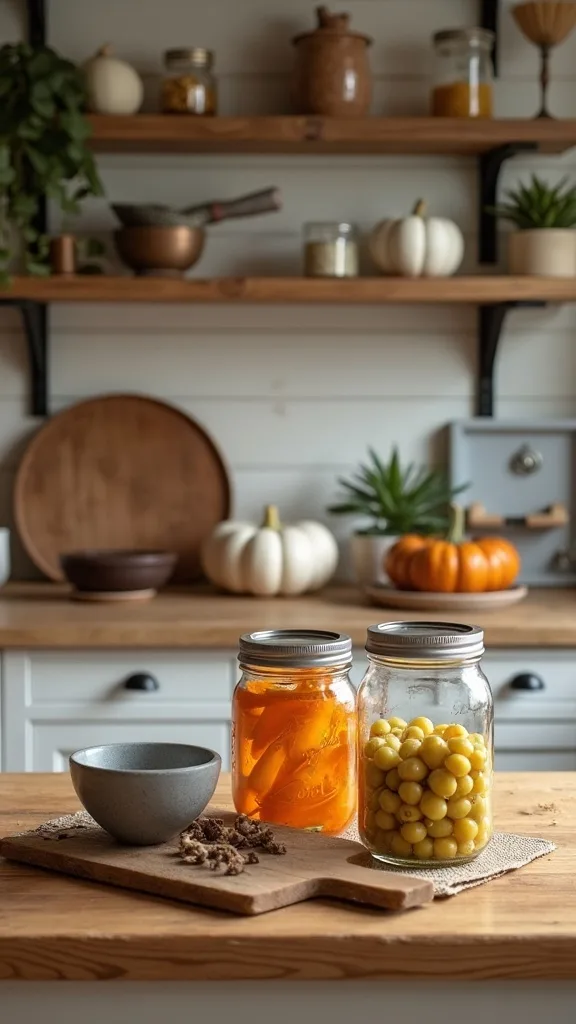
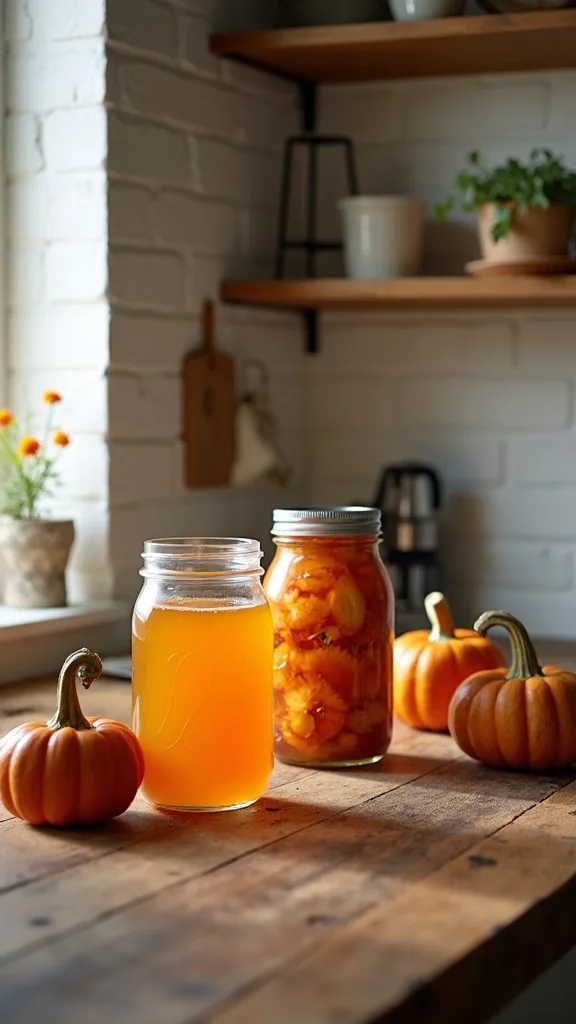
13. What’s the best way to store finished jars so you can actually rotate stock?
Finished-jar storage should make older jars easy to grab first. It works because rotation prevents mystery jars from aging into science projects. Use shallow bins that slide forward like drawers; I like clear 12″ x 10″ bins so you can see labels, and I’ve found them for $3–$5 at TJ Maxx. If you’re going ultra-budget, reuse sturdy produce boxes and cover them with kraft paper for a cleaner look. Store jars single-layer when possible; stacking is fine only if you use a flat board between layers. Label the bin front with “2026 Peach Jam” or “Pickles” so you aren’t lifting glass to identify it. Pro tip: keep one “open first” bin at eye level—your future snacks will take care of rotation for you.
14. How do you light a canning shelf so labels are readable (and it looks like decor)?
Lighting is the difference between “pantry corner” and “I meant to do this.” It works because readable labels reduce mistakes, and a little glow makes glass jars look like a display. Add an under-shelf LED strip in warm white light (2700K–3000K — the cosy, yellowish tone you see in most homes) so the shelf feels inviting, not clinical. Battery strips are renter-friendly; I’ve paid $10–$18 depending on the brand. If you want a thrift option, use a small clip lamp aimed at the shelving unit and swap in a warm bulb. Avoid cool white lighting—it makes your jars look harsh and your kitchen feel like a break room. Pro tip: place the strip toward the front edge of the shelf so light hits labels, not just the wall; you’ll love how organized everything suddenly feels.
15. What should you avoid putting near the stove during canning season?
Some things don’t belong in the splash zone, no matter how cute the setup is. It works to set boundaries because heat, steam, and syrupy splatters will ruin paper goods and make cleaning miserable. Avoid storing cookbooks, wicker baskets, and open spice bowls within 18″ of the stove; they’ll absorb odors and collect sticky dust. Keep your paper labels and extra cardboard boxes in a cabinet, not on open shelves above boiling pots. If you love the look of baskets, use one lidded basket on a lower shelf for towels only. Stick to wipeable surfaces: metal trays, glass canisters, and sealed wood. Pro tip: do a one-minute “splash test” after your first batch—if you see speckles on an item, it gets relocated. A smart setup is one that stays clean without drama.
16. How do you keep a cutting board station clean when you’re processing sticky fruit?
Sticky fruit prep is inevitable; a clean station is a strategy, not a personality trait. It works because your board stays usable and your counters don’t become a sugar film. Put a silicone mat under your cutting board so juice doesn’t run underneath; I found one at Ross for $6. Keep a small spray bottle with dish soap + water (just a few drops) and a stack of rags within reach, not across the kitchen. If you’re thrifting, grab two boards: one for fruit, one for garlic/onion so flavors don’t cross. Choose boards that fit your sink for easy scrub-down—mine is 15″ x 20″ and it’s the sweet spot. Pro tip: wipe the board between tasks even if you think you’ll “finish in a minute.” That minute turns into three hours fast during harvest season.
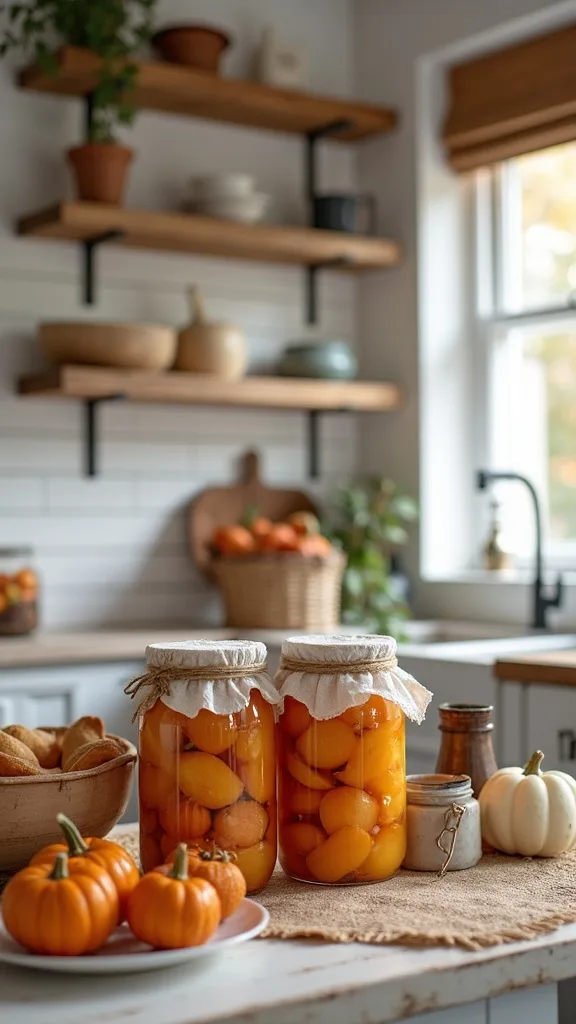
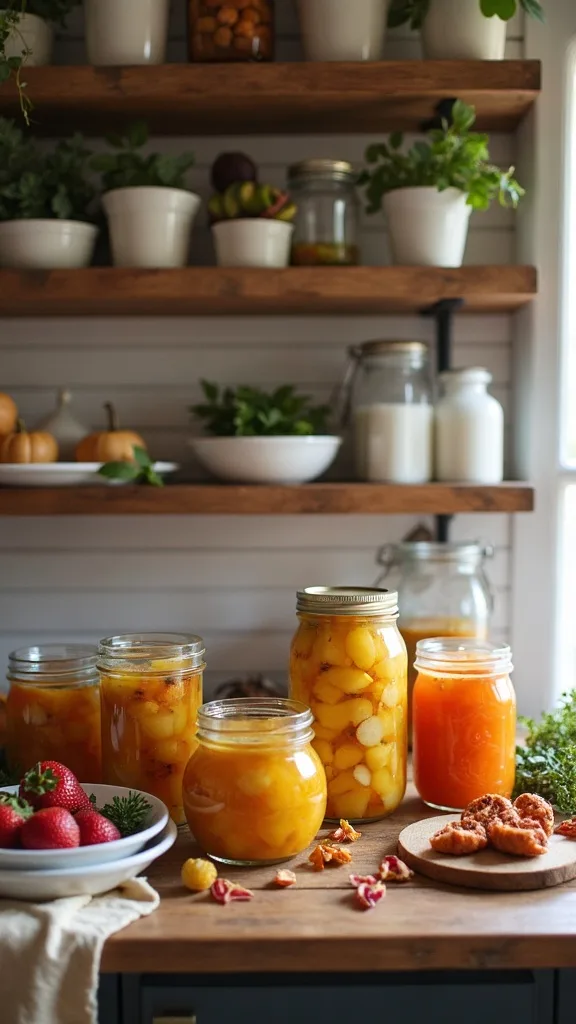
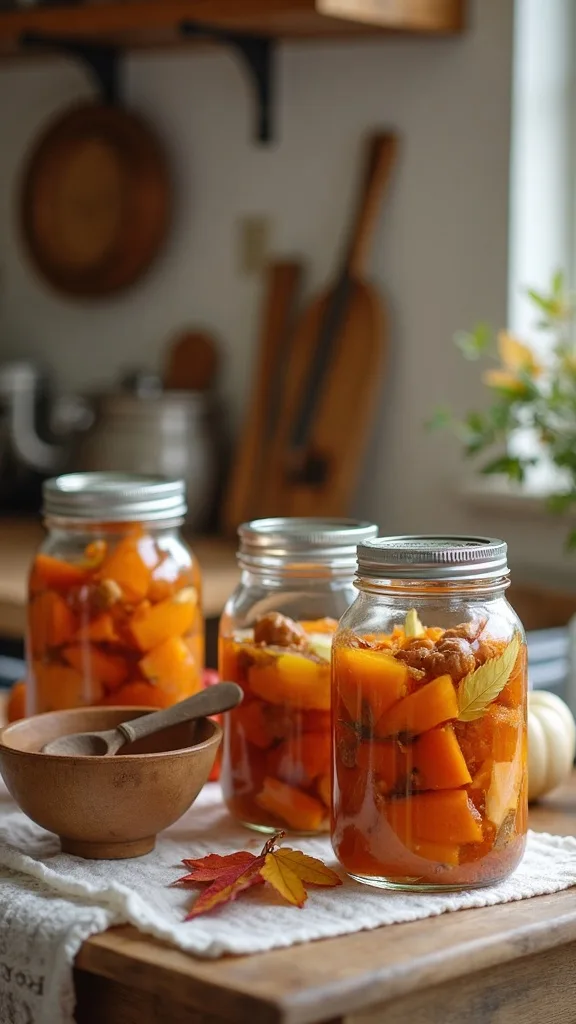
17. How can you decorate with jars without sacrificing function?
Jars can be decor and storage when you assign them jobs. It works because functional styling keeps surfaces clear and still feels homey. Fill a few jars with dry goods you actually use during fall—cinnamon sticks, dehydrated orange slices, or dried beans—and line them on a tray. Keep the rest of your empty jars uniform on one shelf so they read as a collection, not random glass. For a thrift twist, use mismatched jars only for non-canning storage (like twine, clothespins, or tea) so your canning inventory stays standardized. Add one small label style across all jars for cohesion. Pro tip: limit “decor jars” to three; the moment you add seven, it stops looking curated and starts looking like you’re avoiding putting groceries away.
18. How do you set up a simple batch-tracking system for food preservation?
Batch tracking sounds extra until you open three jars of “tomato something” in January. It works because a tiny record prevents waste and helps you repeat the recipes that were actually worth the effort. Tape a clipboard to the inside of your pantry door and keep a one-page log: item, date, number of jars, and notes. I bought a clipboard at a thrift store for $1 and it instantly made my shelves feel professional in the best way. If you prefer digital, snap a photo of each batch lineup with the label visible and keep a “Canning 2026” album. Avoid relying on memory—late summer harvest season moves fast and everything blurs together. Pro tip: write down what you’d change while the kitchen is still warm; next year, those notes will feel like time travel.
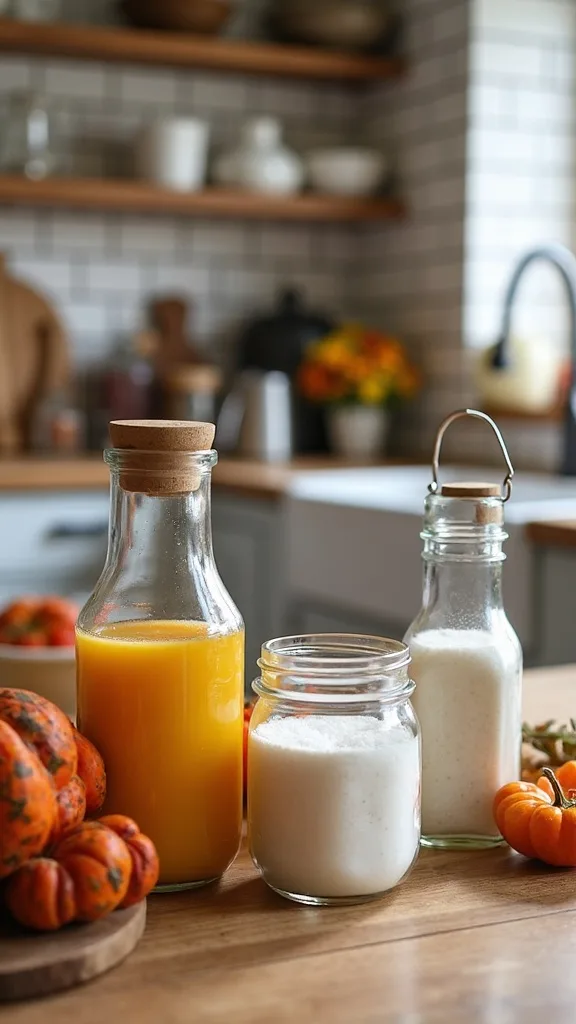
19. How do you organize vinegar, sugar, and salt so they’re grab-and-go?
Bulk ingredients need a home that’s easy to lift and easy to wipe. It works because sticky bags and torn boxes are the silent chaos behind many “organized” pantries. Decant sugar and pickling salt into handled containers (thrifted canisters: $6–$10), and keep vinegar bottles in a shallow bin so leaks don’t spread. If you’re on a tight budget, reuse pasta sauce jars for salt and sugar—just label boldly and keep them away from heat. Store heavy items on a lower shelf so you aren’t pulling a 10-lb bag from overhead. Choose neutral containers so the pantry looks calm even when it’s full. Pro tip: keep one small “active” sugar jar near the canning zone and stash the refill container in the cabinet; refills are faster than wrestling bags mid-recipe.
20. What’s a budget-friendly way to add extra shelving for jars inside a cabinet?
Cabinet risers are the unsung heroes of jar storage. They work because they double vertical space without any drilling, which is renter-friendly and fast. Use wire shelf risers (HomeGoods often has them for $7–$10) to create a second level for pint jars, leaving quarts on the bottom. If you’re thrifting, look for sturdy metal cooling racks and test the weight—jars add up quickly. Line the riser feet with non-slip pads so nothing shifts when you pull a jar. Avoid flimsy plastic risers; they bow over time and make jars wobble, which is not the vibe. Pro tip: measure cabinet height before you buy anything—write down the interior height in inches on your phone so you don’t bring home a riser that blocks the door from closing.
21. How do you make a “before” kitchen corner workable when it’s honestly a mess?
My real before: lids in a cereal bowl, rings in a grocery bag, sticky notes on jars that fell off and re-stuck to the fridge. It worked fine until it didn’t—one Saturday I processed tomatoes and spent more time hunting tools than actually preserving. The fix was not buying a whole new system; it was choosing one corner and committing. I cleared a 2′ x 3′ section beside the fridge, wiped the wall, and added a $18 thrift shelf plus a $1.25 bin for rings. I taped a sheet of paper to the shelf for “today’s batch” notes and suddenly I wasn’t guessing. Colors helped too: kraft labels + black marker + one green towel made it look like a setup, not a crisis. Pro tip: take a quick phone photo of your current mess before you start; seeing the honest change later is fuel, and resourcefulness deserves proof.
22. How can you reduce cleanup time after a canning session?
Cleanup gets easier when you plan for mess like it’s part of the recipe. It works because sticky splatters are faster to wipe in the moment than to scrub later. Keep a “wipe kit” in your canning zone: two rags, one sponge, and a small bowl of hot soapy water. Put a washable tray under your jar-filling area; I use a thrifted cafeteria tray that was $2 and it catches everything. If you’re using a water bath canner, lay a towel path from stove to cooling rack so drips don’t hit the floor. Avoid letting syrup dry on cabinet fronts—wipe them before you sit down, even if you’re tired. Pro tip: set a 10-minute timer for the end of the session and do a power clean; you’ll wake up to a normal kitchen instead of a sticky reminder.
23. How do you keep kids and pets safe when jars are cooling?
Cooling jars are basically “do not touch” magnets. It works to build a barrier because one curious bump can ruin seals or cause burns. Choose a cooling zone that can be blocked—an island corner, a back counter, or the dining table temporarily. Use a folding baby gate or even two dining chairs turned sideways as a visual fence; I’ve done the chair trick and it’s surprisingly effective. If you have cats, cover the cooling rack with an upside-down laundry basket (airflow still happens, paws stay out). Avoid cooling jars on the edge of a counter where a tail swipe can send glass down. Pro tip: make a simple sign that says “HOT JARS—ASK FIRST” and tape it to the barrier; it sets expectations without you repeating yourself all day.
24. How do you store canning books, recipe cards, and notes without getting them sticky?
Paper and canning don’t mix unless you give paper a protected home. It works because you keep your recipes readable and your notes usable next season. Put your most-used recipes in clear sheet protectors inside a thrifted binder ($3) and keep it on a shelf away from steam. If you prefer cards, store them in a photo box with dividers labeled “Jam,” “Pickles,” and “Tomatoes.” For a discount solution, use a stand-up acrylic sign holder to display one recipe page while you work; it wipes clean. Avoid propping your phone next to boiling pots—steam plus touchscreen is a special kind of frustration. Pro tip: add one blank “notes” page behind each recipe; when you tweak sugar or spice, you’ll capture the version you actually loved.
25. How do you make the setup feel finished with one last low-cost detail?
The finishing detail is a “reset ritual” that makes the station ready for the next batch. It works because a canning zone that resets quickly gets used more often—simple as that. Add a small catch-all bowl for keys/phones (thrifted stoneware: $2) but assign it a new job: holding the day’s lids and a marker, nothing else. Place a tiny plant or herb cutting in a jar on the top shelf so the whole unit reads like part of your kitchen decor, not a temporary lab. If you want a seasonal touch, tie twine around one jar and tuck in a dried bay leaf—free, tidy, and not kitschy. Avoid adding more containers “just because”; extra bins become extra clutter fast. Pro tip: end every session by refilling labels and returning tools to their lanes—your future self will walk into a ready-to-go station and feel capable.
Final Thoughts
The goal isn’t a picture-perfect pantry that never gets touched. The goal is a kitchen that can handle the late-summer rush—when peaches are cheap, tomatoes are everywhere, and you’re trying to squeeze one more batch into a weeknight.
If your current setup is a random stack of jars and a prayer, start with one corner and give it rules: one landing zone, one tool home, one label method. That’s how a preserving pantry becomes real life instead of a someday project.
Do one thing today: clear a 36-inch counter strip, set down a cooling rack, and label one empty bin “Lids + Rings.” That single move makes the next canning session faster, safer, and a whole lot less chaotic.
What I’d Do Differently
When I first tried this, I made one specific mistake: I stored my empty jars wherever they fit and told myself I’d “organize later.” Later never came. Halfway through a tomato weekend, I was washing jars I already owned because I couldn’t find them, and I set hot jars on the bare counter because the dish rack was full. Two jars didn’t seal, and one label slid right off because I stuck it on while the glass was still warm and damp. The correct approach is boring but life-changing: pick one dedicated jar shelf, keep it uniform by size, and build a tiny drying/cooling lane (rack + towel) before you start the first pot.
I also wish I knew how much a simple batch log would calm my brain. One clipboard inside the pantry door stopped the “what year is this?” guessing game and helped me rotate stock without thinking. If you do nothing else, set up the zone first—then cook—because the setup is what makes you want to do it again.