This post contains affiliate links. As an Amazon Associate, I earn from qualifying purchases at no extra cost to you.
There’s a certain late-August light that makes everything look a little bit cinematic—until you notice the basil bolting, the petunias getting sticky, and the patio chairs wearing that fine layer of pollen like a bad filter. This is the moment when your garden stops being a party and starts asking for a plan.
This guide is your clean handoff from summer to fall: what to pull, what to compost, what to plant, and how to make the whole outdoor space feel intentional (not like you gave up). We’ll move through a bed-by-bed reset, a few smart upgrades for outdoor-furniture zones, and the kind of small tweaks that make a seasonal garden look edited.
It’s perfect if you want a calmer yard going into September, you’re curious about fall garden prep, or you’d like your garden bed transition to look like a choice.
Inside: the right way to yank summer annuals without wrecking soil structure, a foolproof composting guide, where mums actually look expensive (even if they weren’t), and the easiest fall planting you can do for a spring flex.
Below are 25 End of Summer Garden & Fall Garden Prep that make the outdoor season shift feel effortless, layered, and a little bit addictive.
Products I Recommend for This Project
Here are some of my favourite products to help you bring these ideas to life:
- FCMP Outdoor IM4000 Tumbling Composter — Makes weekly turning effortless and keeps compost contained and tidy.
- VIVOSUN Gardening Hand Tools Set (pruner, trowel, cultivator) — A solid starter kit for quick bed cleanups and light soil mixing without overworking it.
- Fiskars Steel D-Handle Garden Spade — Great for crisp bed edging and lifting stubborn annual roots cleanly.
- Gardzen 10-Pack 10 Gallon Grow Bags — Easy fall containers for kale, pansies, or even garlic when bed space is tight.
- Clorox Disinfecting Wipes — Simple tool wipe-downs between diseased plants to avoid spreading issues around the yard.
1. Pull summer annuals, add fall mums, plant garlic, start a simple compost loop
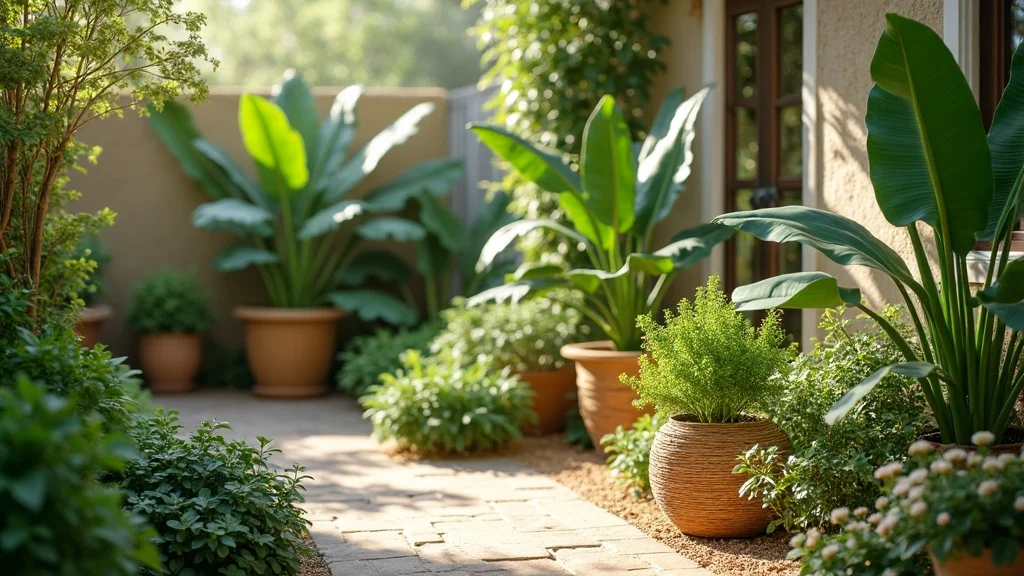
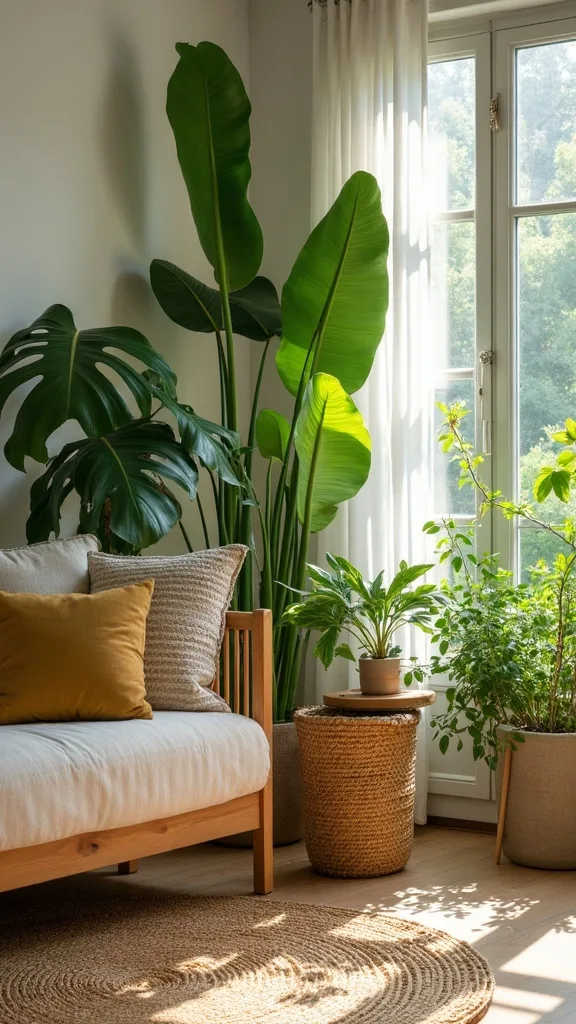
This is the classic seasonal reset because it hits the whole vibe: clear what’s spent, bring in fresh texture, and plant something that quietly pays you back later. It’s also the fastest way to make an end of summer garden feel like a curated outdoor room again, not a collapsing centerpiece.
Start by pulling annuals that look tired (petunias, marigolds, zinnias past their prime). Water the bed first so roots slide out without tearing up soil. Drop in mums in clusters of 3 or 5 (odd numbers read intentional), then tuck garlic bulbs 2 inches deep and about 6 inches apart in any open strip—label the spot so you don’t “discover” them with a shovel later.
Keep the palette tight: rust mums, creamy mums, and a deep plum reads vintage and expensive. Compost the disease-free plant material and keep a small lidded bucket near your outdoor seating to make it mindless.
Pro tip: leave a little bare soil showing—negative space is what makes the whole bed feel designed, like you meant it.
2. When should I start fall garden prep so I don’t miss the window?
The sweet spot is earlier than most people think: when nights start cooling but the soil still feels warm under your fingers. That warmth is what helps roots settle fast, so your fall plantings don’t sulk.
Pick one weekend and do a two-pass approach. First pass: remove the obvious flops, deadhead what’s still blooming, and clear pathways so you can move without stepping on things. Second pass (the next morning or evening): top-dress with compost and install fall color. If you’re planting garlic or any fall bulbs, get them in before your first hard frost—think “sweater weather,” not “ice scraper.”
Materials that make it easier: a soft kneeling pad, a roomy trug bucket, and garden gloves that feel broken-in (goatskin-style gloves age beautifully and don’t get that stiff, plasticky vibe).
Pro tip: set a 45-minute timer per bed—stopping while it still feels fun is how you actually finish the season strong.
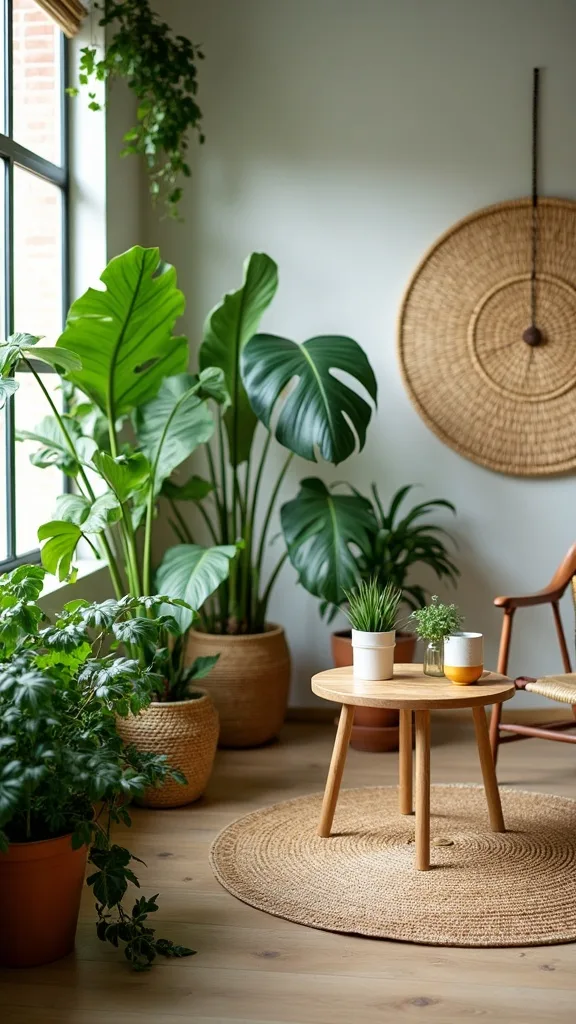
3. How do I transition a garden bed without it looking empty and sad?
A good garden bed transition isn’t about filling every inch—it’s about swapping in structure so the bed still has a “backbone.” Think of it like changing out throw pillows: the room doesn’t disappear, it just shifts.
After you pull summer annuals, leave anything that still has good shape (ornamental grasses, herbs, sturdy salvias). Then add two layers: a mid-height layer (mums, asters, or pansies) and a low layer (mulch or compost, plus a few stones or edging to frame it). If the bed is big, repeat the same plant group every 3–4 feet so it reads cohesive from the patio.
Texture does the heavy lifting now: fuzzy lamb’s ear, the crisp ruffle of kale, and mums that feel like velvet pom-poms in your hand. Keep containers in matte black or weathered terracotta—both look better as they scuff.
Pro tip: resist the urge to “patchwork” ten different plants; repeating three is what makes it look like a designer did it.
4. What should I avoid doing at the end of summer in my garden?
The biggest mistake is treating late summer like a demolition day. Ripping everything out at once leaves you with bare soil, stressed perennials, and that eerie “construction site” feeling outside your windows.
Avoid cutting back healthy perennials too hard right now—many store energy in their stems and foliage. Instead, only remove what’s diseased, collapsing, or clearly done. Also avoid composting plants with powdery mildew or blight; bag those and trash them so you’re not reintroducing problems next season. And skip heavy fertilizing unless you’re planting something new—lush, tender growth going into cooler nights can backfire.
If you’re craving the satisfaction of “clean,” do it with small edits: edge the bed, refresh mulch, wipe down outdoor side tables, and sweep the patio so the whole outdoor zone feels intentional.
Pro tip: if you want to cut something, cut the chaos—tidy the lines first, then decide what actually needs to go.
5. How do I decide what to pull vs. what to leave for fall interest?
Late summer plants can be dramatic—some are truly finished, and some are just between acts. The trick is reading the difference so your seasonal garden keeps its personality.
Pull anything that’s: crispy at the base, flowering poorly, or harboring pests (flip leaves to check). Leave plants that still have structure even if the blooms are fading—like rosemary, thyme, ornamental grasses, and sturdy shrubs. For flowering perennials, deadhead lightly and only cut stems that are broken or flopping across walkways.
Visually, think in silhouettes: spiky (grasses), mounded (mums), and low/grounding (mulch, stones, creeping thyme). Those shapes photograph well from the patio and look great against outdoor-furniture sets in teak, powder-coated steel, or even that vintage wrought-iron you scored off Marketplace.
Pro tip: step back to where you actually sit outside—if it looks good from the chair, it’s good.
6. How do I revive tired soil fast without turning it into a science project?
Soil doesn’t need a complicated routine—it needs consistency and something soft and alive worked in gently. The goal is crumbly, not crusty.
Once a bed is cleared, spread 1–2 inches of compost like you’re frosting a cake. Don’t dig deep; just scratch the top couple inches with a hand rake so you don’t disturb beneficial soil layers. Water it in so it settles, then mulch lightly if your sun is still intense.
Compost should feel like a wrung-out sponge—dark, earthy, and not full of chunky sticks. If you’re buying bags, look for “compost” or “composted manure,” not “topsoil” (topsoil can be heavy and lifeless in bags). Keep a simple look with a natural brown mulch that matches your outdoor furniture—warm wood tones + warm mulch reads cohesive.
Pro tip: compost is the upgrade that makes every plant look like it had better lighting—quietly, immediately, and without drama.
7. What’s the easiest fall planting that pays off big in spring?
Garlic is the low-effort flex: plant it once, ignore it most of winter, harvest it next summer like you’ve been planning all along. It’s also a perfect “empty spot filler” after you clear summer annuals.
Buy seed garlic (not grocery store bulbs) so it’s meant for planting. Separate cloves right before planting, then tuck each clove pointy-side up, 2 inches deep and about 6 inches apart. Water well, then mulch with straw or shredded leaves once nights really cool—think of it as a cozy blanket that also blocks weeds.
For containers on patios, use a deep pot (at least 12 inches) with fresh potting mix. The mix should feel fluffy, not dense. Pair the pot with a vintage-style saucer or a galvanized tray so your outdoor rug doesn’t get stained.
Pro tip: plant one extra row for gifting—nothing feels more California-casual than showing up with homegrown garlic and a loaf of bread.
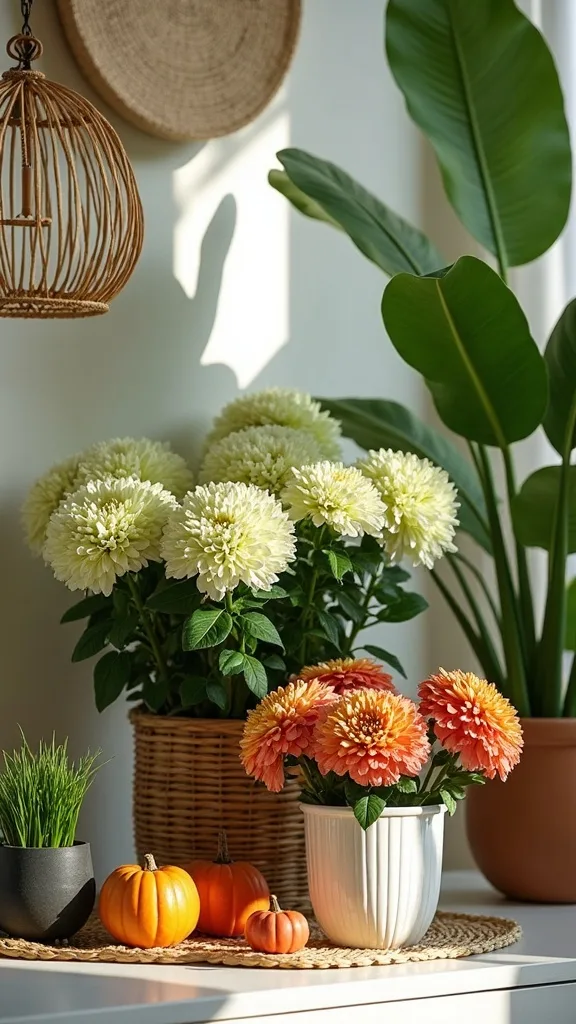
8. How do I make fall mums look styled instead of like grocery store blobs?
Mums can go either way: elevated and editorial, or… sad porch corner. The difference is container choice, spacing, and repetition.
Skip the tiny pots scattered everywhere. Group three larger mums together (same color or two-tone max), and give them breathing room so each mound reads like a shape. If you’re planting in beds, nestle them near something architectural—ornamental grass, a low boxwood, or even a simple border of stones—so they look anchored.
Go for textured containers: ribbed terracotta, matte charcoal, or a vintage wood crate lined with plastic (drainage holes punched through). Add a layer of moss on top of the soil for that soft, finished look that feels like a florist did it.
Pro tip: remove the nursery tag and wipe the pot—tiny details are what make mums feel like décor, not errands.
Cost & Materials Estimate
A one-weekend end-of-season reset for a couple of beds and a patio corner typically lands in the $80–$260 range, depending on how many containers and new plants you add.
| Item | Estimated Cost | Where to Buy |
|---|---|---|
| Bagged compost (4–6 bags) | $28–$54 | Home Depot |
| Mulch (2 bags) | $10–$18 | Lowe’s |
| Fall mums (3–6 plants) | $24–$72 | Home Depot |
| Seed garlic (1–2 lbs) | $14–$28 | Amazon |
| Lidded compost bin or tumbler | $49–$119 | Amazon |
Total estimated cost: $80–$260 Save money by buying compost/mulch in multi-bag bundles, and splurge on a lidded compost setup if critters are a thing in your area.
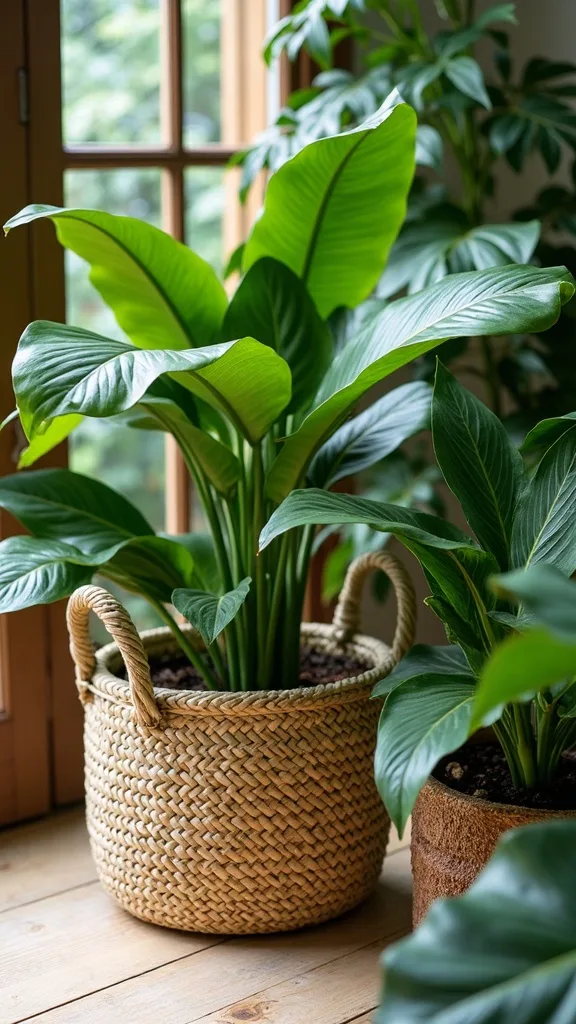
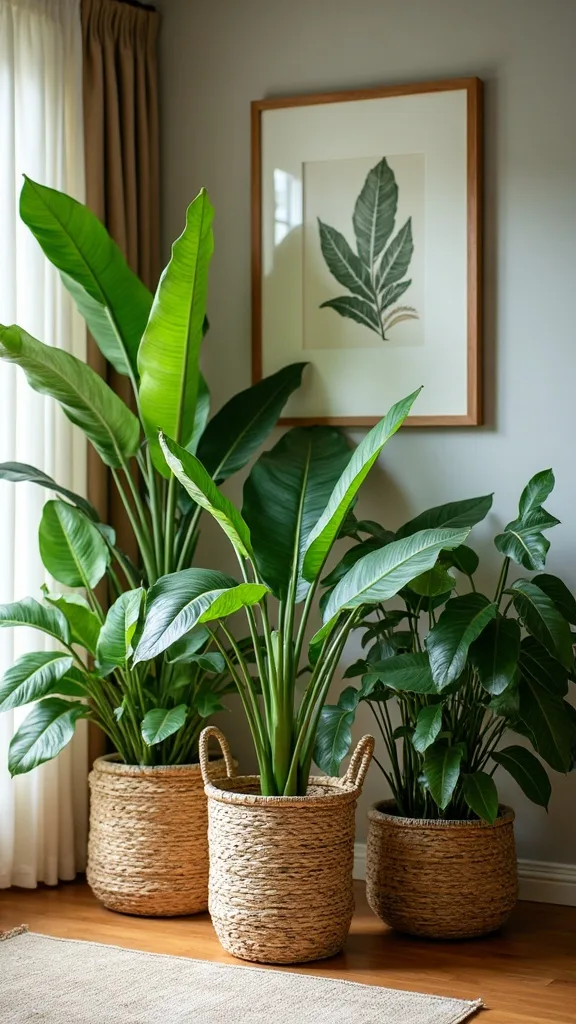
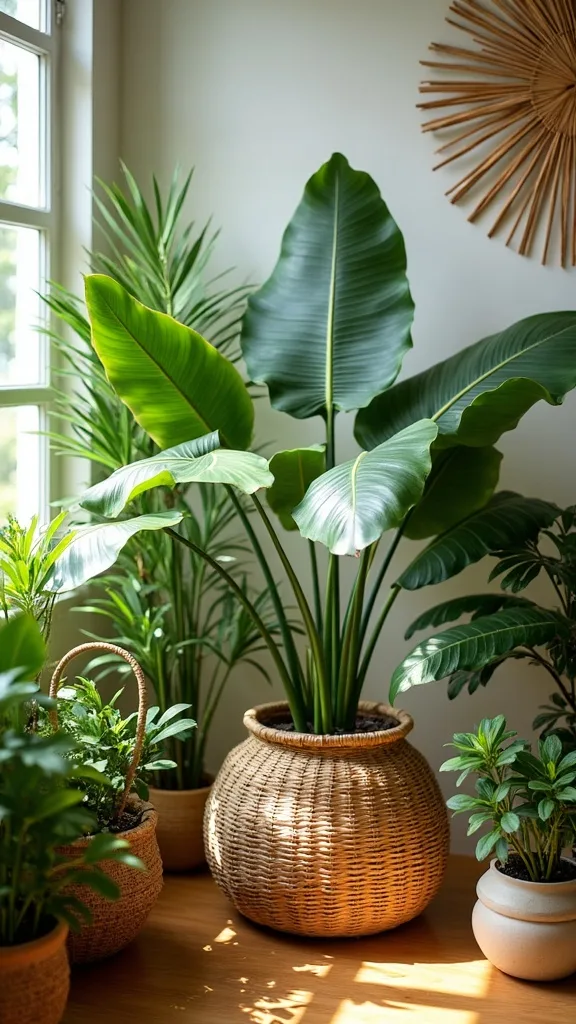
9. What should I do with summer containers so they don’t look abandoned?
Containers are where the season shift can look the most obvious—especially near outdoor seating where you see them up close. A quick swap keeps the patio feeling lived-in.
Pull spent annuals, dump the top 3–4 inches of tired soil, and refresh with potting mix plus a couple handfuls of compost. Then plant for fall with a “thriller-filler-spiller” formula: ornamental kale (thriller), pansies (filler), and trailing ivy (spiller). Water deeply and keep pots in their same spots so the layout still feels familiar.
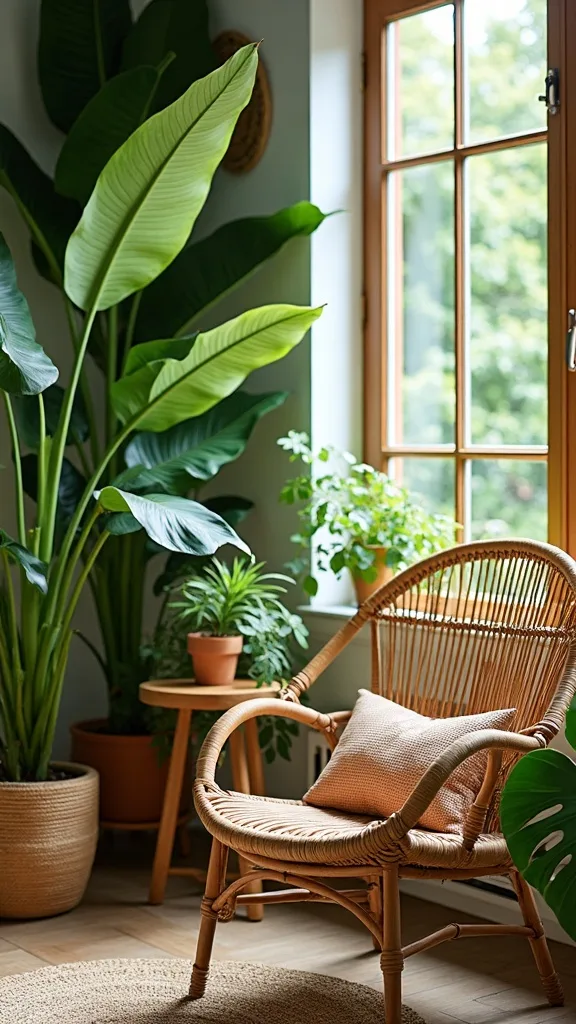
Color-wise, stay grounded: dusty plum, cream, and deep green look great against teak, black metal, and weathered wicker. If you love vintage, hunt for oversized clay pots at estate sales—chips and patina are a feature, not a flaw.
Pro tip: top containers with fine bark or moss; it’s like hemming pants—suddenly everything looks tailored.
10. How do I start composting at home without attracting every critter on the block?
Composting is basically turning “garden mess” into future garden gold, and it doesn’t have to be a whole crunchy lifestyle overhaul. A contained setup is the secret to keeping it clean and low-drama.
Use a lidded compost bin or tumbler, especially if you’re in a neighborhood with raccoons. Add a simple ratio: one bucket of greens (fresh plant trimmings, coffee grounds) to two buckets of browns (dry leaves, shredded cardboard). Stir or tumble once a week so it doesn’t go sour, and keep it lightly damp—like a wrung-out sponge.
Keep a small countertop compost pail inside, then empty it daily. Outdoors, place the bin away from your dining area but close enough you’ll actually use it—behind a shed, along a fence, or tucked near the side gate.
Pro tip: if it smells bad, add browns—not perfume. Compost should smell like rain on dirt, not regret.
11. How do I deal with weeds during the summer-to-fall transition?
Weeds love the shoulder season because they’re opportunists—bare soil, warm days, and your attention elsewhere. The win is preventing the next wave, not fighting the current one forever.
Pull weeds after watering or after a light rain so roots slide out cleanly. Focus on seed heads first—if a weed is flowering, it’s trying to multiply. Then cover exposed soil with compost and a thin mulch layer; even 1 inch makes a difference. If you’re replanting, plant densely enough that the soil isn’t just sitting there, sunbathing.
For clean edges, use a half-moon edger or a flat spade and make a crisp line between lawn and bed. That line is visual magic—it makes the whole outdoor space look like you’ve been on top of things.
Pro tip: do a 10-minute weed walk with your morning coffee—small, consistent edits beat one sweaty meltdown every time.
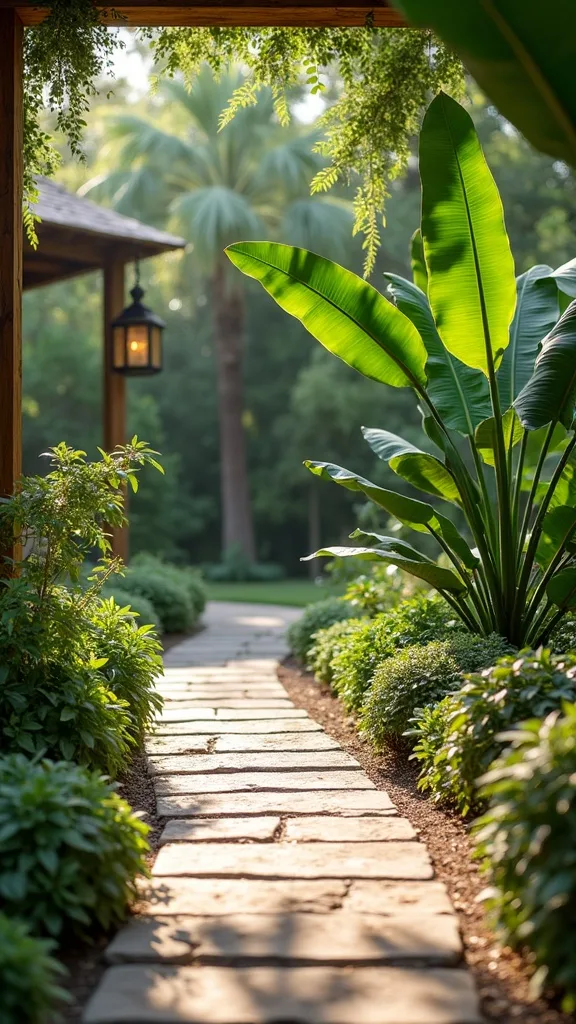
12. What’s the best way to clean up garden paths and patio edges for fall?
The fastest “wow” in any outdoor reset is a clean line. Plants can be messy; paths shouldn’t be. This is how your garden starts feeling like an outdoor room again.
Sweep hard surfaces first, then use a stiff broom to pull debris out of pavers and cracks. If you’ve got moss or grime, a simple hose rinse plus a scrub brush goes a long way—pressure washers can blast sand out of joints and leave things looking rough. Re-edge gravel paths with a rake and add a thin fresh layer where it’s thinned out.
Material moment: weathered stone looks better when it’s clean because the texture shows—those little pits and variations that make it feel old-world. Pair it with a jute-look outdoor rug or a striped runner near seating for a cozy, intentional landing spot.
Pro tip: once edges are crisp, even modest plantings look expensive. It’s the frame that sells the art.
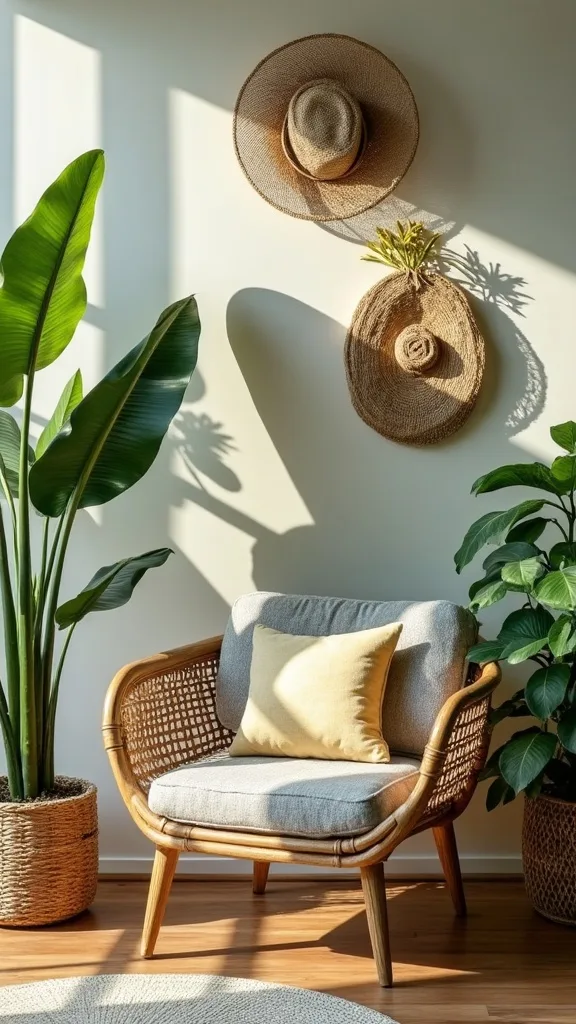
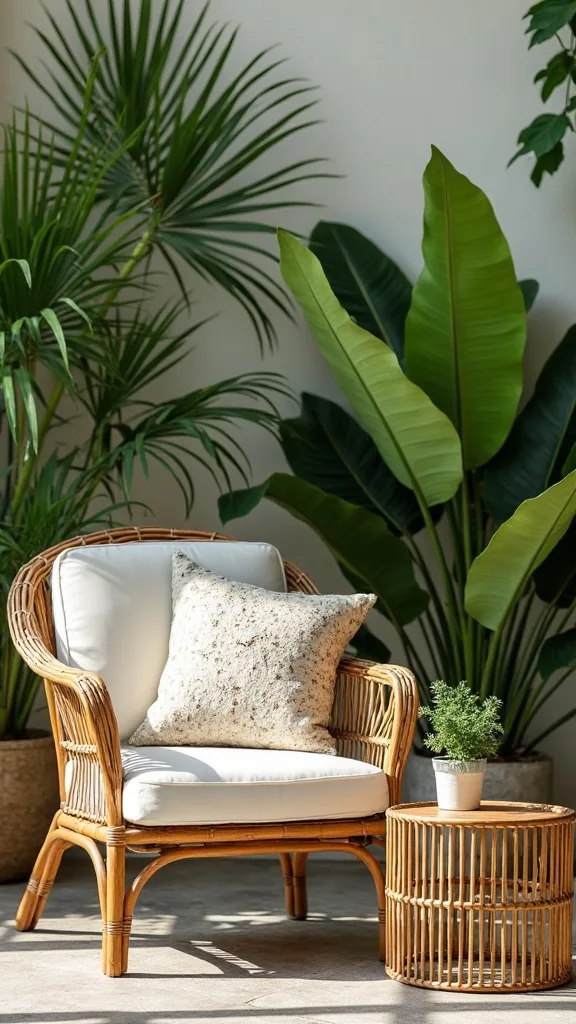
13. How can I refresh outdoor furniture so the garden transition feels intentional?
Fall garden prep isn’t just plants—it’s the whole scene. If the patio furniture looks dusty and defeated, the garden will feel the same, no matter how many mums you buy.
Wipe down chairs and tables with warm water and a little dish soap, then rinse and dry. For teak, a quick scrub lifts grime and brings back that honey tone; for metal, check for chips and touch up with outdoor spray paint before rust gets ideas. Swap summer brights for warmer textiles: a rust throw, a cream outdoor pillow, a plaid-ish vintage blanket that can handle dew.
Texture is everything: chunky woven pillows, a soft-canvas cushion cover, and a vintage lantern with real glass (thrift stores are gold for these). Keep colors like clay, olive, and faded indigo—sun-washed, not neon.
Pro tip: add one small side table by the best chair. A place for a mug is what turns “yard” into “hangout.”
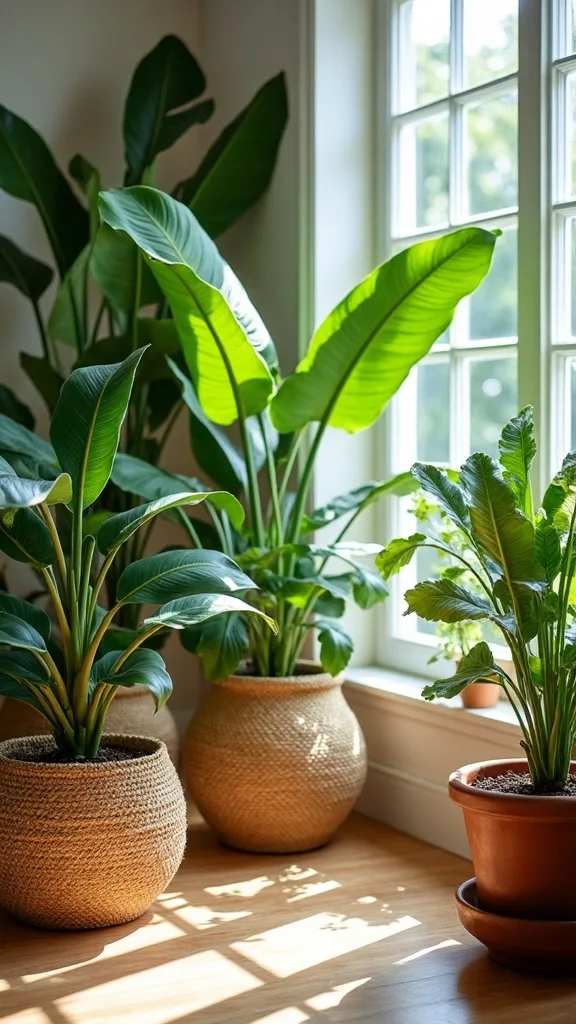
14. What should I plant for fall color besides mums?
Mums are the headline, but you want a full cast. Mixing in a few non-mum plants adds texture and keeps things from feeling like a big-box seasonal display.
Try asters for a softer daisy look, pansies for cool-weather endurance, and ornamental kale for that sculptural, matte-leaf drama. In beds, tuck them in where summer annuals came out; in containers, use kale as the centerpiece and ring it with pansies. Water consistently for the first week so roots settle—new plants hate the “I’ll get to it” phase.
Color palette: creamy whites, dusty purples, and deep greens read elevated. If you want one pop, make it marigold-gold in a single spot near the door. It feels curated, like an accent wall.
Pro tip: pick plants for leaf texture as much as blooms—fall is when foliage becomes the main character.
15. How do I handle pests and disease during late summer cleanup?
Late summer is when pests throw their last little party, and disease can linger on tired leaves. Cleaning up now is less about perfection and more about not carrying problems into your next season.
Remove plants with obvious disease (black spots, heavy mildew, mushy stems) and don’t compost them. If you see aphids or spider mites, blast leaves with a strong hose spray first—simple and effective. For persistent issues on ornamentals, use insecticidal soap in the evening so you’re not spraying in peak sun.
Keep tools clean: a quick wipe with rubbing alcohol between diseased plants is a small habit that saves you a lot of grief. Store pruners in a dry spot—like a little outdoor caddy near your furniture storage bench—so you actually keep up with it.
Pro tip: the goal isn’t a sterile garden; it’s a resilient one. Clean the worst, support the rest.
16. How do I mulch for fall without smothering everything?
Mulch is the quiet stylist of the garden. Done right, it makes everything look finished and helps hold moisture as the weather shifts.
Keep mulch 2–3 inches deep, and pull it back an inch or two from plant stems so you don’t trap moisture against them. Spread it after compost so you’re sealing in that goodness. If you’re using shredded leaves, run over them with a mower first—smaller pieces settle better and don’t turn into a soggy mat.
Choose mulch like you choose furniture finishes: it should match your overall tone. Dark mulch can look sharp and modern; lighter bark reads more cottage and casual. If your outdoor space has a lot of black metal or gray stone, darker mulch ties it together.
Pro tip: mulch is a backdrop—if it’s stealing attention, you used too much or chose the wrong color.
17. What’s the best way to edge garden beds so they look crisp all season?
Crisp edges are the cheat code for a polished seasonal garden. Even if plants are mid-transition, clean lines make it look intentional.
Use a flat spade to cut a 2–3 inch trench edge along the bed line. Keep it slightly angled so it holds shape. For a longer-lasting option, install simple metal edging—thin black steel disappears visually and works with almost any style, from modern to cottage. If you’re adding stone, keep stones consistent in size so it doesn’t look like leftover rubble.
Pair a neat edge with a little gravel strip or a narrow mulch band. The texture contrast—fine gravel against soft plants—feels designed. It also keeps dirt from splashing onto patio pavers near your outdoor dining set.
Pro tip: edge right before guests come over. It’s the outdoor version of fluffing pillows, and it changes everything.
18. How do I set up a fall watering routine without overdoing it?
Fall weather can trick you. Cooler air makes it feel like plants need less water, but new plantings still need consistency while they root in.
Water deeply in the morning, 2–3 times a week for new mums, pansies, and transplants until they’re established (usually about two weeks). For established perennials, taper watering as temperatures drop, but don’t let them fully dry out if you’re in a hot, dry stretch. If you’re using a hose, add a simple shutoff valve at the end—small upgrade, big sanity.
For containers near seating, check moisture with your finger: if the top inch is dry, water. Use saucers sparingly—standing water can rot roots, especially as nights get cooler.
Pro tip: put a watering can where you’ll see it from the patio door. Visibility is half the habit.
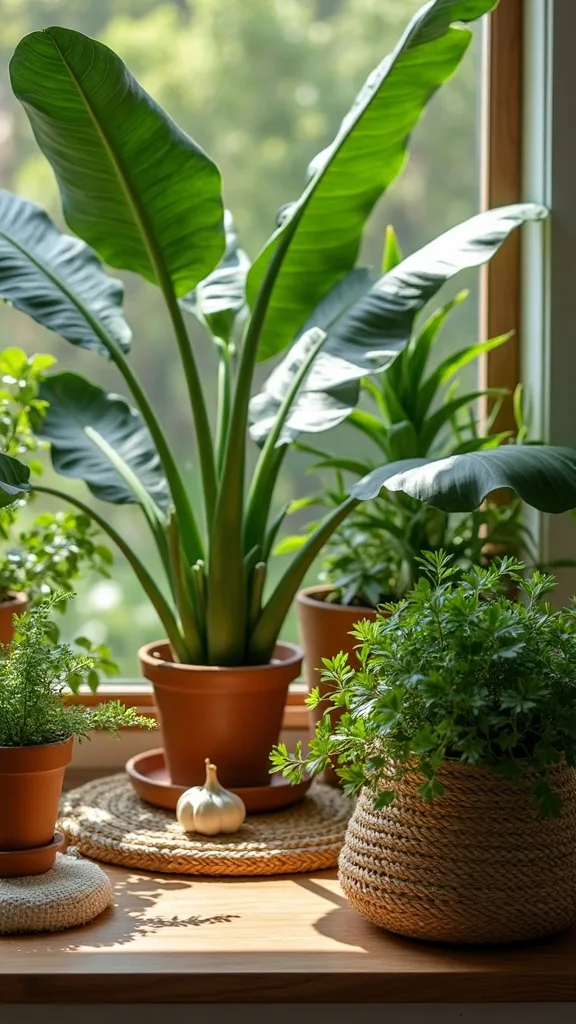
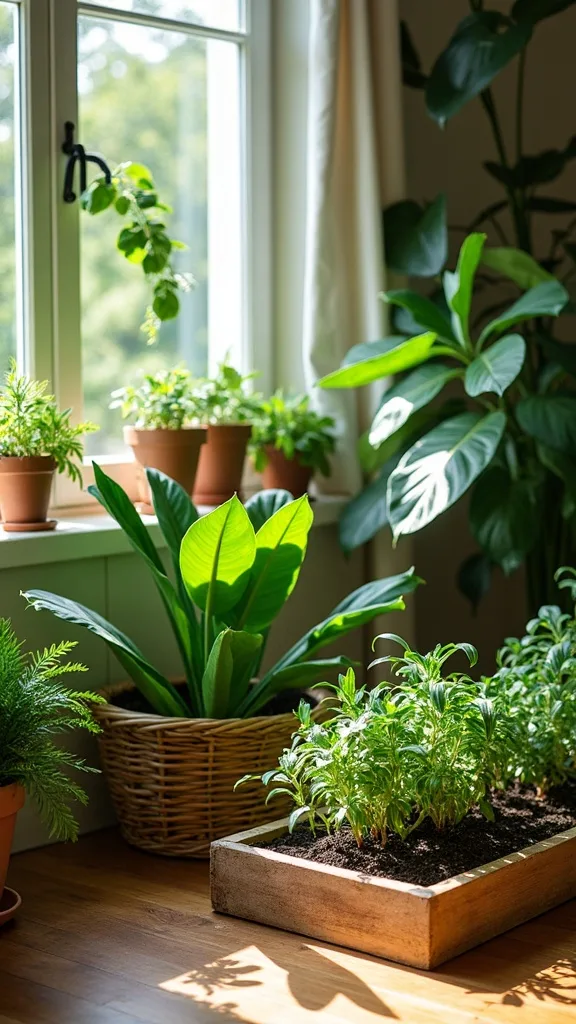
19. What should I do with herbs at the end of summer?
Herbs are the bridge between seasons because they’re useful and they smell like you’ve got your life together. Late summer is when you decide who stays, who gets harvested, and who gets replaced.
Cut back leggy basil and either harvest it hard (pesto night) or pull it if it’s bolting. Rosemary and thyme can stay; just shape them lightly and clear dead bits. If you’re in a colder zone, pot up rosemary to bring it into a bright window later—use a terracotta pot that breathes so roots don’t stay soggy.
Style tip: keep herbs in matching pots near outdoor dining furniture. A row of matte terracotta with little plant labels looks casual but intentional—like a café patio. Add a vintage tray underneath and it becomes a moment.
Pro tip: don’t compost mint roots. Ever. Mint is the friend who never leaves.
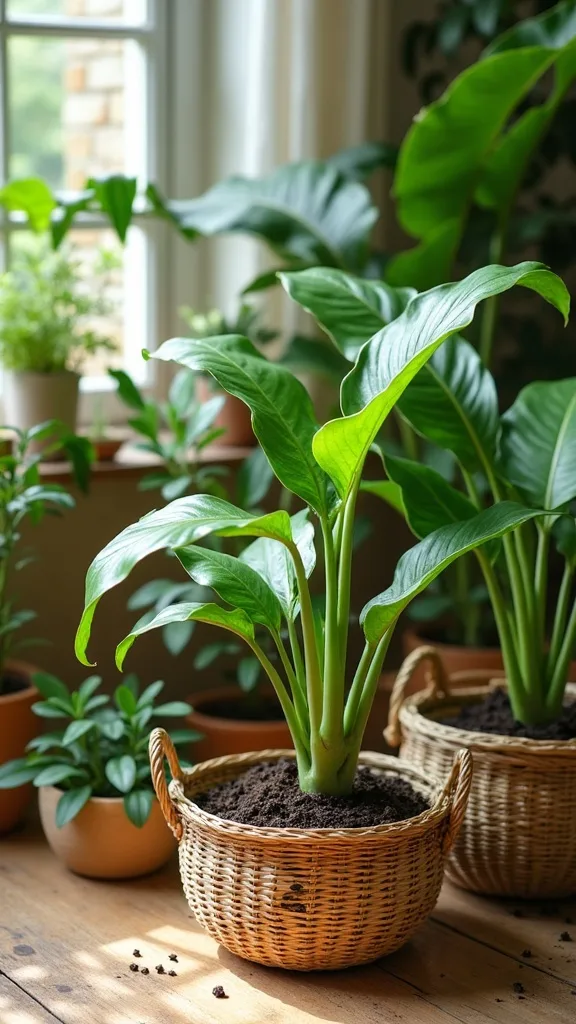
20. How do I prep raised beds for fall planting without compacting the soil?
Raised beds are a dream because they warm up and drain well—but they can compact if you treat them like a sandbox. The goal is fluffy soil that holds moisture without turning into brick.
Never step inside the bed. If you need reach, use a kneeling board that spans the sides, or work from the perimeter. Pull old plants gently, then add compost and lightly mix the top few inches with a hand cultivator. If the soil level has sunk, top it up with a raised-bed mix rather than straight topsoil.
For fall planting, go for quick wins: arugula, spinach, radishes, and green onions. Even if you’re mostly transitioning, a little edible patch makes the whole outdoor space feel alive.
Pro tip: add a simple trellis now, even if it’s empty—structure makes the bed look finished and sets you up for spring.
21. How can I use outdoor lighting for earlier sunsets without making it look tacky?
As soon as the sun dips earlier, the patio can feel abandoned—unless you layer light like you would indoors. Soft lighting makes the fall transition feel cozy, not closed for the season.
Skip the harsh blue stuff and go for warm white light (2700K–3000K — the cosy, yellowish tone you see in most homes) so skin looks good and plants look lush. Wrap string lights along a fence line, add two solar path lights near steps, and place one lantern on a side table. Keep cords tidy with outdoor clips so it doesn’t feel like a temporary setup.
Materials that age well: black metal lanterns, real glass, and woven outdoor shades that cast a soft pattern. Vintage tip: thrifted hurricane lanterns look amazing with LED candles and don’t melt in the heat.
Pro tip: light the seating first, then the garden. When the chair feels inviting, you’ll actually go outside.
22. What’s a simple plan for composting leaves and garden waste in fall?
Fall waste is abundant and weirdly satisfying—like nature handing you free mulch and compost ingredients. A simple system keeps it from becoming a pile you avoid.
Make two piles (or two bins): one for leaves, one for active compost. Shred leaves with a mower and store them dry in a trash can with holes or a leaf bag—those are your “browns” all season. Add garden trimmings to the active compost, and every time you add greens, add a scoop of shredded leaves to keep balance and smell in check.
If you want a cleaner look near outdoor-furniture zones, use a slim storage bench or a small weatherproof cabinet for bags of browns, gloves, and your hand rake. It keeps the work tools close but out of sight.
Pro tip: leaves are not trash; they’re future soil. Treat them like a resource and the garden starts feeling self-sustaining.
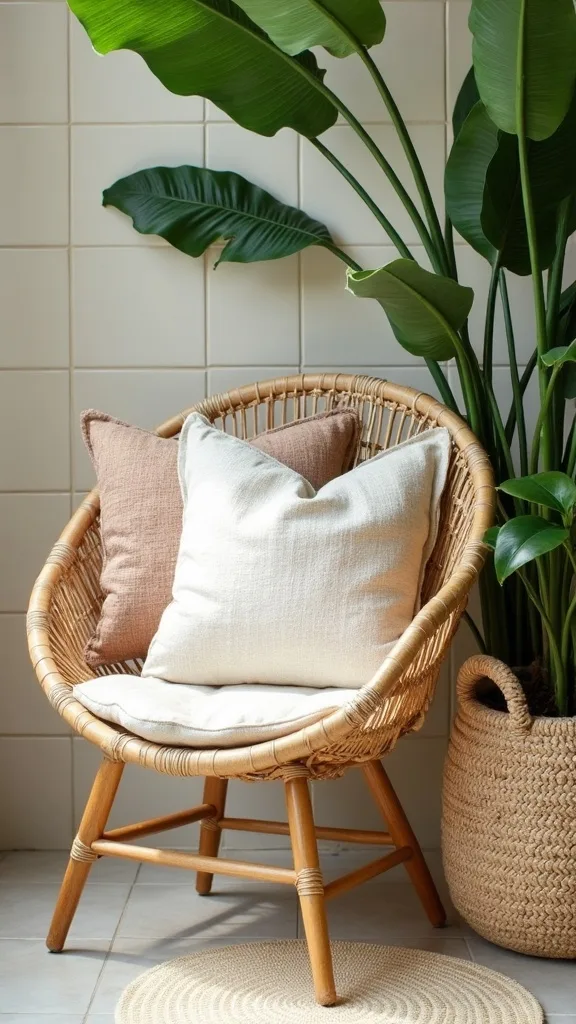
23. How do I protect outdoor cushions and textiles during the garden transition?
Late summer nights bring dew, and dew loves fabric. Protecting textiles is what keeps your outdoor seating feeling inviting instead of damp and musty.
Wash cushion covers if they’re removable, then let them dry fully in sun. Store inserts in a deck box or waterproof bin if rain is coming, or at least stand cushions on edge so air circulates. Swap to heavier textures—canvas, brushed outdoor acrylic, or even a vintage wool throw you don’t mind airing out. Keep one lidded basket by the back door for quick nightly grab-and-go.
Color shift matters here: trade bright summer stripes for warm solids—clay, olive, cream. Those tones make mums and kale look richer and make the whole patio feel like a continuation of the house.
Pro tip: if your textiles are protected, you’ll sit outside more. Comfort is the whole point.
24. How do I plan next season while I’m already doing fall garden prep?
The smartest time to plan is while you’re literally standing in the beds, seeing what worked and what flopped. Your future self will thank you for noticing patterns now.
Take five photos from the same spot: one from the patio chair, one from the door, one along the main path, and two close-ups. Then jot quick notes: “needs height here,” “too much pink,” “shade pocket.” If you’re planting garlic or bulbs, sketch a tiny map so you don’t dig them up during spring excitement. Order spring bulbs early if you’re picky about varieties.
For a more designed look, repeat materials across seasons: the same terracotta pots, the same black edging, the same gravel. That continuity is what makes a seasonal garden feel like a composed space, not a rotating display.
Pro tip: don’t aim for a perfect plan—aim for one better decision per bed.
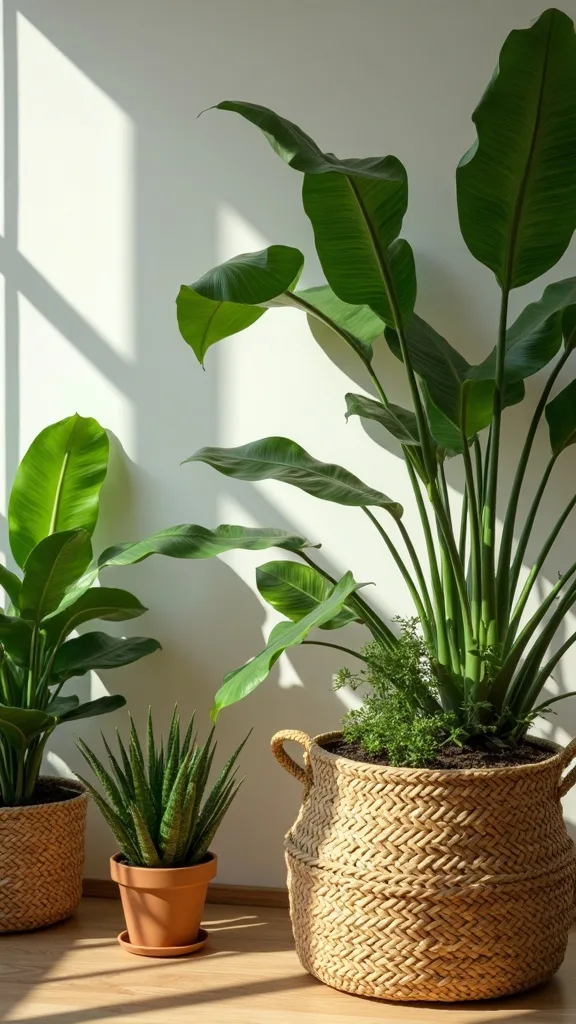
25. How do I make the garden feel finished after the summer-to-fall swap?
The final step isn’t another plant—it’s a styling pass that makes everything feel settled. This is where your outdoor space starts reading like a room with intention.
Do a slow walk with a yard bag and collect the little visual clutter: empty pots, broken stakes, faded tags. Rake mulch smooth, then place two “anchors” near seating: a large planter and a lantern, or a pot and a small bench. Add one seasonal detail that feels natural, not themed—like a bowl of tiny pumpkins on the outdoor table or a bundle of dried grasses tied with twine.
Mix old and new on purpose: a vintage galvanized bucket next to a clean-lined modern chair is the kind of contrast that feels effortless. Keep the palette warm and grounded so the whole scene feels cohesive.
Pro tip: when you’re done, sit down for five minutes. If you feel your shoulders drop, you nailed it.
Final Thoughts
There’s something kind of addictive about this part of the year—the way a garden can pivot with a few decisive edits. A compost top-dress, a cluster of mums, a pot that finally looks intentional next to the outdoor chairs. Suddenly the whole space feels like it’s exhaling.
Keep the energy gentle. You’re not “cleaning up,” you’re styling the handoff: summer’s looseness into fall’s structure. Let textures do the work—mulch like a smooth backdrop, kale like sculpture, garlic like a quiet promise tucked under the soil.
Do one thing today: water a bed, pull the three most tired annuals, and set one grouped cluster of mums near where you actually sit outside—then take your drink out there and notice how the space feels when it’s cared for.
What I’d Do Differently
When I first tried this seasonal switch, I did the classic all-at-once purge—ripped out every summer annual in one hot afternoon, felt wildly productive, then stared at a yard that looked like it had been evacuated. Worse, I mixed in a bunch of powdery-mildew leaves into my compost because I figured “it’ll break down anyway.” By October, my beds were bare, the patio looked harsh, and the compost pile had that sour, funky smell that makes you avoid your own side yard. The better move is slower and cleaner: transition one bed at a time, keep anything with good structure, and only compost healthy material so your future soil actually stays healthy.
I also wish I’d known how much mums need consistent watering for the first week—mine looked great at the store, then got crispy edges because I treated them like décor instead of plants. Now I water new fall plantings for two weeks like it’s my only job, then ease off. Pick one bed today, set a 45-minute timer, and start—momentum is the whole secret.