
This post contains affiliate links. As an Amazon Associate, I earn from qualifying purchases at no extra cost to you.
The fastest way to make a bedroom feel expensive is to put a real, collected art moment above the headboard—no giant “Live Laugh Love” required. My wall used to be a single crooked canvas and two mystery nail holes that looked like the wall had acne. It was genuinely bad.
Here’s the part people don’t say out loud: you don’t need a big budget, you need a plan. This guide breaks down a practical gallery wall tutorial (layout, spacing, hanging order), plus a stack of picture wall ideas that work in real bedrooms—especially in summer when you want the room to feel lighter, brighter, and less heavy.
This is perfect for budget-smart decorators who love the hunt—thrift store frames, discount-store finds, and DIY prints that look like you paid gallery prices.
Inside, you’ll get mixes that include frames, art prints, personal photos, and even a few 3D objects (because flat walls are boring). You’ll also get what to avoid so you don’t end up with the “floating stamp collection” look.
Below are 25 Gallery Wall Bedroom & Art Display Ideas that turn blank wall space into bedroom wall decor you’ll actually want to wake up to.
1. Step-by-step headboard layout: mix frames, prints, photos, and one 3D object
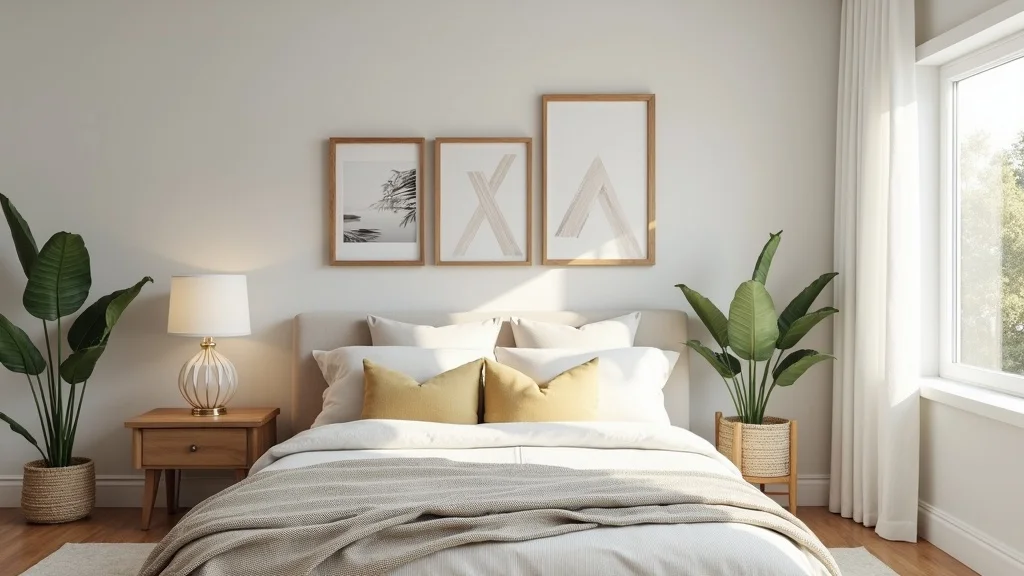
This is the backbone layout that makes a bedroom art display look intentional instead of random. It works because you’re building one balanced “shape” above the headboard, then filling it with variety—flat art plus one piece with depth.
Start by measuring your headboard width, then tape a rectangle on the wall that’s about 60–75% of that width (for a queen, I like 60–72 inches wide). On the floor, arrange 7–11 pieces: 2 larger anchors (like 16×20), 3–5 mediums (11×14, 8×10), and 2–4 smalls. Add one 3D item—think a small woven tray, mini shelf, or metal wall flower—and keep it off-center.
Thrift option: frames from Goodwill ($2.99–$6.99 each) + printed photos at Walgreens (4×6 for $0.39 on promo weeks). Discount option: Target Room Essentials frames ($6–$15).
Pro tip: keep gaps consistent (about 2 inches) and the whole wall instantly reads collected, not cluttered—you’ve got this.
2. How do you plan a gallery wall without making 30 holes?
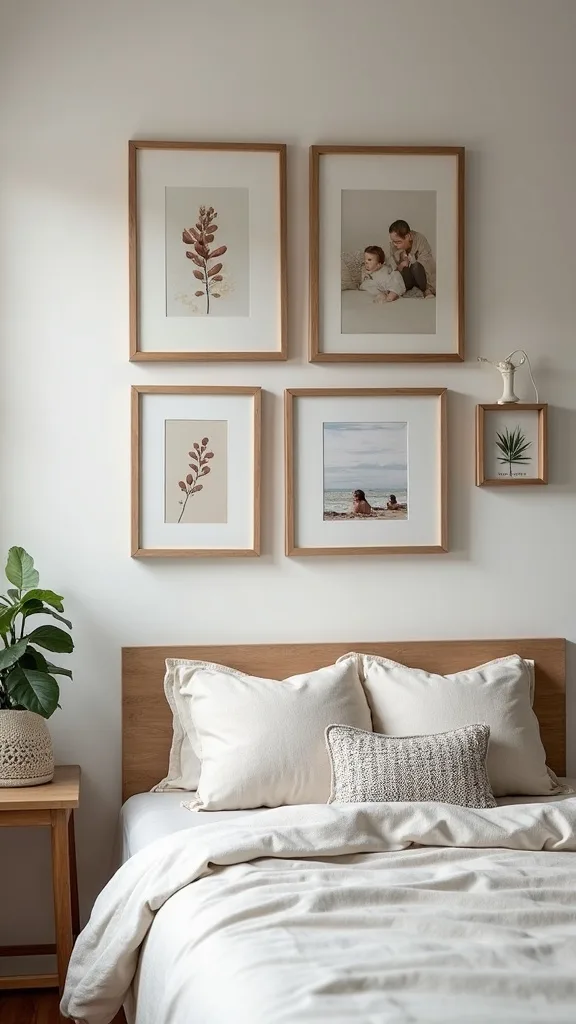
You plan it like a costume fitting: try everything on before you commit. This works because the layout is the hard part—hanging is just the final step.
First, lay every frame on the bed (or floor) and take a quick photo from above. Second, trace each frame onto kraft paper or old grocery bags, cut the shapes, and tape them to the wall using painter’s tape. Adjust until the negative space feels even. Only then do you mark the nail points through the paper.
Budget alternatives: Dollar Tree sells poster board you can cut into templates ($1.25). If you’re out, use junk mail envelopes and tape them together. For hanging, grab Command Picture Hanging Strips (Amazon) when you’re renting, or a $6 picture-hanging kit from Walmart.
Avoid eyeballing it directly on the wall with a hammer in hand—ask me how I ended up patching three “test” holes. Pro tip: label each template with frame size and a quick sketch so you don’t mix them up mid-hang.
3. What size should a gallery wall be over a bed?
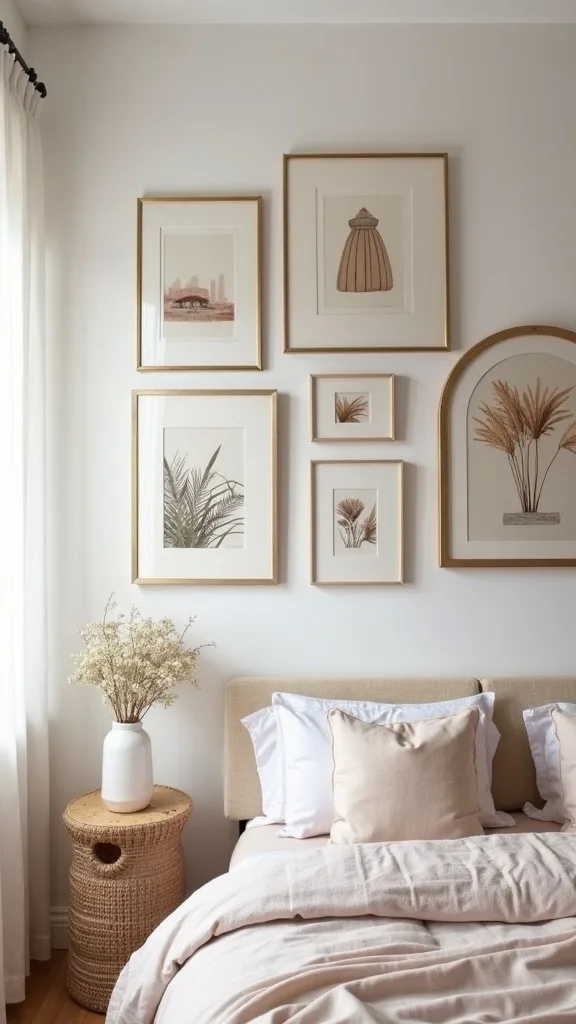
The right size makes your wall feel tailored to the bed instead of floating in space. It works because your eye reads the bed + art as one unit.
A simple rule: make the gallery wall about 2/3 the width of the headboard. For a queen headboard around 60 inches wide, aim for a 40–48 inch-wide cluster (small and tidy) or up to 72 inches wide (full statement). Keep the lowest frame 6–8 inches above the headboard so pillows don’t “bump” the art visually.
Thrift solution: if your frames are too small, add cheap mats (IKEA has packs) or layer in a textile piece like a bandana stretched on a canvas. Discount solution: Walmart’s Mainstays 16×20 frames are often under $12.
Pro tip: use one oversized anchor piece to set scale fast—then fill around it. It’s the quickest way to make a small budget look like a big plan.
4. How do you choose a color palette for summer bedroom art?
Summer art displays feel airy when the palette is limited and the materials do the talking. This works because repetition (not matching) is what calms a busy wall.
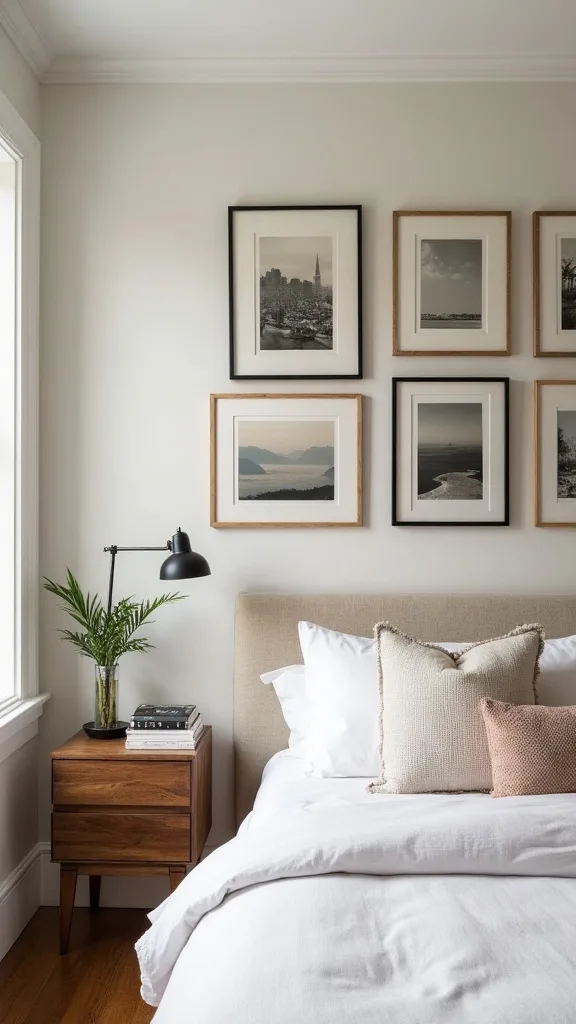
Pick 3 colors: one neutral (cream/black/wood), one “sun” tone (terracotta, butter yellow), and one “water/sky” tone (sage, denim blue). Then choose art that hits at least two of the three. If your prints are all over the place, unify them with the same mat color—white mats are the easiest.
Budget options: print public-domain art (museum websites) at Staples as engineering prints (often $3–$8 for large sizes). Thrift store hack: buy ugly art for the frame, then flip the backing and use the blank side as a mat.
Pro tip: add one natural texture (woven, rattan, linen) to keep it from feeling too “paper flat.” You’ll feel the room breathe.
5. What should you avoid when hanging art above a headboard?
One wrong move above a bed can make the whole room feel twitchy. This works best when safety and scale come first—then style.
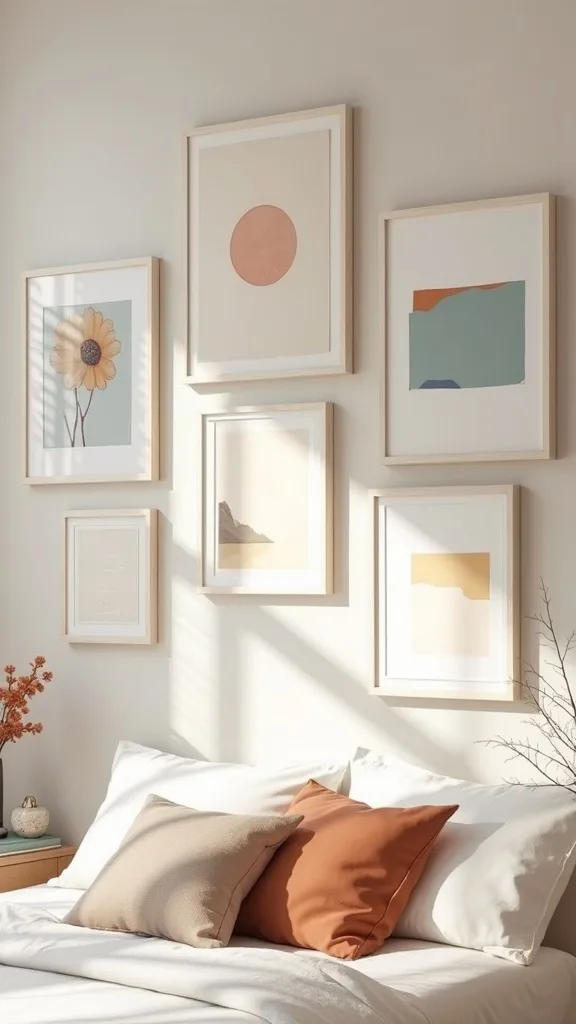
Avoid heavy glass frames directly over where your head lands, especially if you’re in an older home with unpredictable drywall. Swap the heaviest pieces to the sides, or use acrylic-front frames. Also avoid hanging everything in a perfect straight line unless your style is very minimalist—most bedrooms look warmer with a little stagger.
Budget-safe swaps: IKEA has lightweight frames that look clean without weighing a ton. Thrifted frames can be made safer by replacing glass with acrylic sheets (Home Depot can cut) or by using art without glazing.
Pro tip: if you love a heavy vintage frame, hang it 10–12 inches above the headboard and anchor with a proper wall hook rated for the weight. Safe can still be beautifully collected.
6. Picture wall idea: thrifted gold frames with black-and-white photos
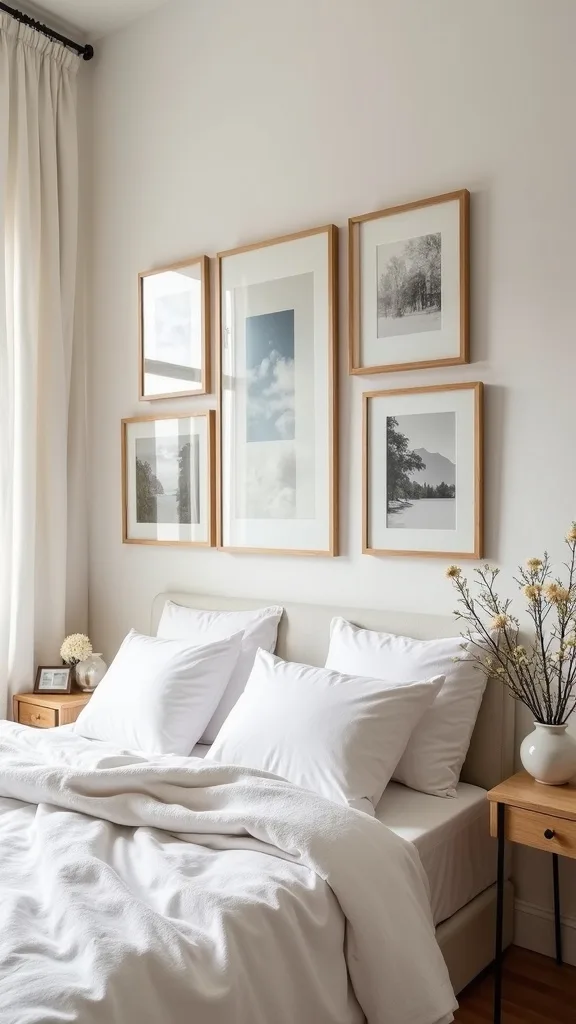
This combo always looks pricier than it is because gold + monochrome reads “gallery” instantly. It works even when the frames don’t match perfectly.
Hunt for 5–9 gold frames in mixed profiles at Goodwill or Savers. Don’t worry about scratches—those add character. Print your photos in black and white and keep the same border size on each print for consistency. Arrange the largest two frames diagonally from each other, then fill in with smaller ones.
DIY alternative: spray-paint mismatched frames with Rust-Oleum metallic gold (one can usually covers 6–8 frames). Discount alternative: Michaels often has buy-one-get-one frame deals—stack coupons.
Pro tip: use one unexpected image (like a close-up of hands gardening or a summer road trip detail) to keep the wall from feeling like a hotel. That’s your story on the wall.
7. Bedroom art display idea: one floating ledge you can swap seasonally
A picture ledge is the commitment-phobe’s best friend. It works because you can build a layered look without measuring every single nail.
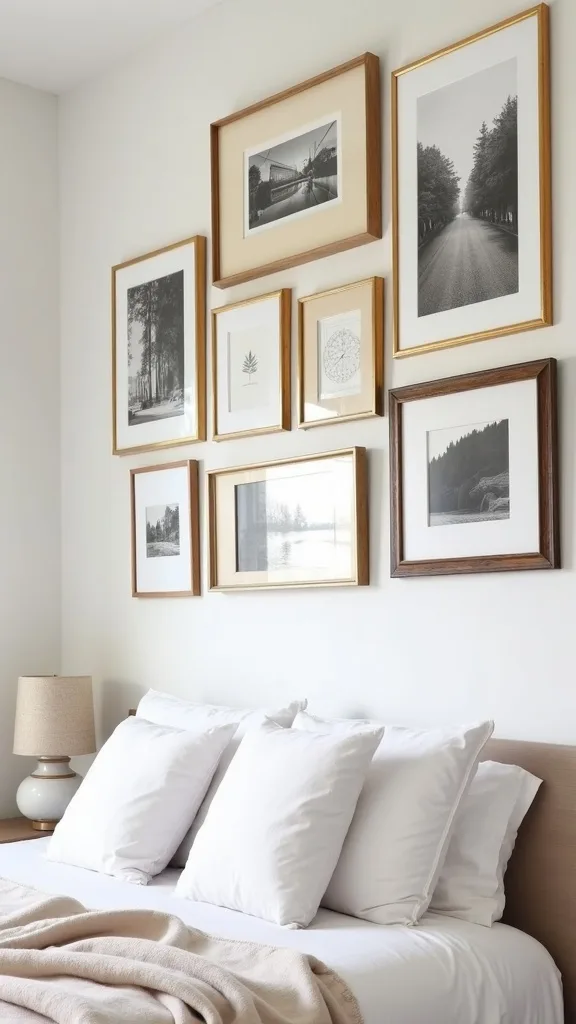
Install one ledge centered over the headboard (about 48 inches long for a queen). Lean 3–5 frames on it, then overlap slightly. Add one small 3D object—like a thrifted ceramic bud vase or a tiny framed shell collection—for summer texture.
Budget options: IKEA MOSSLANDA ledges are usually under $20. DIY option: a 1×4 board + simple trim from Home Depot, painted to match the wall. Thrift option: look for old wooden shelves, then sand and seal.
Pro tip: stick museum putty under frames so they don’t slide when you make the bed. A swappable ledge keeps your bedroom wall decor fresh without starting over.
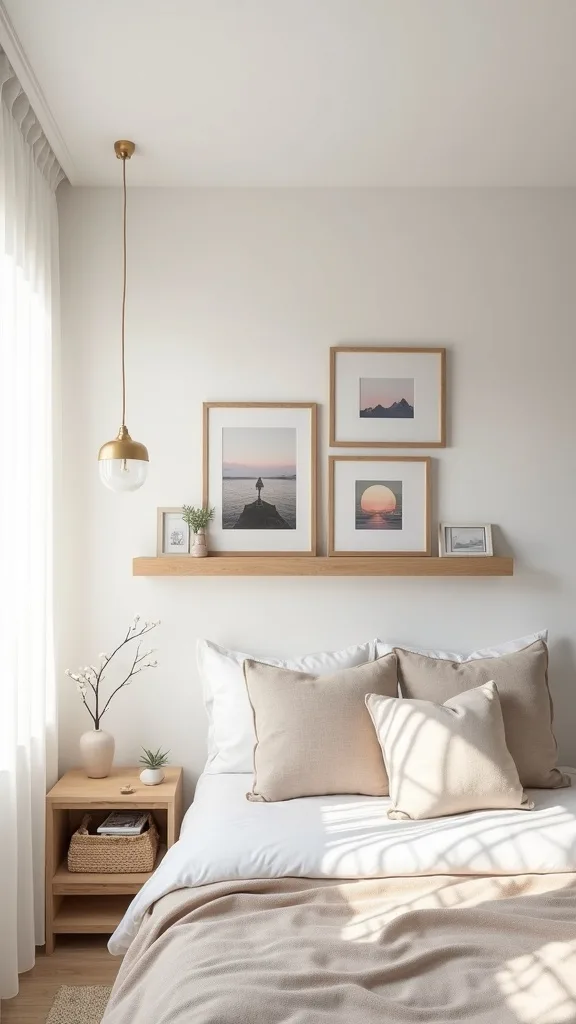
8. How do you mix frame finishes without it looking messy?
Mixing finishes looks designer when you repeat each finish at least twice. It works because your eye finds patterns even in a “random” wall.
Choose 2–3 finishes: black, light wood, and brass is an easy trio. Then distribute them across the layout like you’re dealing cards—no big clumps of one finish in a corner. If one frame is too loud, quiet it down with a white mat or a simple line drawing.
Thrift workaround: mismatched frames become cohesive when you paint the backs the same color (yes, even the backs matter when they peek). Discount option: grab a multi-pack of matching frames and mix them with thrifted “character” pieces.
Pro tip: keep the art itself in a similar vibe (all photography, or all botanical, etc.). That’s how you get eclectic without getting chaotic.
Cost & Materials Estimate
Most above-headboard gallery walls land between a “thrift-heavy” build and a “buy-a-few-new” build, depending on how many frames you already have.
| Item | Estimated Cost | Where to Buy |
|---|---|---|
| Frame set (8–12 mixed sizes) | $40–$140 | IKEA / Wayfair / Amazon |
| Command Picture Hanging Strips (variety pack) | $12–$28 | Amazon / Home Depot |
| Printable art + photo prints | $15–$60 | Amazon (printable bundles) / IKEA (prints) |
| Picture-hanging kit (hooks, nails, wire) | $8–$20 | Home Depot / Lowe’s / Amazon |
| Optional picture ledge (36–48 in) | $15–$35 | IKEA / Amazon |
Total estimated cost: $90–$283 Save the most by thrifting frames and spending your money on one “anchor” print you truly love.
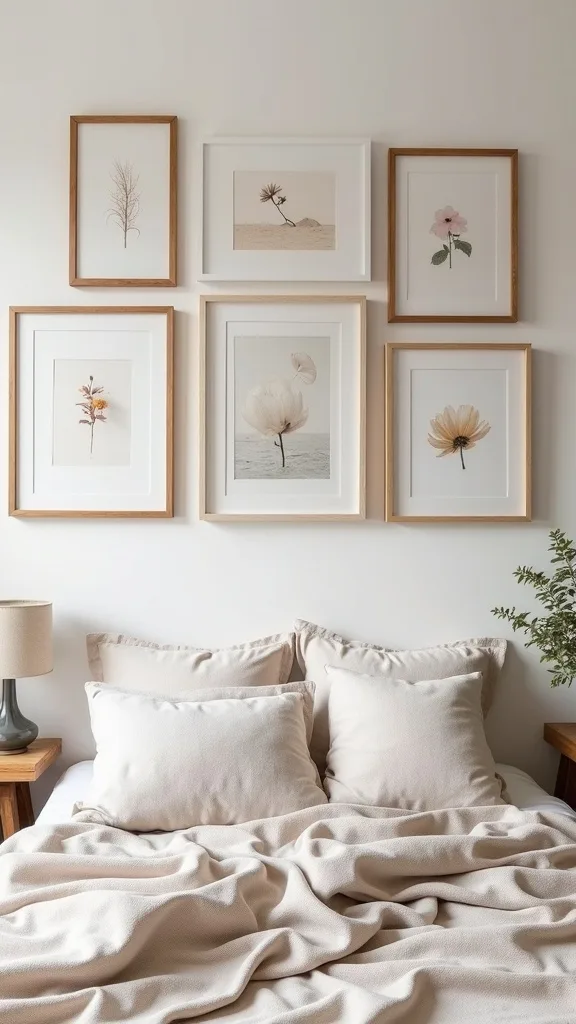
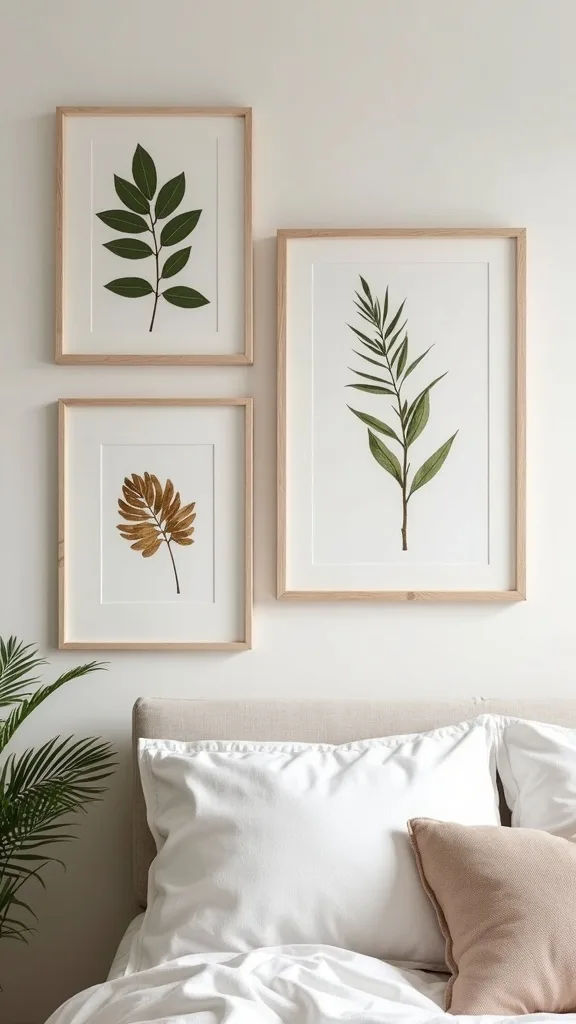
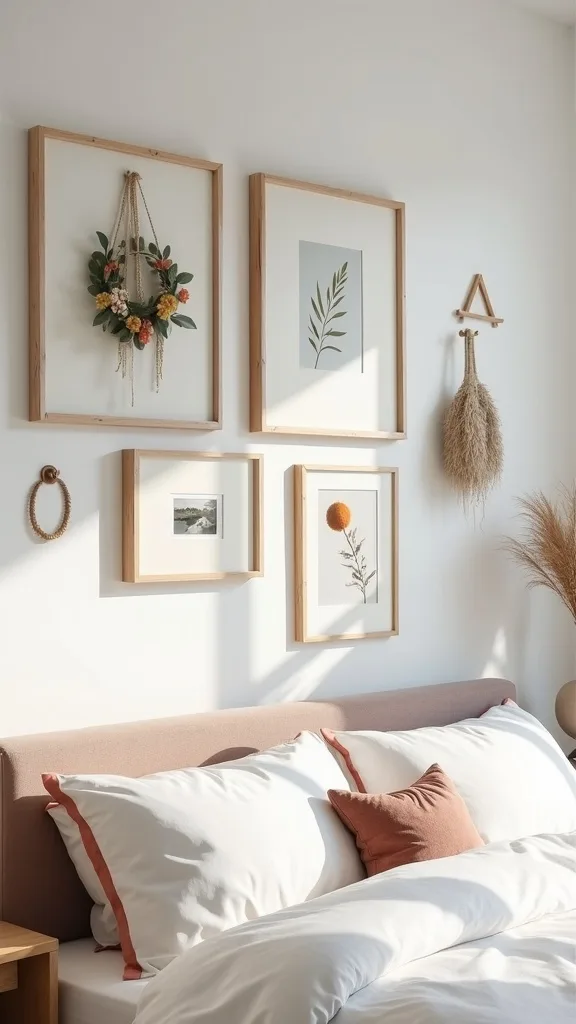
9. Picture wall idea: botanical prints + pressed leaves in thrift frames
This is summer on a wall—light, organic, and a little nostalgic. It works because the greens act like a neutral and calm the bedroom.
Print 3–5 botanical illustrations (public domain is full of them) and pair them with 2–3 real pressed leaves or flowers. You can press leaves in a heavy book for a week, then mount them on cardstock with tiny dots of glue. Mix sizes so it feels collected.
Budget options: thrift frames ($3–$8), cardstock from Dollar Tree, and prints from your home printer. Discount alternative: HomeGoods sometimes has sets of botanical prints—split them up and scatter them.
Pro tip: add one dark frame in the mix to ground all the light paper tones. It’s a small move that makes the wall feel finished.
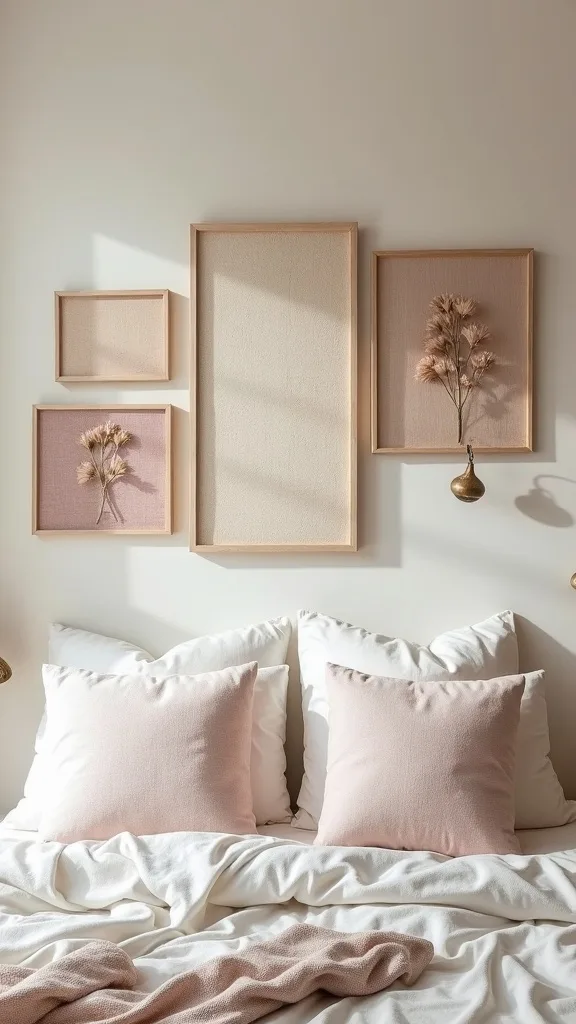
10. Bedroom wall decor idea: fabric panels as art (no frame needed)
Fabric art gives you scale fast for cheap. It works because texture reads expensive, and big art is what most bedrooms are missing.
Pick a lightweight summer fabric—block print, gingham, or a faded scarf. Stretch it over a canvas frame (thrift canvases are perfect) and staple on the back. Hang one large panel as an anchor, then build smaller framed pieces around it.
Budget sources: thrift store scarves ($2–$6), clearance fabric at Joann, or even a pretty tea towel. Discount option: Target often has seasonal textiles that look like boutique finds.
Pro tip: choose fabric with 2–3 colors you can repeat in pillows. That’s how a wall becomes a whole-room story, not just a collection of stuff.
11. How do you create symmetry without making it boring?
Soft symmetry keeps a bedroom restful while still looking styled. It works because the bed is already a symmetrical focal point.
Use two matching frames or prints on the far left and far right edges of your layout. Inside that “bookend,” allow the middle to be playful—different sizes, a round piece, a small shelf. Keep the center of the whole arrangement aligned with the center of the headboard.
Budget trick: buy one matching pair new (like two 11×14 frames) and thrift everything else. That one pair does a lot of visual work. DIY option: print the same photo twice in different crops for a subtle match.
Pro tip: if your wall still feels stiff, rotate one piece slightly (just a hair) or add a round element like a small mirror. Calm doesn’t have to mean bland.
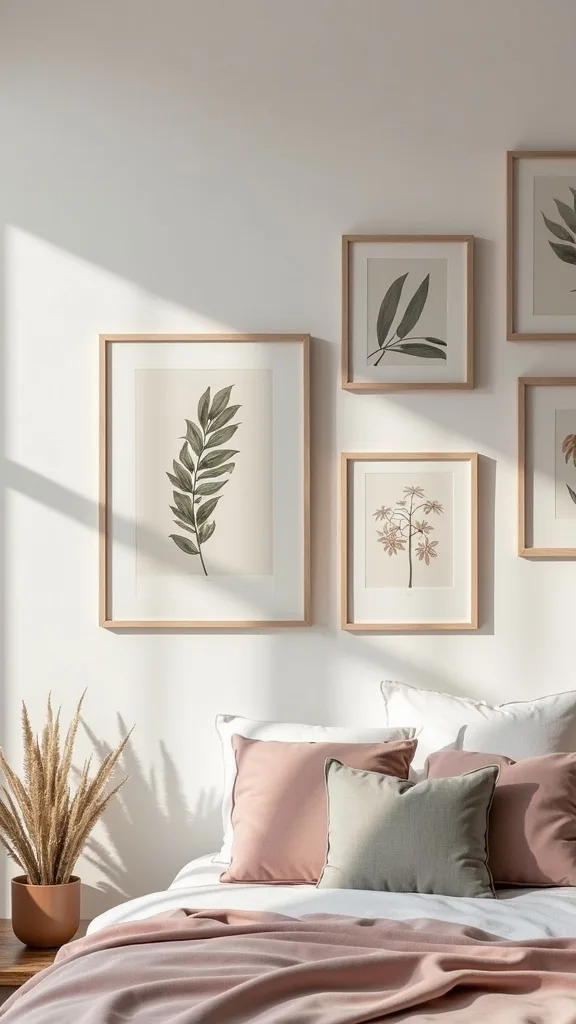
12. Bedroom art display idea: mini mirror as a light booster
A small mirror inside a gallery wall is like adding a window. It works because it bounces light and breaks up all the rectangles.
Find a 10–14 inch mirror (round or arched) and place it near the top third of the arrangement so it catches daylight. Keep it away from direct line-of-sight from the bed if reflections bug you. Pair it with matte prints so the mirror doesn’t compete with glare.
Budget sources: thrift stores often have vintage mirrors for $5–$15. Discount options: IKEA and Target have small mirrors that look clean and modern. DIY: paint a dated mirror frame black or brass.
Pro tip: if your room is dim, pair the mirror with a bedside lamp using warm white light (2700K–3000K — the cosy, yellowish tone you see in most homes). Your wall will glow at night, not glare.
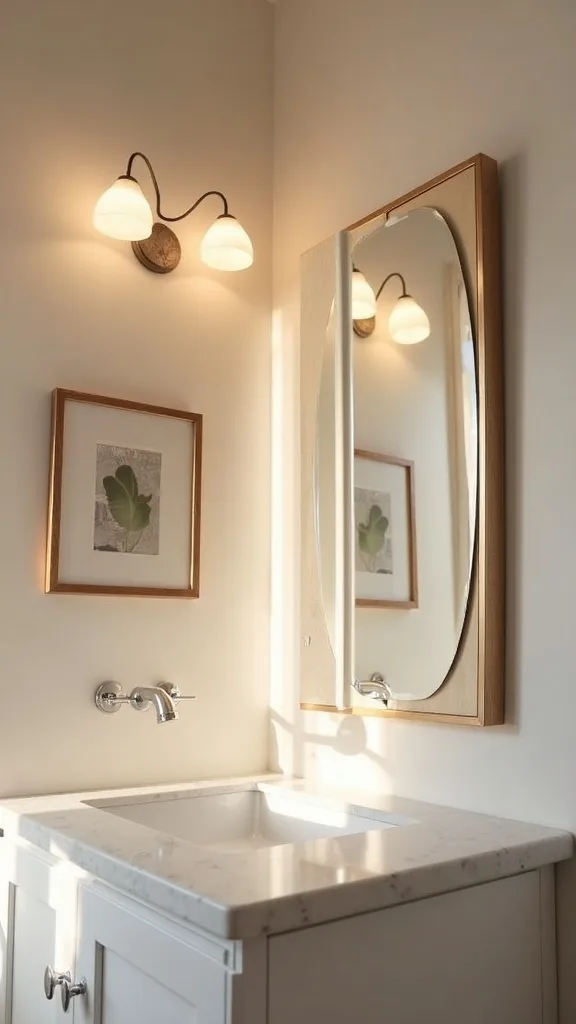
13. Picture wall idea: postcards and travel maps in inexpensive mats
Postcards are tiny, but they hit hard emotionally. This works because a mat turns small paper into “art” with breathing room.
Choose 6–12 postcards (or ticket stubs) and group them in a grid inside larger frames using mats with multiple openings, or DIY your own with a craft knife and thick cardstock. Keep the palette consistent—sun-faded blues, sandy neutrals, and one pop color.
Budget route: thrift a big frame and create a collage mat. Discount route: Amazon multi-opening collage frames are quick if you don’t want to cut. DIY alternative: mount postcards on foam board and clip them with tiny binder clips.
Pro tip: label the back with the date and place. That’s decor with receipts—proof you lived it.
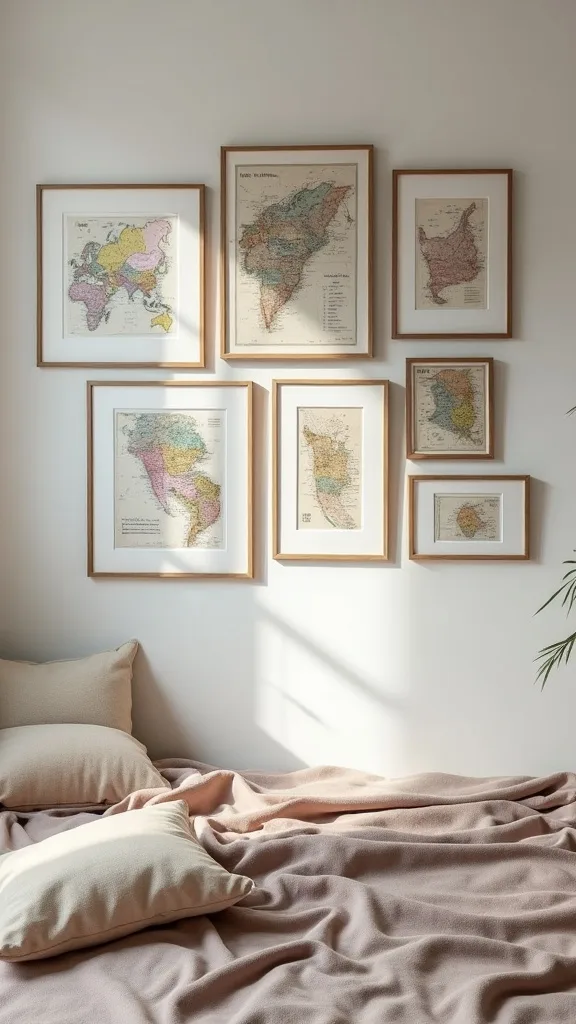
14. How do you hang a gallery wall on textured walls (orange peel, knockdown)?
Textured walls fight you, but they’re not a dealbreaker. It works when you choose the right hanging method and don’t rely on tiny nails.
For light frames, use Command strips and press firmly for 30 seconds, then wait an hour before hanging. For heavier frames, use picture hooks rated for the weight and gently tap until the hook sits flush against the texture. If the frame wobbles, add small rubber bumpers on the bottom corners.
Budget tools: a $10 stud finder (or a strong magnet) saves you from guessing. Thrift hack: if a frame’s hanger is flimsy, replace it with D-rings from a hardware store.
Pro tip: keep your templates up overnight and look again in morning light. Texture casts shadows, and you’ll spot weird spacing before it becomes a permanent annoyance.
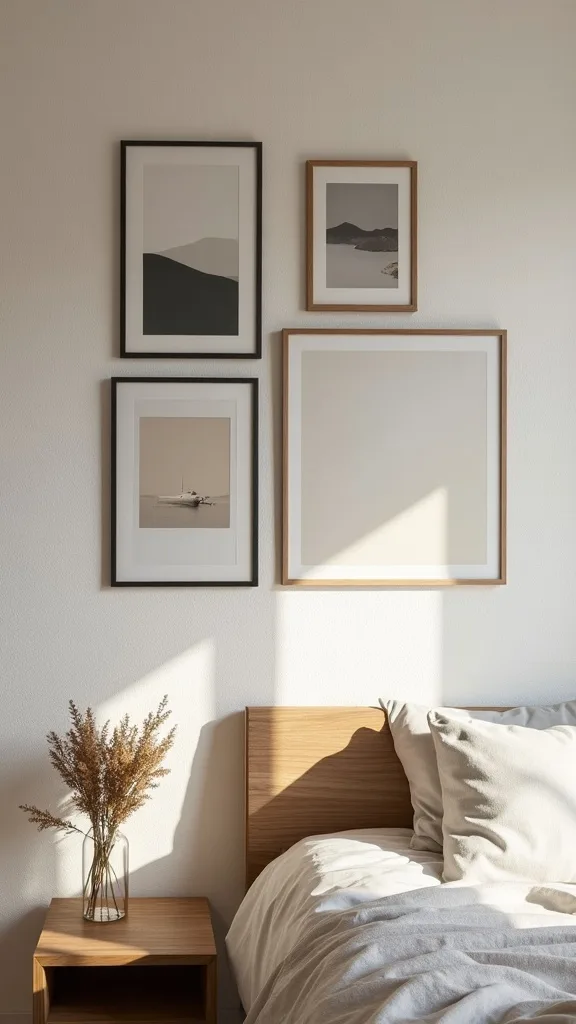
15. Bedroom wall decor idea: 3D woven basket or tray as the ‘unexpected’ piece
One woven piece makes the whole wall feel layered and summery. It works because it adds depth without adding visual noise.
Pick a small basket, tray, or woven wall plate (10–14 inches) and hang it like a frame using a simple hook or wire. Place it near a corner of the layout to soften the rectangle-heavy look. Pair it with a simple line drawing and one photo so it doesn’t feel like a craft store aisle.
Budget sources: thrift stores and flea markets often have these for $3–$12. Discount option: HomeGoods and At Home carry woven sets—split them up across rooms.
Pro tip: repeat the woven texture elsewhere (a basket, a hamper, a jute rug). That repetition is what makes eclectic feel like a plan.
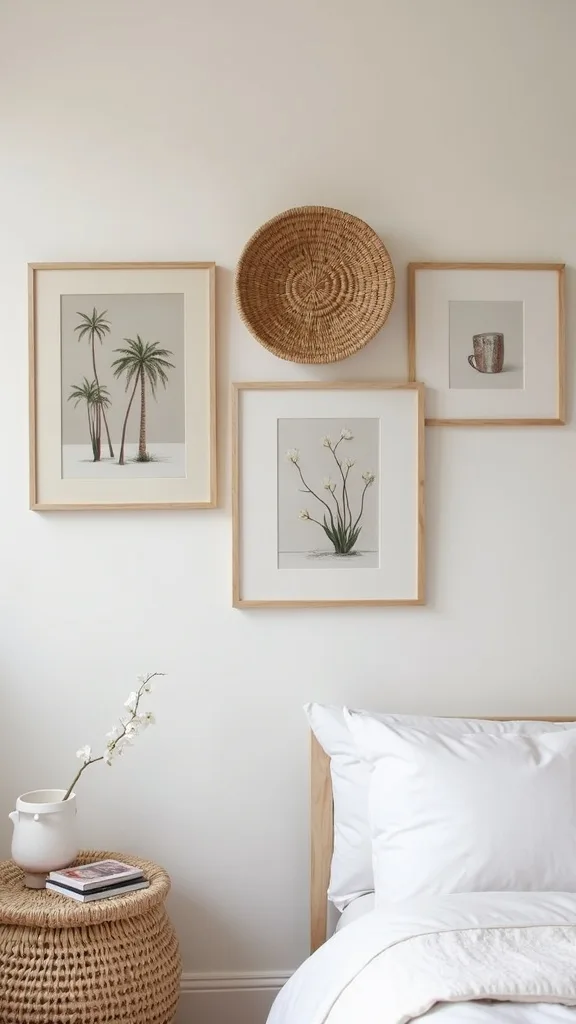
16. How do you make mismatched thrift art look cohesive fast?
Thrift art is a goldmine, but it can look like you grabbed everything with a frame. It works when you edit with one consistent element.
Choose a unifier: all-white mats, all-black frames, or a single accent color pulled from your bedding. Then swap art into those frames, or paint/cover mats to match. If the art is too loud, flip it and use the blank backside as a neutral background for a small photo.
Budget fix: a $6 sample pot of paint can unify a whole stack of frames. Discount option: buy one pack of identical mats online and trim to fit.
Pro tip: keep one “weird” piece that makes you laugh or think. A gallery wall should have at least one conversation starter—even if the conversation is with yourself at 7 a.m.
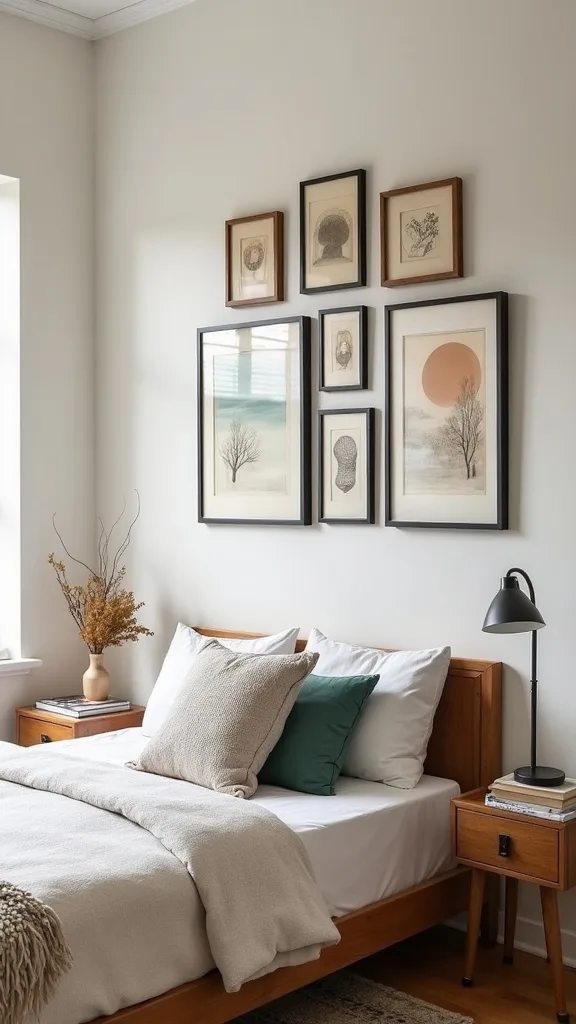
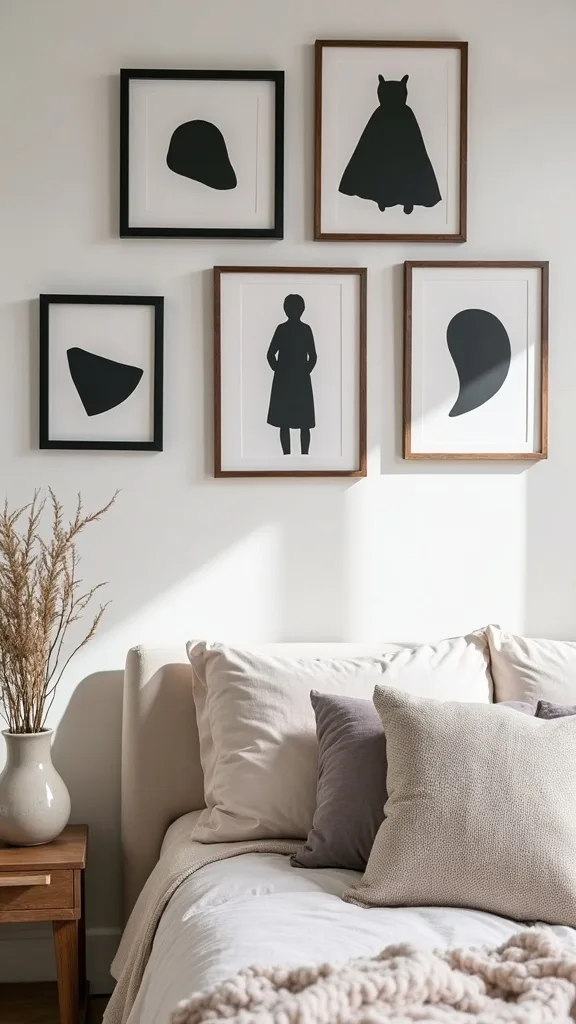
17. Picture wall idea: black paper silhouettes for high-contrast drama
Silhouettes are bold, graphic, and ridiculously cheap to DIY. They work because high contrast reads intentional from across the room.
Cut simple shapes from matte black cardstock—leaves, abstract curves, a profile—then mount on white paper and frame. Keep the shapes oversized so they feel modern, not fussy. Mix 3 silhouette frames with 3 photo frames for balance.
Budget supplies: cardstock and a craft knife from Dollar Tree. Thrift frames with wide mats make this look especially polished. Discount option: Amazon has bulk packs of mat board if you want crisp edges.
Pro tip: if you’re nervous about cutting, trace shapes from a cereal box template first. The goal is clean and confident, not perfect.
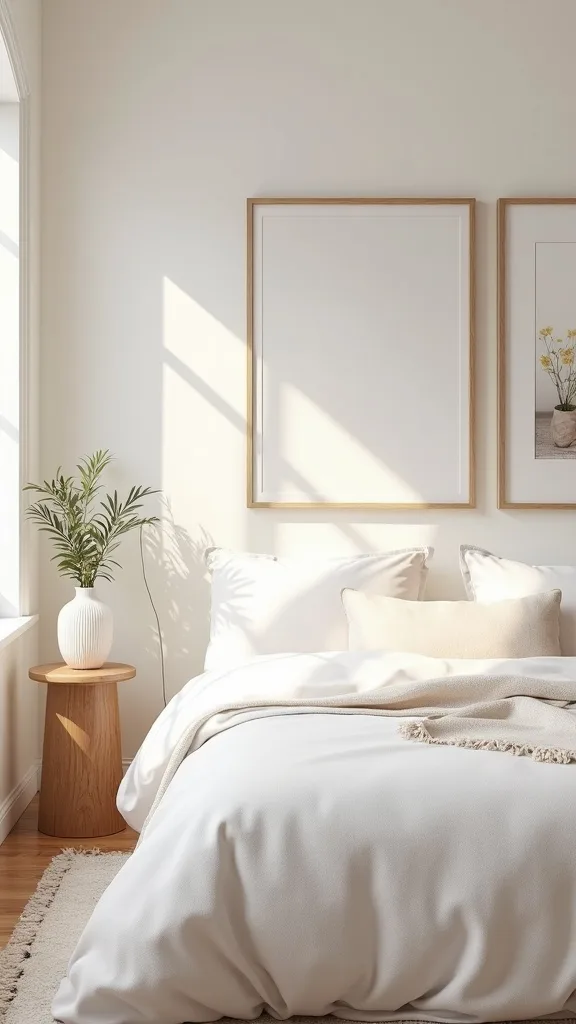
18. Bedroom art display idea: one oversized print + tiny cluster beside it
This layout is a cheat code for small spaces. It works because one big piece does the heavy lifting and the smaller pieces add personality.
Hang one large print (18×24 or 24×36) slightly off-center above the headboard. Then create a tight cluster of 3–5 small frames beside it, keeping them within a 20–24 inch area. The cluster should feel like a “side note,” not a second focal point.
Budget options: buy a digital download on Etsy for $5–$15 and print as an engineering print. Thrift option: big frames show up at Habitat for Humanity ReStore—snag and re-use.
Pro tip: keep the large art calmer (landscape, abstract wash) and let the small pieces be your personal photos. It’s a balanced, livable statement.
19. How do you space frames so it looks professional?
Spacing is what separates “gallery” from “garage sale.” It works because consistent gaps create a visual rhythm.
Aim for 2 inches between frames for a tight, modern look, or 3 inches for a looser, airy feel. Use a scrap of cardboard cut to your chosen gap as a spacer while you tape templates or hang. Keep the outer edges of the overall arrangement relatively even—think gentle rectangle, not jagged coastline.
Budget tools: a $2 mini level from Harbor Freight or the level app on your phone. Discount option: laser levels are great, but not required.
Avoid “touching frames” unless you’re deliberately doing a layered salon-style wall. Pro tip: once you choose a gap, commit. Consistency is what makes thrifted pieces look curated.
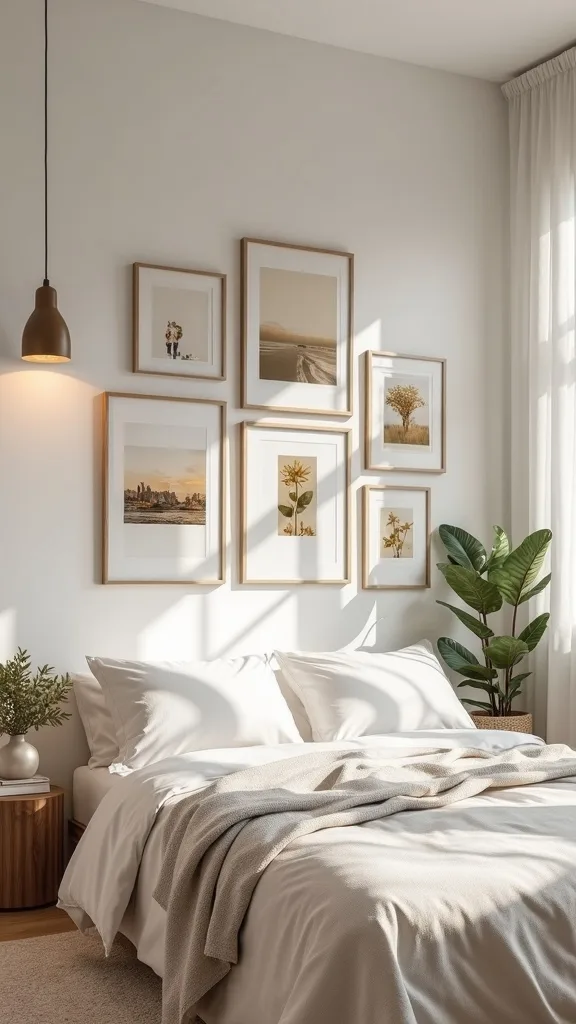
20. Picture wall idea: kids’ art (yes, in the bedroom) done like a gallery
Kids’ art can be the most joyful thing you hang—if you frame it with intention. It works because it brings color without looking childish.
Pick 4–6 pieces with similar color energy (all blues/greens for summer is easy). Put them in identical frames with white mats so the art feels elevated. Arrange them in a neat grid above the headboard or on the side wall if you prefer calmer sleep vibes.
Budget route: thrift identical frames in batches, or buy a multi-pack on Amazon. DIY: scan the art and print it in the same size so every frame matches perfectly.
Pro tip: add one small label frame with the date and age. It’s memory-keeping that doesn’t require a scrapbook—and it makes your room feel like a real home.
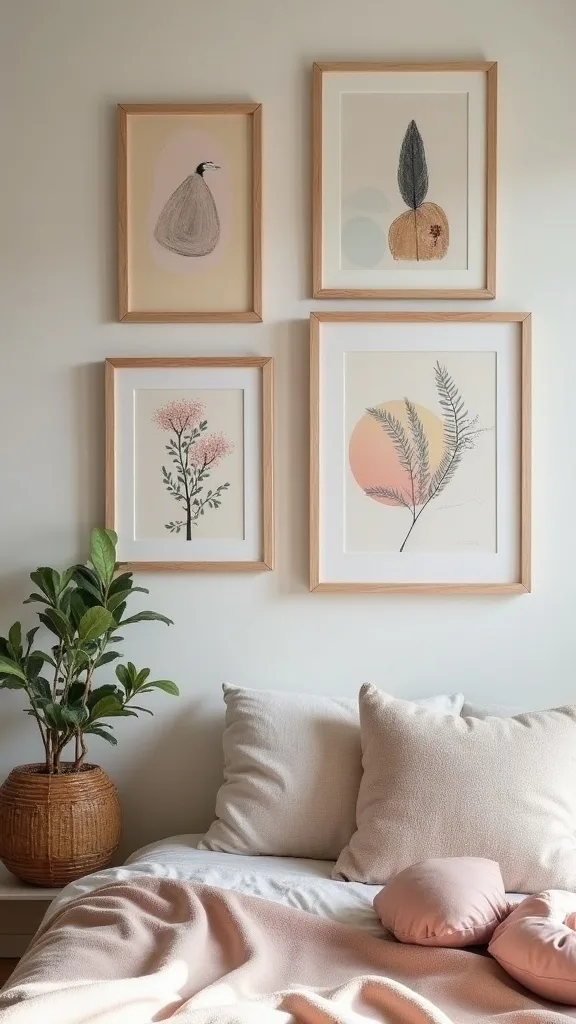
21. Bedroom wall decor idea: add a tiny shelf for a candle or trailing plant
A micro-shelf turns your wall into a living display. It works because it adds dimension and gives you an easy spot to refresh seasonally.
Install a 4–10 inch deep shelf (small!) within the gallery wall, not under it. Style it with one object only: a candle, a small framed photo, or a pothos cutting in a bottle. Keep it lighter weight and secure with proper anchors.
Budget options: thrift a small wall shelf and repaint. Discount option: IKEA has tiny shelves and ledges that blend in. DIY alternative: a simple wood offcut + two small brackets from Home Depot.
Pro tip: if you add a plant, keep it to one trailing variety so it doesn’t turn into a jungle above your pillows. The best walls have breathing room.
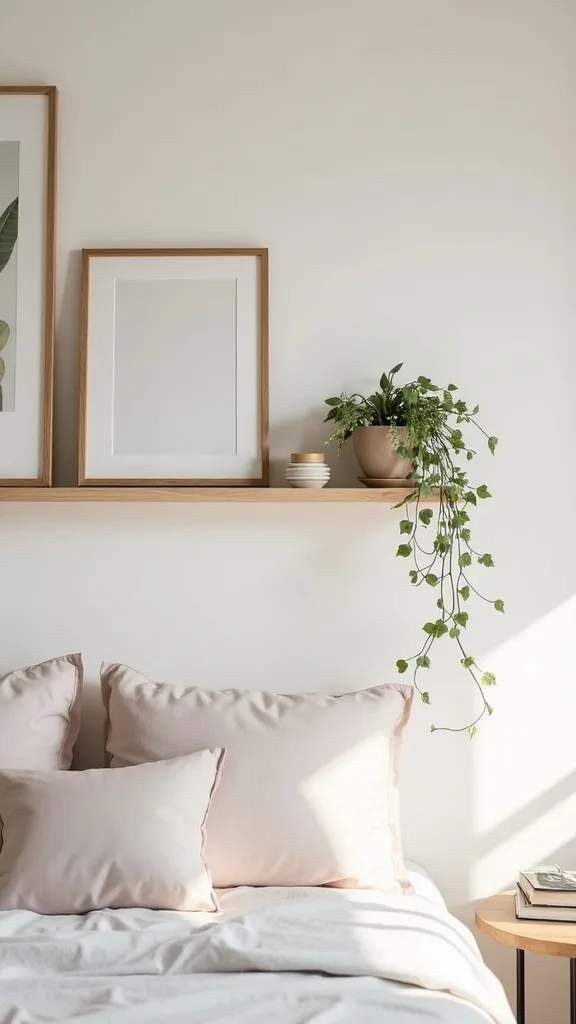
22. How do you incorporate sentimental items without making it look like clutter?
Sentimental doesn’t have to mean messy. It works when you treat memories like art—give them space and a consistent presentation.
Pick 3–5 sentimental items max: a handwritten note, a concert ticket, a wedding invite, a pressed flower. Frame them in the same finish (all black is easiest) and use identical mats. Place them together as a “memory column” on one side of the wall so they read as a mini-collection.
Budget option: thrift frames and cut mats from cardstock. Discount option: Amazon sells mat packs and shadow box frames for thicker items.
Pro tip: photograph the items before framing so you still have a digital copy. You’re not hiding the memory—you’re giving it a proper stage.
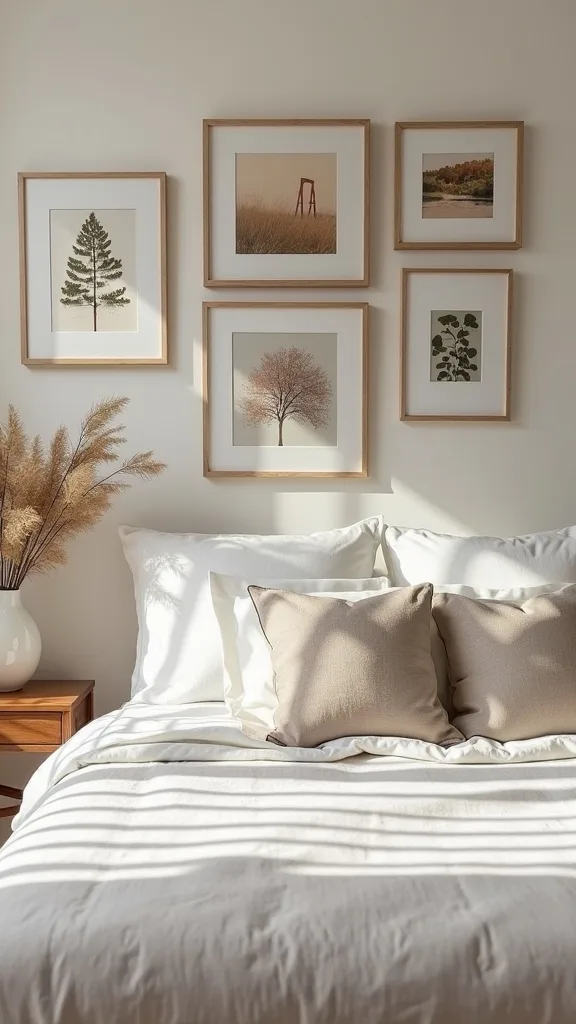
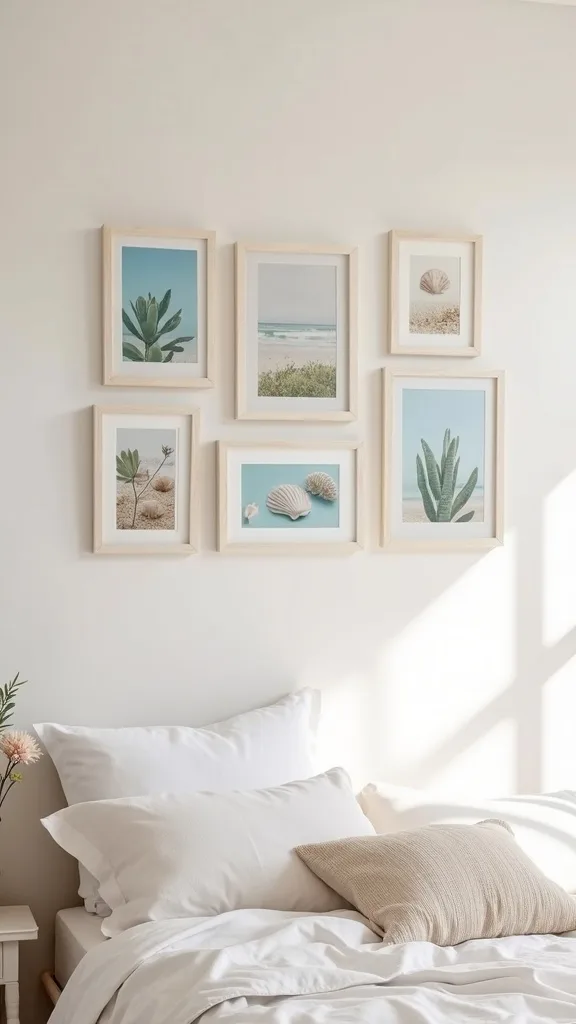
23. Picture wall idea: coastal summer vibe without buying seashell clichés
Coastal can be grown-up and subtle. It works because you’re borrowing the color and texture of the beach, not the souvenir shop.
Use a palette of sand, white, weathered wood, and muted blue. Hang one abstract “wave” print, one black-and-white pier photo, and one textured element like a linen swatch in a frame. If you love shells, keep them minimal—one small shadow box with a few pieces, not a whole bucket.
Budget options: thrift frames + free beach photos you took yourself printed at CVS. Discount option: Target has affordable abstract art prints—mix one in with thrift finds.
Pro tip: add a small brass frame to warm up all the cool tones. That tiny bit of shine makes the wall feel intentional, not themed.
24. How do you light a gallery wall in the bedroom without harsh glare?
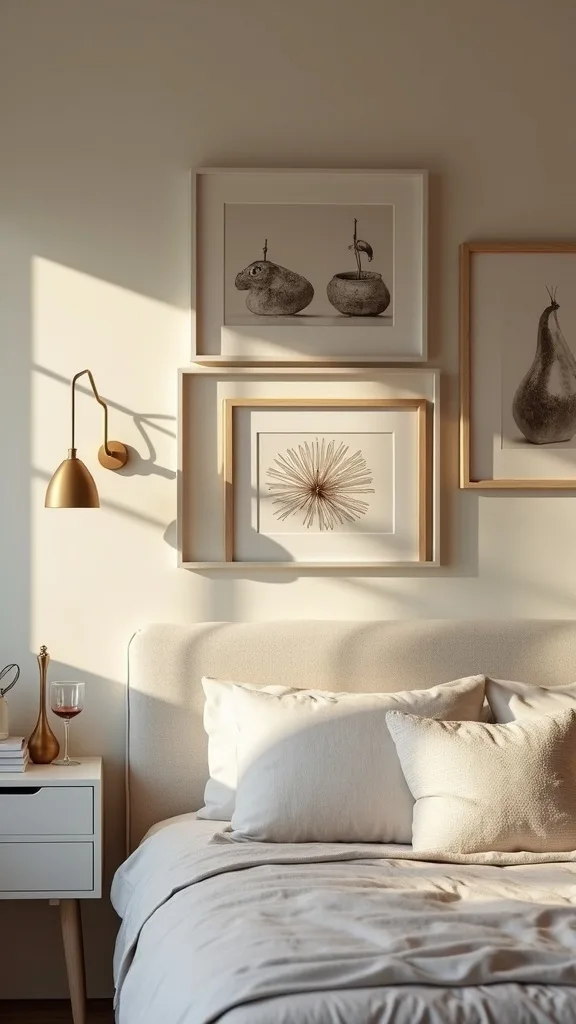
Good lighting makes art feel like art. It works when the light is warm, directional, and not blasting straight into glass.
Add a plug-in picture light above the arrangement, or angle a bedside lamp toward the wall. Choose warm white light (2700K–3000K — the cosy, yellowish tone you see in most homes) so skin tones and wood frames look natural. If glare is an issue, swap glossy prints for matte, and avoid placing lights directly opposite windows.
Budget option: thrift a swing-arm wall lamp and use a smart bulb. Discount option: Amazon has affordable rechargeable picture lights you can mount without wiring.
Pro tip: dimmable is worth it. At night, low light turns the wall into a soft backdrop instead of a spotlight. Your bedroom should feel like a landing pad.
25. Gallery wall tutorial: the fastest hanging order that keeps everything level
The order you hang matters more than people think. It works because you’re building from anchors outward, so small mistakes don’t multiply.
Hang the largest anchor piece first, centered within your taped outline. Next, hang the second-largest piece diagonally opposite to balance weight. Then add mediums to “connect” the anchors, and finish with the smallest pieces to fill gaps. Step back every two frames—seriously—and check spacing from the doorway (the angle you’ll see most).
Budget tools: painter’s tape, a pencil, and a phone level app. Thrift-friendly upgrade: swap cheap sawtooth hangers for D-rings so frames don’t tilt.
Pro tip: keep a tiny jar of spackle and a paint sample on hand for oops moments. Hanging art is a skill, and every wall teaches you something—today’s effort becomes tomorrow’s confidence.
Final Thoughts
A great wall isn’t about having the “right” art. It’s about choosing a layout, repeating a few elements, and letting your finds look like they belong together. That’s a skill—one you get better at every time you hang another frame.
If you want the quickest win, do this: pick one anchor piece you already own, thrift two frames this week, and build outward from there. Keep your spacing consistent, keep the bottom edge 6–8 inches above the headboard, and give yourself permission to edit.
Today’s action: clear your bed, lay out every frame you own, snap an overhead photo, and tape a 60–72 inch “invisible rectangle” above your headboard so you can start arranging tonight.
What I’d Do Differently
When I first tried this, I treated the wall like a puzzle I could solve while standing on a stool with a hammer. My specific mistake: I started with the smallest frames because they felt “low risk,” and I chased the layout around the wall until the whole thing drifted to the left like it was trying to escape the bed. I ended up with five extra holes, two frames that were mysteriously higher than everything else, and a headboard area that looked busy but not finished. The correct approach is boring—but it works: hang the largest anchor first (centered), then balance with a second large piece, and only then let the small frames fill in the gaps.
I also wish I’d known how much difference mats make. A $2–$4 mat can turn a tiny thrifted print into something that looks framed-on-purpose instead of framed-because-that’s-the-frame-you-found. If you do nothing else, pick a gap size (2–3 inches), stick with it, and hang your anchors today.
Products I Recommend for This Project
Here are some of my favourite products to help you bring these ideas to life:
- Command Picture Hanging Strips (Variety Pack) — Great for renters and for testing layouts without committing to extra holes.
- CRAFTSMAN 25 ft Tape Measure — Makes it easy to keep your layout width and the 6–8 inch headboard gap consistent.
- DEWALT 9″ Magnetic Torpedo Level — Helps you level frames quickly (especially the anchor pieces) without fussing.
- Rust-Oleum Painter’s Touch 2X Ultra Cover Spray Paint (Metallic) — Instantly unifies mismatched thrift frames into one cohesive finish.
- Brightech Litespan LED Floor Lamp (dimmable) — A simple way to wash the wall with warm light and reduce harsh overhead glare.