
This post contains affiliate links. As an Amazon Associate, I earn from qualifying purchases at no extra cost to you.
Summer mornings move fast. The sun is already bright, the kitchen is already warm, and you’re already stepping over yesterday’s clutter to get to the coffee. A home coffee bar fixes that in one decisive corner. It turns the first five minutes of your day from scavenger hunt to smooth routine.
This guide breaks the space down like a real designer would: the bones first, then the soft layers, then light, then the finishing objects. You’ll get practical coffee bar ideas that work in actual kitchens, not staged ones, plus small details that keep the setup clean and calm through humid summer weeks.
This is for renters, small-space kitchens, and anyone who wants a morning coffee area that looks pulled-together without buying a whole new cabinet set.
Inside you’ll see open-shelf nooks, cart setups, built-in looks you can fake, and tiny upgrades—like hooks, trays, and one plant—that change the feel instantly. You’ll also get one thing to avoid so your station doesn’t become another dumping zone.
Below are 25 Coffee Bar Ideas & Home Coffee Station Setup that make your kitchen feel lighter, faster, and more intentional every single morning.
1. Open-shelf espresso nook with hooks, chalkboard menu, and one plant
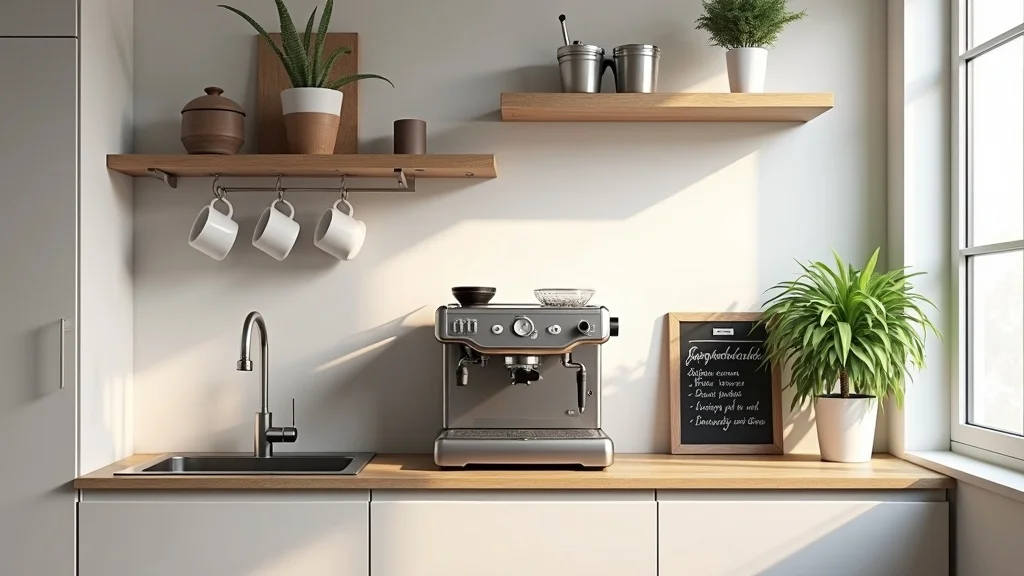
This is the classic setup for a reason. Open shelving keeps the routine visible, and the hooks turn mugs into wall decor that earns its keep. Start with a 24–30 inch wide slice of counter near an outlet, then mount two shelves 14–16 inches apart so your espresso machine and canisters breathe. Add a rail with S-hooks under the lower shelf for mugs, and keep the counter clear except for a tray that holds the tamper, scale, and sugar. Choose shelves in light oak or painted white for a summer feel, and use matte black hooks to echo the machine. Hang a small chalkboard menu for drink options or the week’s beans; it makes the nook feel like a destination. Finish with a pothos or small philodendron in a simple pot—greenery softens all the hard edges and makes the whole station feel awake.
2. Where should a coffee station go in a kitchen?
The best location is the spot that doesn’t fight your traffic. Place your coffee station setup on the edge of the work triangle—close to the fridge for milk, close to the sink for rinsing, and out of the main prep lane. Claim a corner counter or a short run beside the pantry so you can stand, brew, and move on. If outlets are scarce, choose the wall with the least appliance competition and add a slim surge protector mounted under the cabinet so cords don’t sprawl. Keep the “wet” tasks near the sink: a small rinse cup, a spoon rest, and a microfiber cloth folded in a dish. Then keep the “dry” tasks in one zone: beans, filters, and mugs. This separation keeps your home coffee bar from feeling sticky by noon. Avoid placing it right next to the stove—grease and coffee oils make a stubborn film that turns your pretty shelves dull.
3. How much counter space do you need for a functional coffee bar?
Most setups thrive on less space than you think. A clean, efficient station needs about 24 inches of width and 18 inches of depth—the footprint of a small appliance plus elbow room. Measure your machine, then add 6 inches on one side for a canister and spoon, and 6 inches on the other for a catch-all tray. If you’re working with a coffee nook kitchen corner, angle the tray so it creates a clear landing zone for your mug. Add vertical storage immediately: one shelf or one peg rail changes everything. Choose one “daily” mug set and store the rest elsewhere so the station stays breathable. Materials matter here: a wipeable tray in melamine, metal, or sealed wood keeps summer condensation from leaving rings. The upgrade is simple—add a narrow runner under the tray to visually anchor the station and disguise minor drips without looking fussy.
4. How do you set up a coffee bar in a small kitchen without clutter?
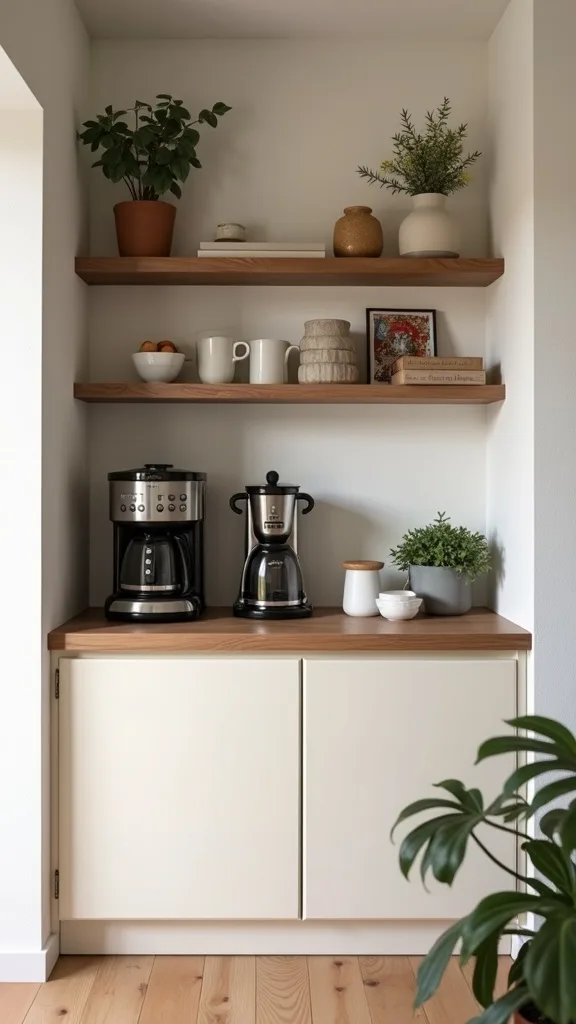
Small kitchens don’t need less coffee. They need stricter editing. Limit the counter to three items: the machine, a tray, and one canister. Everything else goes up or away. Mount a slim shelf and a hook strip so mugs and tools live vertically, not in piles. Use one lidded bin for pods or filters and label it in plain black text so it reads calm, not chaotic. Choose a single finish—brass, black, or stainless—and repeat it across hooks, canisters, and scoop. That repetition makes tight spaces feel intentional. For textiles, keep it minimal: one washable bar towel hung on a hook, not draped. Then add lighting that doesn’t take space, like a plug-in sconce or under-shelf puck in warm white light (2700K–3000K — the cosy, yellowish tone you see in most homes). Avoid open baskets here; they swallow small tools and invite visual noise.
5. Can you build a coffee bar with open shelving on a budget?
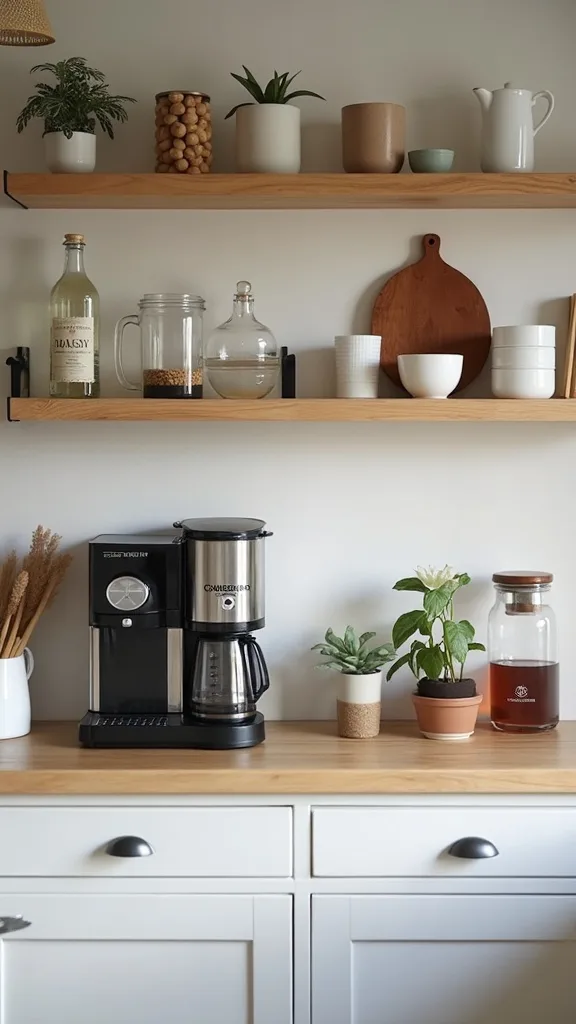
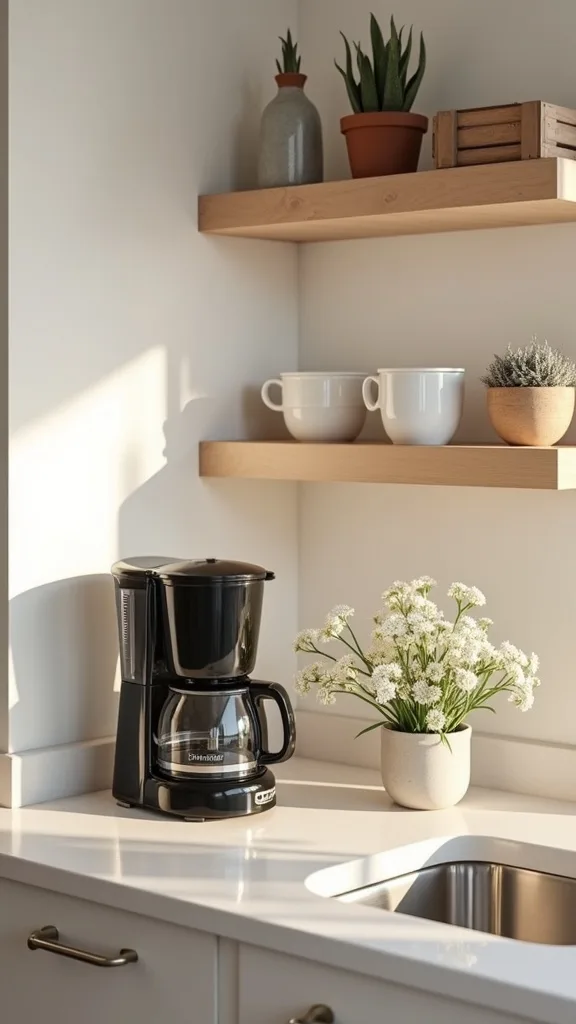
Yes, and it looks better when it’s simple. Two basic wall shelves and a mug rail create the whole frame for under $100 if you shop smart. Use 1×8 pine boards cut to 24–36 inches and stain them a warm honey tone, or paint them the same white as your trim for a built-in effect. Add affordable L-brackets and mount into studs; if studs don’t align, use heavy-duty wall anchors rated for the load. Keep shelf styling restrained: canisters in matching shapes, a stack of napkins, and one jar of stir sticks. On the counter, corral everything on a thrifted tray—wood, metal, even a shallow baking sheet works. The pro move is to hide the ugly: mount a power strip under the shelf so cords drop straight down behind the machine. Avoid mismatched canisters with loud labels; they make “budget” read like “random.”
6. What do you put on a coffee bar besides the machine?
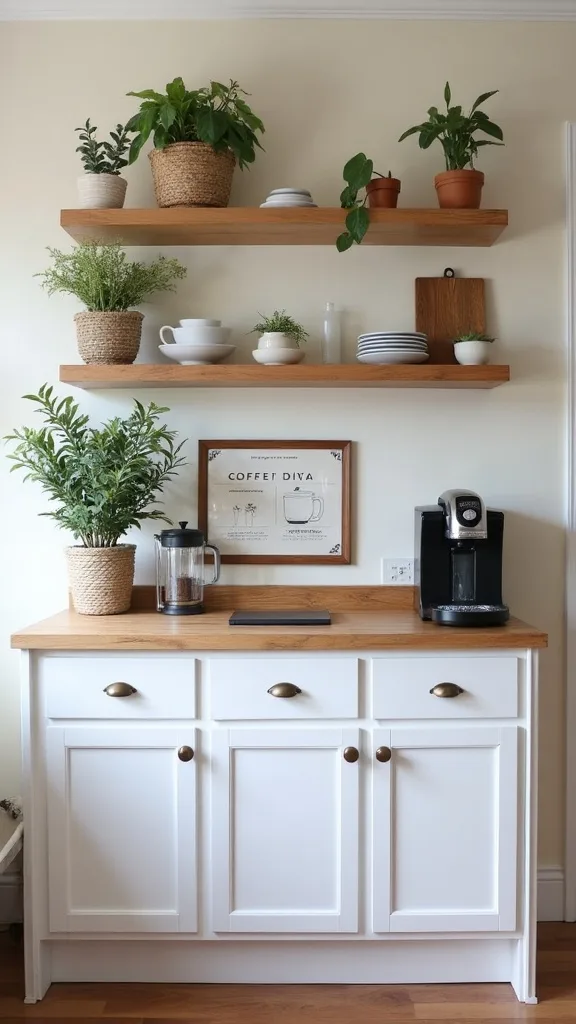
A good station is built around the five daily moves: brew, sweeten, stir, serve, wipe. That means you need storage for beans or pods, sugar, a spoon, and a cloth—nothing more. Put the extras behind a door so the counter stays quiet. Use one lidded jar for sugar and one airtight canister for beans; the lids matter in summer because humidity steals flavor fast. Keep stir spoons in a short crock that won’t tip, and add a small dish for used spoons so the counter doesn’t get sticky. For serving, stack saucers vertically in a plate stand or keep them off-site if you never use them. Add one object with personality—a tiny framed print or a chalkboard note with today’s brew. The upgrade is a slim drawer organizer dedicated to coffee tools so you stop losing the scoop. Avoid leaving syrups out if you don’t use them daily; they attract dust and look cluttered.
7. How do you style a coffee nook kitchen corner so it looks built-in?
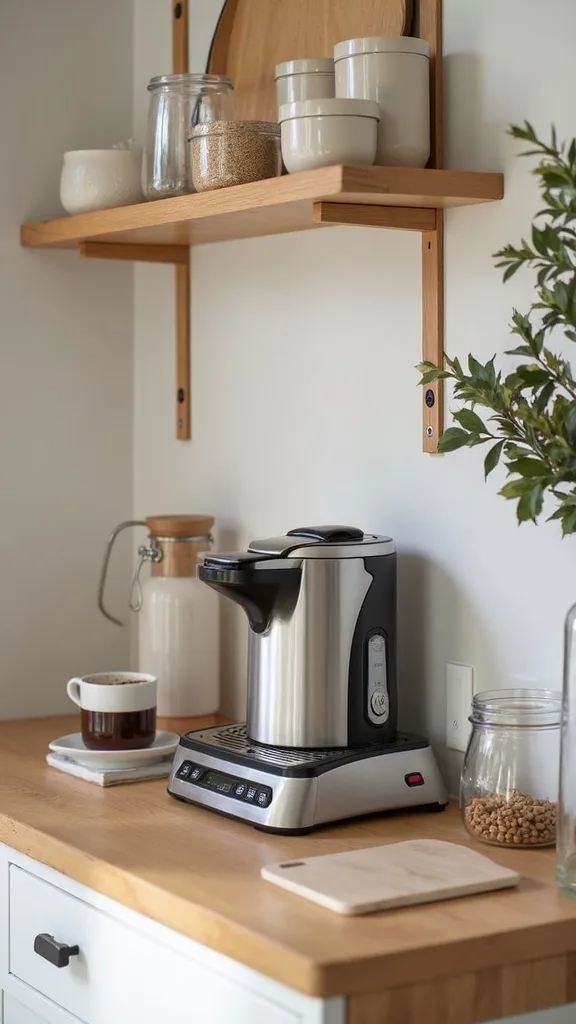
The built-in look comes from alignment and repetition. Center the machine under the shelves, line up canisters, and keep your heights tidy. Add a back panel effect by leaning a cutting board or slim piece of beadboard behind the machine; it creates a visual “wall” without construction. Choose a tight palette: warm wood + matte black + cream ceramics reads timeless and calm. Bring in textiles with purpose—one small washable runner in a flat weave to soften the counter edge and catch drips. Then add lighting that feels like a room, not a utility zone: a small lamp with a linen shade is the secret weapon for a morning coffee area. When the lamp is on, the station looks intentional even if the rest of the kitchen is still asleep. The pro upgrade is to add matching shelf edging or a thin rail under the shelf for cohesion. Avoid over-styling with fake café signs; it dates the space fast.
8. How do you organize mugs without filling cabinets?
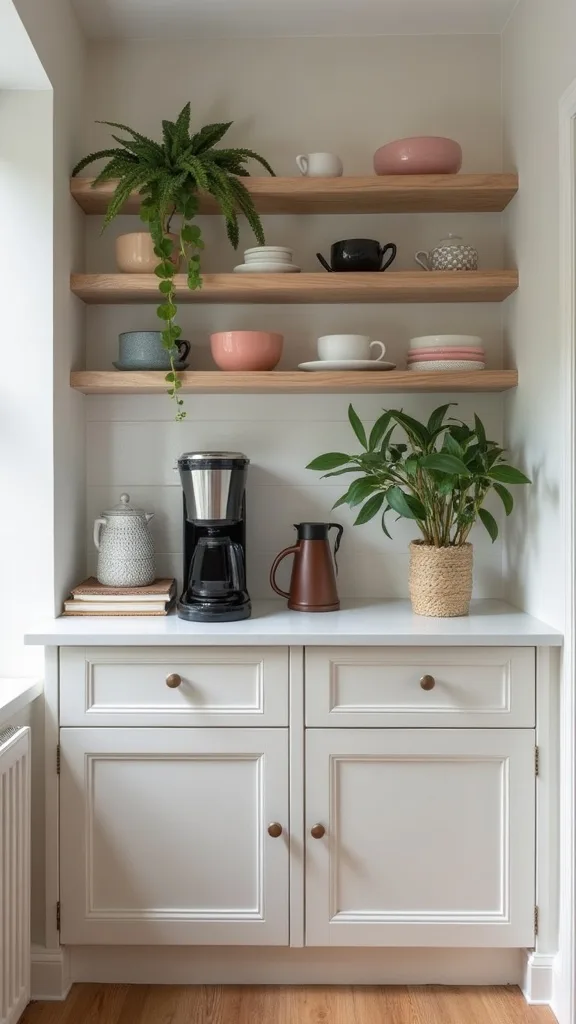
Mug storage is where most stations either shine or collapse. Hang everyday mugs on hooks under a shelf so you can grab them one-handed. Keep the count honest: two mugs per coffee drinker plus two guests is enough for daily life. Store sentimental extras in a high cabinet so they don’t become clutter. If hooks aren’t possible, use a vertical mug tree that holds 6 mugs and occupies a small footprint, then place it on a tray so it feels contained. Choose mugs that match in shape or color; even inexpensive sets look elevated when they repeat. For summer, lighter ceramics in cream, sand, or pale gray keep the nook airy. The upgrade is adding a drip tray or small mat under the mug zone so drips don’t land on the counter. Avoid hanging heavy stoneware on weak adhesive hooks; it fails at the worst moment.
Cost & Materials Estimate
Most kitchen coffee stations land between a simple $75 refresh and a more complete $250–$600 setup, depending on shelving and whether you’re adding lighting.
| Item | Estimated Cost | Where to Buy |
|---|---|---|
| Set of 2 wall shelves (24–36 in) | $35–$90 | IKEA |
| Mug hooks/rail set (6–10 hooks) | $12–$35 | Amazon |
| Airtight coffee canisters (set of 2) | $18–$45 | Wayfair |
| Counter tray (approx. 12×16 in) | $15–$40 | Home Depot |
| Small table lamp + bulb | $22–$60 | Target |
| Surge protector + cord clips | $18–$45 | Lowe’s |
Total estimated cost: $120–$315 Save money by DIY staining simple pine shelves; splurge on airtight canisters and a tray you’ll wipe daily.
9. What’s the best lighting for a coffee station that feels cozy in the morning?
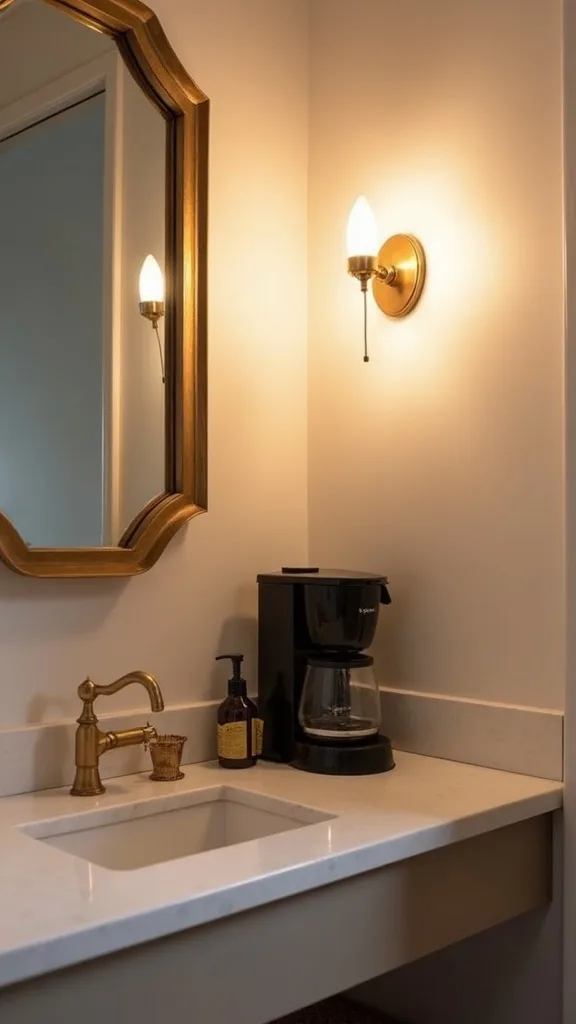
Overhead kitchen lights can feel harsh at dawn. A coffee station deserves its own gentle glow. Add a small lamp or plug-in sconce near the shelves, and use a bulb in warm white light (2700K–3000K — the cosy, yellowish tone you see in most homes) so the counter looks inviting, not clinical. If you prefer under-shelf lighting, install slim LED bars that wash the backsplash evenly; the goal is soft coverage, not spotlight drama. Pay attention to brightness (measured in lumens): aim for a comfortable glow that lets you read labels without waking the whole house. Pair the light with a simple fabric shade or diffuser so the station feels like a room within the kitchen. The upgrade is a smart plug so the lamp turns on automatically at 6:00 a.m. Avoid cool white bulbs; they make milk look gray and your carefully chosen wood tones look flat.
10. How do you hide coffee cords and still keep things safe?
Cords are the fastest way to make a station look messy. The fix is to give them a path. Mount a surge protector under the shelf or cabinet, then run cords straight down behind the machine with adhesive cord clips. Keep water away from power: place the machine so the cord doesn’t cross the sink route, and store the kettle where it won’t drip onto plugs. If your outlet is off to the side, use a short extension cord and secure it along the backsplash line so it disappears. Choose black cords when possible; they visually recede against most appliances and shadows. The upgrade is a cable box on the floor of a nearby cabinet to hide extra length. This is one of those coffee bar ideas that reads like “designer” because the counter suddenly looks calm. Avoid daisy-chaining multiple power strips; it’s unsafe and looks sloppy.
11. How can a tray make a coffee bar look instantly cleaner?
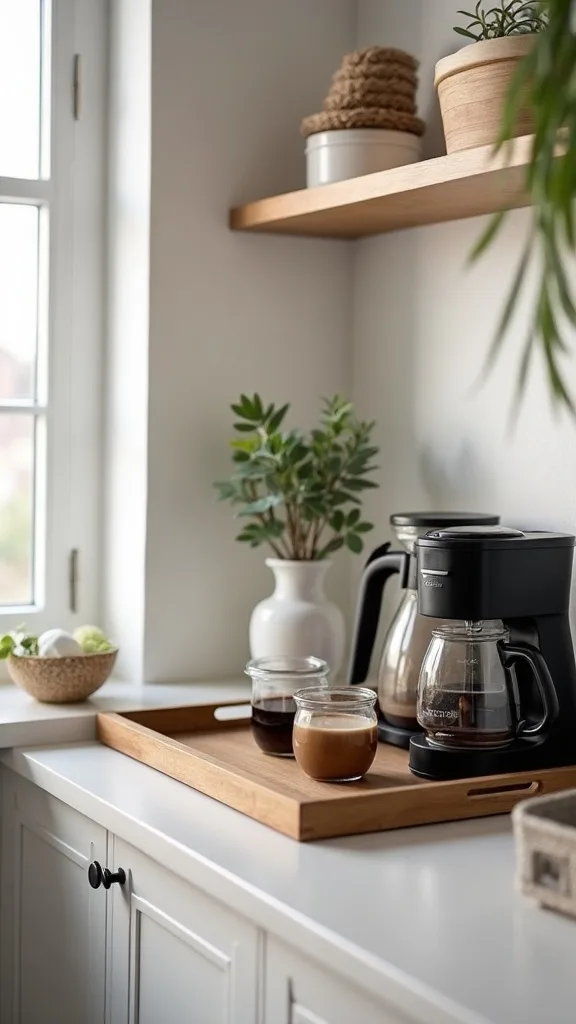
A tray is a boundary. It tells every object where to live, and it gives you a single piece to lift when you wipe down the counter. Choose a tray that’s at least 12×16 inches so it can hold a canister, sugar jar, and spoon crock without crowding. In a small station, pick a tray with a low lip so it doesn’t feel bulky. Materials should handle summer moisture: sealed wood, metal, or melamine. Place the tray slightly forward so you can reach it without bumping the machine. Then style it with a clear hierarchy—tall canister in back, small jar in front, spoon to the side. The pro upgrade is adding a linen napkin stack in a small acrylic holder; it looks crisp and is genuinely useful. Avoid tiny trays that force everything to spill onto the counter; they create clutter instead of solving it.
12. How do you set up a coffee bar for iced coffee in summer?
Summer changes the routine. Iced coffee needs cold storage, extra cups, and a place for condensation to land. Set a small section of the station for cold tools: a jar of straws, a stack of napkins, and a lidded container for sweetener packets. Keep two tall glasses or tumblers on the open shelf so they’re easy to grab. Add a small silicone mat or coaster stack near the front edge; it protects your counter from sweating glasses. If you make cold brew, store the concentrate in the fridge and keep a measuring jigger at the station so portions stay consistent. Choose lighter textiles—thin cotton towels that dry fast and don’t hold odors. The upgrade is a mini ice bucket during weekend mornings when guests are in and out. Avoid leaving milk or creamers on the counter “just for a minute”; summer heat turns that into a real mess fast.

13. What’s the easiest renter-friendly coffee bar setup with no drilling?
Renters can still get the built-in feeling. Use a narrow rolling cart or a slim console table as the base, then add peel-and-stick hooks for mugs on the side panel. A tension rod between two shelves can also hold S-hooks without a single screw. If you have a coffee nook kitchen corner, lean a framed print or cutting board behind the machine to create height and cover scuffed walls. Use adhesive cable clips to tame cords, and choose a tray to keep the top surface disciplined. For storage, add lidded bins on the lower shelf so supplies don’t look messy. Keep colors consistent—white bin, black labels, natural wood accents reads clean and timeless. The upgrade is a battery puck light under the top shelf so the cart feels like a real station. Avoid overloaded adhesive hooks; check weight ratings and stick to lightweight mugs to prevent wall damage.
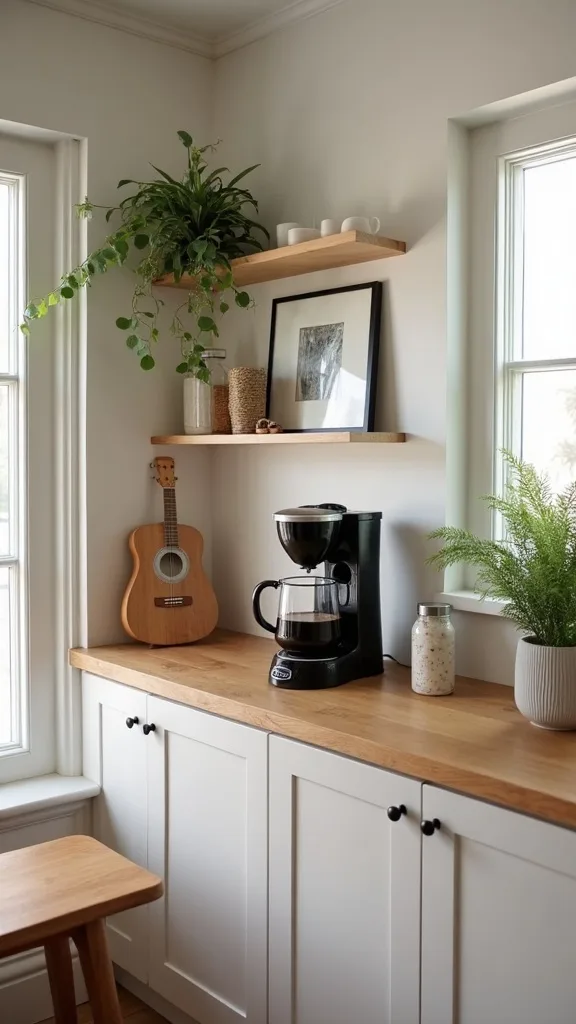
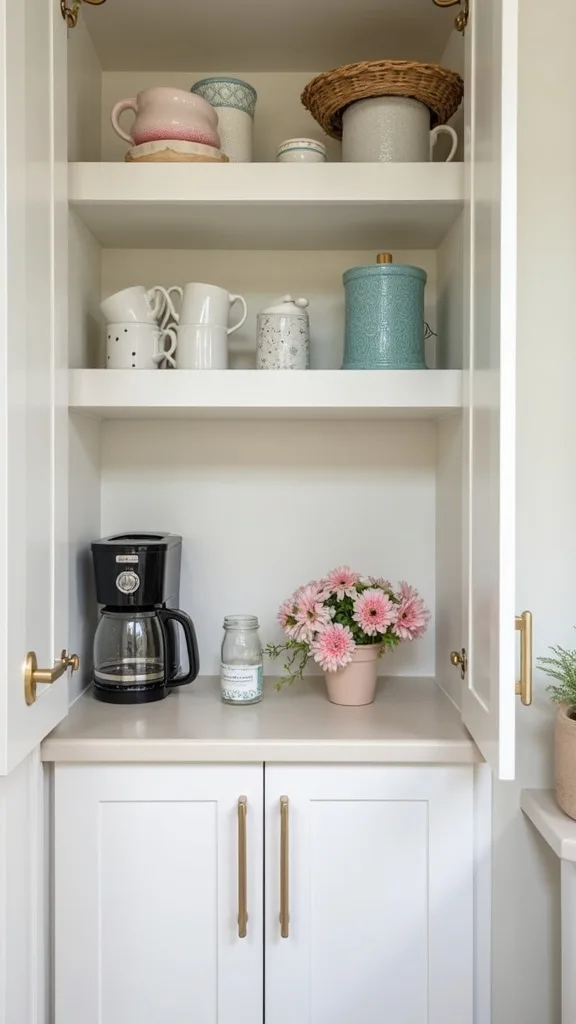
14. How do you create a coffee bar using a pantry cabinet or hutch?
A cabinet-based station is the neatest option for visual calm. Use one shelf for mugs, one for beans and filters, and keep the machine at counter height so you’re not lifting hot liquids. If the cabinet has doors, store the “not pretty” items inside: extra pods, backup syrups, and cleaning tablets. Add a small shelf riser to lift canisters so you can read labels without digging. Line the cabinet surface with a wipeable mat; it protects wood from heat and drips. Add a hook strip on the inside of the door for measuring spoons and a small brush. The upgrade is a door-mounted organizer for tea bags and sweeteners so the counter stays clear. Avoid cramming the cabinet so tightly that you dread restocking; a station should feel easy, not like a puzzle.
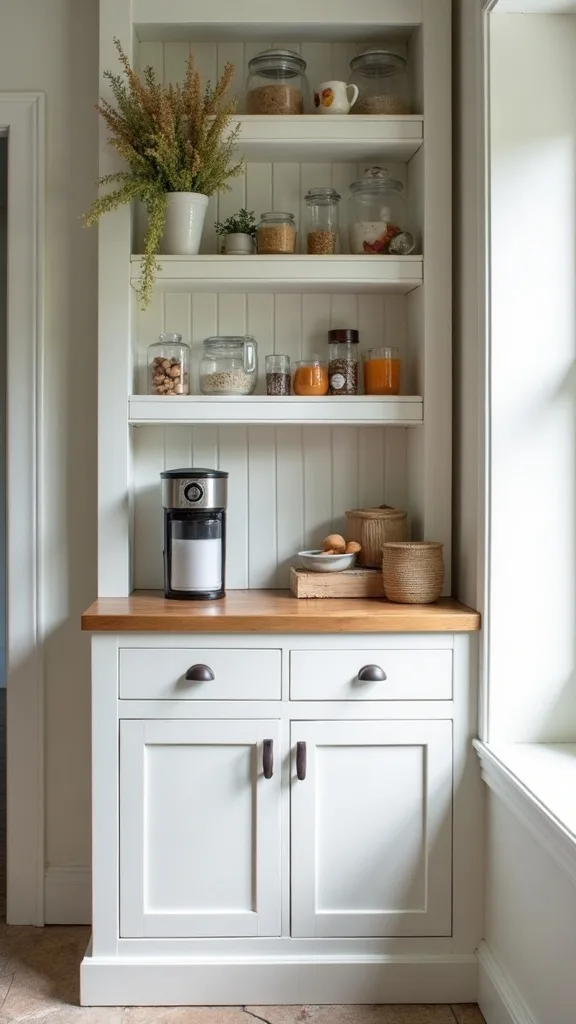
15. How do you keep a coffee station clean when you use it every day?
Cleanliness is design. A station that wipes down fast always looks better, even when life is busy. Build in a cleaning spot: a folded microfiber cloth on a hook, a small jar of machine-safe wipes, and a tiny dish for used spoons. Keep a knock box or grounds container if you use espresso; it prevents the sink from turning into a gritty mess. Choose canisters with smooth sides so you can wipe them with one pass. If you use syrup, decant it into one bottle with a pump and keep it on the tray—one bottle reads intentional, five bottles read chaotic. Add a small trash can nearby if your kitchen layout allows; it saves steps. The upgrade is a weekly reset—five minutes to wash the tray and clean the backsplash line. Avoid porous, unfinished wood trays; coffee drips stain them and the station starts to look tired.
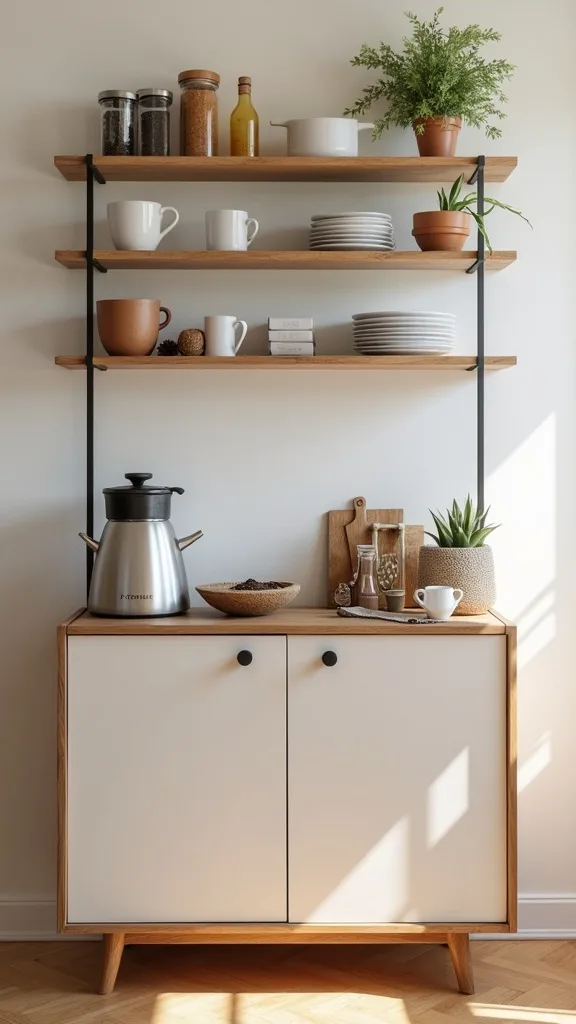
16. What’s one thing to avoid when designing a home coffee bar?
Avoid turning it into a catch-all. The coffee zone attracts keys, mail, sunglasses, and random receipts because it’s a place you visit first. Fix that at the design level. Give every coffee item a home, then make it obvious when something doesn’t belong: keep the counter mostly empty, use one tray, and leave no “extra” open surface for junk to land. If your station sits near the entry, add a separate wall hook or small bowl elsewhere for keys so the coffee area stays sacred. Choose a station finish that shows clutter quickly—white trays and light wood make mess visible, which keeps you honest. Add one small sign like a chalkboard menu, but don’t use it as permission to add more decor. The upgrade is a hard boundary: nothing lives on the coffee tray unless it helps make coffee. Avoid decorative canisters you never open; they become dust collectors in disguise.
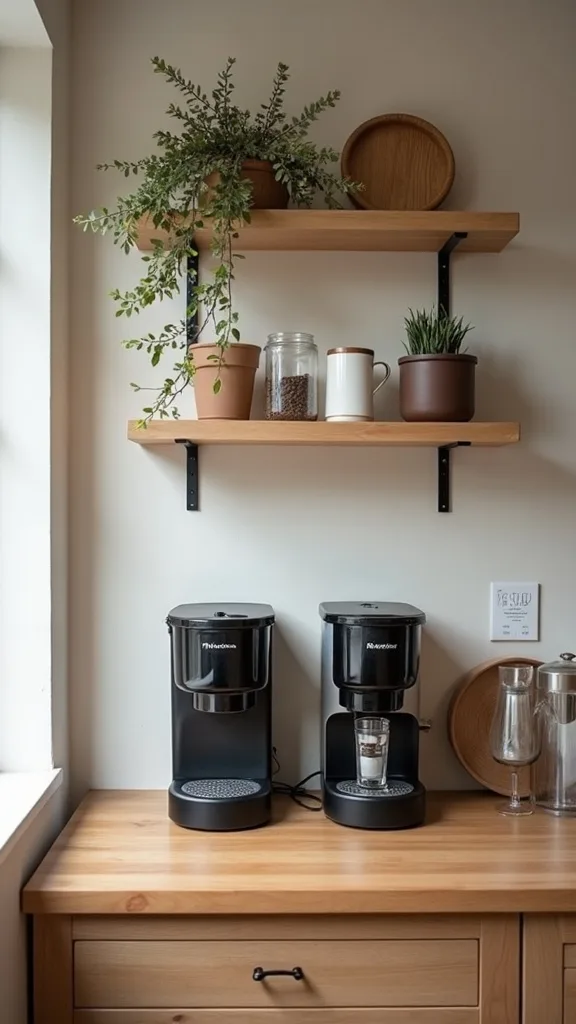
17. How do you make a coffee station feel like part of your decor, not an appliance parking lot?
The trick is to treat it like a vignette with function. Start with the bones: align shelves with cabinet lines, and choose hardware finishes that match nearby pulls. Add textiles next: a small runner or woven mat that echoes your kitchen towels. Then lighting: a lamp or under-shelf glow makes the area feel curated instead of accidental. Finally, add one object that isn’t coffee-related but still belongs—like a framed print, a small bowl, or a plant. Keep shapes simple and repeat materials; a wood tray plus wood shelves feels cohesive. Use a limited palette so the machine doesn’t dominate. If your kitchen is modern, choose black and white accessories; if it’s traditional, lean into warm brass and cream ceramics. The upgrade is a single statement mug on a hook—one focal point, not a crowd. Avoid mixing too many fonts and labels; it reads like a storefront, not a home.
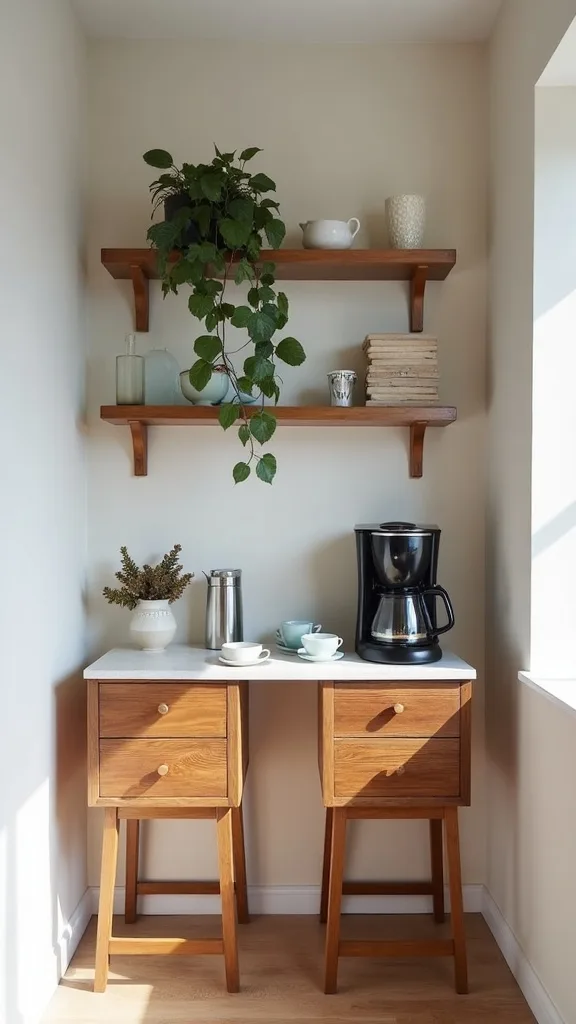
18. How can you set up a coffee bar for two people with different routines?
Two routines need two lanes. Create a left-right split so each person can grab their preferred tools without digging. Put the shared items in the center: sugar, stir spoons, napkins. Give each person their own mug hook and one canister slot—decaf on one side, espresso beans on the other. If one person drinks tea, add a small bin for sachets on the top shelf so it doesn’t invade the coffee tools. Keep the counter clear by storing backups on a lower shelf or in a nearby drawer. Use labels that are calm and minimal so the station stays attractive. Add a small carafe or bottle for water if your machine needs filling; it prevents trips across the kitchen. The upgrade is a two-cup drip mat so both mugs can sit without leaving rings. Avoid “sharing” one tiny spoon cup; it becomes a cluttered tangle instantly.
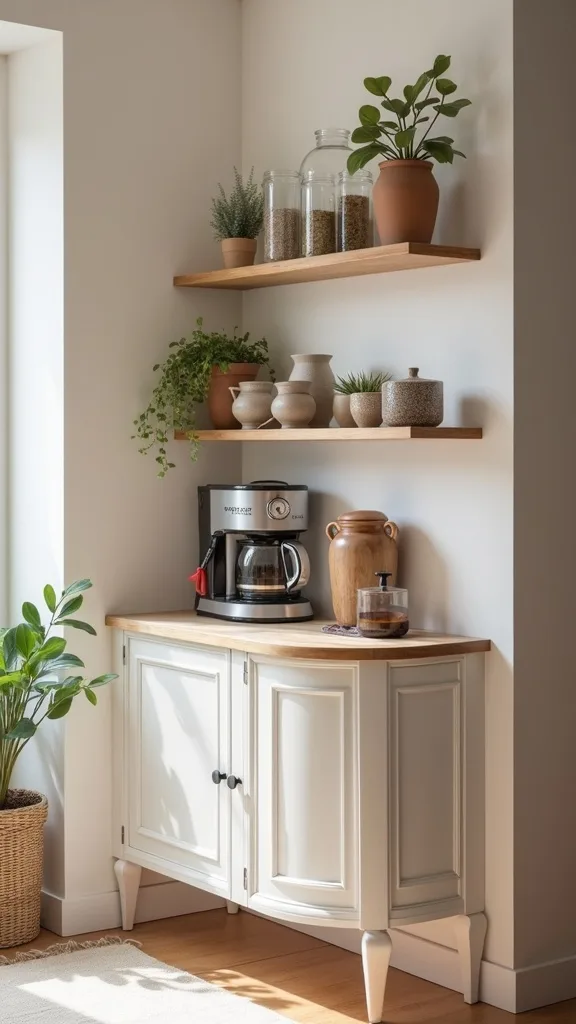
19. How do you choose containers that keep coffee fresh and look good?
Good containers do two jobs: seal and simplify. Choose airtight canisters for beans and grounds, especially in humid summer months when coffee stales faster. Go for matching shapes—two or three cylinders read calmer than a mix of jars. Opaque containers hide visual noise and protect from light; clear jars look pretty but show crumbs and fingerprints. If you love clear, commit to frequent wiping and keep labels minimal. Place the tallest canister on the back of the tray and keep the scoop either clipped to the side or stored inside to avoid loose tools. Stick to a tight palette: matte white, smoke glass, or brushed stainless works in almost every kitchen. The upgrade is a label strip with the roast date; it’s practical and makes the station feel intentional. Avoid oversized canisters that force you to buy huge bags; coffee tastes best when it’s rotated, not hoarded.
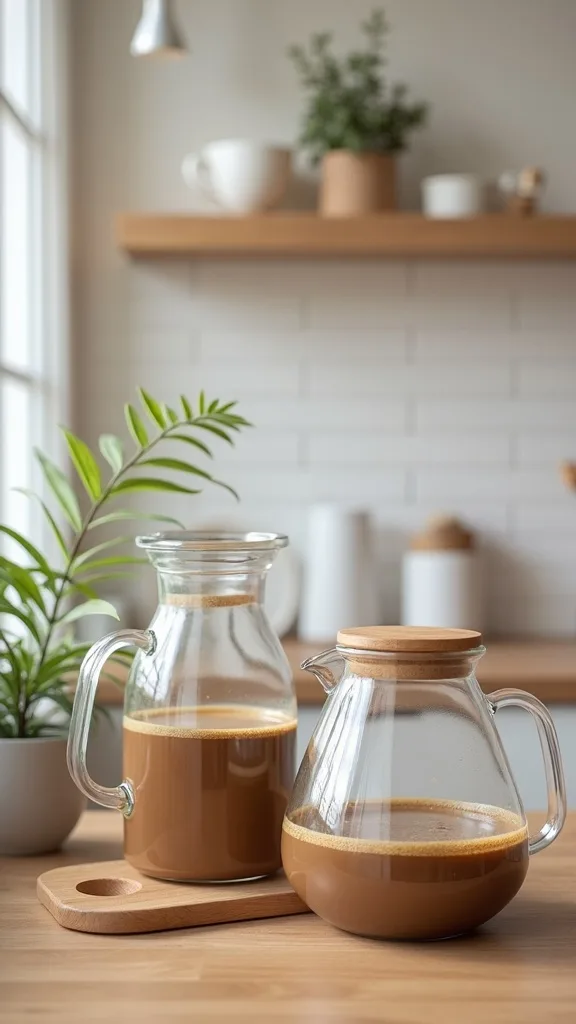
20. What’s a simple way to add a café feel without buying new furniture?
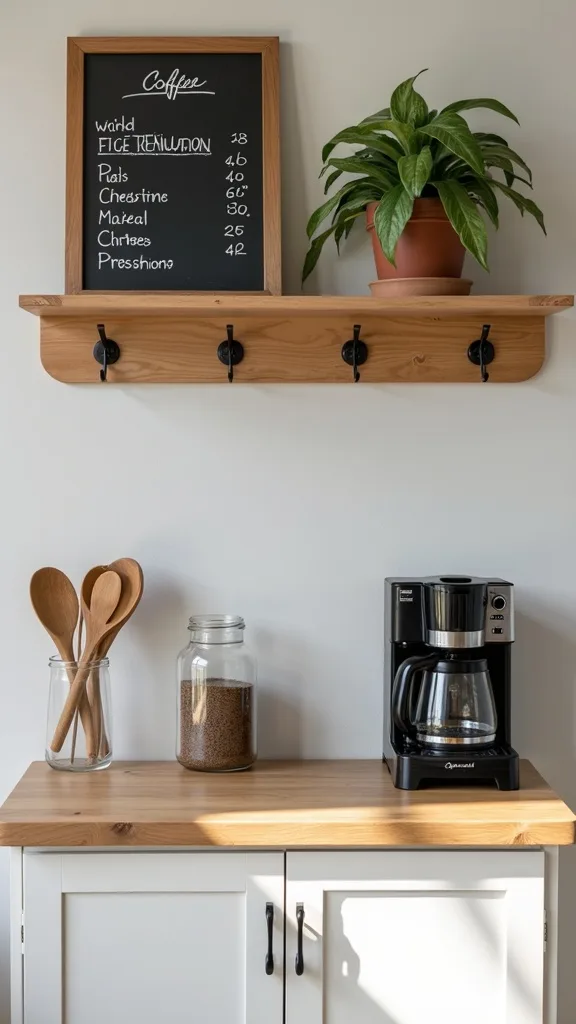
Give the station a “menu moment.” A small chalkboard or framed card makes the nook feel like a place, not a pile. Write three drinks you actually make—iced latte, pour-over, cold brew—and keep it clean and legible. Pair it with one small bell or spoon rest in metal to add a subtle café cue. Then focus on the sensory details: a stack of napkins, a sugar jar with a tiny spoon, and one candle nearby (not on the tray) for weekend mornings. Keep the counter disciplined so the sign doesn’t feel like clutter. Choose one accent color—soft green from a plant, or warm tan from wood—to keep it timeless. The upgrade is a small framed print of coffee or a simple line drawing, leaning against the backsplash. Avoid faux “coffee shop” word art that takes over the wall; it overwhelms the space quickly.
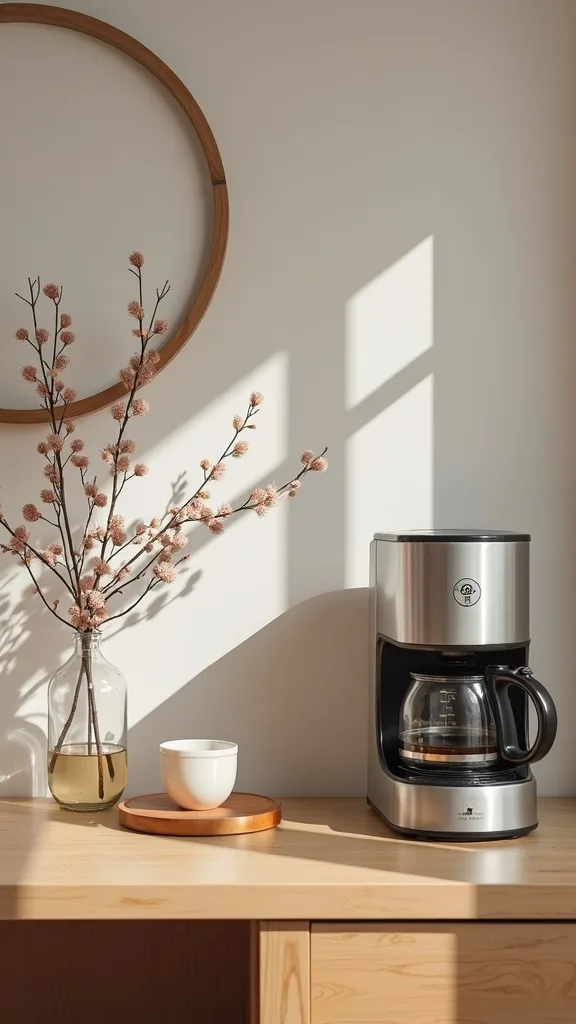
21. How do you create a coffee bar with a rolling cart that doesn’t feel flimsy?
A rolling cart works when it’s styled like furniture. Pick one with a solid top and a rail so nothing slides when you move it. Anchor the look with a tray on the top shelf, then place the machine and canisters inside that boundary. Use the middle shelf for mugs and glasses, and the bottom for bulk storage in matching bins. Add a small runner or shelf liner in a neutral tone; it reduces rattling and adds softness. Park the cart against a wall and treat it like a nook—hang a print above, add a plug-in sconce, and keep cords clipped. If the cart wobbles, tighten hardware and add felt pads under the wheels so it sits steady. The upgrade is a side hook for a towel and measuring spoons. Avoid overloading the top shelf with heavy glass jars; carts tip when weight sits high.
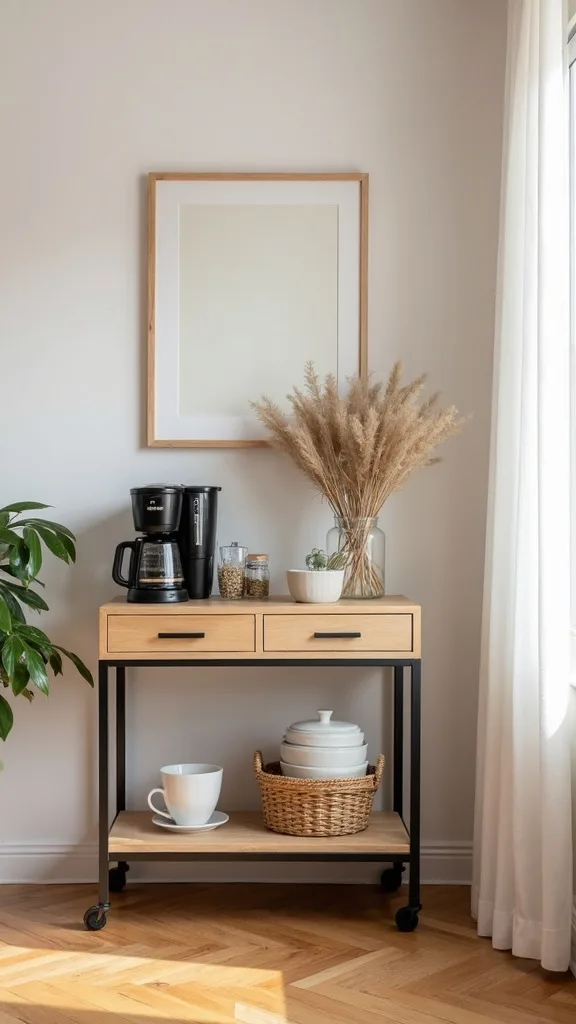
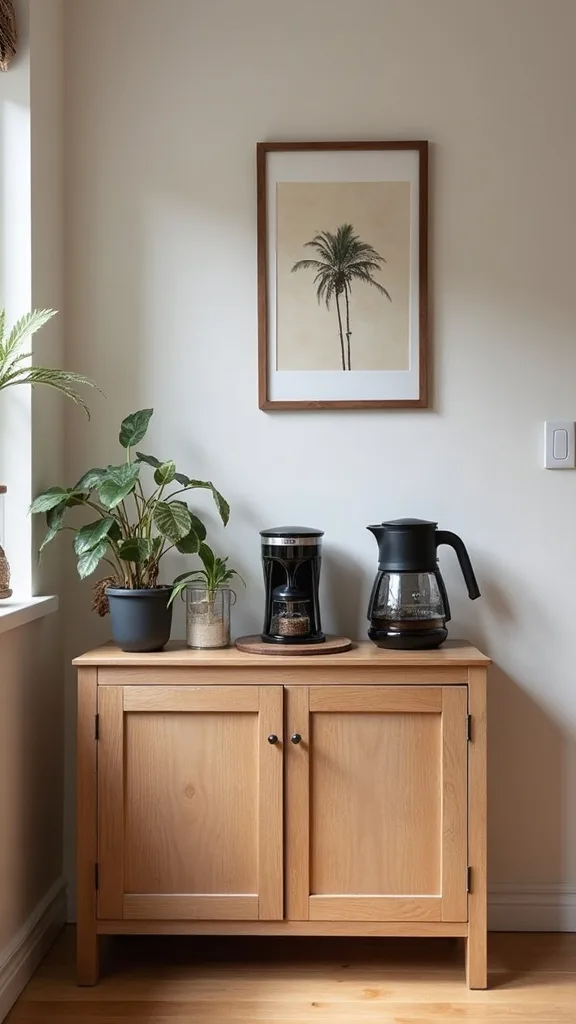
22. How can you use greenery without making the coffee area messy?
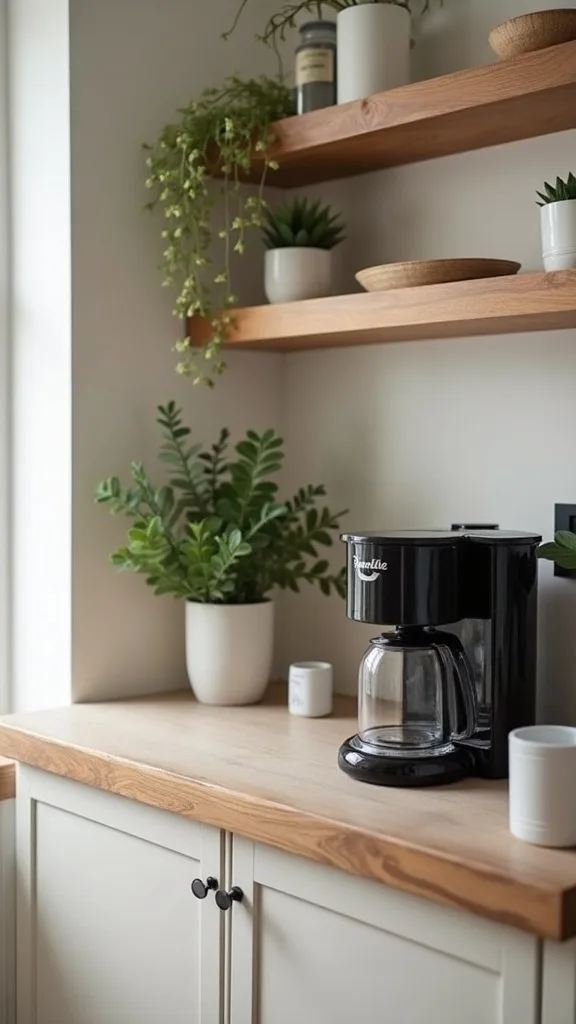
One plant is enough. It brings life to the station and softens the hard shapes of machines and canisters. Choose a low-maintenance option like pothos, snake plant, or a small trailing philodendron. Keep it in a pot with a saucer so water never touches the counter, and place it on the top shelf or to the far side of the tray—away from steam and splashes. If your kitchen gets strong sun, rotate the plant weekly so it grows evenly and doesn’t lean into your shelves. For summer, greenery pairs beautifully with light wood and cream ceramics; it reads fresh without trying. The upgrade is a matching planter that repeats your hardware finish—black, brass, or white. Avoid herbs here unless you’re committed to trimming; dried leaves and soil crumbs make the station feel gritty, not serene.
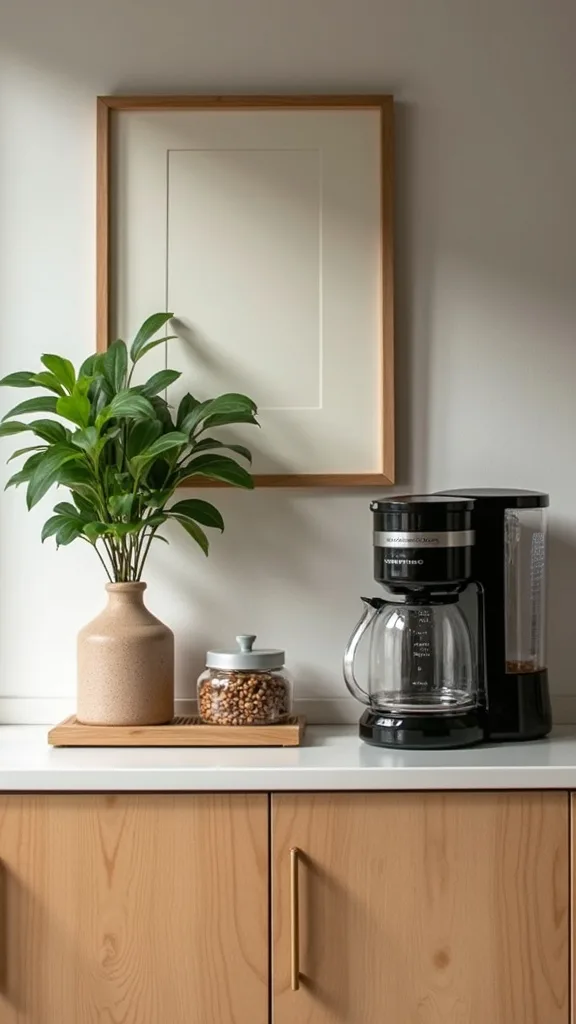
23. What’s the best way to add storage for pods, filters, and spoons?
Hide the small stuff in simple containers. Use one lidded bin for pods or filters and keep it on the shelf above the machine so your hand naturally reaches up, not across. Add a narrow drawer organizer in a nearby drawer for spoons, extra scoops, and cleaning brushes. If you don’t have drawer space, use a small lidded jar on the tray for packets and a short crock for stir spoons. Labels should be minimal: black text on white, or embossed tape, so the station stays calm. Keep backups—extra filters, extra pods—off the station entirely, stored in the pantry. That’s how a daily station stays light. The upgrade is a tiered shelf riser that lets you stack canisters without blocking access. Avoid open bowls for pods; they look messy quickly and invite everyone to rummage.
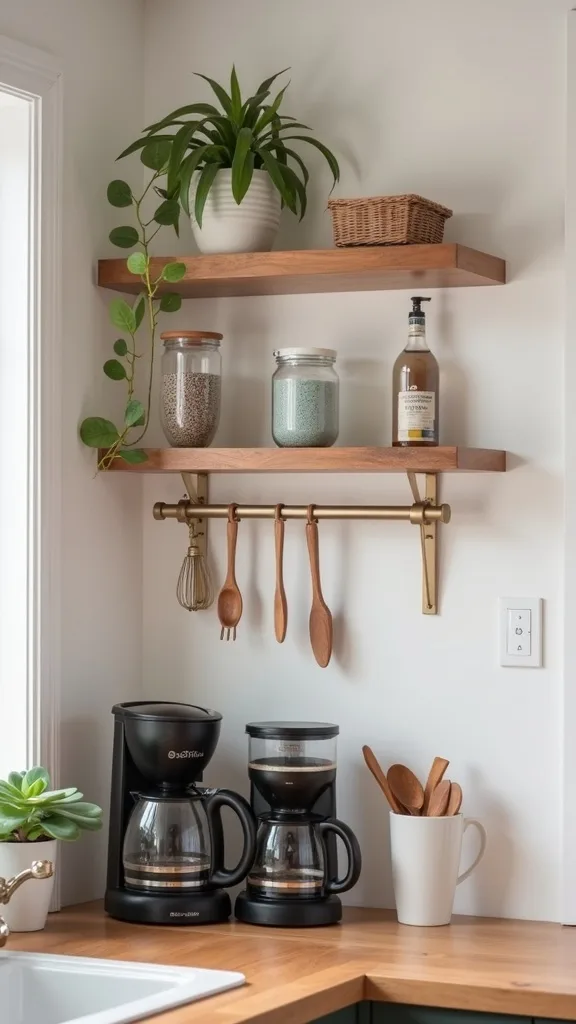
24. How do you make a coffee bar feel quiet and timeless, not trendy?
Timeless comes from restraint. Stick to classic materials: wood, ceramic, glass, and metal in simple shapes. Choose one or two finishes and repeat them—matte black hooks with a black frame, or brass with warm wood. Keep typography minimal; one chalkboard is enough. Let negative space do the work: leave part of the shelf empty so the objects you keep feel intentional. Add textiles that age well, like a flat-woven runner or simple cotton towels in cream or stripe. Lighting should be warm and soft, not flashy. If you love color, bring it in through mugs or one plant pot, not through permanent elements. The upgrade is a consistent container set; matching canisters make even an inexpensive station look considered. Avoid novelty decor that shouts “coffee”—it dates fast and steals attention from the beautiful, useful objects.
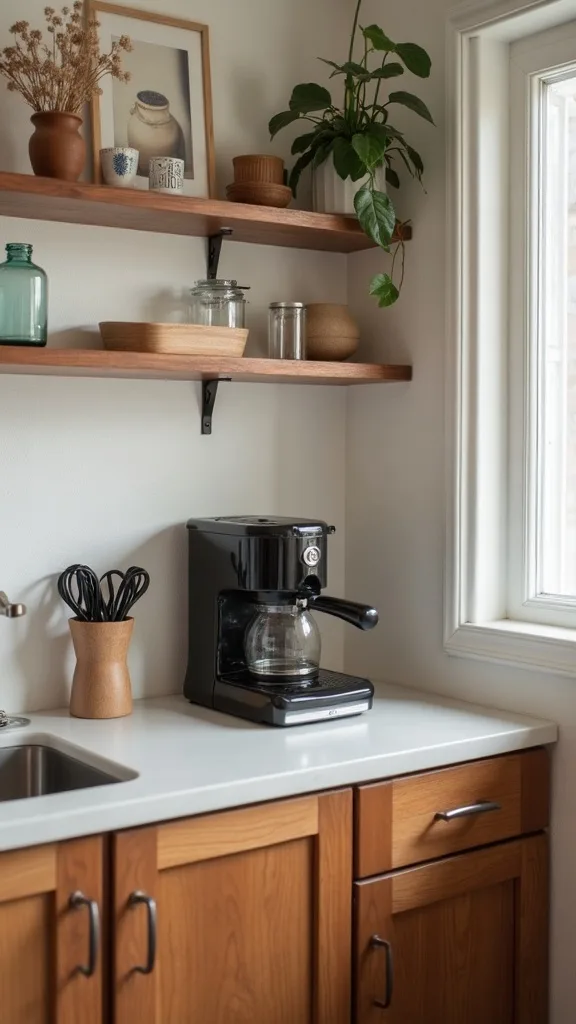
25. How do you finish a coffee station so it looks styled in photos and real life?
Finish with a hierarchy. The machine is the anchor, the tray is the boundary, and everything else supports the routine. Place tall items at the back, short items in front, and leave one clear landing spot for a mug. Add one soft layer—a narrow runner or a folded towel—to break up hard surfaces without adding clutter. Turn on the lamp so the station reads like a destination, especially during early summer mornings when the rest of the kitchen is still dim. Then add one personal detail: a handwritten chalkboard note, a favorite mug, or a small framed print. Keep greenery to one plant so it feels fresh, not jungle-like. The upgrade is to align all labels facing forward and keep edges parallel; that tiny discipline reads expensive. Avoid filling every inch of shelf space; empty space is what makes the objects you chose look intentional.
Final Thoughts
A coffee station earns its spot when it saves steps and clears your head. The best ones feel calm because the bones are right—tight footprint, clear storage, and a place for every daily tool—then the soft layers and light make it feel like part of the home.
Keep your choices simple and repeat finishes so the area reads cohesive. Skip the clutter, hide the backups, and let one plant and one warm lamp do the heavy lifting. The real luxury is walking into the kitchen on a bright summer morning and knowing exactly where everything is.
Do one thing today: measure a 24–36 inch stretch of counter, set a tray there, and remove anything that doesn’t help you make coffee—then add a single lamp in warm white light (2700K–3000K — the cosy, yellowish tone you see in most homes) to make the whole nook feel finished.
What I’d Do Differently
When I first tried this, I treated my coffee corner like a display shelf instead of a working station. I lined up cute jars, stacked extra mugs, and set a syrup bottle “for later” right next to the machine. By day three, the whole area felt sticky and crowded. The mistake was leaving no buffer space for real life—no place to set a wet spoon, no boundary for drips, and no single spot to wipe down fast. The fix was immediate: I put everything that wasn’t used every day into a cabinet, added one tray to corral the essentials, and hung the mugs so the counter could breathe.
I also wish I’d started with lighting from the beginning. One small lamp in warm white light (2700K–3000K — the cosy, yellowish tone you see in most homes) made the station feel finished even when the rest of the kitchen was messy. If you’re stuck, start with a tray and one hook strip today—momentum comes fast once the station works.
Products I Recommend for This Project
Here are some of my favourite products to help you bring these ideas to life:
- VASAGLE Industrial Wall-Mounted Shelves (Set of 2) — Simple open shelving that creates instant vertical storage for a coffee nook.
- Command Large Utility Hooks — Renter-friendly hooks for mugs and towels when drilling isn’t an option.
- OXO POP Container (2.3 Qt) — Airtight storage that keeps beans fresher and looks clean on open shelves.
- Umbra Trigem Hanging Mug Tree — Space-saving mug storage that keeps cabinets free and counters organized.
- GE LED Warm White Bulbs (2700K) — The quickest way to make your morning coffee area feel cozy and intentional.