This post contains affiliate links. As an Amazon Associate, I earn from qualifying purchases at no extra cost to you.
Are you looking for a spring-ready way to get the kids outside without toys taking over the whole yard? Do you want to build an outdoor kids play area that feels safe, organized, and actually easy to clean up?
I always start by mapping the space you already have—whether it’s a wide lawn or a small outdoor play area on a patio—and then I choose 3–4 activities that match your child’s age right now. In this post, I’m sharing my favorite kids outdoor play area ideas with step-by-step layouts, materials, and realistic upgrades so you can build something fun without guessing.
From my experience, this is perfect for families who want more outdoor time in spring, need a safer surface than bare dirt, or want a toddler zone that doesn’t clash with the rest of the outdoor decor.
I’ll walk you through toddler-friendly sensory spots, backyard climbing and swinging options, and smart storage so your outdoor play areas don’t turn into a scattered mess. In my opinion, the “secret sauce” is combining one active element, one creative element, and one calm element—then repeating that formula no matter the yard size.
I find that once you define the zones and add a soft surface, everything feels more intentional and inviting. Below are 25 Outdoor Play Area Ideas for Kids that…
1. Zoned Layout Plan (Toddler Zone + Backyard Playground + Soft Surface + Organized Stations)
I always start by designing the whole outdoor play area like a mini “park,” because zones stop the chaos and make play feel purposeful. When I design this look, I aim for 3 stations—active, messy, and calm—so kids can rotate without me constantly redirecting.
First, I mark a rectangle with landscape marking paint: typically 10 ft x 12 ft for a small yard or 12 ft x 16 ft if I’m adding a swing. Next, I sketch a toddler zone (closest to the house), an active zone (climber/swing), and an organized activity space (chalk, bubbles, or art) with at least 3 ft of walking clearance between each zone. I usually set a 20-minute timer and test the “flow” with the kids before I buy anything big.
I find that rubber mulch or playground wood chips (6–12 inches deep) plus a simple border of 4×4 pressure-treated timbers makes the whole area feel finished. For organization, I like a 22-gallon deck box in a neutral color like charcoal or sand.
Pro Tip: From my experience, I place the toddler zone on the “quiet” side of the yard (away from gates or driveways) and angle the swing path so it runs parallel to the fence—this typically reduces near-misses by a lot while keeping sightlines clear.
2. Soft-Landing Surface Upgrade (Mulch, Rubber Tiles, or Sand)
From my experience, the fastest way to make an outdoor play area for kids feel safer is to upgrade what’s under their feet. I find that kids play longer when the ground isn’t muddy, spiky, or slippery after spring rain.
I always start by measuring the footprint and calculating depth: for most outdoor play areas, I install 6 inches of engineered wood fiber for general play, and I bump it to 9–12 inches under swings or climbers. If you’re working on a patio, I recommend 2 ft x 2 ft interlocking rubber tiles laid over a clean, level surface, leaving a 1/4-inch gap at edges for drainage. For sand, I keep it contained in a 6 ft x 6 ft box with weed barrier underneath.
I like using Vigoro rubber mulch (Home Depot) for low-maintenance installs, or engineered wood fiber if you want a more natural look. For borders, I rely on 4×6 landscape timbers and 10-inch timber spikes.
Pro Tip: I’ve found that adding a thin layer of landscape fabric under wood chips can actually make the surface slick over time; I typically skip fabric and instead edge the border tightly, then top off chips by about 1 inch each spring to keep cushioning consistent.
3. Small Outdoor Play Area on a Patio (Foldable + Vertical Storage)
I find that a small outdoor play area can feel just as fun as a big yard when I treat it like a “pop-up” play studio. In my opinion, the key is choosing items that fold flat and storing them within a 2-step reach of the door.
I always start by taping out a 6 ft x 8 ft play rectangle on the patio using painter’s tape to visualize space. Then I add a 4 ft x 6 ft outdoor rug (polypropylene so it hoses off in 2 minutes) and two activity bins: one for sidewalk chalk and bubbles, one for balls and cones. For vertical storage, I mount a 36-inch wall rail with 5–6 S-hooks and hang a jump rope, ring toss, and a small watering can.
I recommend a Keter 22-gallon deck box or a slim 17-inch-wide resin cabinet so everything looks tidy. For seating, I like a kid-size Adirondack chair in weather-resistant HDPE.
Pro Tip: When I tried this on a covered porch, I learned to place the rug at least 8 inches away from the wall—otherwise wind-blown grit collects behind it and scratches paint when you hose things down.
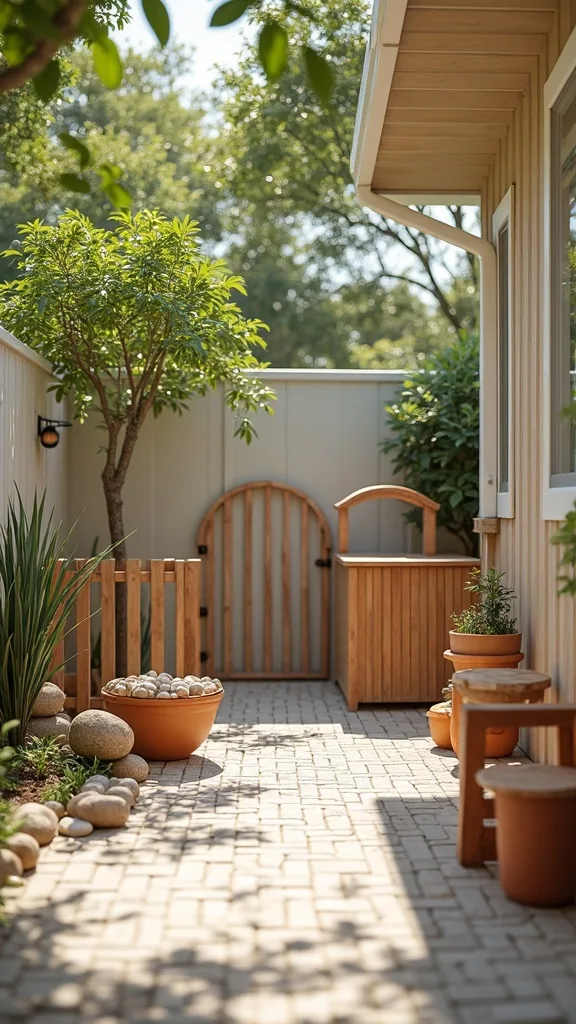
4. Toddler Outdoor Play Area with a Gated “Yes Space”
I always recommend a gated “yes space” for a toddler outdoor play area, because it lets you relax while they explore safely. From my experience, toddlers play more independently when every item inside the gate is allowed and age-appropriate.
I start by choosing a footprint you can supervise easily—typically 8 ft x 10 ft—and I set up a 48-inch-tall outdoor play yard or a short picket-style garden fence with a latch. Then I add three toddler staples: a push toy path, a sensory bin, and a calm corner with books or soft blocks. I keep at least 36 inches clear for you to step in quickly, and I avoid any climbable storage near the fence.
I find that EVA foam outdoor mats (or rubber tiles) plus a small Little Tikes slide creates the right mix of movement and safety. For sensory play, I like a 30-quart lidded bin with kinetic sand tools.
Pro Tip: I’ve found that placing the gate opening toward the house (not the yard) reduces “escape attempts” because toddlers tend to run toward the open space—so I orient the latch side inward and keep shoes and sunscreen right there for quick transitions.
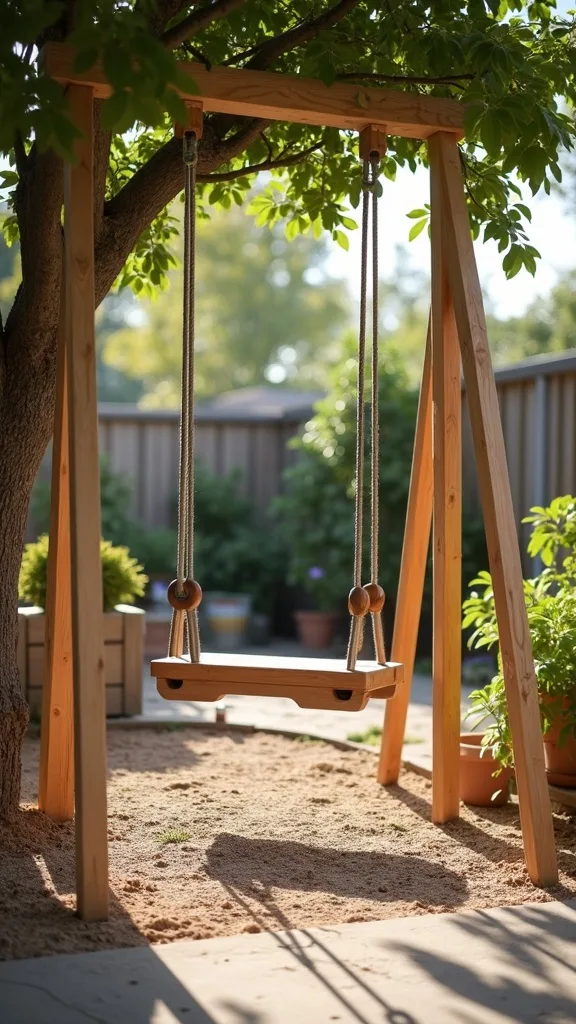
5. Backyard Swing Zone with Proper Clearance
From my experience, a swing instantly upgrades an outdoor playground feel, but I only love it when it’s spaced correctly. I find that most swing frustrations come from poor clearance, not the swing itself.
I always start by checking the swing set’s footprint and required safety zone: typically you want at least 6 ft of clearance in front and behind the swing path, and about 30 inches between swing seats. If I’m placing it on grass, I mark the arc with a rope and a stake, then I commit to a soft surface area that extends at least 4–6 ft beyond the swing’s front and back. For assembly, I plan for 2–4 hours with a socket set and a second adult.
I recommend galvanized hardware, a rubber swing seat, and ground anchors rated for your soil type. If you want a calmer look, I choose matte black brackets with natural cedar posts.
Pro Tip: When I design this look, I avoid placing swings where the afternoon sun hits directly from behind the child—glare makes it harder for you to track faces and footing, so I angle the set about 15–30 degrees off the sunset line for safer supervision.
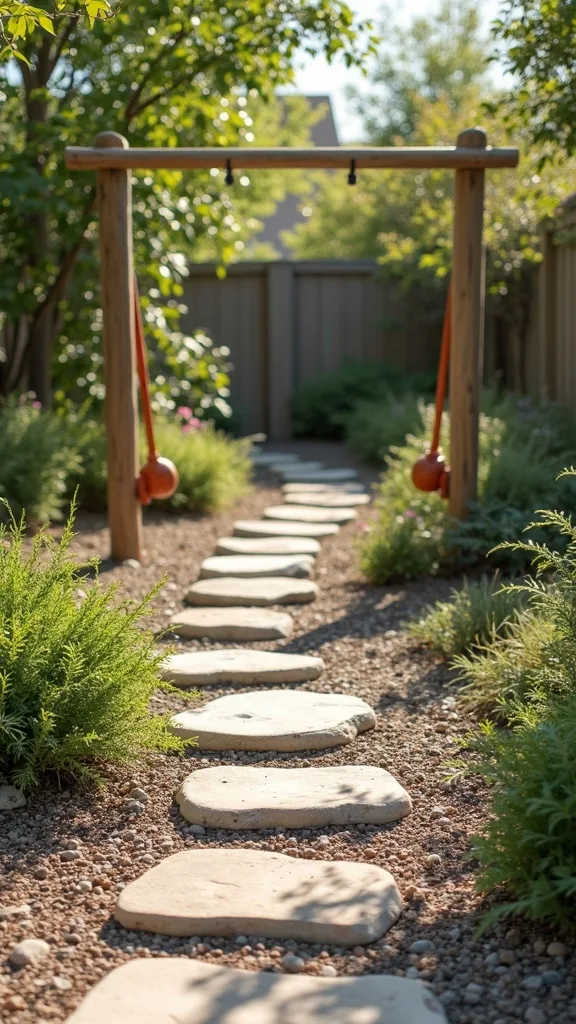
6. DIY Balance Beam and Stepping-Stone Path
I find that balance play is the most underrated part of an outdoor kids play area, because it builds coordination without feeling like “exercise.” In my opinion, a simple path also teaches kids where to walk, which keeps the rest of your outdoor play areas neater.
I always start by laying out a 10–14 ft route with gentle curves, then I place stepping stones about 12–16 inches apart for younger kids (closer for toddlers). For a beam, I use a 4×6 pressure-treated timber cut to 6 ft, set on compacted gravel, and I keep it under 8 inches off the ground for confidence. I test the spacing by walking it myself and adjusting before I commit.
I recommend textured concrete pavers (less slippery when wet) and exterior deck screws plus a countersink bit for clean edges. For color, I like soft gray stones with one bright “start” and “finish” paver.
Pro Tip: I’ve found that adding a “reset spot” every 3–4 stones (a slightly larger paver) dramatically reduces falls because kids naturally pause—so I intentionally build in those mini rest platforms.
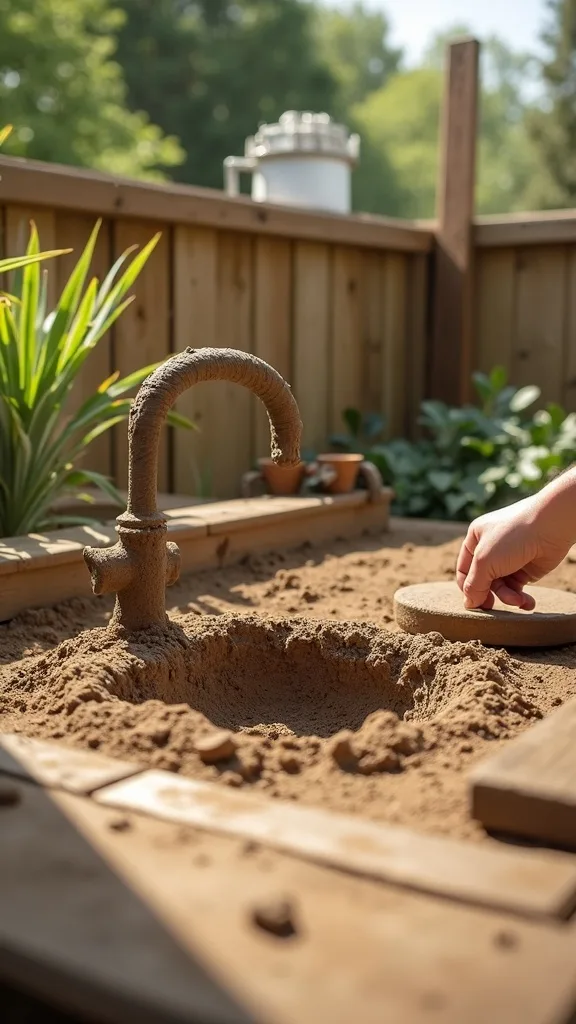
7. Mud Kitchen with Real Hardware (But Easy Cleanup)
I always recommend a mud kitchen when families want more imaginative play in their outdoor play area for kids. From my experience, it’s messy in the best way—if I plan the water access and cleanup from day one.
I start with a base that’s easy to hose off: a 24-inch-deep outdoor mat or a 4-inch layer of pea gravel in a 5 ft x 3 ft rectangle. Then I build or buy a counter around 36 inches long and 20–24 inches tall for toddlers, adding two stainless mixing bowls as “sinks.” I mount 3 hooks for utensils and keep a 5-gallon water jug with a spigot nearby so kids can “wash” without constant trips inside.
I like exterior plywood sealed with spar urethane, stainless screws, and a cheap set of metal measuring cups. For storage, I use a 12-gallon lidded tote labeled “mud tools.”
Pro Tip: When I tried this, the game-changer was drilling 3–4 small drain holes under each bowl—standing water turns into mosquito habitat fast in spring, so I make drainage automatic and worry-free.
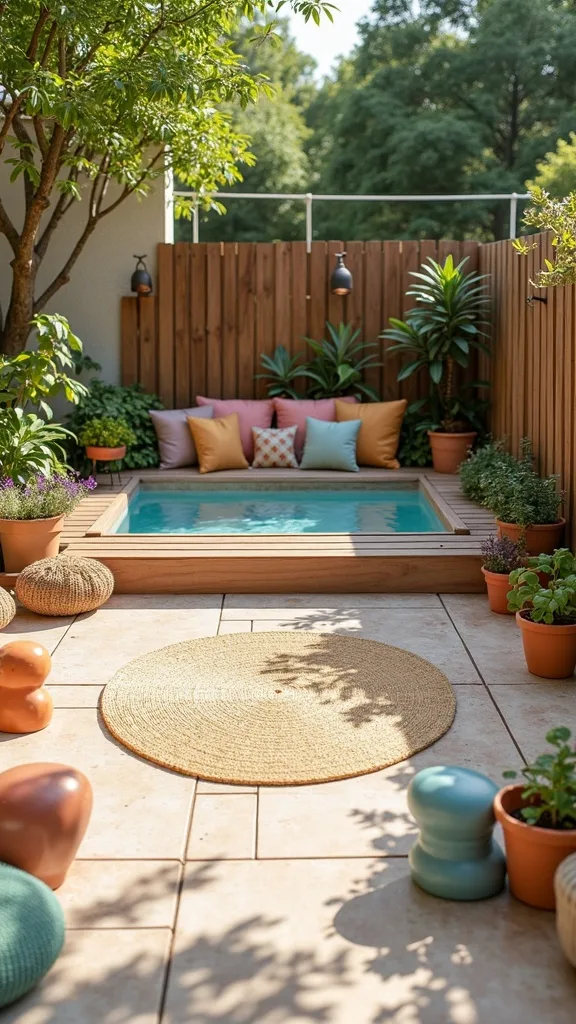
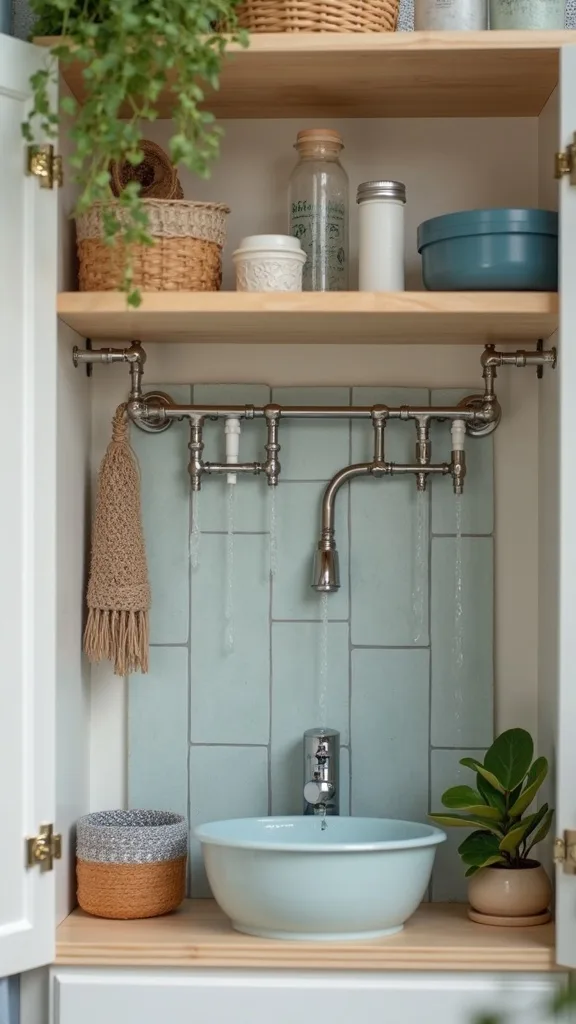
8. Water Wall for Spring Days (No Permanent Plumbing)
I find that a water wall is one of the easiest ways to make an outdoor toddler play area feel special without a big build. In my opinion, it’s also a calmer alternative to sprinklers when you want controlled splashing.
I always start with a backboard: a 2 ft x 4 ft piece of exterior-grade plywood or a recycled pallet sanded smooth. Then I attach gutters, funnels, and PVC elbows using outdoor screws, keeping the top pour point around 36–42 inches high for preschoolers. I set a 18–20 gallon storage tote at the bottom as the catch basin and add a $10 battery-operated pump if I want recirculating water. Setup usually takes me 60–90 minutes.
I recommend silicone sealant, zip ties, and a mix of 1-inch and 2-inch PVC pieces for fun water paths. For color, I like neutral board paint with bright primary funnels so kids can “read” the flow.
Pro Tip: I’ve found that angling the gutters just 5–10 degrees prevents water from pooling and turning slimy; I shim the back edge with thin cedar shims so the system stays clean longer between scrubs.
Cost & Materials Estimate
For most families, I find a practical outdoor play area setup lands between $150–$900 depending on whether you DIY stations or add backyard playground equipment.
| Item | Estimated Cost | Where to Buy |
|---|---|---|
| Engineered wood fiber or rubber mulch (25–40 cu ft) | $140–$320 | Home Depot |
| Interlocking rubber playground tiles (40–60 sq ft) | $180–$420 | Amazon |
| Keter/Suncast deck box (22–50 gallon) | $55–$160 | Lowe’s |
| Little Tikes slide or toddler climber | $60–$140 | Amazon |
| Pop-up canopy or 9 ft patio umbrella + base | $90–$240 | Wayfair |
Total estimated cost: $150–$900 I usually save money by DIY-ing stations (chalk town, obstacle course) and splurge on the soft surface because it pays off in comfort and peace of mind.
9. Outdoor Art Station with Clipboards and Washable Paint
I always start by giving kids a dedicated place to create, because it keeps the rest of the outdoor play area from turning into a paint-splatter zone. From my experience, an art station works best when I can set it up in 2 minutes and pack it away just as fast.
I choose a small table around 20 inches tall for toddlers or 24–26 inches for preschoolers, then I add 2 clipboards and a roll of kraft paper cut to 18 inches wide. I keep supplies in a 6-quart lidded caddy: washable tempera paint, chunky brushes, and a spray bottle for quick rinsing. If wind is an issue, I tape the paper down on all four sides and clip the corners.
I recommend Crayola washable paint, a silicone craft mat, and a 3-gallon rinse bucket with a drop of dish soap. For organization, I label each bin with a waterproof vinyl sticker.
Pro Tip: I’ve found that placing the table on the “downwind” side of the yard (even just 6–8 ft from a hedge) cuts paper blowaways dramatically, so I use landscaping as my natural windbreak.
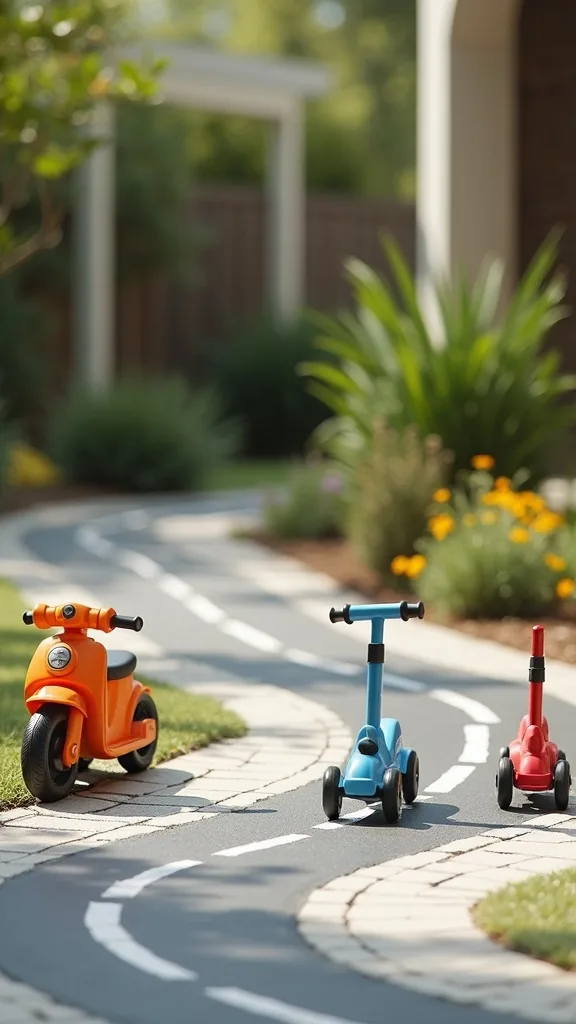
10. Chalk + Road Tape “Mini Town” for Bikes and Scooters
I find that drawing a mini town instantly adds structure to an outdoor kids play area, especially for scooter and balance bike phases. In my opinion, it’s one of the most budget-friendly ways to make outdoor play areas feel new every week.
I always start by laying out a loop: on a driveway or patio, I create a 4 ft-wide road with sidewalk chalk, then I add painter’s tape for “crosswalks” and parking spots. For younger kids, I keep the loop about 20–30 ft total so they don’t disappear around corners. I add 6–8 cones or plastic cups as “construction zones,” and I rotate themes—grocery store, fire station, or post office—every 7 days.
I recommend 2-inch-wide blue painter’s tape (it peels clean), a set of jumbo chalk, and a small 12-inch stop sign stake. For storage, I like a slim bin that fits in a deck box.
Pro Tip: When I tried this on textured concrete, I learned to press tape down using a plastic gift card—doing a quick 30-second burnish keeps wheels from lifting the edges and makes the “roads” last through multiple play sessions.
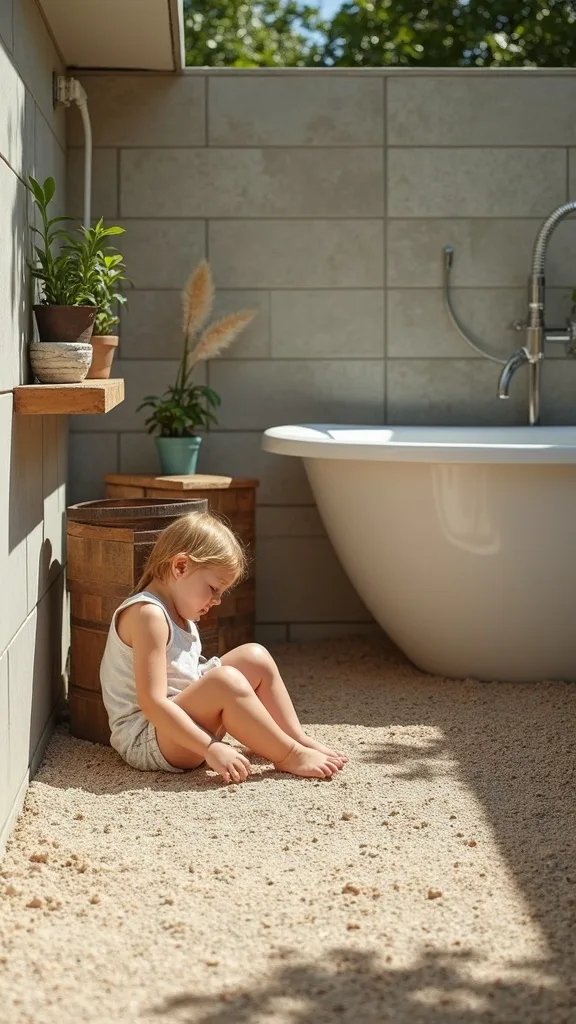
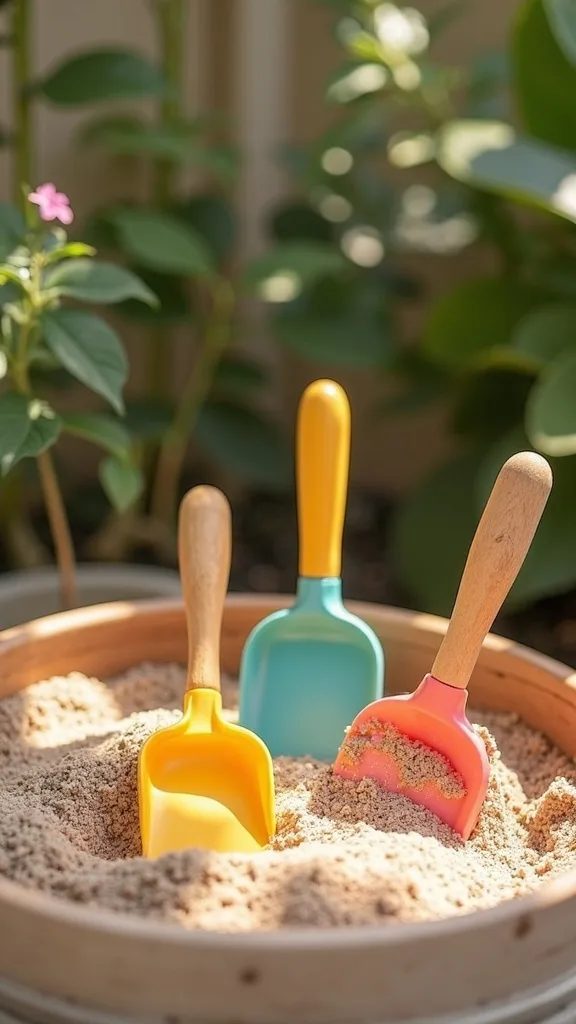
11. Sand Play Corner with Lid and Dig Tools
From my experience, a sand corner is a classic outdoor play area for kids element that works year after year—if I keep it covered. I find that lids aren’t optional in most backyards because leaves, cats, and rain will ruin the fun fast.
I always start with a contained box: typically 5 ft x 5 ft for siblings or 4 ft x 4 ft for one child, filled with 6–8 inches of play sand. I line the bottom with weed barrier for separation (not cushioning) and drill 6–8 tiny drainage holes if the base is solid. Then I add a hinged lid or a fitted cover with bungee cords, and I keep a small brush and dustpan nearby for quick patio cleanup.
I recommend a set of metal scoops, a 2-quart watering can for “sand rivers,” and a lidded tool bucket. For color, I like natural wood with a simple outdoor stain in honey or cedar.
Pro Tip: I’ve found that mixing in about 1 cup of cinnamon every few weeks can help deter some insects in typical climates, but it can irritate sensitive skin—so I test a tiny area first and skip it if your child has eczema.
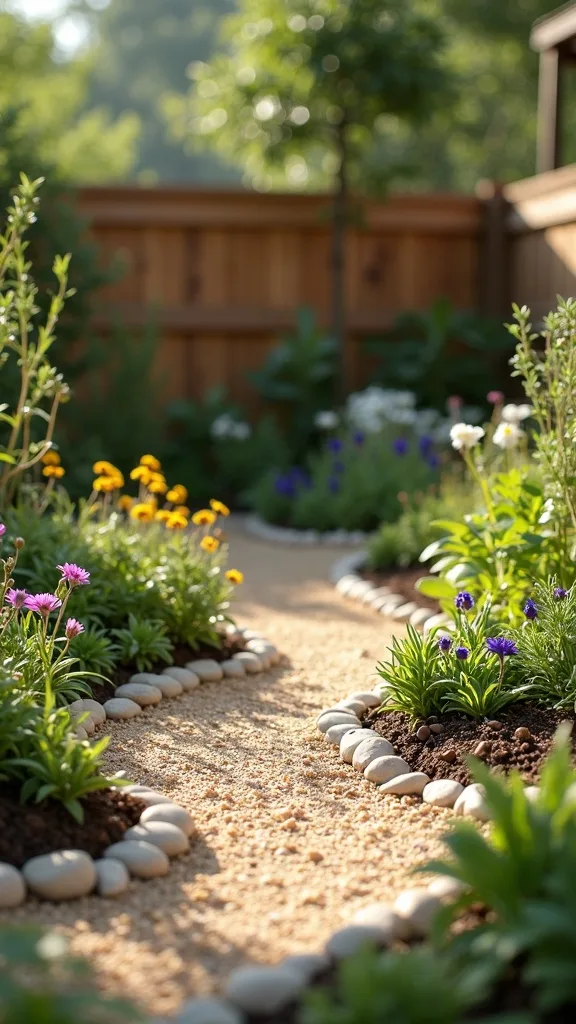
12. Sensory Garden Beds Kids Can Touch (Herbs + Textures)
I always recommend a sensory garden because it adds a calmer “reset” zone to an outdoor play area. From my experience, kids who are overstimulated from climbing or water play often settle down when I give them leaves to rub and scents to smell.
I start with 1–2 raised planters: a 2 ft x 4 ft bed is manageable, and I keep the soil height around 12 inches so little hands can reach. Then I plant hardy, touch-friendly options—mint (in a pot so it doesn’t take over), rosemary, lamb’s ear, and marigolds—and I label each with waterproof plant tags. I water with a 1-gallon kid watering can and make it a 5-minute “garden check” routine after dinner.
I find that cedar raised beds, organic potting mix, and a simple drip tray under potted mint make maintenance easier. For pathways, I like pea gravel with stepping stones.
Pro Tip: I’ve found that placing mint in a 10–12 inch nursery pot buried in the bed prevents aggressive spreading while still looking planted—this keeps your sensory garden from becoming a mint monoculture by midsummer.
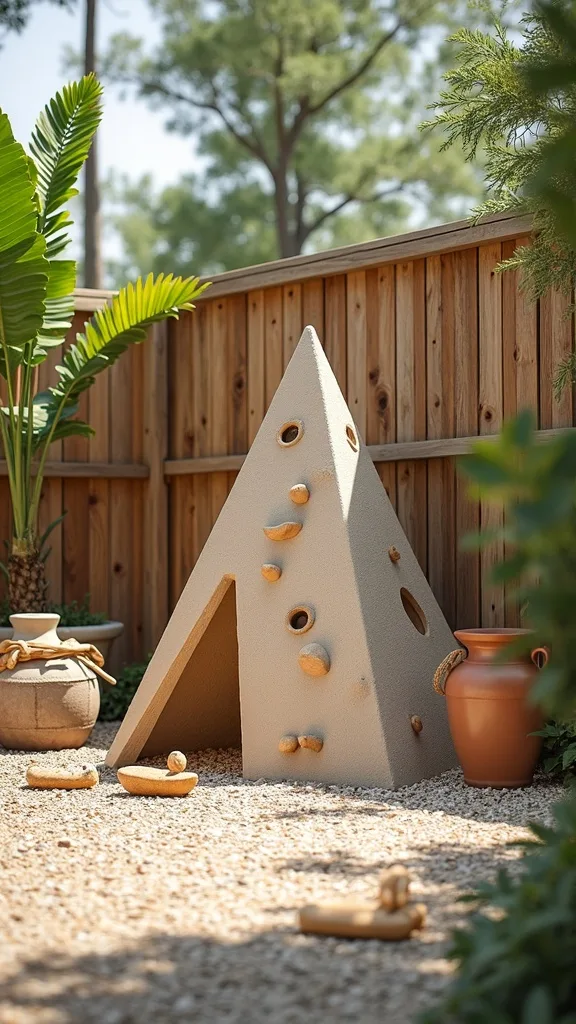
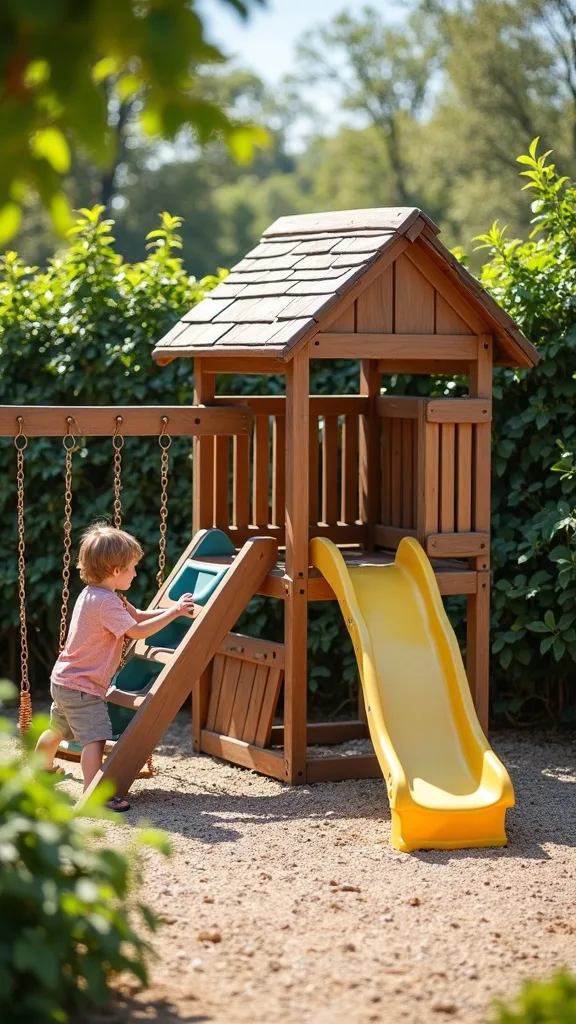
13. Climbing Dome or Low Boulder Wall (Age-Appropriate Challenge)
I find that climbing is where a backyard starts to feel like a true outdoor playground, but I always balance challenge with safer landings. In my opinion, a low-profile climber gives kids confidence without making parents nervous.
I always start by matching the height to age: for toddlers, I keep climbing features under 3 ft, and for older kids I consider a 5–6 ft dome with a wide base. I place it on a soft surface zone that extends at least 6 ft around the perimeter, then I check for overhead branches and fence lines. Assembly typically takes 1.5–3 hours with two adults, especially if you’re tightening dozens of bolts.
I recommend a powder-coated steel climbing dome with textured grips, plus rubber mulch or engineered wood fiber underneath. For a boulder-wall vibe, I like exterior-grade plywood with climbing holds rated for kids.
Pro Tip: I’ve found that tightening bolts in two passes—first “snug,” then final torque after the frame is fully aligned—prevents wobbles that show up after the first week of play, especially on domes with 30+ connection points.
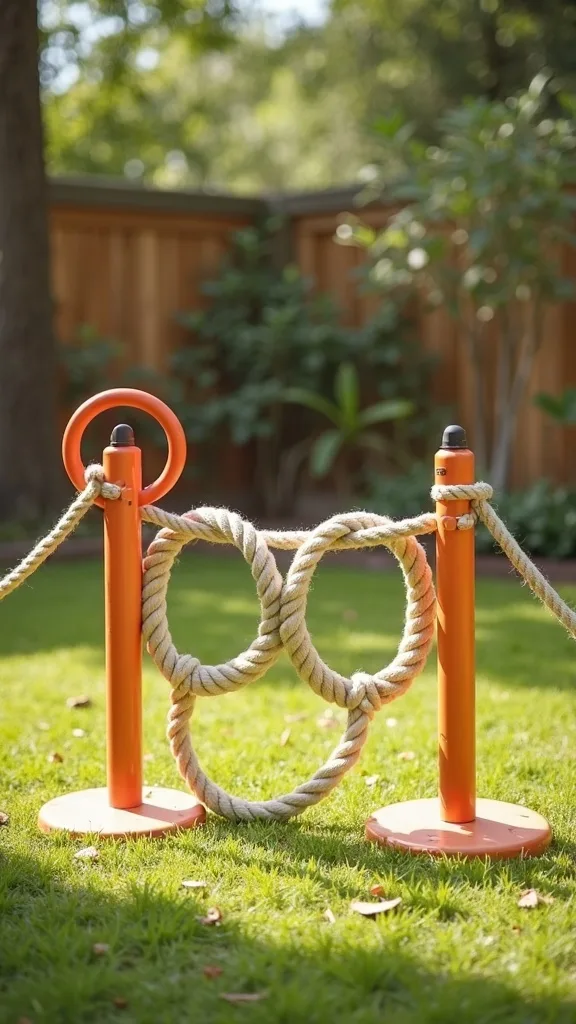
14. Backyard Obstacle Course with Cones, Rope, and Rings
From my experience, an obstacle course is the easiest way to turn everyday items into high-energy play in an outdoor kids play area. I find that kids stay engaged longer when I set a clear start and finish and time them in a low-pressure way.
I always start by mapping a loop that fits your yard—typically 25–40 ft total—and I build 5 stations: cone weave, jump rope line, ring toss, crawl-under rope, and a balance section. I keep ropes at 18–24 inches high for preschoolers and raise to 30 inches for older kids. I store everything in a 12–17 gallon tote so setup takes under 5 minutes.
I recommend flat agility cones, a 10–15 ft nylon rope, and plastic rings that won’t crack in cold spring mornings. For markers, I like bright colors on neutral grass so kids can see the path.
Pro Tip: I’ve found that placing the “hardest” station second (not last) keeps motivation high—kids are freshest early, and finishing on an easier station reduces meltdowns when siblings are competing.
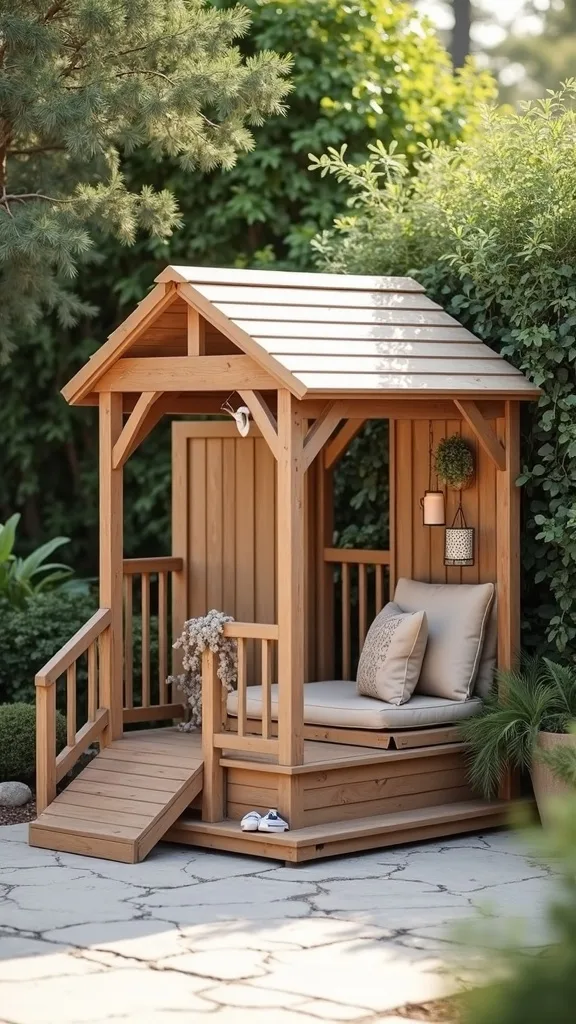
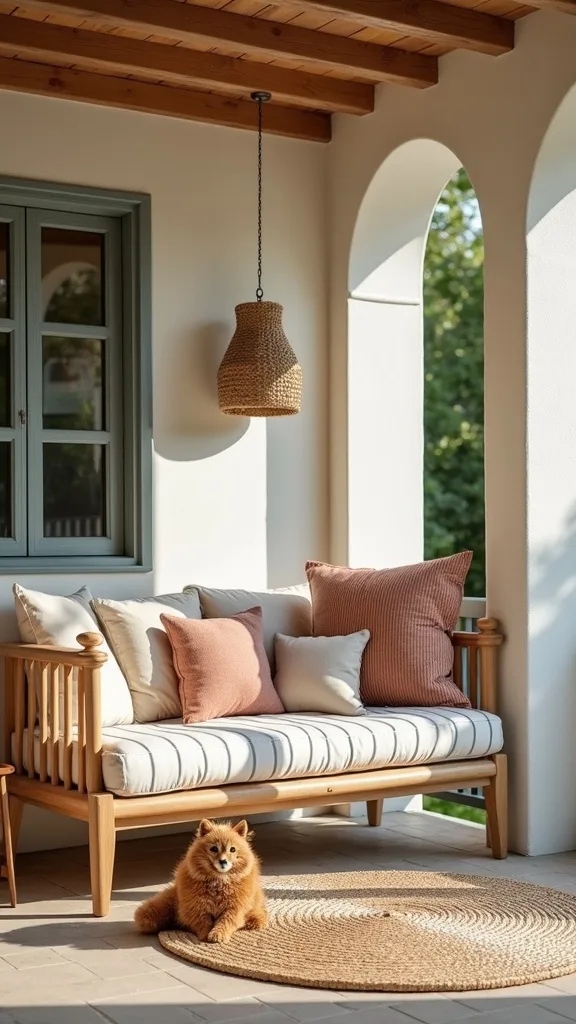
15. Outdoor Reading Nook with Weather-Resistant Cushioning
I always include a calm corner because an outdoor play area for kids isn’t just about running—it’s also about regulating. In my opinion, a reading nook outdoors works best when it feels cozy but can survive spring pollen and surprise drizzle.
I start with shade: a 6.5–9 ft patio umbrella or a pop-up canopy, then I anchor it with at least 40 lb of base weight. I add a 4 ft x 6 ft outdoor rug, two floor cushions made from quick-dry foam, and a small crate for 8–12 books. I rotate books every 2 weeks so the nook stays “new,” and I keep a lidded bin for sudden weather.
I recommend Sunbrella-style outdoor fabric, a resin wicker side table, and a waterproof storage tote. For colors, I like soft stripes or solids that match your patio furniture.
Pro Tip: I’ve found that storing books in a gasket-seal plastic bin (not a fabric basket) prevents pages from warping overnight—spring humidity sneaks in even under covered porches.
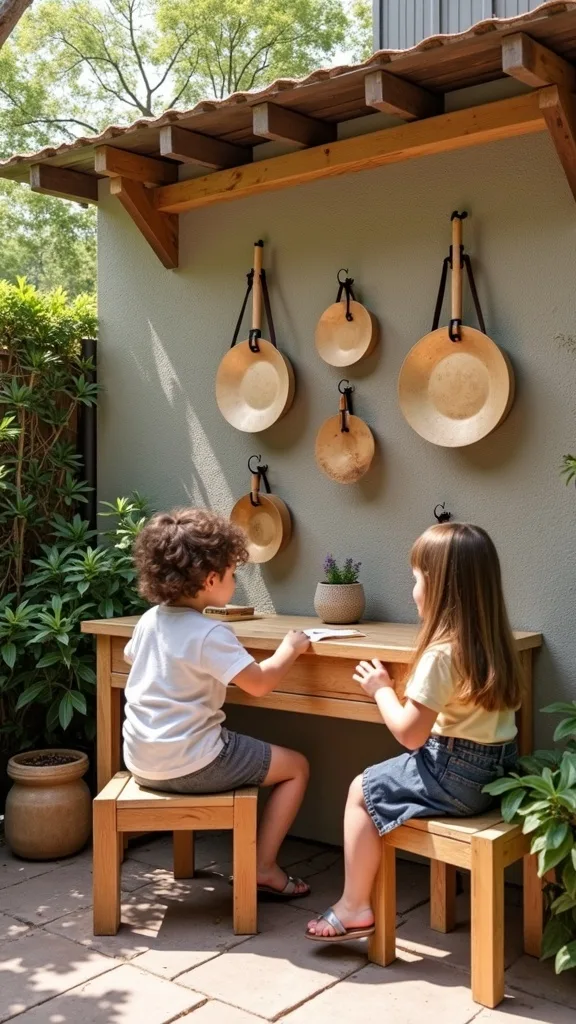
16. Outdoor Music Wall (Pans, Chimes, and DIY Drums)
I find that a music wall brings big joy to an outdoor play area, but I always plan for neighbor-friendly volume. From my experience, choosing softer materials and spacing instruments reduces the “clang factor” without killing the fun.
I always start with a fence or freestanding panel and mount instruments between 24–48 inches high so kids can reach. I hang 6–10 items—metal lids, bamboo chimes, and plastic buckets—spacing them about 6 inches apart to avoid constant collisions. I provide two mallets: one rubber-tipped for quieter play and one wooden for occasional “concert time,” and I set a simple rule: loud instruments for 10 minutes, then switch to chimes.
I recommend stainless steel bowls, outdoor-rated hooks, and paracord for hanging. For a cohesive look, I spray-paint pieces in matte navy, white, and natural wood tones.
Pro Tip: I’ve found that adding a small square of adhesive felt behind each hanging point reduces rattling dramatically—especially on windy days—so the sound becomes musical instead of chaotic.
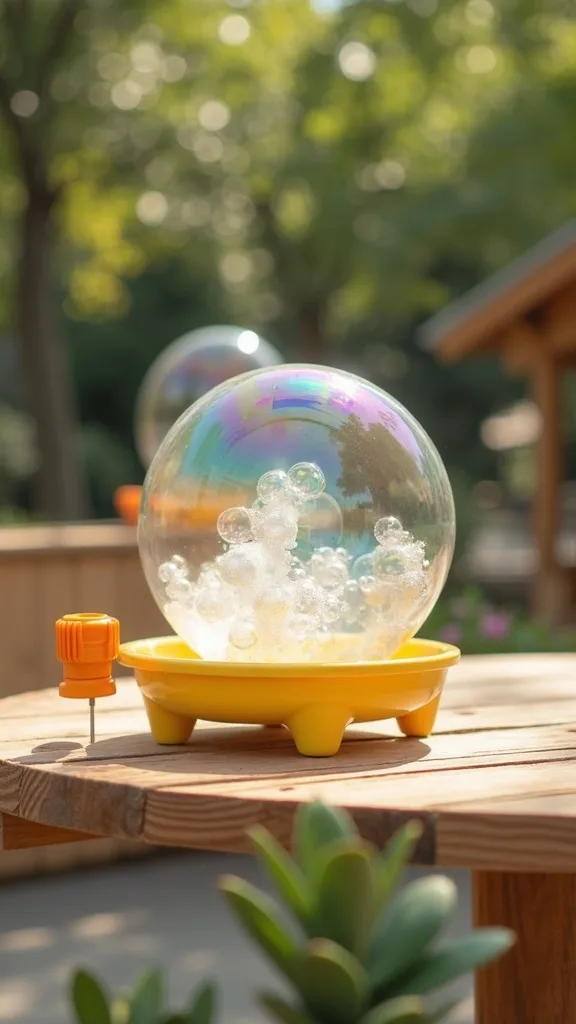
17. Bubble Station with Drip Tray and Refill System
I always recommend a bubble station because it’s instant magic in an outdoor toddler play area, and it’s one of the easiest wins for spring afternoons. I find that the difference between “fun” and “sticky mess” is having a controlled place for drips.
I start with a small table and a boot tray that’s about 12 inches x 24 inches to catch spills. Then I set up 3 bubble options: a small wand, a large loop wand, and a battery bubble machine for group play. I keep a 32-ounce squeeze bottle of bubble solution for refills and a 2-cup measuring cup so kids can help without dumping everything. Cleanup takes me about 3 minutes with a hose and a towel.
I recommend Gazillion Bubbles solution, a silicone tray liner, and a lidded caddy for wands. For colors, I like clear containers so you can see when you’re running low.
Pro Tip: I’ve found that adding 1 tablespoon of glycerin to a 32-ounce bubble mix often makes bubbles stronger in typical spring breezes, but it can make surfaces slick—so I keep the station off decking and on grass or rubber tiles.
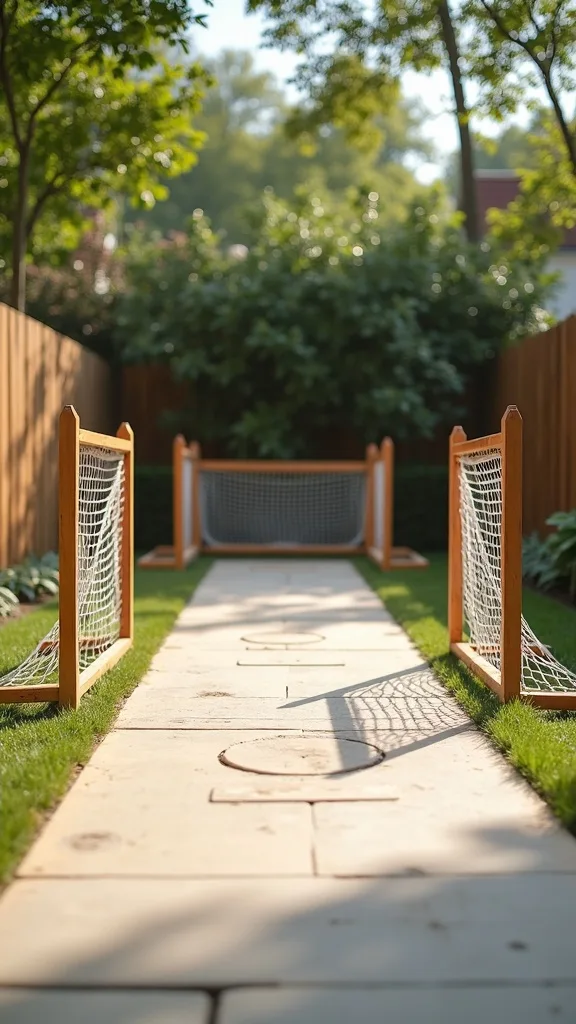
18. Mini Sports Court Strip (Portable Goals + Marked Lines)
From my experience, a tiny sports zone keeps older kids invested in an outdoor kids play area even when toddlers are doing sensory play nearby. I find that portable equipment is the right compromise if you don’t want to commit to permanent posts.
I always start by marking a 10 ft x 20 ft rectangle on grass or a driveway using field marking paint or chalk. Then I place two pop-up goals about 4 ft wide and keep a bin with one soccer ball, one foam ball, and one small basketball. If you’re on a driveway, I add a “no-go” buffer of 2 ft from the garage door to avoid dents. I rotate games every 1 week to prevent boredom.
I recommend Franklin Sports pop-up goals, a size 3 soccer ball for younger kids, and a mesh ball bag that hangs on a hook. For a clean look, I store everything in a slim deck box.
Pro Tip: I’ve found that using flat disc cones instead of tall cones reduces tripping during fast play—especially when kids cut corners—so the zone stays safer without feeling “over-managed.”
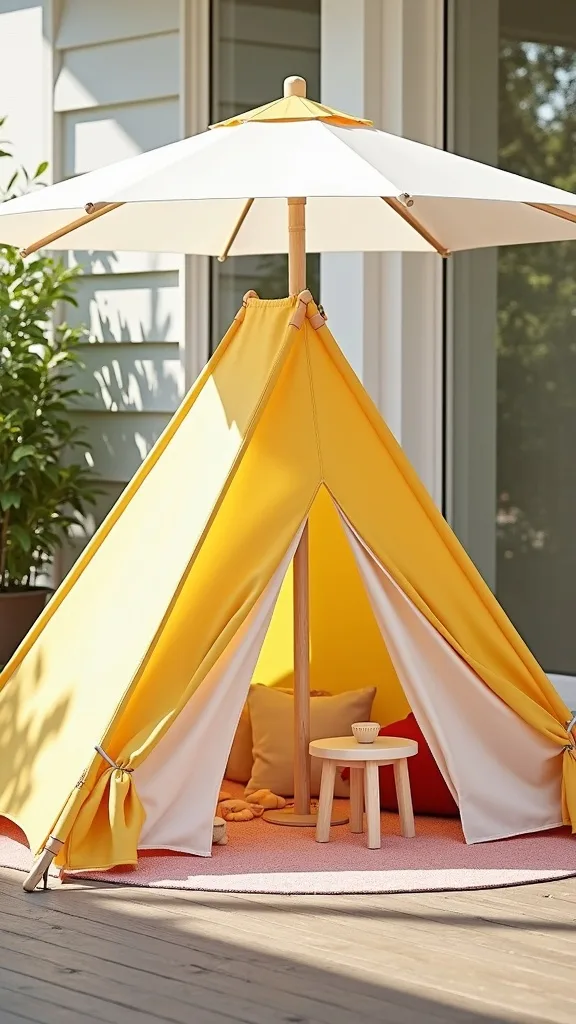
19. Shaded Play Canopy (Umbrella, Sail, or Pop-Up Tent)
I always prioritize shade because spring sun can be deceptively strong during long play sessions in an outdoor play area for kids. In my opinion, shade is one of those upgrades that costs more upfront but saves stress later—especially when you’re reapplying sunscreen.
I start by watching the yard for 30 minutes at two times of day (late morning and late afternoon) to see where shade naturally falls. Then I choose a solution: a 9 ft umbrella for flexible coverage, a 10 ft x 10 ft pop-up canopy for parties, or a 12 ft shade sail for a cleaner look. I always anchor properly—at least 40–60 lb per umbrella base or heavy-duty stakes for a canopy—because wind is the real risk.
I recommend UV-rated shade fabric, stainless hardware for sails, and a neutral canopy color like sand or gray to blend with outdoor furniture.
Pro Tip: I’ve found that a shade sail needs a slight “twist” (one corner higher by about 6–12 inches) so rainwater doesn’t pool—this small angle prevents sagging and keeps the sail looking crisp all season.
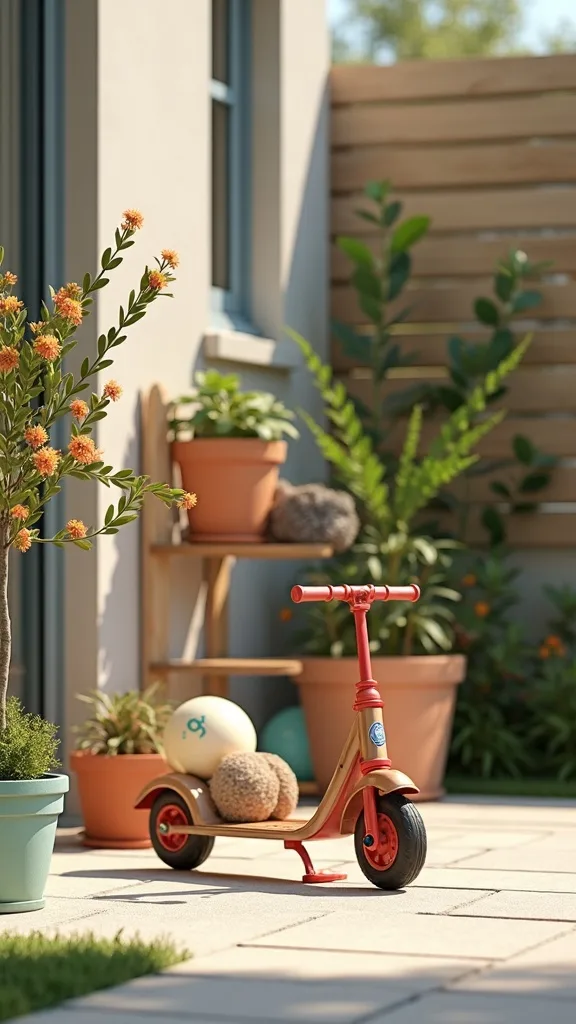
20. Outdoor Toy Parking (Scooter Rack + Ball Corral)
I find that organization is what makes outdoor play areas feel like part of your home instead of a clutter zone. From my experience, kids clean up more often when every item has a “parking spot” that’s obvious.
I always start by grouping toys into 3 categories: ride-ons, balls, and small stuff. For ride-ons, I install a simple rack with two 2x4s and hooks, leaving 8 inches between hooks so handlebars don’t tangle. For balls, I use a vertical ball corral that’s about 12 inches wide and 36–48 inches tall, which keeps 6–10 balls contained. I set a 5-minute cleanup timer and make “park it” the last game of the day.
I recommend a Suncast resin deck box, heavy-duty outdoor hooks, and weatherproof labels. For aesthetics, I like black hooks and a neutral storage box that matches patio furniture.
Pro Tip: I’ve found that mounting hooks at two heights—around 24 inches for kids and 48 inches for adult-only items like pumps—prevents kids from yanking down tools while still letting them manage their own scooters.
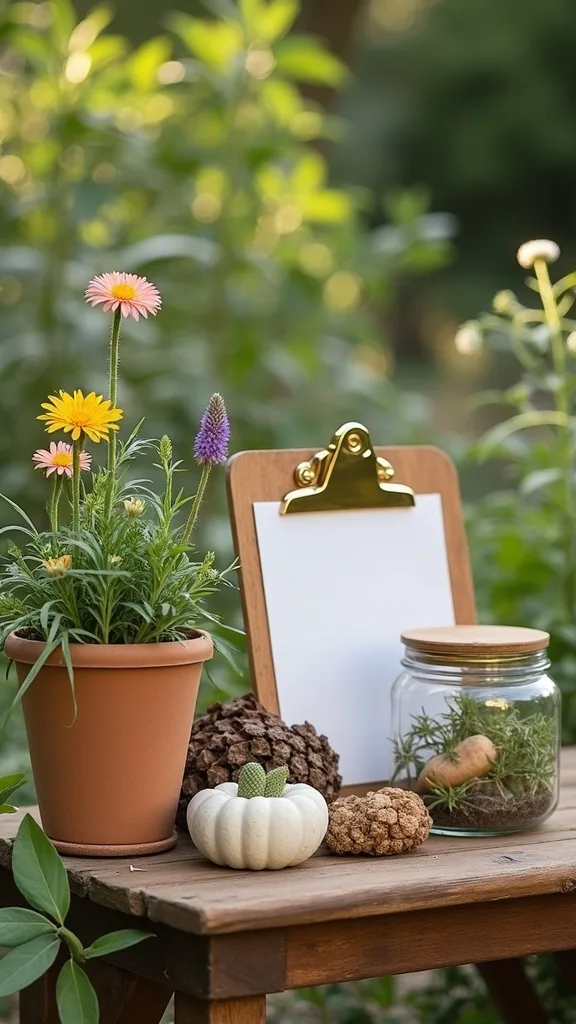
21. Nature Scavenger Hunt Station (Clipboards + Collection Jars)
I always recommend a scavenger hunt station when families want more screen-free spring activities in an outdoor play area. I find that it turns “just being outside” into a purposeful adventure without buying more big equipment.
I start with 2 clipboards and a laminated checklist, then I hang them on hooks at about 42 inches high so kids can grab them. I add 4–6 clear collection jars (plastic, not glass) and set a boundary: typically “stay within 30 ft of the play zone.” I refresh the list every 2 weeks—buds, pinecones, smooth rocks, feathers—and I keep a small magnifying glass in the station for close-up discoveries.
I recommend laminating sheets, dry-erase markers, and wide-mouth plastic jars with screw lids. For a cohesive look, I store everything in a small galvanized caddy.
Pro Tip: I’ve found that kids collect way more (and argue less) when I add a “one per person” rule for rare finds—so if there’s only one cool pinecone, they take turns photographing it with a tablet instead of fighting over who gets to keep it.
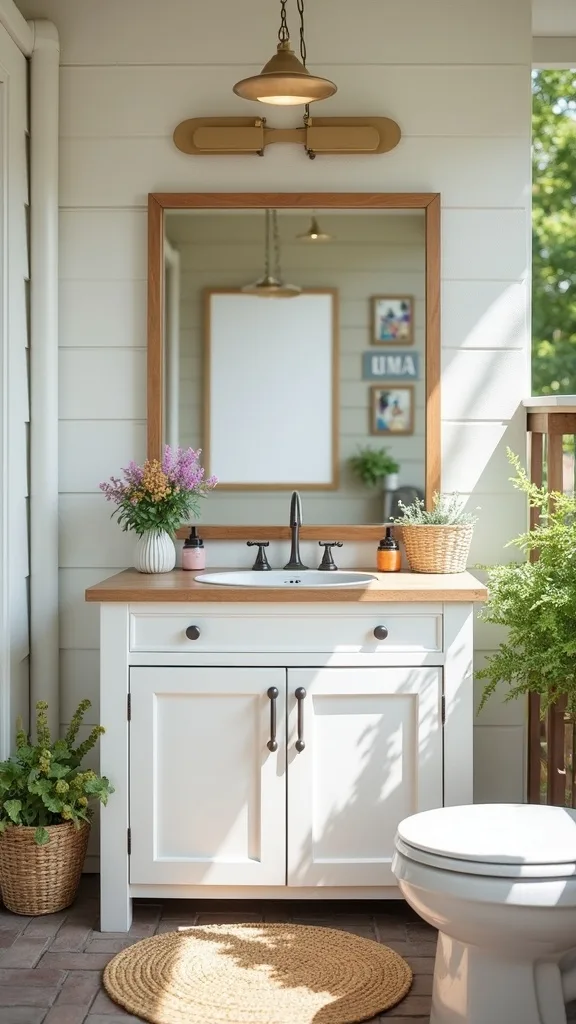
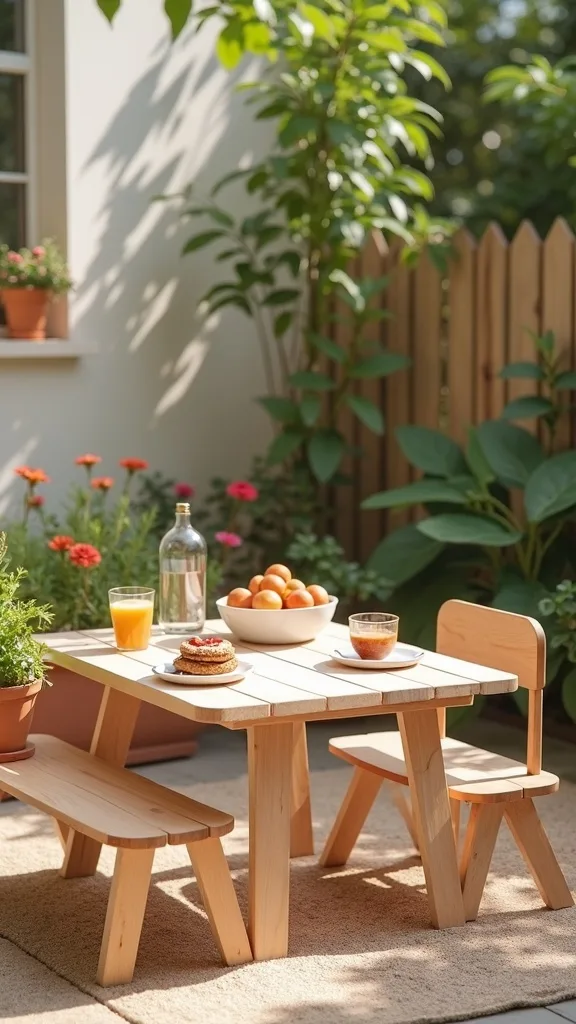
22. Mini Picnic + Snack Prep Spot (Kid Table + Handwashing)
From my experience, snacks are what keep outdoor play going, so I always build a tiny eating spot into the outdoor play area for kids. I find that having a designated snack zone also reduces crumbs in sensory bins and sand.
I always start with a kid table—about 18–20 inches tall for toddlers—and I place it at least 6 ft away from water play or sand. Then I add a handwashing setup: a 2.5–5 gallon beverage dispenser with a spigot, a small soap pump, and a towel hook. I keep a lidded snack bin stocked with shelf-stable options and refill it every 3–4 days during active spring weeks.
I recommend a wipe-clean plastic table, a melamine plate set, and a small outdoor trash can with a lid. For styling, I like a neutral table with one bright centerpiece bucket for napkins.
Pro Tip: I’ve found that placing a shallow tray under the spigot (even a 10-inch plant saucer) prevents muddy puddles from forming—this tiny detail keeps the snack zone from turning into a slip spot after repeated handwashing.
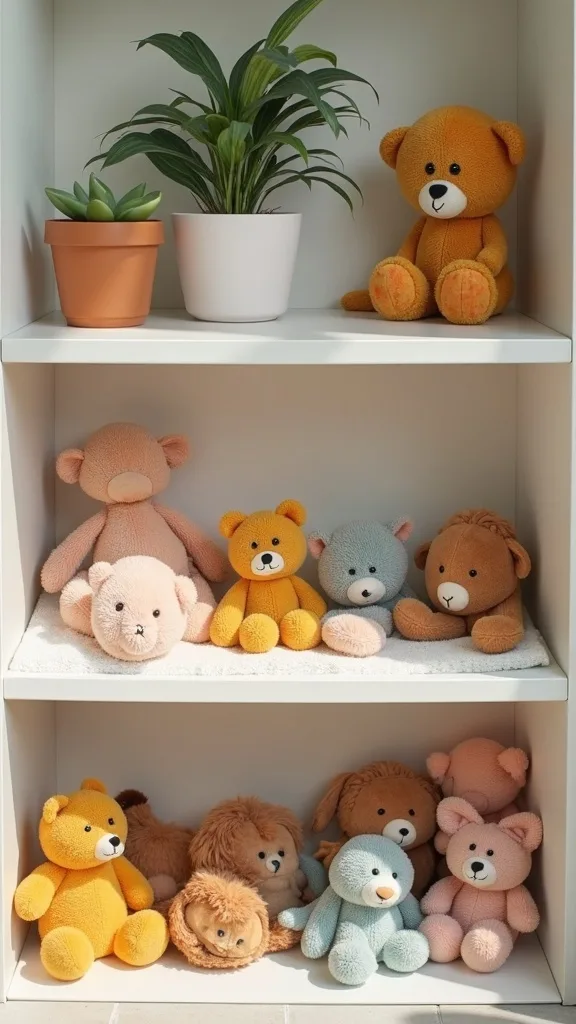
23. Quiet Sensory Bin Shelf (Rotating Themes for Toddlers)
I find that rotating sensory bins is a lifesaver for a toddler outdoor play area, because it creates novelty without adding clutter. In my opinion, this is one of the most space-saving ways to keep outdoor play areas interesting all spring.
I always start with 2–3 bins max so it stays manageable: I use 28–30 quart lidded bins and rotate themes every 7–10 days (rice + scoops, water beads in a sealed bag, or foam shapes). I set the bins on a 48-inch resin utility shelf and keep a towel and small dustpan on the bottom shelf. For safety, I choose fillers that match your child’s stage and supervise anything that could be mouthed.
I recommend lidded bins with snap handles, silicone scoops, and a waterproof label maker tape. For color, I like clear bins so you can see what’s inside without opening everything.
Pro Tip: I’ve found that putting a large baking sheet under the bin catches 80% of spills—especially rice—and makes cleanup a single “dump back in” move instead of a full yard sweep.
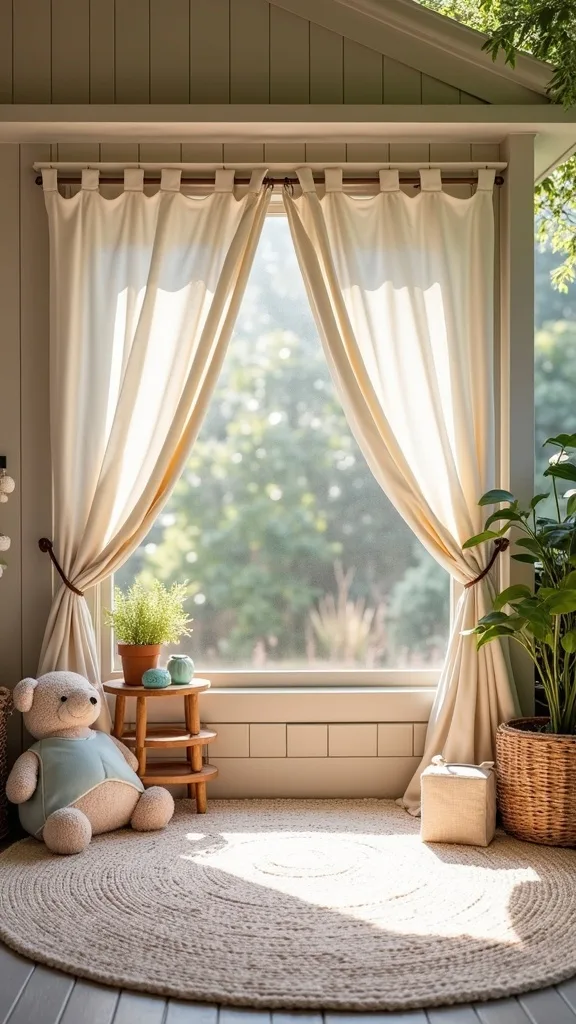
24. DIY Mini Stage for Performances (Outdoor Rug + Curtain)
I always love adding a performance corner because it gives kids a social, imaginative anchor in the outdoor kids play area. From my experience, a mini stage also helps siblings collaborate—one performs while the other “runs the show.”
I start with a base: a 4 ft x 6 ft outdoor rug or two 2 ft x 3 ft mats side by side, then I define the “stage edge” with chalk. I hang an outdoor curtain or sheet on a tension rod between two posts, keeping it about 60–72 inches high so it reads like a backdrop. I add a small bin with props—scarves, a toy microphone, and paper tickets—and I keep performances to 10–15 minutes so it stays fun, not stressful.
I recommend UV-resistant fabric, spring clamps, and a lightweight folding stool for “announcers.” For style, I like neutral fabric with one bold stripe.
Pro Tip: I’ve found that adding a “green room” box (a 12-gallon tote behind the curtain) prevents prop explosions—kids naturally put items back there between acts, and the stage stays presentable even during chaotic play.
25. Seasonal Spring Refresh Routine (Weekly Reset + Safety Check)
I find that the difference between a fun outdoor play area for kids and a neglected corner is a simple routine you can actually stick to. From my experience, a weekly reset keeps surfaces safer and makes the space inviting without turning into a big project.
I always start by setting a recurring 15-minute “Sunday reset” timer: I shake out rugs, wipe tables, and return toys to their parking spots. Then I do a quick safety sweep every 2 weeks: check swing hardware for looseness, scan for splinters on timbers, and rake mulch back to an even 6–9 inch depth where kids land. If you use water features, I dump and rinse catch bins the same day to avoid stagnant water.
I recommend keeping a small outdoor caddy with a scrub brush, mild soap, a microfiber towel, and a cordless drill for tightening bolts. For surfaces, I keep a spare bag of mulch or a stack of rubber tiles for quick patching.
Pro Tip: I’ve found that taking one “same angle” photo every 30 days helps you spot creeping clutter and worn landing zones—you’ll notice the mulch thinning under swings long before it becomes a problem, and that makes maintenance feel easy and empowering.
Final Thoughts
I always remind myself that the goal isn’t a picture-perfect backyard—it’s a space that makes it easier to say “yes” to outdoor time in spring. From my experience, even a small outdoor play area feels amazing once you add a soft surface, define 3 simple zones, and give toys a real home.
I find that the most successful outdoor play areas are the ones that grow with your kids: today it might be a toddler outdoor play area with a gated yes space, and next year it becomes an obstacle course plus a mini sports strip. In my opinion, it’s completely okay to start with one anchor item (like a mud kitchen or swing) and build the rest in $20–$50 steps as you learn what your kids truly use.
If you pick just one action today, I recommend grabbing a tape measure and marking out your play footprint—once you can see the space, the next decisions get so much easier. I’m cheering you on as you create an outdoor kids play area that feels safe, organized, and genuinely fun to spend time in.
What I’d Do Differently
When I first tried this, I made one very specific mistake: I bought the “fun stuff” first (a slide and a water table) before I planned the surface and storage. Within 10 days, the grass turned into a muddy patch right where the kids landed, and I was dragging toys back to the garage in multiple trips because nothing had a home. The correct approach, in my experience, is to start with the footprint and the landing zone—even if it’s just a 6 ft x 8 ft section of rubber tiles or 6 inches of wood fiber—then add one activity at a time. That order costs a bit more upfront, but it prevents the “we built it and now we hate maintaining it” spiral.
I also wish I’d known how much a simple “parking system” changes everything: one deck box for small items and a hook rack for scooters is often enough to make cleanup feel doable. If you’re unsure where to begin, I recommend measuring a rectangle today, choosing 3 stations, and setting a 15-minute weekly reset—then build from there with confidence.
Products I Recommend for This Project
Here are some of my favourite products to help you bring these ideas to life:
- Keter Westwood 150-Gallon Resin Deck Box — I find it hides outdoor toys fast while doubling as extra seating.
- Little Tikes First Slide (Standard) — I recommend it for toddler outdoor play areas because the height feels confidence-building without being intimidating.
- Gazillion Bubbles Giant Bubble Solution (64 oz) — I always keep a big refill on hand so the bubble station doesn’t run out mid-play.
- Franklin Sports Blackhawk Backyard Soccer Goal (Pop-Up) — I like it for a mini sports zone because it stores flat in under a minute.
- Crayola Washable Kids Paint Set — From my experience, washable paint makes outdoor art feel doable even on busy days.