This post contains affiliate links. As an Amazon Associate, I earn from qualifying purchases at no extra cost to you.
Are you looking for teen bedroom ideas that feel current, personal, and not like a little kid’s room anymore? Do you want to pull off a summer teen room refresh without buying all new furniture or blowing your budget?
I always start by choosing one “anchor look” and building everything else around it, and in this post I’m walking you through exactly how I do that step by step. I’m sharing a practical plan for a teen room makeover that blends a terracotta stripe accent wall, a string light canopy, a cork mood board, and a loft-style study nook—plus a bunch of smaller DIY wins.
In my opinion, this is perfect for parents helping a teen update their space, teens who want more independence in their room, or anyone trying to make a cool teen room in a small bedroom or shared space.
From my experience, the biggest transformation comes from a few high-impact changes—paint lines that look crisp, warm lighting, and wall storage that keeps clutter off the desk. I’ll also show you how I keep the vibe flexible so it can evolve over the next 6–12 months as tastes change.
When I design this look, I aim for “easy to maintain” and “easy to tweak,” so you can swap posters, photos, and bedding without redoing the whole room. Below are 25 Teen Bedroom Makeover Ideas & DIY Decor that…
1. Build the Signature Summer Look: Terracotta Stripes + Light Canopy + Cork Board + Loft Nook
I always start by anchoring a teenage bedroom with one cohesive “scene,” and this combo—terracotta stripe accent wall, string light canopy, cork mood board, and a loft study nook—gives me a full teen room makeover without needing new furniture. From my experience, tying 4 elements together makes the room feel intentional in a way random upgrades never do.
I find that the easiest order is: paint first (so you’re not working around decor), then hang the canopy lights, then mount the cork board, and finally style the loft nook. I typically map stripes at 4 inches wide with 2-inch gaps using FrogTape Delicate Surface tape, then I let paint cure for 24 hours before I stick anything to that wall. For the canopy, I run 2 screw-in ceiling hooks about 60 inches apart and drape 2 strands of 33-foot warm white light (2700K–3000K — the cosy, yellowish tone you see in most homes) string lights.
When I design this look, I like Behr “Canyon Dusk” or Sherwin-Williams “Redend Point” in matte, plus a 24×36 inch cork board framed in oak veneer. I always recommend a 47-inch loft bed or a 72-inch wall-mounted desk to create a true study nook.
Pro Tip: I’ve found the canopy looks more “intentional” if I hide the power cord by running it down the bed’s back corner and securing it every 10–12 inches with clear Command cord clips—so the glow reads like decor, not a tangled charger.
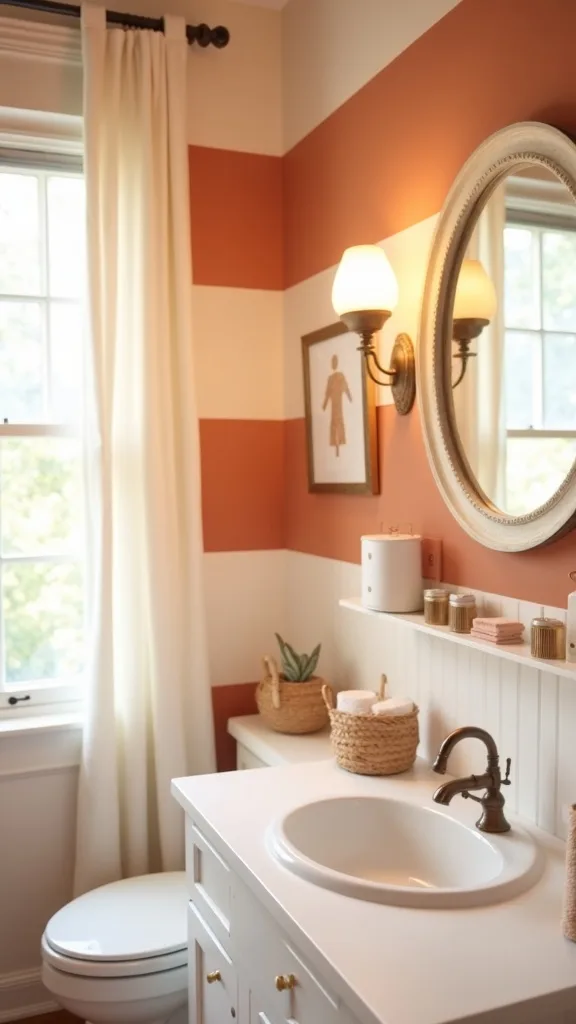
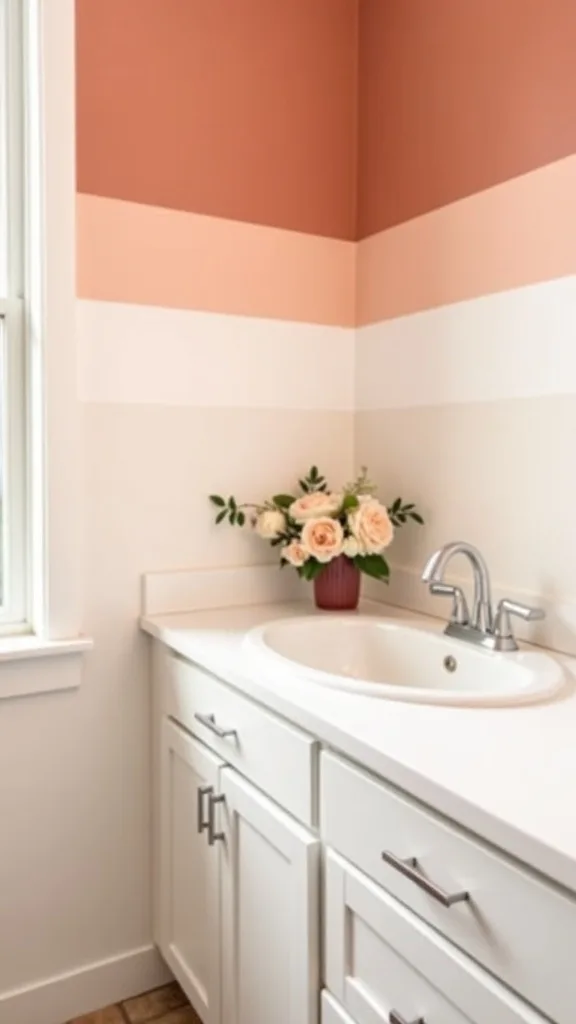
2. Paint a Crisp Terracotta Stripe Accent Wall (Without Bleed-Through)
From my experience, a striped accent wall is the fastest way to make teen bedroom ideas feel custom, because the lines read like a boutique hotel instead of a quick paint job. I find that terracotta works especially well for a summer teen room refresh because it warms up white bedding and keeps the room from feeling flat.
I always start by washing the wall with a damp microfiber cloth and letting it dry for 30 minutes, then I pencil a level guide line at 48 inches high so my stripes stay consistent. I typically use 4-inch stripes with 2-inch negative space, and I burnish the tape edge with an old gift card before painting. I recommend doing 2 thin coats with a 3/8-inch nap roller, waiting about 2 hours between coats, then pulling the tape off at a 45° angle while the second coat is still slightly tacky.
When I tried this, I got the cleanest edges using Zinsser Bulls Eye 1-2-3 primer on patchy walls and a matte acrylic like Behr Premium Plus. I also keep a 1-inch angled sash brush handy for corners and outlets.
Pro Tip: I’ve found the secret to zero-bleed stripes is “sealing” the tape with the base wall color first—one quick pass, 20 minutes dry time—then painting terracotta on top, so any seepage matches the background instead of ruining the stripe.
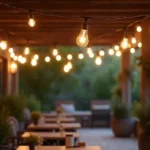
3. Hang a String Light Canopy That Doesn’t Sag
I find that a light canopy instantly turns a teenage bedroom into a cozy hangout zone, and it’s one of my favourite approaches for a cool teen room because it adds glow without taking up floor space. From my experience, the difference between “cute” and “messy” is how tight and symmetrical the drape looks.
I always start by measuring the bed width and adding 12 inches on each side, then I place 2–3 ceiling hooks in a triangle about 54–66 inches apart depending on the room. I recommend using 2 strands of 33-foot LED fairy lights (battery or plug-in), and I space the drape points every 18–24 inches so the canopy keeps its shape. Typically, I hide the battery pack or transformer in a small 6×6 inch fabric pouch pinned behind the headboard.
When I design this look, I choose warm white light (2700K–3000K — the cosy, yellowish tone you see in most homes) and clear wire so it disappears in daylight. I also like pairing it with a 52×84 inch sheer curtain panel to soften the glow.
Pro Tip: I’ve found sagging happens when the wire carries the weight—so I run a nearly invisible 20 lb clear fishing line between hooks first, then clip the lights to the line with mini clear binder clips, which keeps the canopy crisp for months.
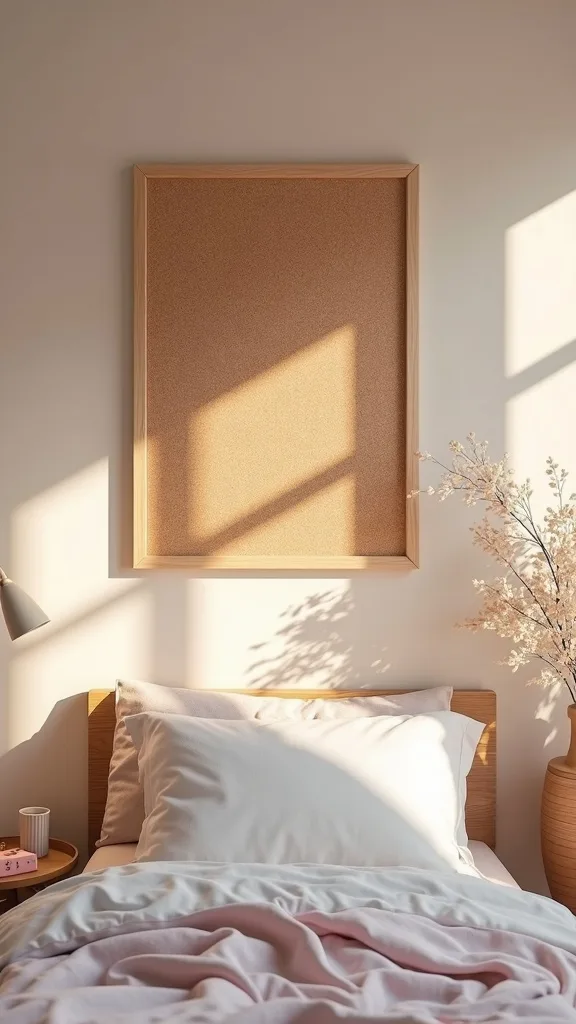
4. Make a Cork Mood Board That Teens Actually Use
In my opinion, a cork mood board is the most practical DIY teen decor because it gives a teenage bedroom a place for photos, schedules, and inspiration without taping everything to the wall. I find that teens use it more when it looks like decor, not a classroom bulletin board.
I always start by choosing a board size that fills a real zone—typically 24×36 inches above a desk or 18×24 inches near the door—and I hang it so the center sits around 60 inches from the floor. I recommend using two D-ring hangers and 30 lb picture hooks so it stays level, and I keep pushpins in a small 4-inch ceramic dish on the desk. For a summer refresh, I rotate content every 2 weeks: 6 photos, 3 ticket stubs, and 1 goal list so it doesn’t become visual clutter.
From my experience, a simple oak frame (or even 1×2 pine stained with Minwax “Special Walnut”) makes cork look intentional. I also like adding 10–12 mini wooden clothespins and a thin jute twine line across the board.
Pro Tip: I’ve found regular pushpins can crumble cork over time, so I switch to flat-head quilting pins for photos—less tearing, and the board stays smooth even after 6–8 months of constant updates.
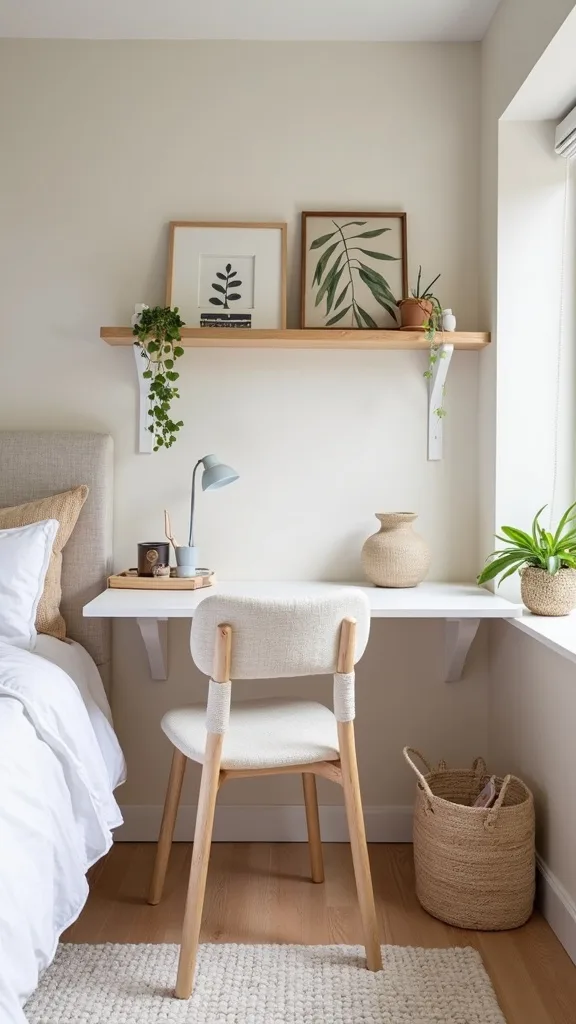
5. Create a Loft Study Nook Under a Raised Bed
When I design a loft study nook, I’m usually trying to solve the same teen problem: homework needs a real zone, but the bedroom footprint is tight. From my experience, lifting the bed to 45–55 inches of clearance can give you a desk area that feels separate, which makes focus easier for most teens.
I always start by confirming ceiling height—typically you want at least 30 inches from mattress top to ceiling for comfort—then I plan a desk that’s 40–60 inches wide and 20–24 inches deep. I recommend a wall-mounted 72-inch countertop (like an IKEA SALJAN) on heavy-duty 12-inch brackets rated for 100 lb each, because it’s sturdier than many flat-pack desks. I also add a clamp lamp with a 9–12 inch shade and warm white light (2700K–3000K — the cosy, yellowish tone you see in most homes) so the nook doesn’t feel cave-like.
I find that pegboard (like IKEA SKÅDIS) and a 3-tier rolling cart keep supplies off the work surface. Typically, I add a 3×5 foot low-pile rug to soften chair noise.
Pro Tip: I’ve found the nook feels instantly more “grown-up” if you mount a 4-inch-deep picture ledge at eye level under the loft—then style it with 3–5 items max, so the desk stays clear but the space still feels personal.
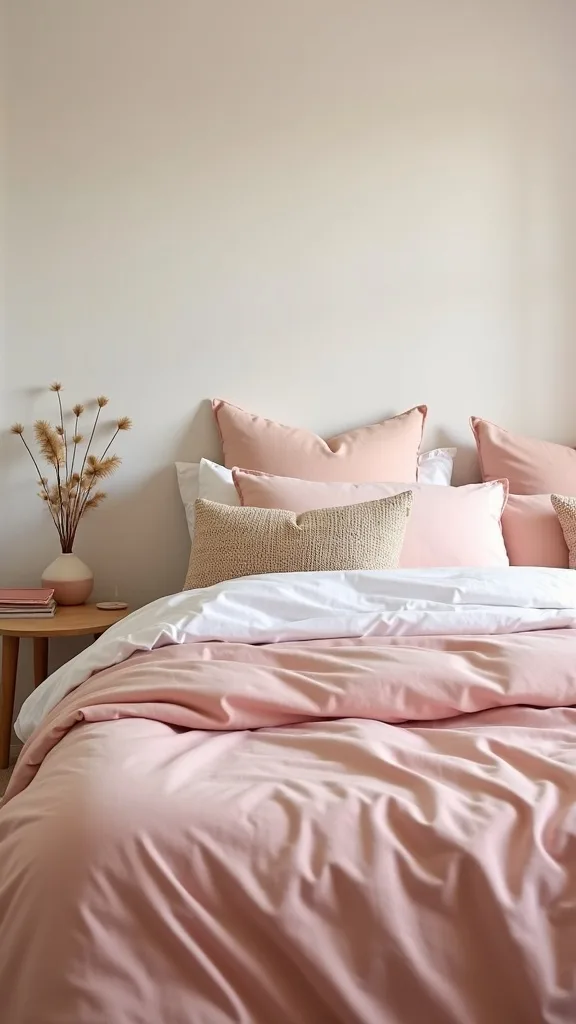
6. Swap Bedding to a Simple Two-Color Palette (So Decor Can Change Later)
I always recommend treating bedding like your room’s “neutral outfit,” because it lets DIY teen decor and posters change without the whole room clashing. From my experience, a two-color palette keeps a teenage bedroom from feeling chaotic even when hobbies and trends shift.
I always start by choosing one base neutral (white, oatmeal, or light gray) and one accent (terracotta, olive, navy), then I repeat that accent at least 3 times in the room. Typically, I use a queen duvet cover (90×90 inches) even on a full bed for a drapier look, and I layer 2 standard pillows plus 1 lumbar pillow around 14×36 inches. I find that adding a lightweight cotton throw (about 50×60 inches) at the foot of the bed makes the space feel styled in under 5 minutes.
When I design this look, I like washed cotton or linen-blend duvet covers because they hide wrinkles better than crisp microfiber. I recommend sticking to 1–2 patterns max—like stripes on the wall and solids on the bed.
Pro Tip: I’ve found teen bedding stays looking fresh longer if you buy a second set of pillowcases (2 extra) and rotate weekly—pillowcases take the most wear, and this small swap stretches the “new room” feeling for months.
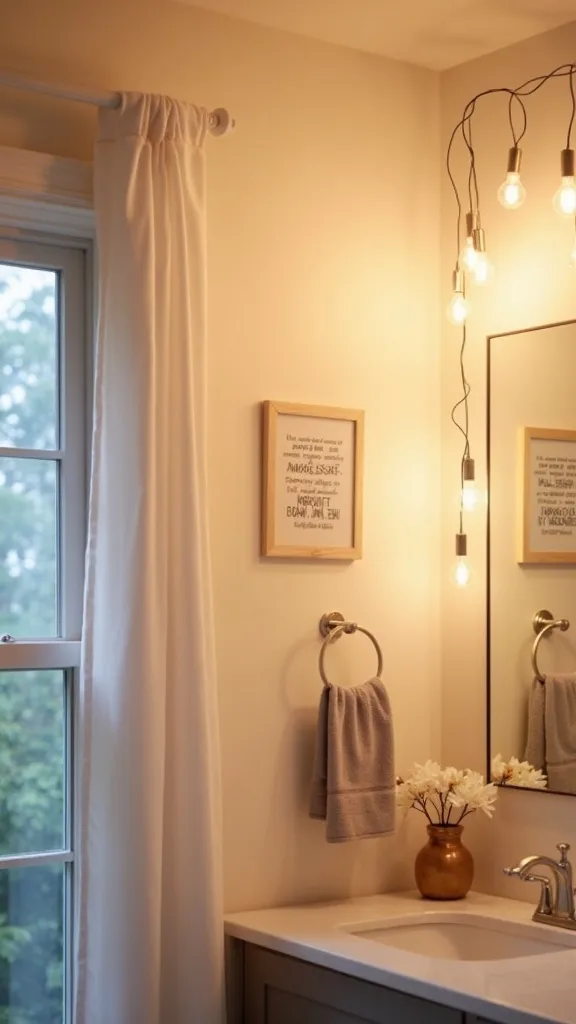
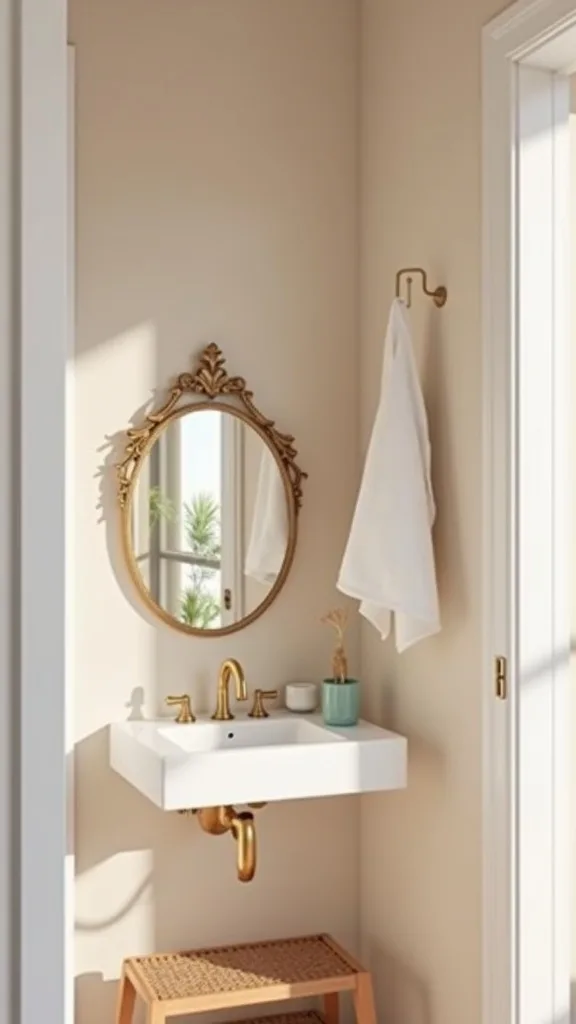
7. Add a Mirror “Outfit Check” Zone Near the Closet
From my experience, a full-length mirror is one of the most-used upgrades in teen bedroom ideas, and it makes a teenage bedroom feel more functional instantly. I find that placing it thoughtfully also bounces light around, which helps in smaller rooms.
I always start by picking a mirror at least 58–65 inches tall, then I position it 8–12 inches from the closet edge so doors don’t collide. Typically, I anchor it with 2 anti-tip straps or mirror clips into a stud, especially if it’s leaning-style, because safety matters more than aesthetics. I recommend adding a 12-inch wall hook rail nearby for tomorrow’s outfit and a small 10-inch tray for jewelry or keys.
When I tried this in a tight room, a thin black metal frame kept it modern without adding visual bulk. I also like pairing it with a 15–18 inch wide basket for shoes to keep the floor clear.
Pro Tip: I’ve found mirrors look higher-end when you align the top edge with another horizontal line in the room—like the top of the door casing (usually around 80 inches)—so the whole wall reads “planned,” not randomly placed.
8. Use Peel-and-Stick Wallpaper Inside the Closet for a Surprise Pop
I find that closet interiors are the safest place to experiment with bold pattern, especially during a summer teen room refresh when you want change without commitment. From my experience, this is a smart teen room makeover move because you get impact without staring at it 24/7.
I always start by measuring the back closet wall and cutting panels 2 inches longer than needed, then I trim with a sharp OLFA utility knife and a metal ruler. Typically, I use 2–3 panels of 17.7-inch wide peel-and-stick wallpaper for a standard 48-inch closet section, and I smooth it with a plastic squeegee in 6-inch strokes to avoid bubbles. I recommend leaving 1/8 inch gap at corners rather than wrapping, because most closets aren’t perfectly square.
When I design this look, I like a small-scale stripe or terrazzo print so it doesn’t fight the terracotta accent wall. I always keep isopropyl alcohol (70%) and a lint-free cloth nearby to prep the surface.
Pro Tip: I’ve found peel-and-stick lasts longer in closets if you avoid placing it directly behind hanging damp towels or sports gear—humidity can lift edges—so I keep it on the upper half of the wall (above 48 inches) where airflow is better.
Cost & Materials Estimate
For most spaces, I can pull off a summer teen room refresh with paint, lighting, and organization for about $150–$650 depending on what you already own.
| Item | Estimated Cost | Where to Buy |
|---|---|---|
| Interior paint (1 gallon) + primer (1 quart) | $55–$95 | Home Depot |
| Painter’s tape, mini roller kit, angled brush | $18–$38 | Lowe’s |
| LED string lights (2 x 33 ft) + ceiling hooks | $28–$60 | Amazon |
| Framed cork board (24×36 in) + pushpins | $25–$55 | Wayfair |
| Storage: under-bed bins (set of 2–4) + labels | $35–$90 | IKEA |
| Plug-in sconce or task lamp | $22–$65 | Amazon |
Total estimated cost: $183–$403 I find you can save money by reusing frames and bins, but I’d splurge on quality paint and warm lighting because they change the room the most.
9. Upgrade the Desk Lighting for Homework (Without Harsh Glare)
In my opinion, lighting is the most overlooked part of a teenage bedroom, and it’s why a room can look cute but still feel hard to live in. I find that teens work better when the desk has its own light source instead of relying on a single overhead fixture.
I always start by adding one adjustable task lamp with a 6–8 inch shade and placing it on the opposite side of the writing hand (left side for right-handed writers) to reduce shadows. Typically, I aim for brightness (measured in lumens) around 450–800 lumens at the desk, and I choose warm white light (2700K–3000K — the cosy, yellowish tone you see in most homes) for evenings so it feels calm. I recommend using a smart plug and setting an auto-off timer for 11:00 pm on school nights, because it helps routines without nagging.
From my experience, a clamp lamp on a 3/4-inch shelf or desk edge saves surface space. I also like adding a small LED light bar under a loft bed for even coverage.
Pro Tip: I’ve found glare is usually from a bare bulb reflecting off a glossy desk, so I pick a lamp with an opaque shade and angle it toward the wall at about 30°—the reflected light feels softer and still bright enough to read.
10. DIY a Painted Headboard Arch (Budget Alternative to New Furniture)
I always recommend a painted headboard illusion when someone wants a dramatic teen room makeover but doesn’t want to buy a $300–$700 bed frame. From my experience, a simple arch looks modern and photographs well for a teen’s room update.
I always start by measuring the bed width, then I add 6–10 inches on each side for visual balance. Typically, I mark the arch height at 48–54 inches from the floor, then I use a pencil tied to string (about 24 inches long) as a DIY compass to draw a smooth curve. I recommend painting 2 coats with a 2-inch angled brush for the edges and a 4-inch foam roller for the fill, waiting about 2 hours between coats.
When I design this look, I like using the same terracotta as the stripe wall but in a slightly lighter shade for contrast. I find that matte paint hides wall texture better than eggshell.
Pro Tip: I’ve found arches look most “intentional” if you echo the curve somewhere else—like a round 18-inch mirror or a dome-shaped lamp—so the arch doesn’t feel like a one-off trend.
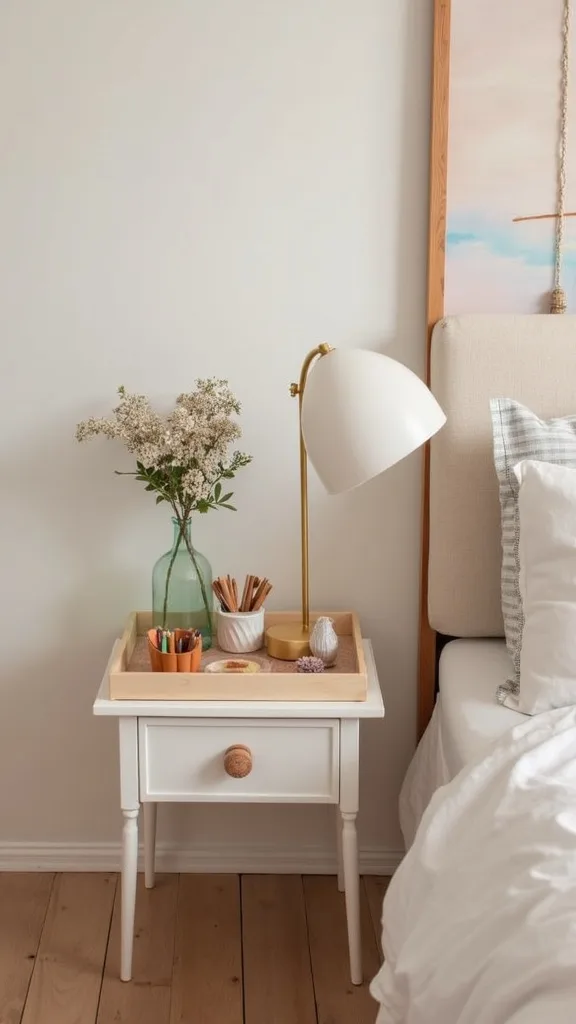
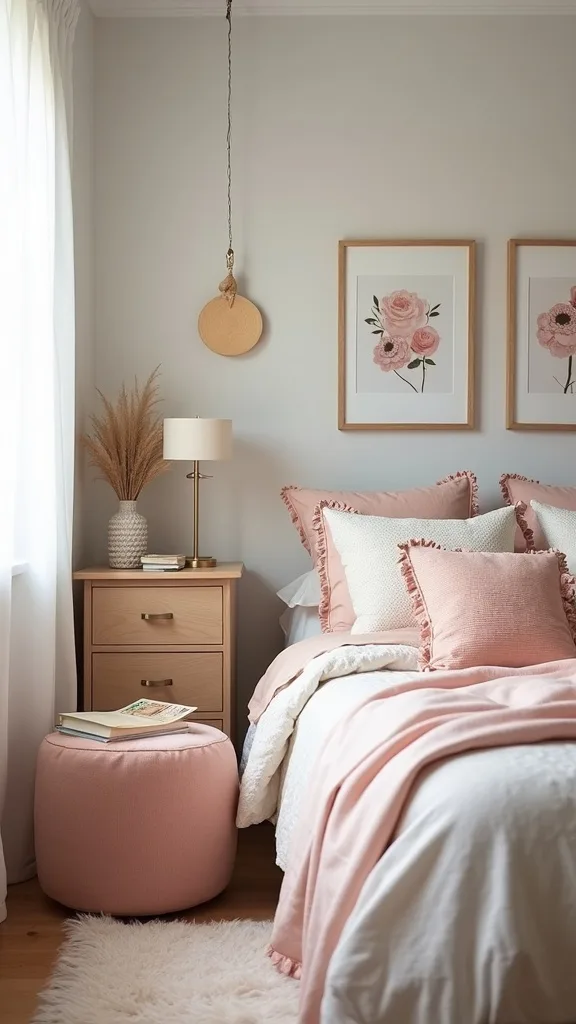
11. Style a Nightstand Tray System to Stop Clutter Creep
I find that teen nightstands become clutter magnets within 1–2 weeks unless there’s a simple system in place. From my experience, a tray setup is the easiest way to keep a teenage bedroom feeling calm without asking a teen to become a minimalist overnight.
I always start by choosing one tray around 10–12 inches wide, then I assign it “small stuff only” (lip balm, earbuds, rings). Typically, I add a second container—a 6-inch catchall bowl—for coins and hair ties, and I keep one 8–10 ounce water glass spot so drinks don’t migrate across the surface. I recommend a lamp with a base under 6 inches wide so there’s still room for a book stack (2–3 books max) or a journal.
When I tried this, a bamboo tray and a ceramic dish held up better than thin plastic, but it costs a bit more upfront. I also like using a 3-outlet bedside power strip with a 6-foot cord to keep chargers from tangling.
Pro Tip: I’ve found the tray works best when it’s slightly smaller than the nightstand—leave a 2-inch border—because that empty edge becomes a visual “stop sign” that keeps clutter from spreading.
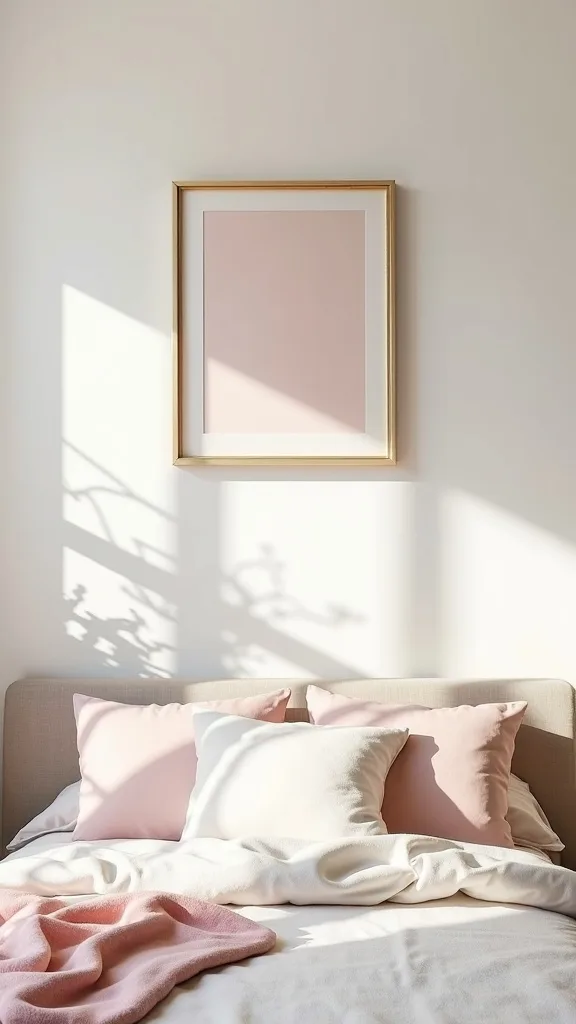
12. Make Wall Art Look Curated with a 3-Frame Grid
From my experience, the quickest way to make DIY teen decor look elevated is to hang art in a clean grid instead of a scattered collage. I find that a 3-frame layout keeps the room feeling mature while still letting personality shine.
I always start by printing 3 images in the same size—typically 11×14 inches—and placing them in matching frames (thin black, light oak, or white). I recommend hanging them with 2 inches between frames and setting the center of the grid around 57–60 inches from the floor. When I design this look above a desk, I keep the bottom edge at least 8–10 inches above the desktop to avoid a cramped feeling.
I find that a mix of one photo, one quote, and one abstract print works for most teen tastes. For tools, I use a 24-inch level, painter’s tape for mock-up, and 3M Command picture hanging strips if the wall is smooth and the frames are under 4 lb each.
Pro Tip: I’ve found grids look crooked when the wall has subtle texture shadows, so I turn on the room’s main light and stand 6–8 feet back while adjusting—your eyes catch misalignment much faster at viewing distance than up close.
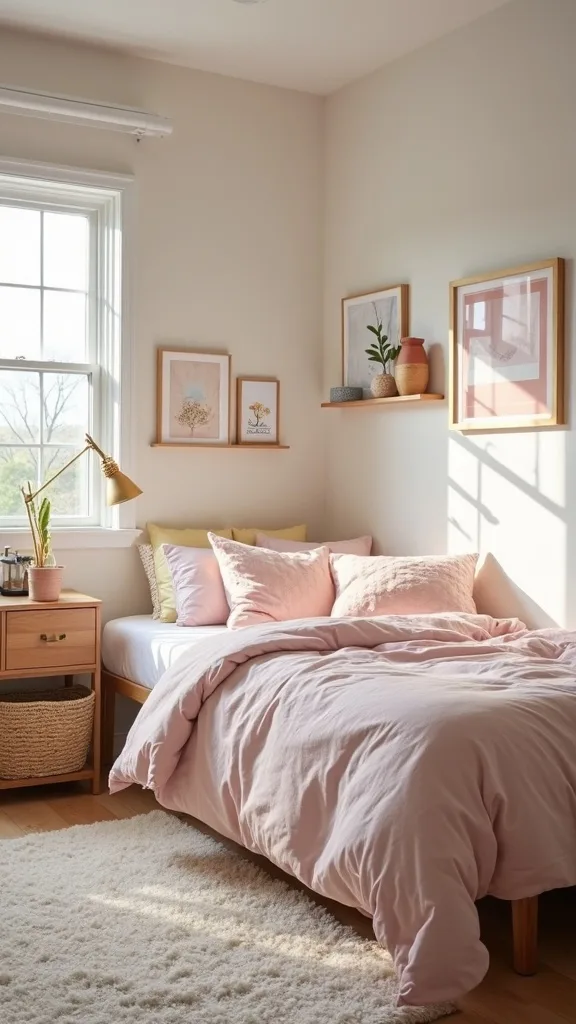
13. Add a Soft Rug Layer to Quiet the Room (Great for Shared Walls)
I always recommend a rug upgrade during a summer teen room refresh because it changes how the whole room feels underfoot and it can reduce noise in most cases. From my experience, this is especially helpful in a teenage bedroom above a living room or next to a sibling’s room.
I always start by sizing the rug to the bed: typically 5×8 feet for a twin/full and 8×10 feet for a queen, with at least 18–24 inches showing on the sides you step onto. I recommend adding a 1/4-inch thick rug pad so it doesn’t slip and so the rug feels cushier without buying a thicker pile. If the room is small, I find that placing the rug 2/3 under the bed makes the space look larger while keeping the walking zone soft.
When I design around terracotta stripes, I like a cream rug with a subtle tan pattern or a low-pile vintage-style rug in muted rust and sand. I always check that the rug is easy to vacuum weekly.
Pro Tip: I’ve found rug corners curl most when they’re near HVAC vents, so I use rug corner grippers on the two corners closest to airflow—this prevents trip hazards and keeps the rug looking flat.
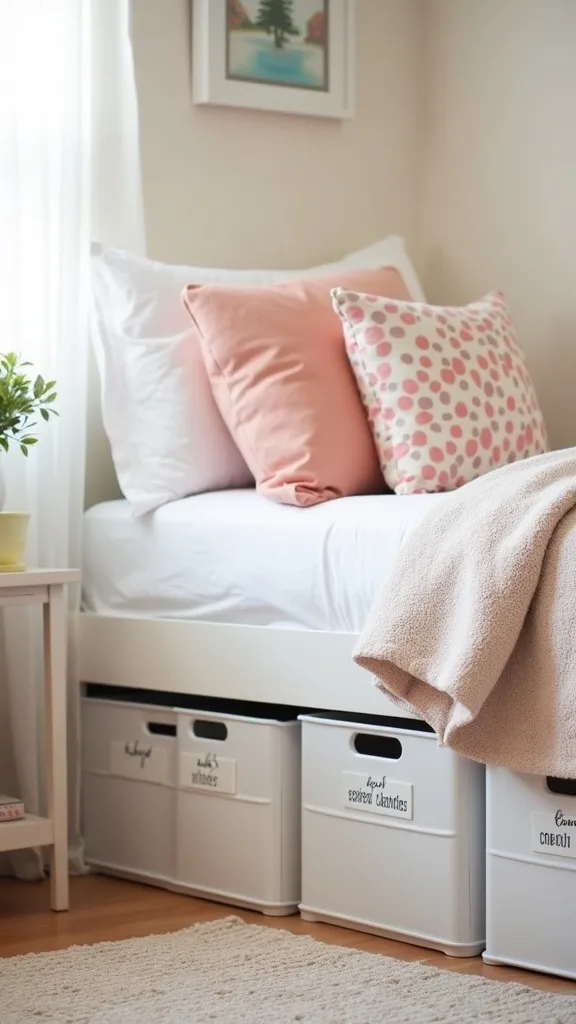
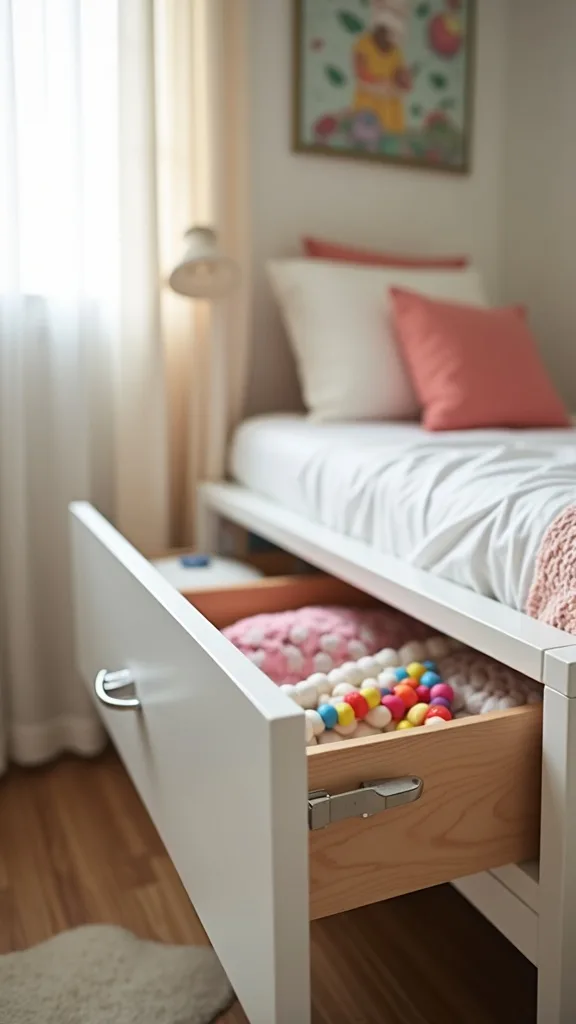
14. Use Under-Bed Storage Bins with Labels (So It Stays Organized)
I find that the easiest way to keep a cool teen room looking clean is to hide the “in-between” stuff—hoodies, sports gear, extra cords—where it’s still easy to grab. From my experience, under-bed storage works best when it’s categorized and labeled, not just shoved in.
I always start by measuring clearance under the bed; typically you’ll have 6–12 inches, and that determines whether you need low-profile fabric bins or rolling plastic totes. I recommend 2–4 bins that are about 30–32 inches long and 16–18 inches wide, and I label them with 2-inch label tape (like a Brother P-touch) so the system survives mood swings and growth spurts. I also set a 15-minute reset every Sunday to return items to the right bin.
When I tried this, clear bins made it easier to find things, but fabric bins looked calmer—so I choose based on how visually busy the room already is. I always keep one bin labeled “donate” to prevent overflow.
Pro Tip: I’ve found the bins slide better (and snag less dust) if you stick 1-inch felt pads on the bottom corners—especially on carpet—so teens actually use the storage instead of abandoning it after a week.
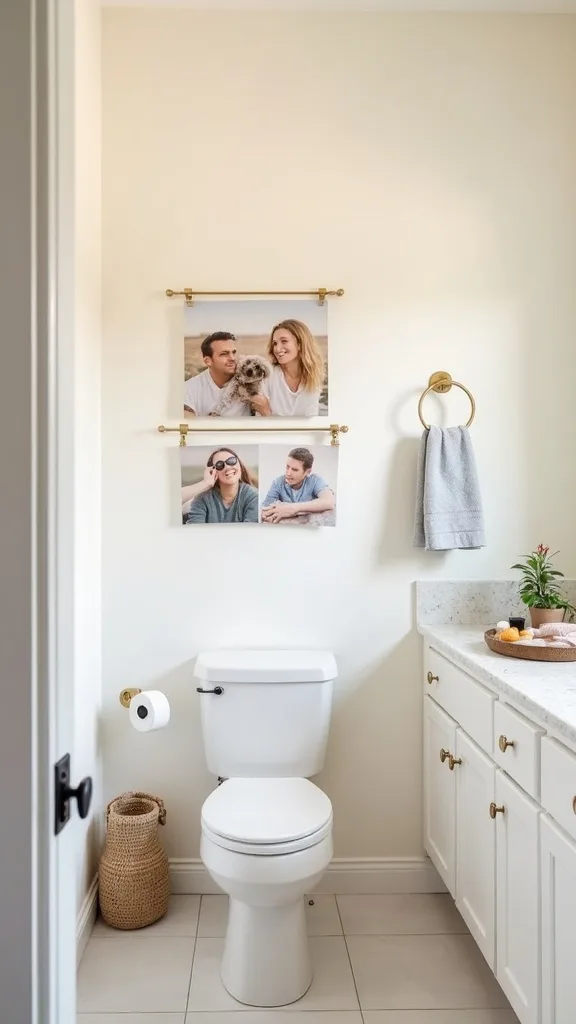
15. DIY a Photo Line Display That Won’t Damage Paint
In my opinion, a photo line is the sweet spot between a poster wall and a full gallery, and it’s one of my go-to teen bedroom ideas for showing personality fast. I find that it looks especially good next to a cork mood board because it adds texture without more frames.
I always start by cutting a 5–6 foot length of jute twine and hanging it with 2 removable wall hooks placed about 60 inches from the floor. Typically, I clip 12–18 photos using mini clothespins, and I keep the spacing around 2 inches so it doesn’t look crowded. I recommend leaving 8–10 inches of empty twine at each end so you can add photos later without re-hanging.
When I design this look, I like mixing 4×6 prints with a few 2×3 mini prints for rhythm. I always recommend matte photo paper because it reduces glare under string lights.
Pro Tip: I’ve found Command hooks fail most often on freshly painted walls, so I wait at least 14 days after painting the terracotta stripes before sticking hooks—otherwise the adhesive can pull the paint film when you remove it.
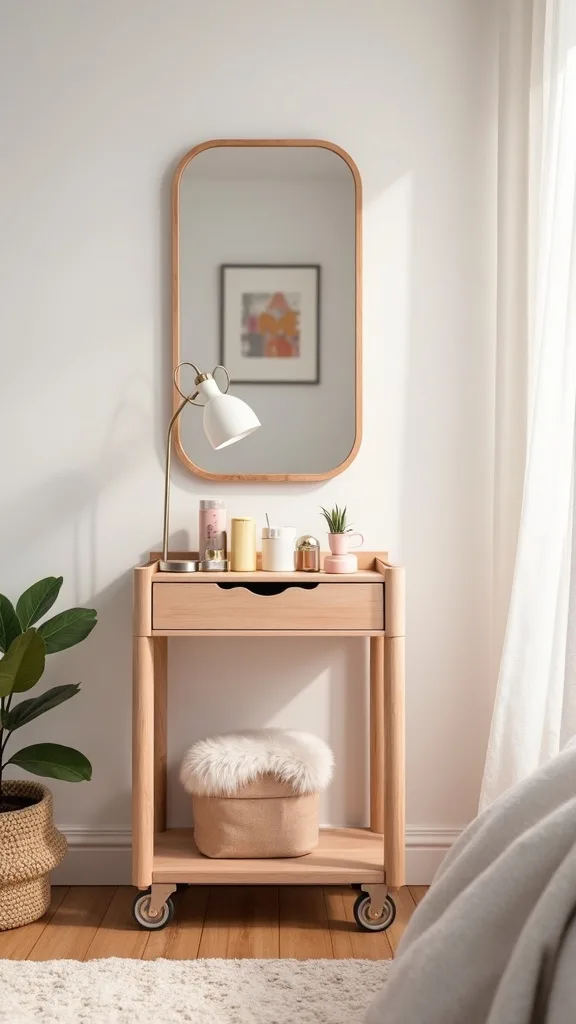
16. Create a “Get Ready” Station with a Small Rolling Cart
I always recommend a rolling cart when a teenage bedroom doubles as a getting-ready space, because it keeps daily essentials from taking over the desk. From my experience, this is a practical teen room makeover move that also makes mornings faster.
I always start by choosing a slim 3-tier cart around 15 inches wide and 30–34 inches tall, then I park it within 18 inches of the mirror zone. Typically, I organize it by tier: top for skincare (5–8 items), middle for hair tools, bottom for backup supplies. I recommend adding a heat-resistant silicone mat (about 8×10 inches) on the hair-tool tier and a small cord organizer so plugs don’t tangle.
When I tried this, the IKEA RÅSKOG style worked well, but any metal cart with locking casters is worth the extra $10–$15 because it doesn’t drift. I find that matching the cart color (white/black) to the mirror frame makes it look built-in.
Pro Tip: I’ve found the cart stays tidy if you limit it to one “open bin” per tier—everything else gets a lidded container—because open storage invites visual clutter faster than teens realize.
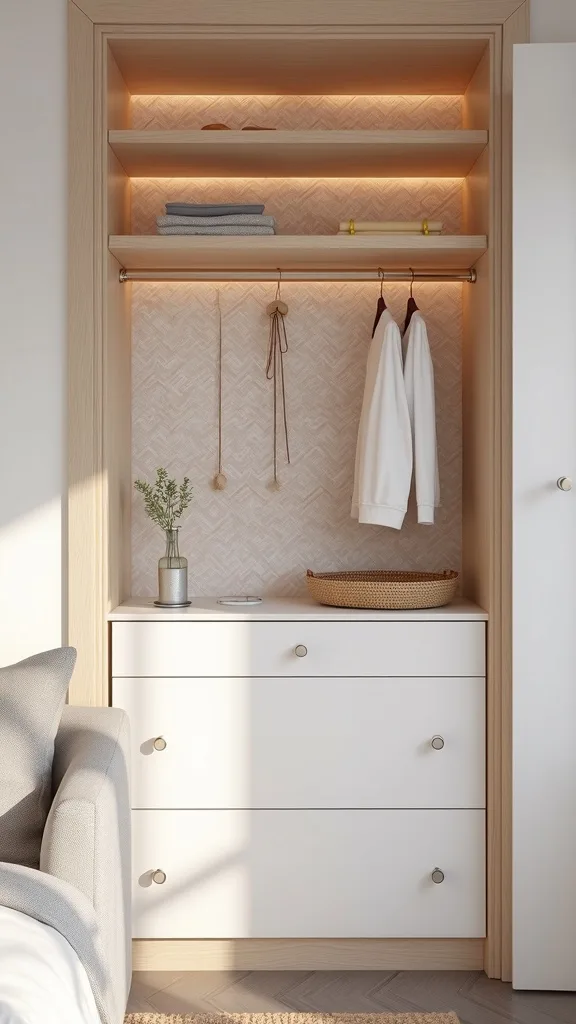
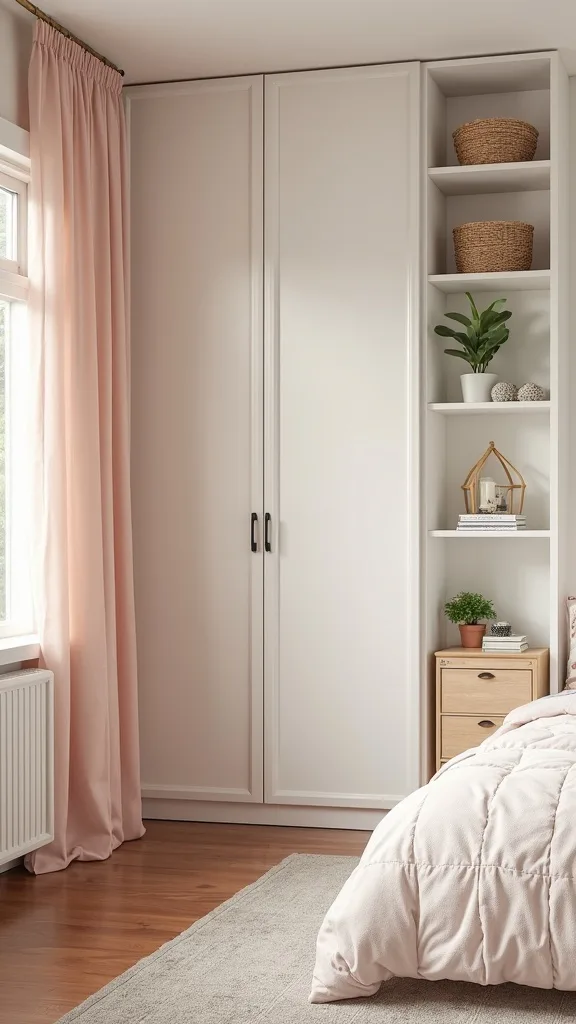
17. Use a Curtain to Hide Open Shelving (Instant Calm)
I find that teens often like open shelves in theory, but in real life the visual clutter can make the room feel stressful. From my experience, adding a simple curtain is a budget-friendly way to get the “clean” look without buying new storage furniture.
I always start by installing a tension rod or café rod 2–3 inches above the shelf opening, then I hang a 45–54 inch wide curtain panel depending on the shelf width. Typically, I hem the curtain to sit 1/2 inch above the floor (or shelf base) so it doesn’t drag and collect dust. I recommend using clip rings—usually 7 rings per panel—because they slide smoothly and look more tailored than a rod pocket.
When I design this look with terracotta stripes, I like a natural linen-look fabric in cream or sand. I always keep a small handheld steamer nearby; 5 minutes of steaming makes it look custom.
Pro Tip: I’ve found the curtain looks most “built-in” if you mount the rod wider than the opening by 3–4 inches on each side—then the fabric stacks off to the sides instead of blocking the shelves when it’s open.
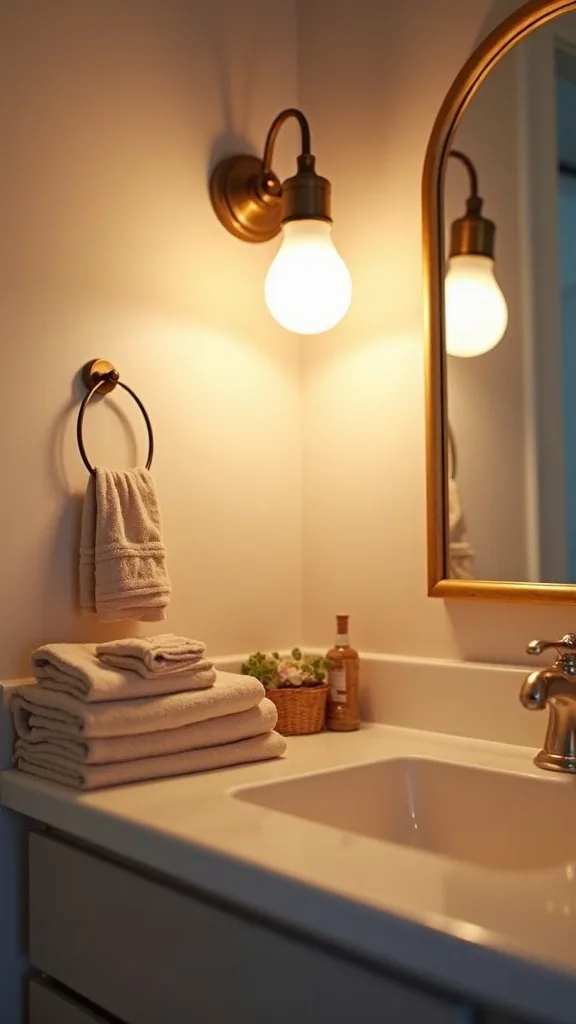
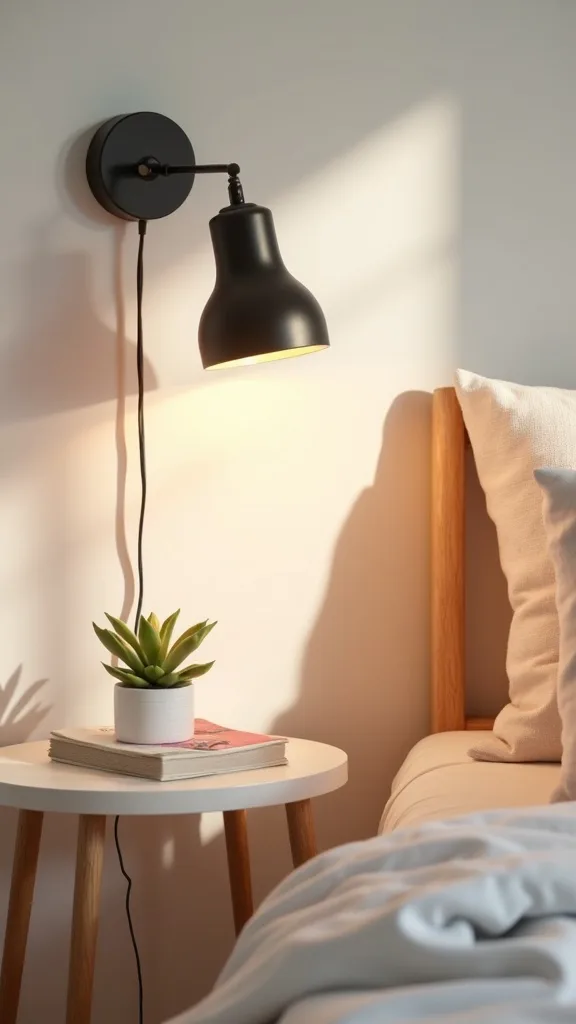
18. Add a Bedside Sconce (No Hardwiring Needed)
From my experience, plug-in sconces are a game-changer in teen bedroom ideas because they free up nightstand space and make the room feel more grown-up. I find that this is a great compromise when you want a more permanent look but can’t hardwire.
I always start by placing the sconce so the bulb sits about 50–60 inches from the floor, then I keep it 6–8 inches outside the bed edge to avoid bumping it. Typically, I choose a plug-in sconce with an on/off switch on the cord and a 10–12 foot cord so it reaches the nearest outlet without an extension. I recommend warm white light (2700K–3000K — the cosy, yellowish tone you see in most homes) and a shade that hides the bulb to reduce glare.
When I tried this, a matte black swing-arm sconce looked great against terracotta stripes, but brass can warm up cooler palettes. I always use paintable cord covers to keep the wall looking clean.
Pro Tip: I’ve found cord covers blend best if you paint them the exact wall color and run them straight down to the baseboard—then along the baseboard to the outlet—because diagonal cord lines are what make plug-in sconces look “temporary.”
19. DIY a “Snack & Study” Mini Shelf Near the Desk
I find that teens naturally migrate snacks and drinks to the desk, and that’s how keyboards get sticky and notebooks get stained. From my experience, a tiny wall shelf creates a designated landing spot and keeps the study area functional.
I always start by locating studs and mounting a 16–24 inch picture ledge shelf about 10 inches above the desktop. Typically, I keep the shelf depth around 4 inches so it holds a water bottle and a small bowl without becoming another clutter shelf. I recommend using two 50 lb-rated brackets (or a sturdy ledge with hidden brackets) and leaving at least 12 inches of clearance from any lamp shade to avoid heat issues.
When I design this look, I like a simple pine ledge painted the wall’s base color so it disappears. I also add a 6-inch coaster stack and one small wipeable tray.
Pro Tip: I’ve found the shelf stays “snack-only” if you don’t style it with decor—no candles, no figurines—because once it looks decorative, teens hesitate to use it and the snacks go right back to the desk.
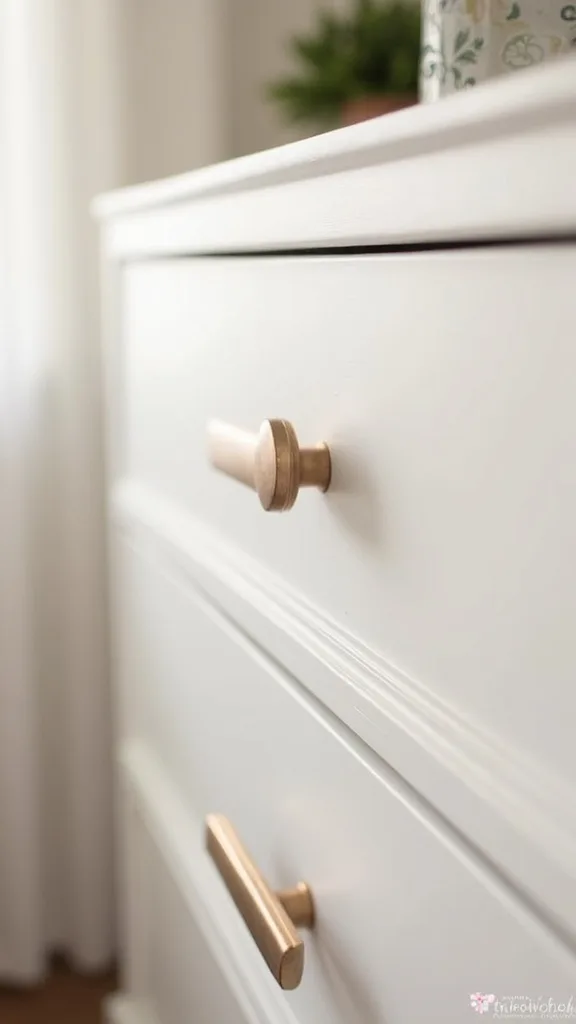
20. Refresh Hardware: Swap Drawer Pulls for a More Mature Look
I always recommend a hardware swap when the furniture is fine but the room still feels younger than the teen wants. From my experience, changing knobs and pulls is one of the fastest teen room makeover upgrades for under $40–$80.
I always start by measuring the existing hole spacing (typically 3 inches or 5 inches center-to-center) so the new pulls fit without drilling new holes. I recommend buying 6–10 matching pulls at once so the finish is consistent, and I install them with a manual screwdriver to avoid over-tightening and stripping particleboard. Typically, I can swap a dresser’s hardware in 20–30 minutes, and it changes the vibe immediately.
When I design this look with terracotta stripes, I like matte black bar pulls or brushed brass knobs. I find that metal feels more “grown-up” than plastic, but it can cost a bit more upfront.
Pro Tip: I’ve found mismatched screw lengths are the hidden headache—so I keep a small pack of #8-32 machine screws in 1-inch and 1.5-inch lengths on hand, because many pulls ship with screws that are too long for thin drawer fronts.
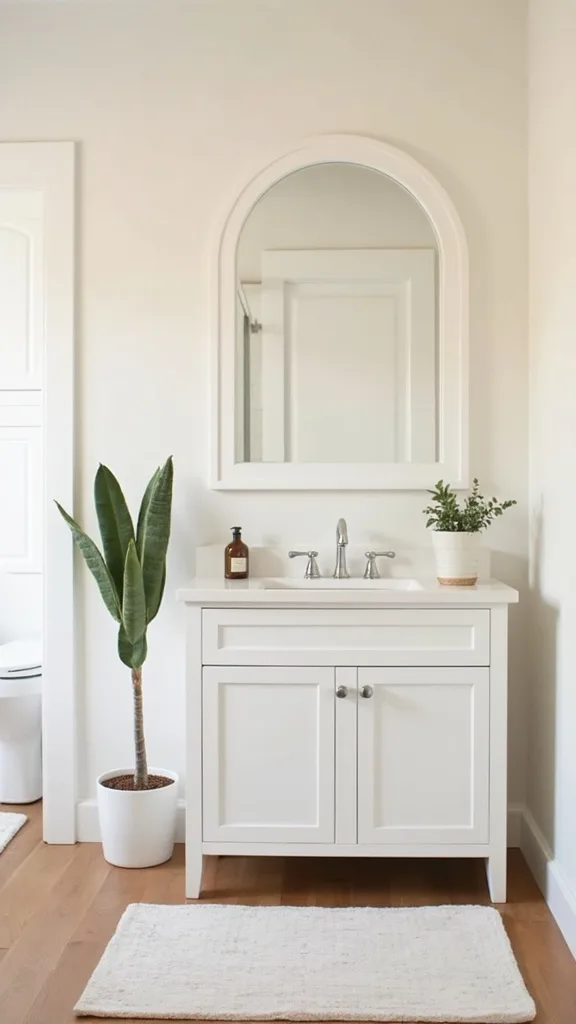
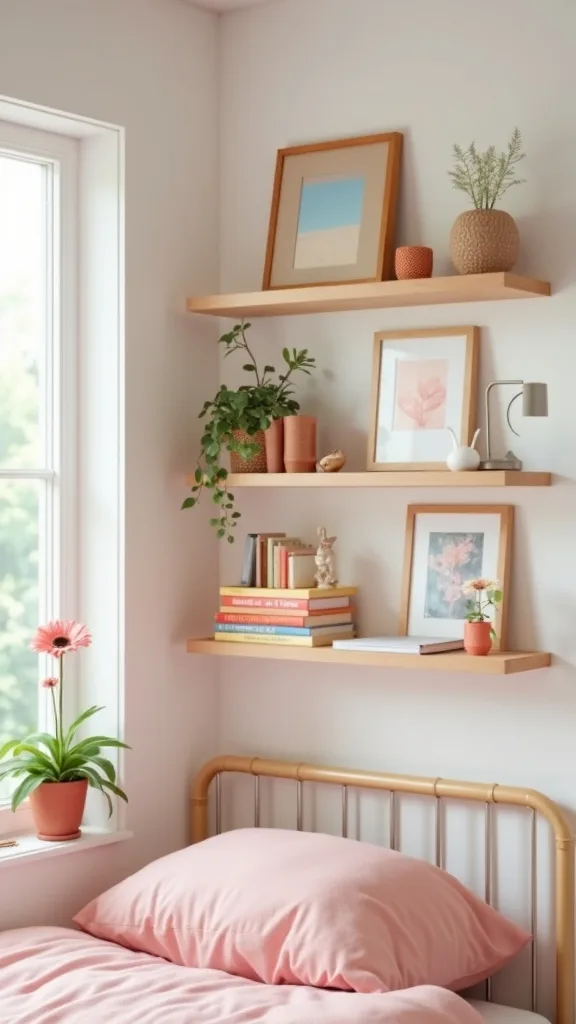
21. Use a Small Plant Corner (Real or Faux) for Summer Energy
I find that adding greenery is an easy way to make a teenage bedroom feel fresh for summer, especially when the palette includes warm terracotta. From my experience, plants also soften the straight lines of stripes and furniture.
I always start by choosing one “statement” plant and one small plant—typically a 10–12 inch tall pothos on a shelf and a 24–36 inch tall faux olive tree in a corner. If the room gets decent light, I recommend placing a real plant within 3 feet of a window and watering about every 7–10 days (most cases vary by plant). I also use a 6–8 inch cachepot with a saucer to protect floors and desks.
When I tried this in a low-light room, faux plants looked better than struggling real ones, which is a trade-off I’m totally fine with. I like terracotta pots or matte white ceramic to keep the look cohesive.
Pro Tip: I’ve found faux plants look more realistic if you “break the symmetry”—bend 3–5 stems slightly and dust the leaves every 2 weeks with a microfiber cloth, because shiny, perfectly spaced leaves are what give them away.

22. Create a Charging Drawer (So Cords Don’t Take Over)
In my opinion, visible cords are the fastest way to make a cool teen room feel messy, even when everything else is styled. From my experience, a charging drawer keeps tech accessible while hiding the chaos.
I always start by picking the top dresser drawer or a nightstand drawer, then I drill a 1.5–2 inch hole in the back using a hole saw and add a plastic grommet. Typically, I place a 6-outlet power strip inside and use 6-inch cable ties to bundle extra cord length. I recommend adding a small bamboo drawer organizer (around 12×8 inches) so earbuds, watch chargers, and adapters don’t turn into a knot.
When I tried this, it cost a little more than just plugging things in, but it saved time daily because everything had a home. I find that labeling cords with 1/4-inch label tape prevents “mystery charger” frustration.
Pro Tip: I’ve found charging drawers run hot if you pile devices, so I keep the drawer open 1–2 inches while charging laptops or tablets and avoid charging on top of fabric—better airflow keeps devices cooler and cords safer.
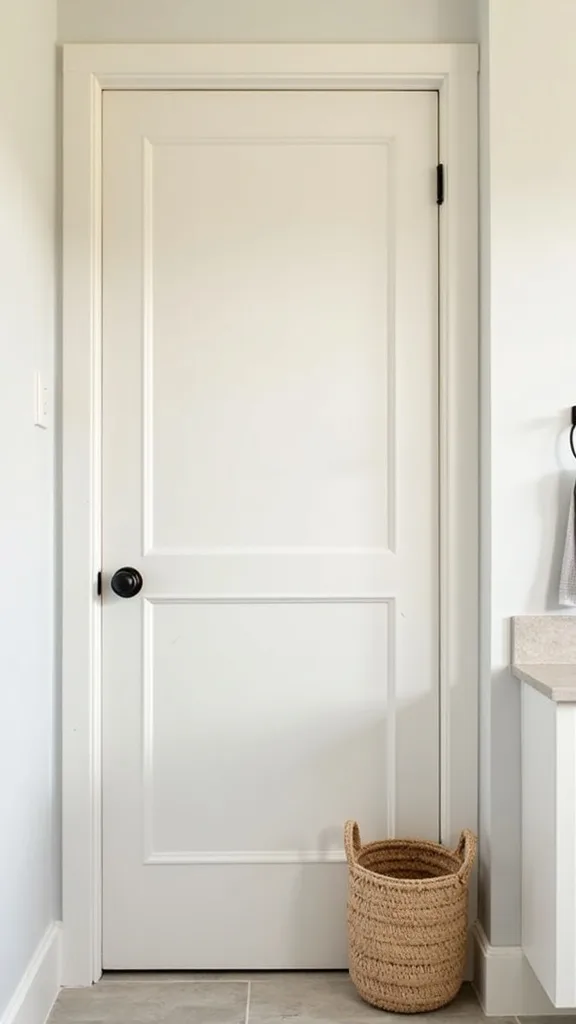
23. DIY a Painted Door Frame Accent (Tiny Change, Big Impact)
I always recommend painting a door frame accent when someone wants a teen room makeover but can’t commit to another full wall project. From my experience, it’s a “small effort, noticeable result” upgrade that frames the room like a finished design.
I always start by taping off the hinges and hardware, then I lightly sand with 220-grit sandpaper for 3–5 minutes so the paint grips. Typically, I paint a 2-inch border around the door casing in the same terracotta as the stripes, using a 1-inch angled sash brush for control. I recommend 2 thin coats and a 4–6 hour dry time before closing the door fully, because sticky paint can glue the door shut.
When I design this look, I keep the door itself the original color (usually white) and only accent the trim, which is a nice trade-off if you’re renting or sharing decisions with parents. I find that satin finish is easier to wipe clean than matte on trim.
Pro Tip: I’ve found the cleanest trim lines happen when you score the tape edge with a utility knife right before removal—especially on satin paint—so the paint film doesn’t tear and leave jagged edges.
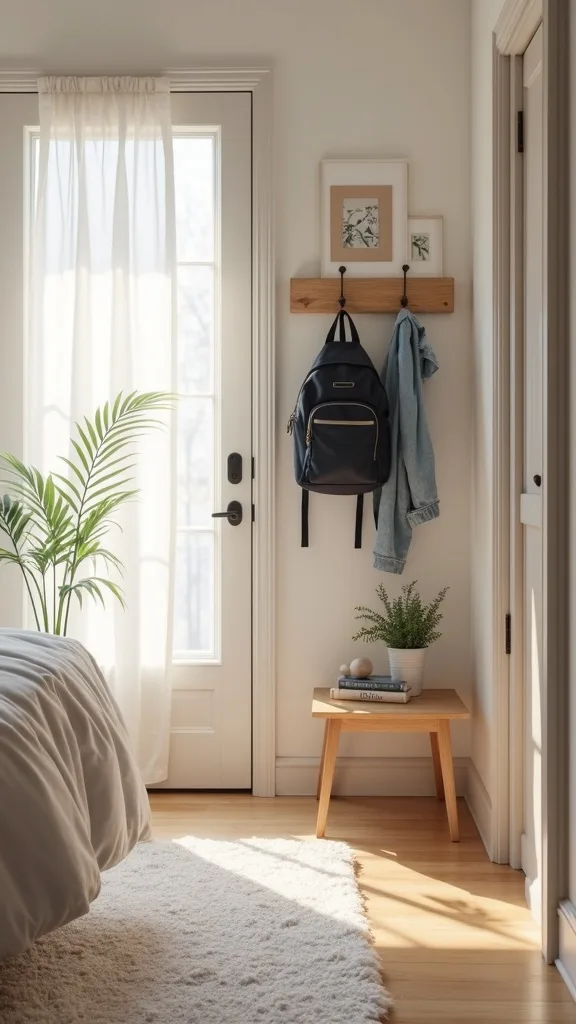
24. Set Up a “Drop Zone” by the Door for Backpacks and Keys
From my experience, the floor clutter in a teenage bedroom usually starts at the doorway—backpacks, hoodies, sports bags—then it spreads. I find that a simple drop zone is one of the most practical teen bedroom ideas because it prevents mess instead of chasing it.
I always start by mounting a wall rack with 4–6 hooks about 60–64 inches from the floor, then I place a slim shoe tray (around 24×14 inches) underneath. Typically, I add one small lidded bin (about 10 gallons) for “random returns” like library books or items that need to go downstairs. I recommend leaving at least 18 inches of clear walking space so the zone doesn’t become an obstacle course.
When I tried this in a narrow room, a vertical hook rail worked better than wide hooks because it used only 6–8 inches of wall width. I like matte black hooks to tie into modern lighting and frames.
Pro Tip: I’ve found the drop zone actually gets used when each hook has a job—one for backpack, one for jacket, one for sports bag—so I label the hooks with tiny 1-inch tags for the first month until the habit sticks.
25. Finish with a 30-Minute Styling Reset Routine (So It Stays a Cool Teen Room)
I find that the secret to keeping a teenage bedroom looking good isn’t more decor—it’s a repeatable reset. From my experience, a short routine makes all the teen bedroom ideas you worked on actually last past the first week.
I always start by setting a timer for 30 minutes and doing the same order every time: 5 minutes trash/recycling, 10 minutes laundry and closet returns, 10 minutes desk reset, and 5 minutes bed and pillows. Typically, I keep a small laundry basket (around 18–20 inches tall) and a pack of disinfecting wipes in the room so the routine doesn’t require leaving. I recommend doing this twice a week in summer and once mid-week during school months, because schedules change and mess builds differently.
When I design this look, I make sure every zone has a container: one bin under the bed, one tray on the nightstand, and one catchall on the desk. I find that containers are a trade-off—more items to buy—but they save time long-term.
Pro Tip: I’ve found the reset sticks best if you pair it with one “reward cue,” like turning on the canopy lights only after the reset—teens naturally protect what feels special, and the lights become motivation, not just decor.
Final Thoughts
I always start a teen room makeover by asking one question: what should this room help you do this summer—rest, create, study, or hang out? From my experience, once you choose that priority, the rest of the decisions (paint, lighting, storage, and DIY teen decor) get so much easier and the room stops feeling like a random collection of trends.
I find that the terracotta stripes, string light canopy, cork mood board, and loft study nook work as a “core set” because each one solves a real need: personality, comfort, organization, and focus. In my opinion, the most sustainable approach is to keep the big elements consistent for 6–12 months and let the smaller pieces—prints, photos, throw pillows, and plants—rotate whenever the vibe needs a refresh.
When I design a cool teen room, I always leave a little blank space on purpose, because teens grow fast and their walls should have room to evolve. If you pick just 3 ideas from this list and do them well this weekend, you’ll feel the difference every single day.
What I’d Do Differently
When I first tried this kind of teen room makeover, I made one specific mistake: I rushed the striped accent wall and started hanging Command hooks the next day. Within a week, two hooks slid down the fresh paint and left gummy marks right through my clean terracotta lines, and I had to patch, sand, and repaint a 12×18 inch section to fix it. From my experience, paint needs real cure time—typically 14 days—before you stick anything adhesive to it, even if it feels dry to the touch after a few hours. Now I always plan the makeover in phases: paint on weekend one, then lighting and wall organization on weekend two, so the finish stays crisp.
I also wish I’d known how much the “power plan” matters before I started—where the outlets are, how long cords need to be (usually 10–12 feet for plug-in sconces), and where to hide transformers so the canopy doesn’t look messy. In my opinion, mapping outlets on paper for 10 minutes saves you multiple frustrating trips to the store. Pick your anchor feature today, measure your wall, and start with the first small step this weekend.
Products I Recommend for This Project
Here are some of my favourite products to help you bring these ideas to life:
- FrogTape Delicate Surface Painter’s Tape — I use it for crisp terracotta stripes because it seals better on most bedroom wall paints.
- Twinkle Star 33FT 100 LED String Lights (Warm White) — I like these for a canopy glow that feels cozy without harsh glare.
- 3M Command Clear Cord Clips — I rely on these to route canopy cords neatly every 10–12 inches without damaging walls.
- U Brands Cork Bulletin Board (24×36) — I recommend this size because it holds real schedules and photos without turning into clutter.
- Brother P-touch Label Maker (PTD210) — I use it to label under-bed bins and charging cords so organization actually sticks.