This post contains affiliate links. As an Amazon Associate, I earn from qualifying purchases at no extra cost to you.
Are you looking for herb garden ideas that actually make summer cooking easier, not more complicated? Do you want to start growing herbs at home without guessing where to place things, how deep to plant, or what to do when mint tries to take over?
I always start by designing an herb setup around how I cook: what I grab weekly, where I stand with my cutting board, and how far I’m willing to walk barefoot on a hot July day. In this post, I’m sharing 25 practical, outdoor-friendly ideas—everything from a cedar raised bed garden with labeled dividers to compact container layouts that still feel like a real kitchen garden.
In my opinion, this is perfect for anyone who wants a functional kitchen garden vibe on a patio, deck, or small yard—especially if you love summer salads, grilled veggies, and quick weeknight pasta.
I’ll walk you through what I plant (and why), how I space it, and the small upgrades that make harvesting cleaner—like drip lines, mulch choices, and label systems that don’t fade in the sun. I’m also including a few outdoor garden DIY builds that look polished but stay beginner-friendly.
If you’re ready to turn “I should plant herbs” into a setup you’ll actually use, let’s do it. Below are 25 Herb Garden & Kitchen Garden Ideas that…
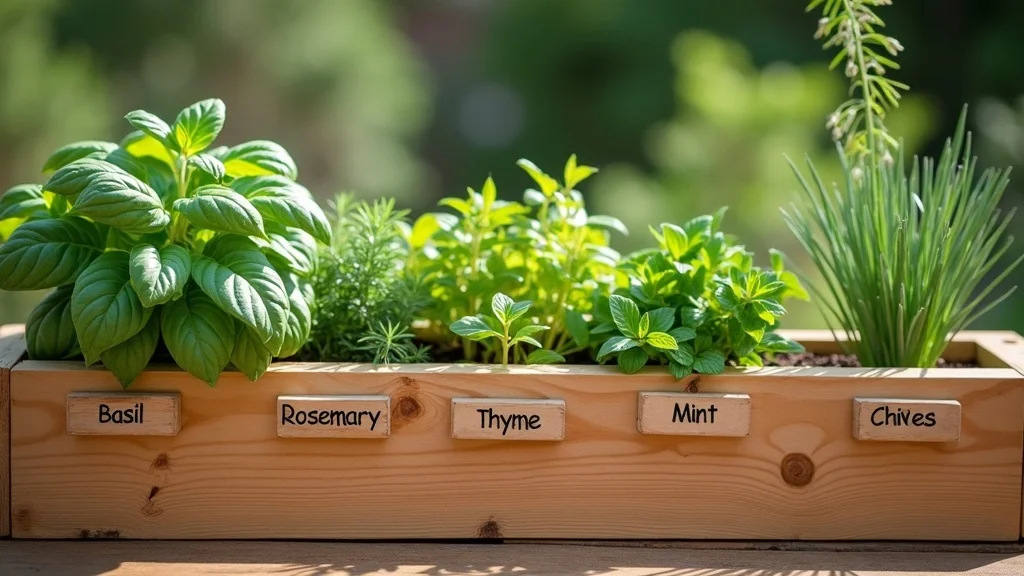
1. Cedar Raised Bed With Labeled Dividers (Basil, Rosemary, Thyme, Mint, Chives)
When I design this look, I always start by treating it like a mini outdoor pantry: one cedar box, clear sections, and herbs I’ll cut weekly. I find that a 4 ft x 2 ft cedar raised bed (about 11–12 inches deep) is the sweet spot for most patios because it’s big enough for 5 staples but still easy to reach from both sides.
I recommend laying out 5 equal “lanes” with 1×4 cedar dividers, then spacing plants 10–12 inches apart so basil doesn’t smother thyme by mid-summer. I always keep mint in its own 8-inch nursery pot sunk into the soil—typically 1–2 inches below the surface—so it can’t run through the whole bed.
For materials, I like untreated cedar boards, 2-inch exterior screws, and waterproof plant labels (I’ve had good luck with UV-resistant plastic stakes). Visually, I find that cedar plus matte-black labels looks crisp and readable from 6–8 feet away.
Pro Tip: From my experience, if you angle the dividers into a shallow “V” (about 10–15°) instead of perfectly vertical, soil stays put when you water heavily, and the labels don’t lean after the first thunderstorm—small detail, big payoff for a tidy bed you’ll be proud of.
2. Patio-Friendly Raised Bed Garden on Locking Casters
I find that a raised bed garden on wheels is a lifesaver when summer sun shifts or when I want the herbs closer to the grill. In my opinion, a 36-inch-long by 18-inch-wide cedar planter at about 30 inches tall gives me comfortable cutting height and keeps pests down in most cases.
I always recommend using 4 locking 3-inch polyurethane casters rated for at least 75 lb each, because wet soil gets heavy fast. I build a simple base frame from 2x4s, pre-drill holes, and attach the casters with 1/4-inch lag bolts; it usually takes me 45–60 minutes with a drill/driver and socket set.
For the finish, I like an exterior water-based stain in “natural cedar” or “honey,” plus a heavy-duty landscape fabric liner stapled every 3–4 inches to protect the wood. I find that a 2-inch layer of pine bark mulch keeps splashing off the leaves when I water.
Pro Tip: From my experience, put the two locking casters on the “kitchen side” of the bed—then you can roll it out to water and lock it back into the exact same spot so your drip line and stepping-stones still line up perfectly.

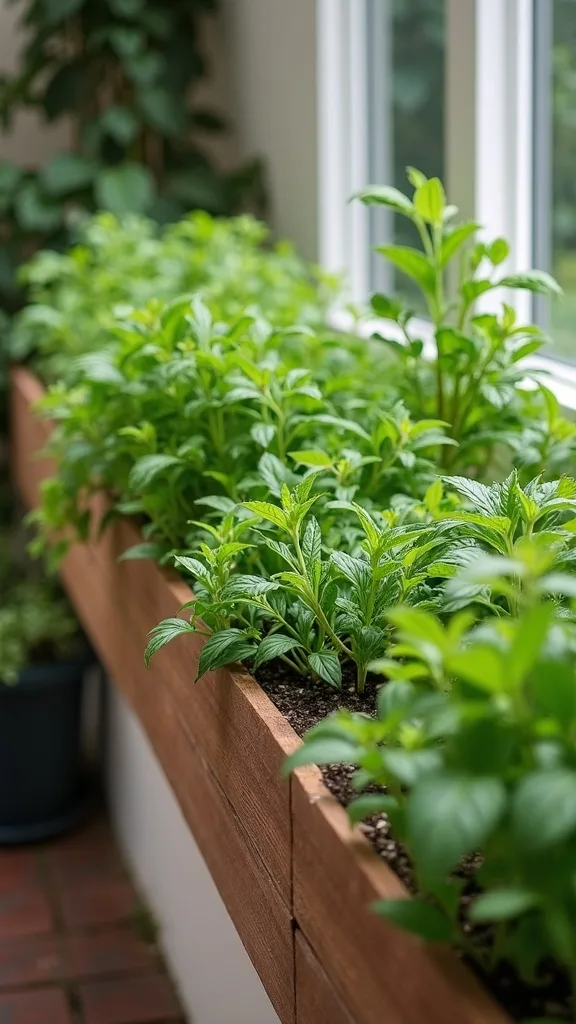
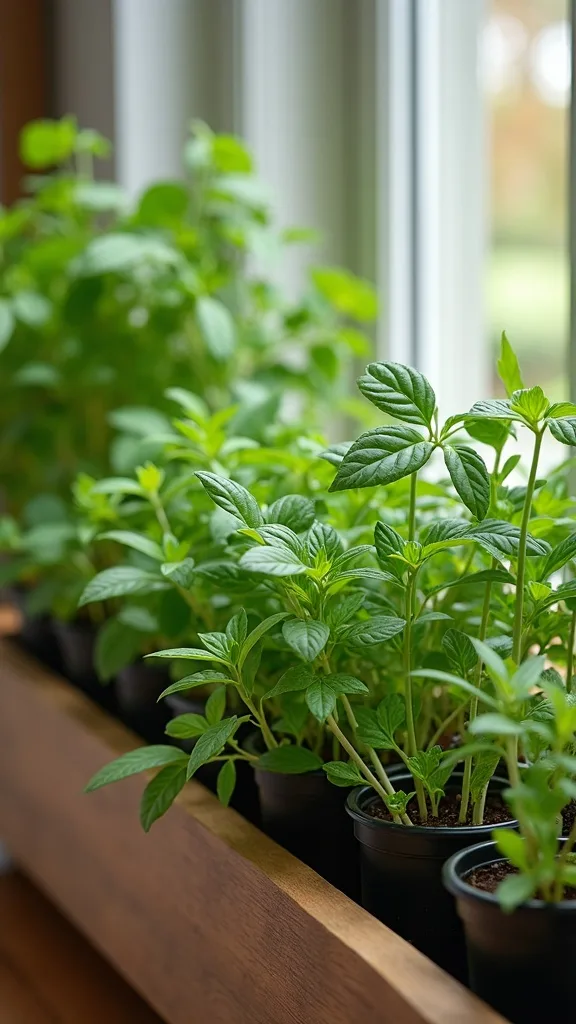
3. Narrow Deck Rail Herb Trough for Small Space Cooking
I’ve found that deck-rail planters are one of the easiest herb garden ideas when floor space is tight but sunlight is great. I always start by measuring the rail width (typically 3.5–5.5 inches) so I can choose a trough that clamps securely and doesn’t wobble in wind.
I recommend two 24-inch rail troughs rather than one long 48-inch piece, because it’s easier to lift for watering and less likely to bow. I plant 3 herbs per trough, spacing them about 8 inches apart, and I keep the soil depth at 7–8 inches so basil and chives don’t dry out every afternoon.
For materials, I like powder-coated steel or thick resin troughs, plus a lightweight potting mix with perlite (it helps drainage in containers). When I design this look, I label with a paint pen on a 1-inch-wide cedar tag so it matches outdoor furniture tones.
Pro Tip: In my opinion, the non-obvious trick is to zip-tie a 1/4-inch drip line to the underside of the rail and poke 1-gallon-per-hour emitters into each trough—watering becomes a 30-second turn-on instead of a daily balancing act with a watering can.
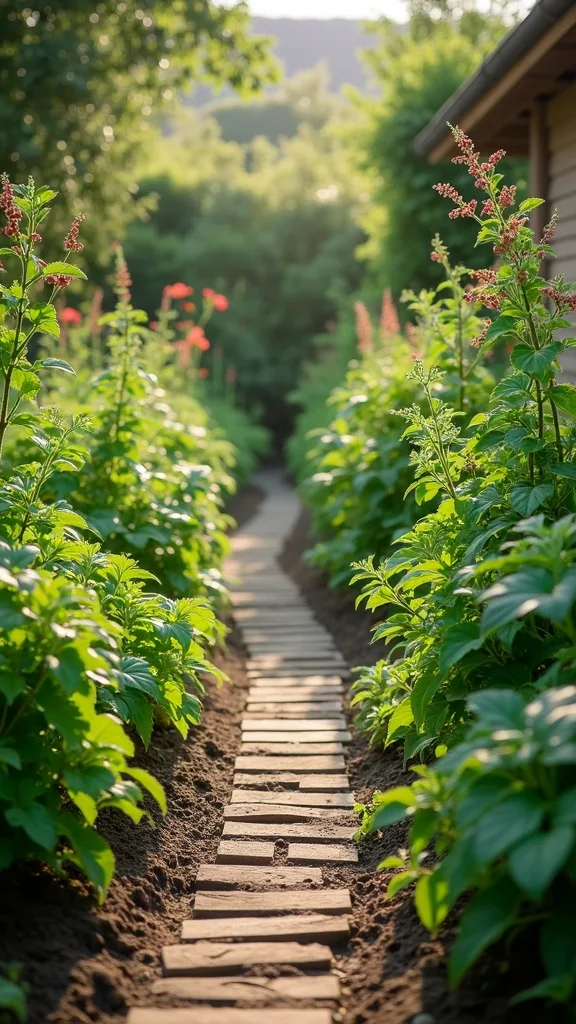
4. Kitchen Garden Path Layout: Herbs Within 10 Steps of the Door
I always start by placing my kitchen garden where I’ll actually harvest, which usually means within 10–15 steps of the back door. From my experience, the closer the herbs are, the more I cook with them—especially on busy weeknights when I’m only outside for 3–5 minutes.
I recommend laying a simple 18–24 inch-wide path using decomposed granite or 16-inch concrete stepping stones so you can reach the bed without trampling soil. I find that a 4 ft x 4 ft “herb zone” next to the path is enough for 6–8 plants if you keep spacing at 10 inches and prune weekly.
For edging, I like 4-inch-tall steel landscape edging or cedar 2x4s, and I keep the palette calm—cedar, charcoal pavers, and white plant labels—so the greenery reads as the star. Typically, this costs a bit more upfront than leaving it as lawn, but it saves time and mess later.
Pro Tip: I’ve found that if you angle the path slightly away from the bed (a subtle 1–2% slope), runoff won’t wash mulch into your thyme, and your labels stay readable instead of getting splattered after summer storms.
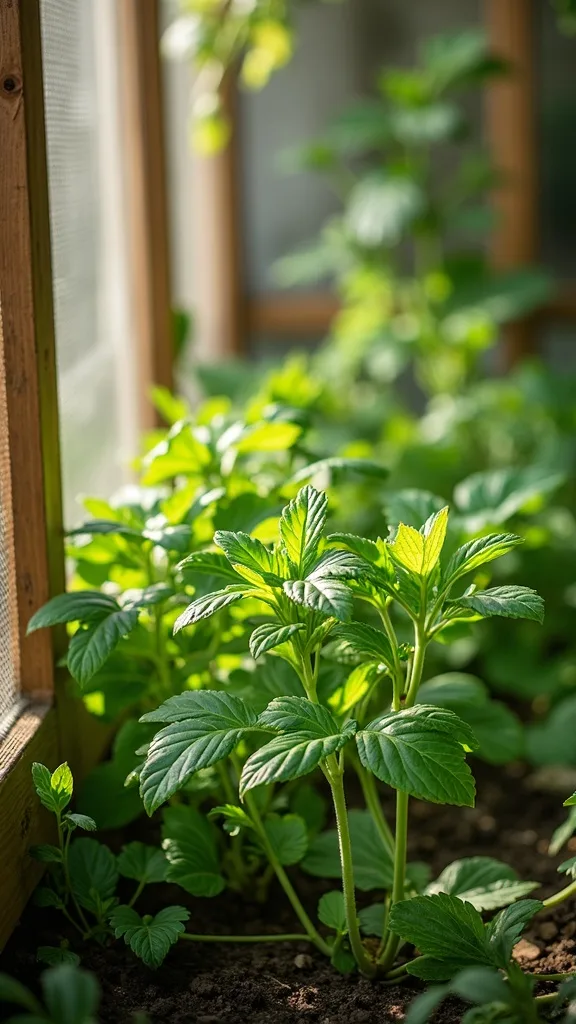
5. Outdoor Garden DIY: Simple Hoop Cover for Basil on Cool Nights
When I tried extending basil season, I found that the biggest problem wasn’t heat—it was those surprise 50–55°F nights that stall growth. I always keep a quick hoop cover plan ready because it protects tender herbs without turning the bed into a permanent greenhouse.
I recommend bending 1/2-inch PVC into 24–30 inch-wide hoops and spacing them every 18 inches across a 4-foot bed. I clip clear plastic (4–6 mil thickness) with spring clamps, leaving a 2–3 inch gap at the bottom for airflow during the day; it takes me about 10 minutes to set up when the forecast changes.
For materials, I use PVC pipe, 8-inch landscape staples, and binder clips or greenhouse clamps. Visually, I find clear plastic looks cleaner than frosted, and it’s easier to spot condensation so you know when to vent.
Pro Tip: From my experience, place a 1-gallon jug of water under the cover near basil—water releases heat slowly overnight, and that tiny thermal buffer often keeps basil from blackening at the leaf tips after a single chilly night.
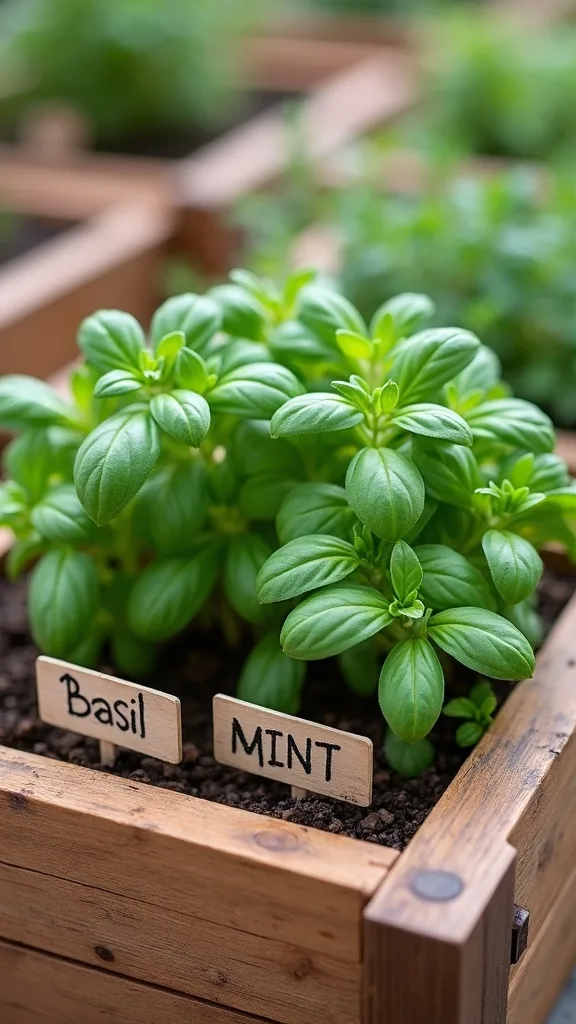
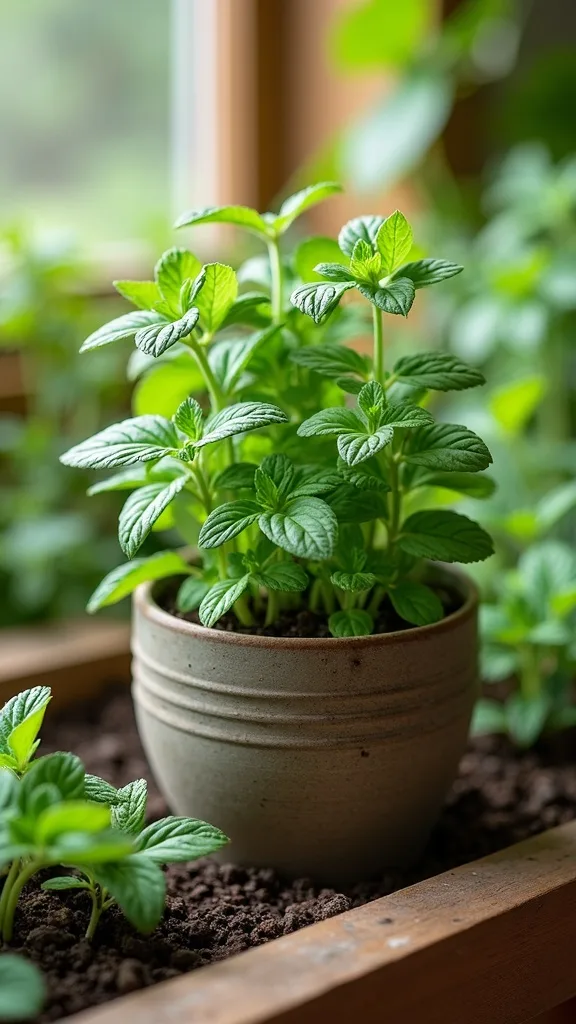
6. Mint Control Station: Sink a Pot Inside Your Raised Bed
I find that mint is the friendliest herb and the most chaotic neighbor, so I always give it a “containment plan.” In my opinion, sinking a pot inside the raised bed keeps the look cohesive while preventing runners from popping up 12 inches away in your thyme section.
I recommend using a 10–12 inch diameter plastic nursery pot (not terracotta, which dries faster) and burying it so the rim sits 1 inch above the soil line. I always cut 3–4 drainage slits up the sides with a utility knife, about 2 inches long, so water doesn’t pool but roots still stay largely contained.
For soil, I use standard potting mix plus a handful of compost, and I top with 1 inch of fine pine bark to reduce splash. I like pairing mint with a small black label and keeping it on the bed corner so I can prune it in under 2 minutes.
Pro Tip: I’ve found that if you rotate the mint pot a quarter-turn every 2 weeks, you’ll naturally shear off tiny escaping roots at the rim—an easy, non-obvious habit that prevents the “mint invasion” without any harsh barriers.
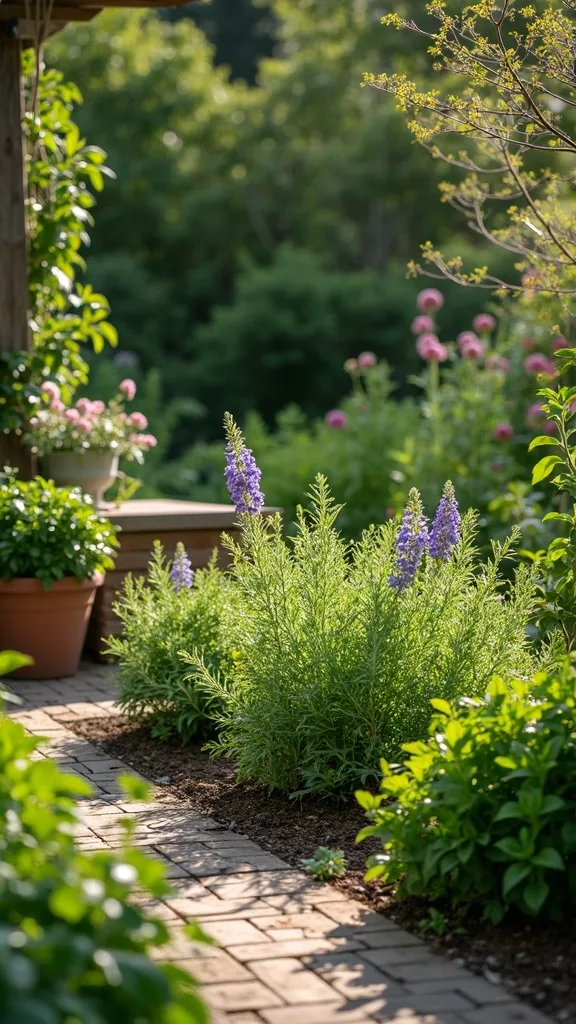
7. Rosemary as a Mini Hedge for a Rustic Outdoor-Furniture Backdrop
When I design this look, I use rosemary like living decor—almost like a mini hedge that softens outdoor furniture lines. I find that placing rosemary behind a bench or along the back edge of a raised bed adds height without needing a trellis.
I recommend giving rosemary at least 18–24 inches of width, because in most cases it bulks up quickly within 8–12 weeks of warm weather. I always plant it on the driest side of the bed and keep it 6 inches away from the cedar edge so airflow reduces mildew risk.
For materials, I like a gritty soil blend (potting mix plus extra perlite) and a 2-inch layer of pea gravel around the base to keep stems from staying wet. Color-wise, I pair rosemary with brushed-nickel outdoor lanterns and cedar tones for a rustic, kitchen garden feel.
Pro Tip: From my experience, prune rosemary right after a harvest—never more than 1/3 of the plant at a time—and always cut above a spot with green growth; if you cut into bare woody stems, it typically won’t leaf back out where you want it.

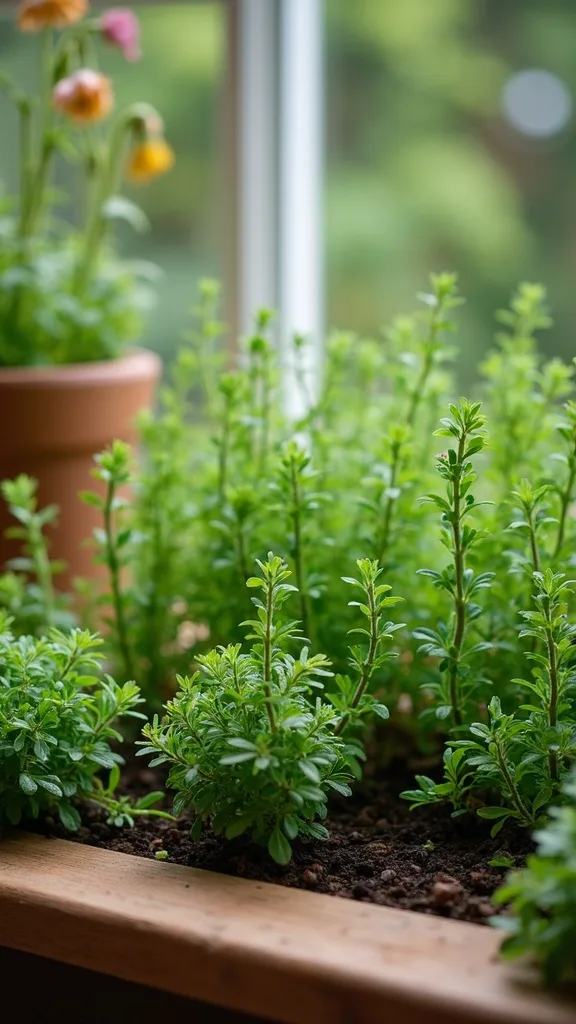
8. Thyme Spill-Over Edge for a Soft, Cottage-Style Border
I’ve found that thyme is one of the easiest herbs to make a raised bed look “finished,” because it naturally drapes over edges. I always start by planting it near the front lip so it can spill 2–4 inches down the cedar without shading taller herbs.
I recommend spacing thyme plants 8–10 inches apart and keeping them in a slightly higher spot in the bed—about 1 inch mounded—so water doesn’t sit at the crown. Typically, I trim it every 3–4 weeks with kitchen scissors, taking off just the soft tips for cooking and shape.
For materials, I like fine pine bark mulch (not big nuggets) because it doesn’t catch in thyme stems. When I design this look, I use small 4-inch copper plant markers; they patina over time and look great against cedar.
Pro Tip: In my opinion, the secret to fuller thyme is to “pinch and drop” the trimmings right back onto the soil as a light mulch—some pieces root on their own in warm weather, and you quietly thicken the edge without buying extra plants.
Cost & Materials Estimate
I typically see a functional herb setup land between $65 and $320 depending on whether I’m doing a simple container kitchen garden or a cedar raised bed garden with labels and irrigation.
| Item | Estimated Cost | Where to Buy |
|---|---|---|
| 4 ft x 2 ft cedar raised bed kit (about 11–12 in deep) | $85–$160 | Home Depot |
| Raised bed soil + compost (approx. 8 cu ft total) | $40–$85 | Lowe’s |
| Herb starter plants (5 plants: basil, rosemary, thyme, mint, chives) | $18–$35 | Home Depot |
| UV-resistant plant labels + paint pen | $12–$26 | Amazon |
| Basic drip irrigation kit + hose timer | $45–$95 | Amazon |
Total estimated cost: $65–$320 I’d save money by skipping drip at first, but I’d splurge on a cedar bed and UV-stable labels because they typically last multiple seasons.
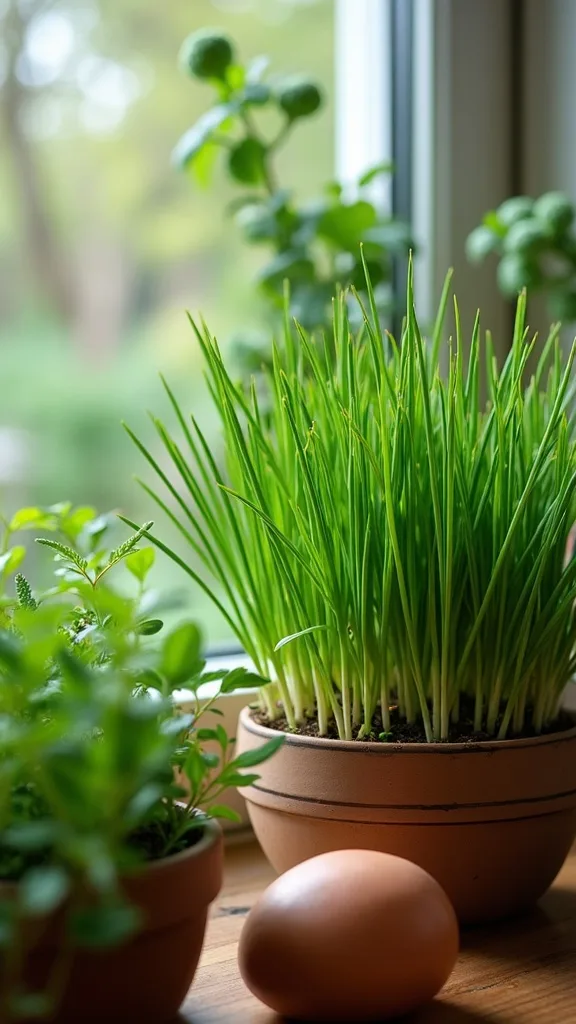
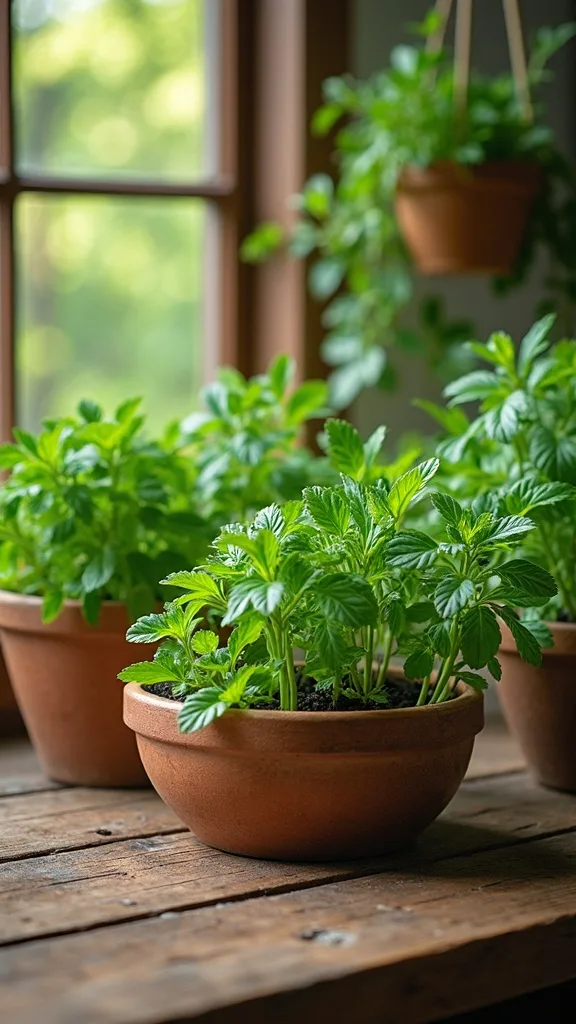
9. Chives in a Dedicated Corner for Clean, Fast Garnishes
I always keep chives in their own corner because I grab them constantly for eggs, potatoes, and grilled corn. From my experience, chives are most useful when they’re easy to snip without brushing against basil leaves that might be wet from watering.
I recommend a 12-inch by 12-inch section for one clump, and I cut chives down to about 2 inches tall every 3–4 weeks to keep them tender. I find that harvesting with 8-inch herb shears is faster than a knife, especially when I’m outside for just 2 minutes before dinner.
For materials, I like a small stainless-steel bowl and a damp paper towel nearby so I can rinse and store snips immediately. Visually, I label chives with a bold, all-caps marker because thin handwriting disappears from 6 feet away in bright sun.
Pro Tip: I’ve found that if you let chives bloom once, then deadhead the purple pom-poms within 7 days, you’ll get the pollinator benefit without the plant putting all its energy into seed—your regrowth stays thicker and more kitchen-friendly.
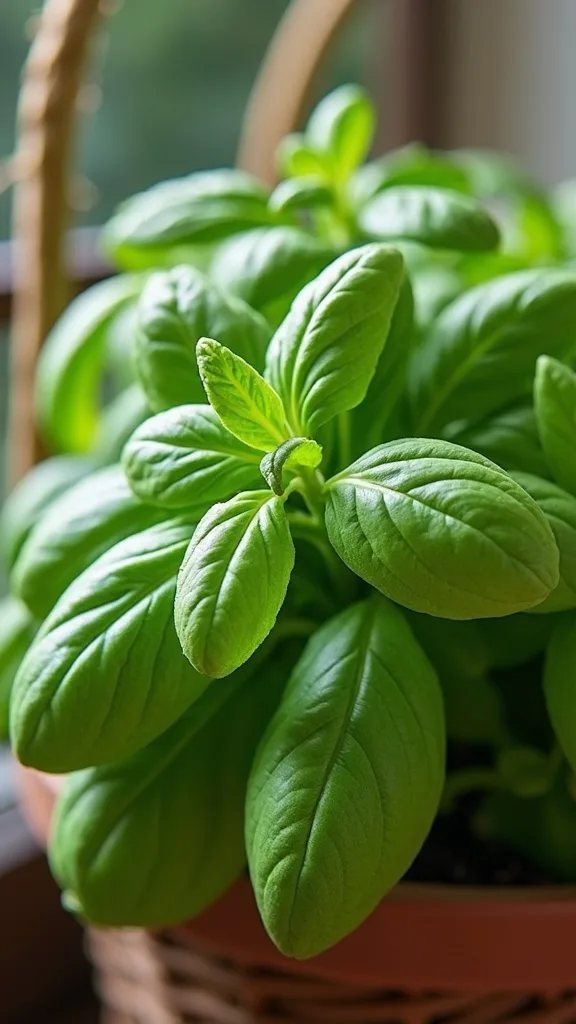
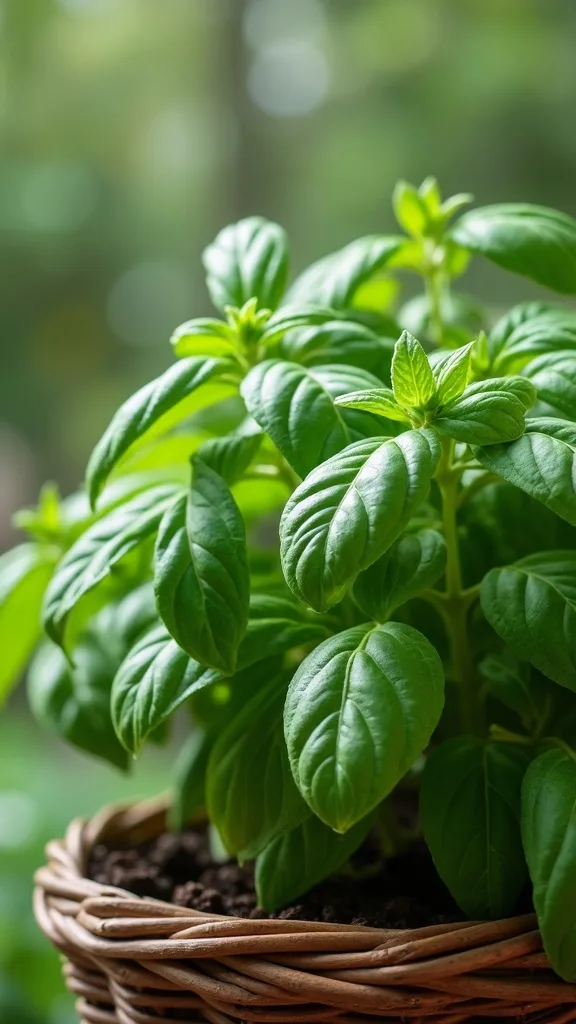
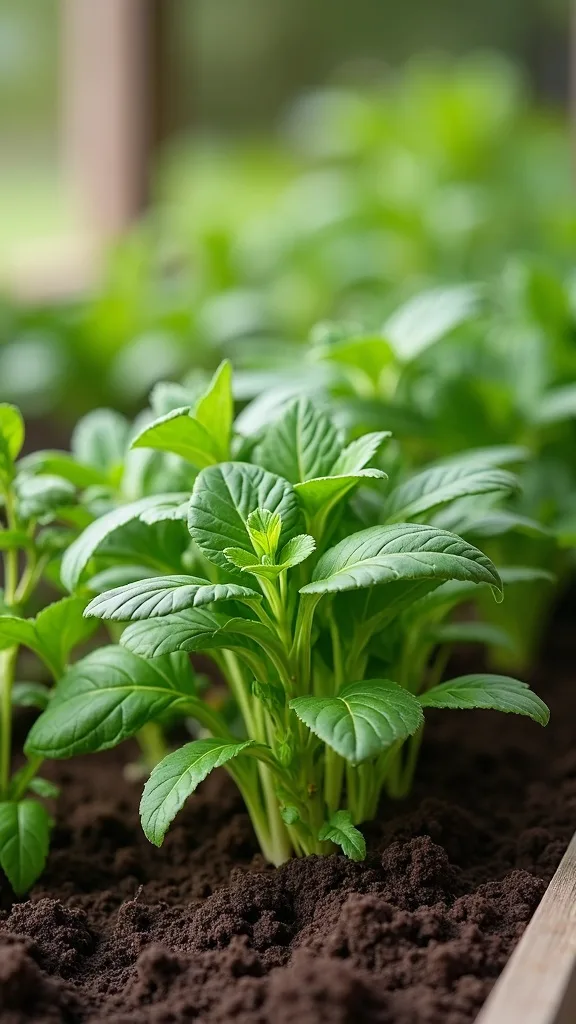
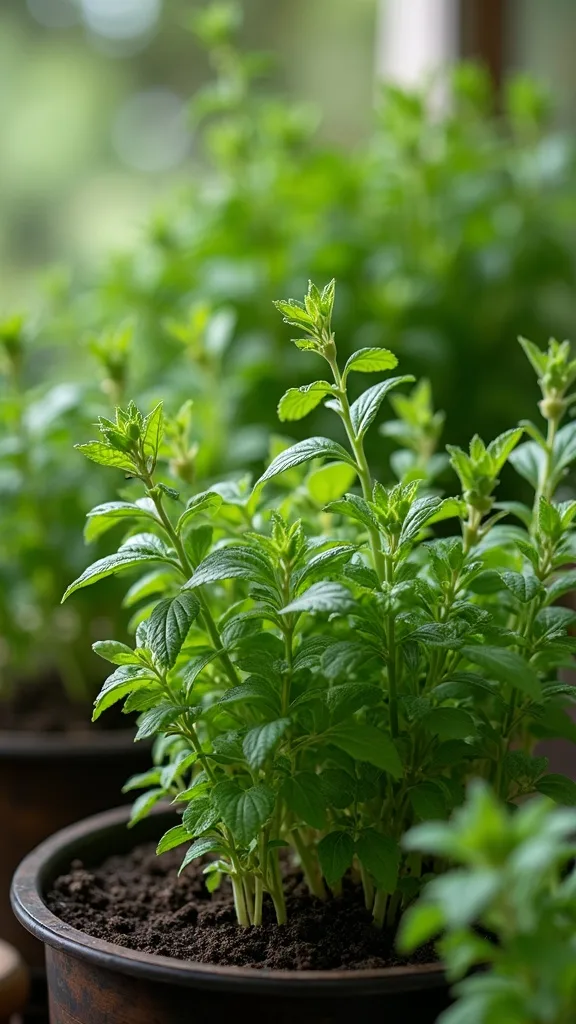
10. Basil “Cut-and-Come-Again” Planting for Summer Pesto Nights
I find that basil is the herb that makes people feel instantly successful at growing herbs at home—until it gets leggy. I always start with a plan to harvest, because basil performs better when you cut it regularly rather than treating it like a houseplant you’re afraid to touch.
I recommend planting basil 10–12 inches apart in at least 10 inches of soil depth, then pinching the top set of leaves once it hits 6–8 inches tall. Typically, I harvest every 5–7 days in peak summer, cutting just above a leaf node so it branches into two stems.
For materials, I love using a 1-gallon watering can with a rose spout (gentle spray) and a slow-release organic fertilizer applied every 4–6 weeks. Color-wise, I pair basil with white labels and a cedar divider so the bright green looks intentional, not messy.
Pro Tip: From my experience, if you harvest basil in the morning (before the hottest 2–4 p.m. sun), the leaves hold more aroma and stay perkier on the counter—small timing shift that makes pesto taste noticeably fresher.
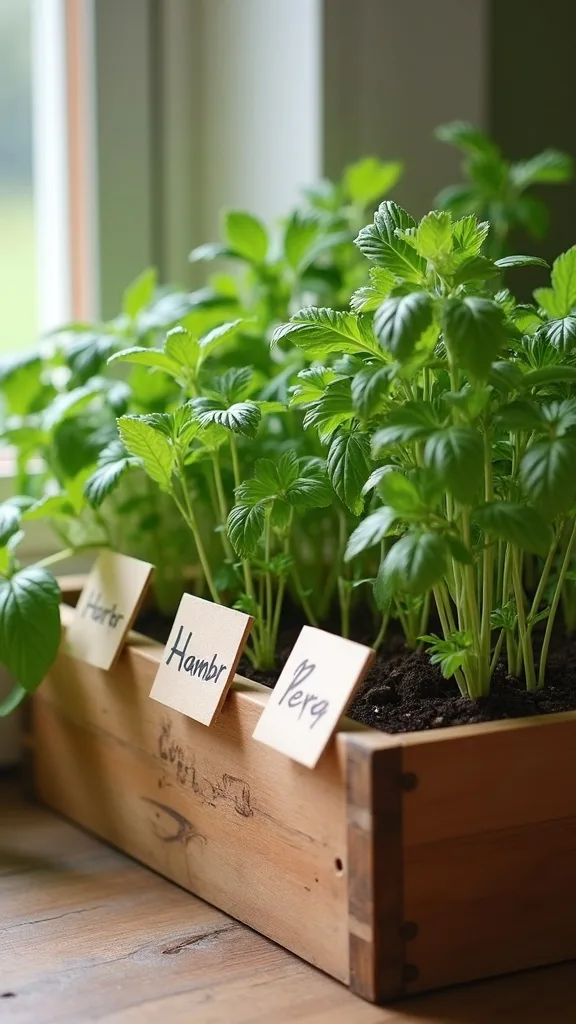
11. Labeled Herb Dividers That Don’t Fade in Full Sun
I’ve found that labels are the difference between a cute bed and a truly usable kitchen garden—especially when guests help harvest. I always choose label systems that can survive 10–12 weeks of strong summer sun without turning blank.
I recommend UV-resistant plastic stakes or embossed aluminum tags, and I space labels about 2 inches behind the plant so I don’t stab roots when I push them in. When I design this look, I keep all labels the same height—typically 6 inches above soil—so the bed reads tidy from across the patio.
For tools, I use an oil-based paint pen (white or black) for plastic, or a metal stamp kit for aluminum. I find that cedar dividers look best with simple sans-serif lettering and a small herb icon if you’re labeling for kids.
Pro Tip: In my opinion, spray the finished labels with a clear UV-resistant outdoor topcoat and let it cure for 24 hours—most people skip this, but it’s what keeps “basil” readable after repeated hose spray and midday glare.
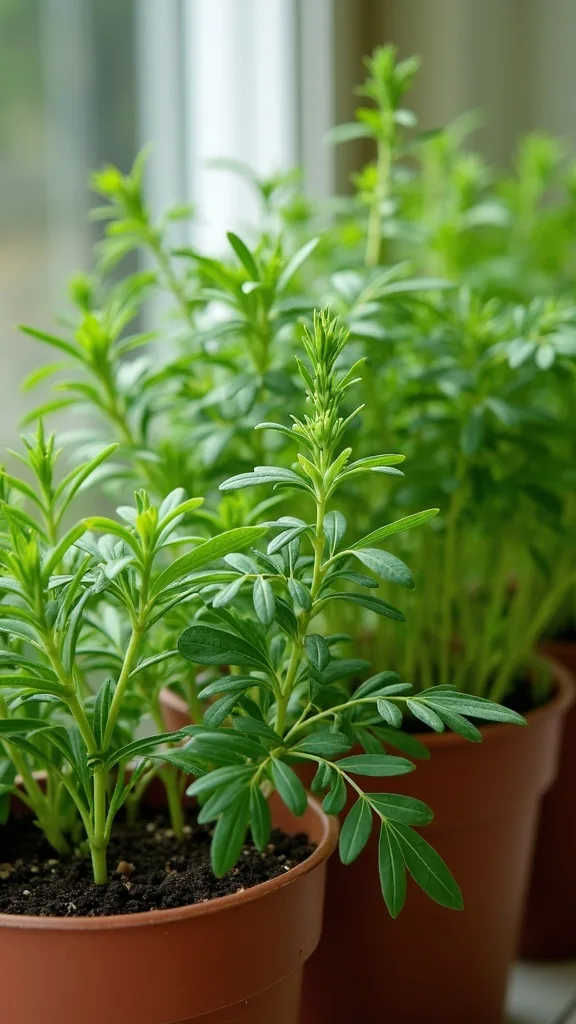
12. Drip Irrigation for Herbs (So You Don’t Overwater Rosemary)
I always recommend drip irrigation when someone tells me they want herbs but travel on weekends. From my experience, drip is the easiest way to keep basil happy without drowning rosemary—two herbs with very different preferences.
I recommend a simple 1/2-inch main line with 1/4-inch tubing to each section, using 0.5–1 gallon-per-hour emitters. Typically, I run it for 10–15 minutes every other day in hot weather, then adjust after I check soil 2 inches down with my finger (it should feel slightly damp, not soggy).
For products, I like a battery hose timer and barbed T-connectors, plus a small inline filter if your water has grit. When I design this look, I hide the lines under 1–2 inches of mulch so the bed still feels like decor, not equipment.
Pro Tip: I’ve found that placing the emitter for rosemary 4–6 inches away from the stem (not right at the base) keeps the crown drier, which typically reduces dieback and helps the plant stay woody and strong through the season.
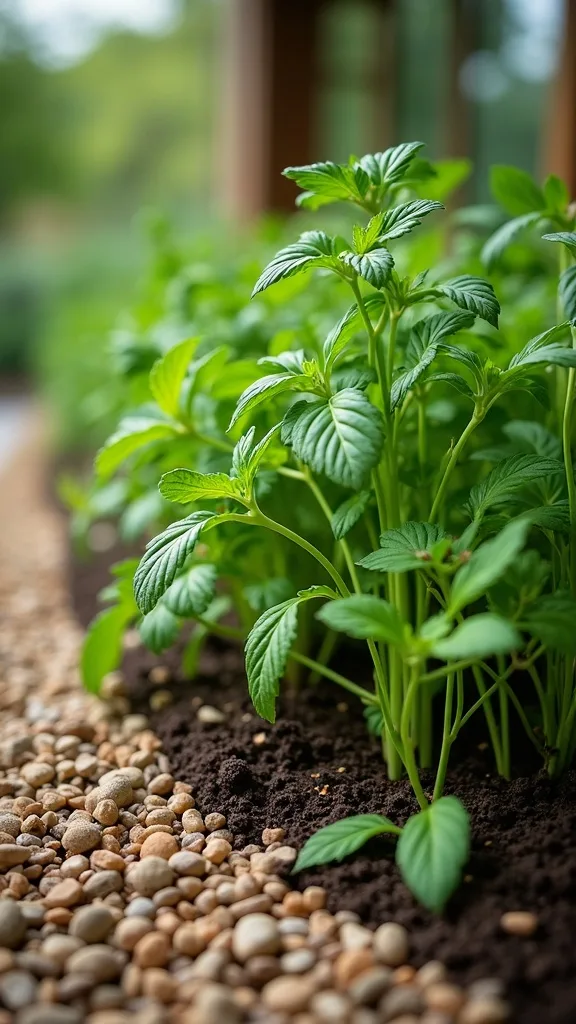
13. Gravel + Mulch Layering to Keep Herbs Clean for Cooking
I find that the messiest part of growing herbs at home is splashed soil on leaves—especially after a heavy watering. I always start by thinking like a cook: I want herbs that rinse quickly and don’t feel gritty.
I recommend laying a thin 1/2-inch base of pea gravel around woody herbs like rosemary and thyme, then topping the rest of the bed with 1–2 inches of fine bark mulch. Typically, this combo cuts down on splash and helps soil stay evenly moist for 2–3 days longer during heat waves.
For materials, I use washed pea gravel (1/4–3/8 inch pieces) and a natural, dye-free mulch. When I design this look, I keep gravel only in the rosemary/thyme zones so it looks intentional—like a little Mediterranean corner inside the cedar bed.
Pro Tip: From my experience, don’t mulch right up against basil stems—leave a 1-inch “donut” of bare soil around each plant; it improves airflow at the base and typically prevents the soft stems from staying damp and turning black.
14. Herb Harvest Station: Outdoor Side Table + Bowl Setup
I’ve found that harvesting feels effortless when I give it a “home,” just like a coffee station inside. I always set up a small outdoor side table next to the raised bed so I’m not running in and out with scissors and bowls.
I recommend a weather-resistant table around 18–20 inches wide and 20–22 inches tall, plus two bowls: one 8-inch stainless bowl for clean herbs and one 10-inch bowl for trimmings. Typically, I keep a hook strip underneath for herb shears and twist ties, and it saves me 5–10 minutes every time I cook outside.
For styling, I like a teak or acacia table to complement cedar, and I add a small lidded bin for plant clips and labels. In my opinion, this is one of those upgrades that costs a bit more upfront but makes the whole kitchen garden feel intentional.
Pro Tip: I always keep a spray bottle filled with plain water at the station—one quick mist on basil before I carry it inside prevents wilting in hot weather, especially if the walk from bed to kitchen takes more than 2–3 minutes.
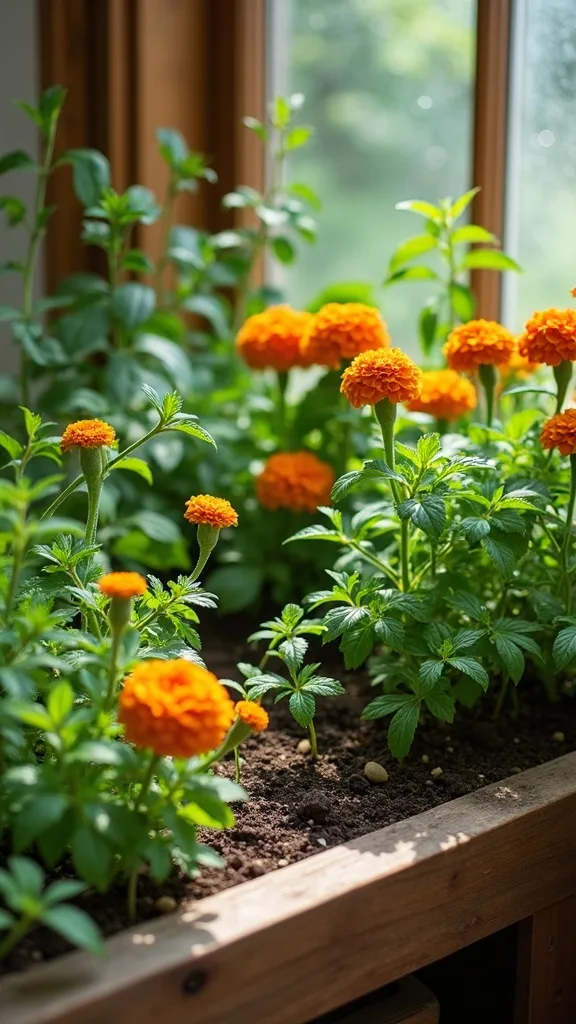
15. Companion Planting Add-On: Marigolds at the Bed Corners
When I tried adding flowers to my herb bed, I found it made the whole setup feel like outdoor decor rather than a “project.” I always tuck marigolds into corners because they add color without competing too hard for space.
I recommend 4 marigold plants—one per corner of a 4 ft x 2 ft bed—and I keep them about 6 inches from the cedar edge so they don’t spill into the path. Typically, I deadhead blooms once a week (it takes 2 minutes) to keep them flowering through most of summer.
For materials, I use a small hand trowel and a slow-release flower fertilizer applied every 6–8 weeks. Color-wise, I find orange or deep gold marigolds look especially good with cedar and black labels, and they photograph nicely for your garden journal.
Pro Tip: From my experience, choose compact marigold varieties (around 10–12 inches tall) for herb beds—taller types can shade basil by late afternoon, and that trade-off usually isn’t worth it if cooking herbs are your priority.
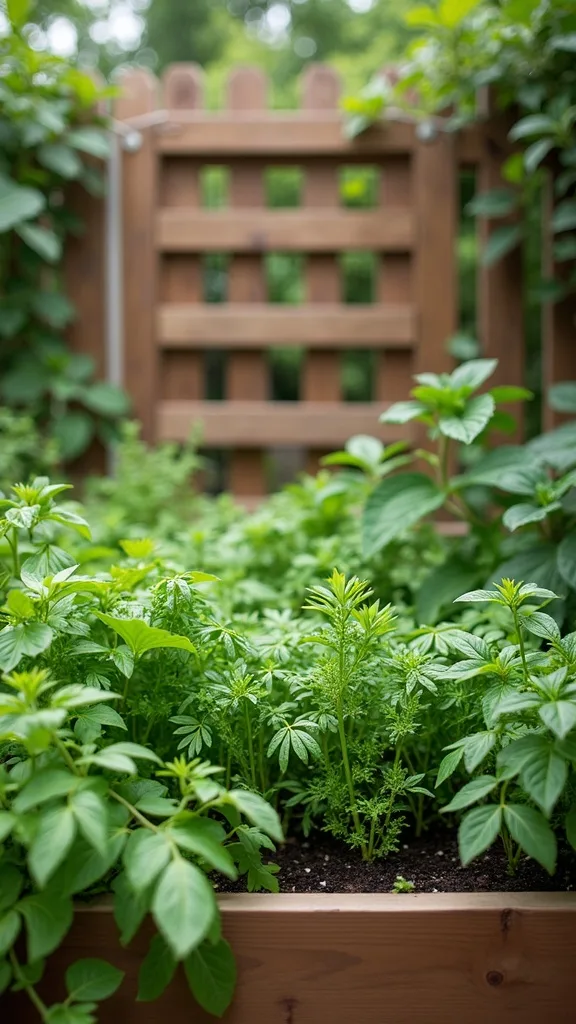
16. Outdoor Garden DIY: Simple Trellis Panel Behind the Herb Bed
I find that adding a trellis panel behind a raised bed makes the whole kitchen garden feel finished, like a styled outdoor room. When I design this look, I use the trellis as a backdrop for lightweight climbers or even just as a visual frame behind rosemary.
I recommend a 24–36 inch wide wood lattice panel mounted to two 2×2 posts, set 12 inches into the ground (or bolted to the bed frame). Typically, I keep it 3–4 inches behind the bed so air can move and the cedar can dry after rain.
For materials, I like cedar lattice, exterior screws, and a water-based outdoor sealant. I find that painting the trellis matte black helps green herbs pop, but it does cost more time—about 1–2 hours including dry time between coats.
Pro Tip: I always leave a 2-inch gap at the bottom of the trellis instead of resting it on soil—this prevents constant moisture wicking into the wood, which is the sneaky reason many trellis panels rot out within a single season.
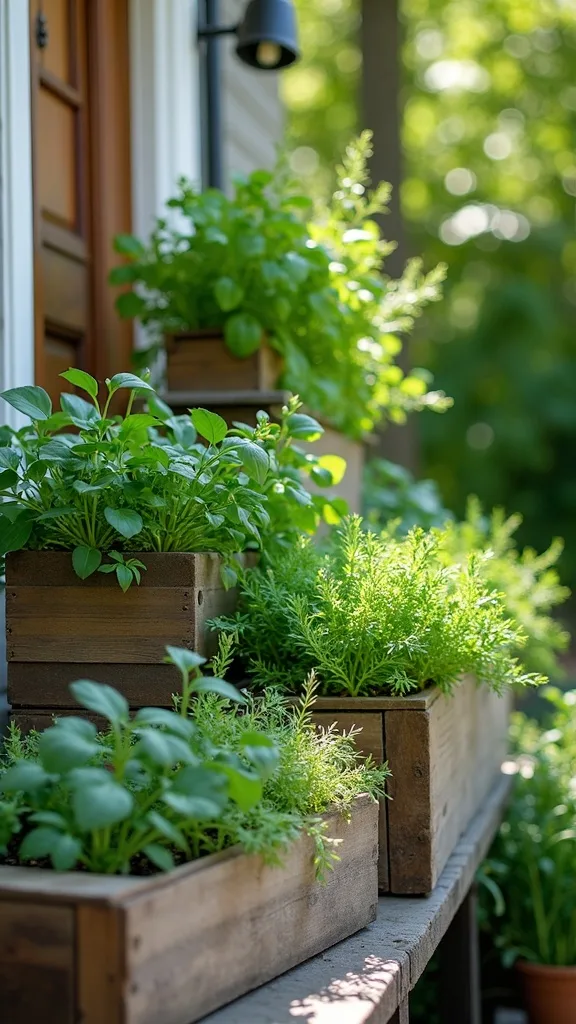
17. Tiered Container “Herb Steps” for a Budget-Friendly Patio
I’ve found that tiered containers are one of my favourite approaches for renters or anyone who doesn’t want a full build. I always start with vertical height because it gives you more planting room without eating up your whole outdoor seating area.
I recommend a 3-tier metal plant stand about 30–36 inches tall, using 10-inch pots on the bottom tier and 8-inch pots on the top tiers. I space pots with at least 4 inches of air between them so leaves dry out after watering, which typically reduces mildew in humid areas.
For materials, I like lightweight resin pots, saucers, and a moisture-control potting mix. When I design this look, I keep the palette tight—black stand, cedar-toned pots, and white labels—so it matches most outdoor-furniture setups.
Pro Tip: From my experience, put basil on the top tier and rosemary on the bottom; heat rises off patios, and that extra warmth up top helps basil grow faster, while rosemary is happier with slightly steadier moisture and less direct blast from midday sun.
18. Self-Watering Planters for Weekends Away
I recommend self-watering planters when I hear “I’m gone Friday to Sunday,” because herbs can go from perky to crispy fast in July. I’ve found that a 12-inch self-watering pot with a 1–2 gallon reservoir is typically enough to bridge a 2–3 day gap for basil or chives.
I always start by filling the reservoir, then watering from the top once to settle soil, and I check the water window every 3–4 days. For spacing, I keep it simple: one herb per pot for 10–12 inch containers, or two herbs only if they’re both small (like thyme + chives) and you prune weekly.
For products, I like resin self-watering planters and cotton wicking inserts, plus a slow-release organic fertilizer every 6 weeks. Trade-off: these cost more upfront than basic pots, but they save time and reduce plant loss.
Pro Tip: From my experience, don’t fill the reservoir to the brim right after a heavy rain—give it 12–24 hours; otherwise, the soil stays too wet and basil roots can sulk, even though the plant looks “fine” for a few days before it suddenly droops.
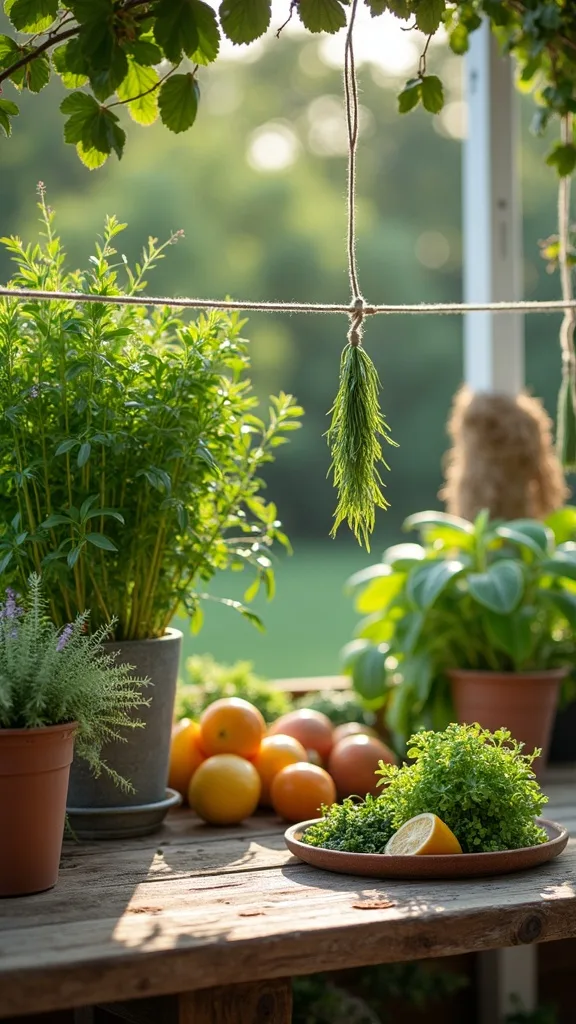
19. Herb Drying Line on the Patio for Summer Preserving
I find that drying herbs is the easiest way to make your kitchen garden pay you back long after summer ends. I always set up a small drying line outdoors so I’m not hanging bundles from cabinet knobs inside.
I recommend a 6–8 foot cotton clothesline strung under a covered patio, with clothespins spaced about 4 inches apart. Typically, I tie thyme and rosemary in bundles about 1 inch thick, and they dry in 5–10 days depending on humidity; basil is trickier, so I usually freeze it instead.
For materials, I use cotton line (it grips better than slick nylon), wooden clothespins, and brown paper bags to loosely cover bundles if dust is an issue. When I design this look, I keep it tidy with matching pins and a small hook for scissors.
Pro Tip: I’ve found that labeling bundles with painter’s tape and the date saves you later—dried herbs lose punch over time, and knowing “Aug 2026” helps you rotate stock instead of wondering why your rosemary tastes like cardboard in winter.
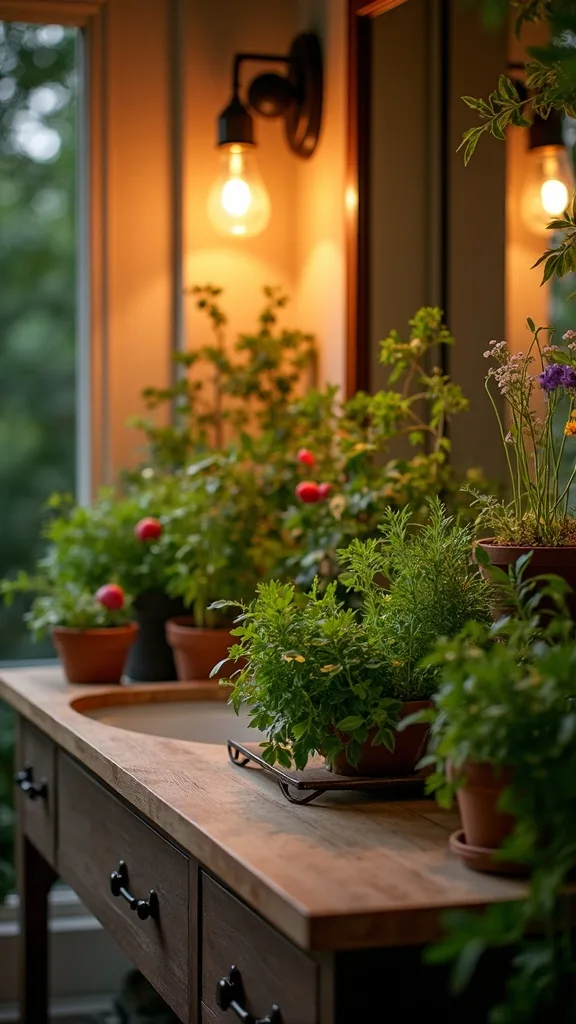
20. Outdoor Lighting for Evening Harvests (Warm White, Not Harsh)
From my experience, the moment you start grilling and eating outside, you’ll want herbs after dark—right when you can’t tell basil from mint. I always add a small, warm light near the bed so harvesting stays safe and pleasant.
I recommend 2 low-voltage path lights spaced 24–30 inches apart, or one 12–18 inch solar stake light placed 8 inches outside the bed edge. For the bulb tone, I choose warm white light (2700K–3000K — the cosy, yellowish tone you see in most homes) so greens look natural, not bluish.
For products, I like metal path lights with clear lenses, and I aim them downward so they don’t glare into seating areas. Trade-off: wired low-voltage lighting costs more and takes 1–2 hours to install, but it’s typically more reliable than solar in shady yards.
Pro Tip: I always position the light behind me (between the bed and the house) when possible—your body won’t cast a shadow over the labels, and you can read “thyme” and “chives” instantly without awkward flashlight juggling.
21. Soil Mix Recipe for a Cedar Raised Bed (Simple and Repeatable)
I always start with soil because most herb problems are really soil problems in disguise. I’ve found that herbs do best in a mix that drains well but still holds enough moisture that you’re not watering 2 times a day.
I recommend filling a 4 ft x 2 ft x 12 inch bed with roughly 8 cubic feet of mix: about 60% raised-bed soil, 30% compost, and 10% perlite for drainage. Typically, I blend it on a tarp with a shovel for 10–15 minutes, then water it once and let it settle overnight before planting.
For materials, I use bagged raised-bed mix, mushroom compost or composted manure (in moderation), and perlite. When I design this look, I top-dress with 1 inch of compost mid-season (around 6–8 weeks in) to keep basil producing.
Pro Tip: From my experience, skip “garden soil” bags for raised beds—they often compact too much; if your soil surface crusts after watering, mix in an extra 1–2 quarts of perlite per square foot to keep thyme and rosemary from sitting in soggy pockets.
22. Watering Rhythm: A 2-Minute Daily Check That Prevents Problems
I find that consistent checking beats strict schedules, because summer weather changes fast. I always do a 2-minute “soil poke” check—especially when I’m growing herbs at home in containers that dry out quicker than in-ground beds.
I recommend checking soil 2 inches down each morning; if it feels dry, I water slowly for 30–60 seconds per section rather than blasting everything. Typically, basil likes more frequent moisture, while rosemary prefers to dry slightly between waterings, so I water in zones (two passes for basil, one pass for rosemary).
For tools, I like a watering wand with a gentle shower setting and a simple moisture meter if you prefer a number (but I still trust my finger most). Trade-off: hand-watering takes time, but it helps you spot pests early—usually within 1 week instead of after damage spreads.
Pro Tip: I’ve found that watering right at the soil line—not over the leaves—keeps basil from getting spotty and reduces the “mud splash” that makes herbs gritty; it’s a small technique shift that noticeably improves what ends up on your plate.

23. Pruning Plan: Weekly Cuts That Keep Herbs Bushy
I always remind myself that pruning is part of the design—like fluffing pillows—because it keeps the bed looking full and usable. From my experience, a 10-minute weekly trim prevents 90% of the “why does my basil look sad?” questions.
I recommend setting a recurring reminder every 7 days and using clean herb snips wiped with rubbing alcohol (70%) before you start. For basil, I cut 1–2 inches above a leaf node; for thyme, I shear the top 1 inch; for chives, I cut down to 2 inches—these small measurements make a big difference in regrowth.
For materials, I like Fiskars micro-tip pruning snips and a small compost pail. When I design this look, I keep a “harvest bowl” and a “compost bowl” side-by-side so I don’t accidentally toss good sprigs.
Pro Tip: I’ve found that if you prune right after watering (within 30 minutes), stems are more pliable and you get cleaner cuts with less tearing—especially on thyme—so plants typically bounce back faster and look neater all week.
24. Pest Prevention Without Drama: Netting and Hand Checks
I find that herb gardens stay most enjoyable when pest control stays simple and calm. I always start by checking the underside of leaves twice a week, because catching aphids early usually means I can avoid stronger treatments.
I recommend keeping a lightweight insect net (around 0.6–0.8 mm mesh) on hand and draping it over the bed with clips, leaving 2–3 inches of slack so it doesn’t crush basil. Typically, a quick spray of water from the hose plus a gentle wipe solves small outbreaks within 3–5 days, but it does take consistency.
For materials, I use soft plant ties, spring clamps, and a small magnifying glass if my eyes are tired at dusk. Trade-off: netting can slightly reduce pollinator access, so I remove it during the day if I’m letting herbs flower.
Pro Tip: From my experience, don’t net the bed right after watering—wait until foliage dries (often 1–2 hours); trapping moisture under netting can create a humid pocket that encourages leaf spotting, which feels like a pest problem but isn’t.
25. Outdoor-Furniture Styling: Make the Herb Bed Feel Like a Room
When I design this look, I treat the herb bed like an outdoor-furniture moment, not a random box of plants. I find that pairing the cedar raised bed with one intentional seating piece makes you actually linger—and that’s when you notice what needs pruning or watering.
I recommend placing a 48–60 inch outdoor bench about 24–30 inches from the bed so you can sit and harvest without feeling cramped. Typically, I add a 5 ft x 7 ft outdoor rug under the seating zone to visually “anchor” the garden area, and I keep a small 12-inch side table for tools and drinks.
For materials, I like acacia or teak furniture, a washable polypropylene outdoor rug, and matte-black metal lanterns to echo label stakes. Trade-off: rugs can trap moisture under them, so I lift and dry them every 2–3 weeks in humid climates.
Pro Tip: I’ve found that if you align the bed’s long edge parallel to the bench, you create a natural “galley kitchen” layout outdoors—your body movement becomes efficient (prep → harvest → sit), and you’ll use the herbs more often because the space feels designed for cooking, not just gardening.
Final Thoughts
I always start small with herb garden ideas, even when I’m excited—because a tidy, reachable setup gets used far more than an ambitious bed you avoid when it’s hot outside. From my experience, the cedar raised bed with labeled dividers is the quickest way to make your outdoor space feel like a true kitchen garden while keeping harvesting simple and clean.
I find that the real win is building habits: a 2-minute daily soil check, a 10-minute weekly prune, and a watering setup that matches your schedule. Typically, you’ll see the difference within 2–3 weeks—more usable leaves, fewer sad stems, and a garden that looks like it belongs next to your outdoor furniture.
In my opinion, the best next step is to pick one build (a raised bed, a rail trough, or a tiered stand), plant your five staples, and label everything on day one. I always recommend starting this weekend so you can be snipping basil and chives for summer dinners sooner than you think.
What I’d Do Differently
When I first tried this, I made one very specific mistake: I planted mint directly into my cedar raised bed “just for mojitos,” and within about 6–8 weeks it started showing up everywhere—right between my thyme and chives where I least wanted it. I kept pulling it, but I was basically pruning it, not removing it, and it turned my neat little kitchen garden into a constant maintenance job. The correct approach (and what I do now) is to sink mint in a 10–12 inch nursery pot with the rim sitting about 1 inch above the soil line, so the runners can’t easily hop the edge. It’s a tiny trade-off in planting freedom, but it saves a ton of time later.
I also wish I’d known how much labels matter. I used a cheap marker on wooden sticks, and by mid-summer—after repeated watering and sun—the writing was gone, and I was second-guessing everything when I sent kids out to harvest. Now I use UV-resistant stakes and seal them, and I set up a small harvest station so I’m not hunting scissors. Pick one setup and start this week—you’ll learn faster with plants in the soil than with plans in your notes.
Products I Recommend for This Project
Here are some of my favourite products to help you bring these ideas to life:
- Fiskars Micro-Tip Pruning Snips — I find that the fine tips make clean basil pinches and precise thyme trims in under 10 minutes.
- Orbit 62061Z Single-Dial Hose Watering Timer — I recommend this for consistent watering when you’re busy or away for 2–3 days.
- Raindrip R560DP Drip Irrigation Repair & Goof Plug Kit — From my experience, having goof plugs on hand saves a trip to the store when you mis-punch a line.
- Mr. Pen UV Resistant Plant Labels (Plastic T-Type) — I’ve found these hold up better in full sun, especially when paired with an oil-based paint pen.
- Sharpie Oil-Based Paint Markers (Medium Point, White) — I always use these for bold, readable labels that don’t wash off after repeated watering.